Ultimate Guide to Updating Old Kitchen Cabinets Without Replacing Them
Are you looking to fix up your kitchen without spending too much? Your cabinets might need a good update instead of a full swap. Many people think worn cabinets need replacing, but that’s often untrue.
A few smart changes can make old cabinets work and look better. This guide shows you how to check your cabinets, pick the right fixes, and do the work step by step.
We’ll cover everything from basic repairs to style updates. You’ll learn about painting, adding new hardware, and making cabinets work better. These tips help save money and time.
Ready to make your kitchen look fresh? Let’s start with checking what you have. Good planning now leads to better results later.
Every kitchen deserves a chance to shine with some careful attention.
Evaluating Your Cabinets: Where to Start
Start by checking the frames, doors, and drawer fronts of your kitchen cabinets. Good bones matter more than surface looks. Run your hands along the surfaces for soft spots or water damage.
Different materials need different care. Wood cabinets take well to most updates. Solid wood responds best to sanding and paint. Laminate needs special primers to help paint stick. MDF requires gentle sanding to avoid damage.
Next, check the hinges and hardware. Open and close each door. Listen for squeaks. Watch how drawers slide. Sometimes, new hardware alone makes cabinets work better.
Look inside each cabinet. Smell for mustiness. Check corners for water stains. Solid cabinets might look worn outside but stay strong inside.
Crafting a Plan for Your Cabinet Makeover
Start with money matters. Write down all costs – from sandpaper to paint. Add 20% extra for surprise needs. Small updates might need $200-300. Full repaints often cost $400-800.
Next, make a time plan. Count your cabinets. Plan one weekend for basic paint jobs. Add time for repairs or special effects. Remember, paint needs drying time between coats.
Get your tools ready early. Basic needs include:
- Screwdrivers
- Sandpaper (medium and fine)
- Paint brushes
- Primer
- Paint
- Drop cloths
- Face mask
- Safety glasses
Label all doors and hardware while taking them off. Take photos of their spots. This helps when putting everything back together.
Updating Old Kitchen Cabinets without Replacing Them
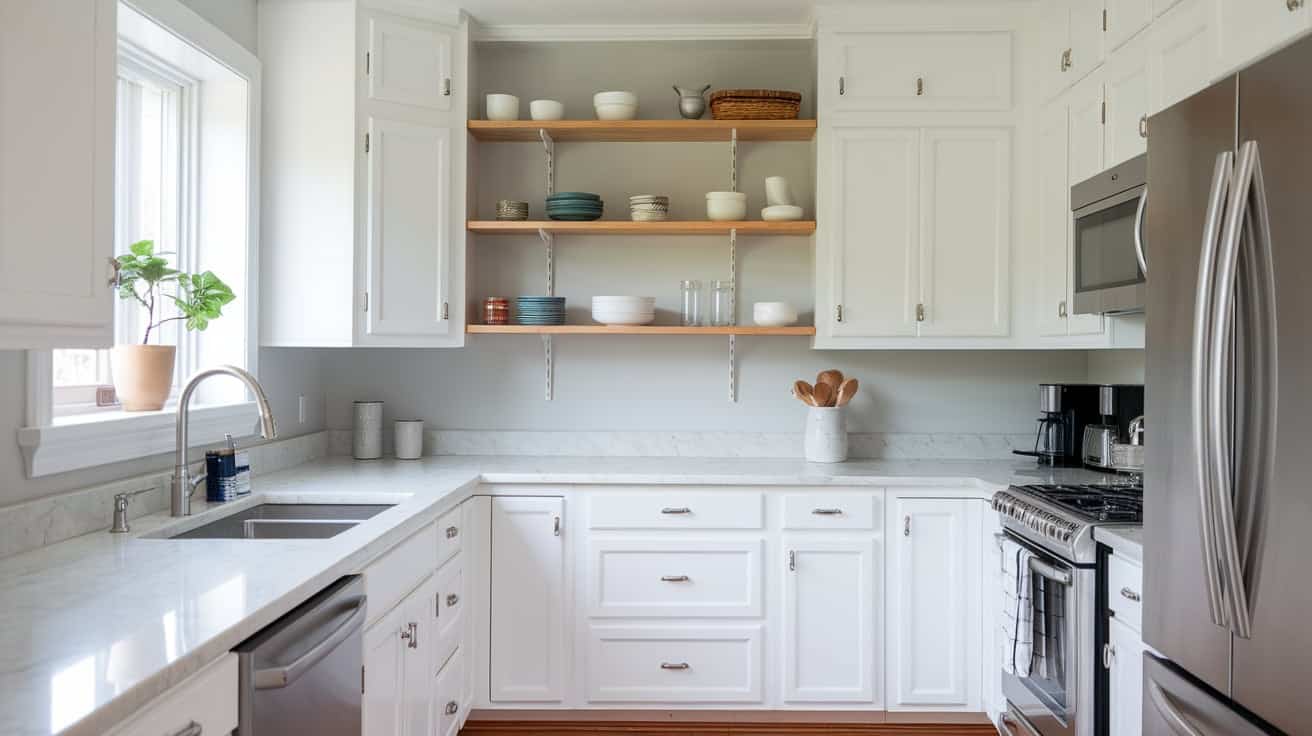
1. Giving Cabinets a Fresh Look with Paint
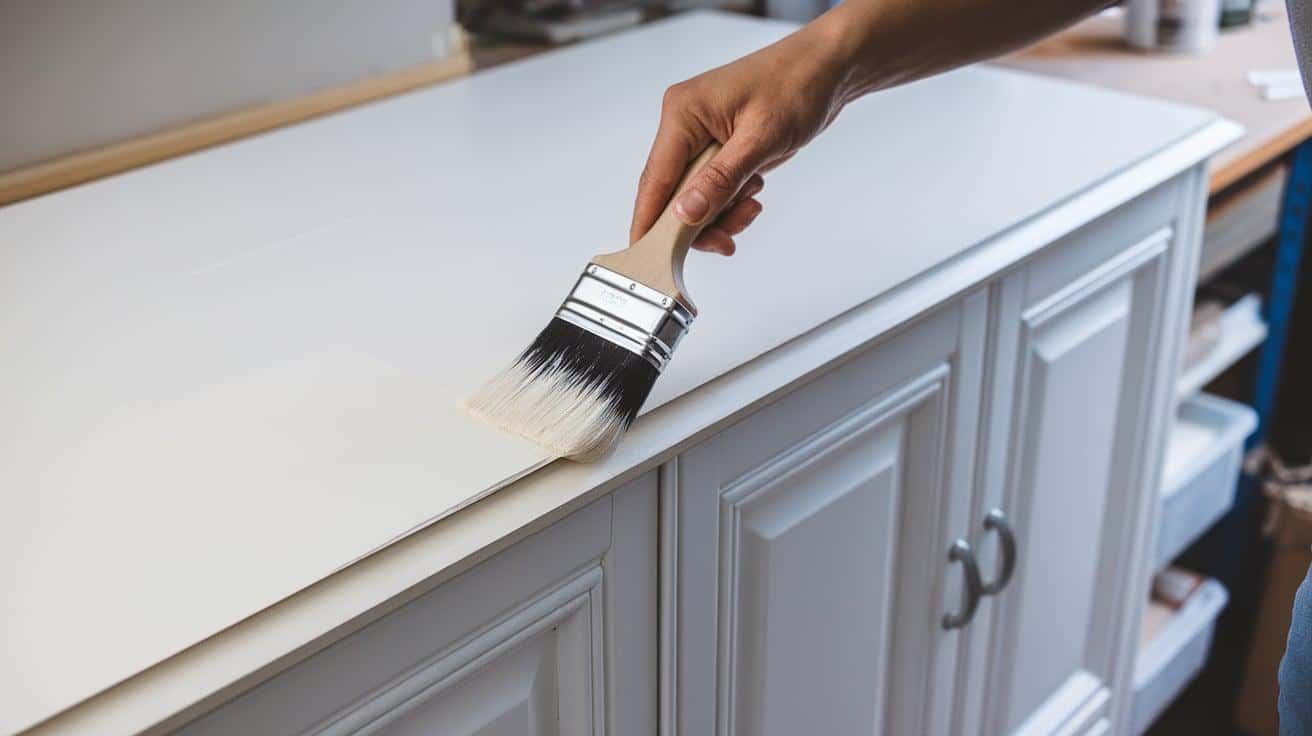
Paint types make a big difference in your results. Chalk paint sticks well and gives a soft, matte look. Latex paint offers good coverage and easy cleanup. Oil-based paint creates a hard shell that lasts.
Start with spotless surfaces. Mix dish soap and warm water to clean all areas. Let cabinets dry fully. Sand each surface with medium-grit paper. Wipe away dust with a tack cloth.
Good primer matters. Apply thin, even coats. Let each coat dry. Sand lightly between layers. This creates a smooth base for paint.
Paint in thin layers using good brushes. Work in one direction. Let each coat dry fully. Sand gently between coats. Add a clear top coat to protect your work.
2. Restoring the Natural Beauty: Refinishing & Restaining
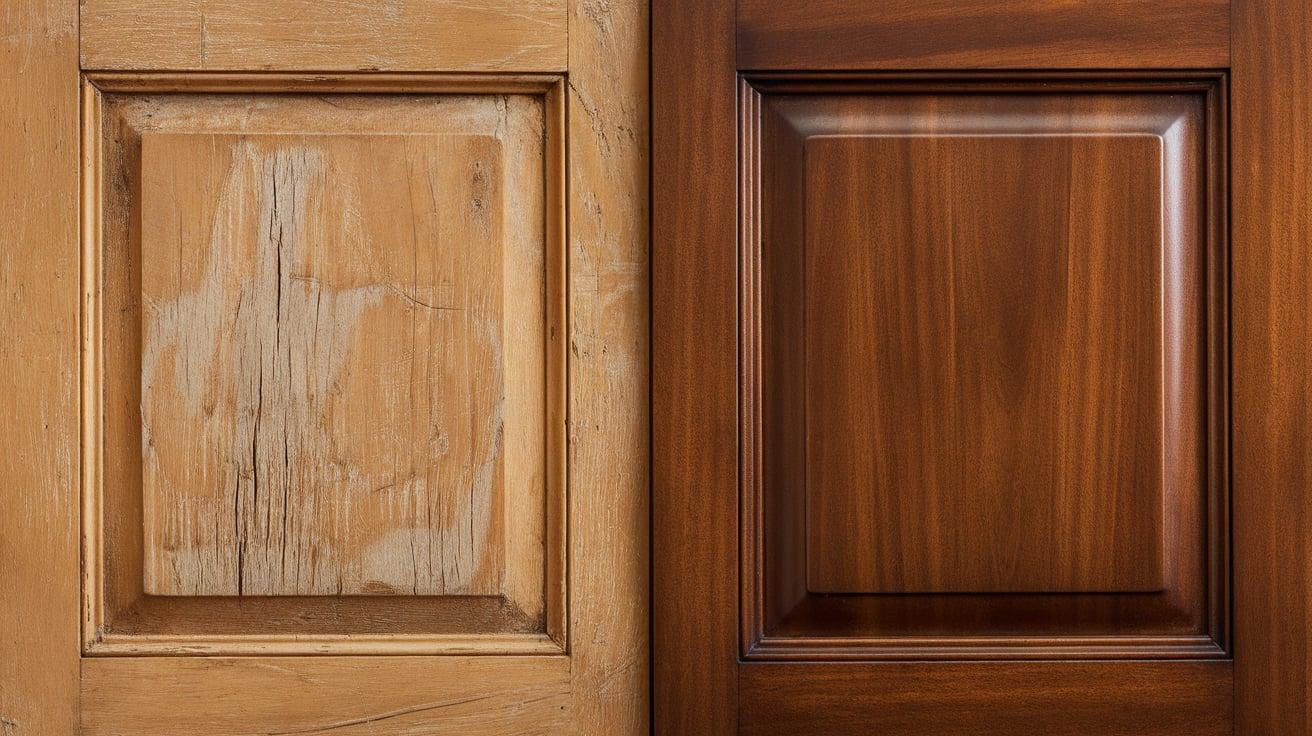
Choose refinishing when the wood grain looks good. This method is best for solid wood cabinets. Staining works well on oak, maple, or cherry wood.
Test stains on hidden spots first. Pick colors that match your floor or counters. Natural tones often work best in kitchell spaces.
Remove the old finish with a stripper. Follow product instructions carefully. Sand after stripping. Start with coarse paper and end with fine. Apply wood conditioner before the stain. Add several thin coats of paint. Finish with a clear coat.
3. Small Changes, Big Impact: Updating Cabinet Hardware
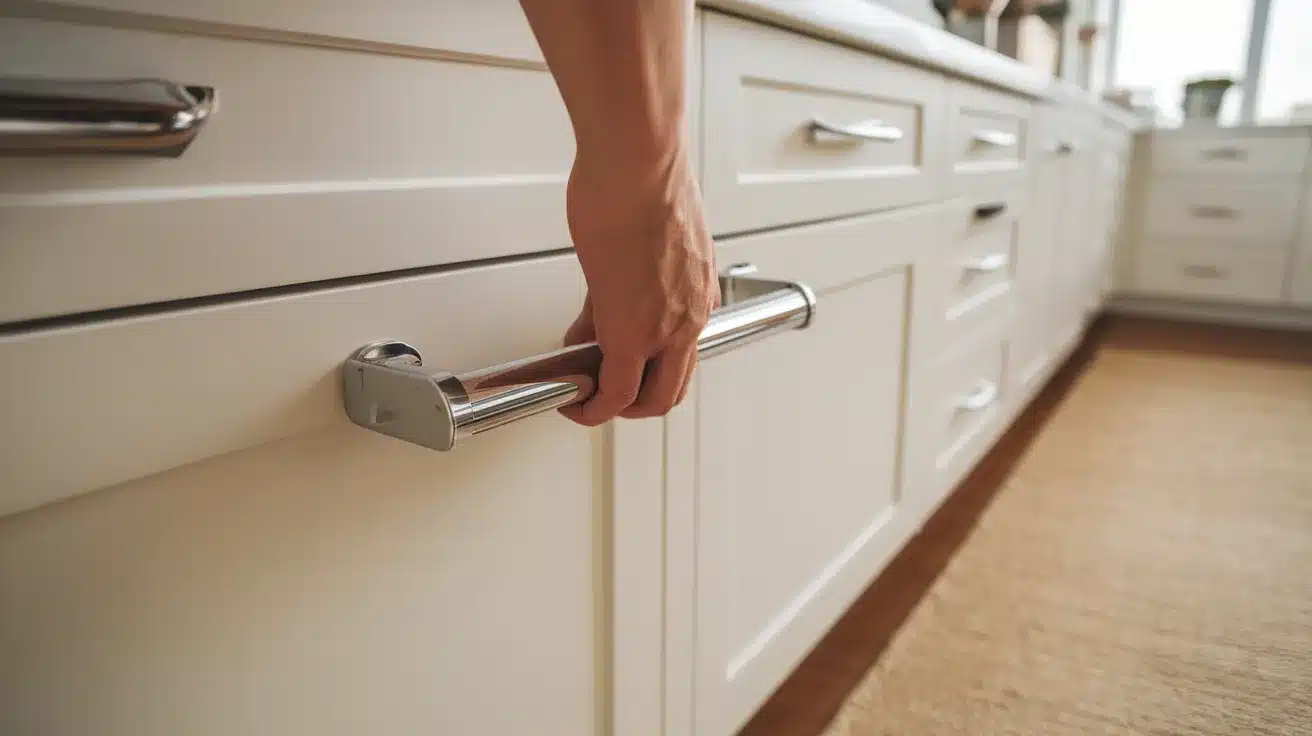
New handles make old cabinets look fresh. Simple knobs can change the whole feel. Pick hardware that fits your home’s style.
Match finishes to your faucet or light fixtures. Try glass knobs for sparkle. Use brass for warmth. Choose black for contrast.
Measure twice before drilling. Make a template for handle spots. Keep holes level. Fill old holes if needed. Space knobs evenly on each door.
4. Adding Trim and Molding for a Custom Touch
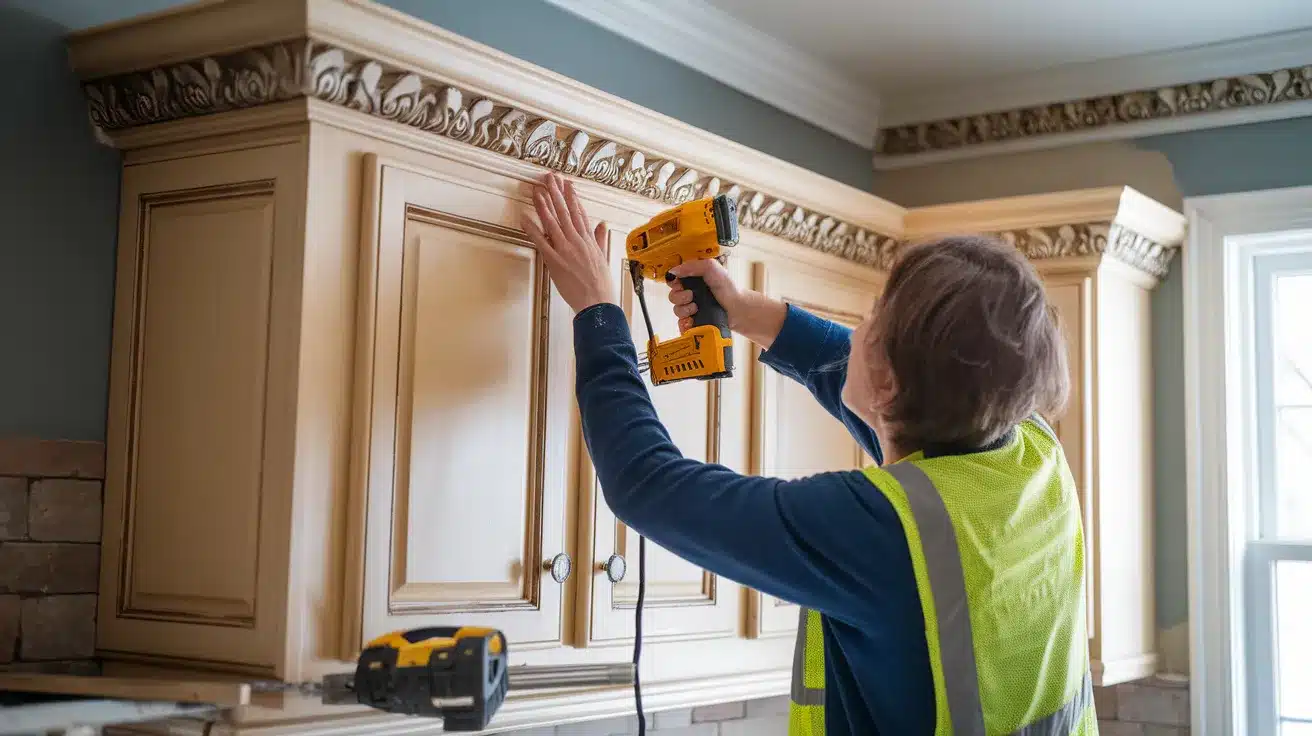
Crown molding adds height to upper cabinets. Beadboard panels create charm on end panels. Simple trim frames make doors stand out.
Light trim works well on dark cabinets, while dark trim creates a contrast on white doors. Keep styles simple for lasting appeal.
Use a miter saw for clean angles. Cut test pieces first. Apply wood glue before nailing. Caulk gaps for smooth joints. Paint trim to match cabinets.
5. Transforming with New Doors and Drawer Fronts
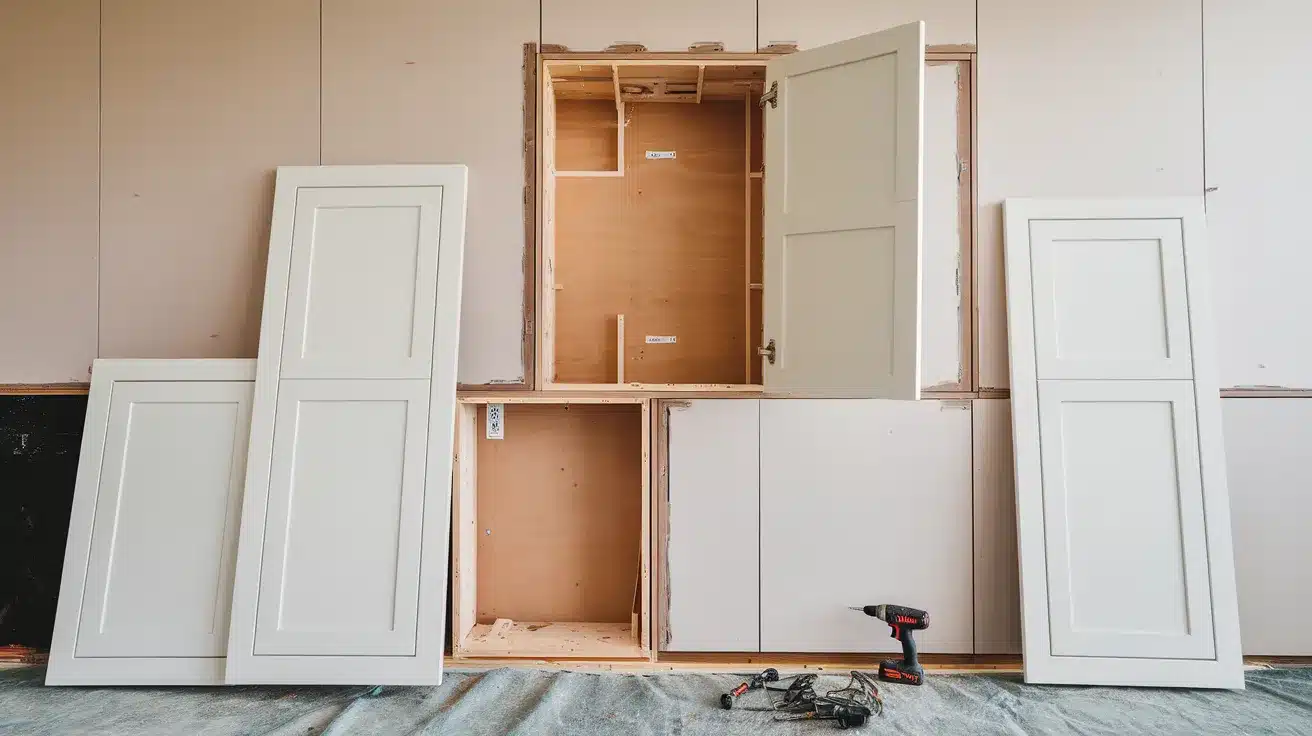
New doors change your kitchen’s whole look. Shaker style fits many homes. Glass-front doors show off nice dishes. Flat panels suit modern spaces.
Take careful size notes. Measure width and height three times. Note hinge spots and swing direction. Write down drawer sizes too. Check face frame widths.
Put doors in place before adding hinges. Use spacers for even gaps. Start all screws before tightening any. Check door swing and spacing. Adjust hinges as needed.
6. Bringing Light to Your Space: Under-Cabinet Lighting
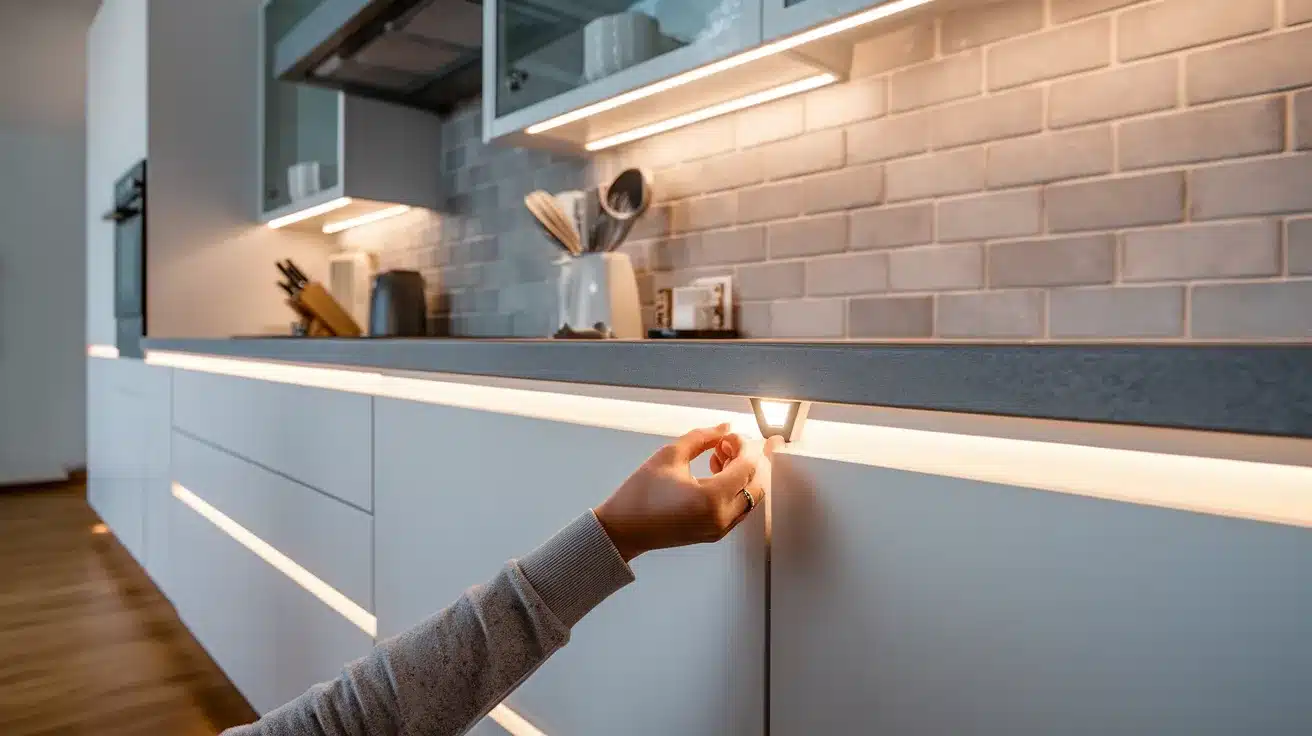
Good light helps you see while cooking. It makes counters brighter. Soft light creates nice evening moods. Work feels easier with proper light.
LED strips spread light evenly. Puck lights focus on work spots. Battery lights need no wiring. Hardwired ones stay neat and tidy.
Stick-on lights go up fast. Hide cords with small channels. Keep switches easy to reach. Test spots before final install. Add dimmers for light control.
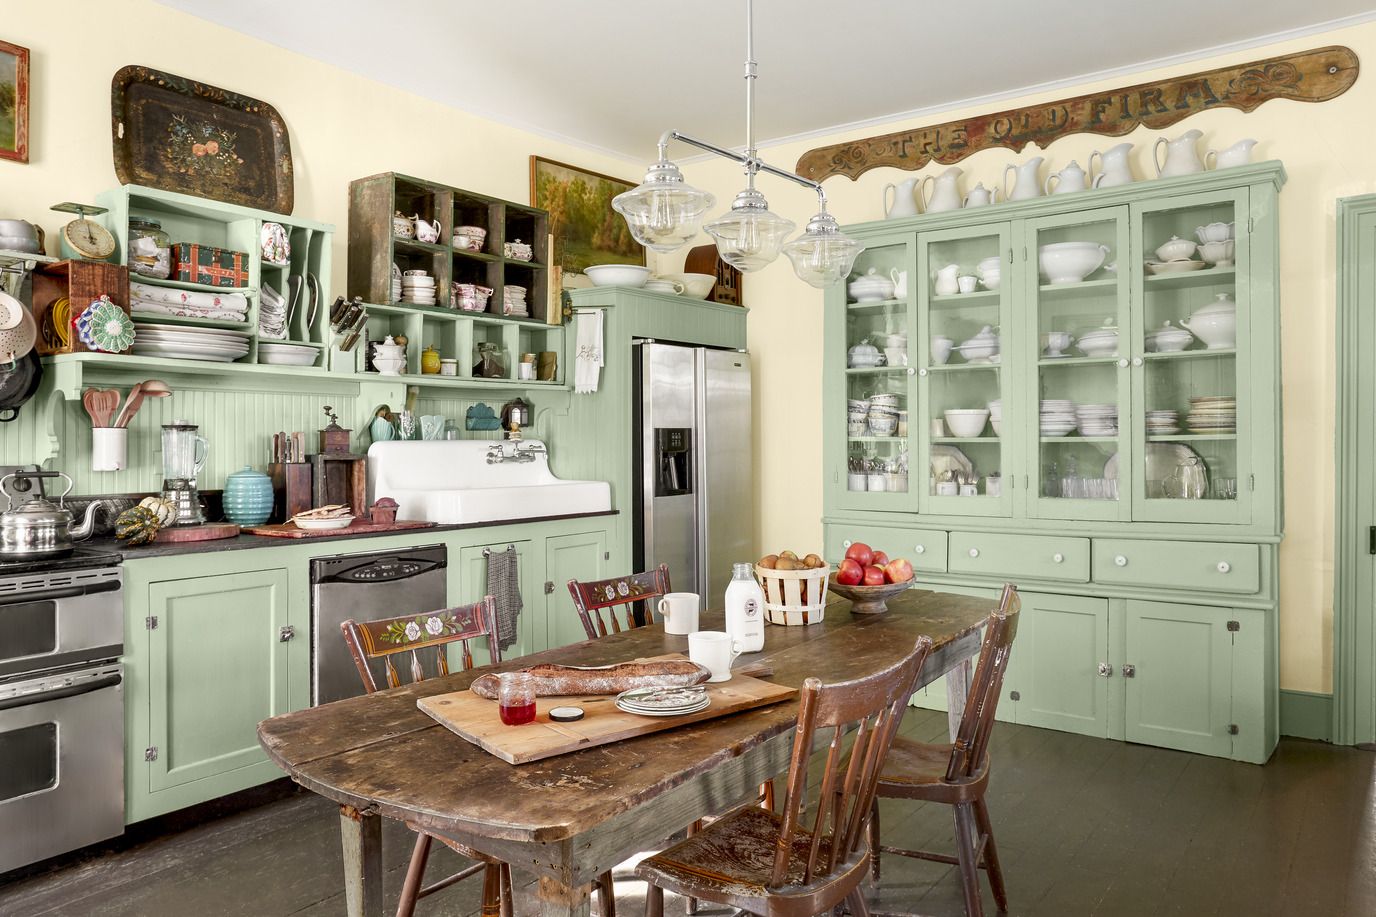
7. Enhancing Style with Glass Panels
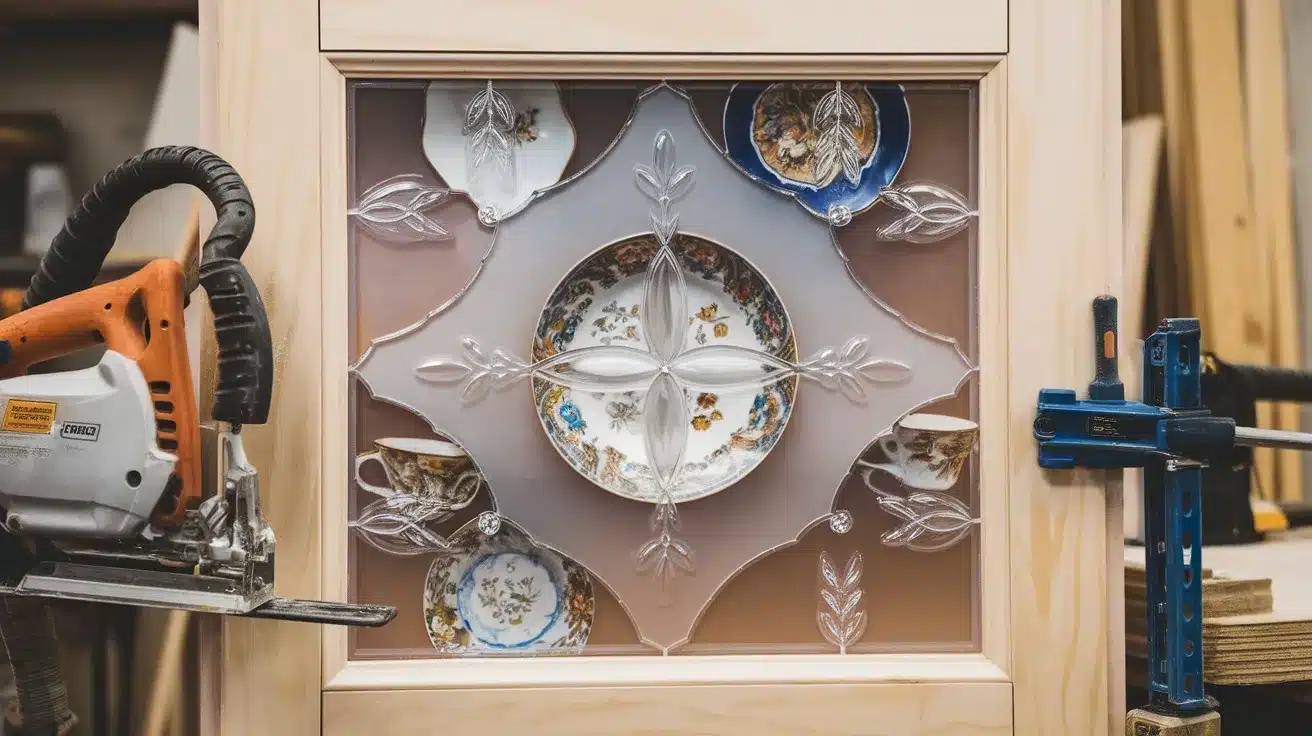
Clear glass shows off nice items. Frosted glass hides clutter. Textured glass adds interest. The seeded glass looks old-style.
Take the doors off first. Remove inner panels carefully. Clean frame edges well. Cut glass to fit exactly. Use rubber strips to hold the glass.
Show off special plates. Display nice glasses. Add small lights inside. Keep items neat and sparse. Change displays with seasons.
8. Creative Finishes to Elevate Your Cabinets
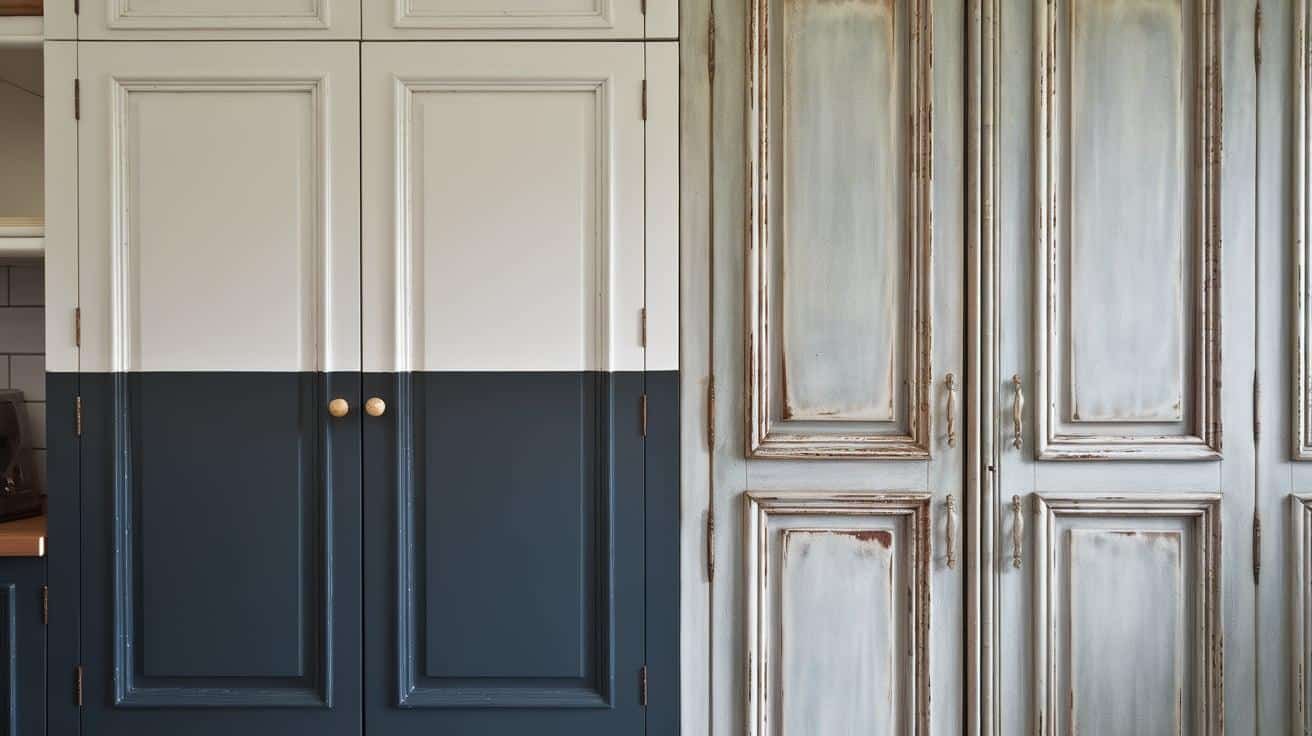
To make new paint look aged, sand edges gently. Add dark wax in corners. Build layers of wear marks.
Mix white paint with water. Brush on thinned paint. Wipe back for wood to show. Keep texture light and soft.
Paint the upper and lower cabinets differently. Match the island to either one. Keep the colors in the same family. Test combinations first.
9. Maximizing Functionality: Inside Cabinet Upgrades
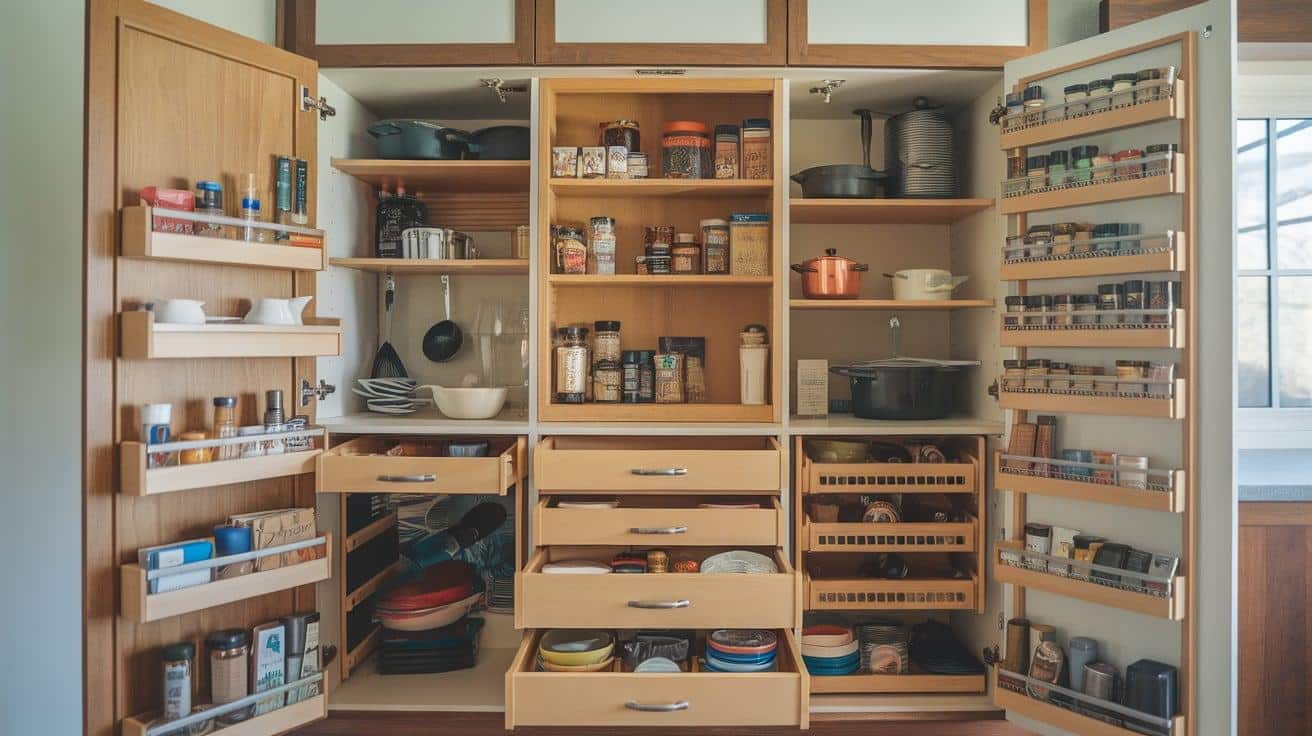
Fresh paint brightens dark corners. Liner paper stops scratches. Both make cleaning easier. Choose light colors inside.
Add pull-out shelves for pots. Install drawer organizers. Put in corner systems. Add door racks for lids. Stack items with dividers.
Fix drawer slides that stick. Add soft-close hinges. Put in lighting strips. Make deep cabinets reachable. Sort items by use frequency.
Tips and Tricks from Experts
- Test all products in hidden spots. Wait for full drying times between steps.
- Label every door and drawer. Take photos before taking things apart.
- Pick water-resistant materials near sinks. Use strong screws for heavy doors.
- Add bumpers to prevent banging. Check all joints stay tight.
- Keep colors neutral for lasting style. Match hardware to other metals.
- Plan for cleaning needs later. Make sure doors open fully.
Conclusion
Your kitchen cabinets tell a story – one of family meals, morning coffees, and shared moments. With the steps in this guide, you’ve learned how to write your next chapter without starting from scratch.
Remember that small steps often lead to big changes. A fresh coat of paint, new handles, or better lighting can turn tired cabinets into talking points. These updates do more than save money – they keep good materials in use and give your space new life.
Every kitchen works differently, so pick the methods that suit your needs. Take time with each step. Good prep work matters as much as the final touches. Your careful work today will show in tomorrow’s results.
Your refreshed cabinets will serve you well for years, making every moment in your kitchen more pleasant.

