Ultimate Guide to DIY Planter Post Ideas for Your Outdoor Space
Do you want a garden feature that combines beauty and function? Planter posts might be just what you need. These practical additions to your outdoor space do more than just hold flowers – they create appealing focal points in any yard.
In this guide, I’ll explain everything about planter posts. You’ll learn how to build them, keep them stable, and help your plants grow well. I’ve tested different methods, so you’ll get tips that work in real gardens.
We’ll cover all the key points, from picking the right materials to maintaining your finished project. Ready to start? Let’s create something special for your outdoor space. These planter posts will change how you use and enjoy your garden.
Understanding the Charm of Planter Posts
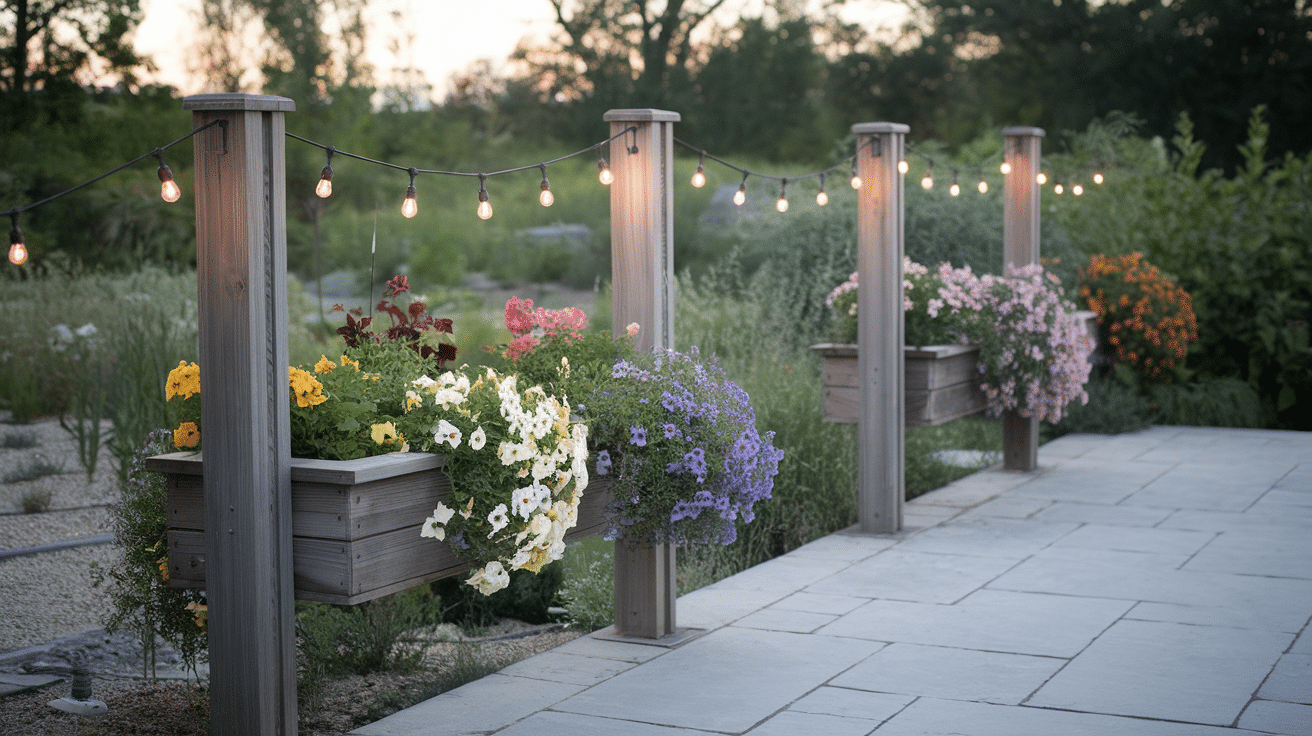
Plants make any space feel more welcoming. Add a well-made planter post to your yard, and you’ll immediately see the difference. Planter posts are a practical and beautiful addition to your outdoor area. These simple structures blend naturally with gardens, patios, and walkways.
I’ve seen how planter posts turn plain spaces into eye-catching spots. They lift flowers off the ground, creating layers of color at different heights. The best part? You can build them yourself with basic tools and materials.
What Exactly Are Planter Posts?
Let me explain planter posts in simple terms. They are tall, standing structures with spots to hold plants and flowers. These useful items come in many shapes and sizes. Some reach just above knee height, while others stand as tall as a door frame.
You can make planter posts from:
- Wood (like cedar or treated pine)
- PVC pipes
- Metal poles
- Concrete blocks
Each material brings its look and benefits. Wood gives a natural feel, while metal adds a modern touch. PVC works well for light designs, and concrete offers solid support.
Why Opt for Planter Posts?
Adding planter posts to your yard makes good sense for several reasons. First, they help you use space better by building upward instead of outward. This works great for small yards or crowded garden areas.
These posts do more than hold plants. They can:
- Mark pathways in your garden.
- Support climbing plants.
- Show off hanging baskets.
- Create privacy between spaces.
- Add style to plain areas.
I’ve found that planter posts work hard in any outdoor setting. They hold flowers at eye level, making it easier to tend to plants. Plus, they keep your favorite blooms safe from pets and garden tools.
Step-by-Step DIY Planter Post Projects
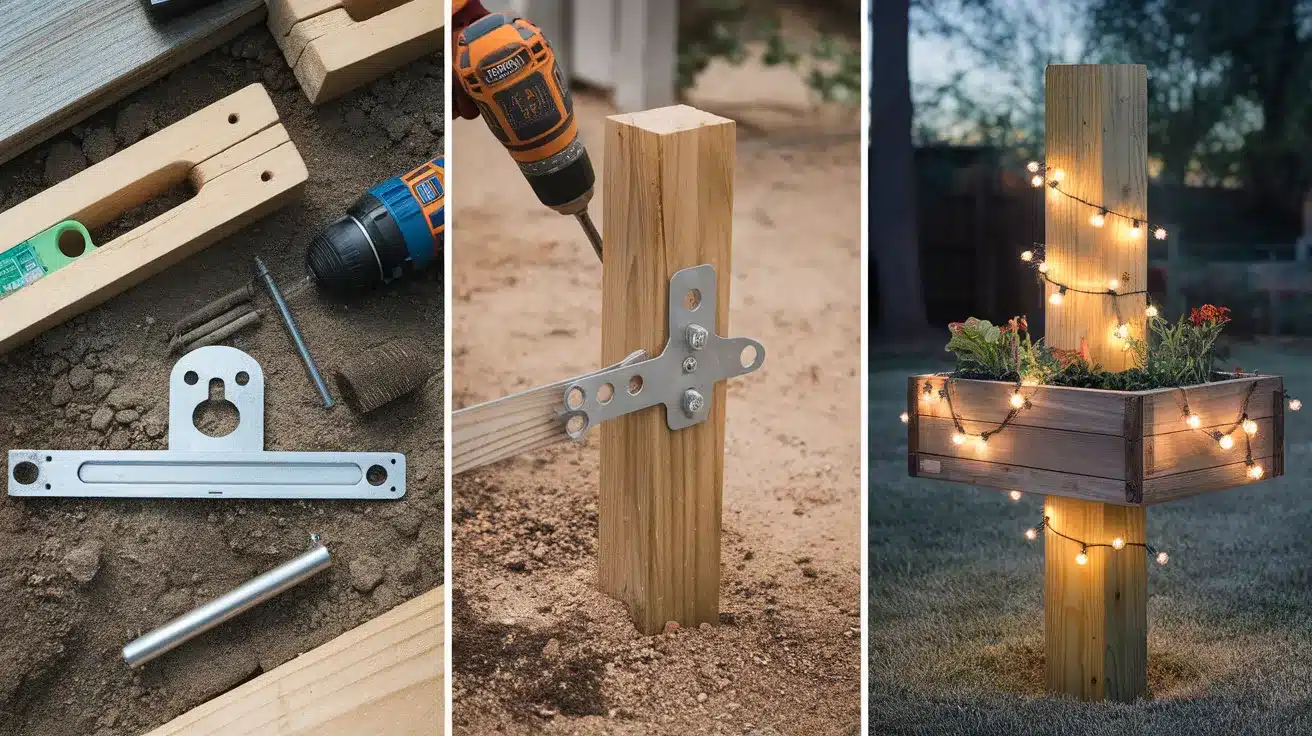
Tools and Material for Planter Post Projects
| Material/Tool | Use |
|---|---|
| 4×4 Post | Structural support for string lights and shade sail. |
| Store-bought Planters | The base for the posts. |
| Fast-setting Concrete | To secure the posts in the planters. |
| Silicone Caulk | To seal corners and prevent concrete from leaking. |
| Quickrete (or similar concrete mix) | To stabilize the posts within the planters. |
| Screw Hooks | To hang string lights and shade sail from the posts. |
| Stainless Steel Cable | To connect the shade sail to the posts and extend across the patio. |
| Turnbuckles | To adjust the tension of the cables for the shade sail. |
| Clamps | To secure the shade sail and cables in place. |
| String Lights | To provide lighting. |
| Potting Soil and Flowers | For aesthetic enhancement around the planters. |
| Shade Sail | Provides shade over the patio area. |
| Eye Hooks and Interlocking Spring Snaps | For hanging and securing string lights. |
| Marble Rock | To add weight to the planters and assist in drainage. |
| Drill and Drill Bits | This is for making holes for drainage and installing hooks. |
| Jigsaw | To cut crosses from a piece of OSB for the planter bases. |
| Nail Gun or Hammer and Nails/Screws | Attach the wooden crosses to the posts and assemble other components. |
1. Crafting Planter Barrel Posts for String Lights
STEP 1: Create A Strong Foundation For Your Planter Post
Your first task is cutting the OSB board into cross shapes with a jigsaw. This forms the base support for your planter post.
- Use a nail gun or screws to fix crosses to the 8-foot 4×4 post
- For store-bought planters, start by laying out your materials
- Apply silicone caulk at the post’s base to prevent concrete leaks
STEP 2: Set Up The Post Installation
Now it’s time to position your post and secure it properly. This step ensures your planter post stays upright and stable for years.
- Place the post in a plastic barrel planter
- Add 1.5 bags of fast-setting concrete
- Make sure the post stands perfectly straight
- Drill drainage holes at the concrete level
STEP 3: Install Light Fixtures and Hardware
Adding lighting elements turns your planter post into a multi-purpose outdoor feature. Pay attention to proper placement of all hardware.
- Install eye hooks at the top of each post
- Add spring snaps to secure lights
- Place screw hooks for shade sail attachment
- Set up steel cables and turnbuckles for extra support
STEP 4: Add Planting Materials
Proper layering of materials in your planter ensures good drainage and plant health. This step sets up the perfect growing environment.
- Put marble rocks above the concrete layer
- Add quality potting soil
- Leave enough space for root growth
- Consider the size of plants you’ll add
STEP 5: Complete the Final Setup
The last step brings all elements together to create your finished planter post-display.
- Position posts in a square pattern
- Connect string lights between posts
- Attach shade sail from patio to carport
- Test all lighting connections
- Add your chosen plants and flowers
Click here for the full video tutorial on how to craft planter posts for string lights.
Creating Dual-Purpose Planters for String Lights and Shade
STEP 1: Plan Your Dual-Purpose Post Layout
Start by choosing spots for your planter posts that will work for both shade and lighting needs. Consider sun patterns and evening lighting requirements.
- Mark post locations on your patio
- Check power source access points
- Plan shade sail angles for best coverage
- Ensure posts won’t block walking paths
STEP 2: Prepare Base and Post Installation
Setting up stable posts is crucial for a long-lasting shade and light structure. Take time to ensure each post is perfectly positioned.
- Get store-bought planters ready
- Apply silicone caulk around post bases
- Mix fast-setting concrete per instructions
- Keep posts plumb while concrete sets
STEP 3: Set Up Shade Support System
A strong support system keeps your shade sail taut and secure. This step creates the framework for both shade and lighting elements.
- Install screw hooks at proper heights
- Attach stainless steel cables
- Add turnbuckles for tension control
- Check all connection points twice
STEP 4: Install Shade Sail and Lighting
This step combines your shade and lighting elements into one smooth setup. Proper installation ensures both features work well together.
- Secure shade sail to support points.
- Adjust cable tension evenly.
- Attach string lights along the edges
- Test light placement and coverage
STEP 5: Make Final Adjustments
Fine-tuning your setup ensures everything works perfectly. Take time to check all elements before considering the project complete.
- Check cable tension at all points.
- Verify all lights work properly.
- Adjust shade sail angles if needed.
- Test system during day and night
Click here to watch the video tutorial on how to make dual-purpose string lights and shade planters.
Ensuring the Stability and Safety of Your Planter Posts
How to Secure Your Posts
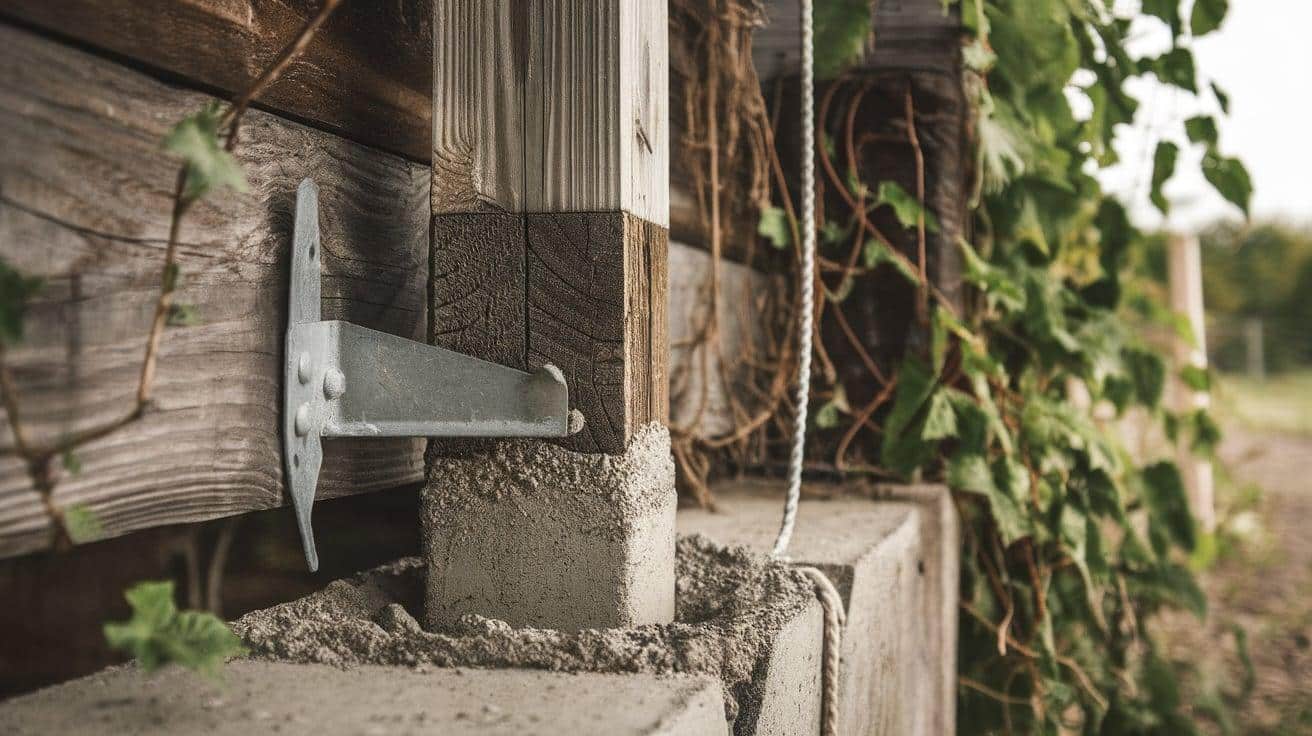
Choosing the right way to anchor your planter posts matters greatly. Concrete makes the strongest base for any post-installation. A proper concrete mix poured carefully around your post creates a solid foundation that lasts for years.
You’ll want to start with a layer of gravel at the bottom of your planter. This helps with drainage and adds extra weight. For more support, metal brackets can brace your post against the planter’s sides. Remember that taller posts need deeper settings – plan for at least 2 feet of depth.
Managing Weight Distribution and Wind Challenges
Think about weight the same way you’d balance a seesaw. Put heavier items like rocks near the bottom of your planter. This creates a low center of gravity. When adding plants, place larger ones closer to the base. Keep hanging items equal on all sides to prevent leaning.
Wind poses a special problem for planter posts. In areas with strong breezes, consider adding windbreaks or support cables. Watch how your posts handle mild winds – this tells you if you need extra support. Some spots might need more bracing than others.
Essential Safety Tips
Lighting adds beauty to planter posts but requires careful setup. Always pick outdoor-rated materials for your electrical work. Keep all connections dry and protected from rain. GFCI outlets offer extra safety against water problems.
Checking your posts should be part of your yard routine. Look for loose parts or signs of wear each month. Pay special attention after storms or strong winds. Clean any electrical parts regularly to prevent problems.
Tight hardware and clean connections mean safer, longer-lasting planter posts.
Conclusion
Your outdoor space holds so much potential. With well-made planter posts, you can turn any basic patio or garden into an inviting spot that suits your style. These simple structures add height, interest, and life to your yard throughout every season.
Building planter posts takes some work, but the results make it worthwhile. Good planning and careful setup lead to posts that stay strong for years. Your plants will grow better when you understand their needs at different heights.
Remember that each garden faces unique challenges. Wind, weather, and seasonal changes affect every yard differently. Following the care tips we’ve shared will help your posts and plants stay healthy.
Your outdoor space will bring you joy as you watch it grow and change through the seasons.

