Trellis for Clematis: DIY Guides and Useful Tips
I’ve found that clematis plants need the right support to grow well and bloom beautifully. A good trellis for clematis greatly affects this.
These climbing plants’ leaf stems attach to surfaces, making them perfect garden additions when paired with proper structures.
In this guide, I’ll show you how to pick the best trellis for your clematis. We’ll look at different types of supports you can buy or make yourself.
I’ll also explain how to set up your trellis and keep it in good shape so your clematis can thrive year after year.
Understanding Clematis and Their Climbing Needs
I’ve learned that clematis plants climb uniquely. Their leaf stems coil around supports, but they’re picky about what they can grip.
They do best with thin supports – about 1/4 to 1/2 inch thick. Wires and narrow poles work well, but wide or smooth surfaces don’t.
When the support isn’t right, problems will occur. The plant might fall over, bunch up in spots, or have flowers pointing the wrong way.
Getting the right-sized support means your clematis can grow well and show off its flowers properly.
Types of Trellises for Clematis
| Trellis Type | Pros | Cons |
|---|---|---|
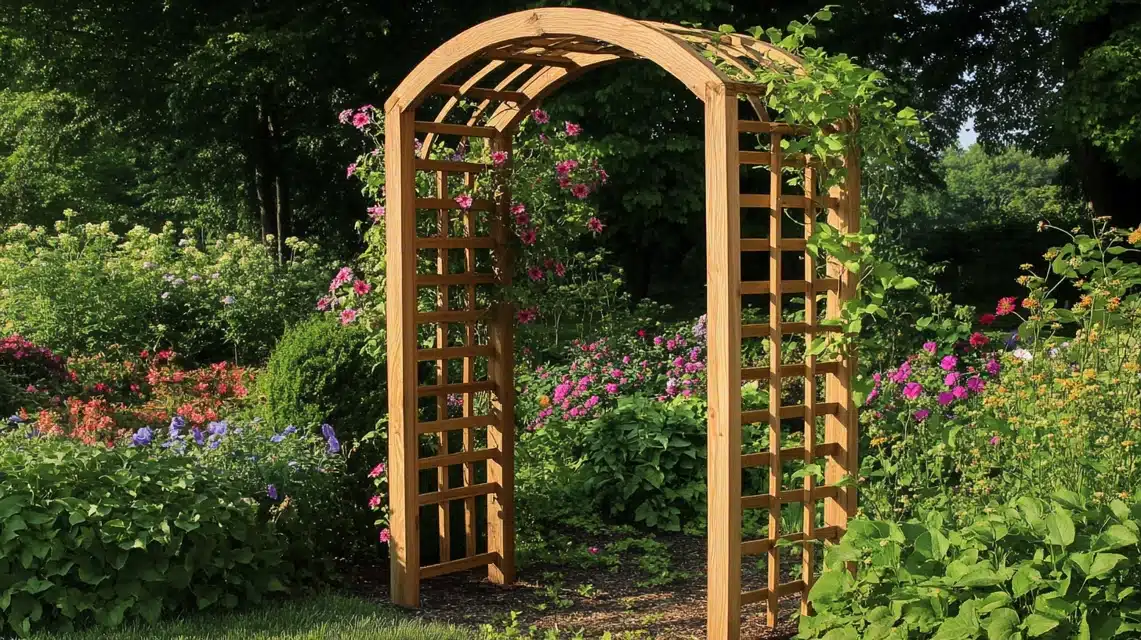
| Wooden Trellises | Its natural look is easy to customize. | It may require treatment to withstand the weather. |
| Metal Trellises | Durable, sleek designs. | Heat absorption in direct sunlight. |
| Wire Grid Trellises | Ideal for clematis, thin wires for easy climbing. | Requires sturdy attachment to walls or posts. |
| PVC Trellises | Lightweight, weather-resistant. | It may lack aesthetic appeal for some gardens. |
Guide to Choosing a Clematis Trellis
Materials That Work Well
- Steel or copper wire: Thin and strong, perfect for leaf stems to grip
- Wood: Natural look, but must have thin supports
- Powder-coated metal: Long-lasting and weather-resistant
Size and Design Tips
- Height: Plan for 6-8 feet, matching your clematis type
- Width: At least 3 feet to let stems spread out
- Spacing: Keep wires or supports 4-6 inches apart
- Base: Strong enough to hold plant when full-grown
Smart Placement
- Most types, like sun on flowers, shade on roots
- Leave 18 inches from walls for good airflow
- Set trellis before planting to avoid root damage
Common Mistakes I’ve Seen
- Using plastic that breaks in the sun and wind
- Picking supports that are too thick
- Making the trellis too small
- Not fixing it firmly in the ground
When I pick a trellis, I ensure it’s strong enough to last several years and has the right-sized supports for my clematis to grip.
A DIY Guide for Creating Perfect Clematis Trellises
Simple Wire Trellis Project
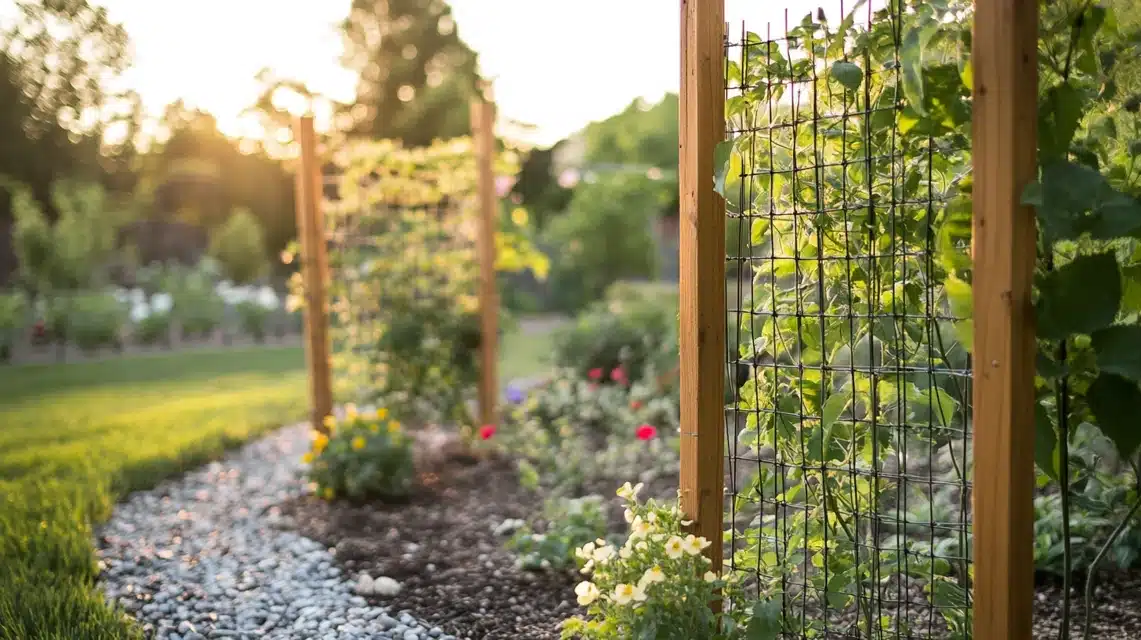
Materials You’ll Need
- Two wooden posts (4×4 inch, 8 feet long)
- Galvanized wire (14 gauge works best)
- Screw-in eyelets (at least 12 per post)
- Post hole digger
- Level
- Concrete mix
- Wire cutters
- Pliers
- Measuring tape
- Pencil for marking
Step-by-Step Instructions
- Mark your post locations 6 feet apart
- Dig holes 24 inches deep and 12 inches wide
- Pour 4 inches of gravel in each hole for drainage
- Place posts in holes, use a level to check alignment
- Mix concrete following package instructions
- Fill holes with concrete, leaving 2 inches at the top for soil
- Let the concrete set for 24 hours
- Mark eyelet positions 6 inches apart, starting 12 inches from the ground
- Pre-drill small pilot holes for eyelets
- Screw in eyelets, keeping them aligned
- Cut wire lengths with an extra 6 inches on each end
- Thread wire through the first eyelet, pull tight
- Wrap the wire around the eyelet twice
- Run wire across to matching eyelet on another post
- Pull the wire very tight and secure with the same method
- Test each wire’s tension with gentle pressure
Wooden Trellis Construction
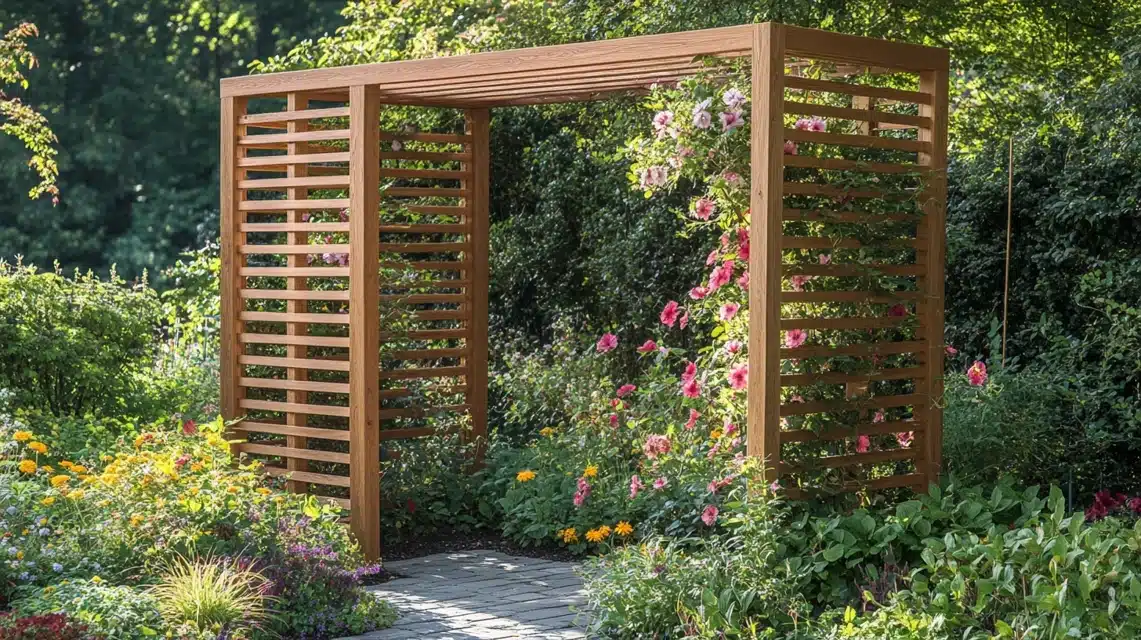
Materials Needed
- Two pressure-treated posts (4×4 inch, 8 feet)
- Thin wooden slats (1/4 inch thick, 6 feet long)
- Galvanized screws (2 inches for framework)
- Smaller screws (1 inch for slats)
- Post hole digger
- Level
- Drill with bits
- Saw
- Measuring tape
- Pencil
- Sandpaper
- Wood preservative
Step-by-Step Instructions
- Prepare posts the same way as wire trellis
- Create a frame: Attach two horizontal supports (2×4) between posts. Place one 12 inches from the top and the second 12 inches from the ground.
- Add middle support for extra strength.
- Prepare thin slats: Sand edges smooth. Apply wood preservative. Let dry completely.
- Attach vertical slats: Space 4-6 inches apart. Use a level to ensure they’re straight—pre-drill holes to prevent splitting. Secure with screws at each crossing point.
- Add decorative top piece if desired.
- Check all connections are tight.
Creative Trellis Ideas Using Recycled Materials
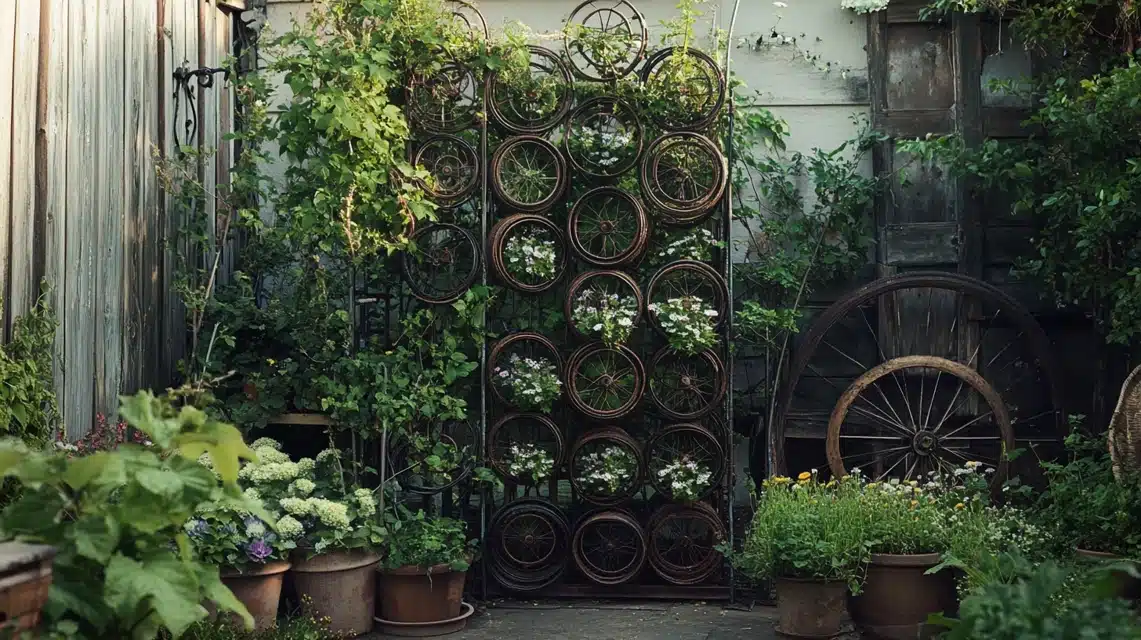
Bicycle Wheel Trellis
- Clean and remove rubber tires
- Paint frames to prevent rust
- Stack 2-3 wheels vertically
- Secure to posts with strong wire
- Spokes provide perfect climbing supports
Ladder Trellis
- Old wooden ladders work best
- Sand rough spots
- Apply outdoor sealer
- Secure at a 15-degree angle to the wall
- Add cross wires between rungs
Metal Grid Designs
- Old metal gates
- Cattle panels cut to size
- Rebar formed into patterns
- Wire mesh shaped into curves
Installation Tips for All Designs
- Place trellis before planting clematis
- Face flat side toward the plant
- Leave 3-4 inches between the trellis and the wall
- Check stability before adding plant
- Consider wind patterns in your garden
Maintenance Notes
- Check wire tension each spring
- Tighten loose connections
- Look for rust or rot annually
- Clean with a gentle brush
- Apply wood preservative to wooden parts yearly
I’ve found the wire trellis most successful for smaller clematis, while the wooden design works well for larger varieties.
The creative options add personality while giving plants the support they need.
Optional Improvements
- Add copper caps to wooden posts
- Paint wooden parts in garden-matching colors
- Incorporate small platforms for bird feeders
- Add solar-powered light fixtures
- Create patterns with different colored wires
Each project takes 4-6 hours, not counting concrete setting time. The wire trellis costs about $50 in materials, the wooden version about $75, and recycled projects can cost almost nothing except fasteners.
A Guide for Installing Clematis Trellises Correctly
Wall Installation
Tools You’ll Need
- Drill with masonry bits
- Level
- Pencil
- Measuring tape
- Hammer
- Safety glasses
- Work gloves
Steps for Brick Walls
- Mark holes on mortar joints (not on bricks)
- Use the correct masonry bit size
- Drill into mortar 3-4 inches deep
- Insert wall plugs
- Put spacers behind trellis (3 inches gap)
- Attach with proper screws
Steps for Other Walls
- Find wall studs using a detector
- Mark mounting points
- Use wall-specific anchors
- Check load capacity
- Keep a 3-inch gap for airflow
- Double-check all fixings
Freestanding Installation
Tools Required
- Post hole digger
- Level
- Gravel
- Concrete mix
- Measuring tape
- Shovel
Steps to Follow
- Mark post locations
- Dig holes: 2 feet deep minimum, 12 inches wide, below frost line
- Add 4 inches of gravel
- Position posts
- Mix concrete properly
- Pour and support until set
- Check levels while concrete sets
Safety Guidelines
- Check underground pipes first
- Wear proper safety gear
- Use rust-resistant fixings
- Test stability before adding plants
- Consider wind exposure
- Check weight limits
Extra Tips
- Add bracing for tall trellises
- Put supports 6-8 feet apart
- Check stability monthly
- Fix any movement quickly
- Keep fixings tight
Training Clematis on Your Trellis
First, knowing what type of clematis you have is important since this affects how we train them.
Type 2 clematis plants flower on old and new wood, giving us two yearly bloom times. I handle these stems extra care because we want to keep the old growth.
When I train these plants, I avoid bending the stems too sharply or tying them too tightly, as they can snap easily.
Type 3 clematis plants are simpler to work with. They bloom on new growth, which means I can cut them back hard in late winter.
These plants grow strong and full each spring, making them easier to train in any pattern I want.
Here’s my training process that works well:
- Start training when stems are still flexible – young stems are easier to guide and less likely to break
- Always work in cool morning hours when stems are most flexible
- Keep ties loose enough for stems to move slightly in the wind
- Make figure-8 loops with soft ties to prevent stem damage
- Place main stems vertically at first, then spread them out
- Check ties weekly during the growing season
- Take off any ties that start getting tight
For the best flower show:
- Just guide stems toward sunny spots
- Spread stems out like a fan
- Keep the plant’s base in the shade
- Leave space between stems for good air movement
- Move stems before they twist around themselves
I’ve learned to watch for several common issues:
- Wind damage to stems that aren’t tied well
- Growth becoming too thick in one spot
- Flowers facing the wrong way
- Parts of the trellis left bare
- The base of the plant gets too much sun
Keeping Your Clematis Trellis Strong
1. Regular Checks
- Clean twice yearly – spring and fall
- Test stability of posts and wall mounts monthly
- Look for rust or rot and fix spots quickly
- Make sure wires stay tight
- Keep a 3-inch gap from walls clear
2. Wood Care
- Brush off dirt and plant bits
- Put sealer on bare wood
- Fix soft spots near the ground
- Check all screws and joints
3. Metal Care
- Clean rust with a wire brush
- Add rust guard to bare spots
- Test wire tightness
- Fix loose connections
Summing Up
Each step matters, from picking the right materials and size to proper installation and care.
I’ve shared my hands-on tips for building, setting up, and maintaining different trellises.
Whether you choose a simple wire design or get creative with recycled materials, the key is providing thin supports and regular maintenance.
Frequently Asked Questions
Where can I Purchase a Quality Trellis for Clematis?
Garden centers, hardware stores, and online retailers sell good trellises. Look for thin supports and sturdy construction – quality matters more than price.
Does the Material of the Trellis Affect Clematis Growth?
Yes – clematis grows best on thin supports made of wire, metal, or wood. Avoid thick or smooth surfaces that stems can’t grip well.

