Transform Your Farmhouse Kitchen with DIY Concrete Countertops: A Complete Guide
Are you dreaming of giving your farmhouse kitchen a modern, rustic twist? DIY concrete countertops could be the perfect solution. Not only are concrete countertops affordable, but they also allow for endless customization, from color to finish.
In this blog, we’ll walk you through every process step—from comparing concrete to other materials to a detailed, step-by-step guide for building and installing your countertops.
Whether you’re a seasoned DIYer or a beginner, this guide will help you transform your kitchen into the cozy, farmhouse-inspired space you’ve always wanted.
In this blog, we’ll cover:
- Comparing concrete with granite, quartz, and laminate
- A cost analysis of DIY vs. professional installation
- How to care for and maintain concrete countertops
- A detailed step-by-step guide for DIY concrete countertops
- Customization tips to make your countertops truly unique
Why Choose Concrete Countertops for Your Farmhouse Kitchen?
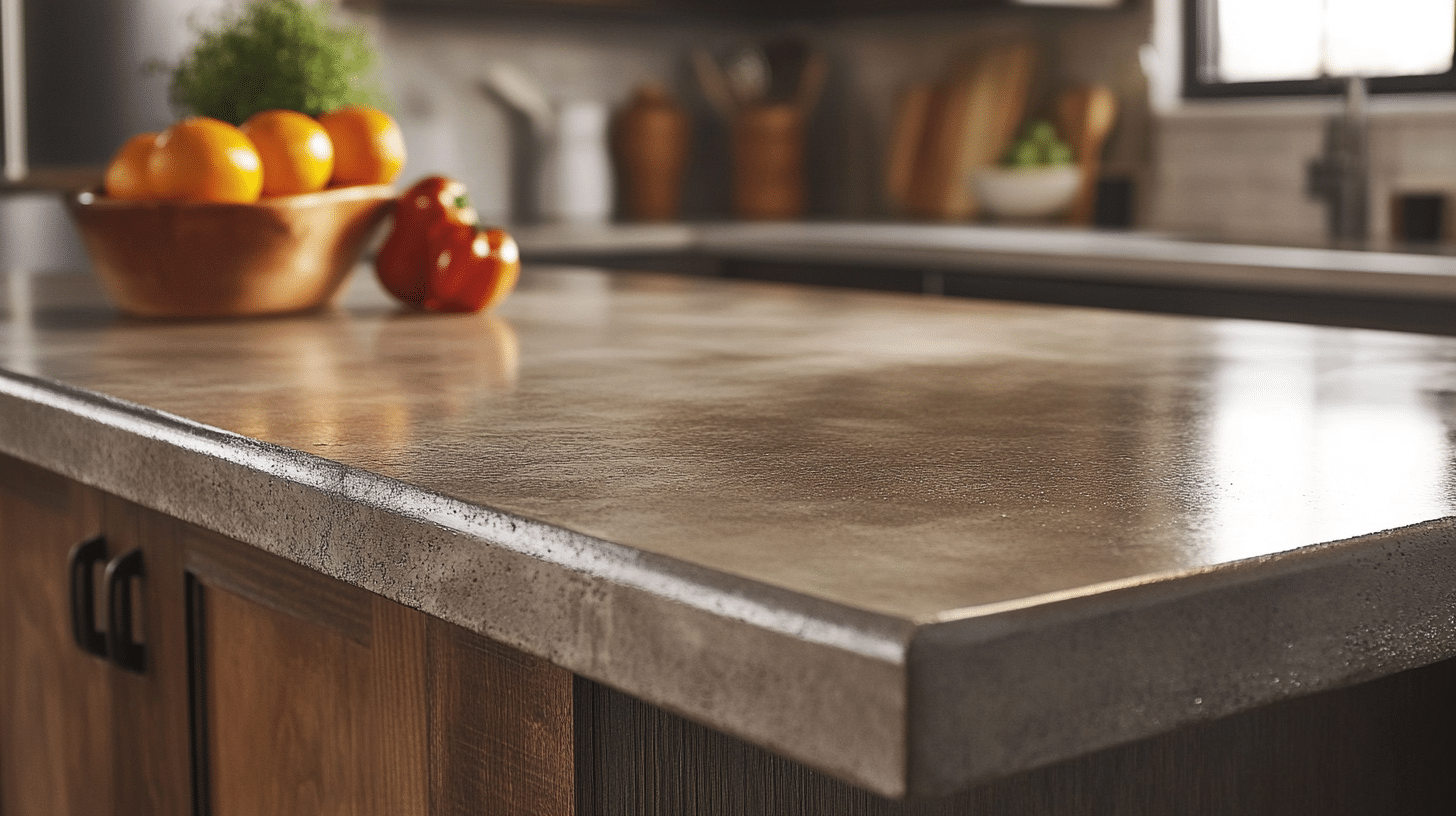
Have you noticed how farmhouse concrete countertops bring a special charm to kitchens? These surfaces blend strength with style, making them perfect for busy home cooks.
Many homeowners choose concrete counters because they complement farmhouse designs. Their clean lines and natural look complement wooden cabinets and vintage fixtures. You can shape and color them to match your exact needs.
Concrete vs. Other Countertop Materials: How Does It Stack Up?
Let’s look at how farmhouse concrete countertops compare to other options:
| Material | Durability | Appearance | Functionality | Cost |
|---|---|---|---|---|
| Concrete | Highly durable but can crack if not properly reinforced; requires regular sealing to prevent stains. | Customizable with a natural, industrial look, color can be added for different finishes. | Heat-resistant and scratch-resistant; needs sealing to prevent water damage and stains; heavy, requires strong support. | Moderate (DIY friendly, around $70–$130 per sq. ft. for professional installation) |
| Granite | Extremely durable; resistant to heat, scratches, and chips; does not require frequent sealing. | Natural stone with unique patterns and a luxurious, high-end appearance. | It is heat-resistant and low-maintenance, does not stain easily if sealed properly, and is heavier than some materials, requiring sturdy cabinets. | Expensive (around $50–$200 per sq. ft.) |
| Quartz | Engineered stone that is highly durable and more resistant to chips and cracks than concrete. | It offers a more uniform, polished look in various colors and patterns. | It is non-porous and stain-resistant, so there is no need for sealing. Although it is not as heat-resistant as granite, it is still durable against everyday wear. | Expensive (around $60–$150 per sq. ft.) |
| Laminate | Least durable; susceptible to heat and scratches but resistant to water damage. | Available in various colors and patterns, it mimics the look of stone or wood but is not as realistic. | Budget-friendly and easy to install; not heat-resistant or scratch-resistant; prone to damage over time, but lightweight and affordable to replace. | Affordable (around $20–$60 per sq. ft.) |
Pros and Cons of Concrete Countertops
Good points about concrete:
- You can make them exactly how you want
- They stand up well to daily use
- The cost stays lower than stone options
- They add real value to your kitchen
- You can fix small issues yourself
Points to think about:
- You’ll need to seal them yearly
- They weigh quite a bit
- Spills might leave marks if not cleaned fast
- The curing process takes time
- Small cracks might show up over time
DIY Concrete Countertops: Step-by-Step Guide
Making farmhouse concrete countertops takes time and care. Let’s walk through each step to help you create your perfect kitchen surface.
Tools and Material Needed
| Tools | Materials |
|---|---|
| Measuring tape | Melamine sheets |
| Circular saw | Concrete countertop mix |
| Jig saw | Rebar or wire mesh |
| Miter saw | Glass fibers (optional) |
| Table saw (optional) | Foam for sink knockout |
| Screwdriver | Painters tape |
| Power drill | 100% silicone sealant |
| Rubber mallet | Acrylic fortifier |
| Trowel | Portland cement for slurry |
| Sandpaper | Food-safe concrete sealer |
| Electric concrete mixer | Color additives (optional) |
| Wet polisher (optional) | Screws (1 5/8 inches) |
| Orbital sander (optional) | Superglue or hot glue gun |
| Bolt cutters or angle grinders | Drywall screws |
| Bucket | Faucet/sink knockout pipe |
Step 1 – Preparing Your Space
Clear your work area and remove old countertops. Make paper patterns for your kitchen layout. This will help you plan each section perfectly.
Step 2 – Measure and Plan
Get exact measurements for each counterpiece. Write down:
- Length and width of each section.
- Thickness (usually 1.5 to 2 inches).
- Sink and stove openings.
- Front edge style.
Step 3 – Building the Molds
Create forms using melamine boards:
- Cut a base piece to size plus 2 inches.
- Make side pieces 2 inches tall.
- Build sink opening with foam blocks.
- Check corners with a square tool.
Step 4 – Reinforcing the Concrete
Add support materials:
- Place wire mesh 1/2 inch from bottom.
- Double the mesh near sink areas.
- Use plastic supports to hold the mesh up.
Step 5 – Sealing the Mold
Make your mold water-tight:
- Run clear caulk in all corners.
- Smooth with your finger.
- Let dry for 4 hours.
- Check for gaps.
Step 6 – Mixing and Pouring Concrete
Mix your concrete carefully:
- Use the right water amount.
- Add color if you want.
- Pour half the depth.
- Place mesh.
- Fill to the top.
Step 7 – Vibrating and Smoothing
Remove air pockets:
- Tap sides with a rubber mallet.
- Use a palm sander on the bottom.
- Level top with a straight board
- Smooth with a steel float.
Step 8 – Letting Concrete Cure
Keep your work wet:
- Cover with plastic wrap.
- Wait 48 hours minimum.
- Mist with water twice daily.
- Keep room temperature steady.
Step 9 – Removing the Mold
Take apart the form:
- Unscrew all sides.
- Lift off carefully.
- Sand rough spots.
- Check edges.
Step 10 – Flipping and Polishing
Make the surface smooth:
- Start with 200 grit.
- Move to finer grits.
- Keep the surface wet.
- Work in small areas.
Step 11 – Filling Voids
Fix small holes:
- Mix fine concrete slurry.
- Fill any gaps.
- Let dry completely.
- Sand smooth.
Step 12 – Sealing
Protect your work:
- Clean the surface fully.
- Apply food-safe sealer.
- Use thin, even coats.
- Let each coat dry.
Step 13 – Installing
Put counters in place:
- Apply silicone dots.
- Level each piece.
- Check all seams.
- Secure edges.
Step 14 – Final Touches
Complete the look:
- Add clear wax coating.
- Buff to shine.
- Check all edges.
- Clean thorough.
Check out this YouTube video on DIY Concrete Countertops for a more detailed tutorial!
What Does It Cost? A Breakdown of Concrete Countertops
Making farmhouse concrete countertops can save you money compared to store-bought options. Let’s break down the numbers to help you plan your budget.
Basic materials for DIY concrete countertops typically run between $8 and $15 per square foot. This includes:
- Concrete mix ($3-5 per square foot)
- Forms and materials ($2-3 per square foot)
- Sealer and finish ($3-7 per square foot)
DIY vs. Professional Installation: Cost Comparison
When you make farmhouse concrete countertops yourself, expect to spend $200-500 for a typical kitchen. Tools add another $100-200 if you need them.
Professional installation costs more:
- Professional work: $65-135 per square foot
- Average kitchen (30 square feet): $1,950-4,050
- Extra features like built-in drainboards: $200-500 each
Customizing Your Concrete Countertops
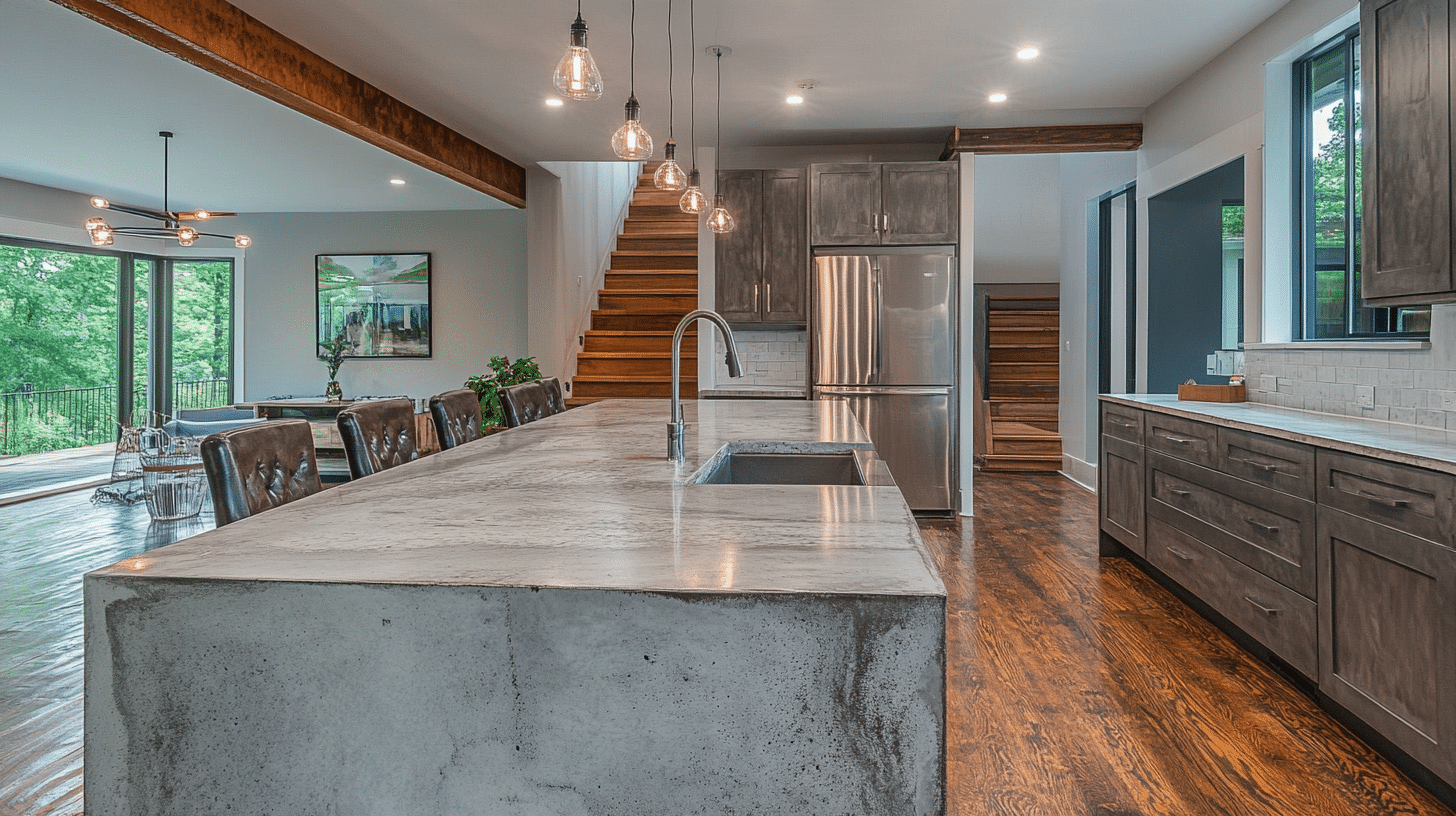
Your farmhouse concrete countertops can show your style. Small changes make them create one-of-a-kind looks that fit your kitchen perfectly.
1. Color Options for Your Counters
- White cement for light shades.
- Iron oxide tints for earth tones.
- Cement dyes for soft colors.
- Mixed tones for natural looks.
2. Ways to Add Items
- Sea glass pieces.
- Small stones.
- Copper bits.
- Shell fragments.
3. Tips for Better Results
- Test colors on small samples first.
- Mix add-ins with similar sizes.
- Keep items 1/4 inch below the surface.
- Place items face down.
- Space items evenly.
4. Pattern Ideas You Might Like
- Swirled effects.
- Speckled looks.
- Marbled finishes.
- Simple bands.
5. Common Mistakes to Skip
- Too many colors at once.
- Large embedded items.
- Rough surface textures.
- Uneven patterns.
- Poor item placement.
How to Maintain and Care for Your Concrete Countertops
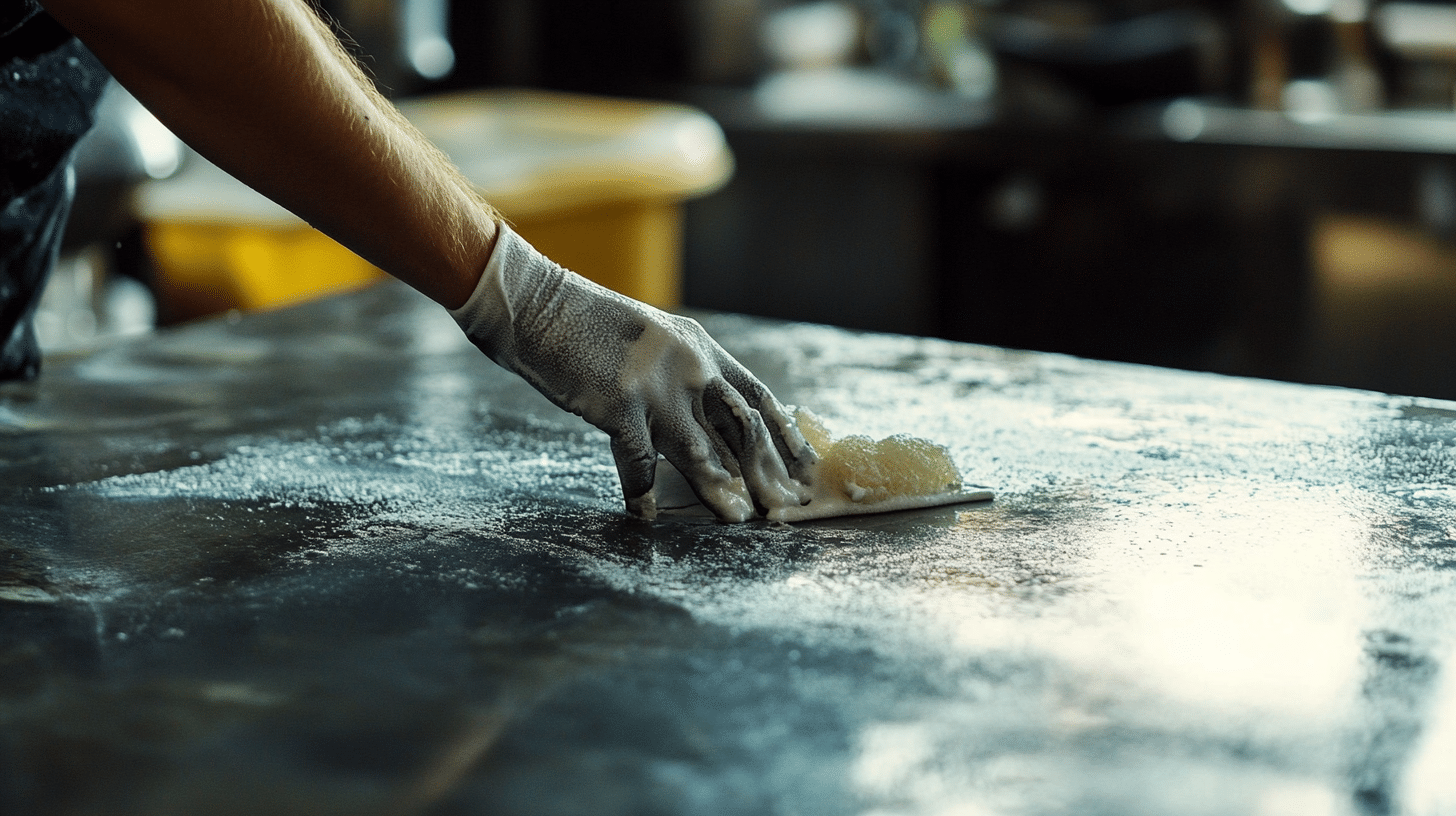
With the right care, your farmhouse concrete countertops will stay beautiful. Simple daily habits greatly affect how your counters look and last.
Let me share what I’ve learned about keeping these surfaces in top shape.
Cleaning and Maintaining Concrete
Daily cleaning keeps your farmhouse concrete countertops looking fresh:
- Use mild soap and warm water for daily wipes.
- Clean spills right away with a soft cloth.
- Avoid strong cleaners or vinegar.
- Skip abrasive sponges that might scratch.
Products that work well:
- pH-neutral dish soap.
- Plain water.
- Gentle stone cleaners.
- Microfiber cloths.
What to avoid:
- Bleach-based products.
- Citrus cleaners.
- Steel wool.
- Sharp tools on the surface.
Sealing and Protecting Your Concrete Countertop
Your farmhouse concrete countertops need regular sealing to stay strong:
Sealing schedule:
- First year: Every 3-4 months.
- After the first year: Every 6-12 months.
- High-use areas: Check every three months.
Signs you need to reseal:
- Water stops beading up.
- The surface feels rough.
- Colors look dull.
- Spots appear darker when wet.
Quick protection tips:
- Use cutting boards.
- Put hot items on trivets.
- Place coasters under wet glasses.
- Wipe up oil and wine quickly.
Conclusion
Creating farmhouse concrete countertops brings a personal touch to your kitchen. Mixing raw materials and careful crafting results in surfaces that tell your story.
These counters do more than just hold your morning coffee – they become part of your home’s character. Each small mark and subtle shade shows the care you put into making them.
With proper care and attention, your concrete counters will serve you well. There might seem to be many steps, but the result makes the work worthwhile. Your counters will last through years of family meals, holiday baking, and daily coffee spills.
Remember, every kitchen tells a story. Your handmade concrete counters add a chapter that’s uniquely yours – one that combines skill, creativity, and heart.

