
Transform Your Bifold Closet Doors: A DIY Guide
Looking to freshen up your space without spending too much? A DIY bifold closet door makeover is a great way to do just that.
In this article, I’ll guide you through the simple steps to transform your old doors into something fresh and functional.
Here’s what you’ll find:
- Easy, step-by-step instructions for the makeover
- Affordable materials and tools to use
- Tips on personalizing your doors to fit your style
- Ways to avoid common mistakes
If you’ve been unsure how to update your closet doors, this guide will solve that problem. I’m here to help you get it right the first time.
By the end, your closet will look brand new and won’t cost a fortune. Let’s get started!
Why Choose a Bifold Closet Door Makeover?

A bifold closet door makeover is a simple way to update a room. It doesn’t take much time, effort, or money, but the results are noticeable.
Here’s why I think it’s a great option:
- Affordable- No need to replace the doors. A little paint, new hardware, or trim can make a big difference.
- Quick- This project doesn’t take all weekend. You can finish it in just a few hours.
- Customizable- It’s easy to match the doors to your room’s style. Add trim, paint, or even wallpaper for a fresh look.
- Practical- Bifold doors are great for small spaces. They fold in half, so they don’t take up much room.
A makeover for your bifold closet doors is a fast and easy way to refresh your space. It’s a smart, low-cost project with great results.
What You Need for a Successful Bifold Closet Door Makeover?
Before you start, it’s important to gather the right materials and tools. Don’t worry; you don’t need anything too complicated. Just the basics will do!
Here’s a list of what you’ll need:
- Screwdriver (to remove old hardware)
- Sandpaper (for prepping the door surface)
- Paint or stain (choose a color you like)
- Paintbrushes or a roller (for smooth application)
- Primer (if you’re painting the door)
- New hardware (handles, knobs, or hinges)
- Measuring tape (for any adjustments)
You might already have some of these things at home. If so, that’s great!
Having everything ready will help the project go smoothly. Starting with the right tools makes a difference!
Step-By-Step Guide
Transform your cluttered closet into an organized oasis with these simple folding techniques. These space-saving methods will help maximize your storage while keeping your clothes wrinkle-free and easily accessible.
Follow the below steps to DIY your closet:
Step 1- Preparing the Bifold Doors for Makeover
Before you start, you need to prepare your bifold doors. This step is crucial for a smooth finish. Here’s what to do:
- Remove the doors – Take them off their tracks and set them aside carefully.
- Clean the doors – Wipe them down with a damp cloth to remove dirt and dust.
- Sand the surface – Use a medium-grit sandpaper to lightly sand the doors. This helps the paint or stain stick better. Don’t over-sand; just a light buff will do.
- Remove old hardware – Remove the handles, hinges, and other hardware. This will give you a clean surface to work with.
Once you’ve done these steps, your doors will be ready for the makeover.
Taking your time here is important, as the prep work sets the foundation for the rest of the project.
Step 2: Painting or Staining the Doors

Now, it’s time to make those doors look new. Whether you paint or stain, this step will change how they look.
First, decide what finish you want. Paint gives a smooth, solid look, while stain shows off the wood’s natural texture.
Here’s what you’ll need:
- Paint or stain
- Brushes or rollers
- Painter’s tape
- Drop cloth to protect the floor
Start by prepping the doors. Sand them lightly to remove old paint or finish. Wipe away any dust before you start painting or staining.
For paint: Apply a thin coat with smooth strokes. This prevents drips and ensures even coverage. Let it dry completely. Then, add a second coat for better color and durability.
For stain: Apply with a cloth toward the wood grain. Wipe off excess immediately to prevent blotches.
Let it dry thoroughly. Add another coat if you want a darker finish; remember, each coat deepens the color significantly.
Take your time. A clean, smooth finish makes all the difference. You’ve got this!
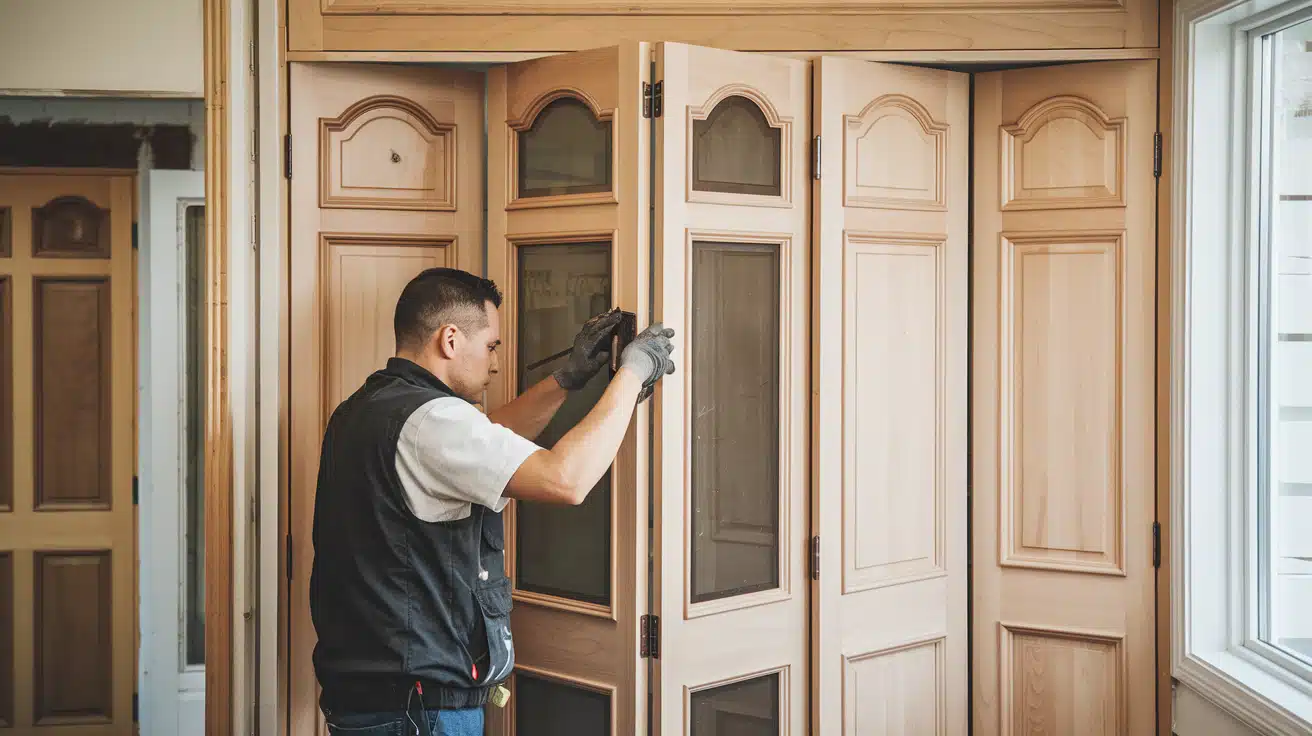
Step 3: Installing New Hardware
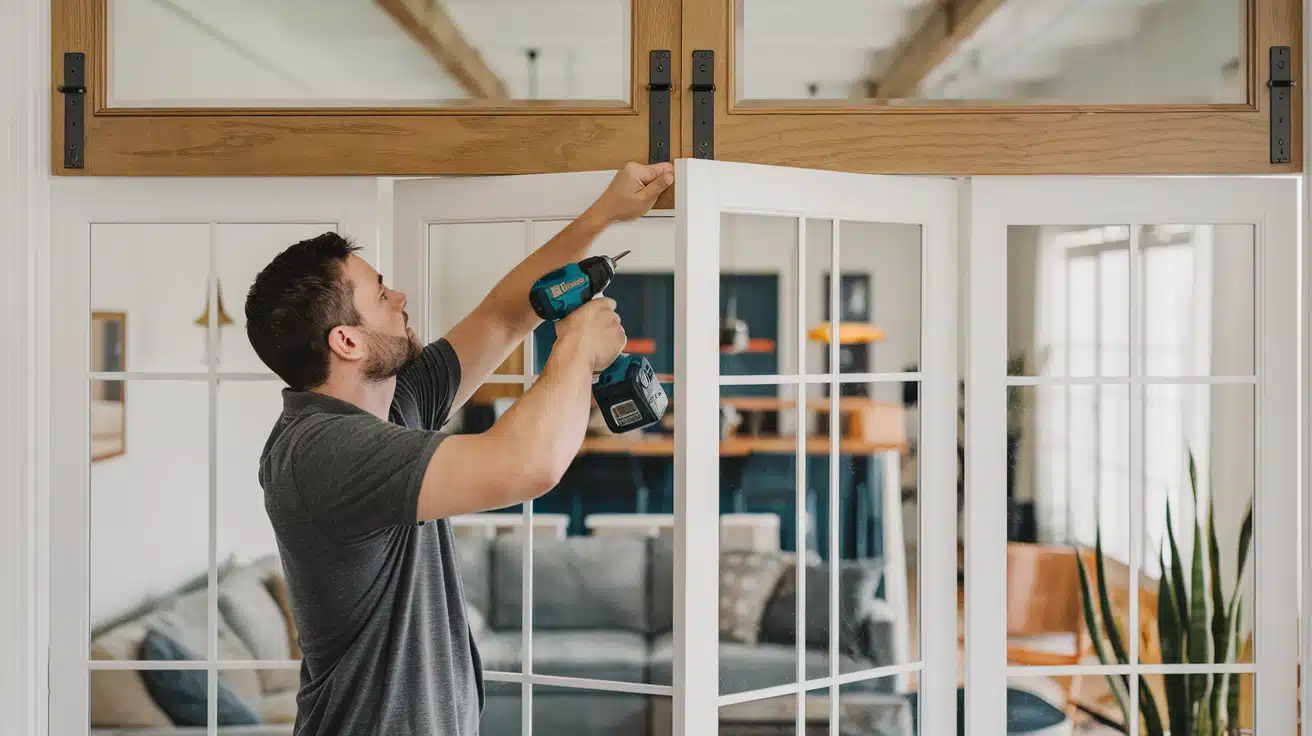
Now, let’s move on to installing the new hardware. This is where your doors start to look different.
First, you need to pick the right hardware. Choose handles, knobs, or hinges that match your style. The right choice can make your doors both functional and stylish.
Here’s how to do it:
- Remove the old hardware – Take off the old knobs or handles. Unscrew any hinges you’re replacing.
- Mark the spots for new hardware – Use a pencil to mark where the latest hardware should go. Make sure everything lines up correctly.
- Install the hinges – Attach the hinges to the door and frame. Tighten them, but don’t overdo it.
- Attach the handles or knobs – Put the new handles on the doors. Please make sure they’re secure.
It’s that simple. With the right hardware, your closet doors will work better and look great.
Step 4: Adding Unique Personal Touches

Now that your bifold doors look great, it’s time to make them yours.
Adding personal touches can completely change the look and feel of your doors. This step is all about creativity!
Here are some ideas to customize your doors:
- Add trim or molding- A simple trim around the edges can give your doors a polished look.
- Apply a fun pattern- Use stencils or tape to paint stripes, geometric shapes, or a design that matches your room.
- Mirror the door- Adding mirrors to one or both doors can make the space feel larger and brighter.
- Use wallpaper- If you want a bold look, wallpapering the panels can make them stand out.
Remember, the key is to make the doors match your style. Don’t be afraid to get creative!
Your DIY bifold door makeover is all about adding personality and charm to your space.
Step 5: Final Touches and Tips for Long-Term Maintenance

Now that your bifold doors look great, it’s time for the final touches. These small details make a big difference.
First, check the doors to make sure everything is aligned. Adjust the hinges if needed. Make sure the doors open and close smoothly.
Here are a few more things to consider:
- Recheck the hardware- Tighten any loose screws or handles.
- Apply a protective coat- If you painted the doors, adding a clear coat will keep them looking fresh.
- Clean regularly- Dust and dirt can build up, so wipe the doors down often.
Lastly, don’t forget to maintain the hinges. Over time, they can get loose or squeaky. Regularly oil them to keep everything running smoothly.
With these simple steps, your bifold closet doors will stay in shape for years.
Customizing Your Bifold Doors to Match Your Home Decor
Customizing your bifold doors is easier than you think. It’s all about making them fit the style of your room. I’m here to help you get it right.
Start by choosing a color or finish that matches your room’s vibe. You could go for a bold color or a simple, neutral tone.
If you want a bit of texture, try a wood stain or chalk paint for a matte finish.
Here are a few ways to make your bi-fold doors stand out:
- Add trim for a more detailed look.
- Use stencils to create patterns or designs.
- Attach mirrors for a stylish, functional upgrade.
- Install new hardware, like modern handles or knobs.
Remember, customizing is about making your doors fit your space.
Have fun with it! Your door makeover should feel personal to you.
How to Save Money on Your Bifold Closet Door Makeover?
Want to save some cash on your bifold closet door makeover? I’ve got you covered. It’s possible to give your doors a fresh look without overspending.
Here are a few simple ways to keep costs low:
- Use what you already have- Check your old doors for parts you can reuse, like hinges or handles.
- Shop smart- Look for discounts or coupons when buying paint or tools.
- DIY materials- Instead of expensive finishes, use basic wood or affordable paint.
- Upcycle- If your doors are in decent shape, you don’t need to replace them. Just give them a coat of paint or new hardware.
By getting creative and sticking to the basics, you can achieve a great look without exceeding your budget. Let’s make it happen!
Common Mistakes to Avoid in a DIY Bifold Door Makeover
When doing a DIY bifold door makeover, it’s easy to make mistakes. Trust me, I’ve been there. Let me help you avoid some common ones.
- Skipping prep work- Never skip cleaning or sanding your doors before painting. It might seem like an extra step, but it makes a huge difference.
- Choosing the wrong paint- Don’t use paint that will chip or peel easily. Go for a durable, long-lasting option.
- Not measuring properly- Measure twice, cut once! Make sure your doors fit perfectly before starting any work.
- Over-tightening hardware- Be careful when tightening screws and hinges. Over-tightening can cause the doors to warp or not open smoothly.
By avoiding these simple mistakes, your project will go much smoother.
Stick to the basics, and you’ll have beautiful, updated bifold doors soon!
Conclusion
A DIY bifold closet door makeover is a simple and effective way to refresh your space without a huge cost.
By following the steps in this guide, you can give your closet a brand-new look that fits your style.
Whether painting, updating hardware, or adding unique touches, it’s all about making your doors work for you.
Avoid common mistakes like skipping prep work or choosing the wrong paint. Measure carefully, take your time, and enjoy the process.
With a little effort, you can have beautiful, functional doors that charm any room.
Start your DIY makeover today and enjoy the transformation!
Frequently Asked Questions
How Long Does It Take to Do a Bifold Closet Door Makeover?
The time it takes depends on the size of the project, but most makeovers can be completed on the weekend. Allow extra time for the paint to dry.
Can I Use Any Paint for The Makeover?
Depending on your door type, you should choose a paint designed for wood or metal. This ensures a smooth and durable finish.
Do I Need to Remove the Doors for The Makeover?
It’s easier to work on the doors if you remove them, but you can paint them while still hanging if needed. Just make sure the area is protected.
Can I Add Decorative Elements to My Bifold Doors?
Yes! To personalize the doors, you can add trim, stencils, or even mirrors. Just make sure the design doesn’t affect the door’s function.
How Do I Maintain My Newly Updated Bifold Doors?
Clean them regularly and check for any loose hardware to keep them looking great. Tighten screws as needed to keep them functioning smoothly.


