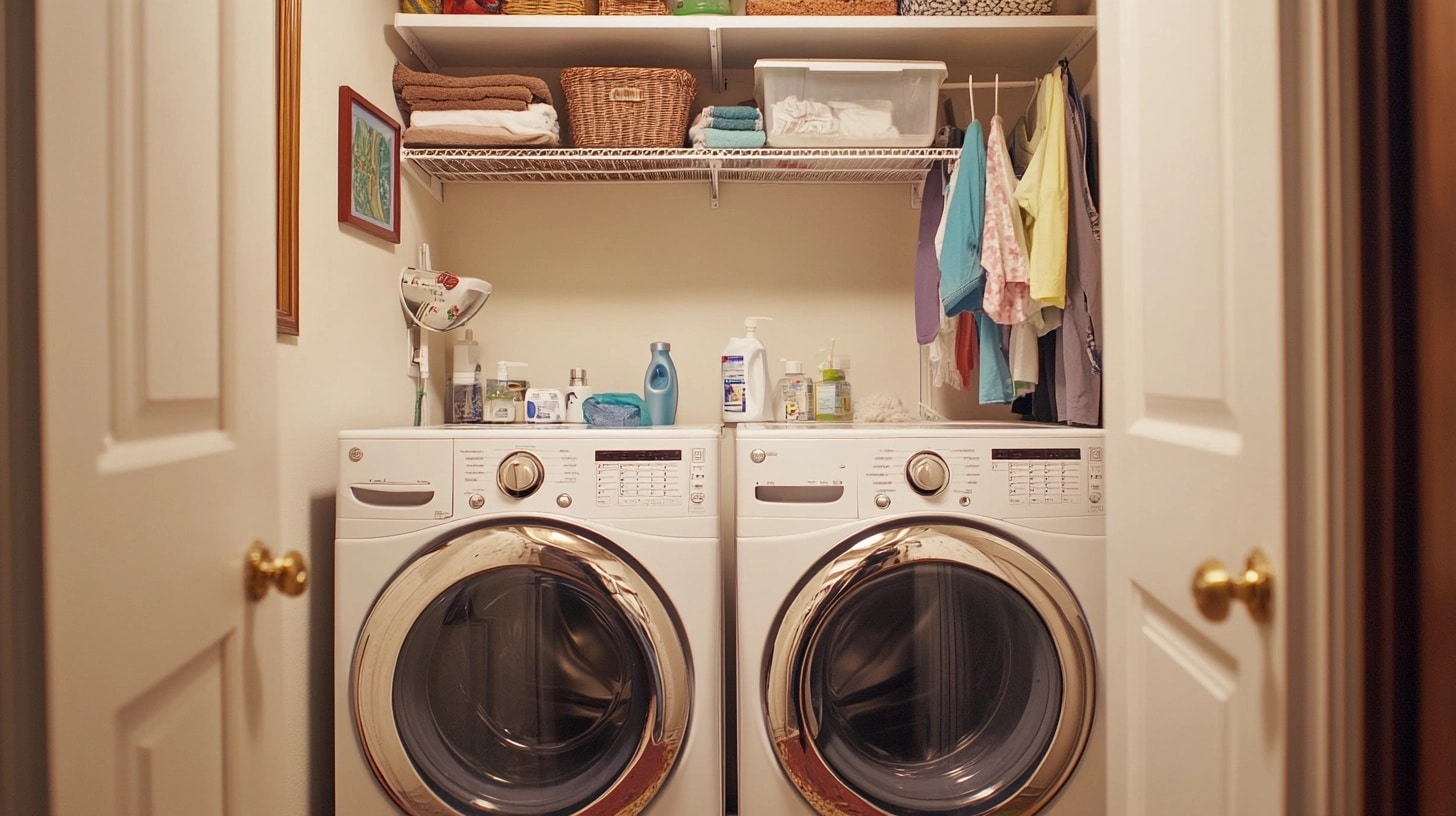
The Ultimate Guide to Transforming Your Laundry Closet
Is your laundry closet making you feel stuck? I get it – I’ve been there too.
After years of struggling with a tiny washing space, I learned how to turn my cramped corner into a neat, well-organized spot that actually makes doing laundry easier.
In this guide, I’ll share my tested tips to help you create a better laundry area, no matter your space or budget.
You’ll learn practical ways to plan your layout, pick smart storage solutions, and set up a system that works for you.
Get ready to say goodbye to chaos and hello to a laundry space that fits your needs perfectly.
DIY Laundry Room Makeover: Step-By-Step
Tools and Materials
| Tool/Material | Description |
|---|---|
| Plywood | Sheet for shelves and base construction |
| Wallpaper | Peel-and-stick, on sale |
| Brad Nailer | For securing trim |
| Construction Screws | Used to secure wood |
| Drill | To unscrew racks and install shelving |
| Spackle | For patching holes |
| Sandpaper | For smoothing spackle patches |
| Wood Glue | For trim installation |
| Miter Saw | To cut plywood to size |
| Stud Finder | For locating wall studs |
| Tape Measure | For measurements |
| Paint (Blue Dress) | Satin finish, chosen for walls |
| Paint Roller and Brush | For applying paint on walls and corners |
| Stain (for Shelves and Cabinet Trim) | To match existing cabinetry |
| Shelf Brackets and Screws | For supporting shelves |
| Handles (Modern Style) | Reused from previous projects |
| Lint Bin | Magnetic bin for dryer lint |
| Organization Containers | Plastic bins to store items |
| Level | For shelf alignment |
Step-by-Step Guide
Step 1 Clear and Prepare the Space
- Remove All Items: Remove everything from the laundry room or closet, including old shelves or racks.
- Patch and Sand: Use spackle to fill any holes left by previous fixtures, then sand smooth.
Step 2 Install Wallpaper
- Apply Peel-and-Stick Wallpaper: Start from the top and work your way down, smoothing out air bubbles with a squeegee.
- Trim Around Outlets: Carefully cut around outlets using a knife for a seamless finish.
Step 3 Construct and Install Shelving
- Measure and Cut Wood: Measure your closet dimensions and cut plywood for shelves.
- Secure Supports: Use a stud finder to locate studs, then install supports with screws, ensuring they’re level.
- Attach Shelves: Place shelves on supports and secure them.
Step 4 Stain and Finish Shelving
- Apply Stain: Using a cloth or brush, stain shelves and let them dry completely.
- Attach Trim: Secure trim along the edges of shelves to create a polished look.
Step 5 Paint the Walls
- Paint the Closet: Use a roller and angled brush to apply paint to the walls, touching up around edges and outlets.
- Allow to Dry: Ensure the paint is fully dry before moving on.
Step 6 Install Cabinet and Accessories
- Mount Cabinet: Use studs to secure the cabinet to the wall above the appliances.
- Attach New Handles: Update handles on the cabinet for a fresh look.
- Replace Outlets and Switches: Update old or yellowed switches to match the new design.
Step 7 Organize and Finalize
- Reattach Dryer Vent: Make sure the vent is securely fastened.
- Organize Items: Arrange laundry supplies in bins or containers on the shelves.
- Clean and Decorate: Wipe down appliances, add decorative touches, and enjoy your refreshed laundry space.
Smart Organization Tips for Your Laundry Space
1. Sort with Clear Containers
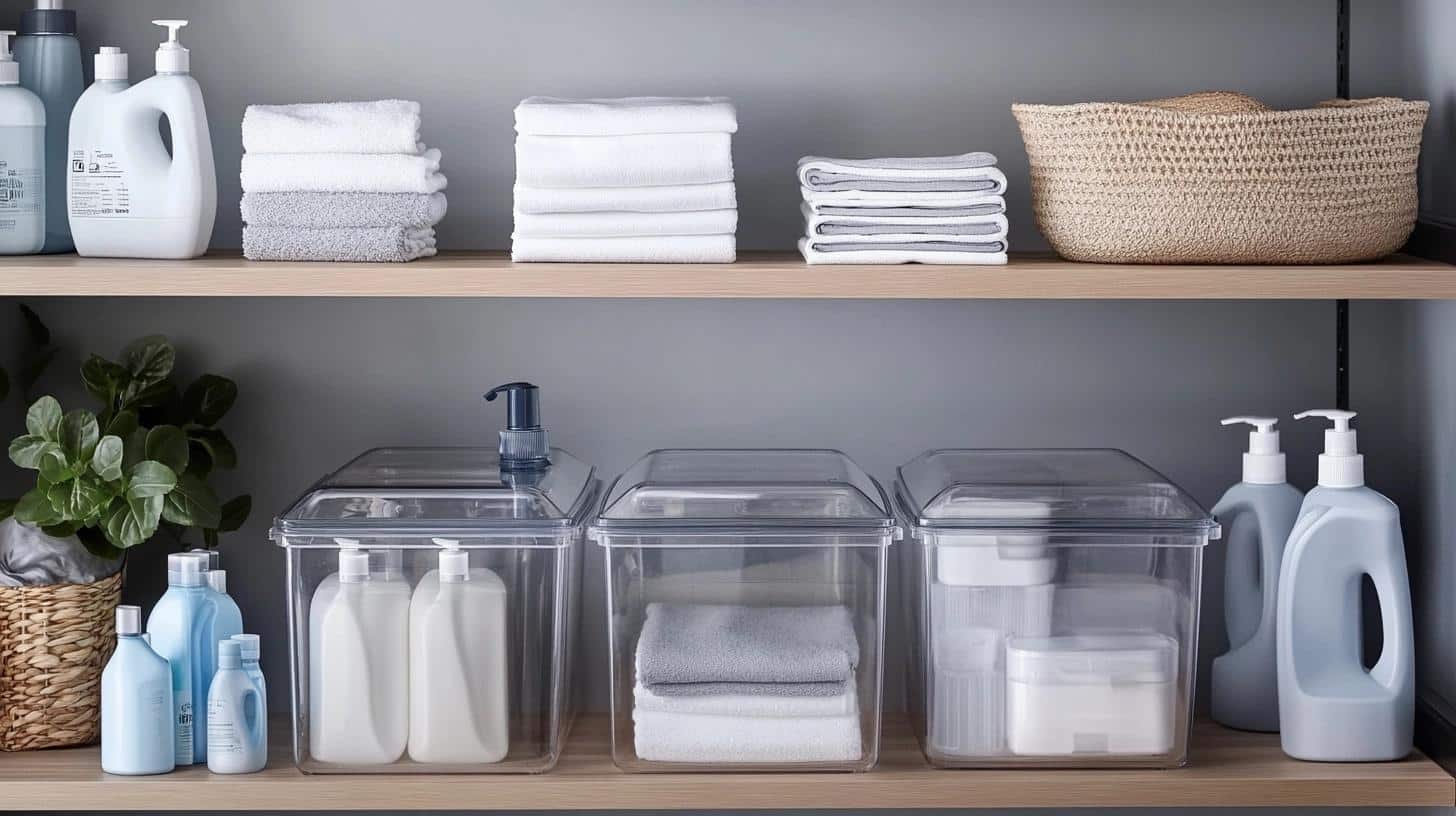
With see-through storage options, finding supplies is quick and simple. Put washing items in one container, drying needs in another, and spot cleaners in their own space.
Store backup supplies toward the back of the shelves. This system helps you spot when items run low and keeps everything in its place.
2. Use Every Wall Inch
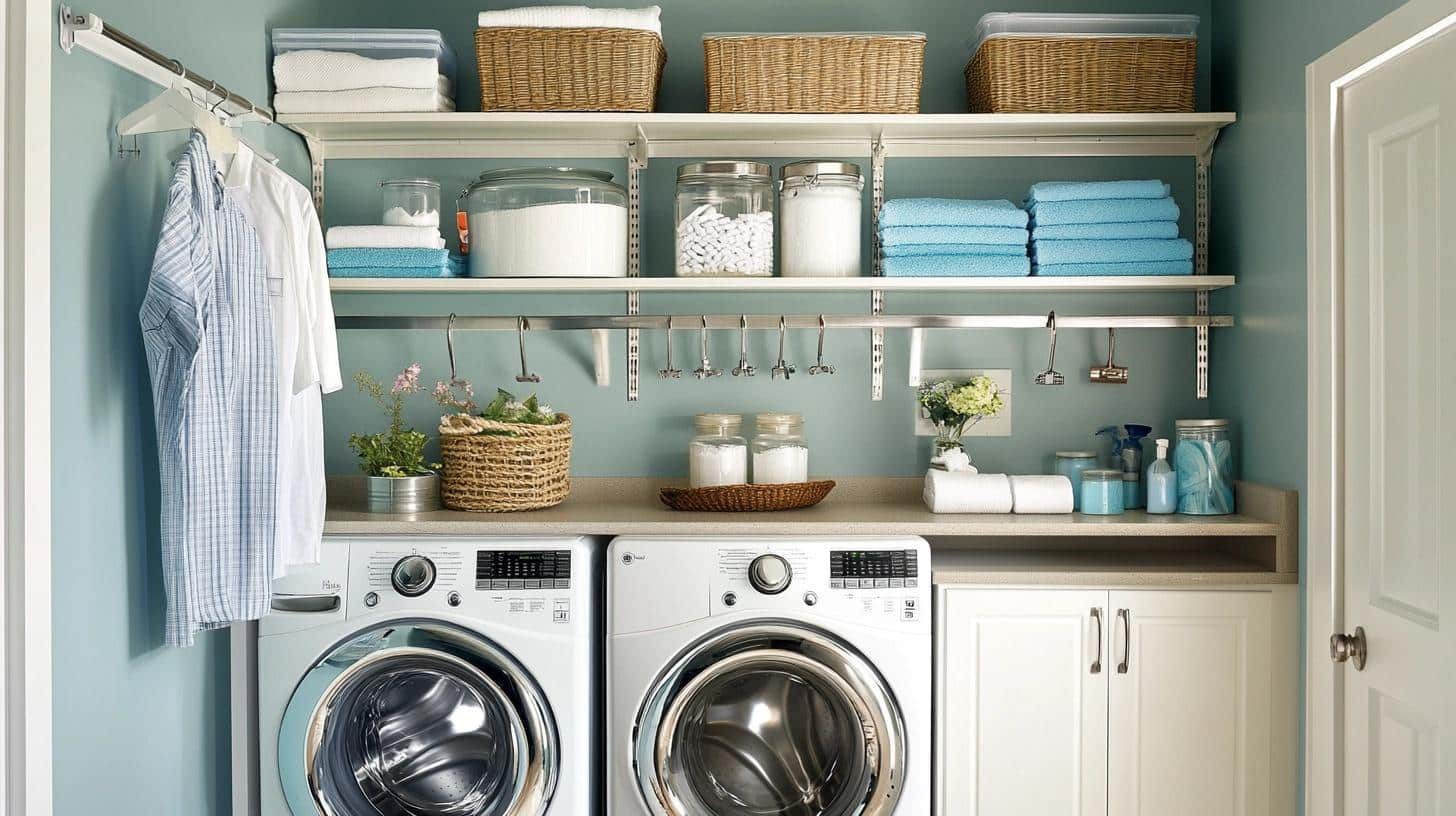
Turn your walls into helpful storage space by planning where things go. Keep items you use daily at waist height for easy reach.
Put backup supplies and seasonal items up high. Add hooks at eye level for quick grabs and lower small tools where everyone can find them.
3. Add Smart Hanging Spots
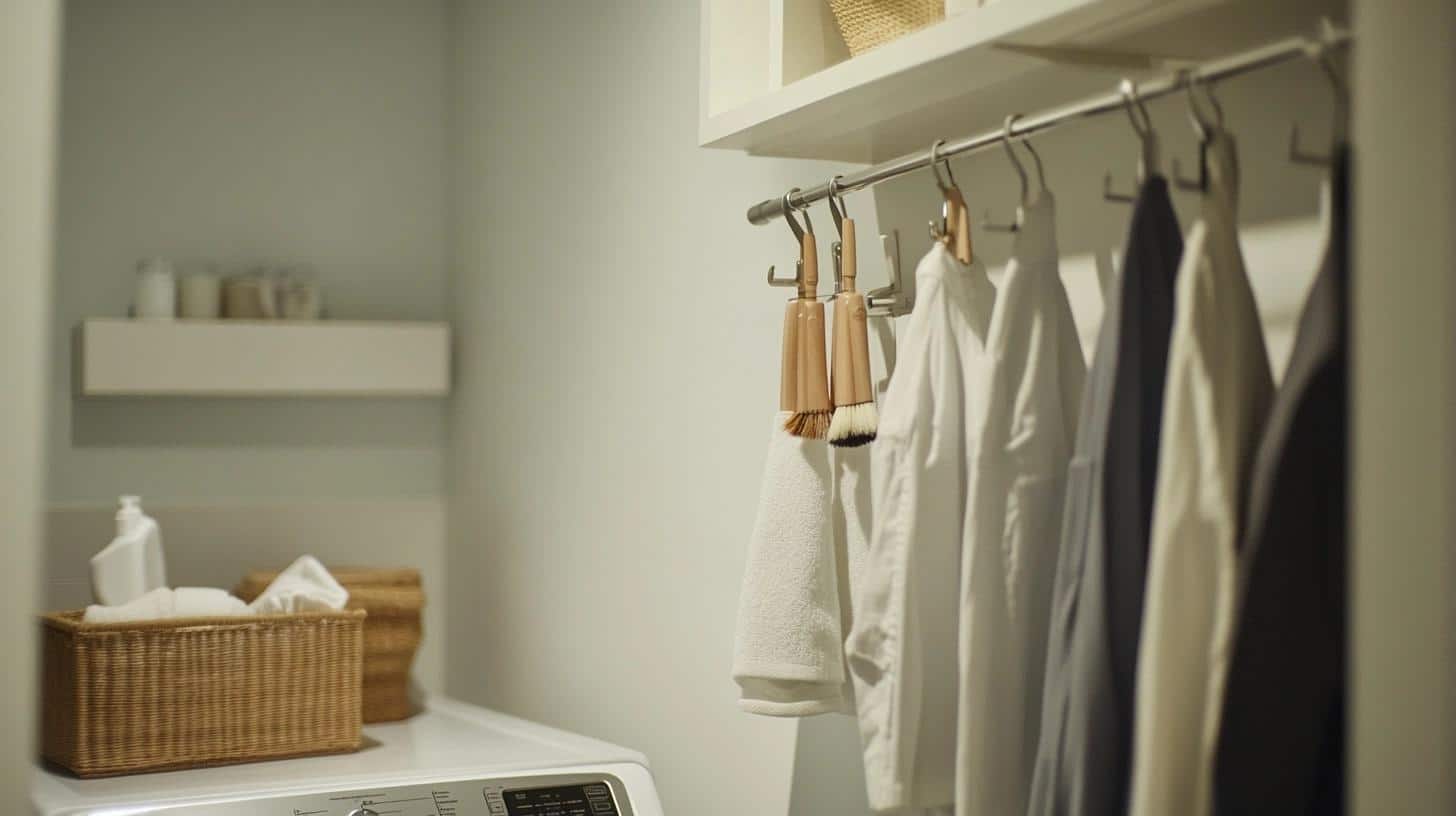
Set up specific places for wet and dry items to prevent clutter. Place hooks near the washer for brushes and cleaning tools.
Install strong hooks for bags and heavy items. Keep a spot open for special care clothes that need air drying.
4. Set Up a Lint Plan
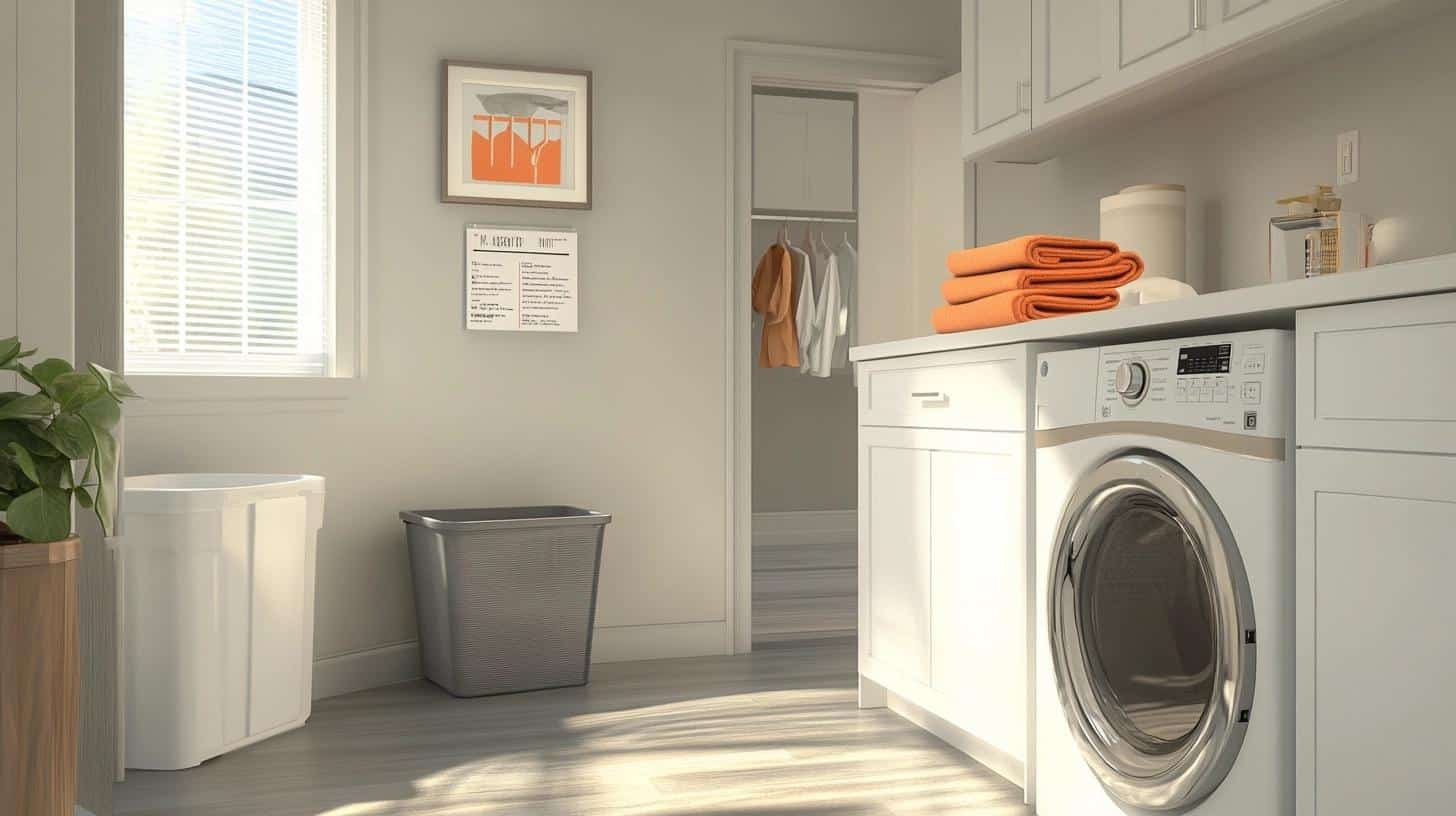
Keep your space clean with a simple lint control system. Place a small bin near the dryer for easy cleaning after loads.
Check the vent weekly to prevent buildup. Store extra filters where you can grab them quickly when needed.
5. Make Clear Signs
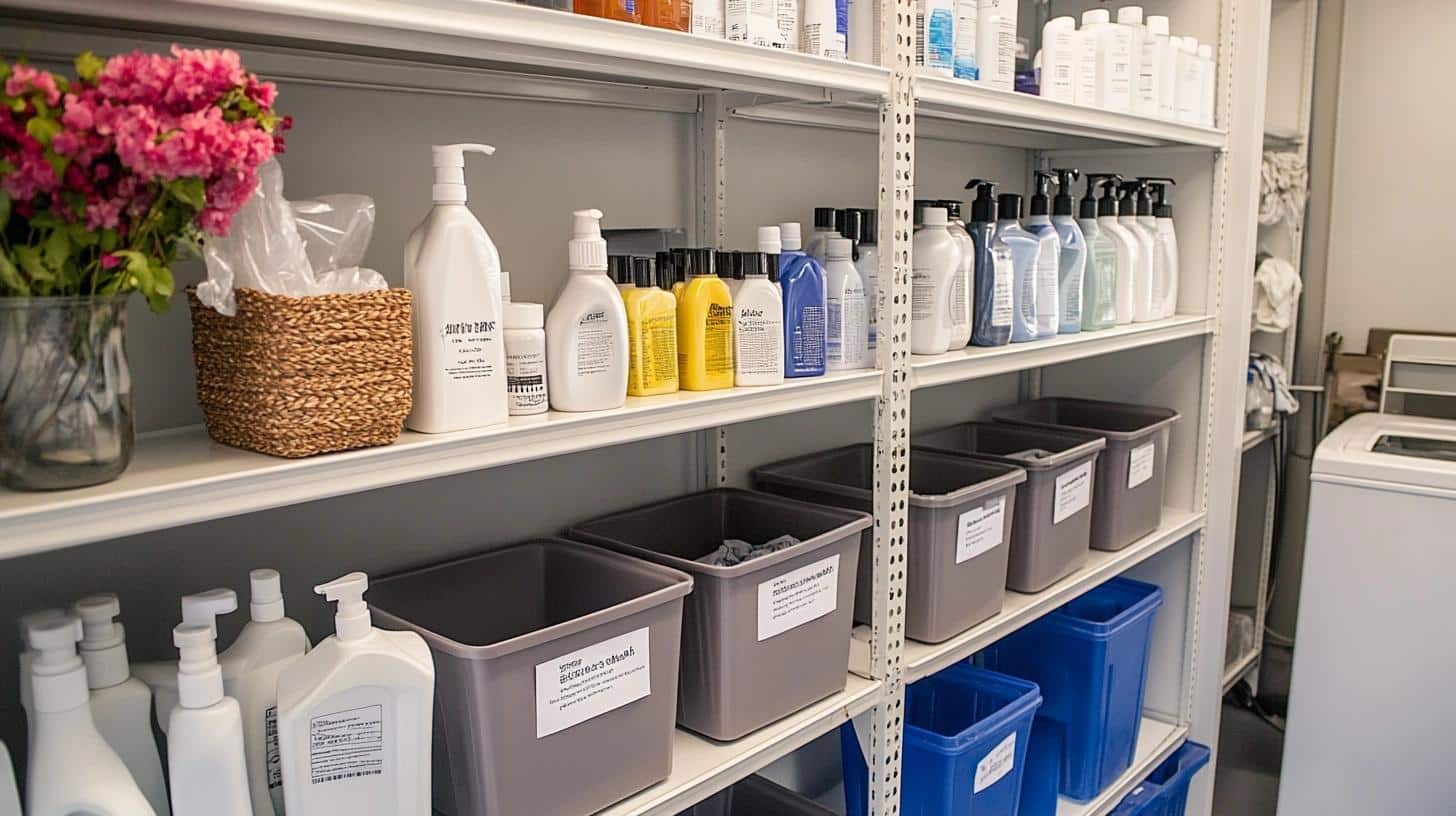
Help everyone follow the same system with simple signs. Mark what goes in each bin and how to use products correctly.
Put up basic wash guides to prevent mistakes. Keep a list of supplies, so you know what to buy.
6. Create a Work Space
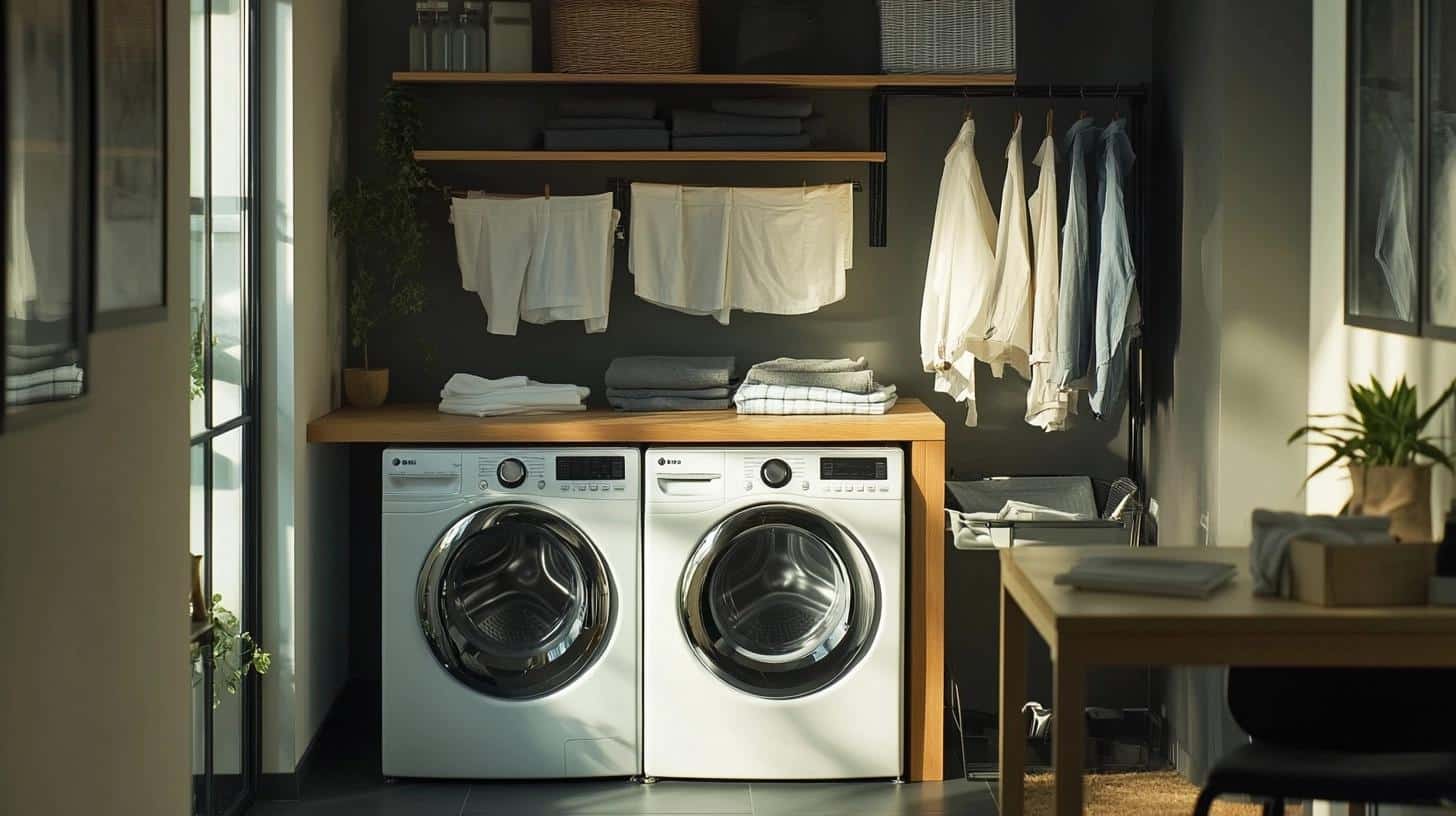
Create a spot where you can easily handle clean clothes. Use the flat tops of your machines, add a small table, or install a pull-down shelf.
Pick what works for your space size and needs. Having a dedicated spot to work also means you’re more likely to finish the job immediately instead of letting clothes pile up.
7. Use Tight Spaces
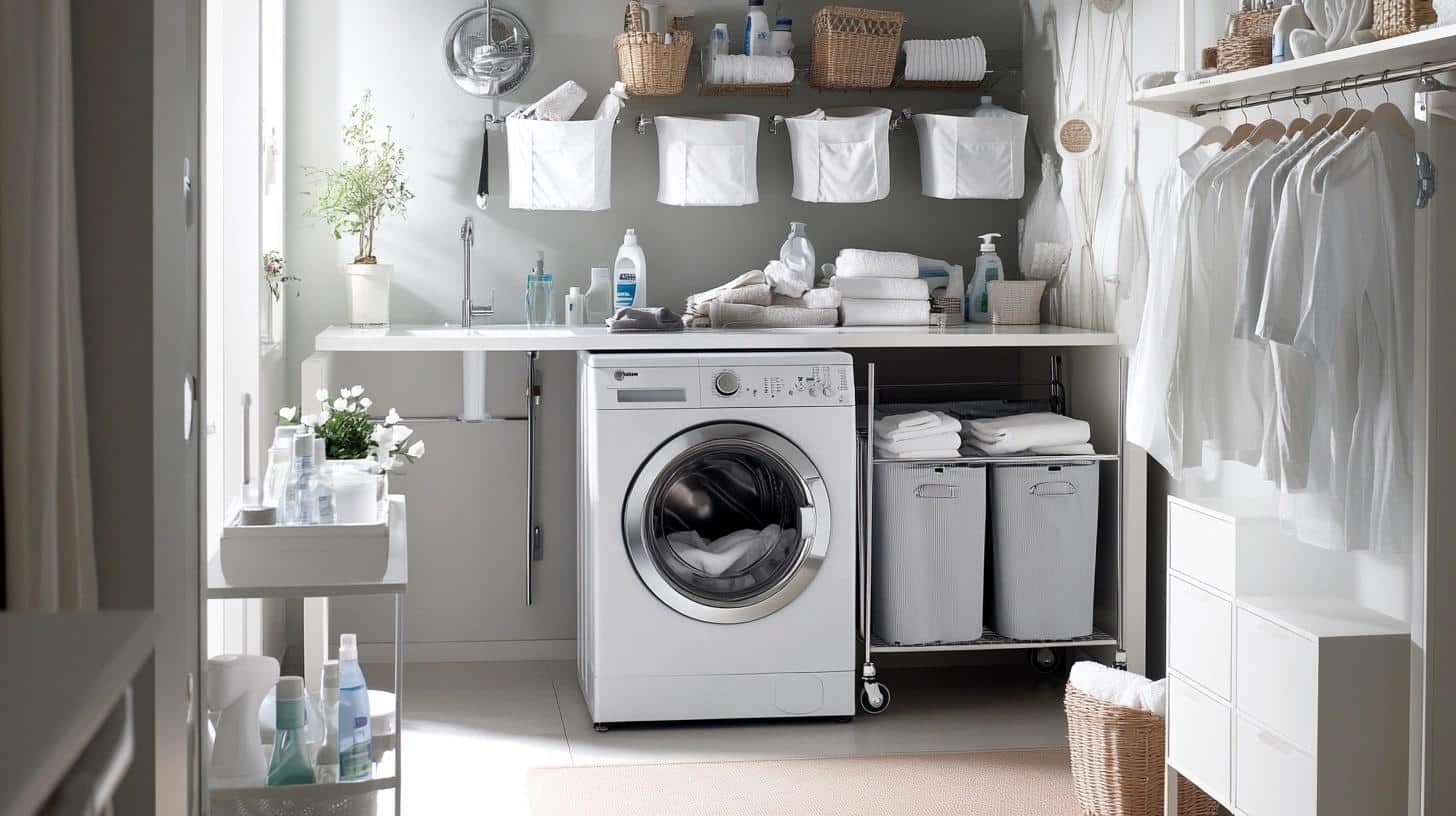
Make the most of small gaps in your laundry area. A thin rolling cart or shelf unit fits between machines. Use pocket organizers on walls or doors to hold small items.
Small spaces work better when you think up and down instead of side to side – even a few inches can hold important items when planned well.
8. Group Cleaning Tools
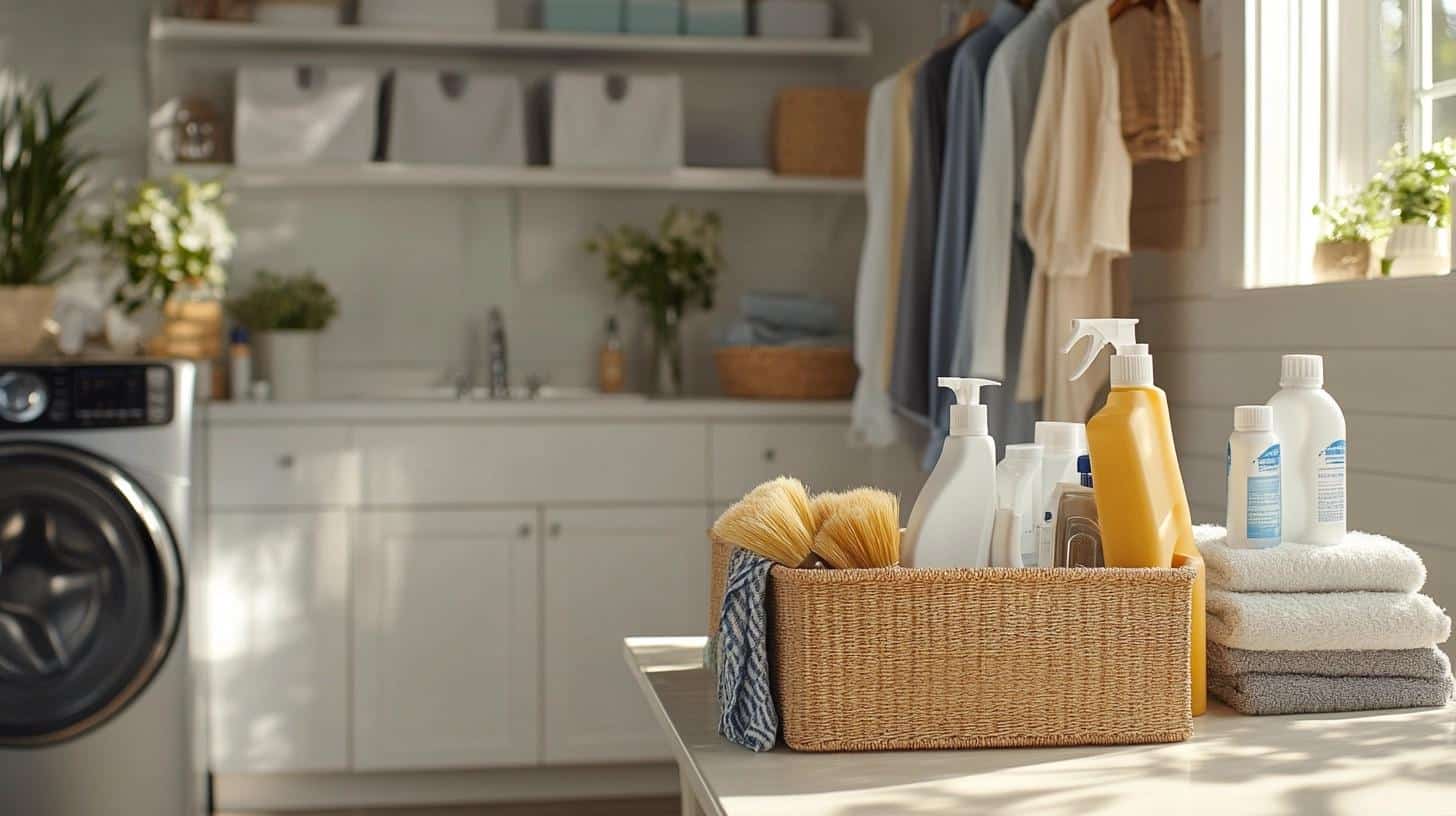
Keep all your cleaning supplies in one easy-to-grab spot. Store basic cleaners, clothes, and brushes together.
This makes it simple to grab what you need and keep the space clean. Having a single cleaning station also means you’ll notice right away when supplies run low, making it easier to track what you need.
Budget-Friendly Tips for a Laundry Room Makeover
- Give Old Storage New Life: Paint existing shelves or cabinets instead of buying new ones. Move unused storage from other rooms.
- Simple Wall Updates: Use peel-and-stick paper or paint samples for quick wall changes. One accent wall can change the whole look.
- Make Your Own Storage: Build basic shelves with plywood and brackets. Paint them to match your space.
- Smart Shopping: Get bins and organizers from dollar stores. Watch for sales on paint and supplies.
- Add Basic Hooks: Put hooks on walls and doors for hanging items. They’re cheap but add lots of storage space.
- Use What You Have: Clean out glass jars for supplies. Turn old containers into storage bins.
- Create Work Space: Make a simple folding board from plywood to place over machines. Keep it removable with strips.
- Dollar Store Finds: Buy clear bins, labels, and small organizers from discount stores.
- DIY Solutions: Turn a small trash can into a lint bin. Use leftover paint for touch-ups.
- Mix and Match: Combine old and new items. Paint makes everything match without big costs.
Essential Safety Tips for Your Laundry Space
- Check your dryer vent once every three months. Pull it away from the wall and clean out any lint buildup – this step cuts fire risks and helps your dryer work better.
- Look at power outlets and make sure they’re GFCI-protected. These special outlets stop electrical problems when they sense water nearby.
- Keep 4-6 inches of space behind your washer to prevent hose kinks. Bent hoses can burst and cause water damage.
- Test your washing machine hoses every six months for cracks or leaks. Replace rubber hoses with steel-braided ones – they last longer and resist breaks.
- Set up a drip pan under your washer. This simple tray catches leaks before they damage your floor.
- Keep all cleaning products in their original containers with clear labels. Store them below waist level to prevent spills from reaching your face.
- Put a moisture sensor near the floor. This small device sounds an alarm if it detects water, allowing you to catch leaks quickly.
- Keep a fire extinguisher within reach. Mount it on the wall where you can grab it quickly.
- Check that your machines are level. Uneven washers shake too much and wear out faster.
- Get proper airflow by keeping vents clear. Good air movement stops mold and helps clothes dry better.
Note: Always read your machine manuals for specific care steps. When in doubt, call a professional.
Conclusion
Let me sum up what we’ve learned about making your laundry closet work better.
Good planning makes all the difference – start with safety basics like proper venting and electrical setup.
Add smart storage that fits your space and budget. Remember, small changes like clear bins and good lighting can make a big impact.
I’ve shared my tested tips, from budget-friendly updates to safety must-haves. Now it’s your turn to put these ideas to work.
Start small with one area that bugs you most. Once you see how much better that feels, move on to the next fix.
Want more tips about home organization? Sign up for my weekly newsletter, where I share fresh ideas to help make your home work better for you.
Frequently Asked Questions
How Do I Turn a Closet Into a Laundry Room?
Measure space for machines. Add water lines and drain. Install proper outlets. Set up venting. Add shelves for storage. Paint walls with light colors. Put in good lighting.
Do I Need Permits for a Laundry Closet Makeover?
Yes, if you add plumbing, change electrical, or move walls. Permits are unnecessary for painting, adding shelves, or making basic organizational changes. Check local rules.
How Can I Improve Ventilation in a Laundry Closet?
Clean vents regularly, install a fan, add vented doors, keep machines away from walls, and check that the vent length meets safety rules.
What are Some Stylish Yet Functional Design Ideas for Small Spaces?
Use light paint colors. Add pull-out drying racks. Install sliding doors. Put up pegboards. Choose matching containers. Use wall space for storage.

