The Right Size of Subway Tiles for Your Kitchen Backsplash
You’ve been thinking about updating it with a fresh, modern look. But there’s one issue: you’re not sure what size subway tile to use for the kitchen backsplash!
From classic 3×6-inch tiles to trendy 3×9-inch options, the possibilities can be endless. So, how do you choose the right subway tile size for your kitchen?
In this blog, we’ll see the most common subway tile sizes and help you pick the right one for your space.
We’ll also share design tips, installation steps, and how the right tile size can transform your kitchen.
By the end, you’ll feel confident in selecting the perfect subway tile size that fits your style and space. Let’s get started!
Common Subway Tile Sizes
Subway tiles come in many sizes for kitchen walls. Each size creates a different look and feel. Here’s what you need to know about the most common subway tile sizes.
3×6 inches (Classic and Timeless)
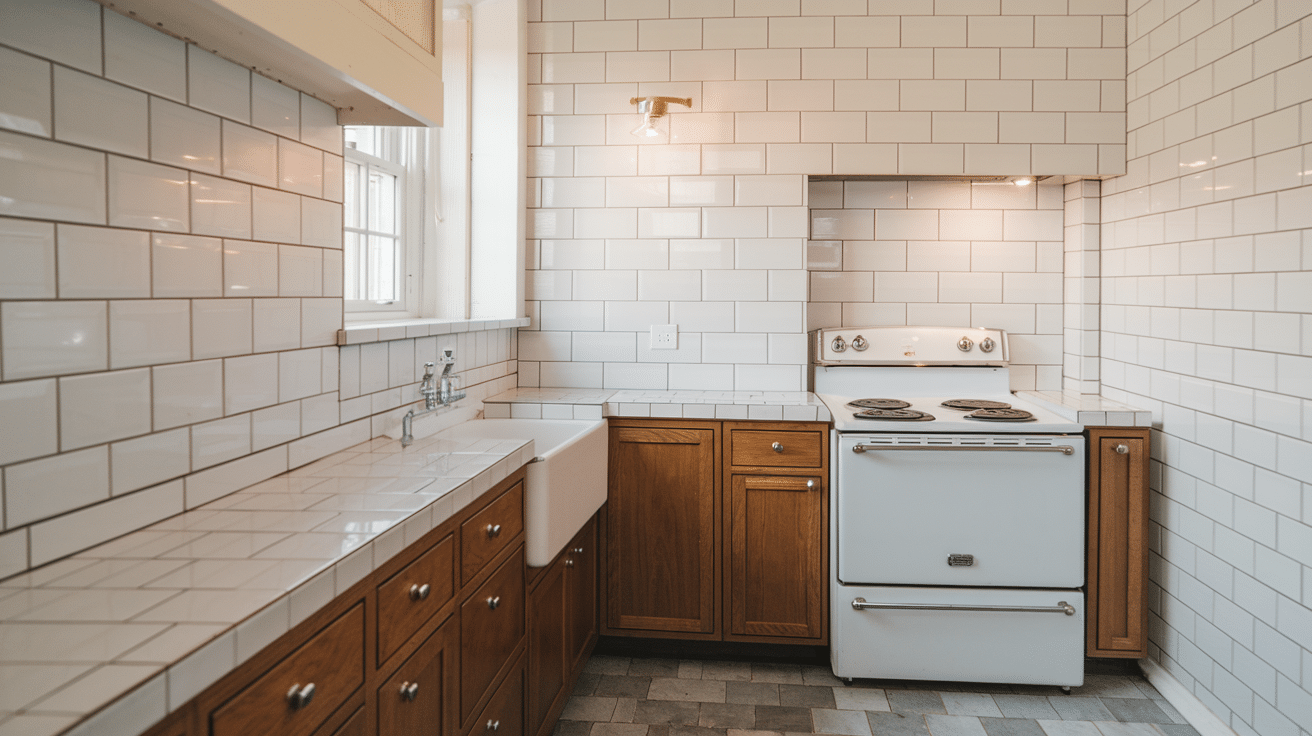
The 3×6-inch subway tile is a standard choice in many homes. It works well in both old and new kitchens.
Many people pick this size because it is easy to put up and fits most kitchen walls.
On the plus side, it is simple to install and works with most spaces. The downside is that it looks basic and not very special in some people’s eyes.
4×8 inches (Larger and Less Busy)
The 4×8-inch subway tile gives your kitchen a more open feel. These larger tiles show fewer lines and make small rooms seem bigger.
They are good for tiny kitchens or modern homes. These tiles make your space look bigger and more up-to-date.
The bad thing is that they might not work well in very small spots, and you can see the grout lines more.
3×9 inches (On-Trend)
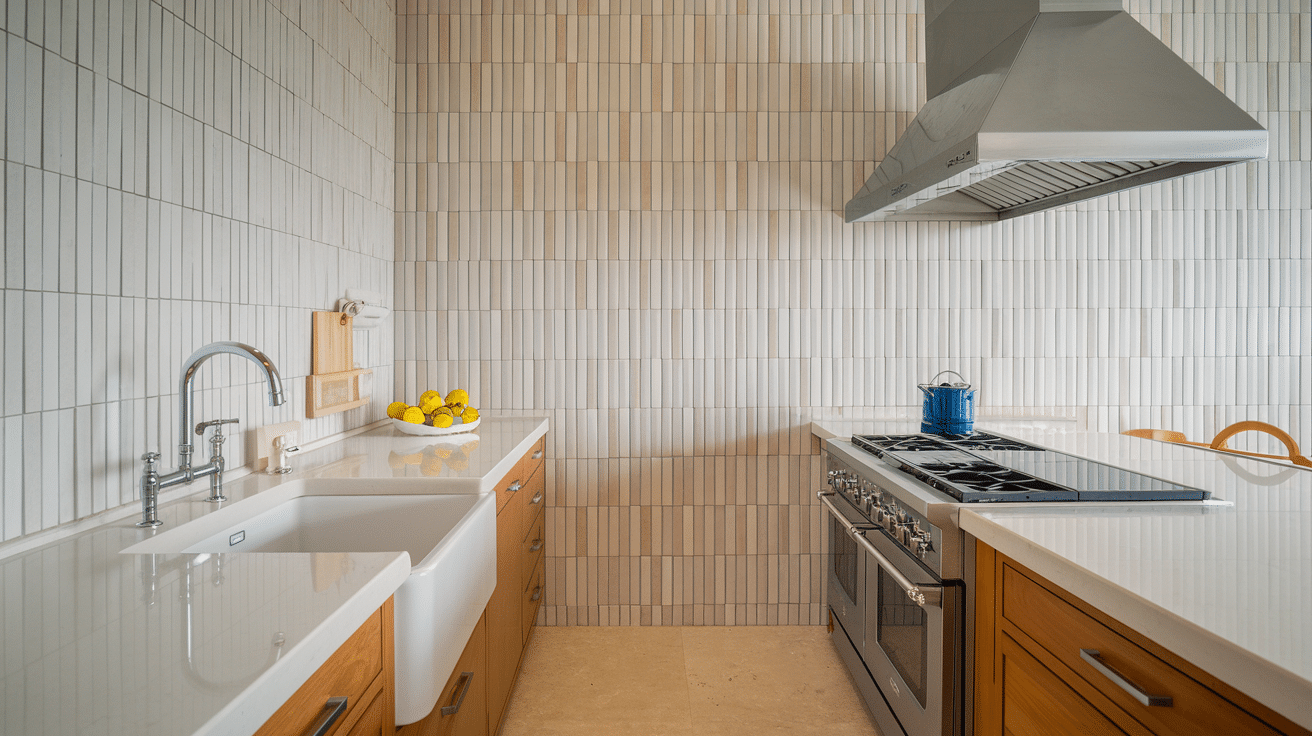
The 3×9-inch subway tile is becoming more popular. These long, thin tiles give your walls a smooth, clean look.
They also add a fresh touch to your kitchen. The good part is that they look new and different from standard tiles.
The bad part is that they can be hard to find in all colors and styles.
1×2, 2×4 inches (Smaller Sizes)
Small subway tiles, like 1×2 and 2×4 inches, work well in small kitchens. They allow you to make detailed patterns on your walls and give your kitchen more texture.
The good side is that they let you create fancy designs.
The bad side is that they need more grout lines, which can look too busy and be harder to keep clean.
How to Choose the Right Tile Size for Your Kitchen
Picking the right tile size can make a big difference in how your kitchen looks.
The size of the tile affects both the style and feel of your space. Here are some tips to help you select the best tile size for your kitchen.
Consider the Kitchen Size and Layout
When choosing tile size, consider the size of your kitchen. Big kitchens can handle larger tiles since they won’t make the room feel cut up.
In small kitchens, smaller tiles might work better and not look out of place. Also, think about your kitchen shape—long, narrow kitchens might look good with rectangle tiles that follow the room’s shape.
The flow of foot traffic in your kitchen can also help you decide where to use different tile sizes.
Aesthetic Goals: Modern vs. Classic
The size of your tiles can set the tone for your whole kitchen. Larger, cleaner-lined tiles often give a more modern look with fewer grout lines.
Smaller tiles, like the classic 3×6 size, create a more old-school feel that works well in older homes.
Before you pick a tile size, think about the style you want for your kitchen. Your choice of tile size should match other design elements in your kitchen for a sensible look.
Visual Perception
Tile size can trick the eye into thinking your space is bigger. Large tiles with fewer grout lines can make a small kitchen seem bigger and more open.
Small tiles add more detail and can make a plain kitchen more lively. Light-colored, large tiles are great for making small spaces feel bigger and brighter.
How you lay out the tiles, such as a brick pattern or a straight grid, can also change how the space looks and feels.
Budget and Cost Considerations
Your budget matters when picking tile sizes. Large tiles might cost more per piece, but you need fewer of them to cover the same area.
They also need less grout, which saves money. Small tiles are often cheaper per piece but require more work to install.
Think about the cost of the tiles and the cost of putting them up. Remember to add in the price of extra items like grout, tools, and any help you might need with the job.
Layout and Installation Tips
The pattern, grout, and installation method all play key roles in setting up your subway tiles.
Let’s look at some helpful tips for planning and installing your subway tiles.
Tile Layout Patterns
The way you arrange your subway tiles can change the whole feel of your kitchen. There are several patterns to choose from, each with a different look and style.
Let’s review some common patterns and see how they can affect your space.
Stacked vs. Herringbone Patterns
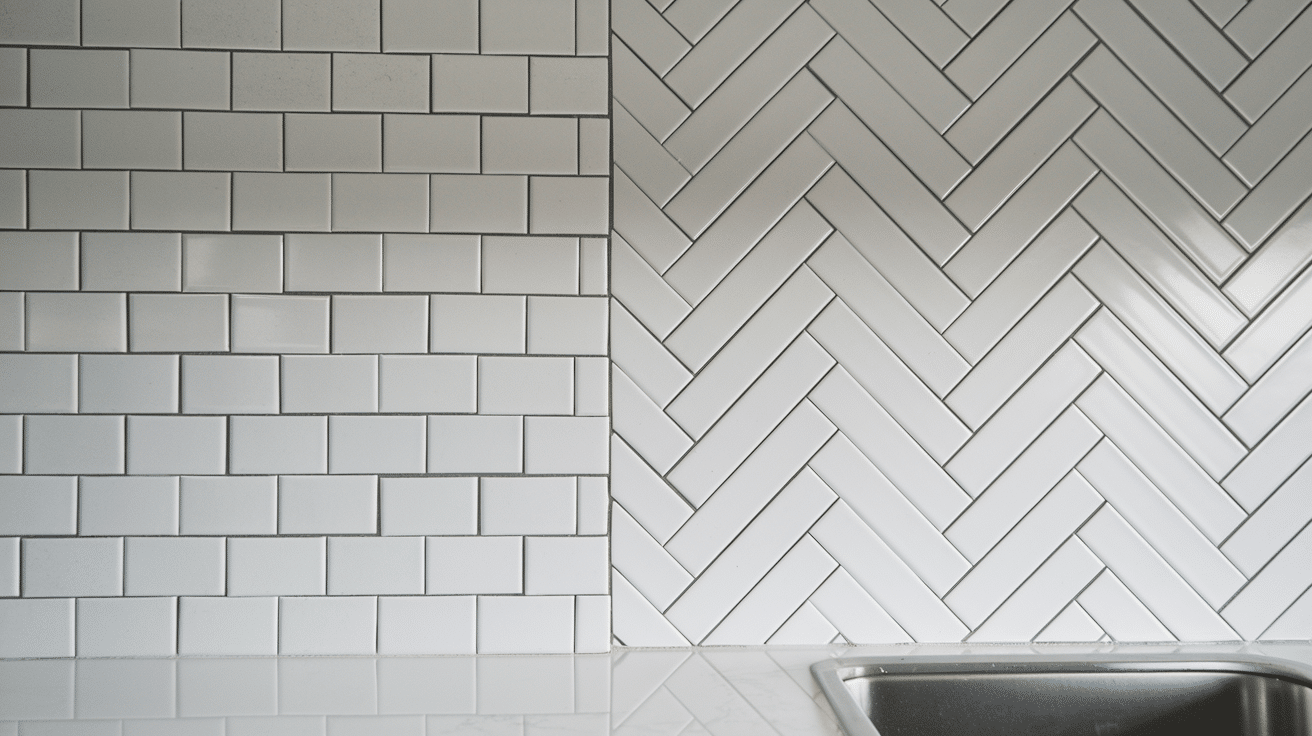
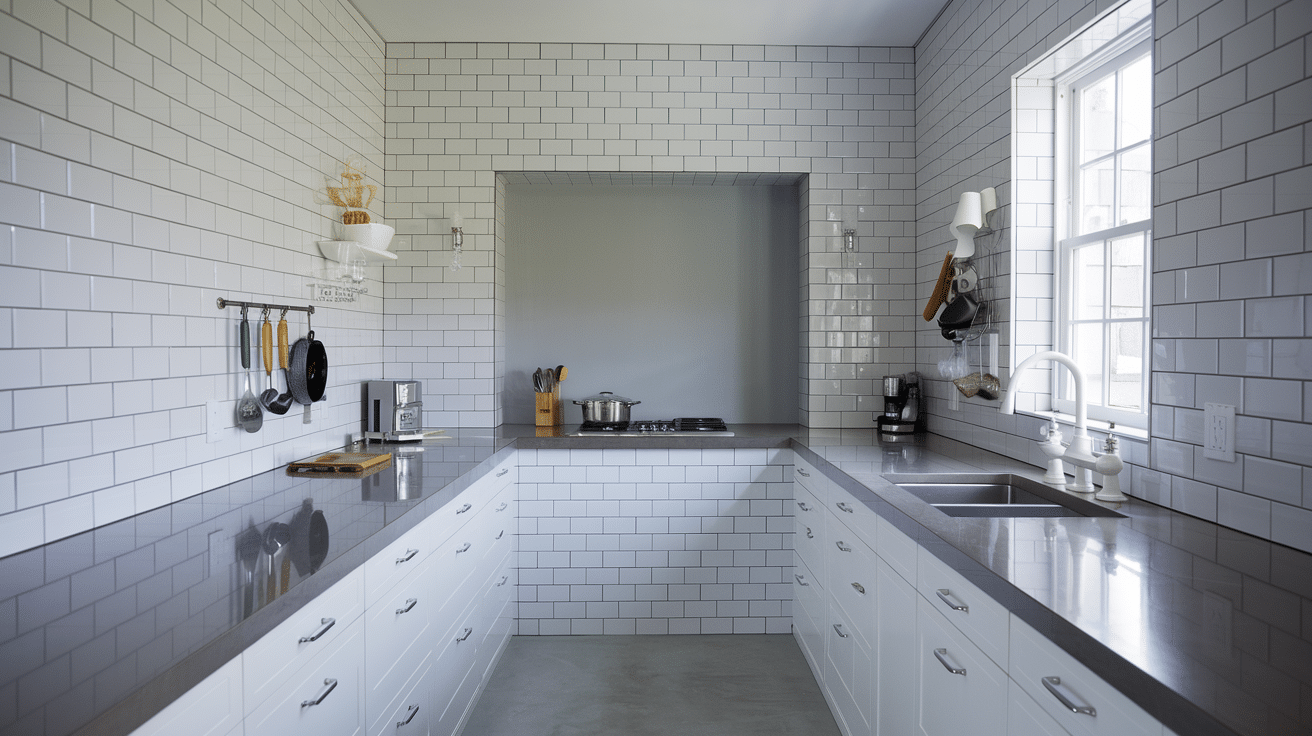
Stacked patterns line up tiles in even rows, creating a clean, simple look that works well in modern kitchens.
Herringbone patterns place tiles at 45-degree angles, making a zigzag effect that adds movement and interest to your walls. The pattern you choose can change how formal or fun your kitchen feels.
Grid Pattern vs. Diagonal
Grid patterns place tiles in straight lines and right angles, which is easy to install and gives a neat look.
Diagonal patterns turn the tiles to a 45-degree angle to the walls, which can make a small kitchen look bigger. Diagonal layouts use more tiles due to more cuts but create a more eye-catching design.
Grout Choices
Grout does more than just hold tiles together – it adds to the look of your kitchen. Light grout with light tiles creates a smooth, clean look where the tiles blend.
Dark grout with light tiles makes each tile stand out more. Thin grout lines (1/16 inch) look more modern, while thick lines (1/4 inch) add more detail.
The grout type matters, too – some are better at fighting stains and water damage.
How to Install White Subway Tiles in Your Kitchen
Here’s the list of the essential materials you’ll need for subway tile installation:
- Subway Tiles
- Thin-Set Mortar
- Grout
- Tile Spacers
- Level
- Notched Trowel
- Grout Float
- Tile Cutter or Wet Saw
Steps for Subway Tile Installation
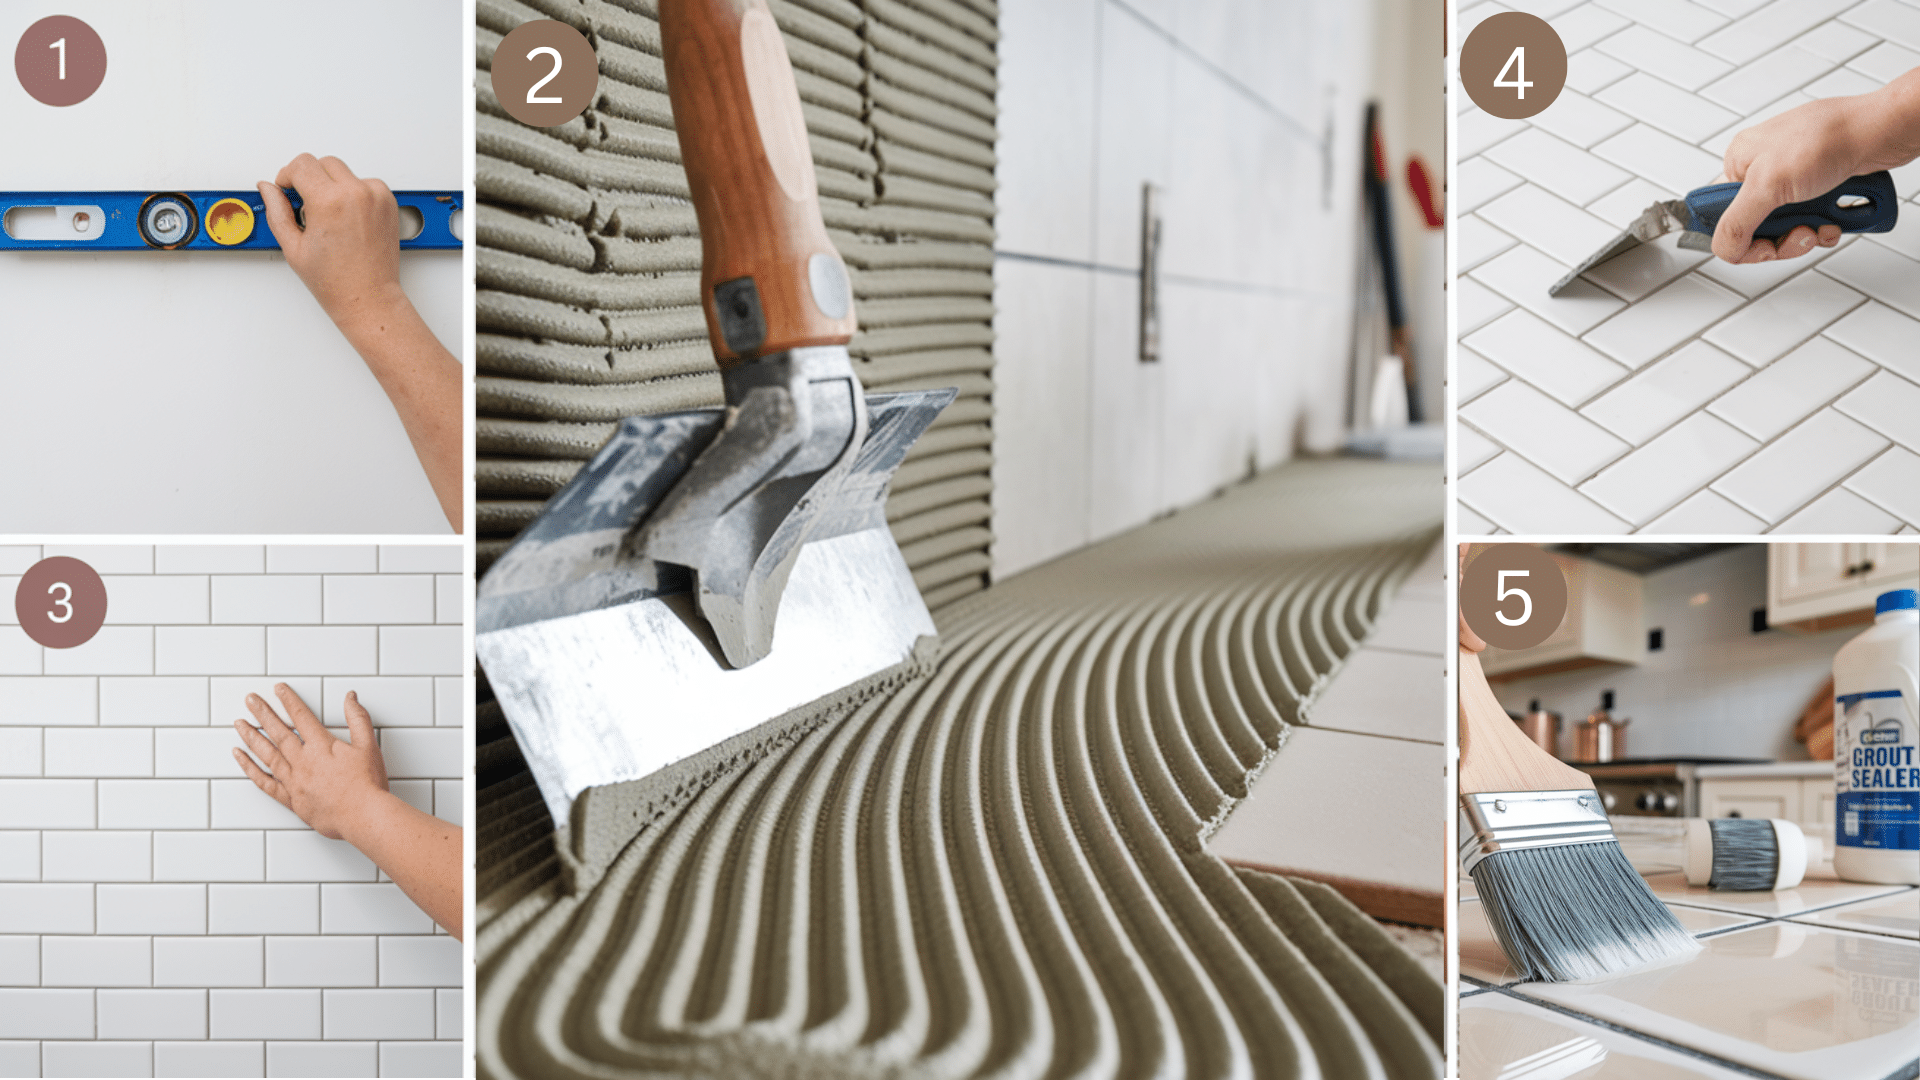
- Mark Your Starting Point- Use a level to draw a straight, horizontal line on your wall. This ensures that the first row of tiles is even and aligned properly.
- Apply Thin-Set Mortar- Use a notched trowel to spread a layer of thin-set mortar on the wall, working in small sections at a time. Make sure the mortar is spread evenly.
- Press Tiles into Place—Press each tile firmly into the mortar, using tile spacers to keep gaps even. Be sure to check with a level as you go to keep everything aligned. Now, let the tiles set for 24 hours.
- Mix and Apply Grout- After 24 hours, mix your grout according to the manufacturer’s instructions. Apply the grout using a grout float, pressing it into the spaces between the tiles. Wipe off excess grout with a sponge.
- Seal the Grout- Wait for the grout to dry for at least 72 hours, then apply grout sealer to protect it from moisture and stains.
By following these steps and using the right materials, you’ll have a beautifully tiled backsplash in no time!
Tips for Creating a Good Look in Your Kitchen
Subway tiles can complement any kitchen style, from classic to modern. The right combination of tile size, layout, and color can help you achieve the look you want.
Here are some ideas to help you design a kitchen that feels either timeless or on-trend.
Classic Styles
For a look that will stay in style for years to come, the 3×6-inch subway tile is your best friend. These tiles have been used in kitchens for over a century and still look good today.
For the most timeless effect, use white or cream tiles laid in a basic brick pattern. Adding light gray grout gives the look a soft, clean look that won’t go out of style.
This classic approach works well in both old and new homes and pairs nicely with almost any cabinet style.
Modern Touches
For a kitchen that feels fresh and current, think beyond the standard subway tile setup. Modern kitchens often use bigger tiles and bold design choices to create a clean, updated look.
The larger 3×9 or 4×8 subway tiles offer a smoother wall surface with fewer grout lines to break up the space. These bigger tiles can make small kitchens feel more open and less busy.
Try the following points for a modern touch in your kitchen.
- Try a vertical stack pattern instead of the usual brick layout for a simple but striking change.
- Pick a bold grout color that stands out against the tile for more visual impact.
- Consider glass subway tiles for a shiny, light-catching surface.
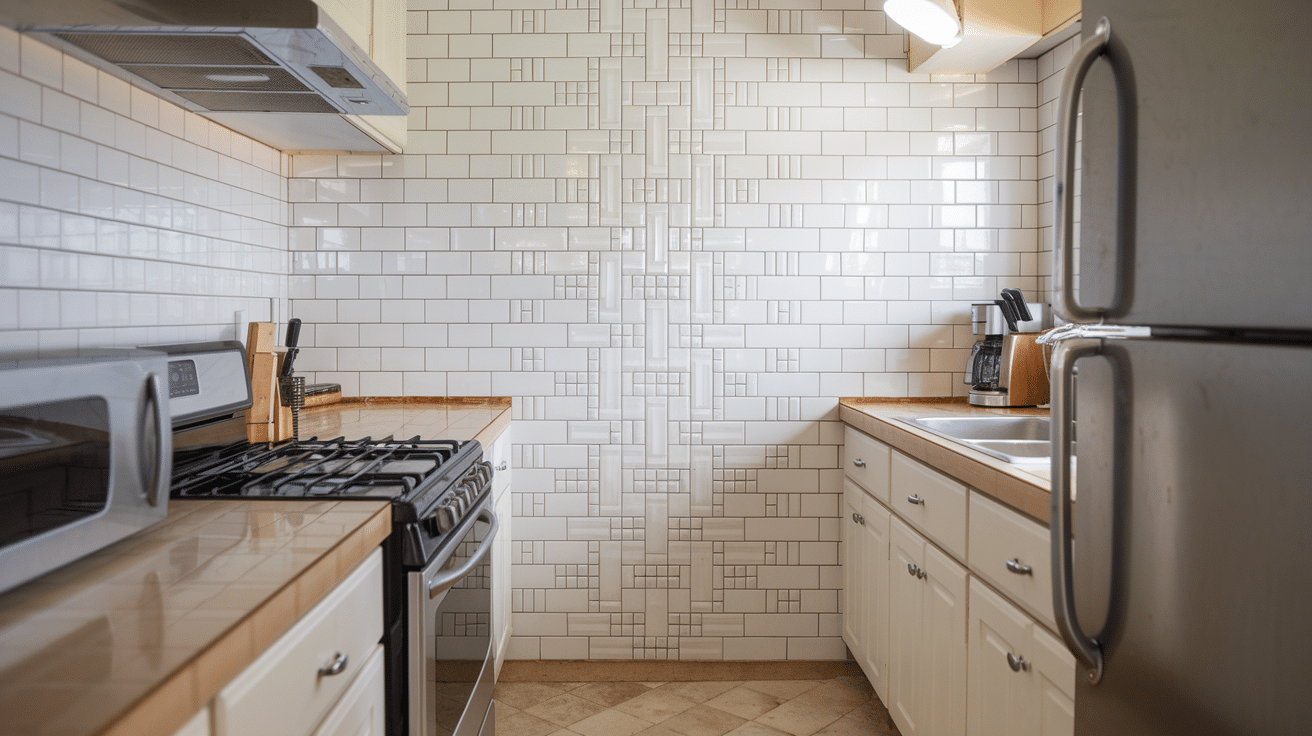
Small Tiles for Textured Look
Smaller subway tiles can add warmth and character to your kitchen that larger tiles sometimes miss. The 1×2 or 2×4 inch tiles create a more detailed pattern on your walls, giving your kitchen a cozy, hand-crafted feel.
These small tiles work well in kitchens that aim for a lived-in, homey look rather than a stark, modern one. They’re also great for older homes where very modern designs might feel out of place.
Try the following points for a textured look in your kitchen.
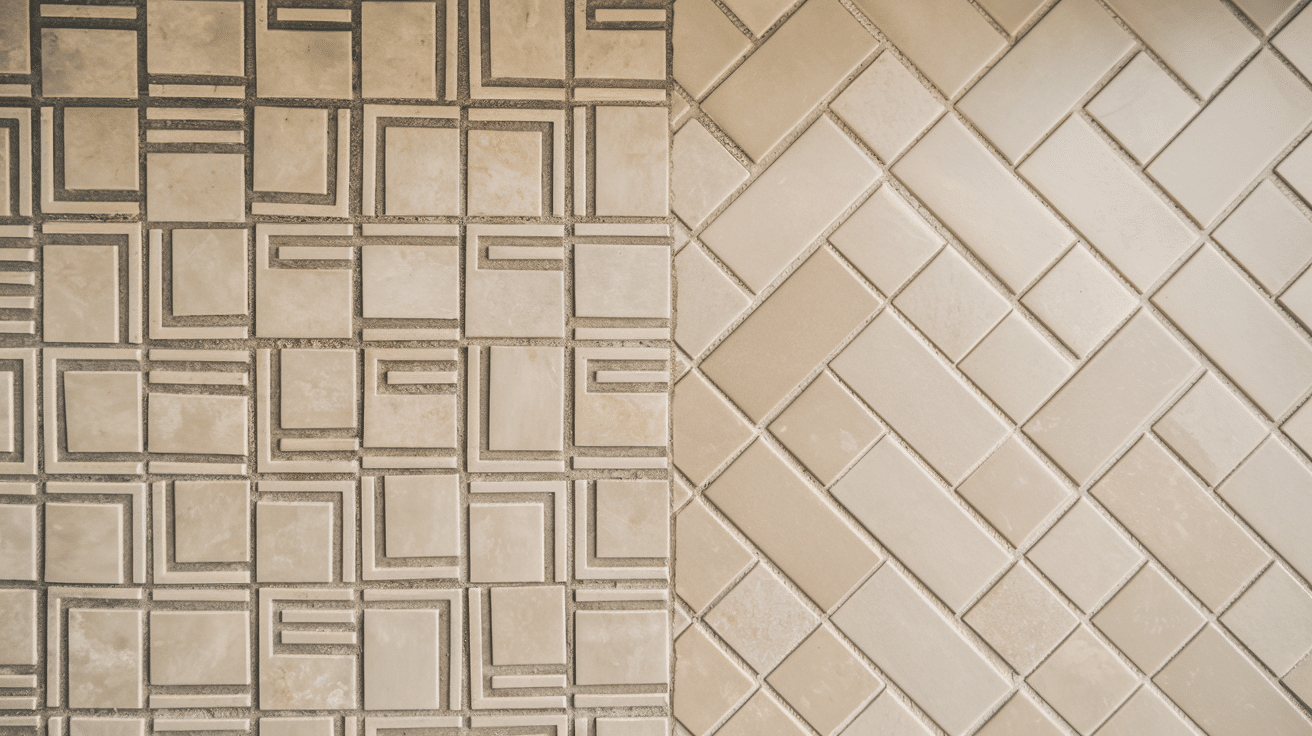
- Use a basket weave or herringbone pattern for added visual interest
- Focus small tiles on a single wall as a focal point in your kitchen
- Mix small tiles with larger ones to create borders or design features
Wrapping Up
Now you know all about subway tiles for kitchen backsplashes!
From common sizes like the classic 3×6 inch to newer options like 3×9 inch tiles, you have many choices for your kitchen walls.
Remember to think about your kitchen size, the look you want, and your budget when picking tiles.
You can start small by trying subway tiles on just one wall as a test run. You might also want to mix different tile sizes to create your special design.
No matter what you choose, subway tiles offer a clean, fresh look that can make your kitchen feel new again.
For more such blogs, visit our website now.