The Art of Painting Wooden Chairs: A Complete Guide
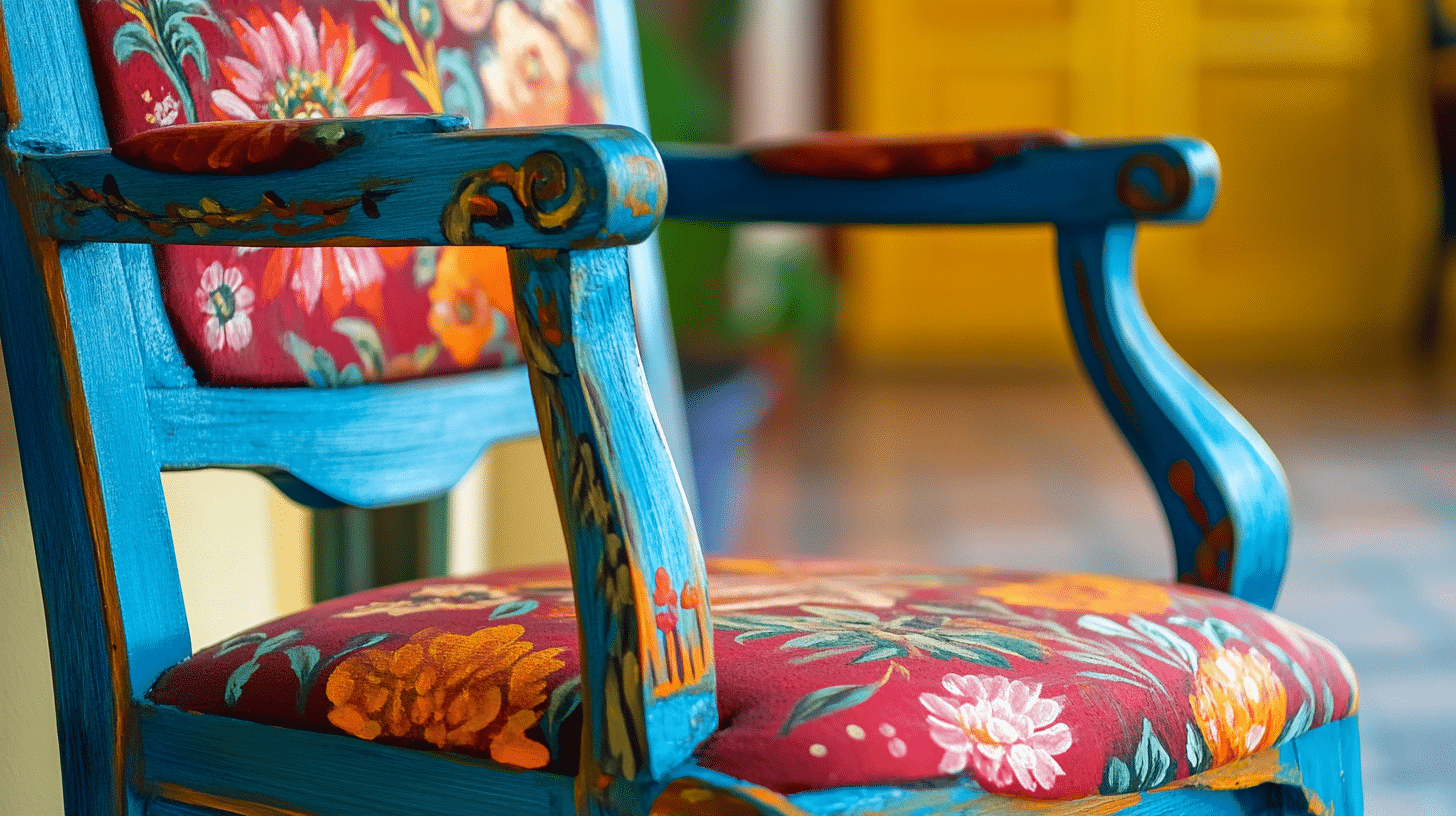
Are you looking to bring new life to your old wooden chairs? Painting chairs can be a fun and satisfying project. You can turn worn furniture into fresh pieces that fit your style with the right steps and tools.
Many people worry about getting smooth, long-lasting results when painting furniture. The good news is that you don’t need expert skills. What matters is following the right steps and using proper methods.
In this guide, you’ll learn the exact steps for painting chairs, from picking your paint to adding the final coat. We’ll cover both spray painting and brush methods. Plus, you’ll get tips to avoid common mistakes that often show up in DIY paint jobs.
Are you ready to start painting chairs? Let’s review everything you need to make your wooden chairs look brand new again.
Choosing the Right Paint for Your Wooden Chair

Picking the right paint affects how your chair looks and how long the finish lasts. Let’s look at your options for painting chairs with lasting results.
Types of Paint and Their Pros and Cons
Milk Paint: This old-school option gives chairs a soft, matte look. Mix the powder with water for a natural finish. It soaks into bare wood well but might need extra coats.
Chalk Paint: Good news—no primer is needed! This paint sticks to most surfaces, dries quickly, and creates a nice matte finish. However, you’ll need a top coat to protect your work.
Latex Paint: Latex paint is easy to find and use and comes in many colors. Pick a satin finish for chairs—it holds up better than flat paint. The downside? It needs a proper primer first.
Oil-Based Paint: This type creates a hard shell that lasts for years. It takes longer to dry but resists scratches well. It is perfect for painting chairs that are used daily.
My top pick is chalk paint with a clear wax finish. It’s simple to use and fixes mistakes easily. Plus, the finish stands up to regular use when sealed properly.
Factors to Consider When Picking a Paint Color
When choosing paint for your chair, consider your room’s main colors. Use a color wheel to find shades that complement your existing decor.
For long-lasting appeal:
- Neutral colors fit most spaces
- Soft whites work in any room
- Gray tones match modern styles
- Black creates classic appeal
Want something current? Look at:
- Sage green shades
- Warm terra cotta
- Soft blues
- Warm cream tones
Test your paint choice on the chair’s bottom first. This will help you see how it really looks before painting the chairs completely.
Remember: Natural light changes how colors look. Check your paint sample at different times of day before making your final choice.
Comparing Painting Methods for Wooden Chairs
| Method | Best For | Pros | Cons | Verdict |
|---|---|---|---|---|
| Paint Sprayer | Quick, even coverage, detailed areas | Smooth, consistent finish. Fast for complex shapes. Reduces painting time. |
Requires setup. Can cause overspray. Higher initial cost. |
Best overall for fast, efficient, and smooth coverage, especially for intricate designs. |
| Brush | Precision work, small/tight areas | Great for detail. Better control in tight spots. Minimal equipment needed. |
Can leave brush marks. Slower process. Multiple coats needed. |
Best for detail work or simple designs; reliable but time-consuming. |
| Foam Roller | Larger, flat surfaces | Smooth coverage with fewer streaks. Easy to use. Faster than a brush. |
Not ideal for detailed parts. May need brush touch-up. Can leave slight texture. |
Best for larger, simpler areas; good for combination use with a brush for details. |
Step-by-Step Guide to Painting a Wooden Chair
Let me show you how to transform your wooden chair with paint. Following these exact steps will give you results you’ll be proud to show off.
Tools and Materials You’ll Need
| Category | Tools and Materials |
|---|---|
| Tools | Paint sprayer (e.g., HomeRight Finish Max Super) |
| 220-grit sandpaper | |
| Large spray shelter or protective drop cloths/tarps | |
| Stir stick for paint | |
| Wrench (for changing spray tips) | |
| Screwdriver (for removing/reinstalling seats) | |
| Paint | General Finishes Milk Paint (e.g., Lamp Black) |
| Sealer | General Finishes High Performance Top Coat (Satin) |
Step 1: Prepare the Chair
Start by taking off any removable parts like woven seats or cushions. This keeps them clean and paint-free.
Run your hands over the chair to find rough spots. Use 220-grit sandpaper to smooth the surface. Pay close attention to shiny areas—they need extra care for paint to stick well.
Step 2: Set Up Your Painting Area
Find a clean, open space. Put down large drop cloths or tarps. Make sure they extend far enough to catch any spray that might drift.
Set up good lighting so you can see what you’re doing. Keep a clear path around the chair for easy access to all sides.
Step 3: Prepare the Paint Sprayer
If you’re using the HomeRight Finish Max Super Paint Sprayer:
- Check all parts are clean
- Attach the green tip for regular paint
- Test the spray pattern on cardboard
Step 4: Load the Paint
Pour your paint into the sprayer container. Leave some space at the top to prevent spills. Make sure to:
- Mix paint well before pouring
- Strain if needed
- Check the seal is tight
Step 5: Begin Painting
Keep the sprayer straight and level. Move it like this:
- Side to side in steady lines
- Overlap each pass slightly
- Keep the same distance throughout
Turn the chair often to reach all spots. Don’t forget to spray:
- Under the seat
- Between spindles
- Back support areas
- Leg joints
Step 6: Apply More Coats
Let each coat dry fully. Check the paint can for exact times. Most chairs need:
- 2-3 total coats
- Light sanding between coats
- Full coverage on all parts
Step 7: Add the Top Coat
Switch to the right spray tip for your sealer. Apply it just like paint:
- Use steady movements
- Cover all painted areas
- Add at least two coats
The top coat protects your work. Take time to apply it well.
Step 8: Put It Back Together
After everything dries:
- Put back removed parts
- Check all joints are tight
- Look for any missed spots
Let the chair sit for three weeks before heavy use. This gives time for a strong finish to form.
For a more detailed tutorial, check out this YouTube video on how to paint chair!
Expert Tips to Avoid Common Mistakes while Painting Chair

Let me share tips from years of painting chairs. These methods will help you skip the usual troubles that pop up.
Ensuring Even Coverage Without Drips
Watch your paint thickness. Thin coats work better than thick ones. When painting chairs, use these tricks:
- Keep your arm moving steadily
- Start spraying before the chair
- End after passing the chair
- Hold the sprayer 10-12 inches away
Look at the chair from different angles. Spot check in good light to catch any missed spots or drips right away.
Managing Overspray and Protecting Specific Areas
Use blue painter’s tape with care. Press down all edges firmly. For better control:
- Cover nearby items
- Mask off-seat bottoms
- Shield decorative parts
- Use paper or plastic guards
Make a spray shield from cardboard. Move it as you work to block paint drift.
Drying Time and Layering Advice
Each layer needs proper drying time. Follow this timeline:
- First coat: 2-4 hours
- Second coat: 4-6 hours
- Final coat: 24 hours minimum
Touch the surface lightly to test. If it feels tacky, wait longer before adding more paint.
Conclusion
Painting chairs takes time and care, but the results make it worthwhile. A well-painted chair can become a striking piece in any room, adding character to your home for years.
Remember that success lies in the details—from proper surface prep to the right tools. Take your time with each step, especially the initial cleaning and sanding. These early stages set the foundation for a lasting finish.
As you’ve seen, painting chairs isn’t just about applying color. It’s about creating something that fits your space and style. Whether you choose a brush, roller, or sprayer, these techniques will help you achieve professional-looking results.
Now, you know how to turn any wooden chair into a cherished piece of furniture.


