Stepwise Guide to DIY Outdoor Table
Building a DIY outdoor table or patio table is a fun and practical project for any backyard.
With just a few materials and simple tools, you can create a custom table that fits your outdoor space.
Not only will it save you money, but it will also add a personal touch to your patio or garden.
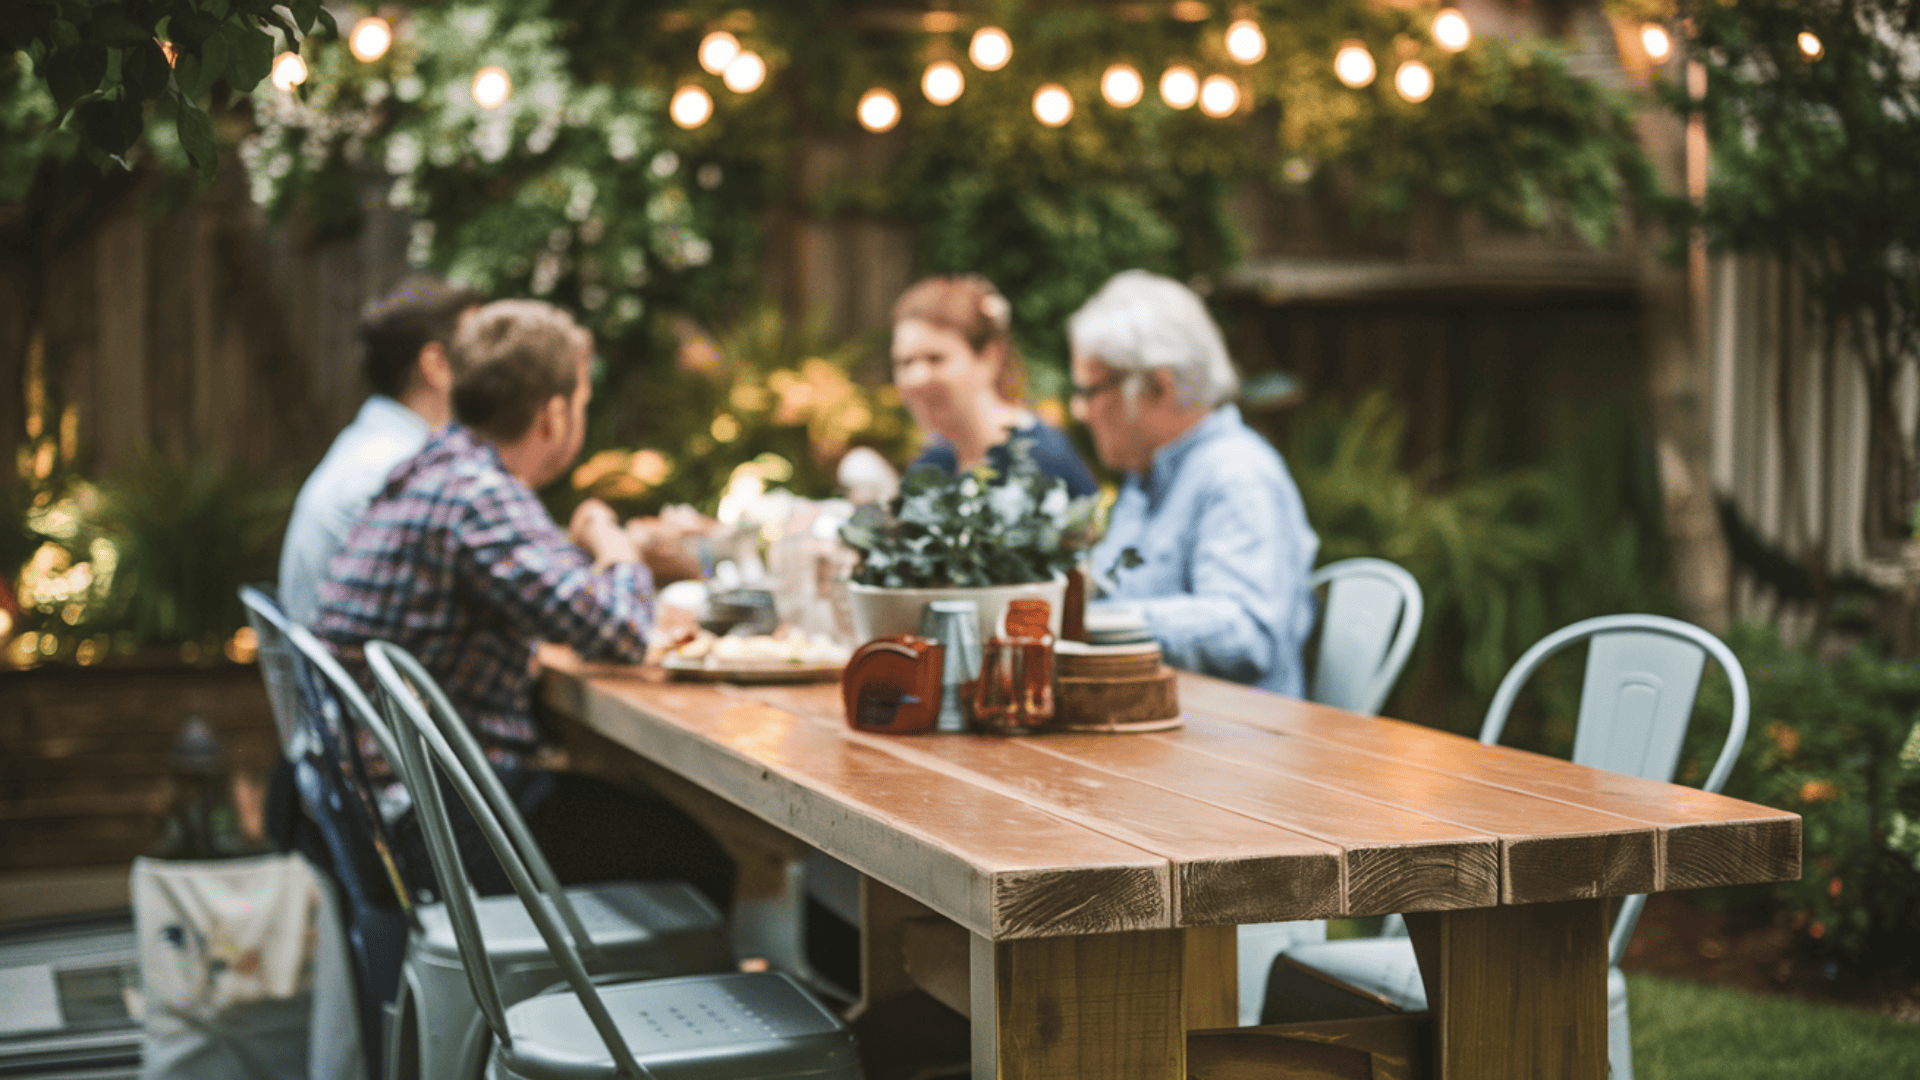
If you need a space to enjoy meals with your family or just a spot to relax outdoors, a DIY table is a great way to enhance your backyard.
Let’s look at how you can build your own outdoor table step by step!
Why Build a DIY Outdoor Table?
Customization
- You can build a table that fits your style and needs.
- Choose the size, shape, and materials that work best for the patio table in your outdoor space.
Cost-Effective
- Building your own table is much cheaper than buying a pre-made one.
- Use affordable materials and still get a high-quality, durable table.
Personal Satisfaction
- There’s a sense of pride in creating something yourself.
- A DIY project like this is fun and rewarding, giving you a unique outdoor piece.
Planning Your DIY Outdoor Table
Choosing the Right Location
Pick a stable and level spot in your backyard or patio.
Make sure the area is away from direct sunlight or heavy rain to protect your table.
Consider how much space you need based on the number of people you want to seat.
Determining the Design and Size
Decide if you want a rectangular, square, or round table.
Think about the style of your outdoor area—whether it’s modern, rustic, or minimalist—and design the table to match.
Measure the size of the table to ensure it fits comfortably in the space you’ve chosen.
Materials You’ll Need to DIY an Outdoor Table
Wood or Other Tabletop Material
When choosing the material for your tabletop, it’s important to go for something weather-resistant, like cedar, pine, or teak, to ensure durability for outdoor use.
These woods can withstand the elements, making them a great choice for a table that will last for years.
If you prefer a more rustic look, consider using reclaimed wood. It adds a unique, eco-friendly touch to your patio table and gives it a character that new wood can’t replicate.
Alternatively, materials like concrete or metal can give your table a modern, industrial feel. Concrete offers a sleek, sturdy surface, while metal legs or frames can add an industrial edge to your design.
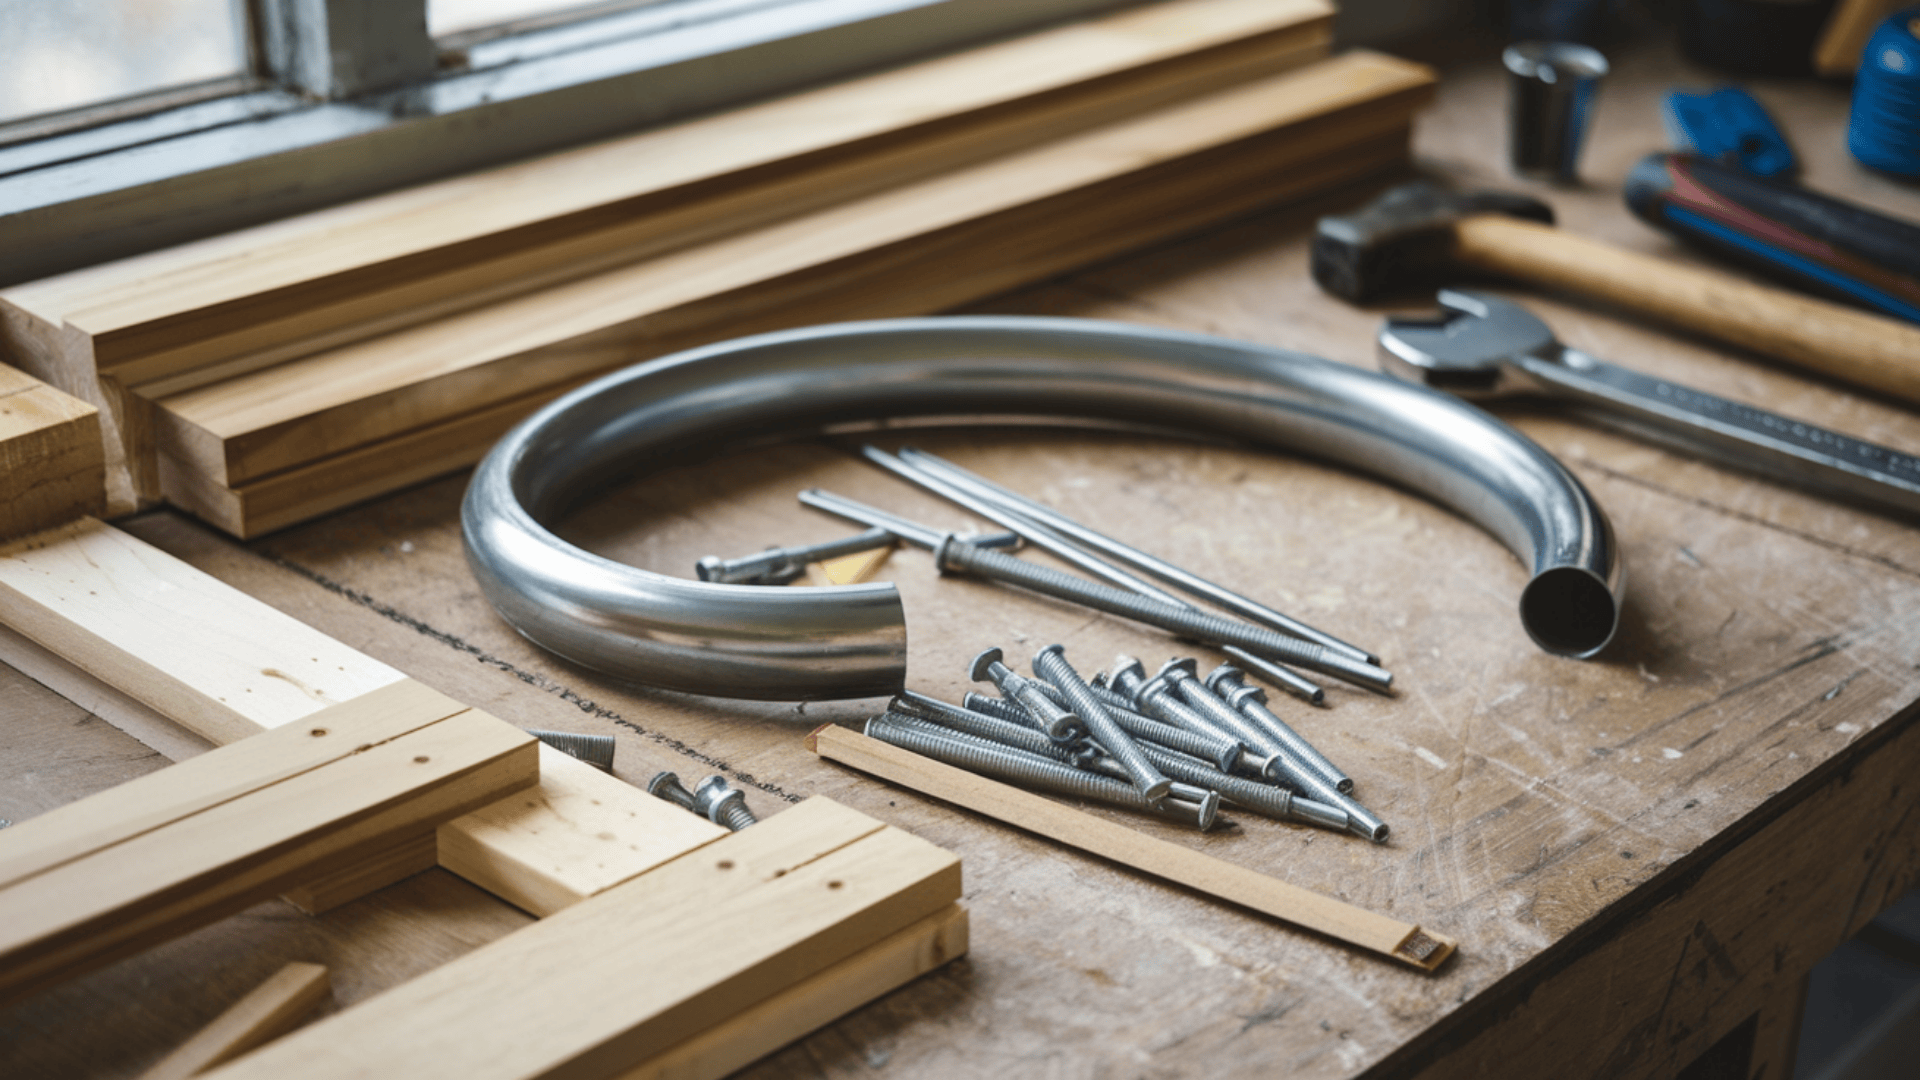
Table Legs and Supports
For the legs and supports of your outdoor table, you can either use pre-made table legs or get creative with materials like wood or metal pipes for a more industrial look.
Pre-made legs are an easy option and come in various styles, but metal pipes or thick wooden beams can add a custom touch and enhance the table’s overall look.
Regardless of the style you choose, it’s important to ensure that the legs are sturdy and properly attached to the tabletop to support its weight.
A secure, stable frame will prevent wobbling and ensure the longevity of your patio table.
Tools for Construction
- Basic tools like a saw, drill, screws, wood glue, and sandpaper are essential for the build.
- Optional: Applying paint or wood stain helps protect the table and improves its appearance.
Step-by-Step Guide to DIY an Outdoor Table
Prepare the Site
- Clear the Area: Start by choosing a flat, stable location in your backyard or patio where the table will sit. Remove any debris, rocks, or obstacles.
- Level the Ground: If the ground isn’t perfectly level, use a shovel to smooth it out. A flat surface will make the assembly easier and ensure the table is stable.
- Gather Your Materials: Before you begin, ensure all your materials (wood, table legs, screws, etc.) and tools (saw, drill, screwdrivers) are ready and within reach. This will save you time during the build.
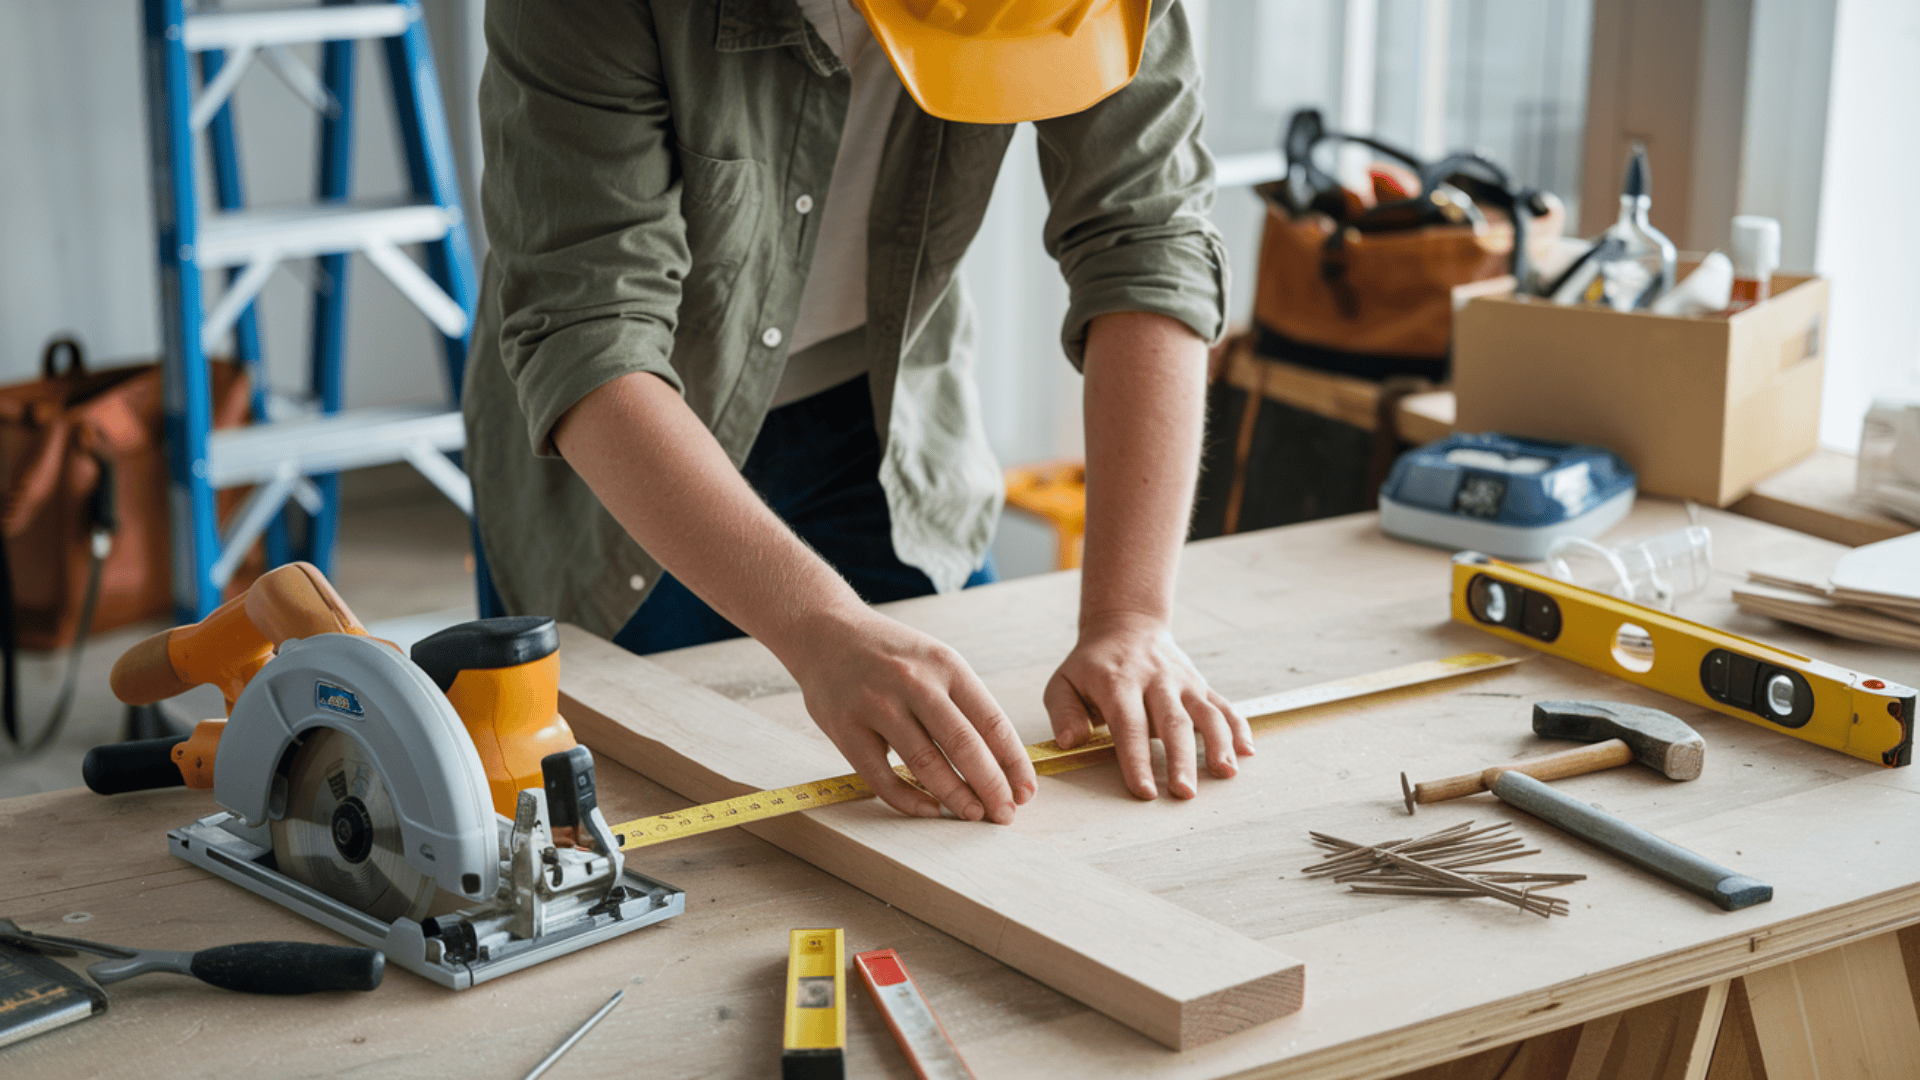
Cut the Tabletop and Legs
- Measure Carefully: Use a tape measure to mark the wood for the tabletop and legs. Double-check your measurements to ensure they match the size you want for your table.
- Cut the Wood: Using a saw, cut the tabletop and legs based on your measurements. Follow the lines carefully for a clean, straight cut. Most home improvement stores can cut the wood for you if you don’t have a saw.
- Check the Leg Length: Ensure the legs are cut to the correct height for comfort. The standard dining table height is around 28-30 inches, but you can adjust it according to your preference.
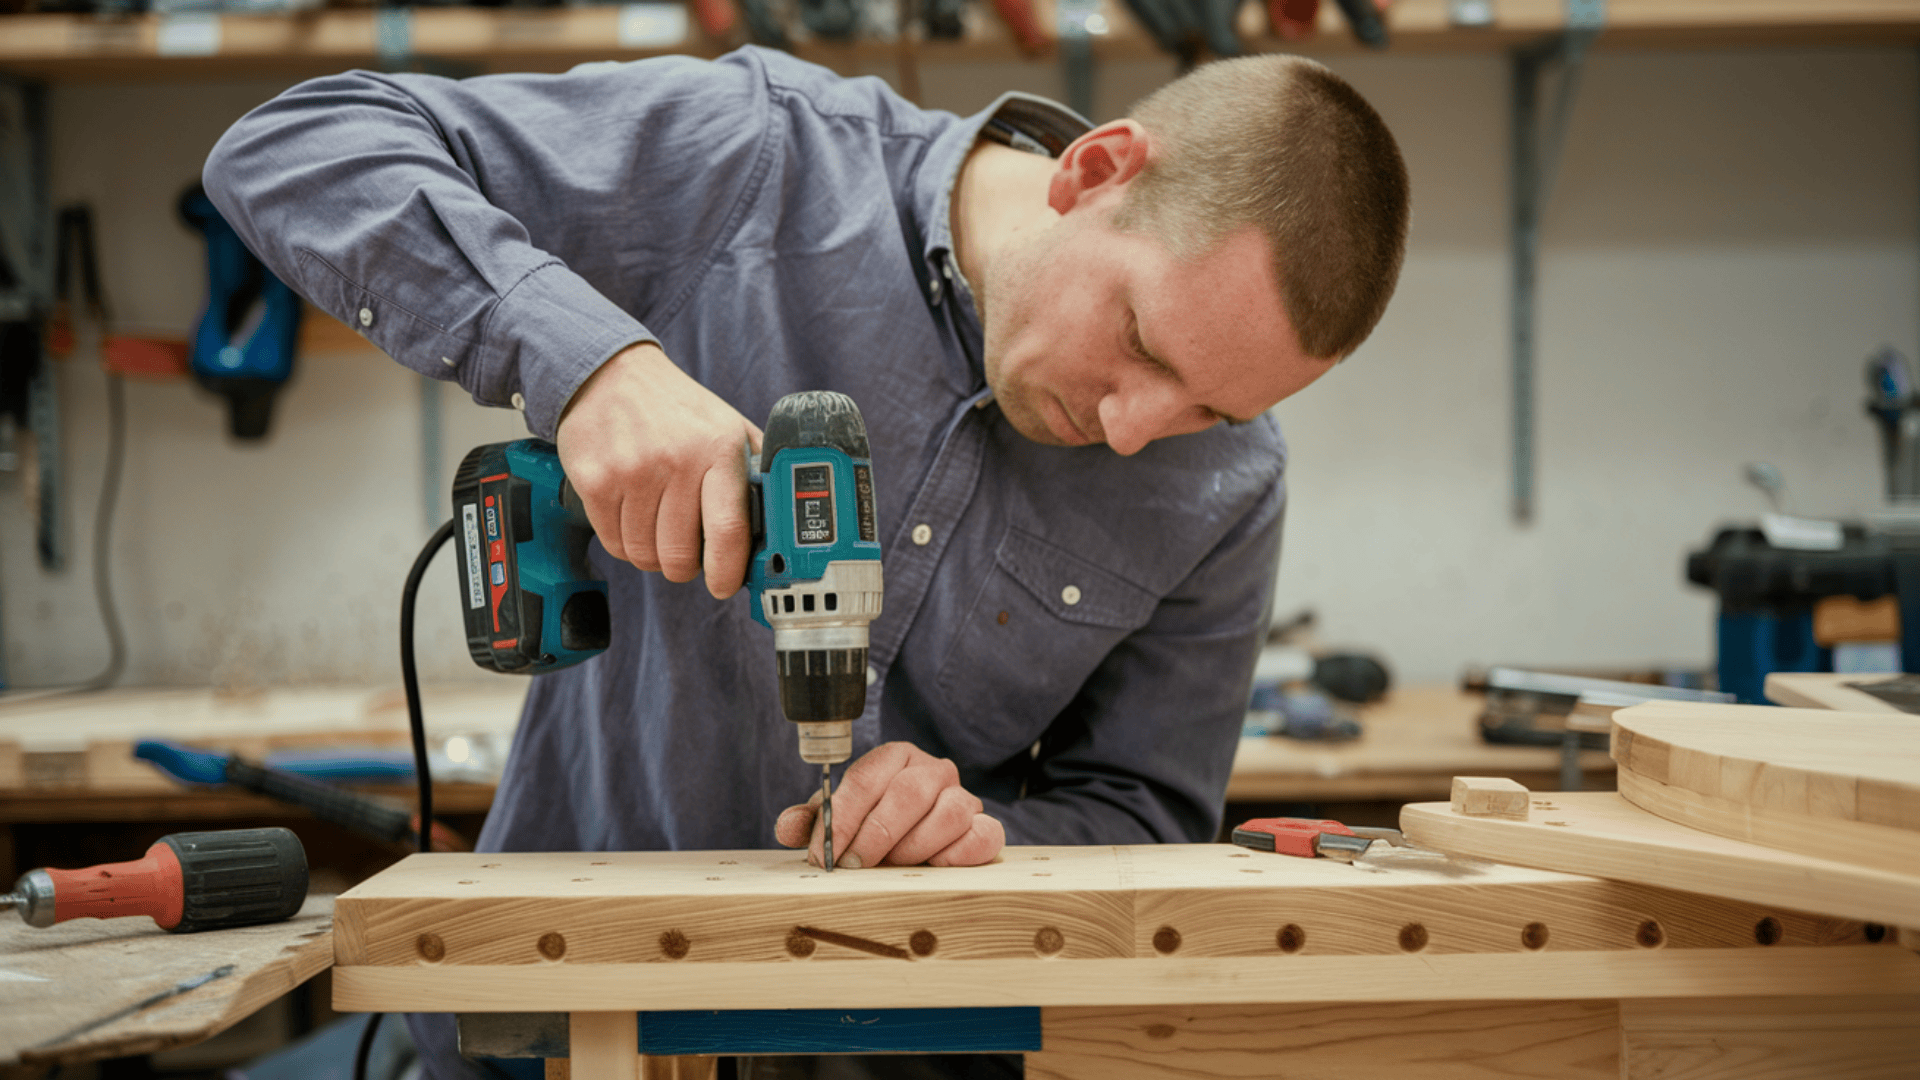
Assemble the Table
- Attach the Legs to the Tabletop: Lay the tabletop upside down on a flat surface. Position the legs at each corner or in the desired location. Using a drill, screw the legs into place, making sure they are evenly spaced.
- Reinforce the Structure: For added stability, you can add extra support beams underneath the tabletop. Secure the beams to the underside of the table with wood or metal brackets.
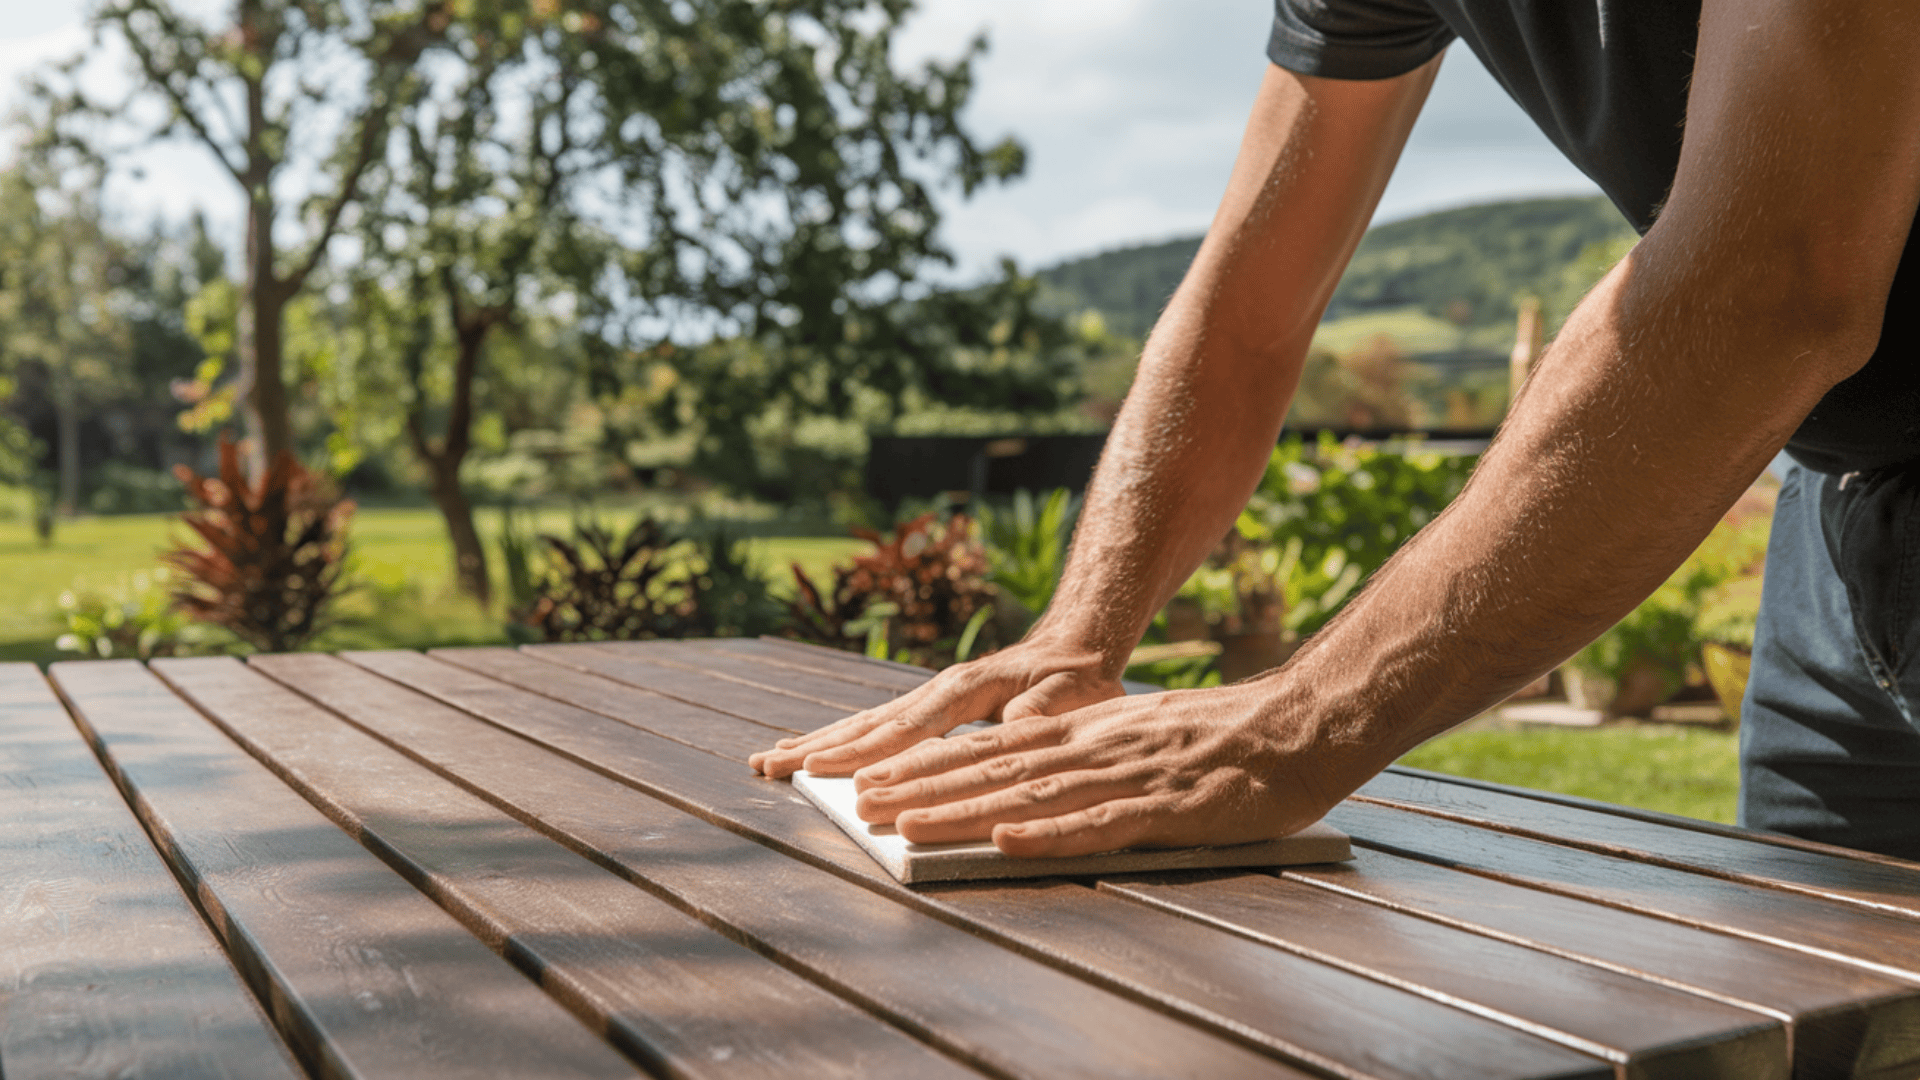
Sand and Finish the Table
- Smooth the Surface: Use sandpaper to smooth down any rough edges or surfaces once the patio table is assembled. Focus on the corners and edges to avoid splinters.
- Apply Finish or Sealant: To give the table a polished look, apply a coat of wood stain or paint. If you’re using wood, a waterproof sealant will protect it from the elements, making it more durable. Let the finish dry completely before using the table.
Mistakes to Avoid While Making an Outdoor Table
Not Choosing the Right Materials
- Problem: Using wood that isn’t weather-resistant or untreated can lead to damage from rain, sun, and moisture.
- Solution: Always use materials designed for outdoor use, such as cedar, teak, or pressure-treated wood. To increase durability, consider applying a protective wood sealant.
Incorrect Measurements
- Problem: Miscalculating the table’s size or the legs’ length can lead to an awkwardly sized table or uneven legs.
- Solution: Double-check all measurements before cutting. Use a tape measure and a square to ensure everything is aligned correctly. Always measure twice to avoid mistakes.
Poor Finishing
- Problem: Skipping the sanding or finishing process can leave rough edges and a table that deteriorates faster due to exposure to the elements.
- Solution: Sand the wood thoroughly to create a smooth surface. Apply a protective coat of paint, stain, or sealant to protect the table from moisture, sun, and dirt. Reapply the finish regularly to maintain the table’s appearance.
Forgetting Stability
- Problem: Failing to reinforce the table structure can result in a wobbly or unstable table.
- Solution: Ensure the legs are securely attached to the tabletop. For extra stability, add additional support beams or brackets underneath. Always check the balance by gently rocking the table before using it.
Rushing the Process
- Problem: Trying to build the table too quickly can lead to mistakes or poor-quality work.
- Solution: Take your time and follow each step carefully. Allow the finish to dry completely before moving on to the next step, and make sure everything is securely in place before using the table.
Maintenance Tips for Your DIY Outdoor Table
- Clean the Table Regularly: Wipe the patio table with a soft cloth or sponge. This will help remove dirt, dust, and food particles that can build up over time.
- Avoid Harsh Cleaners: To avoid damaging the finish, use mild soap and water. For tough stains, use a wood-safe cleaner or a mixture of vinegar and water.
- Protect from Weather: The protective finish may wear off over time due to exposure to the sun, rain, and humidity. To protect your table, reapply a weather-resistant sealant every 6-12 months.
- Choose the Right Sealant: Use a sealant specifically made for outdoor wood to prevent damage from moisture, UV rays, and dirt.
- Inspect for Cracks or Loose Parts: Regularly check the table for any cracks, loose screws, or wobbly legs. Tighten the screws and fix any cracks to prevent further damage.
- Reinforce if Needed: If you notice any structural issues, consider reinforcing the legs or adding extra support to maintain the table’s stability.
Enhancing Your Outdoor Table
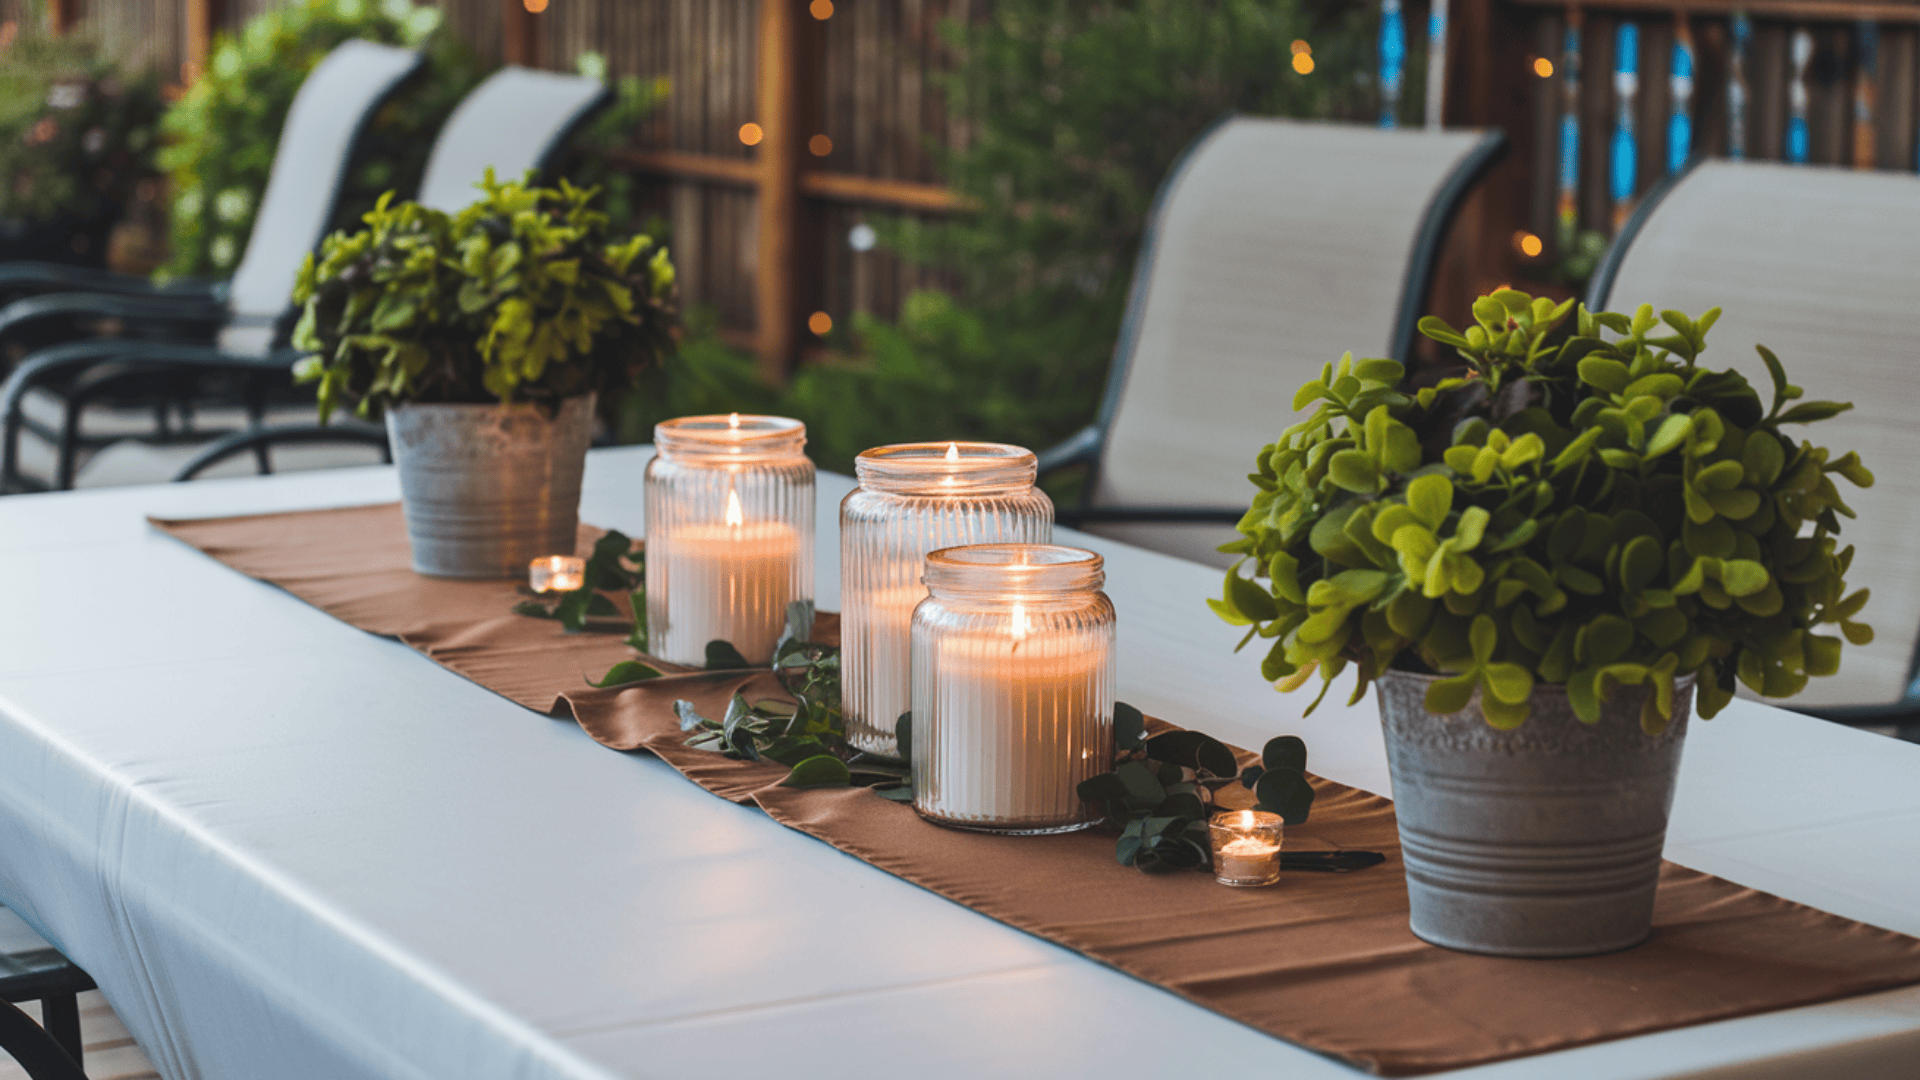
Add a Table Runner or Centerpiece
A table runner is a simple way to add style to your outdoor table. It can be replaced each season to keep the table looking fresh.
Whether it’s a bright floral print for summer or a cozy, woven runner for fall, it’s a quick way to give your table a seasonal update.
A centerpiece can also create an inviting atmosphere. A vase of fresh flowers, a set of candles, or small decorative items can transform the table and make it feel special for every meal or gathering.
Consider Built-In Features
For added convenience, consider incorporating built-in features into your DIY patio table.
A shelf or drawer underneath the tabletop can be a practical way to store napkins, outdoor utensils, or gardening tools. A built-in cooler or icebox is another great feature.
It’s perfect for keeping drinks cold during hot weather and adds a functional, cool touch to your outdoor table.
Create a Matching Outdoor Dining Set
To take your DIY outdoor patio table project further, consider building matching chairs or benches to complete your outdoor dining area. This will create a cohesive, stylish look for your entire space.
Use the same materials and finishes from your table to maintain consistency.
If you choose simple wooden benches or something more elaborate, matching seating will make your outdoor setup functional and visually appealing.
Inspiration for DIY Outdoor Table Designs

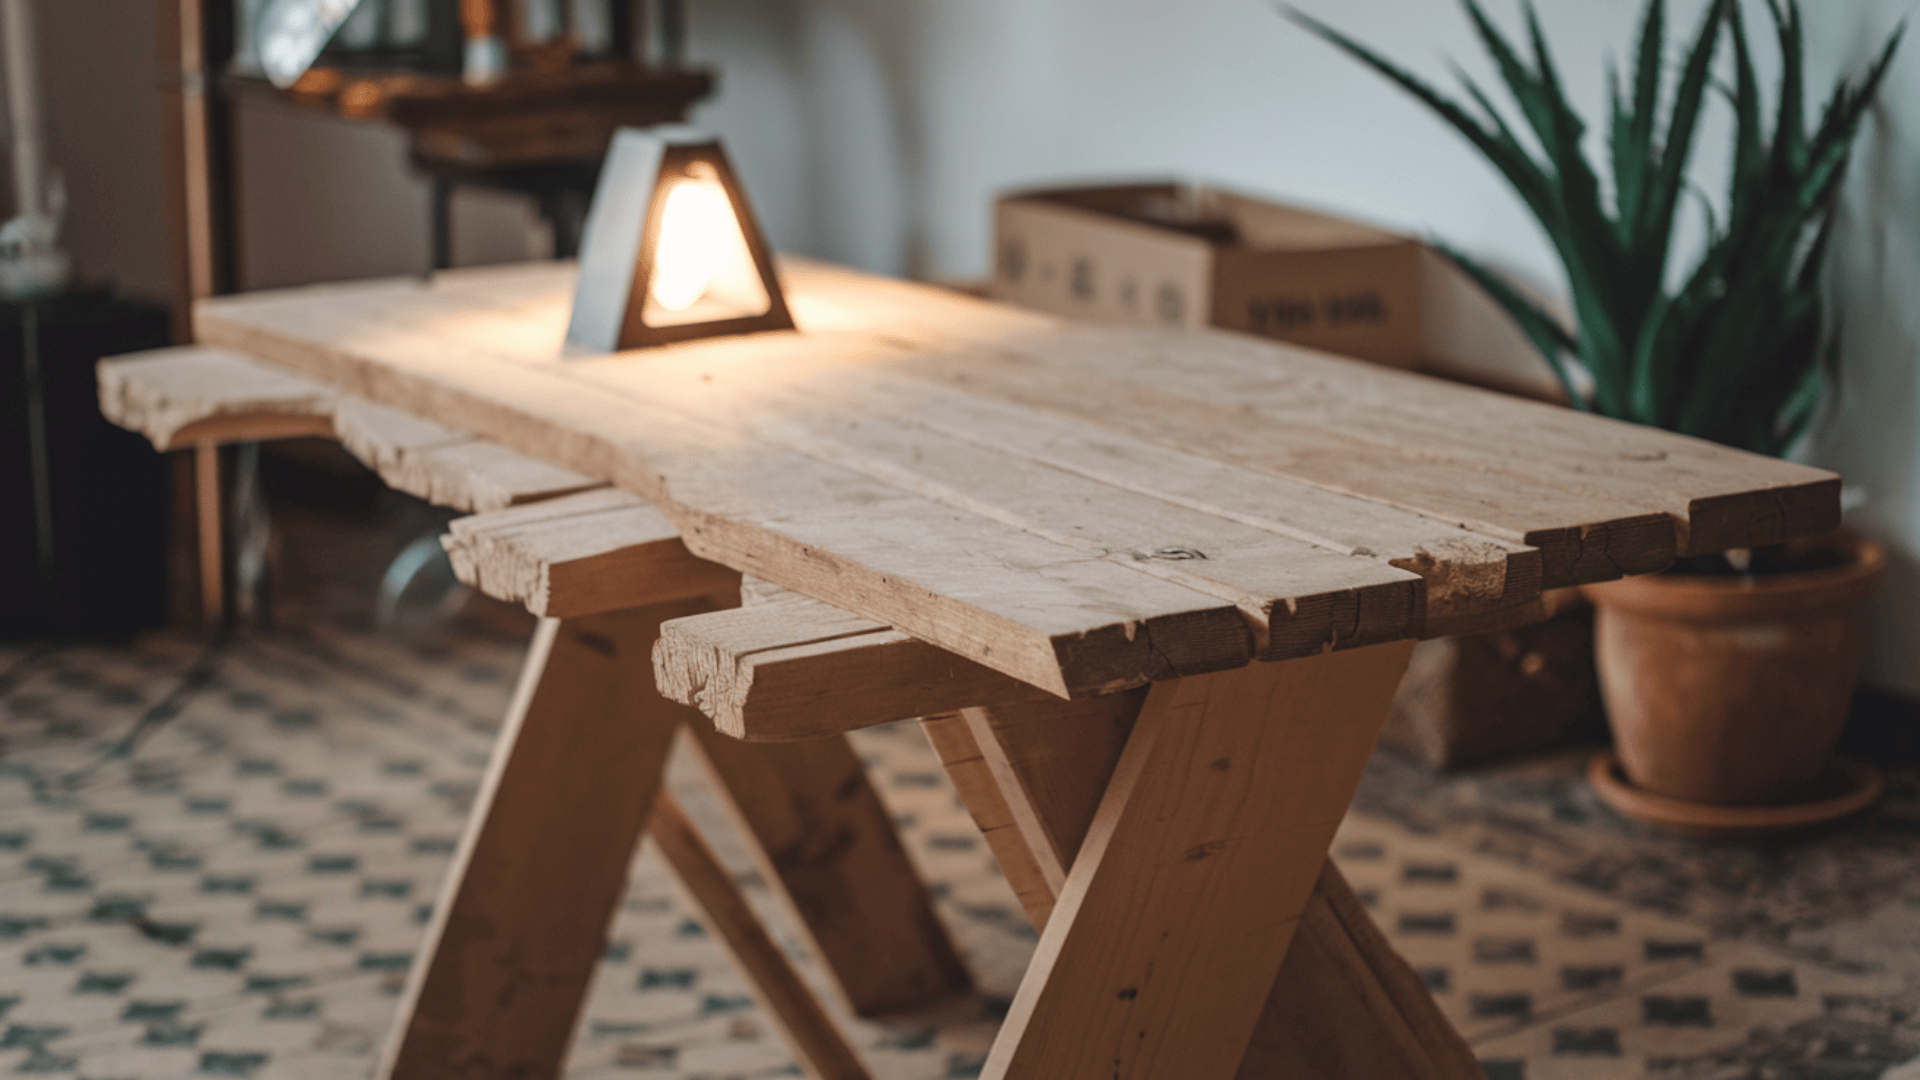
Rustic Style
For a rustic outdoor table, consider using reclaimed wood or weathered planks. This style gives the table an earthy, natural look that blends well with the outdoors.
Live-edge wood is also great for creating a unique, organic feel. Pair your rustic table with metal or wooden chairs to warm and charm the dining area.
Modern Minimalist
If you prefer a sleek, contemporary style, a modern minimalist patio table is the way to go. Opt for clean lines and smooth materials like polished wood or concrete.
The design should focus on simplicity and functionality. Keep the colors neutral and the structure simple, creating a stylish, understated look for your outdoor space.
Industrial Design
An industrial-style outdoor table combines raw materials like wood and metal for a trendy, urban look.
Consider using metal pipe legs with a wooden tabletop for a strong, sturdy table that looks practical and stylish.
This design works well in outdoor spaces with an edgy, modern feel and can be paired with similar industrial chairs or benches.
Farmhouse Table
For a classic, timeless look, go for a farmhouse-style table. Build a long, rectangular table with thick wood and a distressed paint finish to give it that worn-out, rustic charm.
To complete the setup, add matching bench seating. The farmhouse style creates a welcoming, cozy vibe for family meals or casual outdoor gatherings.
Coastal or Beachy Vibes
If you want a relaxed, beachy feel, consider using light-colored woods like driftwood or pale pine. This will give your table a fresh, coastal vibe.
Add beachy accessories like shells, cushions, and candles to complete the theme. A coastal-inspired table is perfect for creating a laid-back outdoor space that feels like a getaway.
Conclusion
DIY outdoor or patio table is a great way to enhance your backyard or patio while saving money.
With just a few simple materials, tools, and creativity, you can create a functional and stylish table that suits your needs and complements your outdoor space.
From rustic to modern or coastal designs, a DIY table can add a personal touch to your outdoor area, making it perfect for gatherings, meals, or relaxing.
Get started on your project today and enjoy the satisfaction of building something beautiful for your home!
Check out other blogs on our website for more DIY projects and ideas for improving your outdoor living space.