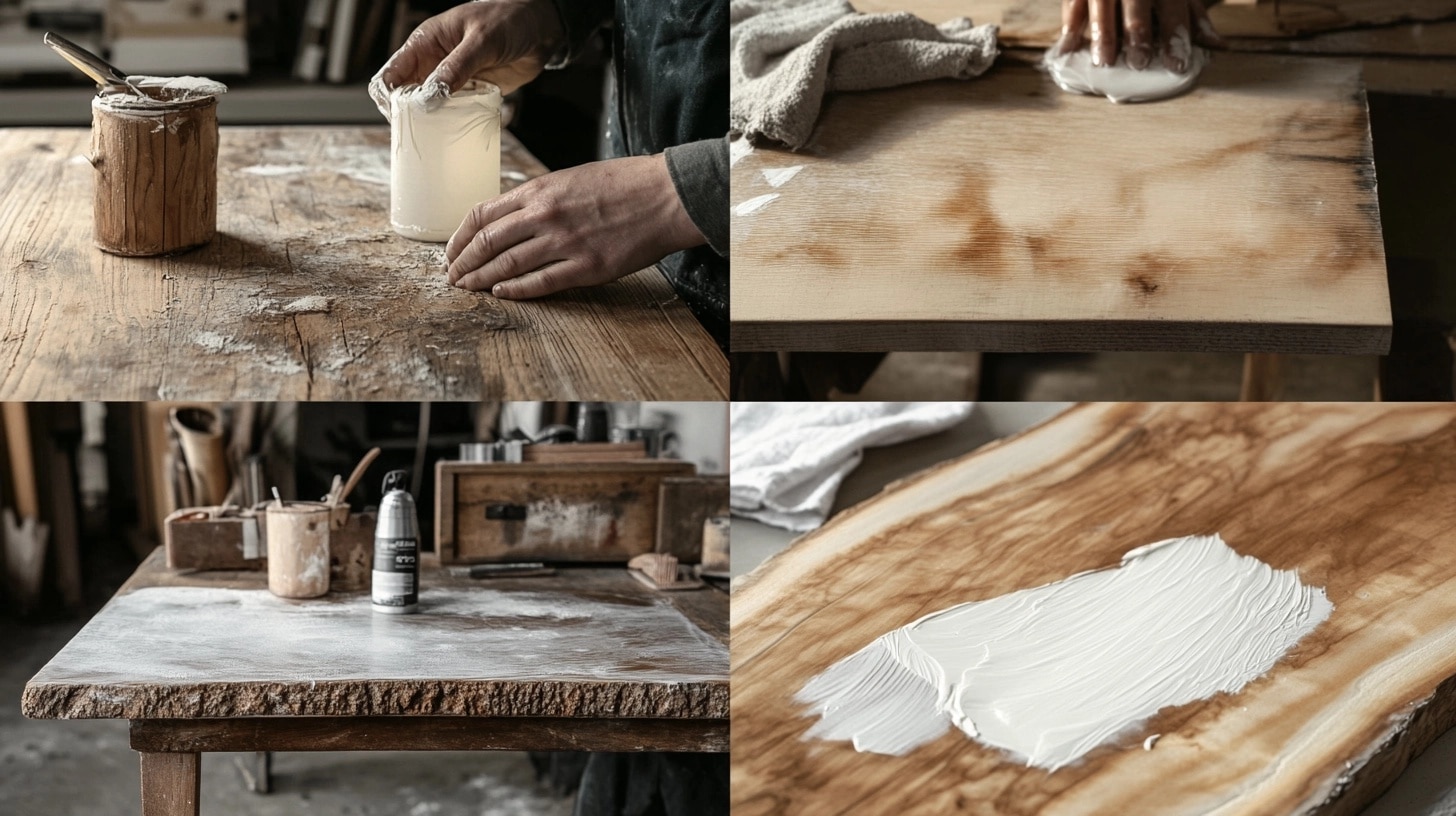
4 Step Guide to Using White Wax for Furniture
When I first discovered white wax, my furniture projects changed completely.
After five years of working with different finishes, I found that white wax offers unique effects that other products can’t match.
Customers often ask how I achieve that perfect aged look; white wax is my secret weapon.
This guide shares everything I’ve learned through countless projects and some happy accidents.
Whether you’re refinishing your first piece or looking to improve your skills with new techniques, these steps will help you master white wax application.
Understanding White Wax Basics
My first attempt with white wax taught me that knowing your materials makes all the difference.
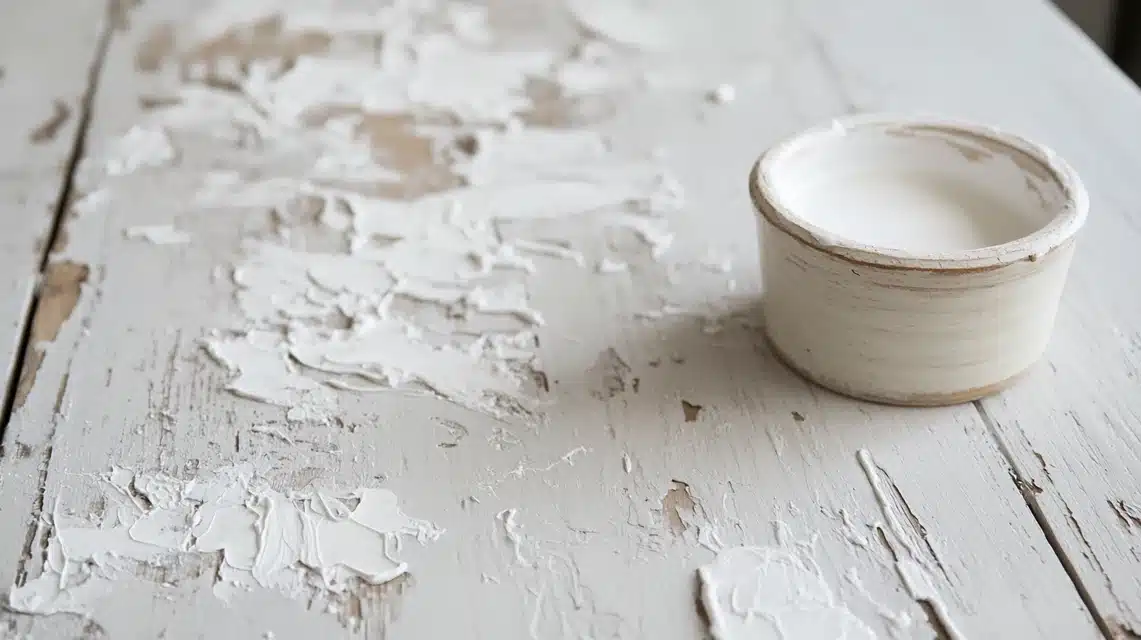
White wax is created by mixing white pigments with clear furniture wax, creating a paste that protects and colors.
Unlike paint or stain, white wax sits in wood grain and surface texture, highlighting these natural features.
It works differently from clear wax, offering more color deposit while still providing protection.
The finish changes depending on how you apply it—thick layers create more color, while thin layers add subtle depth.
Step-By-Step Guide for White Waxing the Furniture
Step 1: Surface Preparation
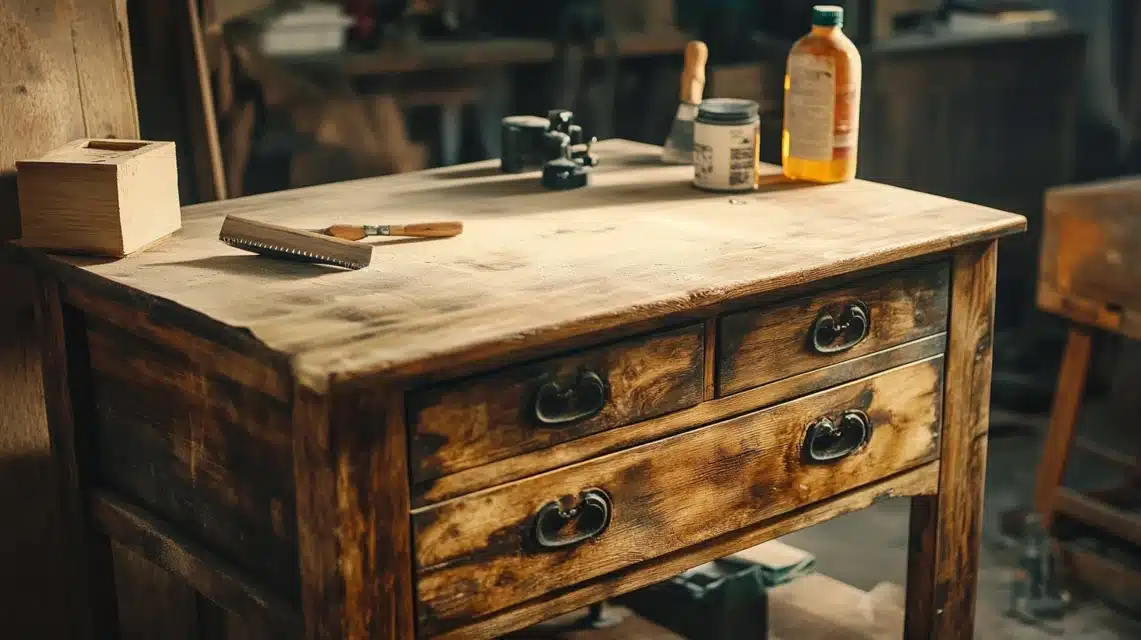
The success of my white wax projects always starts with proper preparation.
I begin by clearing my workspace and laying down a thick drop cloth to catch any drips or spills.
The furniture needs a thorough cleaning – I remove all dust, dirt, and old finishes that might affect the wax.
Temperature matters, too – I work in a room between 65-75 degrees for the best wax consistency.
Good lighting helps me spot any areas I might miss during application.
Detailed Preparation Steps
- Wipe down all surfaces with mineral spirits using a lint-free cloth.
- Allow the surface to dry completely – it usually takes about 30 minutes.
- Test the wood by running over all surfaces to feel for rough spots.
- Remove any hardware, drawers, or removable parts for easier access.
- Use medium-grit sandpaper on any rough areas until smooth.
- Vacuum the entire piece to remove all sanding dust.
- Wipe down with a tack cloth to catch any remaining particles.
- Mark any deep scratches or dents that need extra attention.
- Check all joints and seams for gaps or loose areas.
- Set up proper lighting to see all angles of your piece.
Things I’ve Learned
- Rushing preparation always leads to poor final results
- Work in a well-ventilated area for better drying
- Take photos before starting to track your progress
- Good preparation makes the actual waxing much easier
- Temperature affects how the wax spreads
Step 2: First Wax Application
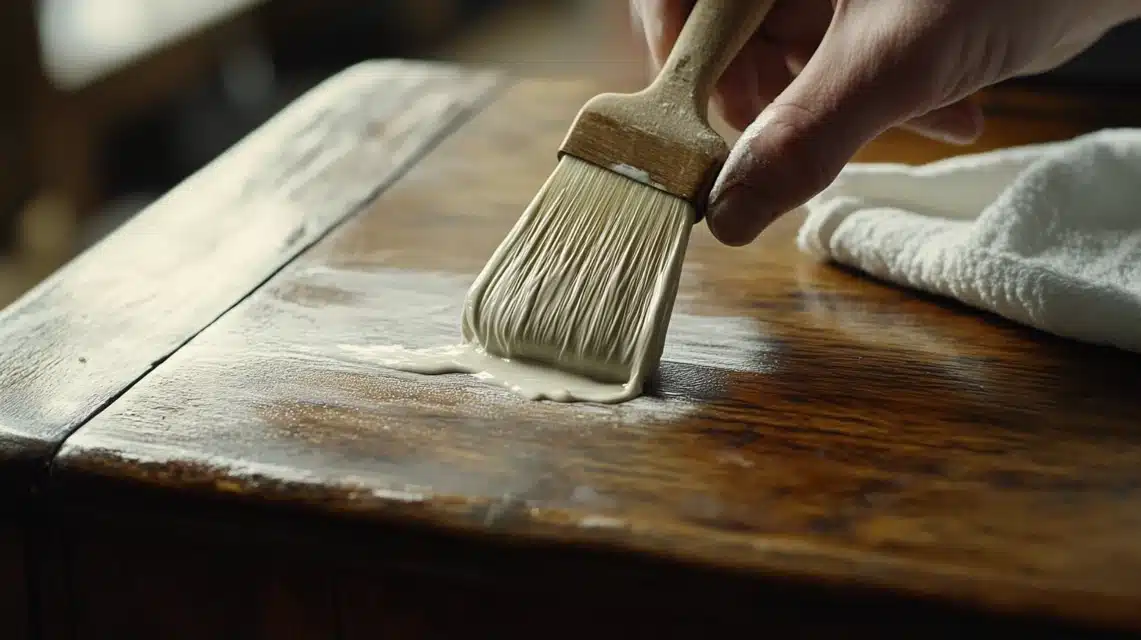
This first layer sets the foundation for your entire project.
I always start in a small, hidden area to test how the wood accepts the wax.
The key is applying thin, even coats – thick layers will become cloudy and uneven.
I work in sections no larger than 2 feet square to control the wax.
Getting this first coat right makes all the difference in the final look.
Detailed Application Steps
- Open your white wax and stir gently until the consistency is smooth.
- Load your wax brush with a small amount – less is more at this stage.
- Begin in the least visible area, working toward the wood grain.
- Apply wax using long, steady strokes with light pressure.
- Watch for any wax building up in corners or grooves.
- Immediately wipe the excess with a clean cloth after each section.
- Check your work from different angles to spot any missed areas.
- Let each section dry slightly (about 3-5 minutes) before moving on.
- Keep your clothes folded to a clean side for each new section.
- Stand back occasionally to ensure even coverage.
Things I’ve Learned
- Starting with too much wax is the most common mistake
- Working in small sections prevents the wax from drying too quickly
- The first coat should look slightly uneven – that’s normal
- Room temperature affects how quickly you need to work
- Keep your brush clean between sections for the best results
Step 3: Building Layers and Effects
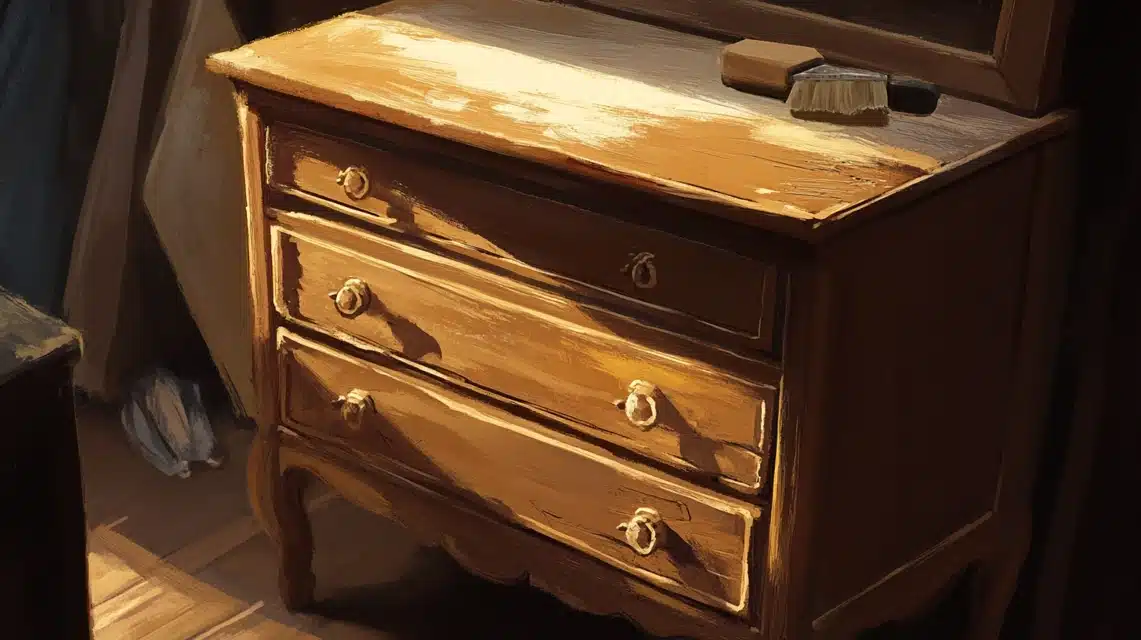
After the first coat sets for about 15 minutes, I create depth in the finish.
This stage lets me control how aged or weathered the piece will look.
Each layer adds character, but patience between coats prevents muddiness.
I pay special attention to areas that would naturally wear over time.
The magic happens in this step as the piece starts showing its personality.
Detailed Layering Steps
- Check that the first layer has set but isn’t completely dry.
- Load the brush with slightly less wax than the first coat.
- Focus on areas that need more white or aging effects.
- Work in circular motions for natural-looking wear patterns.
- Build up edges and corners where natural wear occurs.
- Wipe back areas that look too heavy with a clean cloth.
- Add texture by stippling with a nearly dry brush.
- Create subtle shadows in recessed areas.
- Blend transitions between heavy and light areas.
- Step back frequently to check the overall balance.
Things I’ve Learned
- Each layer should be thinner than the last
- Different brush strokes create different effects
- Letting layers dry too long makes blending difficult
- Natural wear patterns make pieces look authentic
- Keep track of how many layers you apply in each area
Step 4: Final Buffing and Finishing
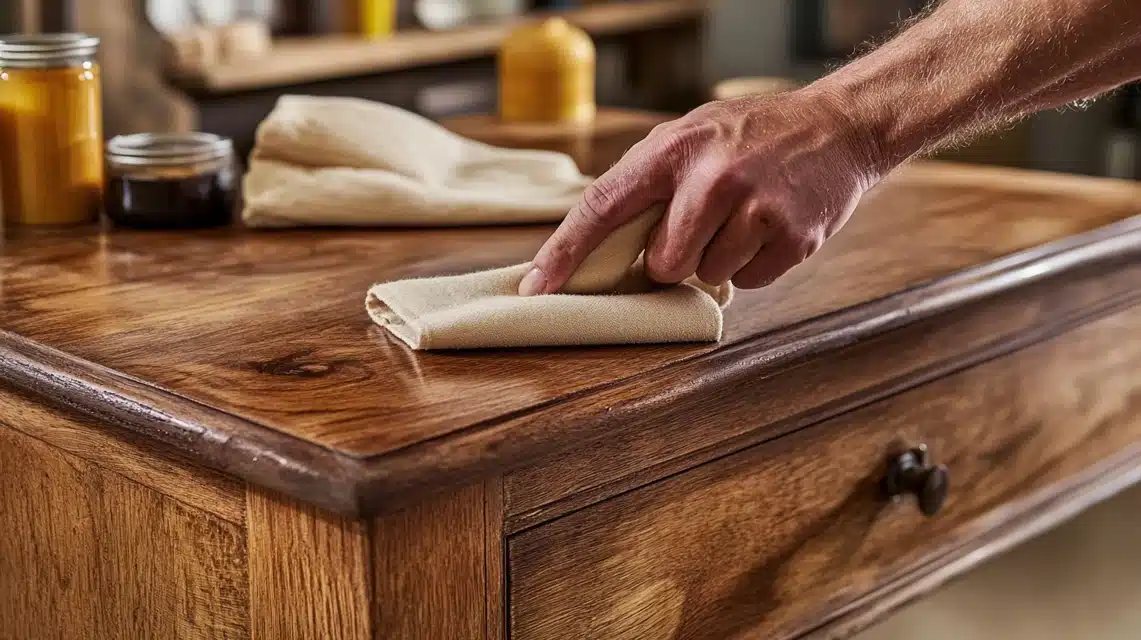
This final stage transforms your work from good to professional quality.
I usually wait about an hour after the last coat before starting the buffing process.
The finish should feel slightly tacky but not wet when you begin buffing.
This step brings out the subtle variations in your layering work.
I’ve found that good buffing can save a piece that looks too heavy or uneven.
Detailed Buffing Steps
- Test the surface with light finger pressure – it should not leave a mark.
- Start with gentle circular motions using a clean white cotton cloth.
- Increase pressure gradually as you work across the surface.
- Pay extra attention to areas where layers meet.
- Use fresh sections of cloth when buffing gets harder.
- Work systematically from top to bottom of your piece.
- Check progress by viewing the surface at different angles.
- Buff edges and details with a folded corner of cloth.
- Remove any remaining wax buildup in the corners.
- Make final passes in the direction of the wood grain.
Things I’ve Learned
- More pressure isn’t always better
- Cotton cloths work better than microfiber
- Good lighting helps spot missed areas
- Some spots might need extra buffing
- Take breaks to avoid arm fatigue
White Wax Furniture: Maintenance and Care Guide
After years of working with white-waxed pieces, I’ve developed a detailed care system.
Each piece needs different attention based on its use and location.
Understanding proper care extends the life of your finish significantly.
I provide my clients with these exact guidelines for long-term maintenance.
Let me break down the care requirements by timeframe and situation.
1. Daily Care Table
| Task | Method | Tools Needed | Warning Signs |
|---|---|---|---|
| Dusting | Soft circular motions | Microfiber cloth | Visible dust buildup |
| Spot Cleaning | Light damp wiping | Clean cotton cloth | Water marks |
| Surface Check | Visual inspection | Good lighting | Scratches or marks |
| Heat Protection | Use coasters/pads | Protective items | Ring marks |
| Sunlight Control | Adjust blinds/position | Window coverings | Fading areas |
2. Monthly Care Table
| Task | Frequency | Process | Prevention Tips |
|---|---|---|---|
| Deep Clean | Once monthly | Mild soap solution | Avoid harsh chemicals |
| Scratch Check | Every 2-3 weeks | Close inspection | Move items regularly |
| Wax Touch-up | As needed | Spot application | Keep wax on hand |
| Buff Surface | Every 3-4 weeks | Light pressure | Use clean cloths |
| Moisture Check | Twice monthly | Feel surface | Use humidity meters |
3. Seasonal Maintenance Table
| Season | Special Care | Products Needed | Focus Areas |
|---|---|---|---|
| Spring | Deep clean, check for winter damage | Wood cleaner, touch-up wax | Dry spots, scratches |
| Summer | Protect from sun, monitor humidity | UV protectant, hygrometer | Sun-exposed areas |
| Fall | Prepare for the heating season | Humidifier, wax coating | All surfaces |
| Winter | Monitor for dryness, heat damage | Moisture meter, wax | Near heat sources |
White Wax for Furniture: Common Problems and Solutions
When working with white wax, I’ve encountered various issues that taught me valuable lessons. Each problem has shown me new ways to perfect the finish.
1. Cloudy Finish Issues
The most common problem I see is a cloudy, uneven surface after waxing.
This usually happens when too much wax builds up in certain areas.
I solve this by gently warming the surface with a hair dryer on low heat.
Then, I immediately buff with a clean cloth using firm, circular motions.
Sometimes, I must remove excess wax with mineral spirits before reapplying a thinner coat.
2. Streaking Solutions
Streaks appear when the wax isn’t blended properly during application.
I’ve learned to work in smaller sections and blend edges while the wax is still wet.
Using long, overlapping strokes helps prevent visible lines between sections.
If streaks appear after drying, I lightly sand the area and reapply a thin coat.
The key is maintaining wet edges while working across the surface.
3. Patchy Coverage Fixes
When patches show through the finish, it usually means uneven application.
I start by cleaning the surface thoroughly with mineral spirits.
After drying completely, I apply very thin, even coats with a quality brush.
Building up layers gradually works better than one thick coat.
Each layer needs proper drying time before adding the next.
4. Color Inconsistency Repairs
Sometimes, different areas accept the wax differently, creating color variations.
I solve this by first applying a light base coat of clear wax.
This creates an even surface for the white wax to adhere to.
Working in good lighting helps spot inconsistencies early.
Regular stepping back to check overall appearance prevents missed spots.
Conclusion
After countless pieces and years of working with white wax, I’ve found it to be one of the most versatile finishing techniques.
Every project teaches something new, from how different woods react to which application methods work best.
The key to success is proper preparation, patience between layers, and understanding your material.
I still get excited seeing how each piece develops its character through waxing.
My advice remains: start with small projects, work in a good light, and trust the process.
Remember that perfection comes from practice – my first pieces looked nothing like the work I do today.
Each project builds your confidence and skill with this fascinating finishing technique.
Keep learning, experimenting, and, most importantly, enjoy the creative process.
Frequently Asked Questions
What’s the Difference Between White Wax and White Paint?
White wax settles into wood grain and can be buffed to different sheens. It creates softer, more natural aging effects than paint. You can better control the intensity, which works well for layering effects.
How Long Does White Wax Finish Last?
With proper care, my white wax finishes typically last 2-3 years before needing touch-ups. Regular dusting and avoiding harsh cleaners help extend its life. High-traffic pieces might need yearly maintenance.
Can I Apply White Wax Over Painted Furniture?
Yes, white wax works beautifully over paint, especially chalk-style finishes. I test a small area first and ensure the paint has cured fully. The wax can highlight texture and create depth in painted surfaces.
What’s the Best Way to Fix Mistakes?
Start by wiping excess wax with mineral spirits using a clean cloth. Let it dry completely before reapplying. Working in small sections prevents major mistakes. Remember, you can always add more wax, but removing it takes time.
Do I Need Special Tools for White Wax Application?
Simple tools work best: quality wax brushes, clean cotton cloths, and good lighting. Avoid synthetic materials that can leave fibers in the wax. Keep separate brushes for different colored waxes to prevent mixing.

