Step by Step Guide to Painting a Tile Floor
Painting tile floors is a simple and budget-friendly way to update outdated flooring.
With the right materials and preparation, you can complete this DIY project in a weekend.
This method works on different floor types, including ceramic tile, laminate, vinyl, and concrete.
Choosing the right paint and applying it correctly ensures a durable and long-lasting finish.
Proper planning lets you achieve a stylish, refreshed look that complements your home’s decor.
With painted tile floors, you can achieve a modern, rustic, or vintage feel, offering endless design possibilities.
Choosing the Right Paint for Tile Floors
Not all paints work for tile floors. Wall paint lacks the durability needed for flooring and will wear down quickly.
Best Paint Options:
- Benjamin Moore Floor & Patio Paint – Designed for durability in high-traffic areas.
- Rust-Oleum HOME Floor Coating – No primer needed, made for foot traffic and daily wear.
Key Features to Look For:
- Scratch-resistant and stain-resistant for long-lasting results.
- Designed to withstand foot traffic without peeling or fading.
- It provides a smooth, durable finish that enhances the floor’s appearance.
Preparation Before Painting Tile Floors

Proper preparation is key to a long-lasting painted floor. Skipping these steps can lead to peeling and poor adhesion.
Step 1: Clean the Surface
- Remove dirt, dust, and grease using Krud Kutter Cleaner & Degreaser.
- If the floor has wax, strip it before painting.
- Allow the surface to dry completely.
Step 2: Sand for Better Adhesion
- Lightly sand with 80, 120, and 220 grit sandpaper, or use an electric sander.
- This removes glaze or buildup, helping the primer and paint bond properly.
Step 3: Repair & Protect
- Fill cracks and missing grout with paintable caulk.
- Apply painter’s tape along baseboards, cabinets, and any areas not being painted.
Step 4: Adhesion Test
- Paint a 3-inch-by-3-inch section and let it dry for 12 hours.
- Perform the duct tape test: firmly press tape over the paint and pull it off.
- Additional sanding is needed before proceeding if more than 10% peels off.
How to Paint Tile Floors
A proper application process ensures a smooth, durable, and long-lasting finish.
Step 1: Apply a High-Quality Primer (If Required)
- Use INSL-X STIX or Rust-Oleum HOME primer for better adhesion on slick surfaces.
- Some tile paints, like Rust-Oleum HOME Floor Coating, do not require a primer.
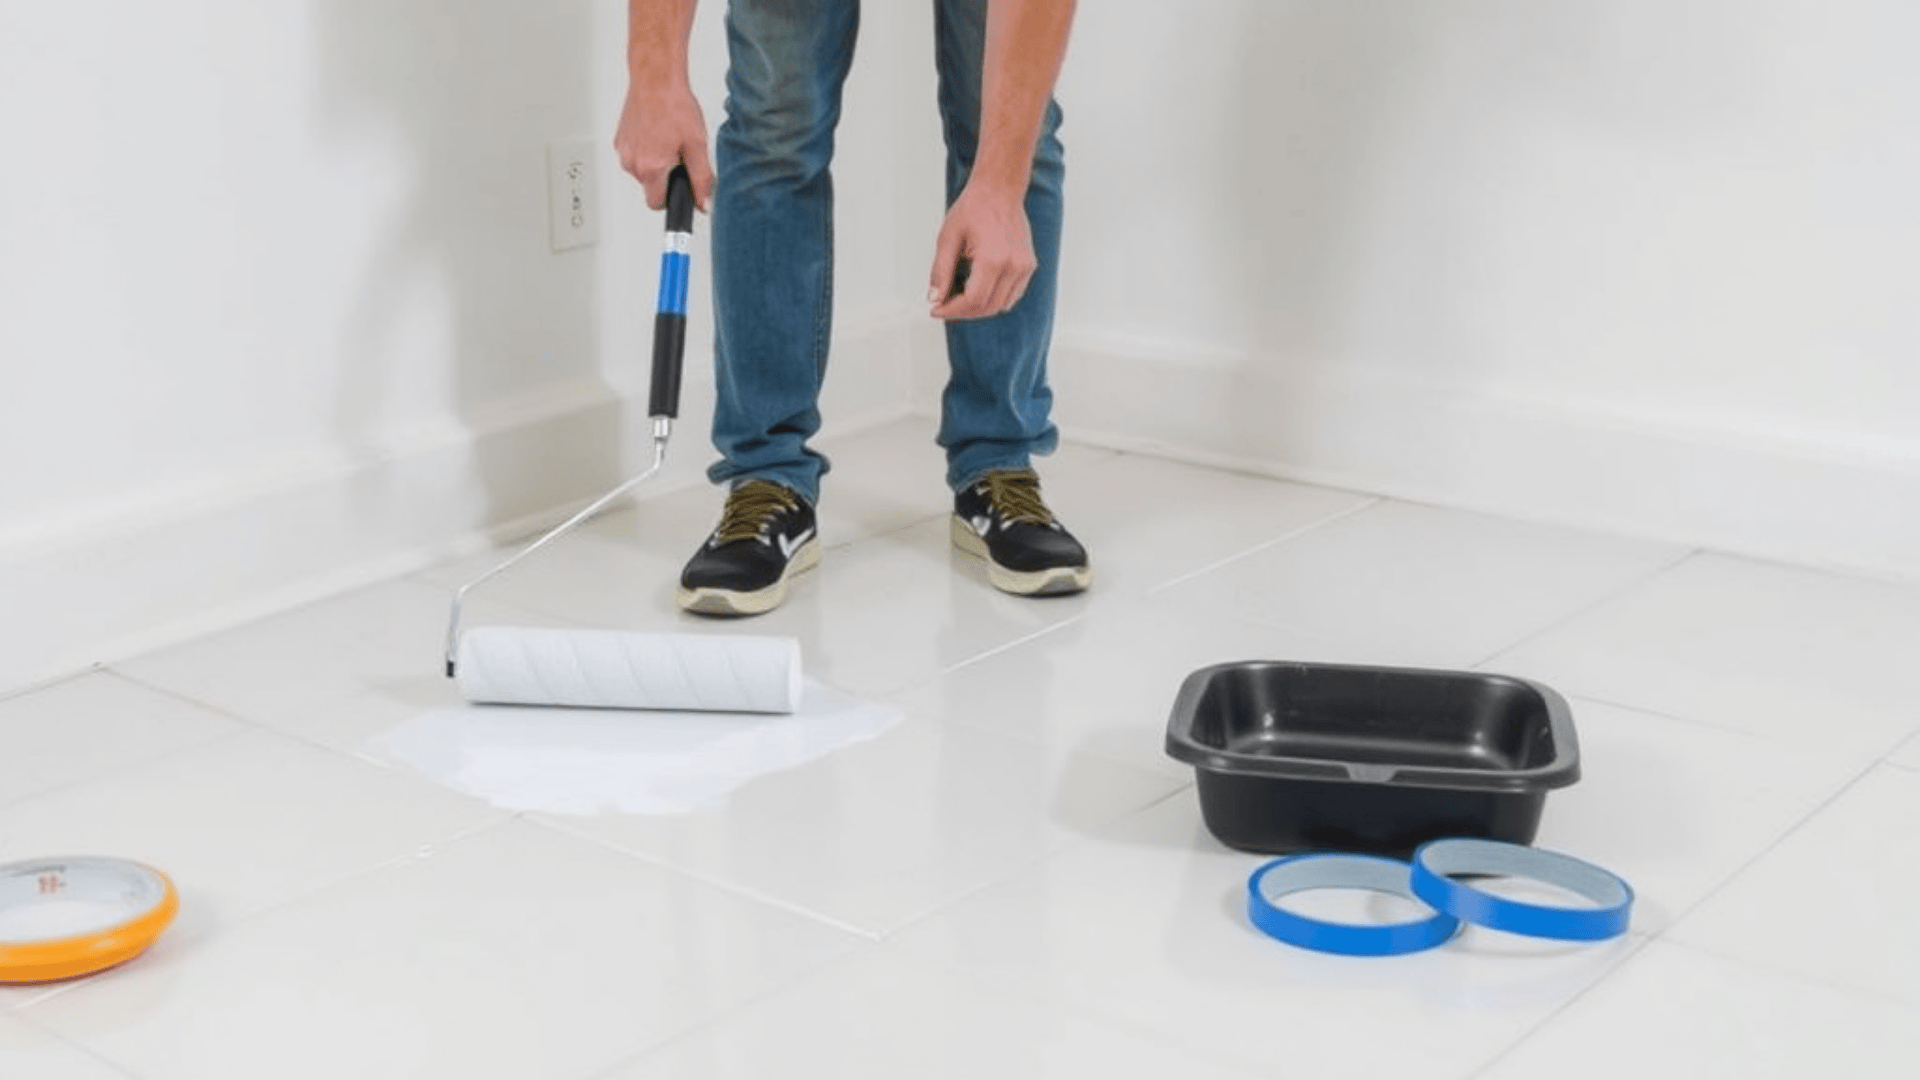
Step 2: Apply the Base Coat
- Start at the farthest corner and work toward the exit to avoid stepping on wet paint.
- Use a 3/8-inch nap roller for an even application.
- Apply in 4-foot-by-4-foot sections, maintaining a wet edge to prevent lap marks.
- Allow the paint to dry for 6 hours before making any touch-ups.
Step 3: Apply the Top Coat for Protection
- Apply one to two coats for added durability.
- If applying a second top coat, wait 1-2 hours before reapplying.
- Ensure the final coat is applied within 24 hours of the first one for best results.
Step 4: Drying & Curing
- Wait 24 hours before walking on the floor.
- Avoid placing furniture for 72 hours—do not drag heavy items.
- The coating fully cures in 7 days—avoid mopping or cleaning during this period.
Adding Stencils & Decorative Designs
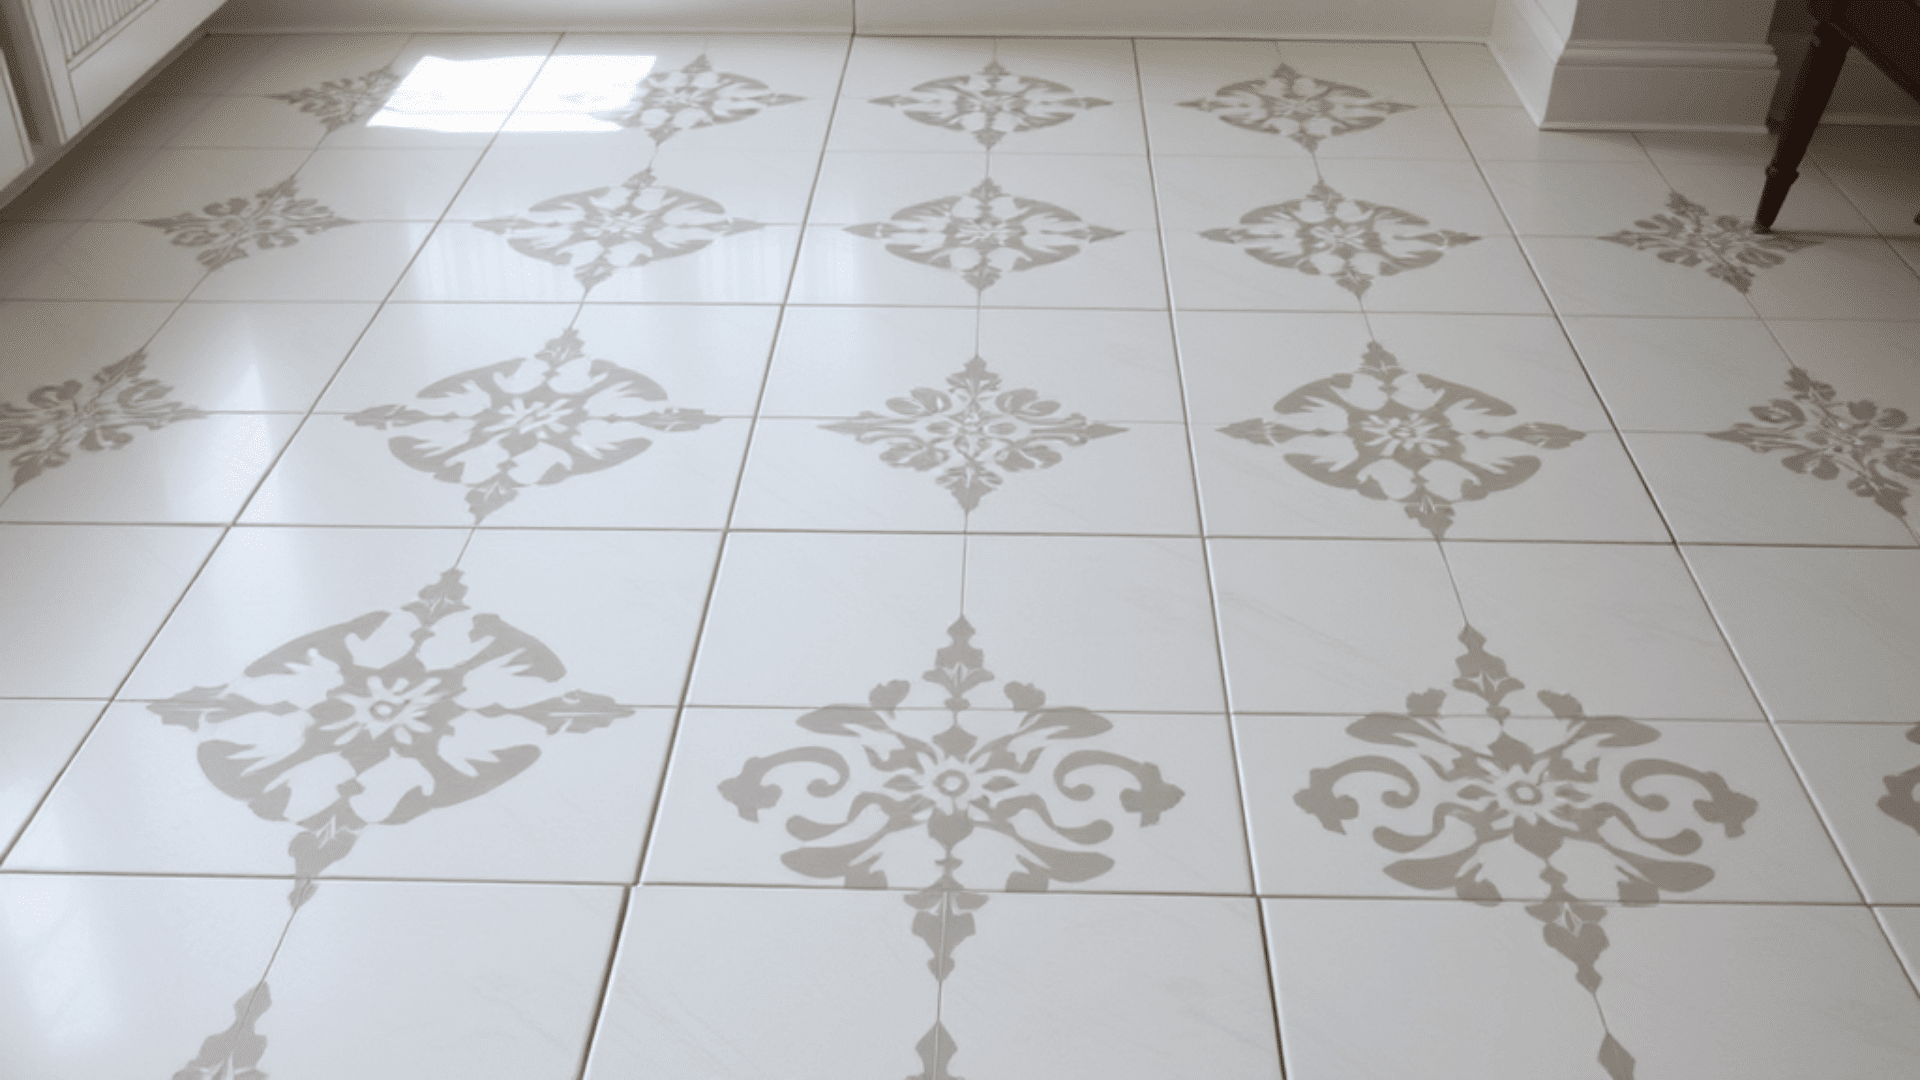
Stenciling over painted tile is an easy way to enhance the visual appeal and create a unique look.
Can You Stencil Over Painted Tile?
Yes, stenciling adds character and design to painted tile floors.
It works well for creating patterns like geometric shapes, florals, or vintage motifs.
Steps for Stenciling Tile Floors
Step 1: Wait for the Base Coat to Dry
- Allow at least 6 hours after applying the base coat before stenciling.
- Ensure the surface is completely dry to prevent smudging.
Step 2: Use the Right Tools
- A stencil brush or sponge ensures crisp lines and minimal paint bleed.
- Lightly dab or roll on paint instead of brushing to avoid smudging.
Step 3: Apply in Thin Layers
- Use thin coats of paint to prevent paint from seeping under the stencil.
- Let each section dry before moving the stencil to the next tile.
Step 4: Seal for Durability
- Apply an extra top coat over the stenciled design for protection.
- This helps prevent fading and wear over time.
Painting Tile Grout
Painting tile floors also covers the grout, giving a seamless and uniform appearance. However, for the best results, remember a few things.
Does Tile Paint Cover Grout?
Yes, tile paint coats the tile and grout, creating a consistent color and finish.
This eliminates the need for separate grout painting or staining.
What If You Need to Replace the Grout?
Remove old grout before painting for a clean, even surface.
After the paint has fully dried, reapply caulk to seal gaps and prevent moisture damage.
Best Caulk for Grout Touch-Ups
Use non-silicone, paintable caulk for repairs or to fill in missing grout.
This ensures smooth blending with the painted surface.
Budget-Friendly Ways to Achieve a Professional Finish
With smart DIY techniques and creative repurposing, you can achieve a high-end look on a budget.
DIY Projects
Distress furniture to complement the newly painted floor and enhance a rustic or vintage aesthetic.
Whitewash wood for a timeless, aged effect that pairs well with cottage or farmhouse styles.
Thrifting & Repurposing
Shop at flea markets and thrift stores for unique, budget-friendly vintage decor.
Refresh old furniture with new hardware, a fresh coat of paint, or simple refinishing techniques.
These small, cost-effective updates help tie the space together while keeping costs low.
Common Challenges & How to Overcome Them
Painting tile floors can be a simple and effective upgrade, but certain challenges may arise. Here’s how to tackle them:
Paint Peeling or Poor Adhesion
Solution: Properly prepare the surface by thoroughly cleaning, sanding, and priming before painting.
Tip: Perform an adhesion test to ensure the paint bonds well before committing to the full project.
Balancing Modern & Rustic Elements
Solution: Combine vintage-inspired furniture with sleek, contemporary decor.
Tip: Use neutral colors and natural materials to create a harmonious blend of styles.
Avoiding a Cluttered Look
Solution: Keep the space light and airy by using minimal decor.
Tip: Focus on key statement pieces rather than overcrowding the area with accessories.
Seasonal Decor Ideas for Painted Tile Floors
Refreshing your space with seasonal decor can enhance the beauty of painted tile floors throughout the year.
Spring & Summer
Opt for airy, neutral-toned, or pastel rugs to brighten the space.
Use fresh or dried flowers in simple vases for a natural touch.
Add rattan baskets, linen curtains, and soft cotton throws for an effortless, breezy feel.
Fall & Winter
Incorporate plush rugs, thick blankets, and textured cushions for warmth.
Soft lighting from candles or lanterns creates a cozy atmosphere.
Introduce earthy hues like deep reds, burnt oranges, and warm browns in decor elements.
Cleaning & Maintaining Painted Tile Floors
Proper care helps maintain the durability and appearance of painted tile floors.
- First 7 Days: Avoid cleaning or mopping while the paint fully cures.
- Gentle Cleaning: Avoid harsh chemicals or abrasive scrubbers with mild soap and water.
- Protect from Scratches: Place felt pads under furniture legs and avoid dragging heavy objects.
- Routine Maintenance: Sweep or vacuum regularly to prevent dust and dirt buildup.
- Spot Cleaning: Wipe spills immediately to prevent stains and wear.
With regular upkeep, painted tile floors can stay fresh and beautiful for years.
Conclusion
Painting tile floors is an easy and affordable way to transform your space.
It updates the look of your home without the hassle of replacing tiles.
Following the right steps—proper cleaning, sanding, and using high-quality paint—can achieve a smooth and durable finish.
This method works on various flooring materials, making it a versatile option for different rooms.
If you’re looking for more DIY home improvement ideas, check out similar guides on our website!