Step-by-Step DIY Electric Fireplace Surround: Transform Your Space Today
I’ve always loved the warmth and comfort of a fireplace, but the upkeep of a traditional one was too much for me.
That’s when I found electric fireplaces. They’re clean, easy to use, and don’t require a chimney. But I wanted something more personal, so I decided to build a custom surround.
In this guide, I’ll share my experience creating a DIY electric fireplace surround.
I’ll walk you through each step, from planning to the final touches. You’ll learn how to measure, cut, and put together your own surround. I’ll also give you tips on painting and decorating.
By the end, you’ll have the know-how to make a fireplace surround that fits your style and adds charm to your home.
Let’s get started on this exciting project!
How to Choose the Right Electric Fireplace
When I started my DIY fireplace project, picking the right unit was crucial. Here’s what I learned:
Wall-mounted fireplaces are great for small spaces. They hang on the wall like a TV, saving floor space. Recessed models fit into the wall for a sleek look.
If you want something more traditional, consider an insert. These fit into existing fireplaces or can be built into a new surround. They come in various sizes to suit different spaces.
Freestanding electric stoves offer a rustic charm and can be moved around easily. They’re perfect if you’re not ready for a permanent installation.
Think about the size of your room, your preferred style, and how much heat you need.
Some units are just for looks, while others can warm up a room. Also, check the installation requirements – some need a dedicated circuit.
Remember, the fireplace you choose will impact your surround design, so take your time with this decision.
Step-by-Step Guide for Building a DIY Electric Fireplace Surround
Materials Required
| Material | Quantity | Cost |
|---|---|---|
| Electric Insert | 1 | $300.00 |
| 2×4 10 ft long Kiln Dried Wood | 13 | $78.00 |
| Sheets 1/2 in Drywall | 3 | $48.00 |
| 2.5 inch Wood Screws | As needed | $12.00 |
| Drywall Screws | As needed | $10.00 |
| Metal Corner Beads | 2 | $8.00 |
| Joint Compound | As needed | $20.00 |
| Joint Tape | As needed | $5.00 |
| Paint | As needed | $50.00 |
| Drywall Primer | As needed | $20.00 |
| Sponge | 1 | $3.00 |
| Shims | As needed | $2.00 |
Tools Required
| Tool | Quantity | Cost |
|---|---|---|
| Metal Snips | 1 pair | $10.00 |
| Putty Knife | 1 | $5.00 |
| Trowel | 1 | $10.00 |
| Mud Bucket | 1 | $8.00 |
| Drywall Sanding Screen | 1 | $5.00 |
| Hand Sanding Grip | 1 | $7.00 |
| Speed Square | 1 | $8.00 |
| Chop Saw | 1 | $150.00 |
| Cordless Jig Saw | 1 | $100.00 |
| Chalk Reel | 1 | $5.00 |
| Dremel Multi-Max | 1 | $99.00 |
| Husky Soft Cap Gel Knee Pads | 1 pair | $25.00 |
| General Purpose Work Gloves | 1 pair | $7.00 |
| Safety Glasses | 1 pair | $5.00 |
| Dust Mask | 1 | $3.00 |
| Hearing Protection | 1 | $10.00 |
Total Estimated Cost
Total Cost for Materials and Tools- $706.30
Step 1: Plan and Mark the Fireplace Frame
- Mark the lines on the wall for your fireplace framing using tape or chalk.
- Ensure the area is measured for your electric insert and the fireplace’s overall size.
Step 2: Prepare the Wall and Baseboards
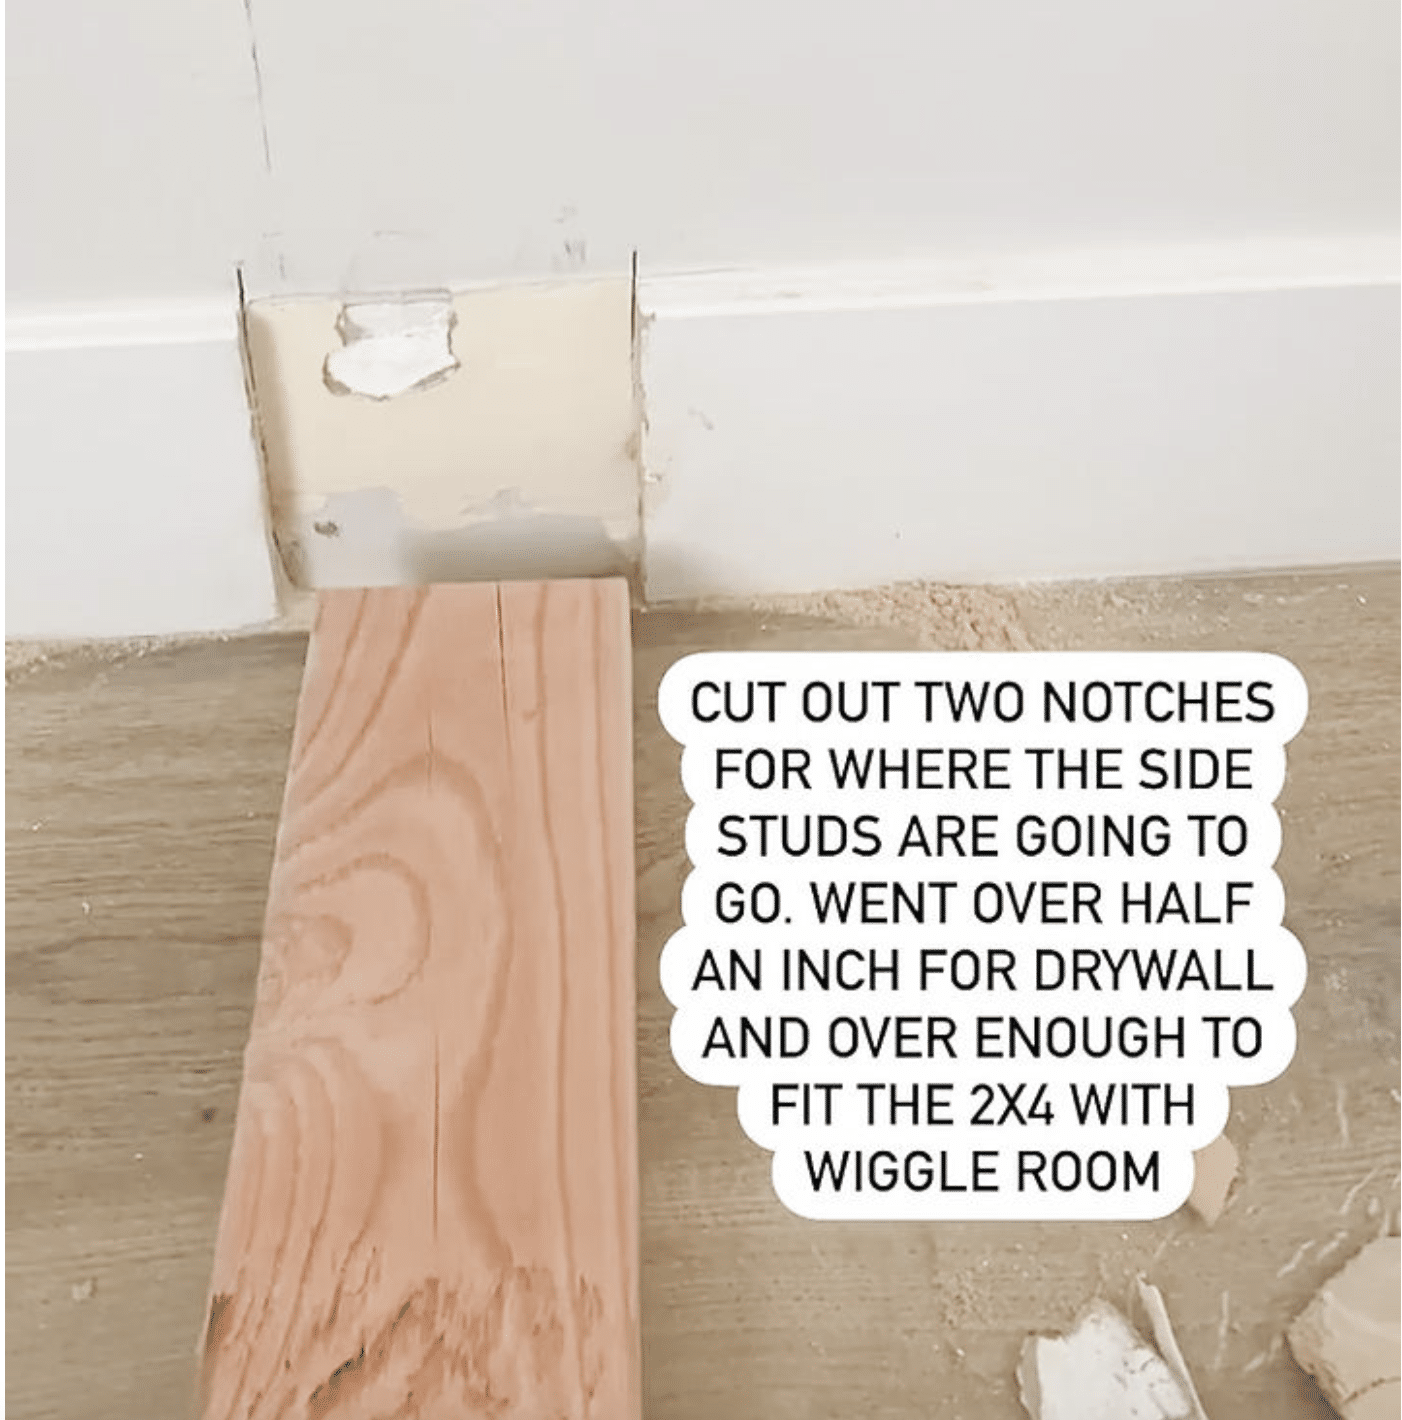
- Notch out the baseboards using a multitool and pry bar to fit the 2×4 frame.
- Ensure enough space is cleared to accommodate both the studs and drywall.
Step 3: Build and Install the Frame
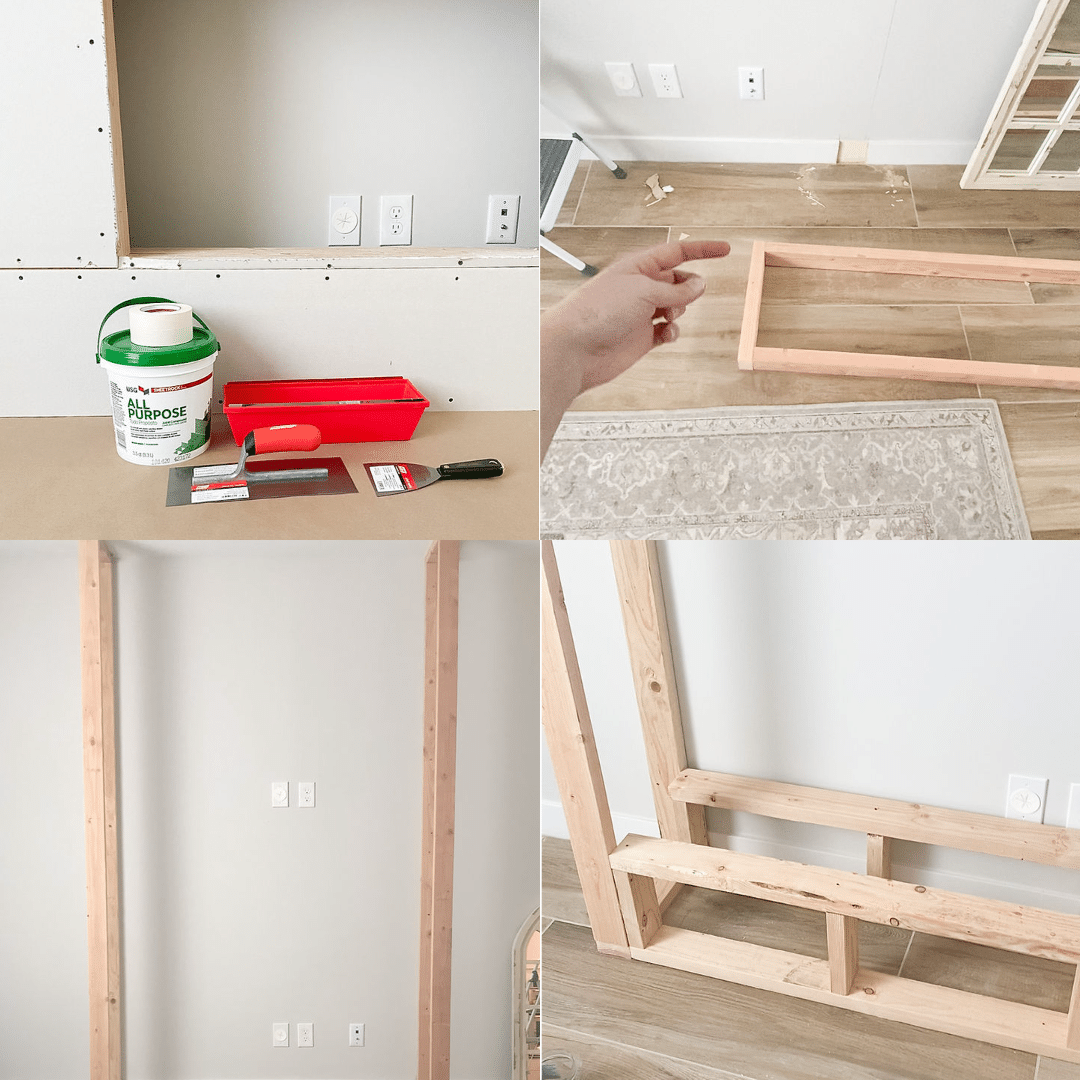
- Cut 2x4s to the appropriate size for the side studs and assemble them.
- Stand the side studs vertically and secure them to the wall, aligning with wall studs for support.
- Add horizontal front plates between the side studs at the top and bottom.
Step 4: Construct the Platform for the Insert
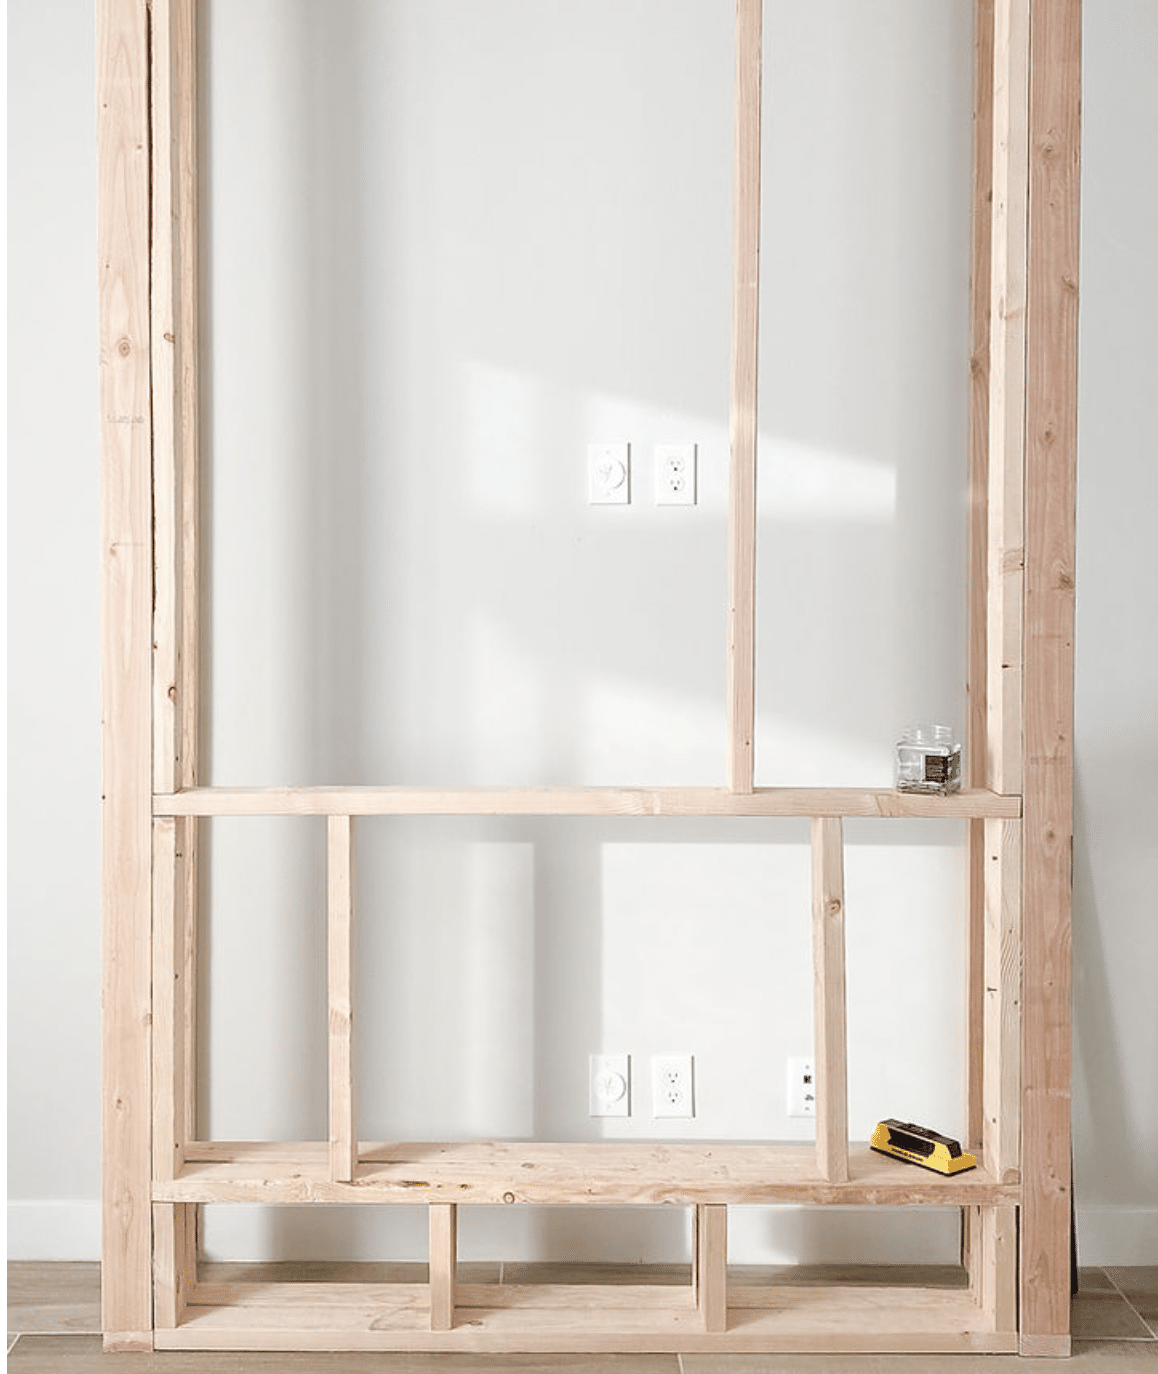
- Build a platform for the electric insert by cutting and attaching 2x4s.
- Ensure the insert sits level and at the desired height (in this case, 10 inches above the floor).
Step 5: Frame the Insert Area and Add Support
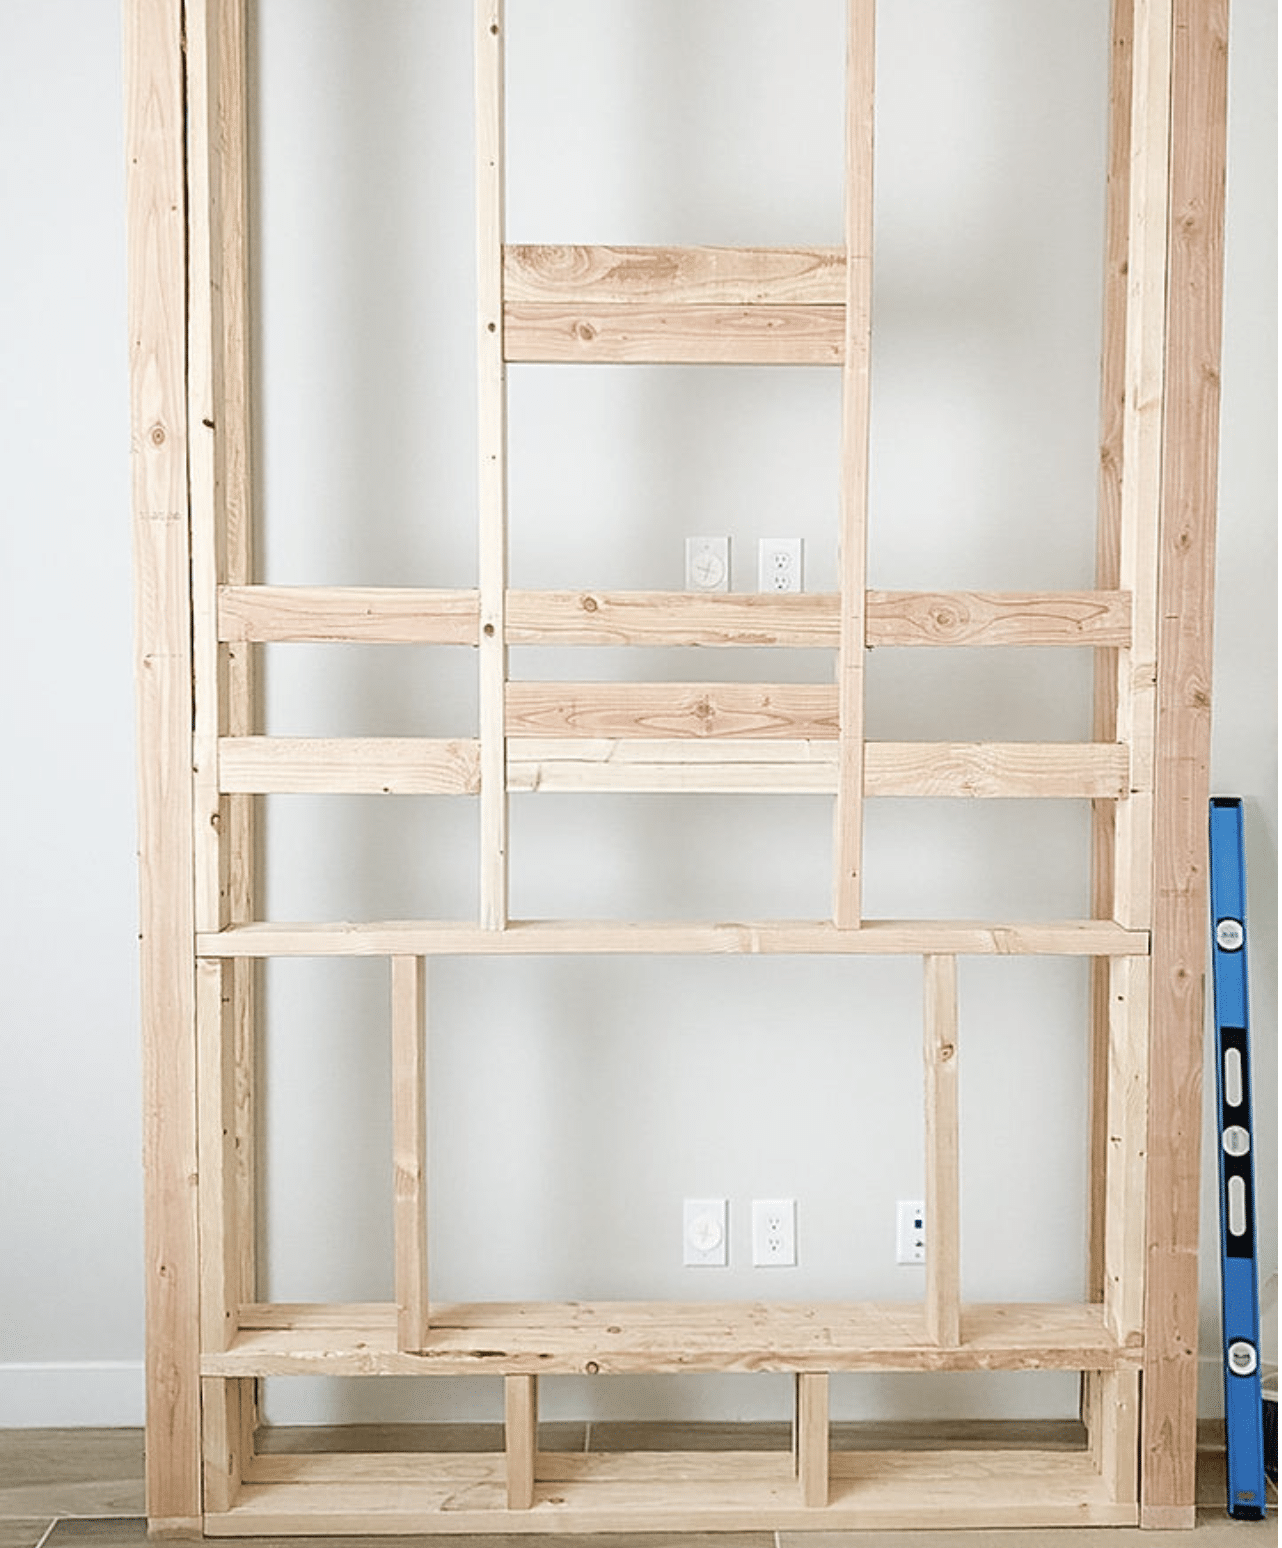
- Frame the insert area by attaching additional 2x4s above and around the insert opening.
- Add extra support for the mantel and TV by cutting and installing horizontal studs at the desired heights.
Step 6: Attach Drywall and Prepare for Finishing
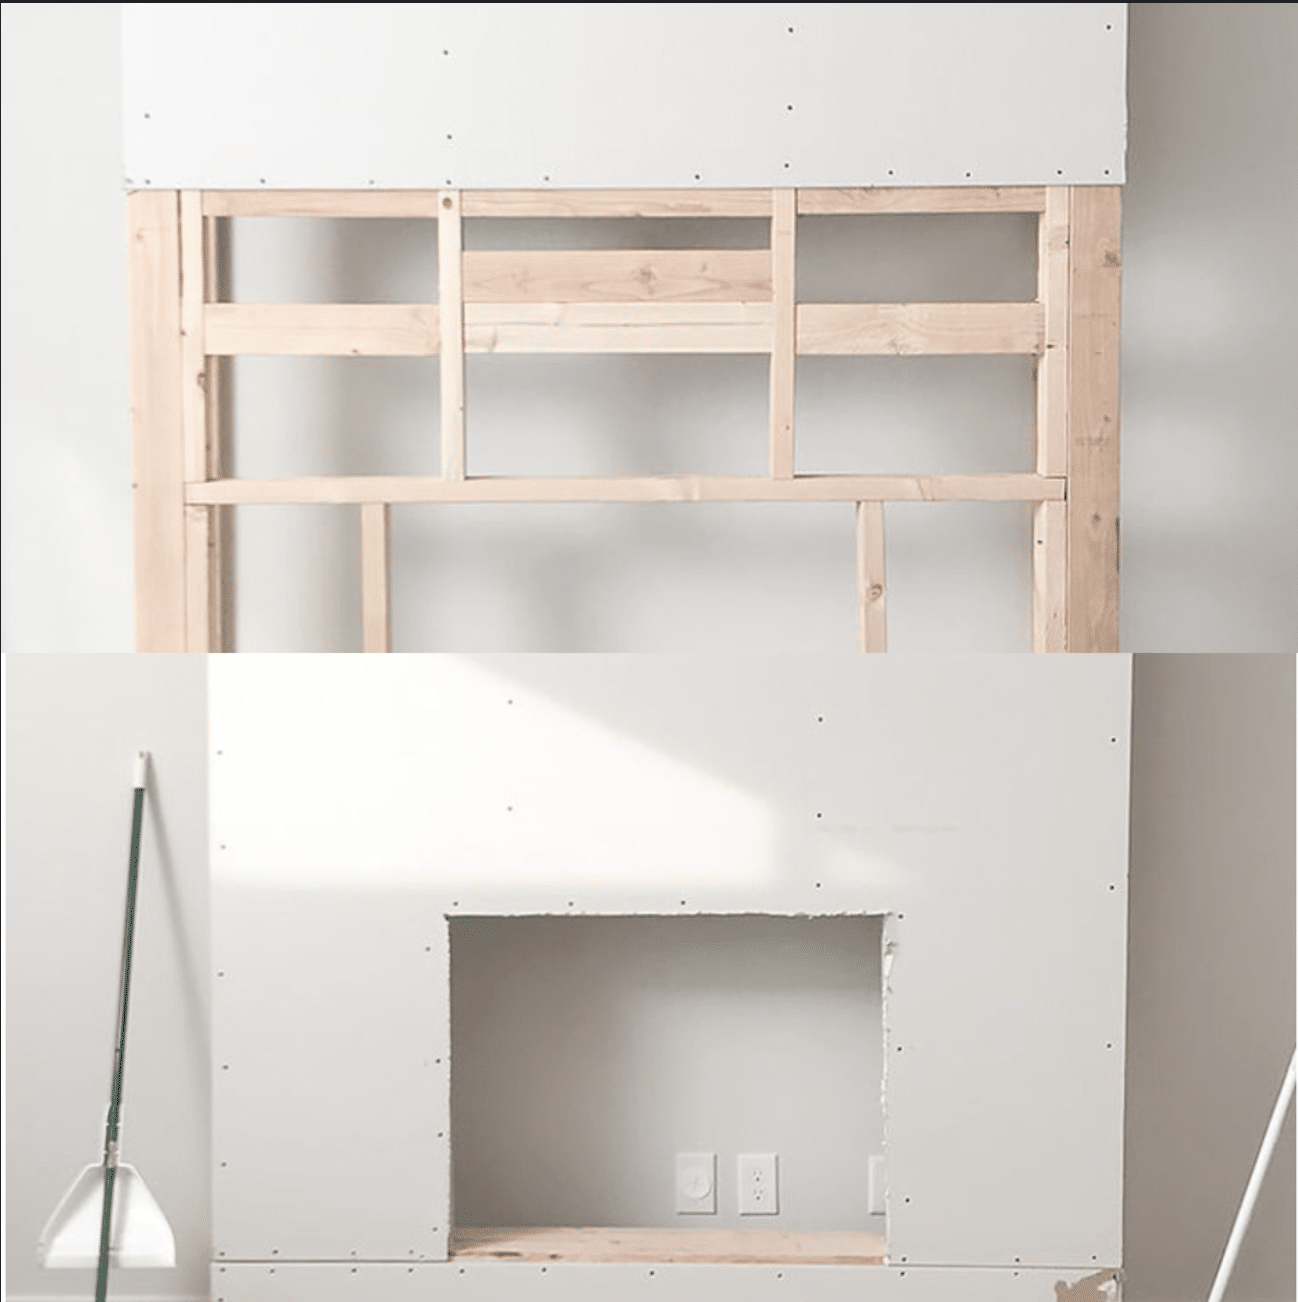
- Cut and attach drywall sheets to cover the front and sides of the frame using drywall screws.
- Install metal corner beads on all edges for a clean finish.
Step 7: Taping, Mudding, and Finishing
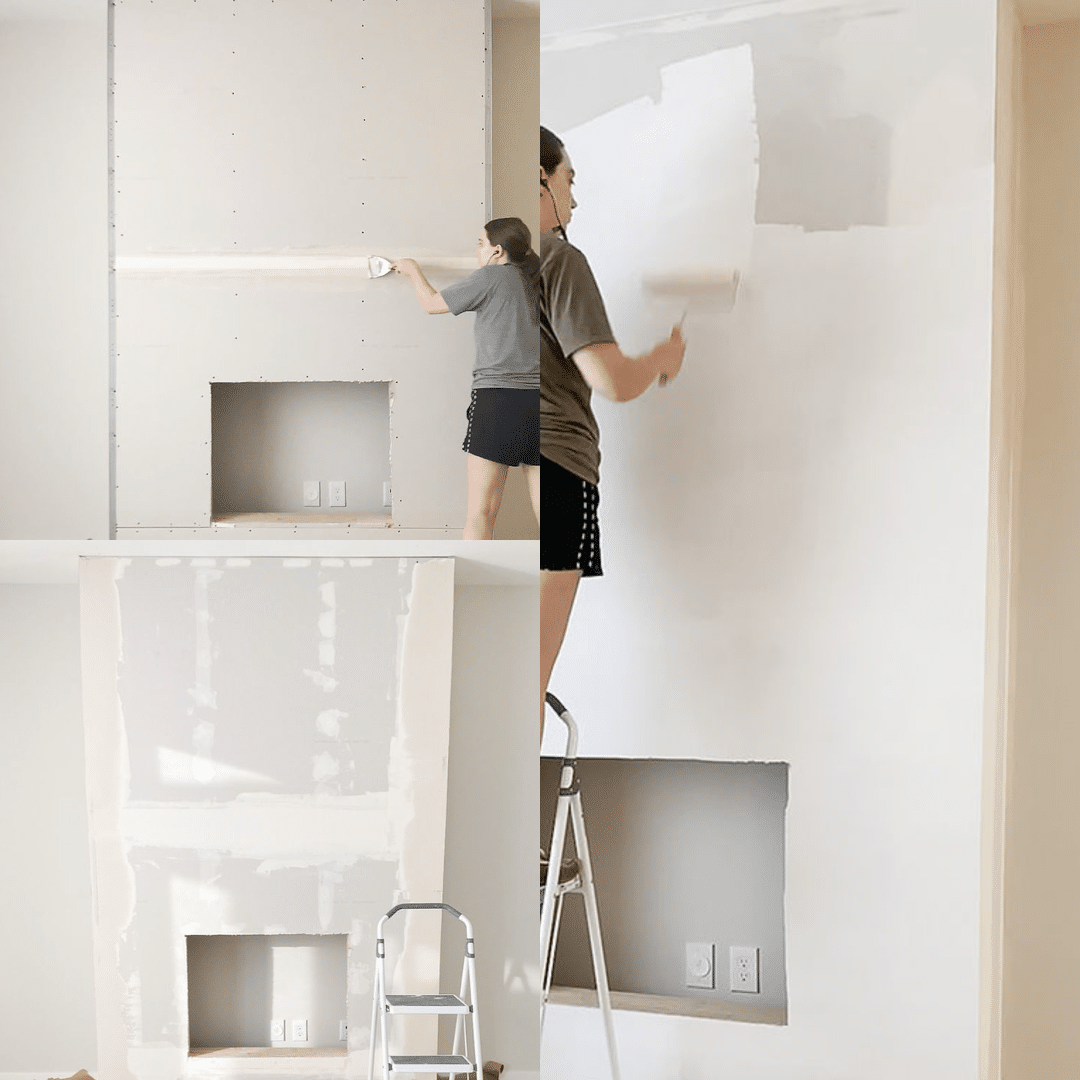
- Apply joint compound over seams and screw holes, and press the joint tape into the compound.
- Sand the dried compound for a smooth finish, then prime and paint the fireplace surround.
Step 8: Final Installation
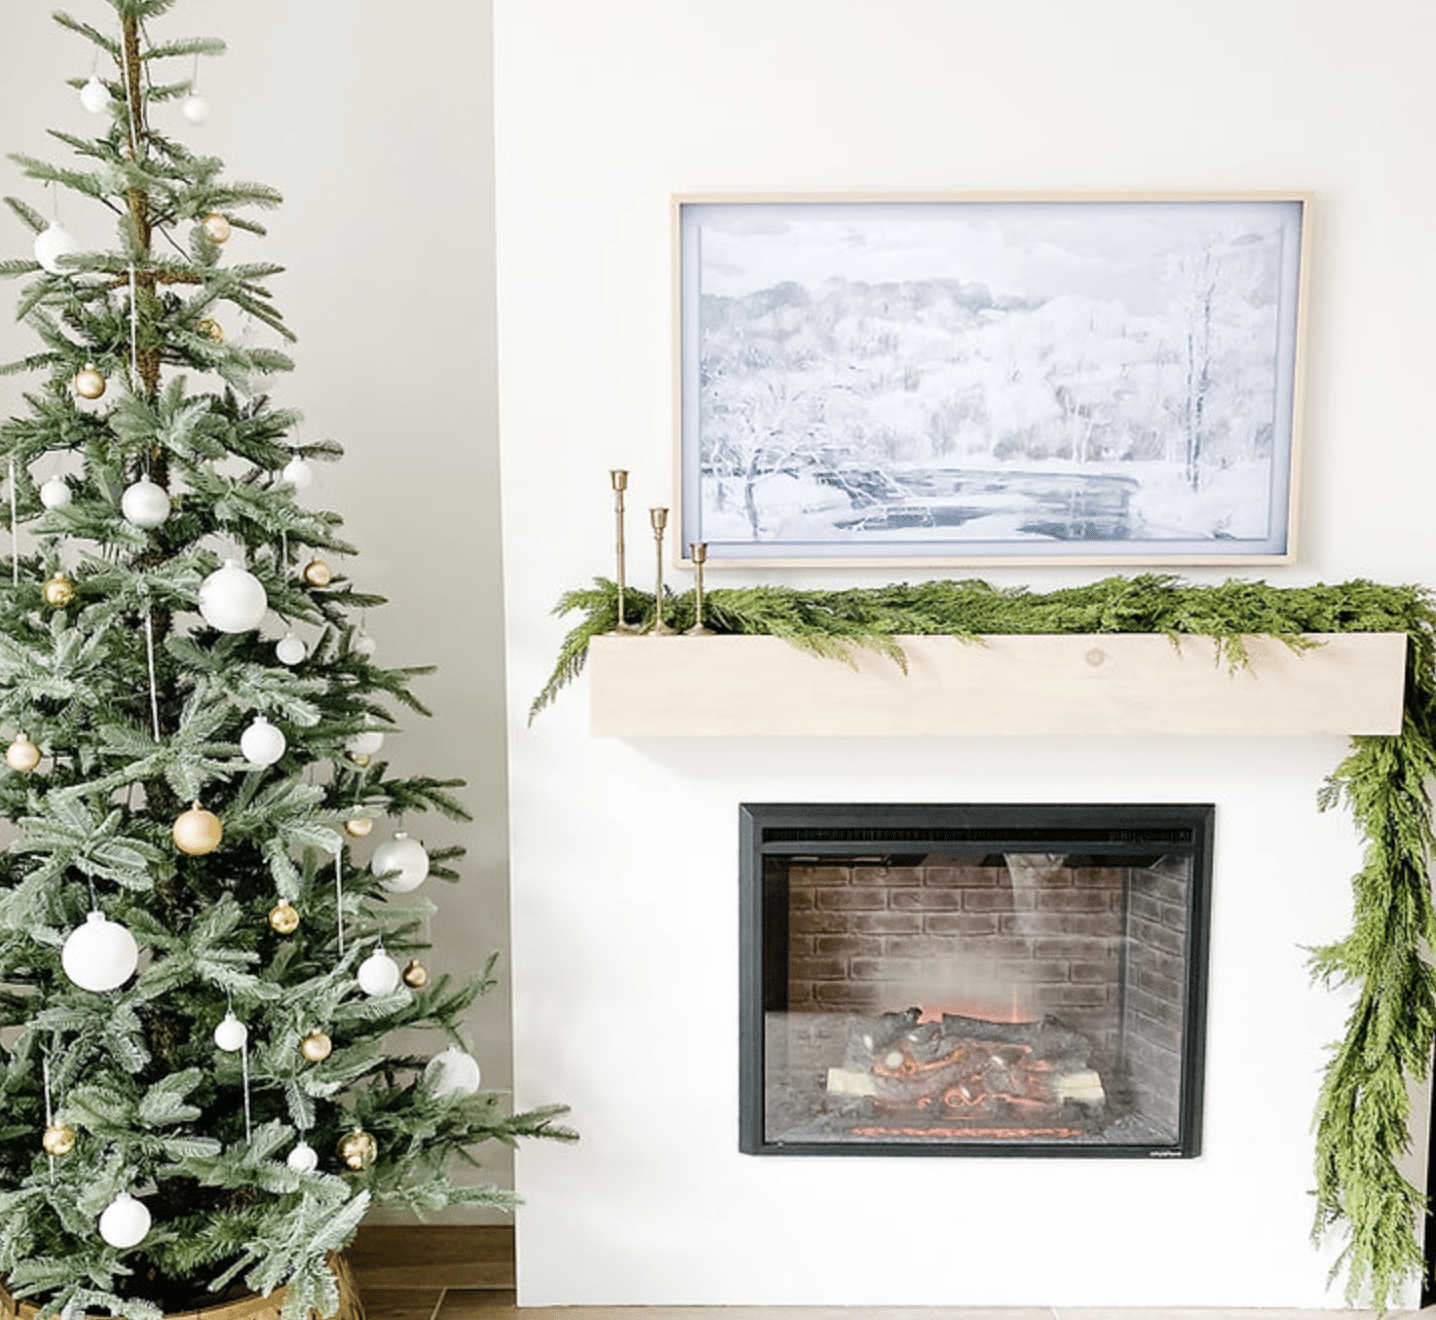
- Place the electric insert, ensuring it’s centered and plugged in.
- Mount the mantel and TV securely onto the prepared studs, completing the project.
Enjoy your newly built fireplace surround!
Personalizing Your Fireplace Surround
Creating a custom fireplace surround allows for unique design elements that enhance both functionality and aesthetics. Here are ways to make the surround truly special:
1. Built-in shelving
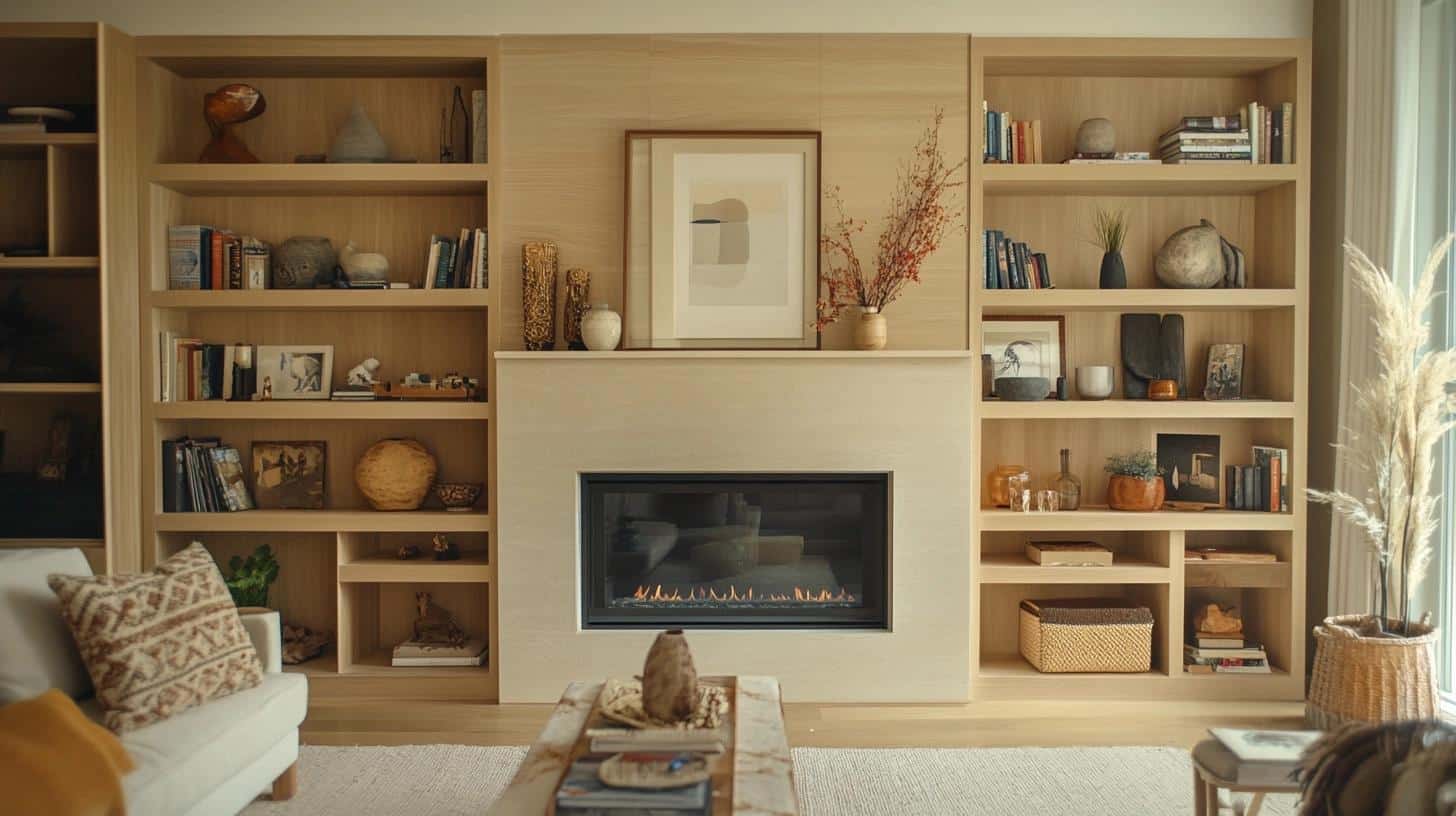
- Add open shelves on one or both sides of the fireplace
- Use for displaying books, photos, or decorative items
- Vary shelf heights for visual interest and to accommodate different objects
2. Cabinet integration
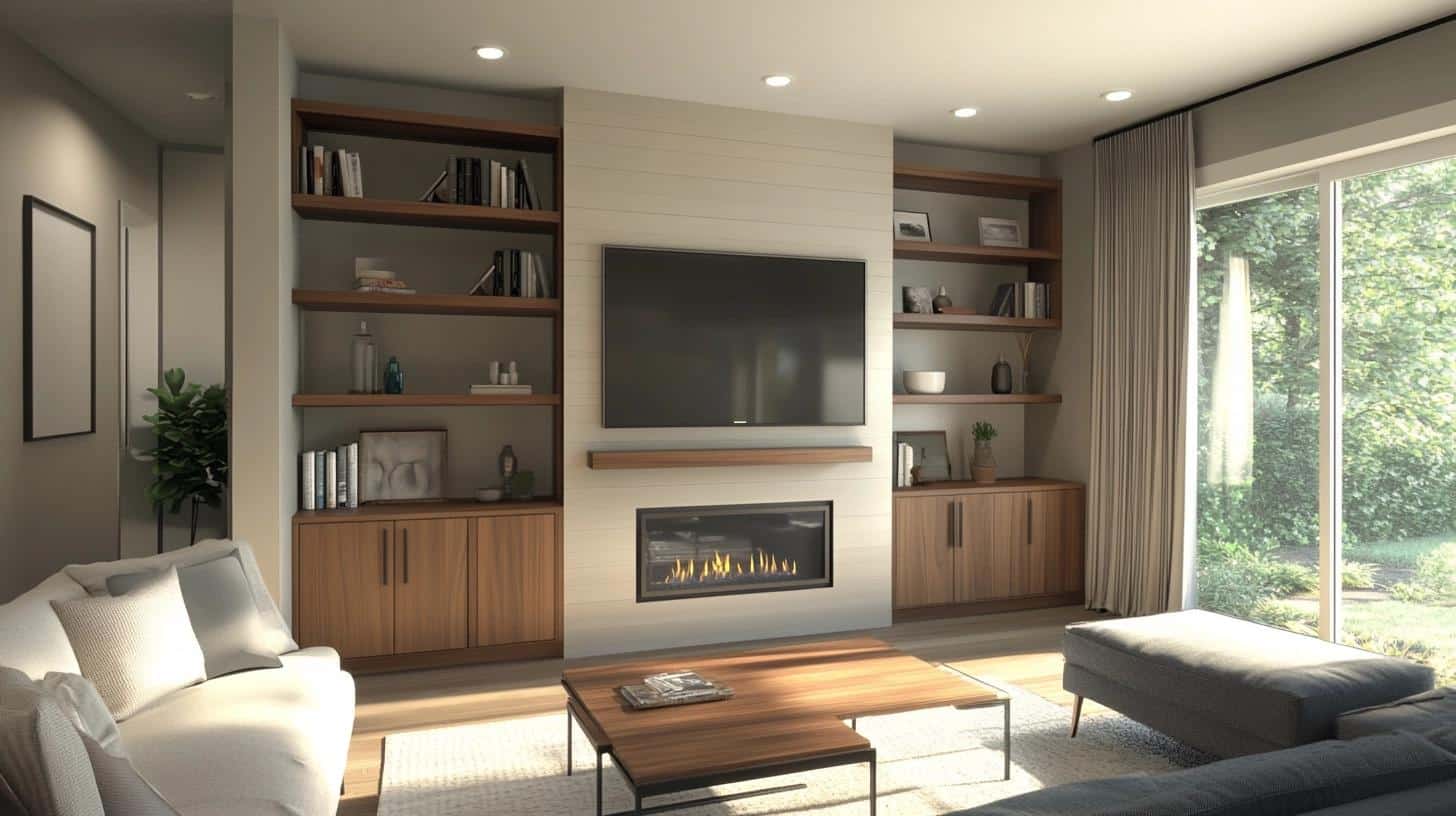
- Install cabinets below shelving for hidden storage
- Use for storing media equipment, games, or seasonal decor
- Choose cabinet doors that complement the overall design
3. Mantel design
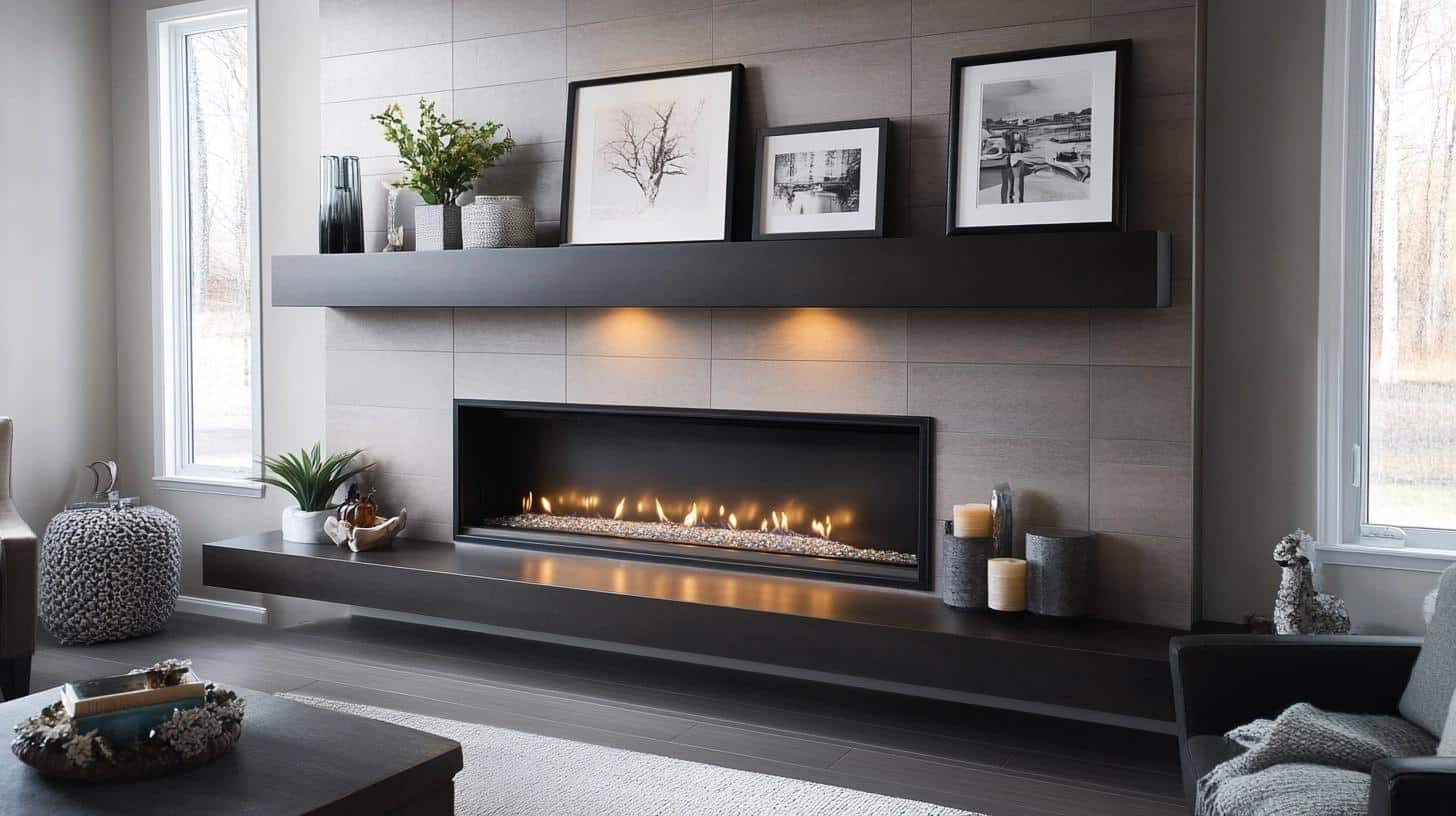
- Create a wide mantel shelf for additional display space
- Consider a hollow mantel design for concealed storage
4. Lighting features
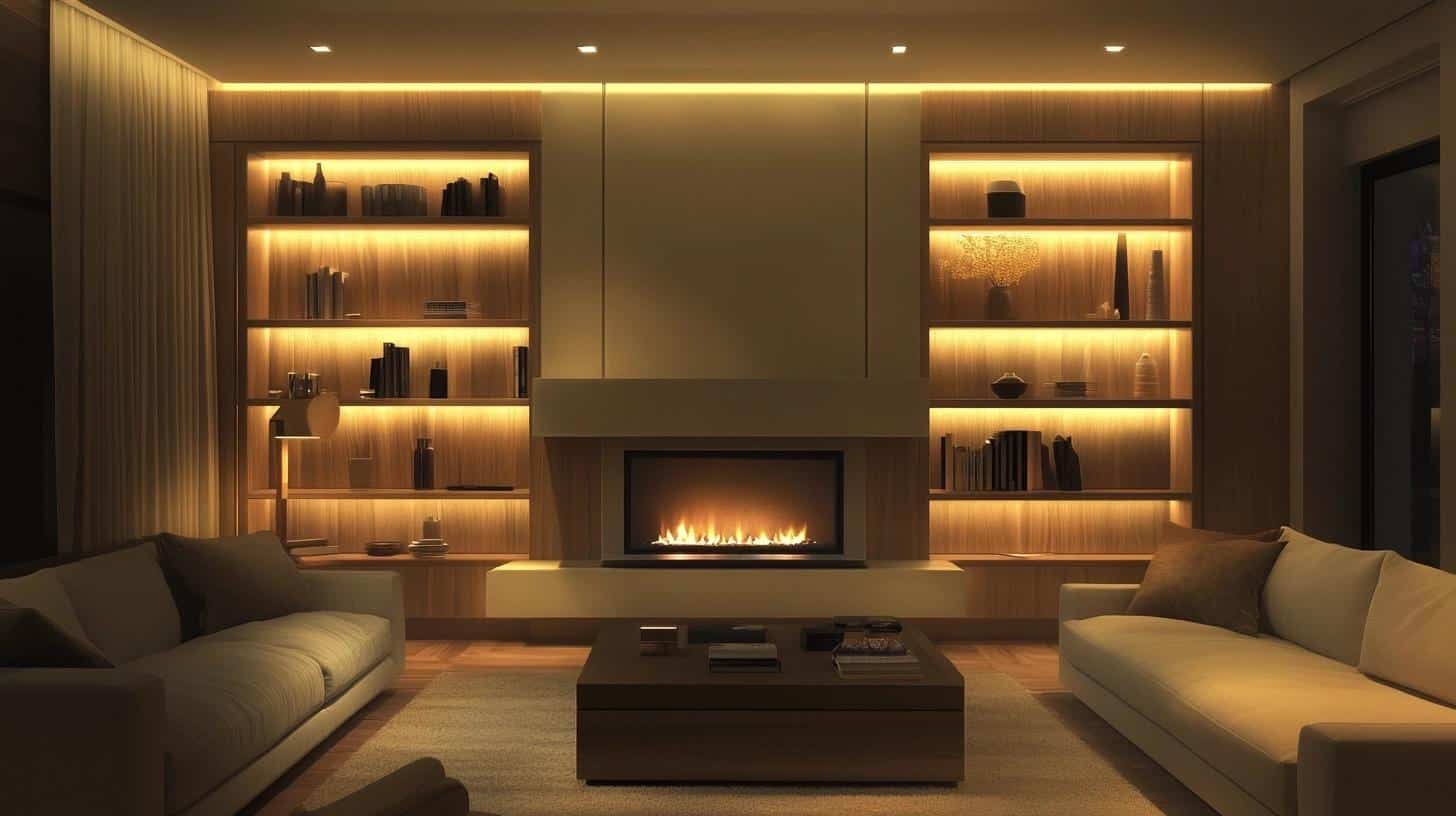
- Install LED strip lighting behind shelves or under the mantel
- Add sconces on either side of the fireplace for ambient lighting
- Consider a backlit panel behind the fireplace for a dramatic effect
5. Artistic touches
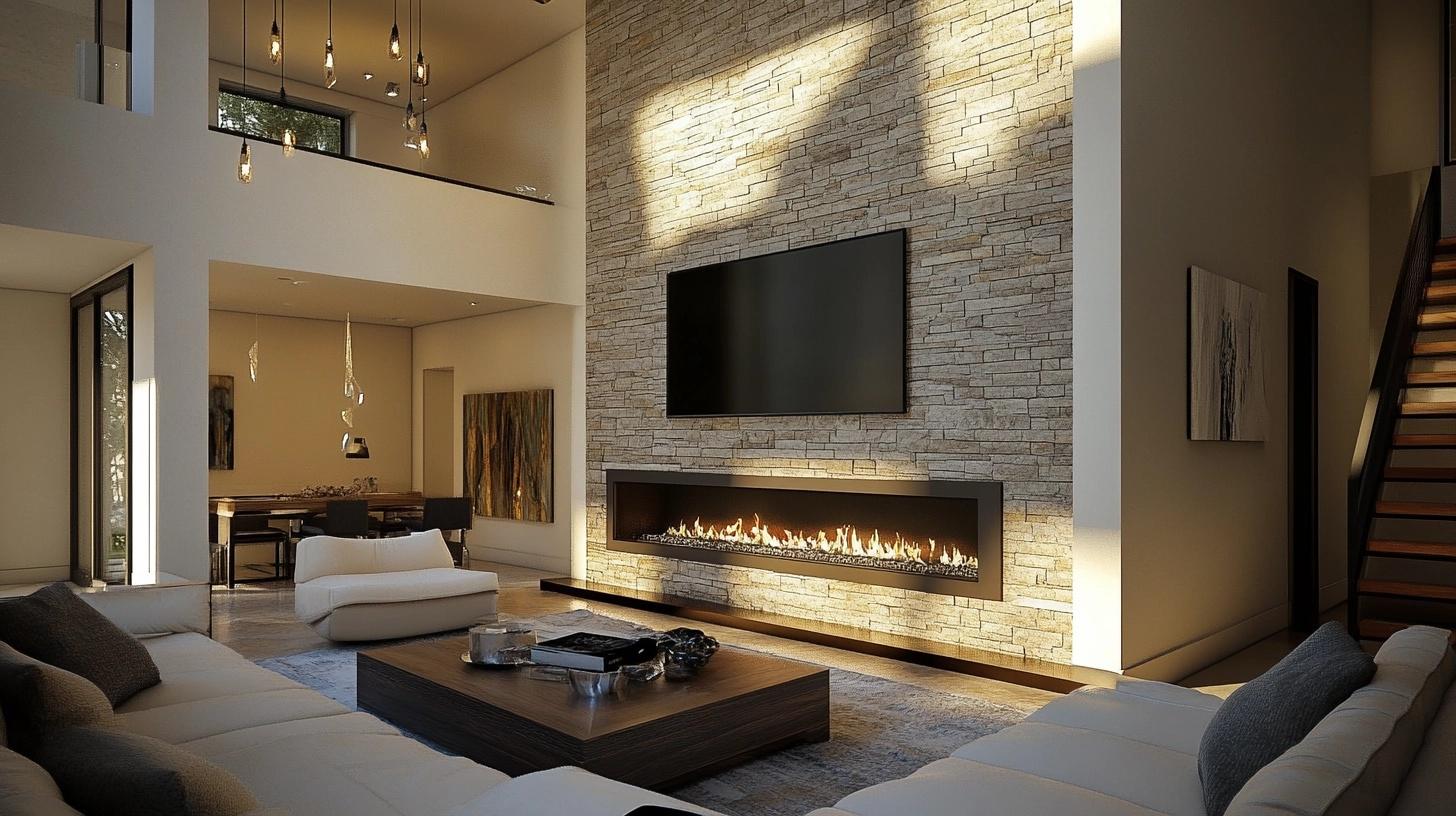
- Leave space above the fireplace for artwork or a television
- Create a tile mosaic or stone feature wall around the fireplace
- Use textured materials like reclaimed wood or stacked stone for visual interest.
6. Tech integration
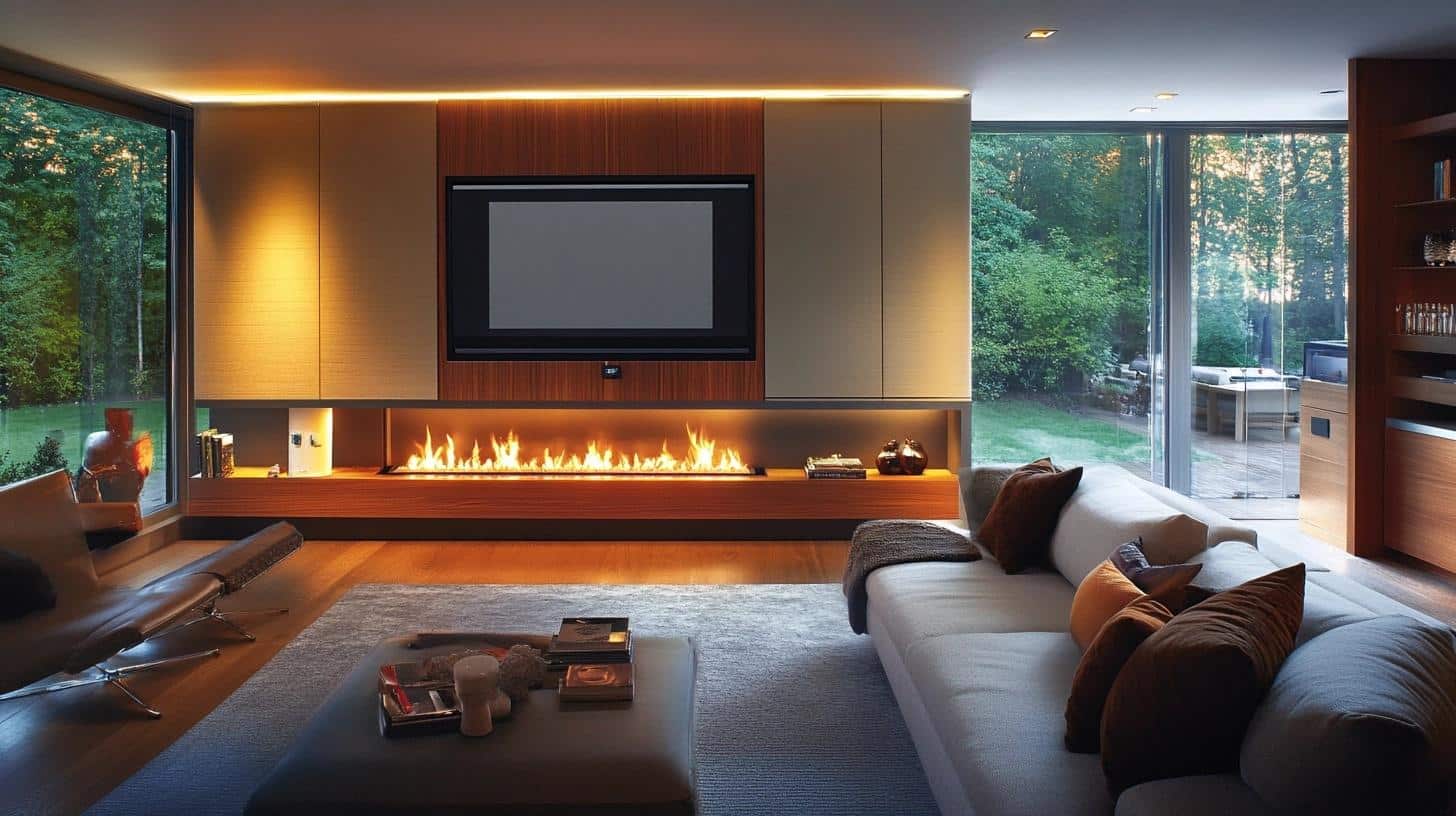
- Design a hidden compartment for media equipment
- Install a pull-down screen above the fireplace for movie nights
- Incorporate smart home controls for lighting and fireplace operation
By combining these elements, the fireplace surround becomes a multifunctional centerpiece that reflects personal style while meeting practical needs.
Keeping Your Electric Fireplace Surround in Top Shape
After completing a DIY fireplace surround, it’s important to maintain its appearance and ensure safe operation. Here are some key tips for care and maintenance:
- Cleaning: Dust the surrounding area weekly with a soft cloth. For the fireplace unit, follow the manufacturer’s instructions. This typically involves unplugging the unit and gently cleaning the glass front.
- Maintenance: Regularly inspect all connections and cords to ensure they’re in good condition. Replace any components showing signs of wear or damage immediately.
- Safety: Despite being electric, keep flammable items away from the fireplace. Never leave it unattended while operating, and ensure adequate space for air circulation around the unit.
- Seasonal Care: Cover the fireplace during periods of non-use, such as summer months, to protect it from dust accumulation. This helps maintain its appearance until it’s needed again.
By following these simple steps, homeowners can keep their DIY fireplace surround looking pristine and functioning safely for years to come. Proper care ensures this custom addition remains a lasting and attractive feature in the home.
Wrapping It Up
As I wrap up this guide, I hope you’re feeling inspired to create your own electric fireplace surround.
It’s been a rewarding project for me, transforming my living space and adding a cozy focal point to my home.
Remember, the key is to plan carefully, work safely, and let your creativity shine.
Now it’s your turn! I’d love to see what you come up with. Why not share photos of your completed project on social media?
Use the hashtag #DIYFireplaceSurround so we can all admire your work.
If you have any questions along the way, don’t hesitate to ask in the comments below.
Ready to get started? Grab your tools, and let’s bring some warmth and style to your home. Happy building!
Frequently Asked Questions
1. What Materials are Safe to Use Around an Electric Fireplace?
Most non-flammable materials are safe. For the surround, use fire-resistant drywall, stone, brick, or tile. Wood can be used if it’s treated and kept at a safe distance from the heating element.
2. How Can I Make My Electric Fireplace Look More Realistic?
Add a realistic log set or crystal rocks. Use a flickering light bulb. Install a 3D flame effect. Choose a unit with adjustable flame colors. Surround it with stone or brick for an authentic look.
3. How Much Space Do I Need for the Fireplace Surround?
The space needed depends on your fireplace size and desired surround design. Generally, allow at least 6 inches on each side and 12 inches above the fireplace for safety. Measure your room and plan accordingly.
4. What is the Average Cost of Building a DIY Electric Fireplace Surround?
The cost varies based on materials and design. A basic surround might cost $200-$500 for materials. More elaborate designs with high-end materials can range from $500-$1500 or more.
5. Do I Need Professional Help for Electrical Connections?
It’s recommended to consult a licensed electrician for any electrical work. While some electric fireplaces can be plugged into standard outlets, others may require dedicated circuits. Safety should always be the top priority.

