Spray Paint Your Furniture Like a Pro: A Complete Tutorial
Spray painting furniture offers a practical way to refresh old pieces or update your home’s look. This technique creates smooth, lasting finishes that rival professional results.
Many homeowners choose spray painting because it reaches into corners and covers surfaces evenly.
Understanding proper techniques before starting your project can distinguish between a flawless finish and a disappointing outcome.
With the right preparation, tools, and methods, you can transform almost any piece of furniture into something special.
This guide walks you through every step of the spray painting process to help you achieve beautiful results. Let’s explore how to make your furniture painting project a success.
Understanding Spray Paint Types
Different spray paints serve various purposes in furniture restoration. Enamel sprays create a hard, durable finish that is perfect for frequently used pieces.
Acrylic sprays dry quickly and clean up easily with water, making them ideal for beginners.
Lacquer sprays produce a glossy, professional finish but need careful application. The choice between matte, satin, or gloss finish affects appearance and practicality.
Matte finishes hide imperfections well but may show marks easily. Satin offers a middle ground with some shine and good durability.
Materials and Tools Required
Getting started with spray painting furniture requires careful preparation and the right supplies.
A successful project begins with gathering high-quality materials that match your specific needs.
Essential Supplies
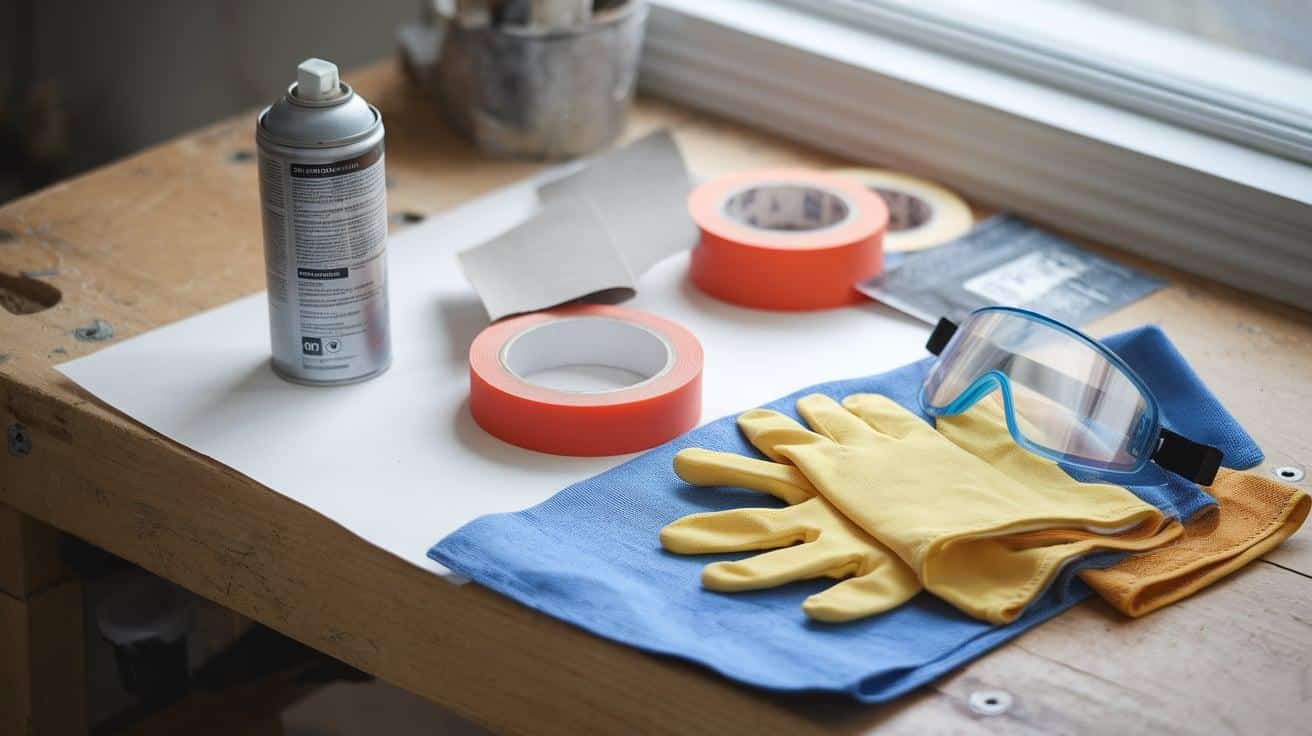
The foundation of any spray painting project lies in selecting the right paint and tools. Quality spray paint suited for your furniture material forms the base of your supply list.
Basic primers help create a strong bond between the paint and the surface, while different grits of sandpaper smooth the surface for better paint application.
Drop cloths protect your work area from paint overspray and make cleanup easier. Consider investing in painter’s tape for clean edges and precise lines.
Some reliable brands include Rust-Oleum for general furniture paint and Kilz for primers, each offering specific benefits for different projects.
Safety Equipment
Your health comes first when spray painting furniture. A proper respirator mask filters out harmful paint particles and fumes during painting.
Protective gloves shield your hands from chemicals, while safety glasses guard your eyes from paint droplets and dust.
Good ventilation is crucial in spray painting safety. Opening windows and doors creates proper airflow in your workspace.
Using fans helps direct fumes away from your breathing zone. Working outdoors provides natural ventilation but requires consideration of weather conditions.
Furniture Painting Preparation Steps
Proper preparation is crucial for the success of your furniture painting project. Preparing your piece properly prevents problems and ensures a lasting finish you’ll enjoy for years.
1. Cleaning the Furniture
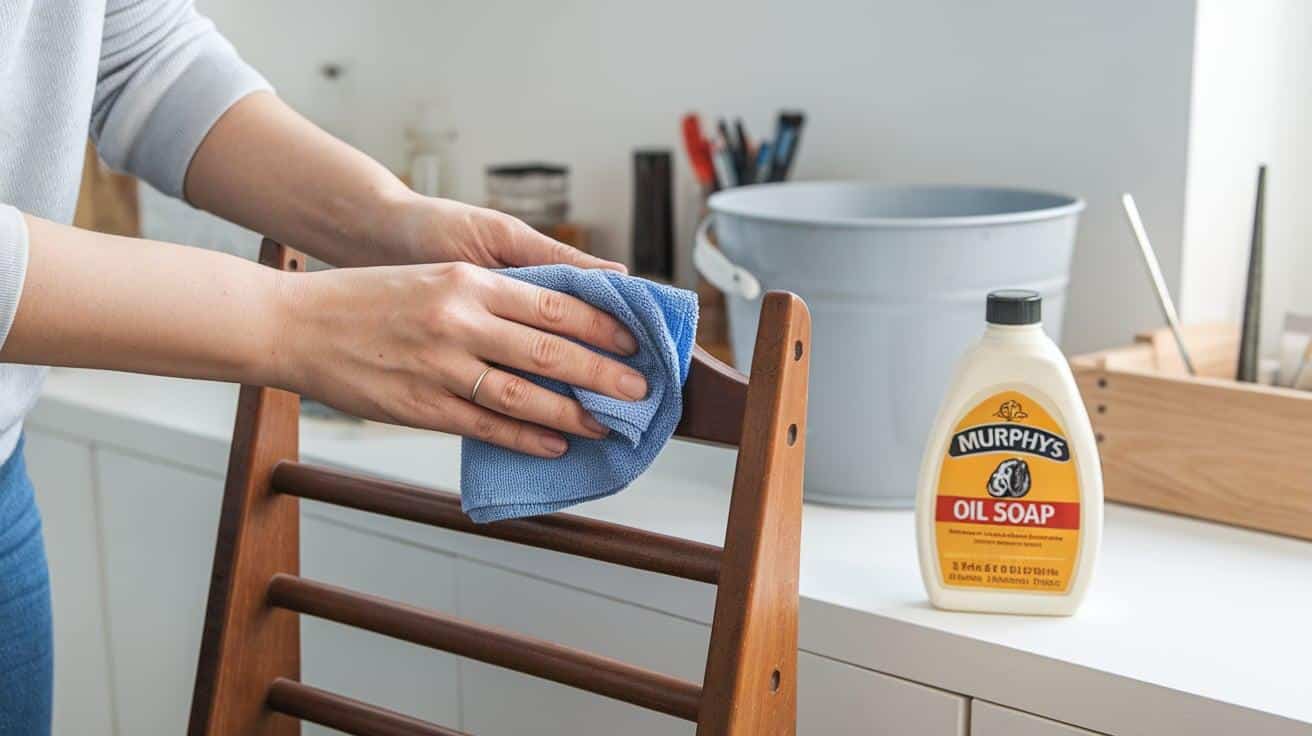
Start by washing your furniture piece thoroughly with warm water and mild soap. Oils, dirt, and everyday grime can prevent paint from sticking properly to the surface.
Use a clean cloth to wipe down every part of the piece, paying extra attention to grooves and corners where dirt often collects.
Murphy’s Oil Soap works well for wooden pieces to remove built-up residue. Metal furniture might need a specialized degreaser to remove oils and rust.
Let the piece dry completely before proceeding to the next step. Moisture trapped under the paint can cause peeling later.
2. Sanding
Proper sanding creates the ideal surface for the paint to grip. Start with medium-grit sandpaper (120-150) to remove old finishes and smooth rough patches.
Switch to fine-grit sandpaper (220) for the final pass to create an even surface that paint can easily cover.
Use flexible sanding pads that conform to curves when working with detailed areas like chair spindles or carved sections.
Sand in the direction of the wood grain on wooden pieces to prevent scratches. Remove all dust between the sanding stages with a vacuum and tack cloth.
3. Repairs
Fill holes, dents, or scratches with appropriate filler material before painting. Wood filler works well for wooden furniture – press it firmly into damaged areas and let it dry completely.
For metal pieces, use metal-specific epoxy fillers to patch holes or dents.
Once the fillers dry, sand them flush with the surrounding surface. Test the repaired areas by running your hand over them—they should feel smooth, with no noticeable transitions.
This attention to detail prevents repair spots from showing through your final paint job.
4. Priming
Primer creates an essential foundation for your paint to stick properly. Choose a primer specifically made for your furniture’s material – wood primers have different properties than metal primers.
Apply primer in thin, even coats, moving the spray can steadily across the surface.
Different colors might need different primer approaches. Light paint colors often need white primer, while darker colors work better over gray primer.
Let each coat of primer dry according to the manufacturer’s instructions—sand lightly between primer coats for an extra-smooth base.
Spray Painting Techniques
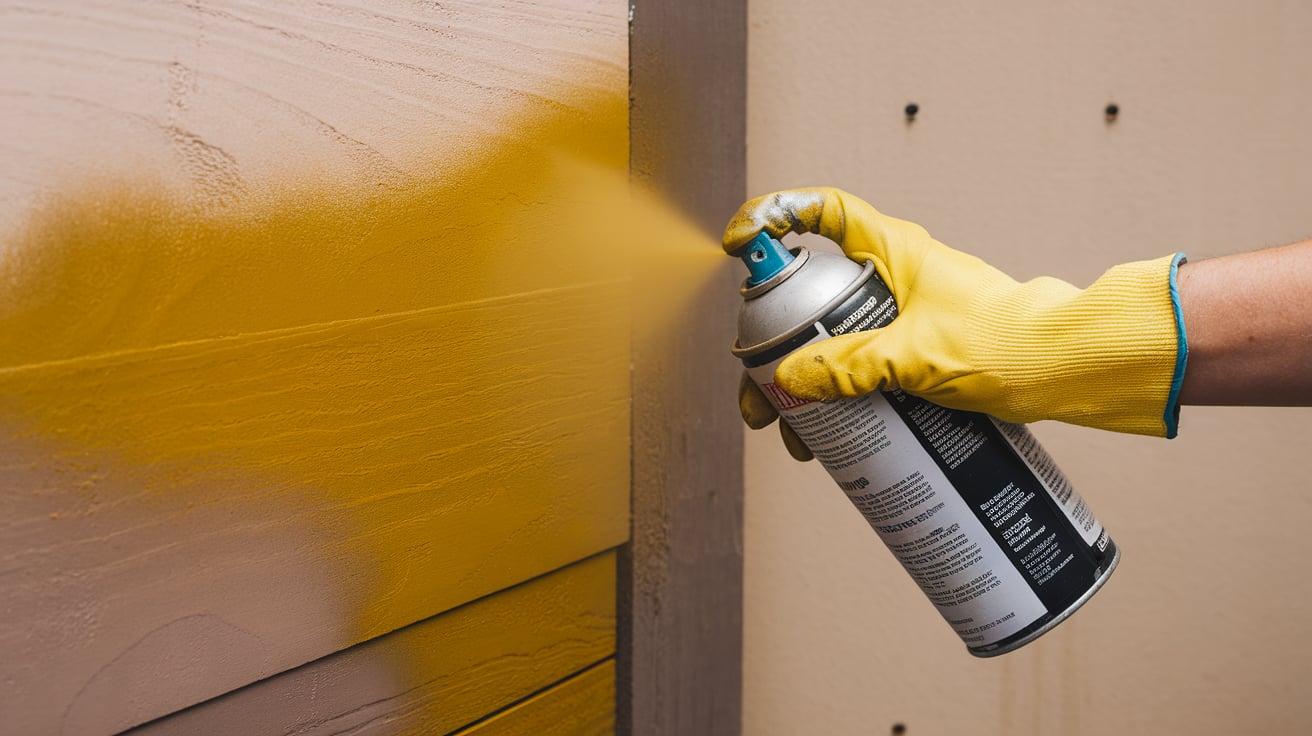
Success in furniture painting comes from mastering proper spraying methods. Understanding basic techniques helps create professional results that last for years. Let’s explore each important aspect of the painting process.
1. Workspace Setup
Your workspace needs proper preparation before you begin painting. Select an area with plenty of room to move around your furniture.
Lay drop cloths on the ground and set up barriers to control overspray, creating a clean painting zone.
Temperature and humidity significantly affect paint application. The ideal painting environment is between 65 and 85 degrees Fahrenheit, with humidity below 65%.
Morning hours often provide the best conditions for outdoor painting, as the wind tends to be calmer.
2. Proper Spraying Method
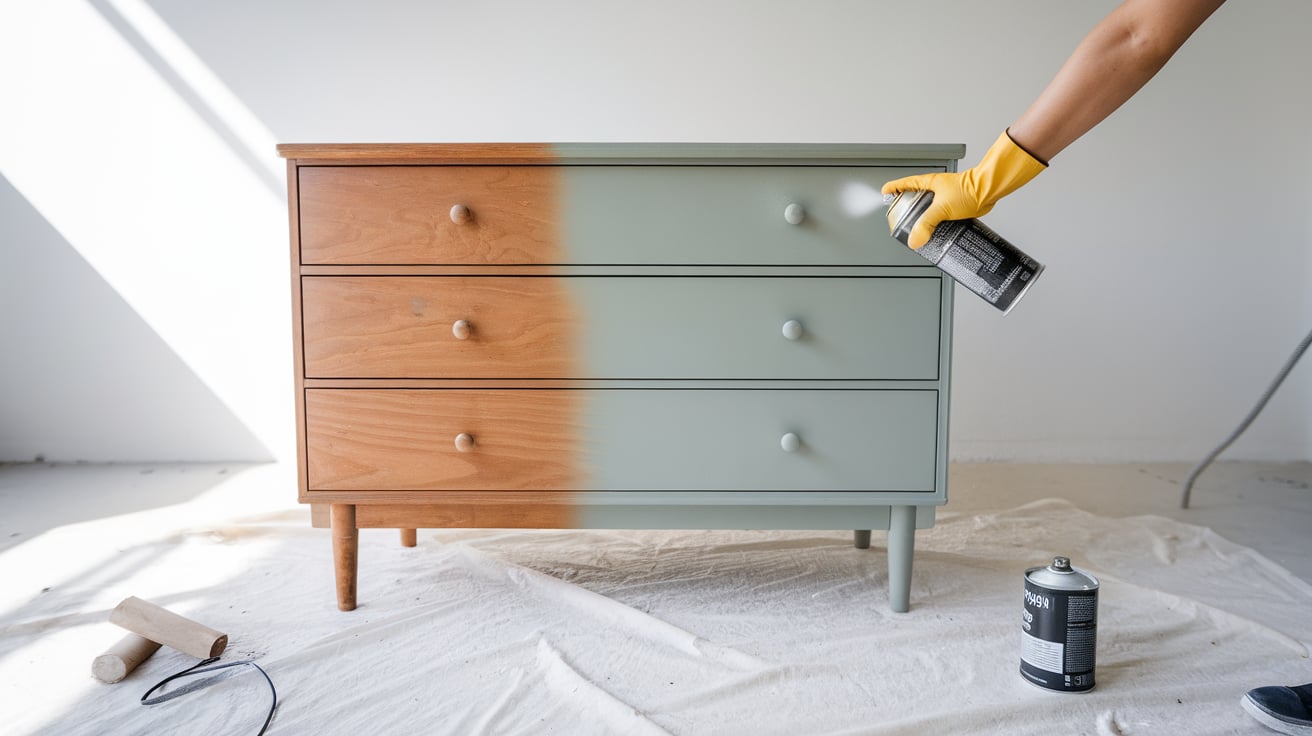
While painting, hold your spray can 8-12 inches from the furniture surface. This distance allows paint particles to spread evenly before reaching the surface. Keep your arm moving steadily, like a metronome, keeping time to music.
Start spraying slightly before reaching the furniture edge and continue past it. This technique prevents paint buildup at each pass’s start and endpoints.
Each new pass should overlap the previous one by about half, creating consistent coverage across the entire surface.
3. Applying Thin, Even Coats
Multiple thin coats create better results than one thick layer. Thin coats dry faster and are less likely to develop runs or drips.
Watch how the paint lands on the surface – it should appear slightly wet but not heavily saturated.
Each coat adds depth to your color while building durability. Wait for each layer to become touch-dry before applying the next one.
This patience prevents trapping moisture between layers and ensures proper paint adhesion.
4. Drying Times
For the best results, paint needs proper drying time between coats. Most spray paints feel dry to the touch within 30 minutes but don’t rush to add another coat. Give each layer at least one hour to set in normal conditions.
Weather conditions change how paint dries. Higher humidity extends drying time, while warm, dry conditions speed it up.
Consider these factors when planning your project timeline – rushing the process often leads to problems later.
Achieving a Professional Finish
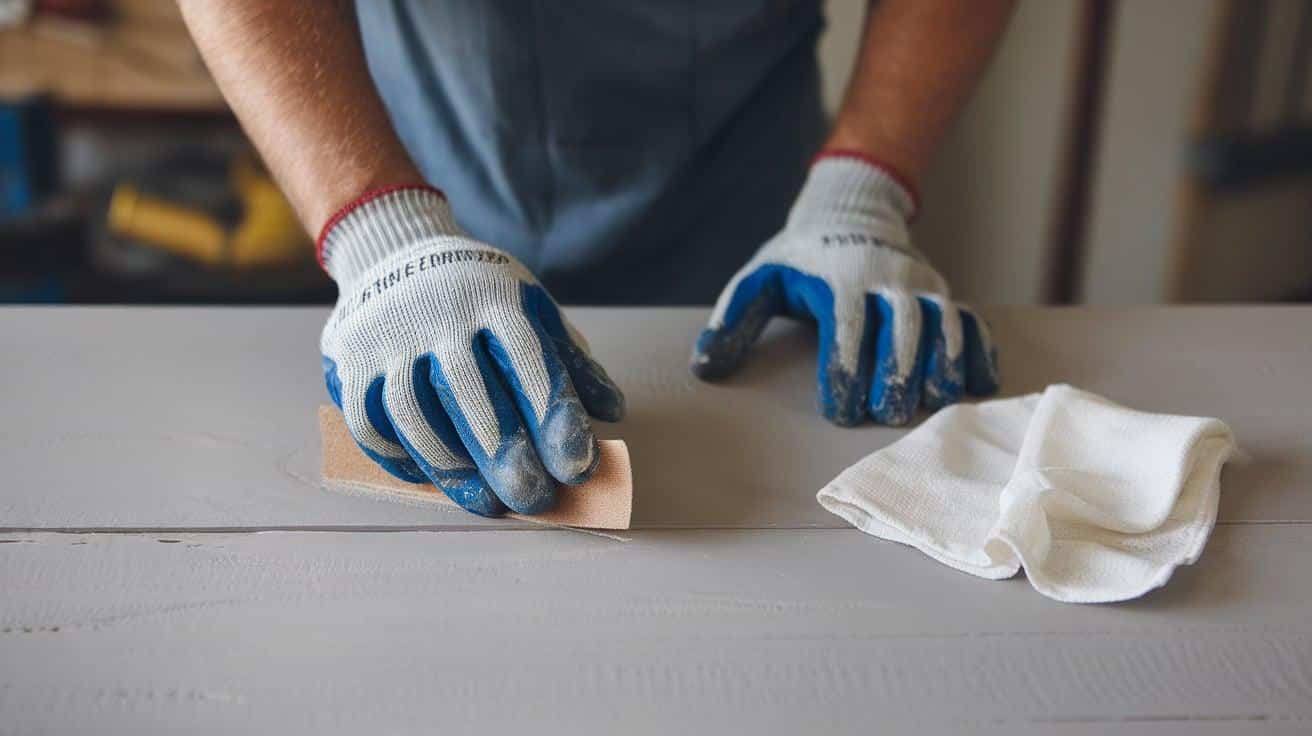
Creating a professional-looking finish requires attention to detail and patience. When you follow specific techniques for smoothness and quality, your furniture piece can look like it came from a high-end store.
Sanding Between Coats
Light sanding between paint layers significantly improves your final finish. Use 320-grit or finer sandpaper to smooth any tiny bumps or dust particles that settle in the paint.
This step might seem small, but it creates a surface that feels silky to the touch.
Clean all sanding dust completely before applying your next coat. A tack cloth works perfectly, picking up even the finest particles.
Think of each layer as a building block—each must be clean and smooth to support the next.
Dealing with Imperfections
Paint problems can appear even with careful application. Small drips need attention while the paint remains wet – carefully wipe them away with a clean cloth.
Larger runs require waiting until the paint dries completely before sanding smooth and recoating.
Bubbles in your paint often mean you’re spraying too close to the surface. You might need to adjust your spraying distance or technique if you notice orange peel texture.
These issues can be fixed with careful sanding and reapplication of paint.
Finishing Touches
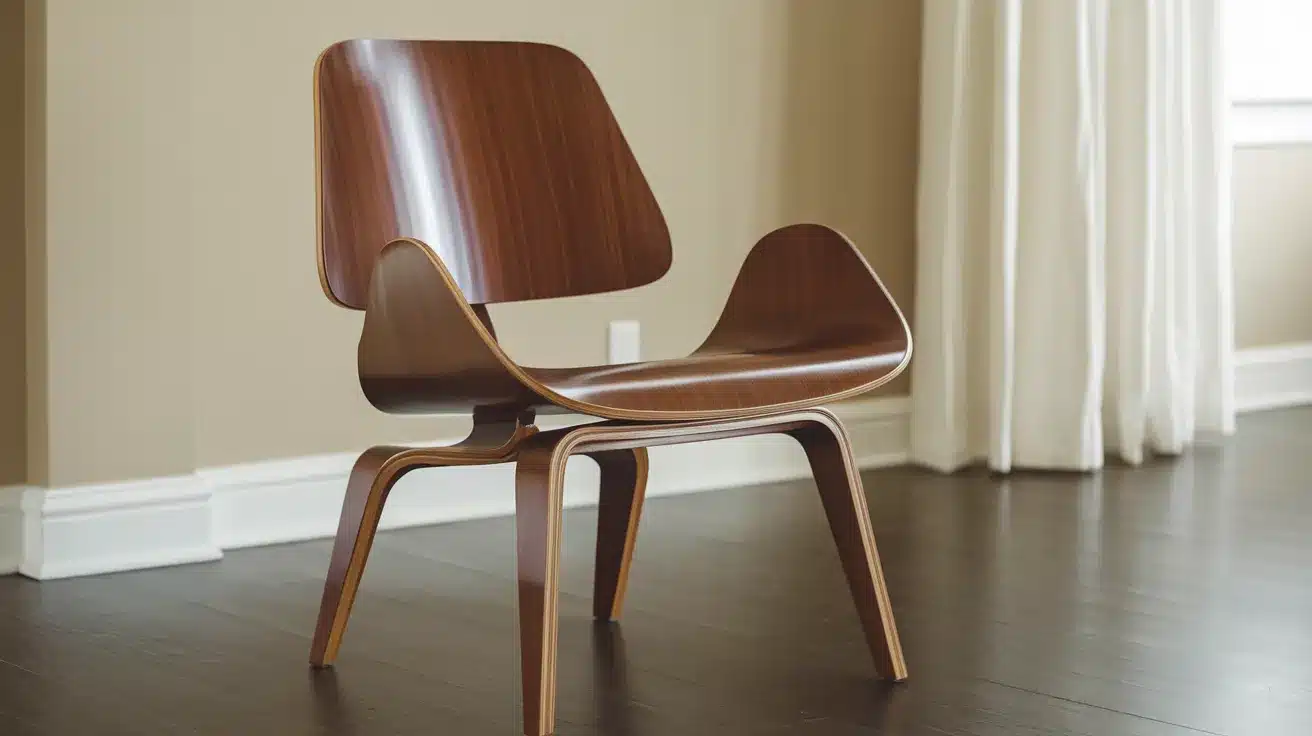
The final steps of your project protect all your hard work. This stage transforms a good paint job into one that stands up to daily use.
Protective Topcoats
A clear protective layer adds durability to your painted surface. Choose a clear coat that matches your paint type – water-based clear coats work well over water-based paints.
Apply these protective layers using the same careful techniques you used for the color coats.
Different clear finishes offer varying levels of protection. Polyurethane provides excellent durability for frequently used pieces.
Wax gives a soft, natural look but needs occasional reapplication. When selecting your topcoat, consider how the piece will be used.
Final Curing
Paint might feel dry to the touch, but it needs time to harden fully. Most pieces require 24-48 hours before light use. For maximum durability, wait 7 days before placing items on the surface or exposing them to heavy use.
Temperature and humidity significantly affect curing time. Keep your piece in a clean, dry space while it cures.
Moving the furniture too soon can result in fingerprints or marks on the finish, compromising your careful work.
Common Mistakes to Avoid
Learn from these key errors to ensure your furniture painting project succeeds:
- Over-spraying areas, causing drips and uneven patches
- Ignoring crucial prep work like cleaning and sanding
- Not wearing protective gear (respirator, gloves, eye protection)
- Working in poor conditions (direct sun, high humidity)
- Choosing incorrect paint types for your furniture material
- Rushing between coats instead of allowing proper drying time
- Storing paint cans in extreme temperatures affects spray quality
Remember: successful furniture painting combines proper preparation, technique, and patience. Understanding and avoiding these common pitfalls helps create lasting professional results.
Conclusion
When done correctly, spray painting furniture brings new life to old pieces. The key lies in proper preparation, technique, and patience.
Good ventilation, quality materials, and attention to safety create the foundation for success. Remember to work in thin layers, allow proper drying time, and maintain steady hand movements while spraying.
Following these guidelines helps avoid common mistakes and ensures a professional finish that stands up to daily use.
You can transform any furniture piece into a beautiful addition to your home with practice and care. The effort you put into each step shows in your lasting results.

