Shed Interior Wall Ideas: Cozy and Functional Designs
Thinking about sprucing up your shed but unsure where to start? Most sheds begin as bare and somewhat rough inside, definitely not the kind of space you’d want to spend time in.
But with the right shed interior wall ideas, you can change that. I’ll walk you through practical tips to warm up, brighten, and organize your shed, without breaking your budget.
If using it for tools, hobbies, or just a quiet place to unwind, I’ll help you choose the right materials, add comfort, and create a look you’ll enjoy every day.
Benefits of Finishing Your Shed’s Interior Walls
Adding walls inside your shed isn’t just about looks. These walls help keep your insulation safe. Making the shed stronger and providing smooth surfaces to hang shelves, tools, or adding a decorative touch.
No matter if you’re using the shed for storage, work, or a quiet spot to relax, finished walls can help make the space more useful, a lot more comfortable, and even increase the shed’s lifespan over time.
Build Shed Interior Wall: Step-by-Step Guide
Change your shed interior without overspending. Use budget-friendly materials like drywall, shiplap, or paneling, and add insulation.
Finish with simple paint, trim, and smart DIY upgrades for a polished look.
Step 1: Insulate for Comfort and Efficiency

Begin by insulating your shed to make it usable in any season. Apply closed-cell spray foam to the roof for moisture control, then add batt insulation (R-15 for walls, R-30 for ceilings).
Keep batts flush with studs and avoid over-compressing. Pre-plan wiring like Ethernet or HDMI before sealing the walls to avoid extra work later.
Step 2: Choose and Install Budget-Friendly Wall Material

Opt for affordable materials like drywall, which offers a smooth, paintable finish. Use ½-inch sheets (4×8 or 4×12) to reduce seams.
Screw into studs every 12 inches and leave a small gap at the floor to prevent moisture damage. Scrap wood can help hold panels in place during installation, especially when working without professional tools.
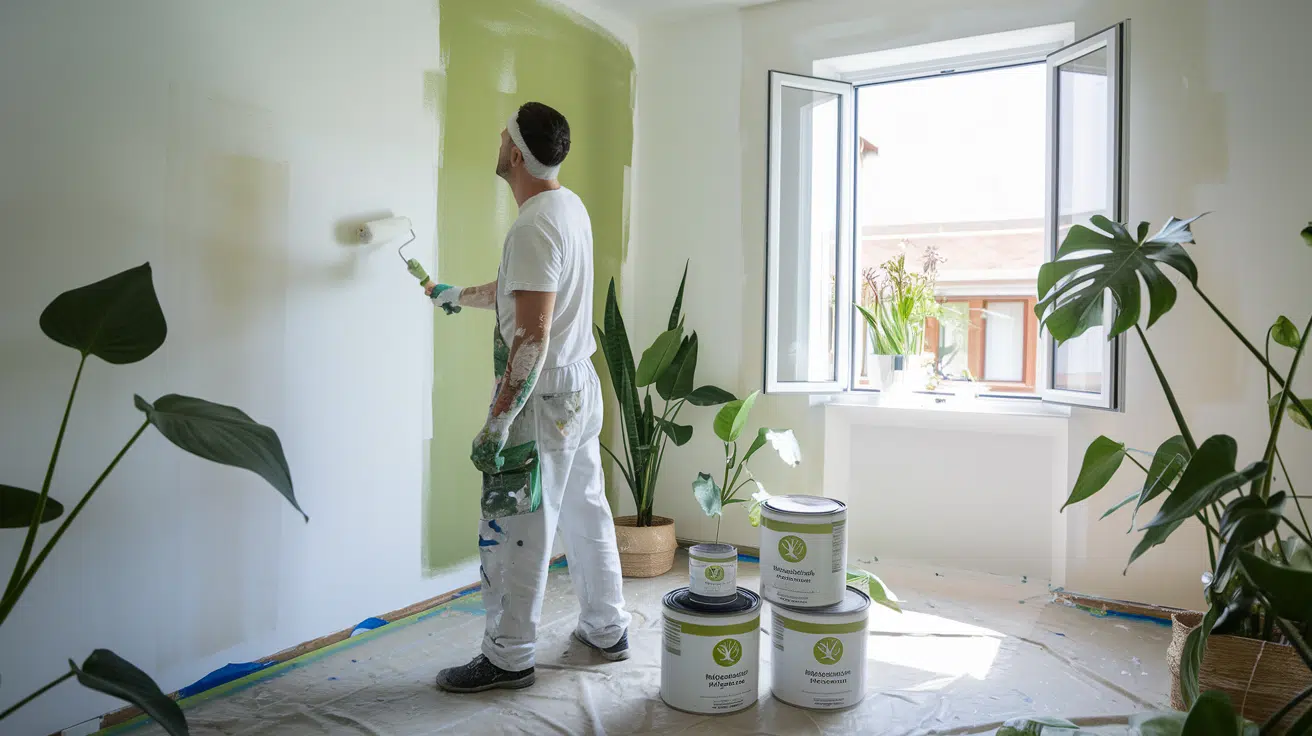
Step 3: Tape, Mud, and Paint Your Walls

Apply joint compound and tape to all seams and corners. Smooth and feather the mud using a trowel, adding two more coats after each one dries.
Sand lightly for a clean finish. Prime the walls, then paint using a simple, neutral color like Sherwin-Williams’ “Greek Villa.” This gives your shed a clean, budget-friendly final look.
Step 4: Add Trim and Ceiling Features for a Polished Finish

Use cost-effective trim to give your shed a complete, finished feel. Install 1×4 baseboards and crown molding, and build window and door frames with glued-together pine boards.
For ceilings, cedar tongue-and-groove boards add character without breaking the bank. Apply a wet-look concrete sealer on floors to protect against dirt while improving cleanability and shine.
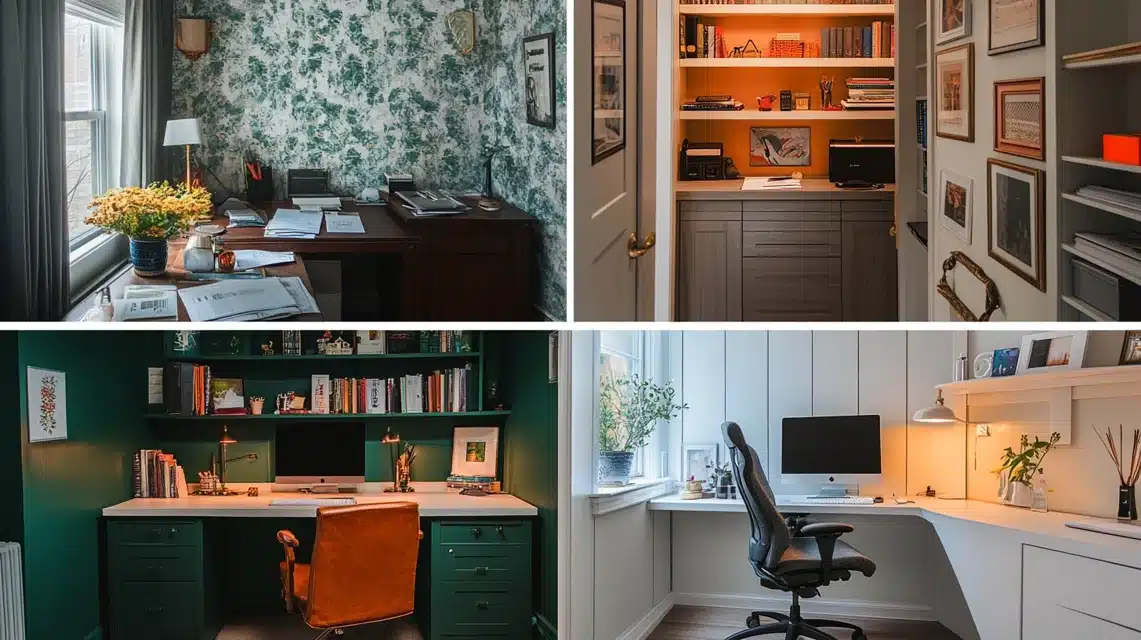
Shed Interior Wall Ideas for Different Styles and Uses
Sheds can be styled in many ways, based on how you use them. If it’s for work or rest, the right wall style can help the space feel just right.
1. Cozy Shed Idea

Use soft colors, comfy chairs, and warm lights. Add curtains or rugs to make the space feel welcoming. Beadboard or shiplap walls work well here.
Hang up art, string lights, or shelves for books and plants. Keep it neat but charming. A she shed should feel quiet and personal.
2. Workshop and Tool Storage Walls

Strong walls like plywood or OSB are best for workshops. Use hooks, pegboards, or shelves to hang tools. Keep heavy items close to the ground.
Leave space for a workbench. Pick paint that hides dirt. Keep things simple and tidy so you can work safely and find tools fast.
3. Rustic or Farmhouse-Inspired Designs

Go with wood walls and natural tones like brown, cream, or soft green. Old wood or metal signs add charm. Use simple wooden shelves and open storage.
Choose lighting that feels warm and not too bright. A rustic shed feels lived-in, laid-back, and great for relaxing or storing old tools.
4. Minimalist and Modern Interiors

Use clean lines and fewer things. Drywall or painted plywood in white or gray works well. Go for built-in shelves to save space.
Choose strong lighting and light-colored walls. A modern shed should feel open, bright, and uncluttered. Keep only what you need and store it smartly.
5. Creative Studio or Hobby Space
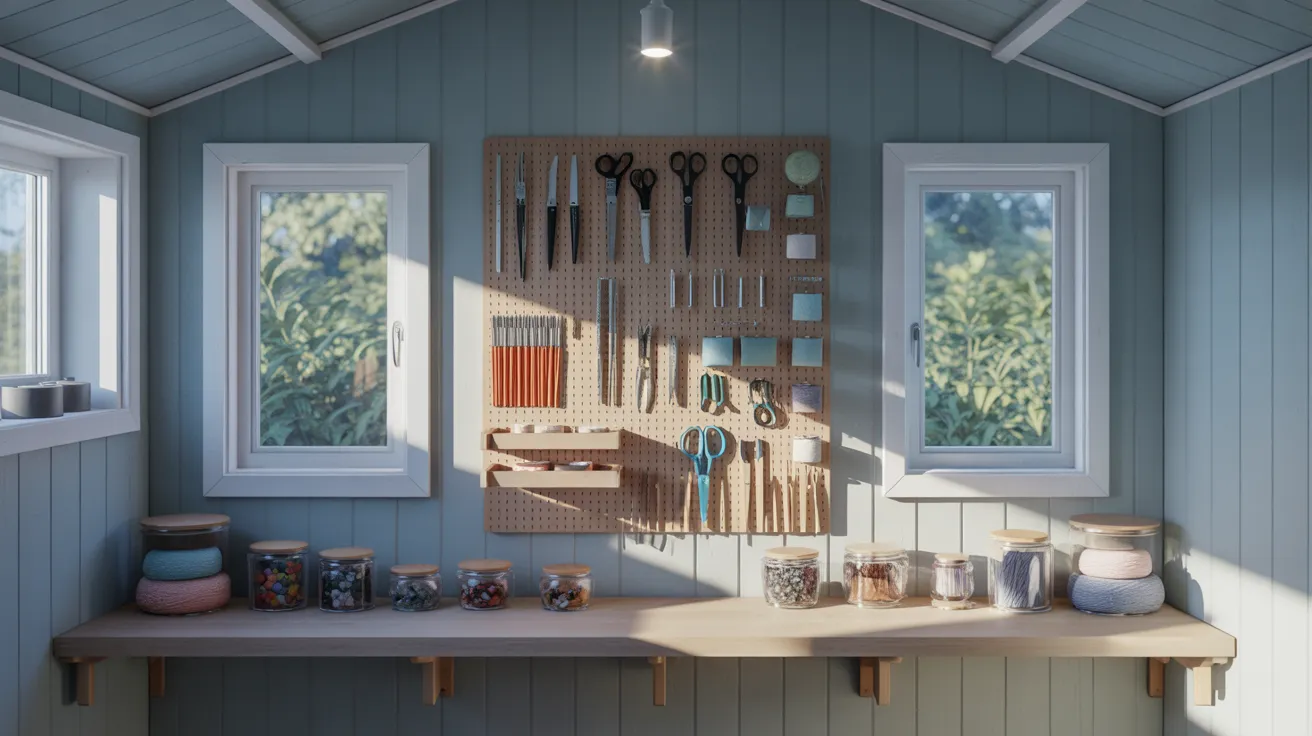
Turn your shed into a space for painting, sewing, or crafts. Use pegboards or open shelves to organize supplies. Bright paint and natural light help you stay focused.
Add a small table and cozy chair. Keep things easy to reach so you can enjoy your hobby without stress.
Choosing the Right Interior Wall Material
The wall material you pick will affect how your shed looks, feels, and works. Each option has its own good points.
1. Plywood: Affordable and Strong
Plywood is a strong and cost-effective choice. It’s easy to cut, paint, and screw into for shelves. It holds up well and adds strength to your shed.
Plywood is great for sheds used as workshops or storage. It also hides wires and insulation, which helps keep the space neat and safe.
2. Oriented Strand Board (OSB): Budget-Friendly with Rustic Look
Oriented Strand Board (OSB) is even more budget-friendly than plywood. It gives a rough, simple look that many people don’t mind.
OSB works well if you’re not worried about fancy walls. It’s sturdy and holds tools or shelves. It’s easy to install and saves money while still doing the job.
3. Drywall: Best for a Finished Interior
Drywall gives your shed a clean, smooth look like inside your house. It’s best if your shed is a workspace or office.
You can paint it any color and add trim. But it needs more care to install and finish. It’s great if you’re after comfort and a polished space.
4. Beadboard & MDF: For a Decorative Touch
If you want your shed to feel cozy, beadboard or MDF panels are a good pick. They add a nice pattern to your walls. You can paint them and make the shed feel homey.
They’re not as tough as plywood but work well for hobby sheds, studios, or reading spaces.
5. Shiplap: Ideal for She Sheds
Shiplap boards give a soft, warm feel. They fit together neatly and can be painted white or any color you like. It’s a favorite for sheds used as craft rooms or quiet hangouts.
Shiplap makes the space feel calm and home-like, and it hides wall gaps in a simple way.
6. Upcycled Material: Eco-Friendly Options
Old wood, doors, or leftover panels can all be reused as shed walls. This saves money and cuts waste. Every piece brings character.
If you like a natural look or want to build green, this is a smart way to go. It’s creative, low-cost, and kind to the planet.
7. Corrugated Metal: Industrial Style with Edge
Metal panels add a cool, rugged look to your shed. They’re great for sheds that need to stay dry or clean.
You can wipe them off easily. They also reflect light, which brightens up the space. This works well for garden sheds or workspaces where strong walls are a must.
Final Thoughts
You don’t need to spend a fortune or be a pro to turn your shed into a space that really works for you.
We’ve covered ideas, strong materials, simple upgrades, and style tips; you can start small or go all in. The key is picking what fits your needs and getting started step by step.
I hope this guide gave you the confidence to make your shed feel more like your own space.
If it helped, feel free to bookmark it, share it with other DIY enthusiasts, and check out more of my shed tips when you’re ready for your next project.