Lighting Plan: A Step-by-Step Guide
Lighting is the key factor that transforms your living spaces. Think of it as the secret ingredient that turns a house into a home, creating warmth, comfort, and personality with just the right glow.
More than just brightening a room, smart lighting design speaks to how you live, work, and relax.
Getting lighting right starts long before you install a single fixture. It’s about understanding your space, your needs, and the mood you want to create.
From the soft ambient light in your bedroom to the bright task lighting in your kitchen, each room tells a different story.
Ready to shed some light on the art of perfect lighting? Let’s walk through everything you need to know to make your home shine.
What is a Lighting Plan and Why it Matters
A lighting plan is essentially a roadmap for how you’ll light up your living spaces. Think of it as a blueprint that ensures every corner of your home is perfectly illuminated.
Without a solid plan, you might end up with rooms that feel too dark, too bright, or just plain uncomfortable.
The benefits are clear and significant. A well-designed lighting plan helps make rooms feel larger and more inviting.
It improves your ability to complete tasks effectively. You can create different moods throughout your home while saving energy and reducing electricity costs.
Many homeowners make critical mistakes by treating lighting as an afterthought. They’ll install a single ceiling light and call it a day, missing out on the ways light can affect a house’s vibe.
When to Start Your Lighting Plan
The ideal time to begin your lighting plan? Before any electrical work starts.
During renovations or new construction, you have a golden opportunity to design a lighting system that works perfectly for your lifestyle.
Start by sketching out your rooms. Consider how you’ll use each space and think about natural light sources. Planning ahead helps you anticipate future furniture arrangements and create a more functional lighting design.
Step-by-Step Guide to Creating a Lighting Plan
Step 1: Draw a Floor Plan

Grab a piece of paper or use free online tools to create a basic floor plan. A well-designed plan serves as the foundation for effective lighting decisions.
Include room dimensions, window and door locations, and any unique architectural features that might affect how light moves through the space.
Measure carefully to ensure accuracy, as even small mistakes can impact your lighting layout.
Free tools like SketchUp, RoomSketcher, or even graph paper can help you get started with minimal effort.
Consider how natural light enters each room during different times of day, as this will inform your artificial lighting needs.
Step 2: Mark Furniture and Fixed Features
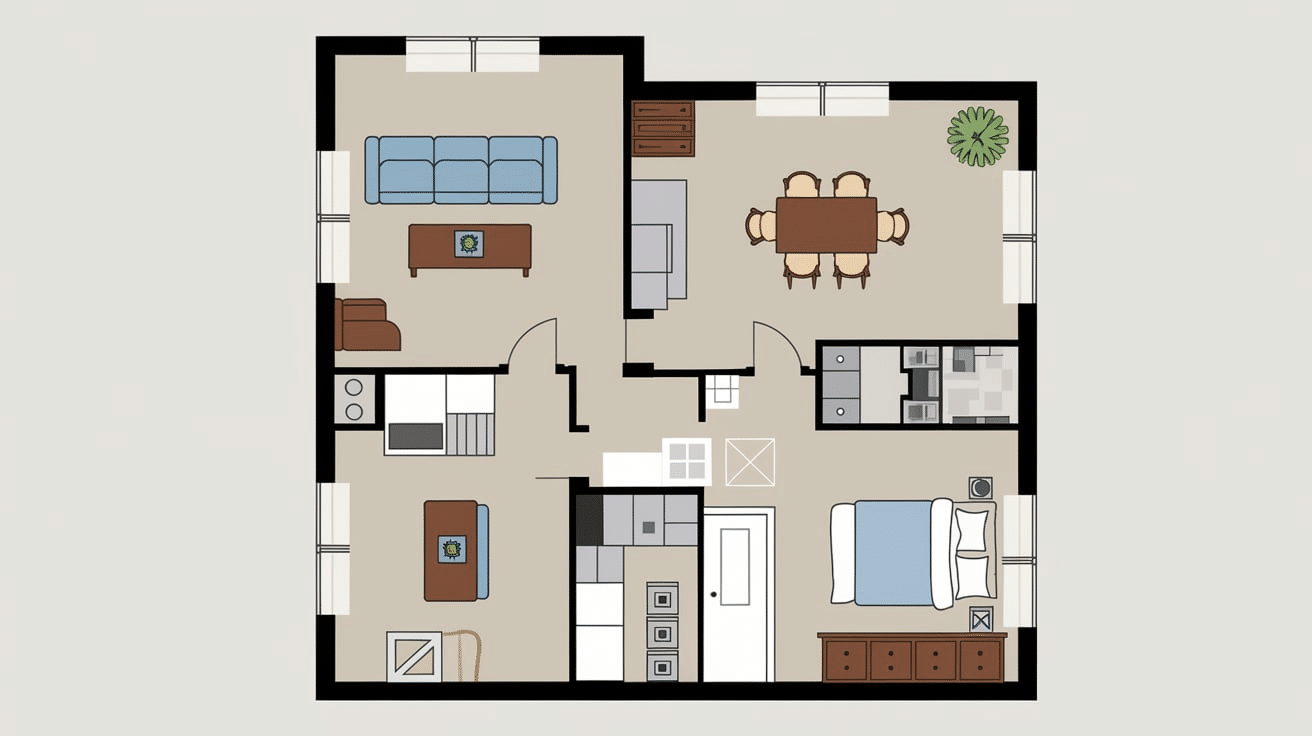
Where you place furniture dramatically impacts lighting effectiveness and functionality. Large pieces cast shadows and can block light distribution if not considered in your planning.
Take time to mark the locations of sofas, chairs, kitchen appliances, cabinets, and any artwork or focal points you want to highlight.
This helps you understand where shadows might fall and how to position lights for optimal effect.
Be specific about furniture heights and dimensions, as taller pieces require different lighting approaches than lower ones.
Consider how people will move through the space to ensure lighting supports natural traffic patterns.
Step 3: Define Room Functions and Lighting Needs
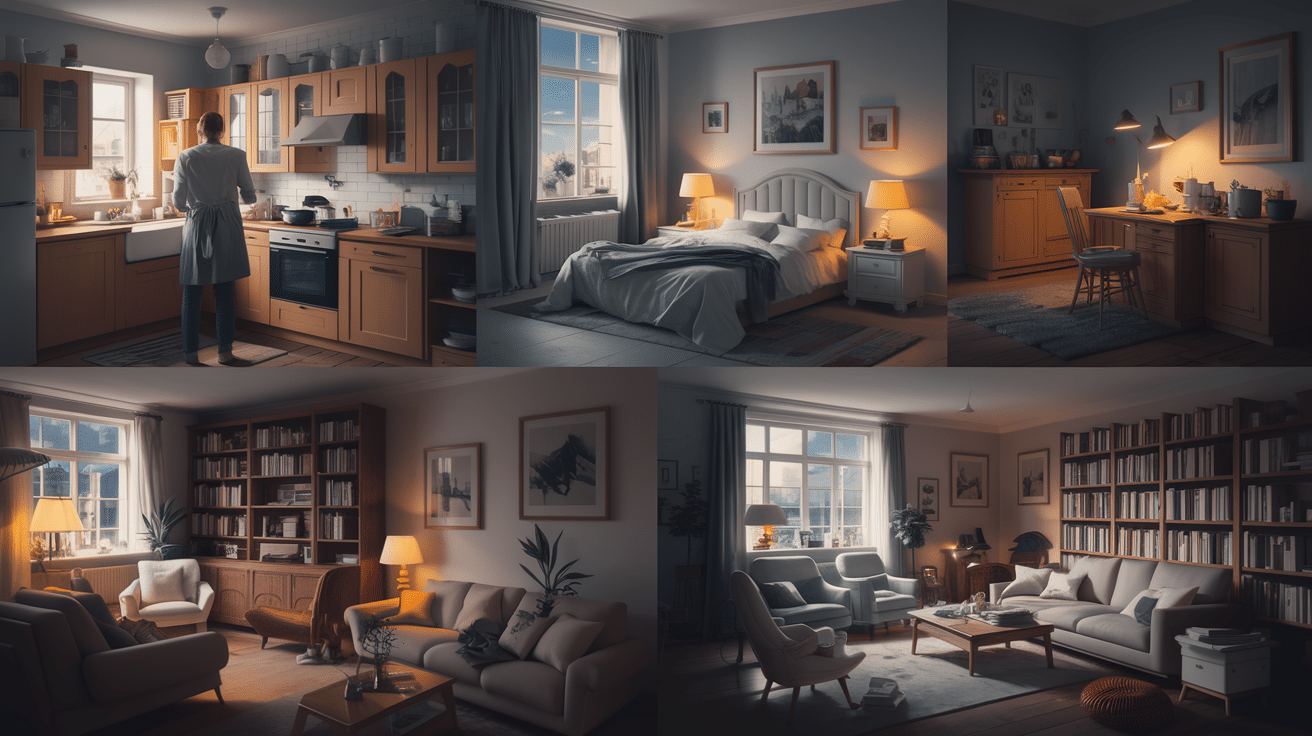
Each room has unique lighting requirements based on its primary functions. A thoughtful assessment of activities will guide your lighting choices.
Take a moment to think about what happens in each space throughout the day and evening.
Consider when the room will be used most frequently and what atmosphere you want to create during these times. A kitchen needs bright, even lighting for food preparation, while a bedroom requires softer, more relaxing illumination for comfort.
Living areas might need flexible lighting that adapts to various activities, from reading to socializing.
List all activities that occur in each room to ensure your lighting plan accommodates every need.
Step 4: Choose the Right Types of Lighting
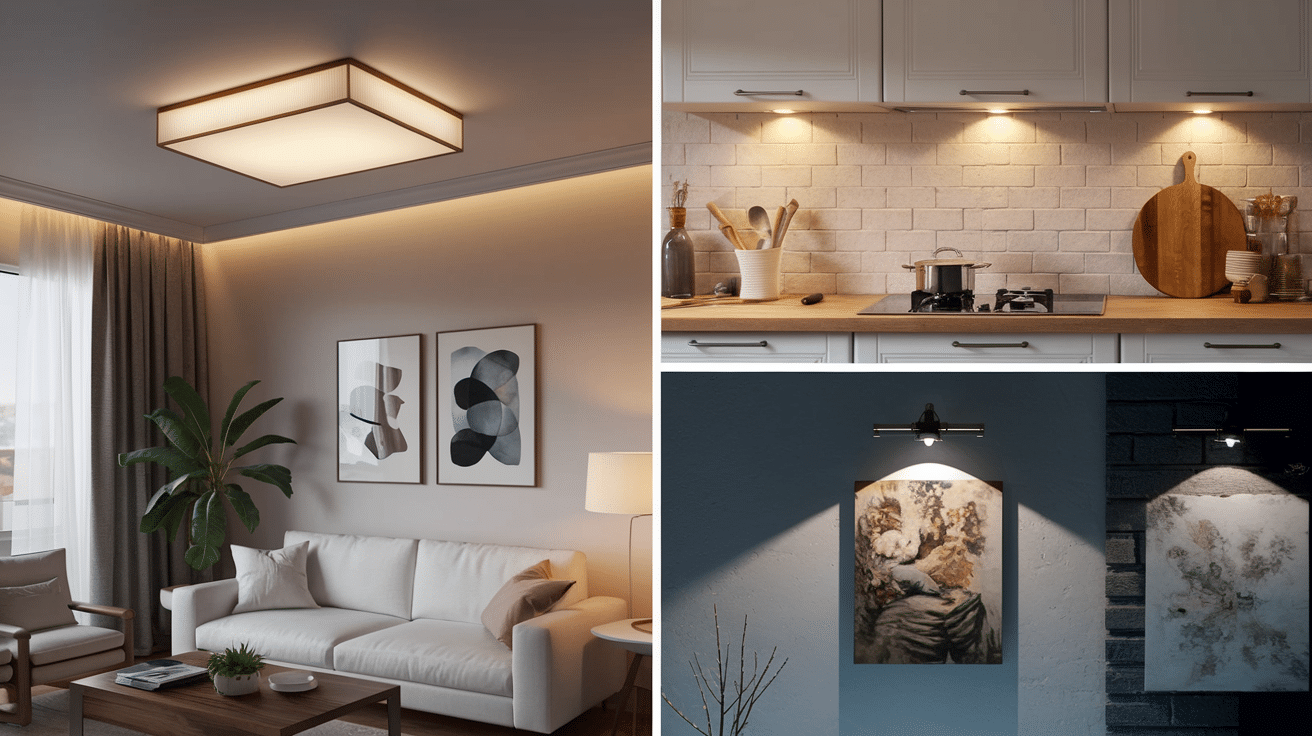
Three main types of lighting will help you create a balanced approach:
- Ambient lighting: It provides overall illumination and often comes from ceiling fixtures. It creates a base layer of light for the entire room.
- Task lighting: This focuses on specific activities, like reading lamps or under-cabinet kitchen lights that help you see clearly while working.
- Accent lighting: highlights artwork, architectural features and adds depth to your space.
Step 5: Pick Fixtures and Bulbs

Selecting appropriate fixtures and bulbs significantly impacts both functionality and mood.
The technical aspects matter just as much as the style. Pay attention to brightness (measured in lumens) and color temperature when choosing bulbs.
Lower lumens work well for relaxing spaces like bedrooms, while higher lumens suit work areas such as kitchens and home offices.
Warm light (2700-3000K) creates a comfortable, intimate atmosphere, and cool light (4000-5000K) produces a crisp, alert feeling.
Match the fixture style to your room’s character—contemporary spaces might suit minimalist designs, while traditional rooms might call for more classic options. Consider how the fixtures look both when lit and unlit.
Step 6: Plan Socket and Switch Placement
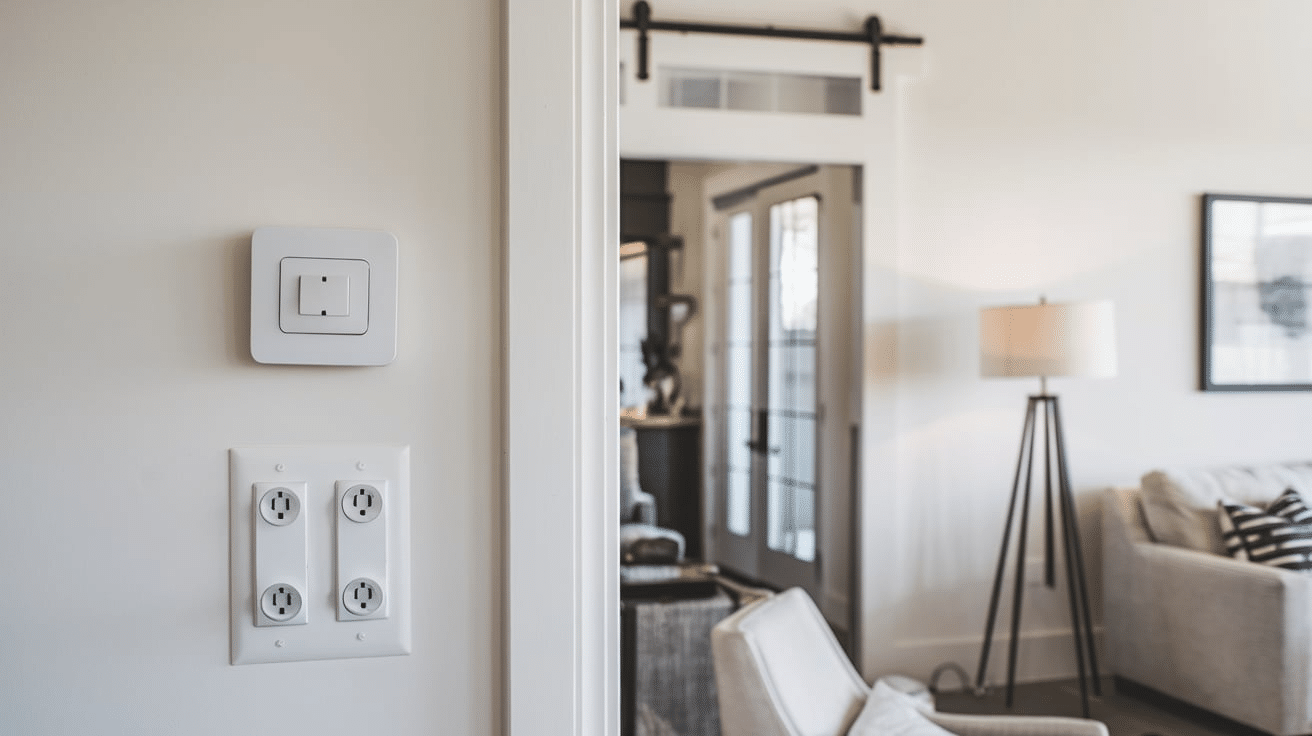
Think carefully about convenience, safety, and practical use patterns when positioning electrical elements.
Place switches near room entrances at consistent heights for easy access, especially in darkened rooms. Consider three-way switches for rooms with multiple entry points so you can control lights from different locations.
Dimmers offer flexibility, allowing you to adjust lighting intensity to suit different times of day or activities.
Well-placed outlets throughout the room will accommodate floor and table lamps without creating tripping hazards from extension cords. Smart switch options can provide convenient control from multiple locations.
Think about seasonal additions like holiday lights that might require occasional access to power.
Step 7: Add Smart and Energy-Efficient Features
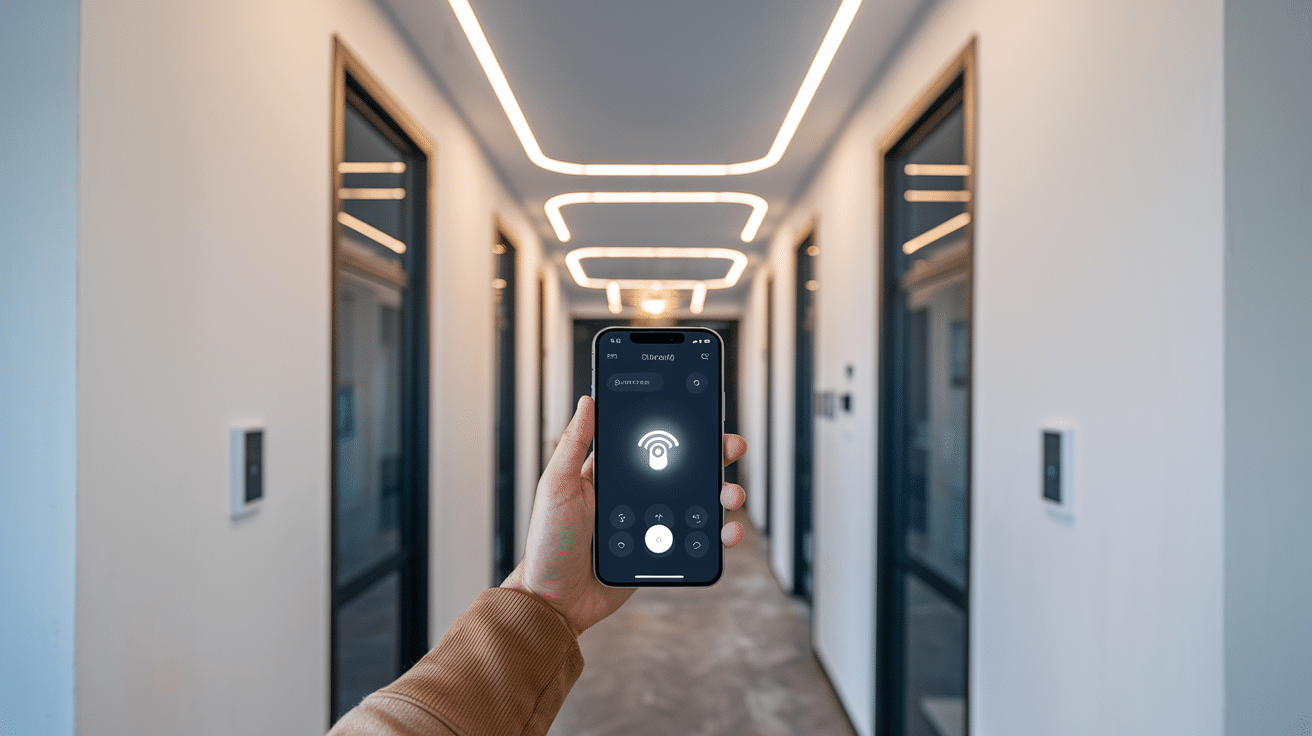
Modern lighting technology offers practical options that improve both convenience and cost-effectiveness.
LED bulbs consume less electricity and function longer than traditional options, reducing replacement frequency and operating costs.
Motion sensors can activate lights automatically when you enter a room and turn them off when the space is empty, particularly useful in hallways, closets, and bathrooms.
Timing systems can simulate occupancy when you’re away from home, enhancing security.
Smart systems allow lighting control from your phone or voice commands, with options to create programmed scenes for different activities or times of day.
These features may cost more initially but often pay for themselves through energy savings and added functionality.
Room-by-Room Lighting Guide
1. Kitchen Lighting
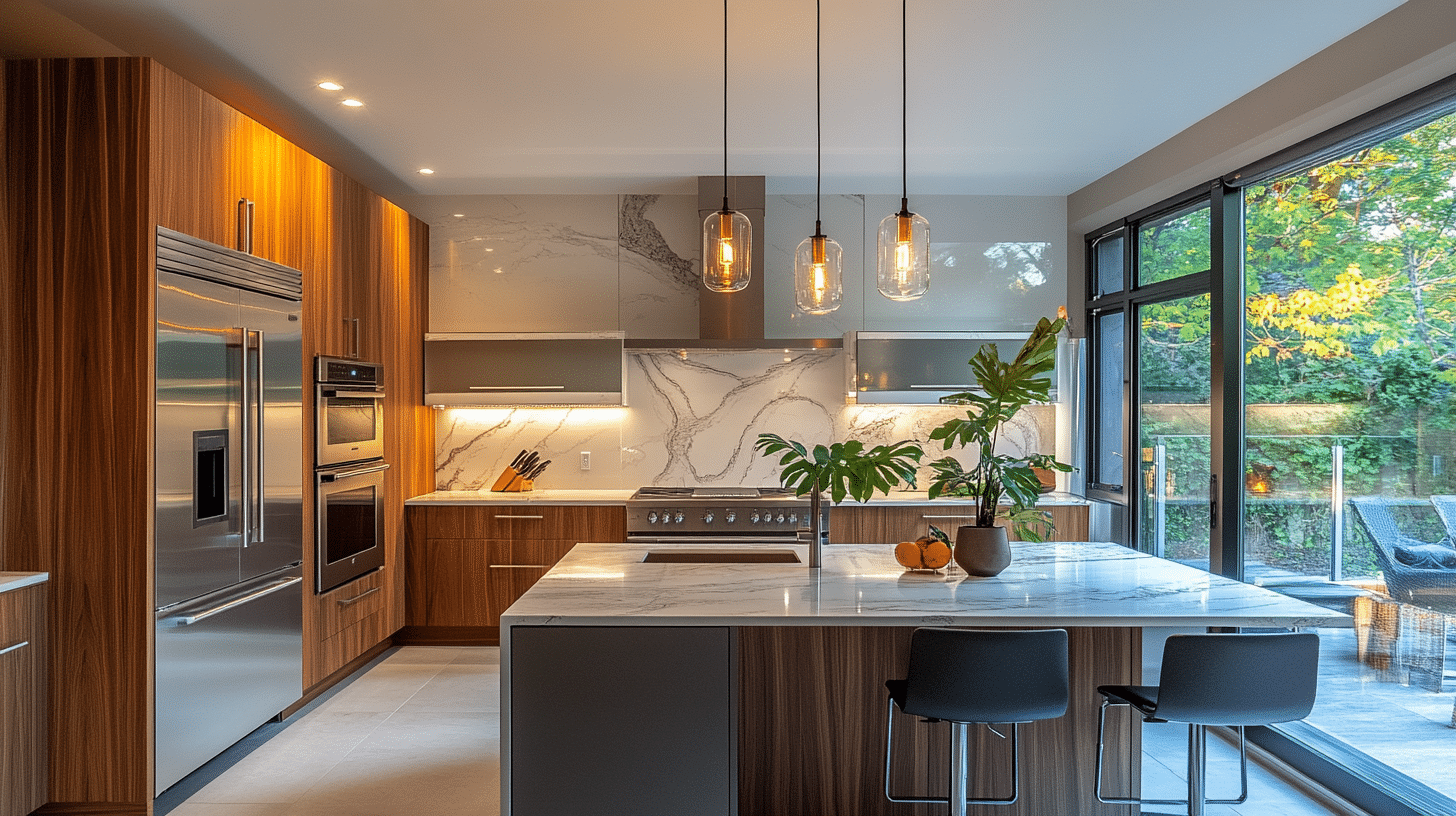
Kitchens function best with multiple light sources. Start with quality overhead fixtures for general illumination across the entire space.
Add under-cabinet lighting to eliminate shadows on countertops while preparing meals.
For dining areas or islands, consider hanging pendant lights at appropriate heights (usually 30-36 inches above surfaces).
Adjustable brightness controls allow you to modify the atmosphere from bright and functional during cooking to softer and more relaxed during meals.
2. Living Room Lighting
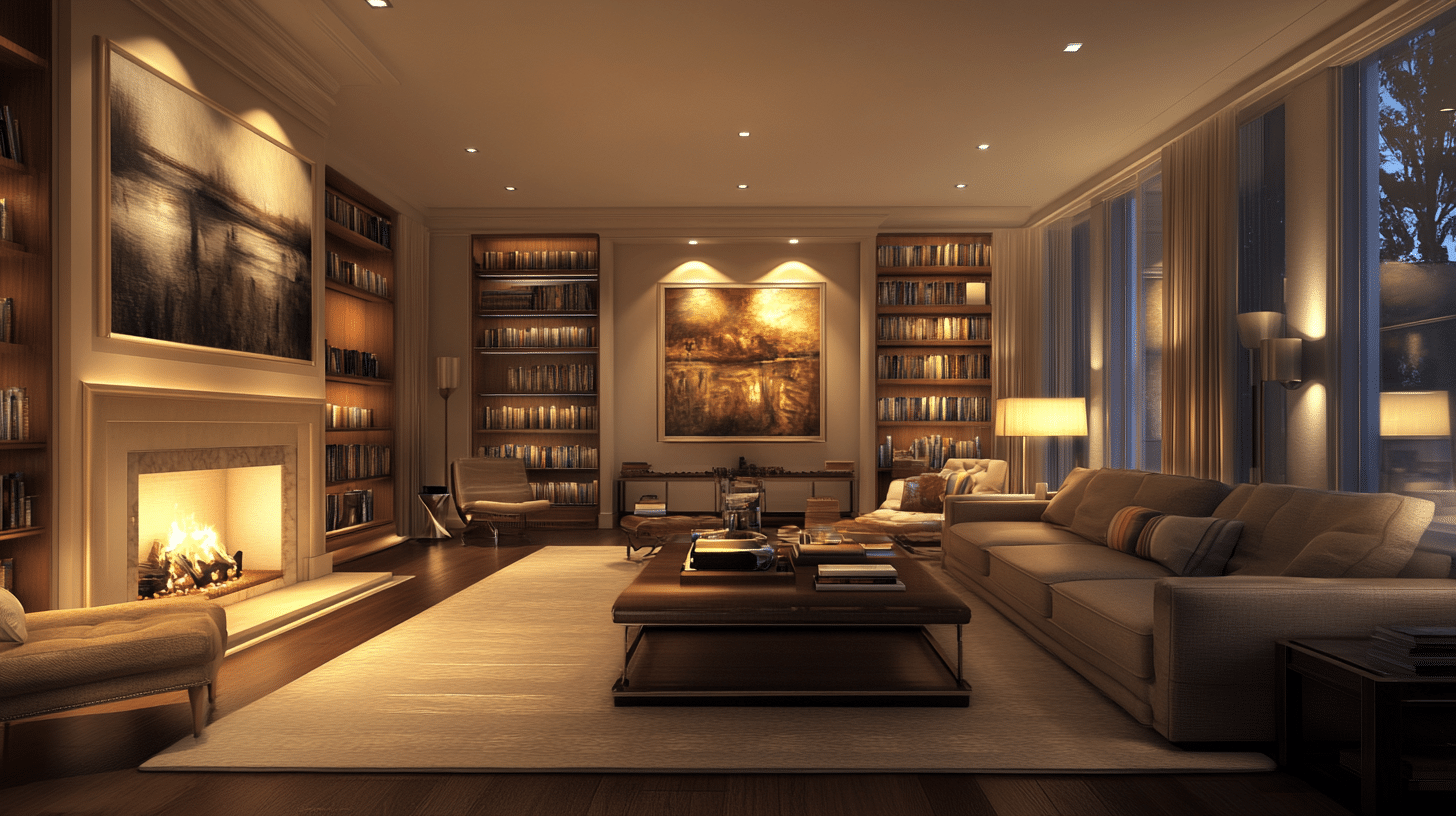
The living room requires thoughtful light arrangement since it serves many purposes. Begin with ceiling fixtures that provide overall light, then add floor lamps near seating areas for reading.
Wall sconces can highlight architectural features, while table lamps bring warmth to corner spaces. Consider adding specific accent lighting to showcase artwork or collections.
Installing dimmer switches gives you control over intensity based on activities, from movie watching to entertaining guests.
3. Bedroom Lighting
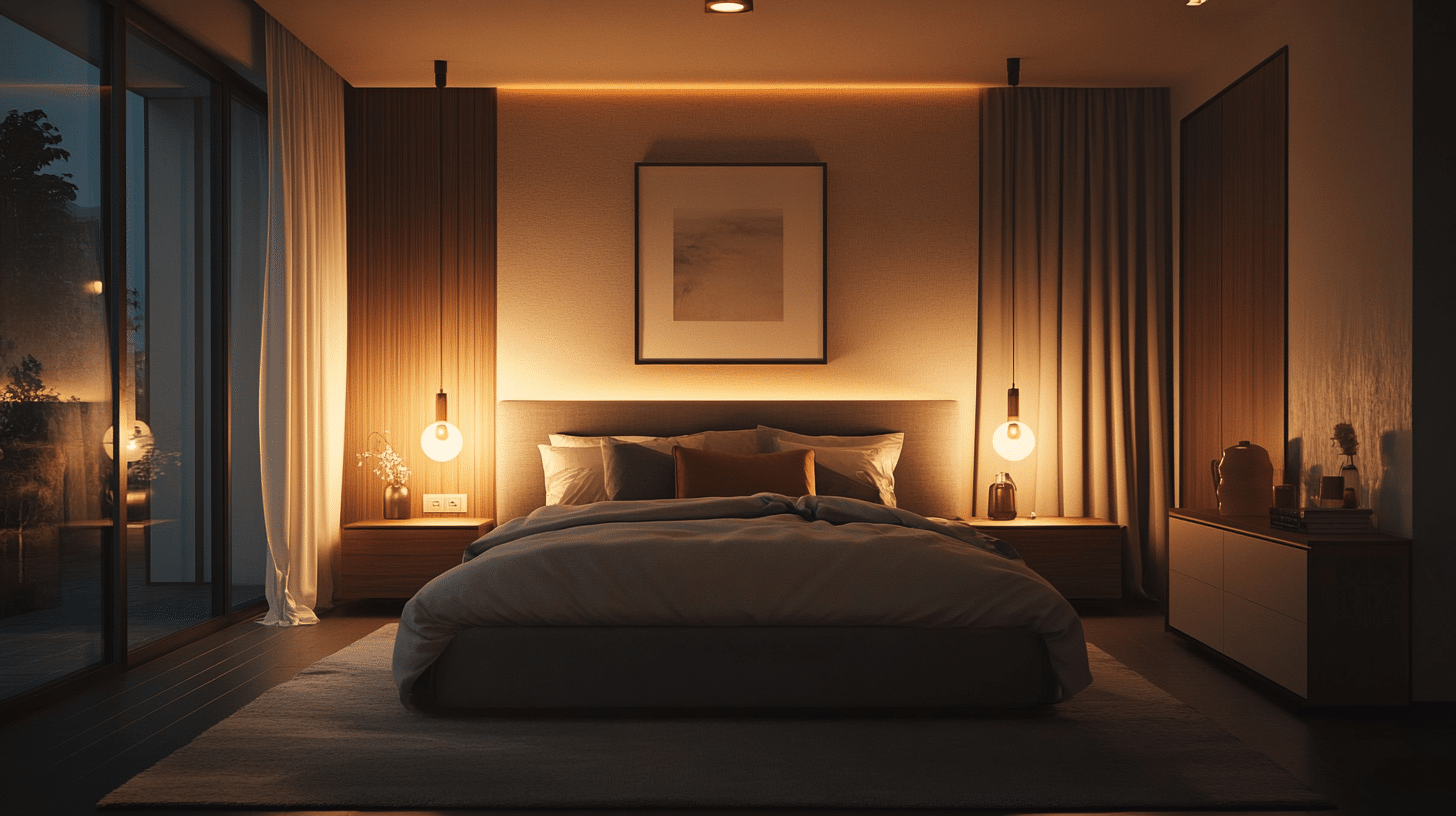
Your bedroom should feature gentle, warm lighting that promotes relaxation. A central ceiling fixture with a dimmer provides basic illumination when needed.
Position bedside lamps at appropriate heights for comfortable reading without disturbing your partner. Consider small, low-intensity night lights for safe movement during nighttime hours.
Avoid harsh, cool-toned bulbs, as these can interfere with sleep patterns. Soft, indirect lighting creates a tranquil environment conducive to rest.
4. Bathroom Lighting
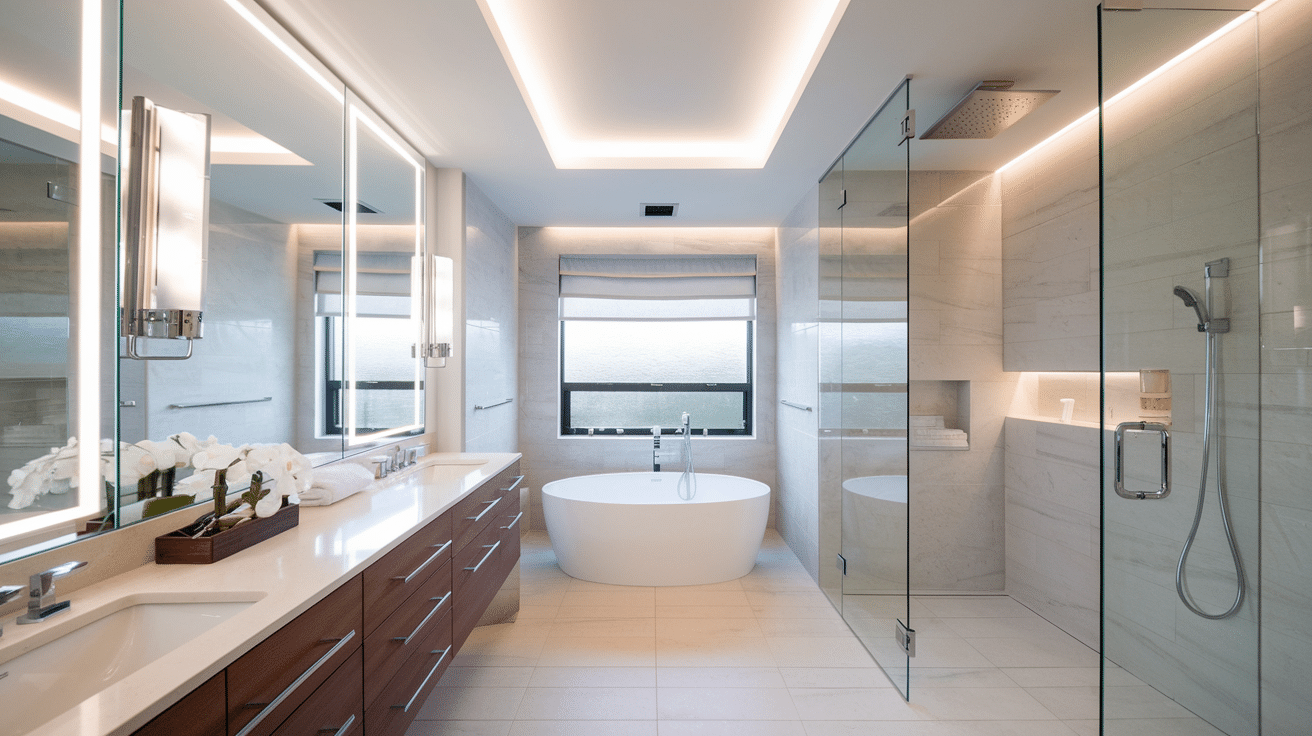
Bathroom lighting must balance functionality with comfort. Position lights on both sides of mirrors to minimize shadows on the face—crucial for grooming tasks.
Select fixtures with appropriate moisture resistance ratings for safety. Consider a combination of ceiling lights for overall brightness and focused vanity lighting. A night light option helps with midnight visits without disrupting sleep cycles.
For larger bathrooms, think about separate lighting zones for the shower area versus the vanity section.
5. Hallways and Entrance Lighting

These transitional spaces need adequate lighting for safety while setting the tone for your home. Install fixtures that cast enough light to prevent accidents but avoid overly bright options that feel jarring.
Wall-mounted lights can add visual interest while illuminating pathways. Motion sensors prove useful for hands-free operation when carrying items.
For entrances, consider lighting that highlights address numbers and path markers leading to your door.
These areas benefit from warm, welcoming tones rather than stark, institutional lighting.
Common Mistakes to Avoid
Lighting can go wrong in several key ways, but smart planning helps you avoid common pitfalls.
When designing your home’s lighting, keep these critical points in mind:
- Light Distribution: Spread your light sources carefully to prevent dark corners or harsh shadows. Think about how light falls across your entire room.
- Furniture Placement: Be strategic about where you put furniture. Avoid blocking windows or placing large pieces that create unwanted shadows.
- Room Characteristics: Every space is unique. Pay close attention to your room’s size, color, and natural light. Choose bulb colors and brightness that work with the room’s specific features.
The goal is simple create a lighting setup that feels comfortable, functional, and just right for how you live.
Take time to think through each lighting choice, and you’ll transform your space into a well-lit, welcoming home.
Conclusion
Creating the perfect lighting for your home is more than a design choice—it’s about crafting spaces that feel right.
Every room tells a story through light, and you have the power to make that story warm, inviting, and uniquely yours.
Ready to transform your home? Start small. Pick one room and apply these lighting principles.
Watch how the right light can change everything—making spaces feel larger, more comfortable, and completely personalized.
Want expert advice? Talk to a local lighting professional who can help bring your vision to life.