Kitchen Remodel Through Painted Cabinets: 15 Simple Ideas
Want to refresh your kitchen without a big spend? Painting your cabinets could be the perfect option. It’s a simple way to update the space without tearing anything out or starting from scratch. But is it the right move for you?
In this guide, I’ll walk you through what works and what doesn’t when it comes to painted cabinets. We’ll look at the pros and cons, popular paint ideas, and signs that might tell you it’s better to replace than repaint.
I’ll also include easy tips to help your paint job hold up over time. So, if you’re thinking about giving your kitchen a boost, let’s see if painting your cabinets is the right choice for your space.
Painted Cabinets in a Kitchen Remodel: Smart or Not?
If you’re considering updating your kitchen, painting your cabinets might be the easiest way to achieve a fresh look without starting from scratch. It’s smart to weigh the good and bad before picking up a brush.
Benefits of Painted Cabinets
Painting kitchen cabinets is a cost-effective way to give the entire space a fresh, updated feel without a full remodel. It’s one of the most budget-friendly upgrades and works well for homeowners looking to refresh the kitchen without replacing existing cabinetry.
It also offers flexibility in color choice, allowing the kitchen to reflect a specific style or mood. This approach works particularly well for creating a custom look on a modest budget.
Painting can also help unify mismatched elements in the kitchen, tying together walls, counters, and hardware with a cohesive finish.
Downsides to Consider
Painting cabinets requires thorough preparation, which can be a time-consuming process. Surfaces need to be cleaned, sanded, and labeled carefully to ensure even application and long-lasting results.
The process also involves multiple coats and drying periods, which can stretch out the project timeline. If the paint isn’t sealed or maintained properly, it may chip or wear prematurely.
This method may not be suitable for those seeking a fast and low-effort upgrade, especially if the goal is a factory-smooth finish without visible brush marks.
Stylish Ways to Paint Your Kitchen Cabinets
If you’re unsure about what color or style suits your kitchen, don’t worry, I’ve curated some of the most popular painted cabinet looks. These ideas can help you pick what suits your space best.
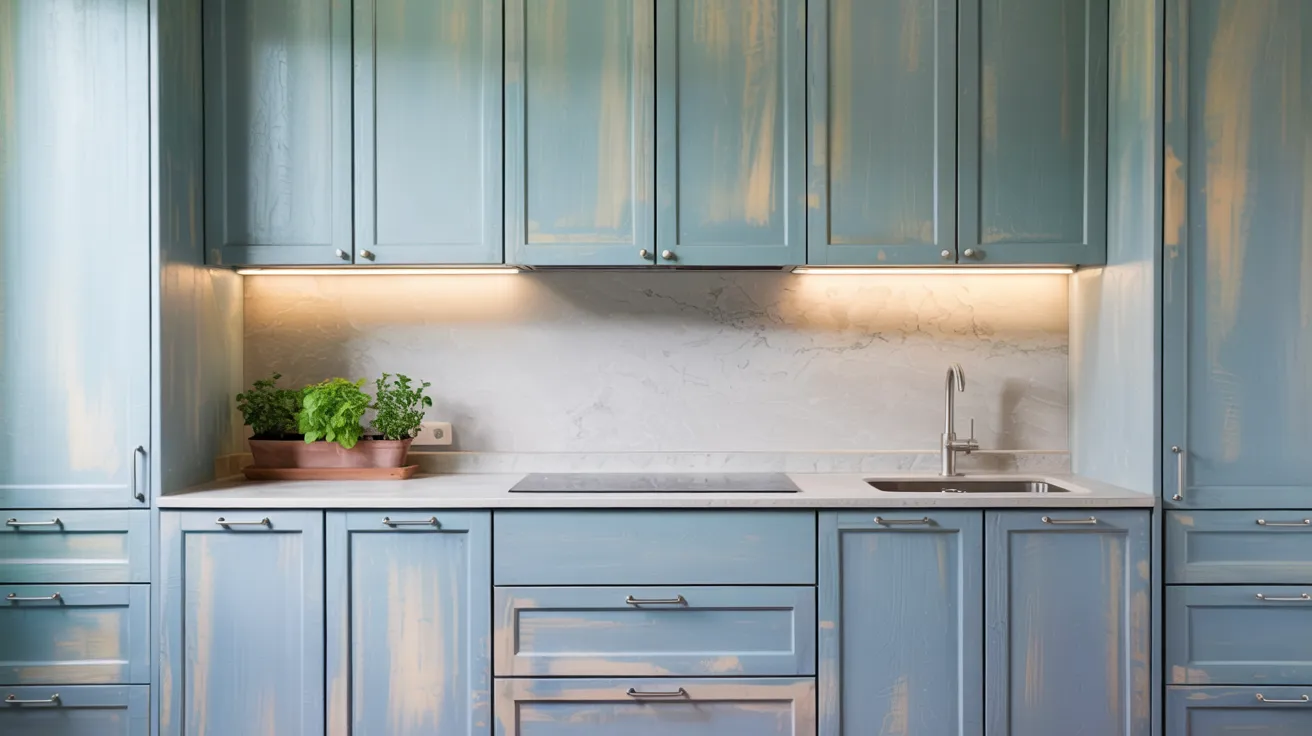
1. Classic White Cabinets
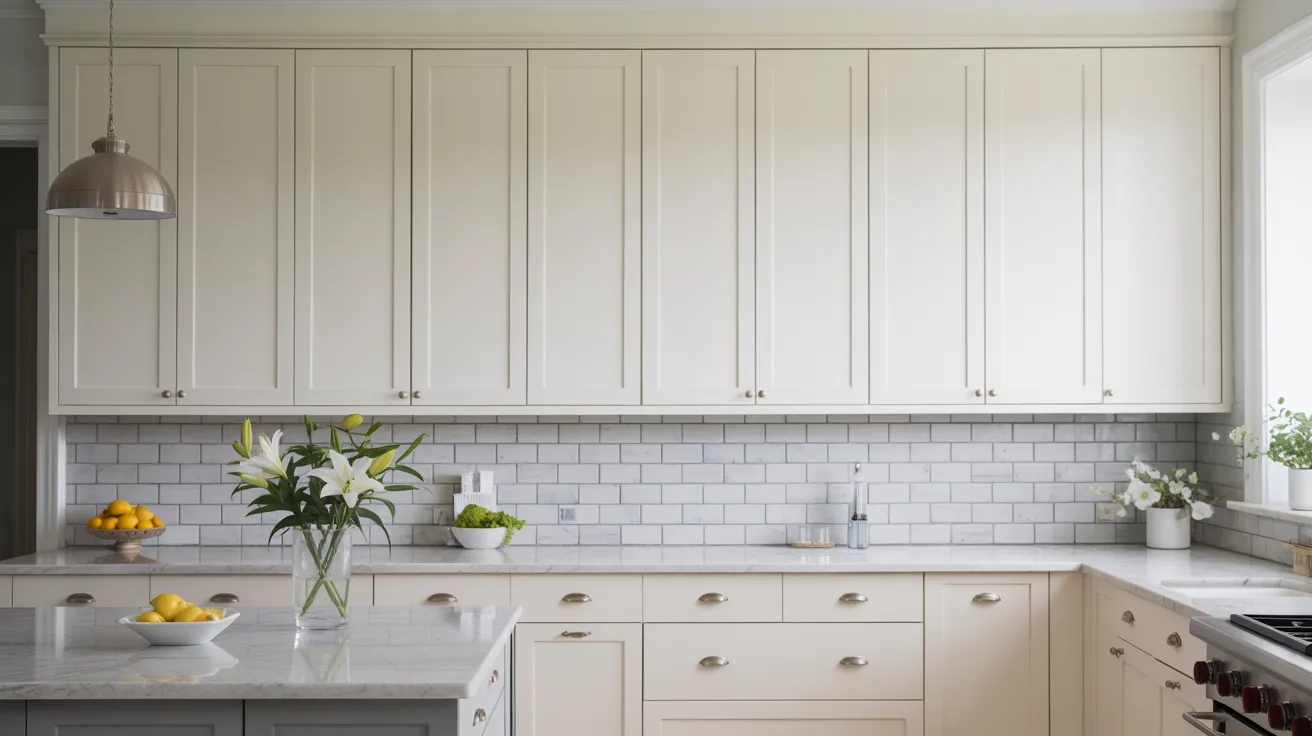
White cabinets give your kitchen a clean, bright, and classic look. They reflect light and make small spaces feel bigger.
Perfect for any style, from modern to traditional or farmhouse, they pair well with almost any wall color or hardware. If you’re unsure what to choose, white is a safe and versatile option that never goes out of style.
2. Two-Tone Color Schemes
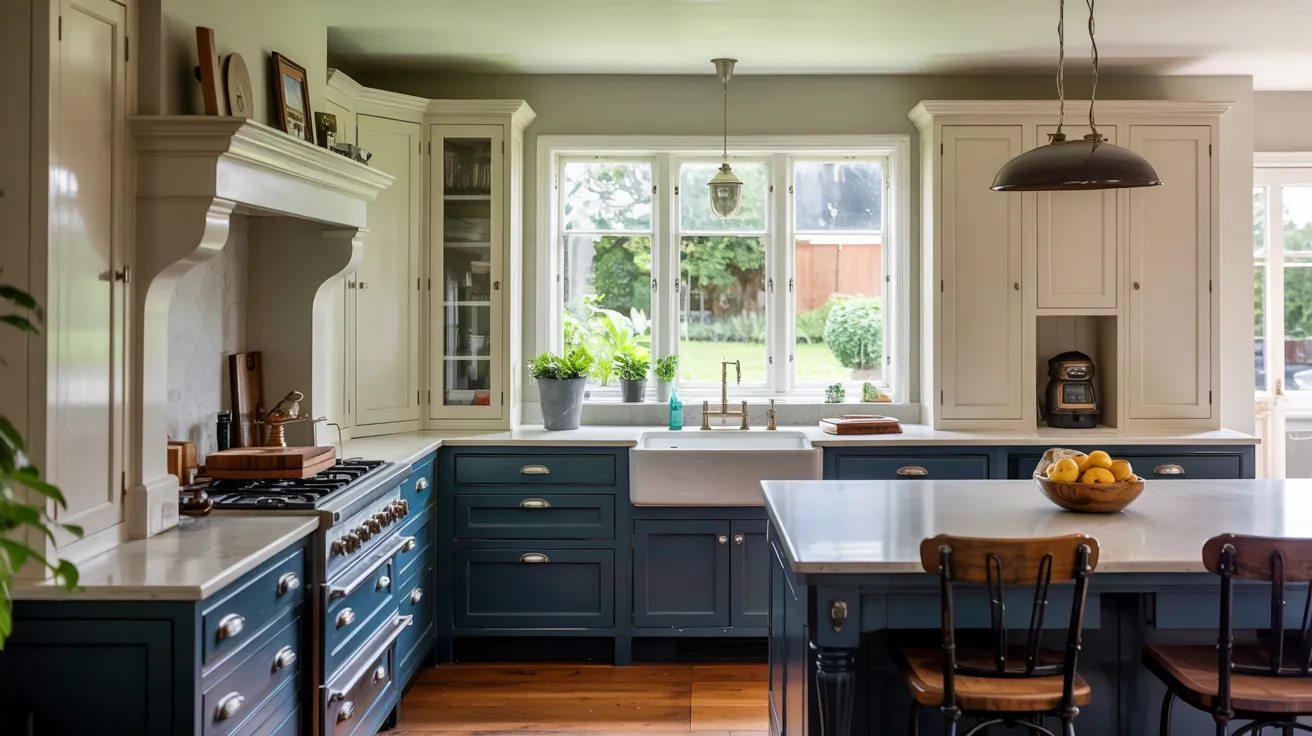
Use one color for the upper cabinets and another for the lower cabinets. For example, navy bottoms and white uppers add balance and visual interest.
This approach defines distinct zones in the kitchen, allowing you to mix bold and neutral tones. It’s a simple way to create contrast without overwhelming the space, especially in open-concept layouts.
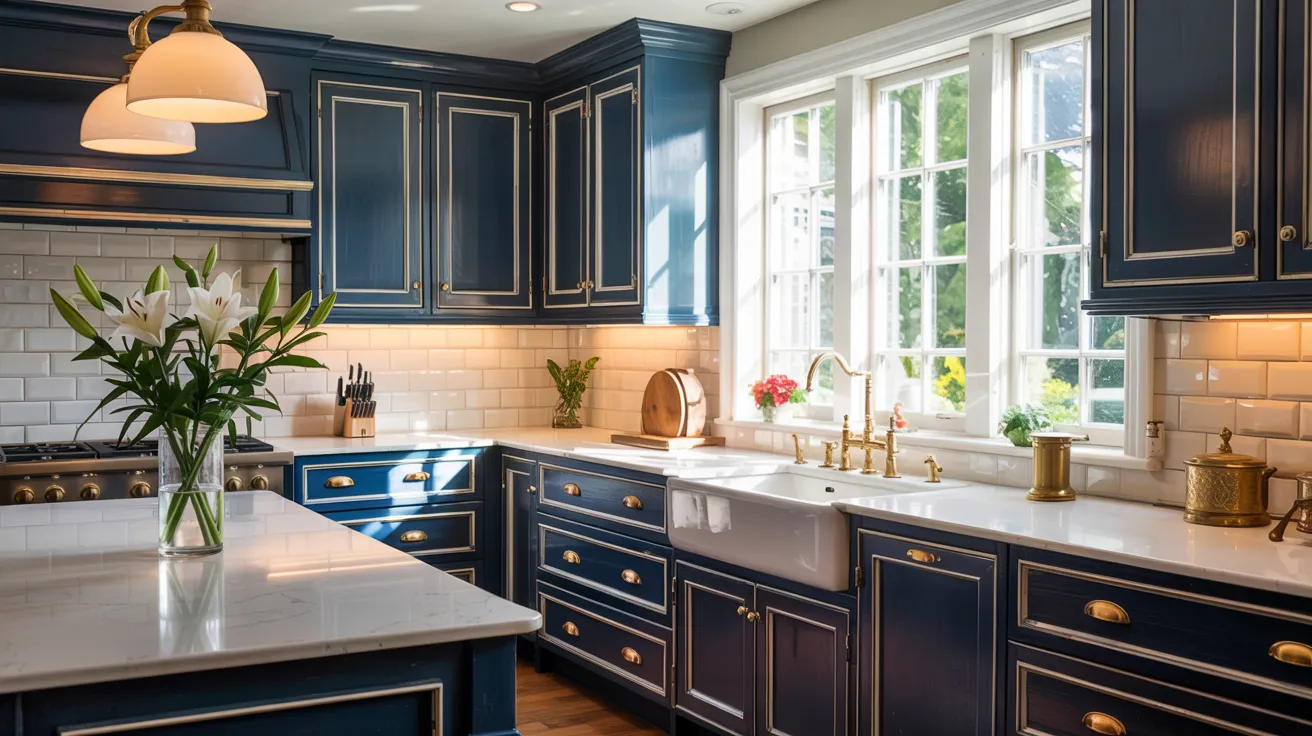
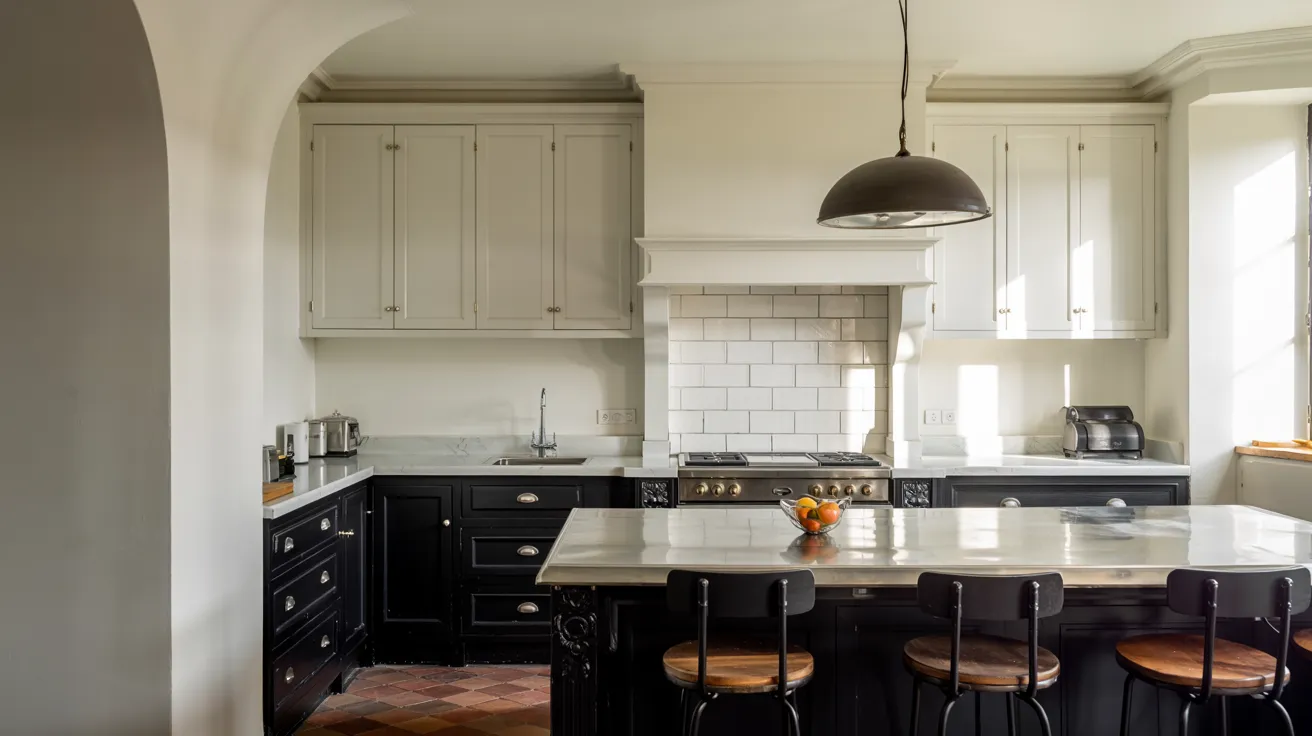
3. Bold & Moody Tones

Dark shades, such as black, navy, or forest green, create a rich and dramatic kitchen vibe. They make the cabinets stand out and add a grounded feel to the space.
To keep things from looking too dark, pair these colors with light walls, counters, or backsplashes. It’s a great style if you want your kitchen to feel bold.
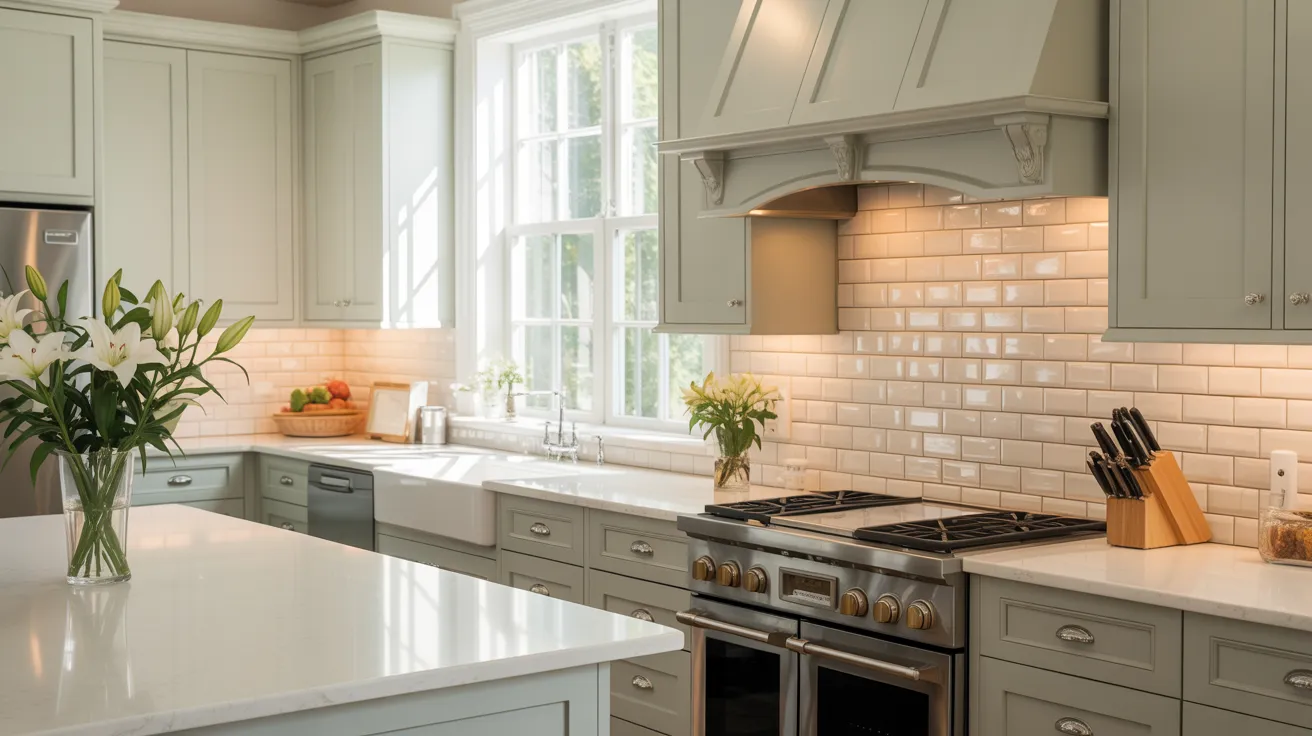
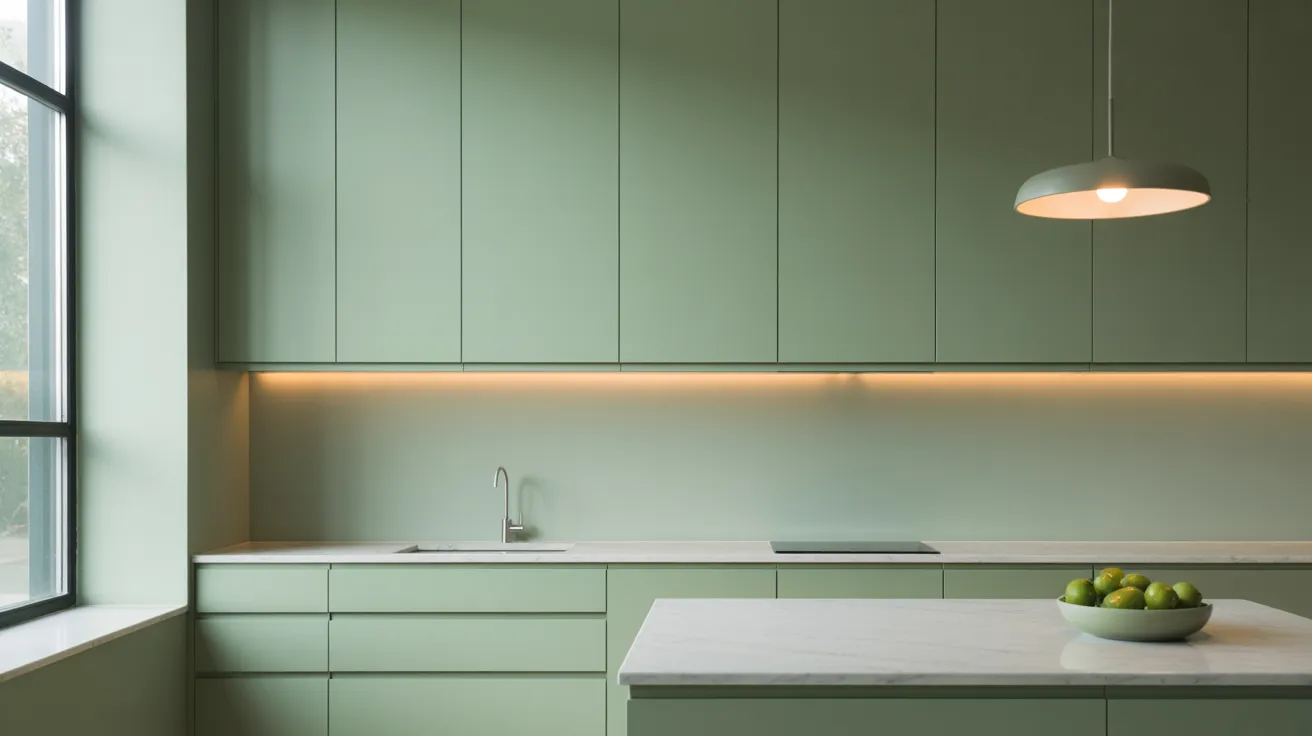
4. Natural and Neutral Finishes
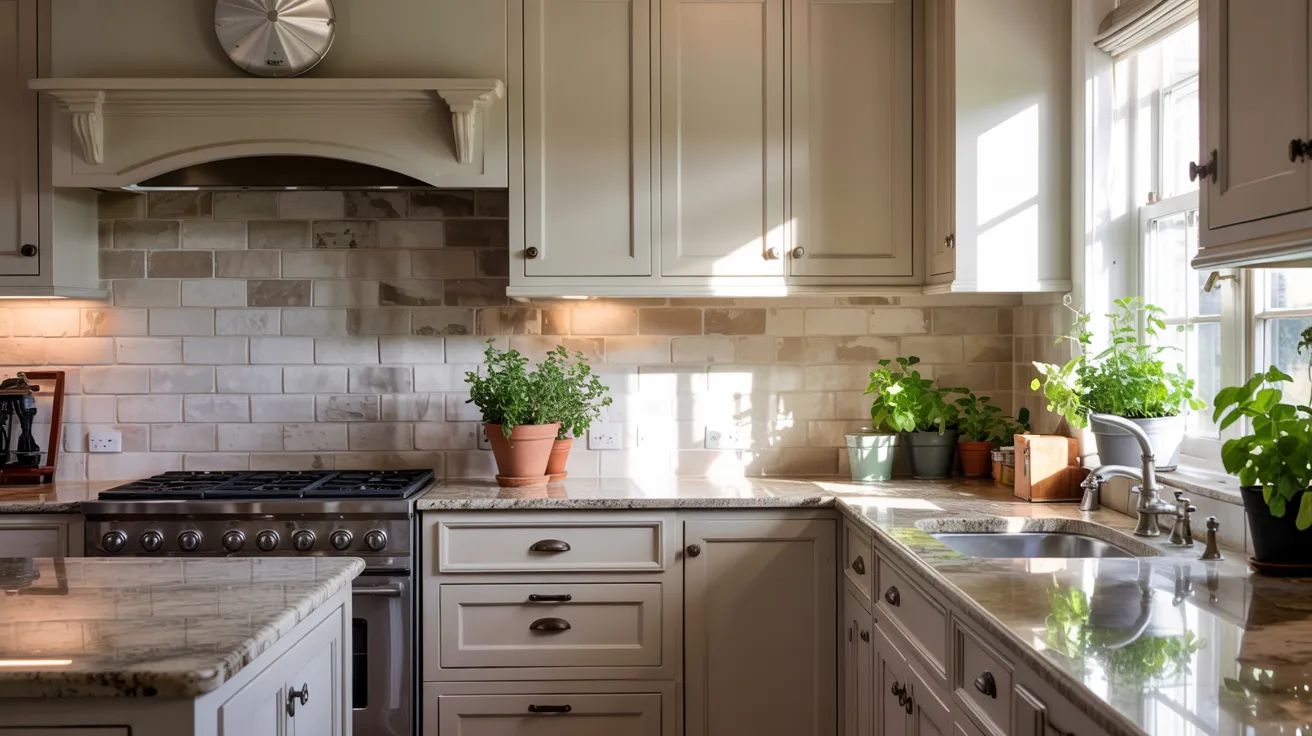
Colors like beige, taupe, and greige offer warmth and a sense of calm. These soft, muted tones blend seamlessly with natural wood and stone, creating a relaxed and balanced kitchen.
They’re easy to live with over time and work in both traditional and modern homes. If you like texture over contrast, neutral paints help everything flow together smoothly.
5. Matte or Satin Paint Finishes
These finishes are trending because they reduce glare, hide smudges, and offer a smooth texture. Matte paint gives a modern, soft look, while satin is easier to clean, especially in busy kitchens.
Both are great alternatives to glossy paint and pair well with understated color palettes or natural textures, such as wood and stone.
6. Shaker-Style Painted Cabinets
Simple and versatile, shaker doors work with nearly any color or design. Their flat center and square edges offer a clean look that blends into modern, traditional, or transitional kitchens.
Painted shaker cabinets in white, blue, or gray are especially popular and easily pairable with most backsplashes and countertops.
7. Pastel Hues for a Soft Touch
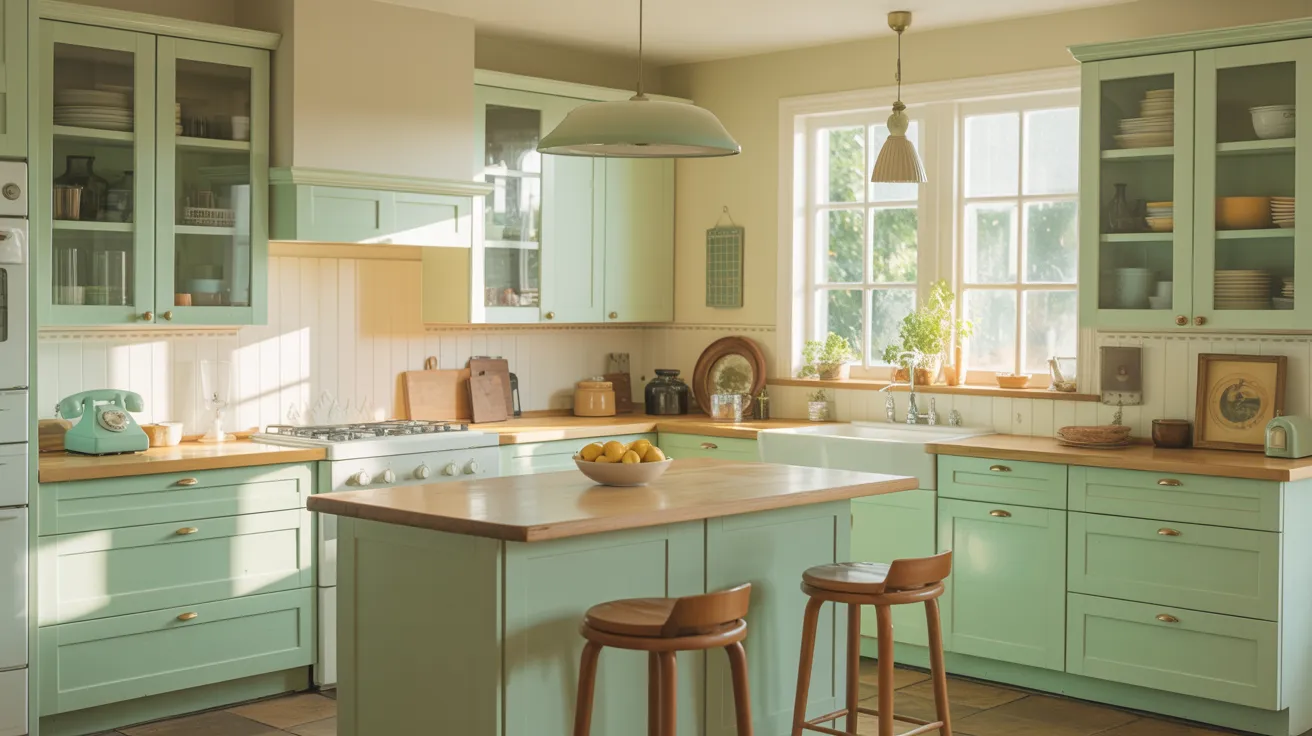
Light pink, mint green, or pale blue cabinets add class and brightness. They’re perfect for vintage, cottage, or whimsical kitchen designs.
These soft shades keep the space airy and friendly, especially when paired with light wood or brass hardware. Use them to add personality without overpowering your space.
8. Distressed or Weathered Finishes
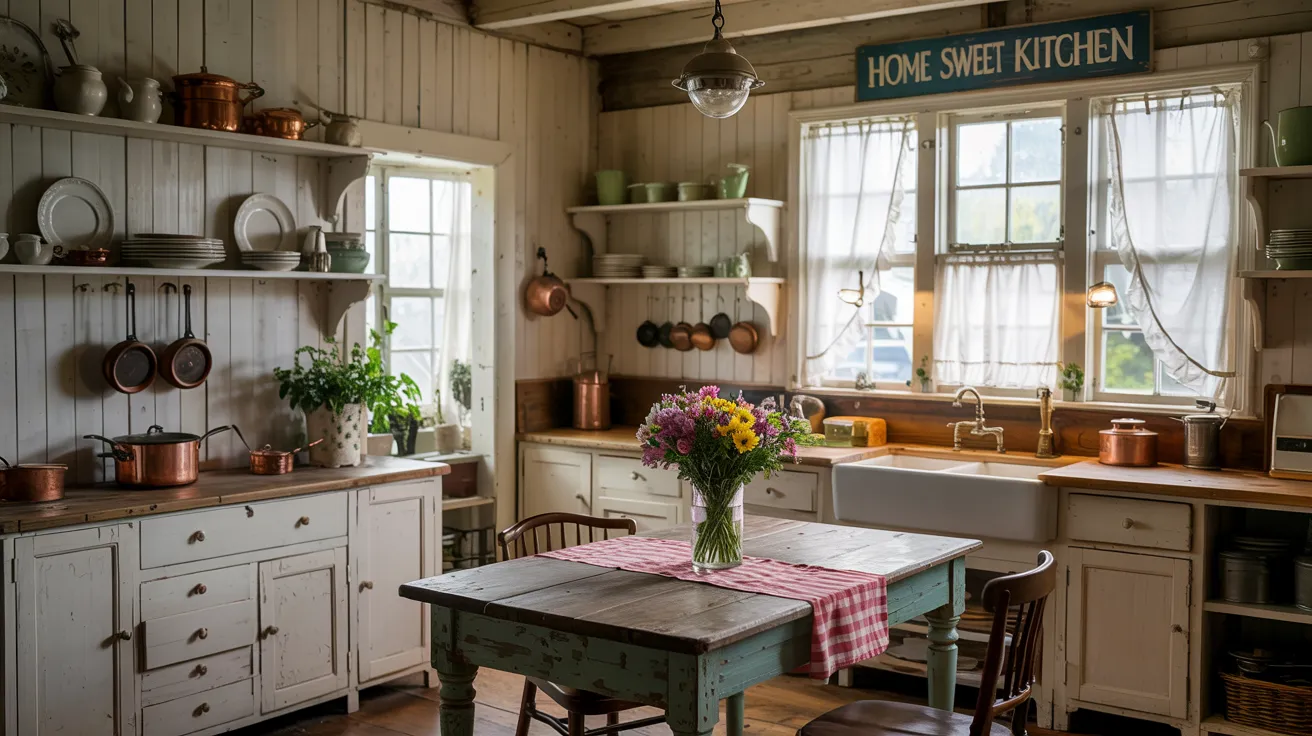
Paint with a worn, aged effect brings character and class to your cabinets. These finishes are great for farmhouse or rustic kitchens.
Sanded edges or layered colors create a lived-in look that feels cozy and familiar. You can even DIY this finish with chalk paint and some light sanding.
9. Color-Drenched Cabinets and Walls
Painting the cabinets and walls in the same shade gives a seamless, unified look. It’s especially effective in small kitchens where too much contrast breaks up the space.
Use soft tones like sage or slate to envelop the room in a calm color palette. It creates depth and adds a modern touch.
10. Paint + Wood Combo Cabinets
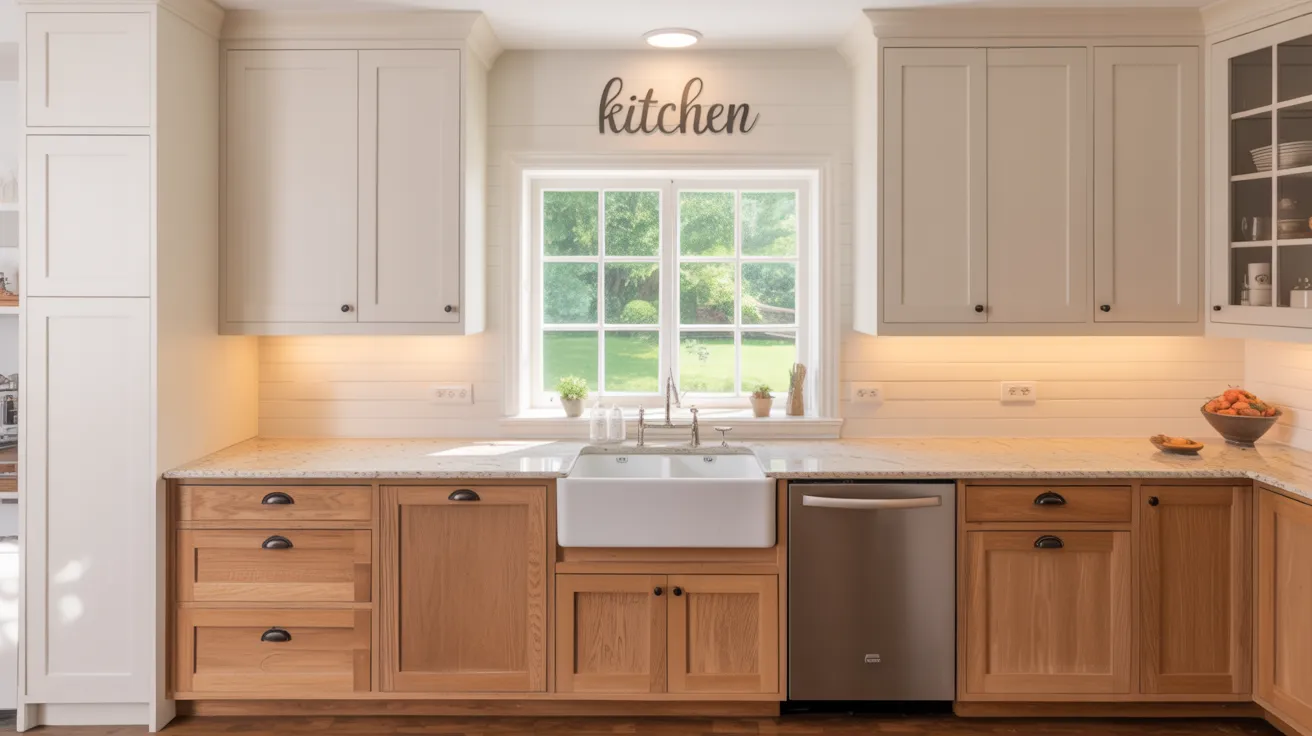
Blend painted and natural wood cabinets for a balanced, textural feel. Try painting the upper cabinets a soft white while leaving the base cabinets in their natural oak or walnut finish.
This contrast grounds the space while keeping it light above. It’s a smart way to combine warmth and style.
11. Metallic-Accented Cabinets
Add a subtle hint of luxury with gold, bronze, or chrome details. Use them on cabinet edges, handles, or as small trim accents. These finishes stand out against both dark and light paint colors.
They’re perfect for those who want a little shine without going overboard or committing to an all-metal look.
12. High-Gloss Lacquer Finishes

Glossy finishes reflect light, adding a sleek, modern feel. They work especially well in small kitchens by bouncing light around.
Popular in white, black, or bold colors, lacquered cabinets are smooth and shiny. They’re great for minimalist or ultra-modern kitchens and easy to wipe clean.
13. Earth-Inspired Tones
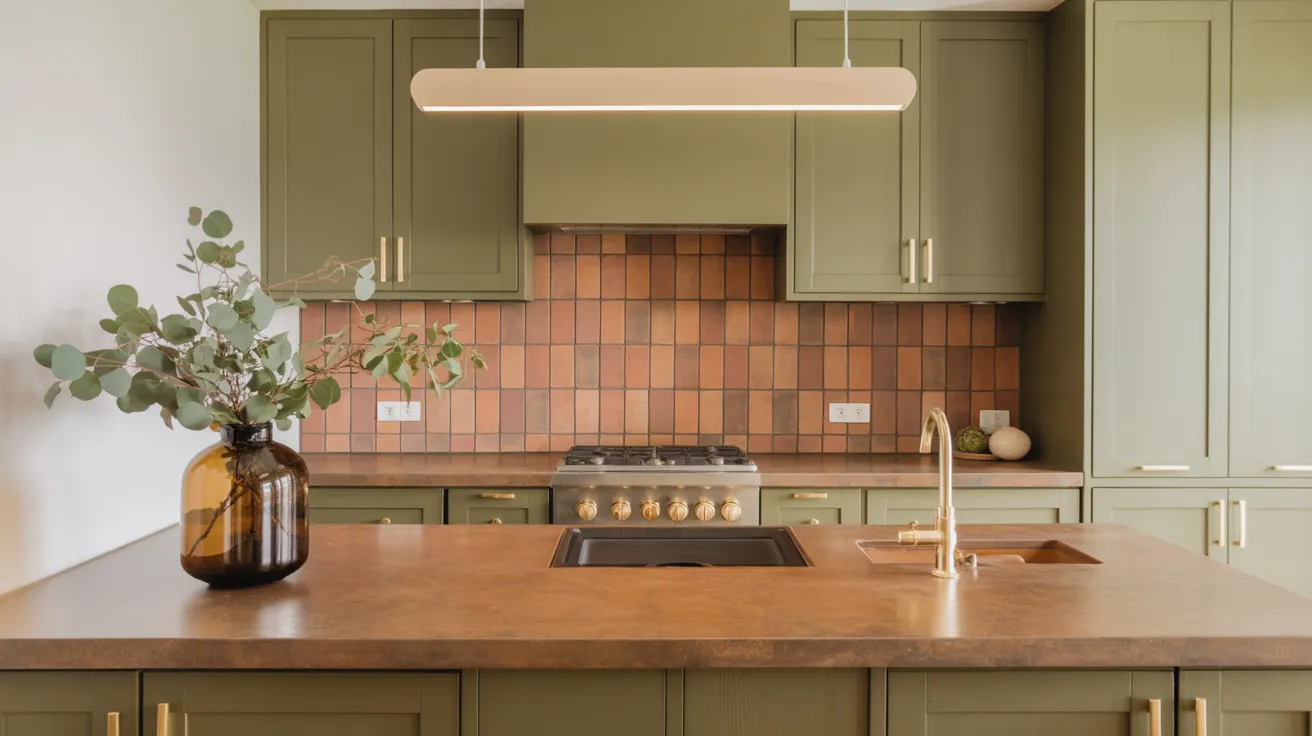
Olive green, terracotta, and sandy browns bring the outdoors in. These grounded colors work well with wood accents, stone countertops, and brass hardware.
Earth tones offer comfort and timelessness. They’re perfect for natural-themed kitchens or those looking to move away from stark whites and grays.
14. Graphic Black-and-White Contrast
Go bold with black cabinets and white walls, or opt for the opposite combination. This strong contrast looks sharp and modern, especially with simple hardware and clean lines.
Use black lowers and white uppers for balance. It’s a great way to create a high-impact look without relying on bright colors.
15. Painted Island with Neutral Cabinets
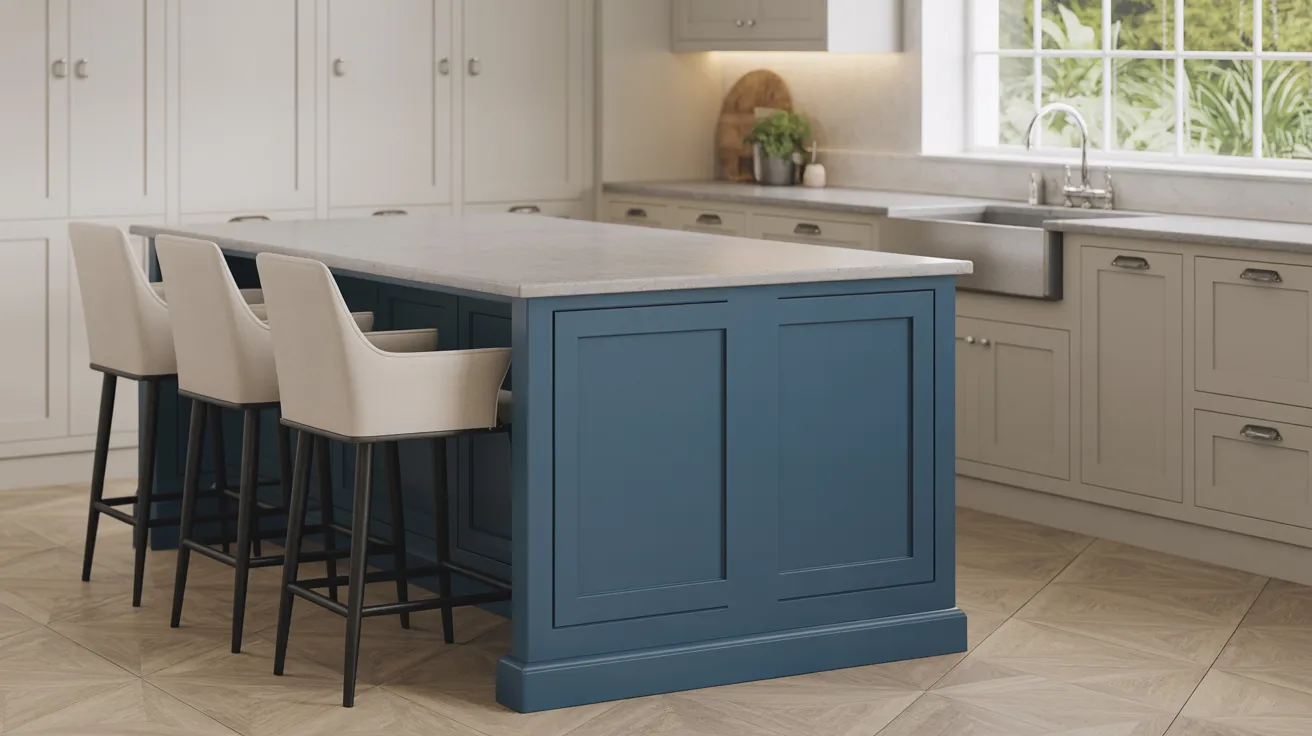
Make the kitchen island stand out with a bright or bold paint color. Popular picks include navy, sage, or even maroon.
Keep the surrounding cabinets neutral to highlight the island as the room’s focal point. This combo adds personality without taking over the entire kitchen.
How to Paint Kitchen Cabinets the Right Way
If you’re planning to tackle this project yourself, you’ll need a solid plan. I’ve broken it down into easy, clear steps to help you do it right.
What You’ll Need
Before you start, it’s smart to gather all your supplies so you’re not stopping mid-project. Here’s what I suggest having ready:
- Degreaser or dish soap
- Sandpaper (medium and fine grit)
- Painter’s tape
- Drop cloths
- Screwdriver (for removing hardware)
- Labeling tape or sticky notes
- High-quality primer
- Cabinet paint (latex, acrylic, or alkyd)
- Angled brushes
- Foam rollers
- Small trays or containers
- Clean cloths or tack cloths
- Stir sticks
- Drill (optional for removing doors)
Cabinet Prep
This step takes time, but it’s essential for long-lasting results. Skipping proper prep work often leads to peeling, chipping, and uneven finishes. Start by removing all cabinet doors and drawers, labeling each one to ensure accurate reassembly.
Clean every surface thoroughly using a degreaser to eliminate oil and residue. After drying, sand all surfaces to help the paint adhere properly.
Once sanding is complete, wipe everything down with a tack cloth or clean, damp rag to remove any remaining dust. Use painter’s tape to protect adjacent walls, countertops, and floors from accidental paint marks.
Step-by-Step Cabinet Painting
Step 1: Apply a high-quality bonding primer to all surfaces. This helps the paint stick better and last longer. Let it dry fully.
Step 2: Apply a thin, even coat with a foam roller or angled brush. Avoid drips and thick layers.
Step 3: Wait at least 24 hours (or as directed). Don’t rush this part as it affects how well the paint holds up.
Step 4: Once dry, apply a second coat. Touch up corners or edges with a smaller brush if needed.
Step 5: Allow everything to dry for at least 2–3 days before reattaching the doors and handles.
Watch this video for a clear walkthrough of the cabinet painting process, showing each step in action:
Avoid These Common Mistakes
There are a few easy-to-make mistakes that can ruin your results if you’re not careful. Keep these in mind:
- Don’t skip the primer because paint won’t stick well without it
- Avoid putting on thick coats, thin layers dry better and last longer
- Use the right paint for cabinets, not just wall paint
- Label doors carefully so reassembly is easier
- Don’t forget to clean off all grease or grime
- Let each layer dry fully before adding the next
- Keep your workspace clean and dust-free
- Never paint in a rush as it shows later
- Don’t use cheap brushes, they leave streaks
- Avoid dark colors if your kitchen has poor lighting
Painted Cabinets vs. New Cabinets: What’s Cheaper?
If you’re torn between painting your cabinets or starting fresh, a side-by-side cost and benefit comparison can help you make the right call based on your budget, time, and kitchen condition.
|
Option |
Cost Level |
Time Investment |
Effort Needed |
Look & Finish |
Best If You Want |
|
DIY Painting |
Low |
High |
High |
Basic to Good |
A budget-friendly upgrade |
|
Pro Painting |
Medium |
Medium |
Low |
Smooth, polished |
Less hassle with a clean result |
|
Stock Replacement |
Medium |
Medium |
Medium |
Clean, standard |
Quick style refresh with options |
|
Semi-Custom |
High |
Medium |
Medium |
Personalized, improved |
A new look with layout changes |
|
Custom Cabinets |
Very High |
Long |
Professional-only work |
Fully tailored, high-end |
Full redesign or luxury upgrade |
How to Make Painted Cabinets Last Longer
Once your cabinets are freshly painted, keeping them looking great takes just a little care. I’ll walk you through the basics so your hard work actually lasts for years, not just a few months.
Daily Cleaning and Care Tips
Keeping painted cabinets clean doesn’t require daily scrubbing. A soft cloth and a mild soap-and-water mixture are usually enough for routine maintenance.
Avoid harsh chemicals, abrasive scrubbers, or any cleaners that contain ammonia, as they can degrade the paint finish over time.
Promptly wiping away food splatters or grease helps prevent staining. Gentle and consistent cleaning is crucial to maintaining the appearance and durability of the painted surface.
What to Do When Paint Chips
Even well-maintained cabinets may develop chips over time. A small touch-up kit, complete with matching paint and a fine brush, can help manage minor damage.
To repair a chipped area, lightly sand the spot, clean it thoroughly, and apply the paint in thin, even layers. For deeper chips or worn spots, using a primer before repainting may be necessary.
Patience and care during touch-ups ensure that the repaired area blends seamlessly with the rest of the finish.
How Long Do Painted Cabinets Hold Up?
With proper prep, quality paint, and regular care, painted cabinets can stay in good condition for five to ten years or more.
Longevity depends heavily on the quality of materials used and the attention given to cleaning and maintenance.
Neglecting prep work or using subpar products may lead to premature wear, such as peeling, fading, or chipping. Consistent upkeep plays a major role in maintaining their appearance and performance over time.
Choosing the Right Paint and Finish
Picking the right paint and finish can make or break your cabinet project. I’ll help you choose the best type for durability, ease of use, and the look that works best in your kitchen.
Best Paints for Kitchen Cabinets
When it comes to cabinets, not all paints are equal.
- Latex paint is easy to work with and dries quickly, but may not hold up as well over time.
- Acrylic paint offers a smooth finish and good durability, especially when labeled for cabinets.
- Oil-based paint gives the hardest finish but takes longer to dry and has a strong smell.
For a balance of strength and ease, opt for acrylic-latex blends specifically labeled for furniture or cabinetry.
Finish Types Explained
The paint’s finish affects both its appearance and how well it withstands daily wear and tear.
- Matte finishes hide flaws but are harder to clean.
- Satin is my go-to; it has a soft sheen, hides fingerprints, and cleans easily.
- Gloss gives a shiny, dramatic look but shows every scratch or smudge.
For most kitchens, satin or semi-gloss finishes are the best options. They balance looks with practicality, especially if you have kids, pets, or cook often.
Recommended Products
If you’re shopping for cabinet paint, some options really stand out. Look for cabinet-specific kits or enamel paints labeled for trim and doors; they’re tougher and smoother.
I’ve had good results with brands that offer all-in-one kits, which include both primer and topcoat.
Popular choices among DIY enthusiasts include paints from Benjamin Moore, Sherwin-Williams, and specialty lines such asRust-Oleum’s Cabinet Transformations. Just be sure to read the label; if it says “cabinet-grade,” you’re in the right aisle.
Conclusion
If you’re thinking about redoing your kitchen, painting the cabinets is a smart way to update things without spending too much. Now that you’ve seen the different styles, tools, and steps, you’re better prepared to take on a project that fits your space and pace.
From what I’ve seen, solid prep, the right kind of paint, and some patience go a long way—no matter if you’re doing it yourself or bringing someone in to help. You don’t have to tear everything out to see a clear change.
If this guide was useful, take a look at more of my kitchen posts. I share clear steps and tips I’ve picked up to help you fix up your space.