19 Ideas to Create DIY Nursery Decor on a Budget
I know how much it costs to set up a baby’s room – I’ve been there! When I was getting ready for my little one, my wallet felt lighter as I was just looking at store prices for nursery items.
But here’s the good news: you can make beautiful nursery decorations without spending much money.
With some basic supplies and simple know-how, you’ll create personal touches that make your baby’s room special.
I’ve put together 19 budget-friendly DIY nursery decoration ideas that I’ve tried myself. These projects need minimal craft skills and basic materials you might already have at home.
Each idea helps you save money while adding warmth to your baby’s space.
Ready to make something special for your little one’s room?
Let’s look at these simple ideas.
How to Plan Your Nursery Decor
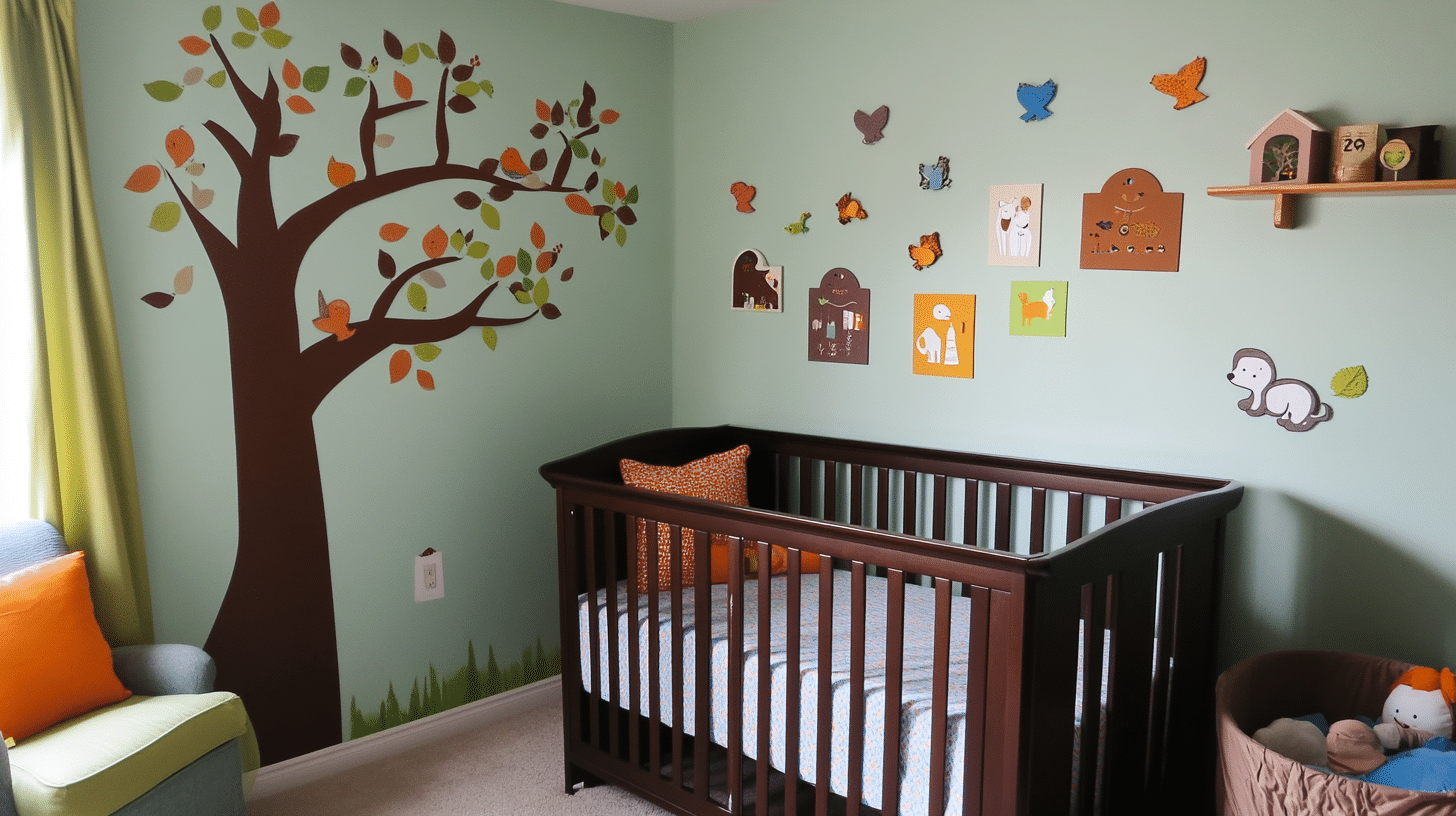
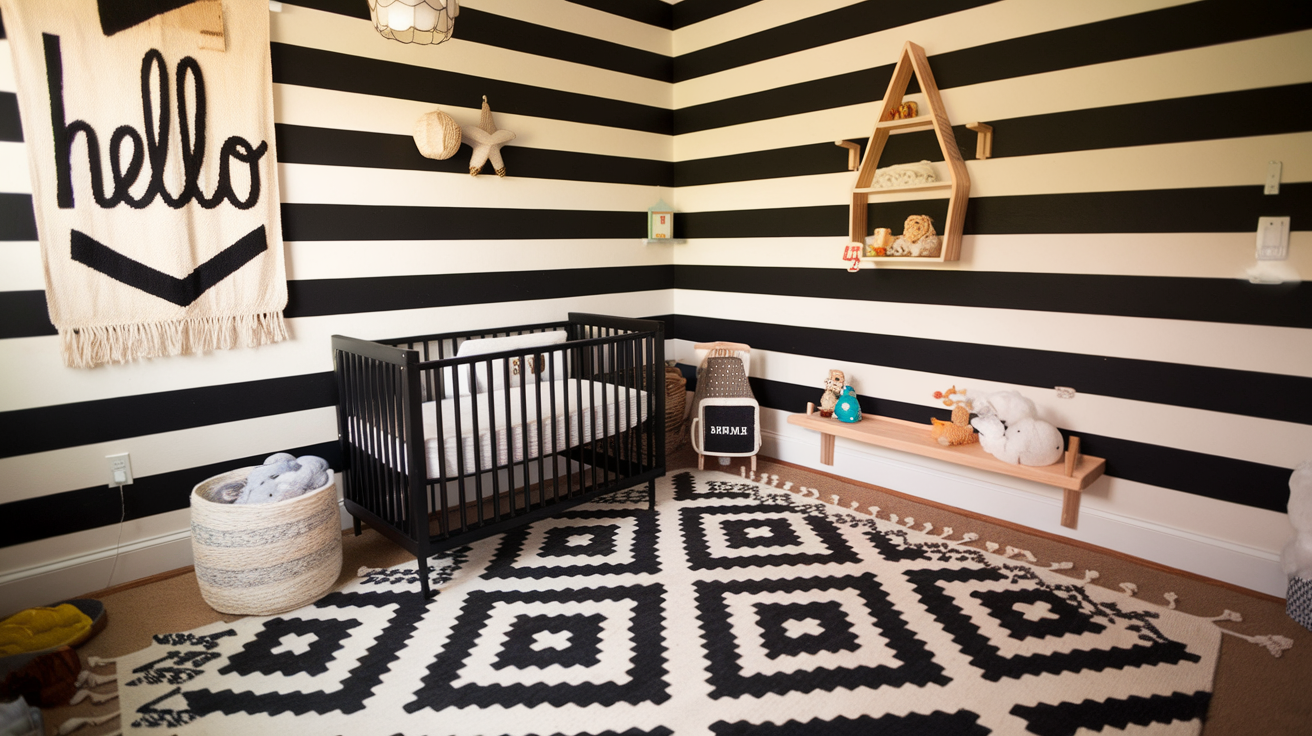
First, I suggest picking 2-3 main colors for your nursery. When I planned my baby’s room, I found that limiting colors helped me stay focused and made shopping easier.
Start by looking around your home. You might already have items that could work in the nursery. I found old picture frames, fabric scraps, and mason jars that became perfect decoration pieces.
Make a list of must-have items. I split mine into:
- Wall decorations
- Storage solutions
- Lighting options
- Comfort items
Set a clear budget before you begin. I found it helpful to write down the cost of materials for each project. This stopped me from overspending on supplies.
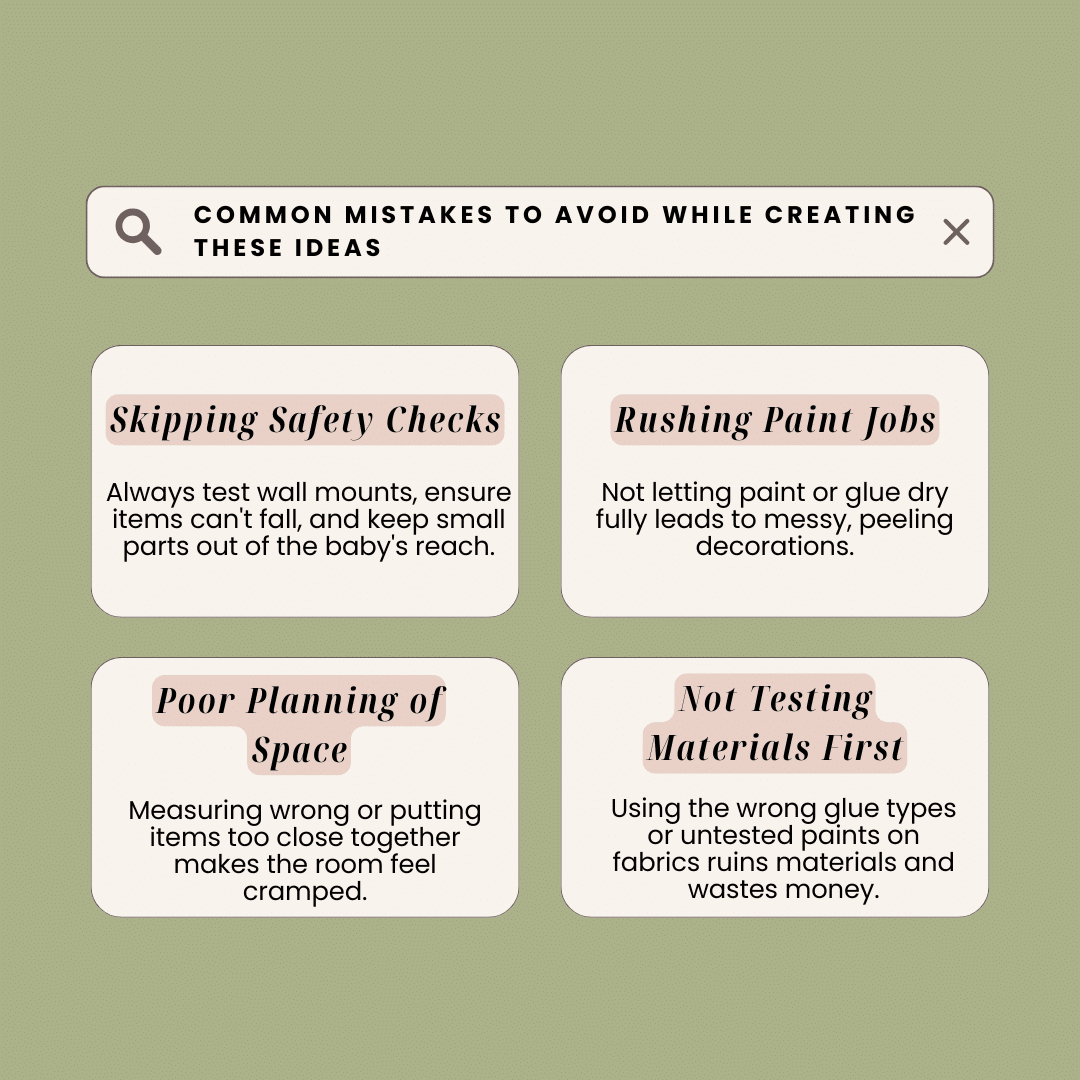
Think about safety, too. I made sure all my DIY items were securely fastened and used baby-safe materials.
No small pieces or sharp edges should be within reach.
Best DIY Nursery Decor Ideas on a Budget
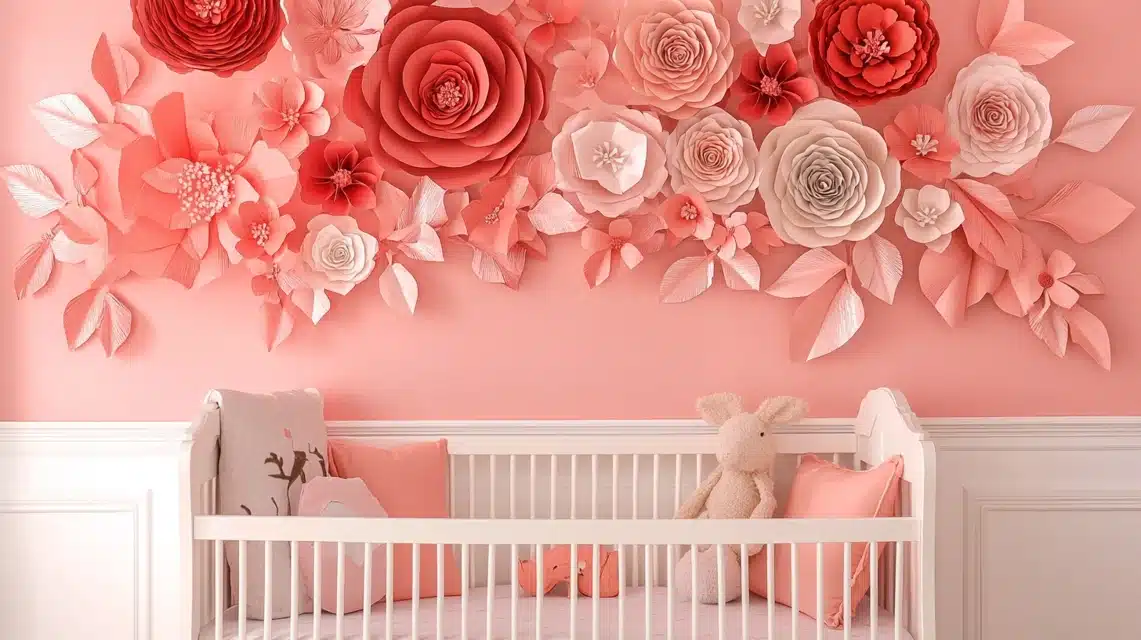
1. Handmade Paper Flowers Wall Display
Tools & Materials Required
- Colored cardstock paper ($5 for 50 sheets)
- Scissors
- Hot glue gun and glue sticks
- Pencil
- Ruler
- Command strips
- Circle templates of different sizes
Step-by-Step Process
- Draw circles of various sizes on your cardstock
- Cut out all your circles
- Fold each circle in half, then in quarters
- Round the outer edge of each folded circle
- Unfold and curl each petal inward using scissors
- Layer different-sized flowers together
- Secure layers with hot glue
- Create 5-7 flowers in your chosen colors
- Arrange on the wall using command strips
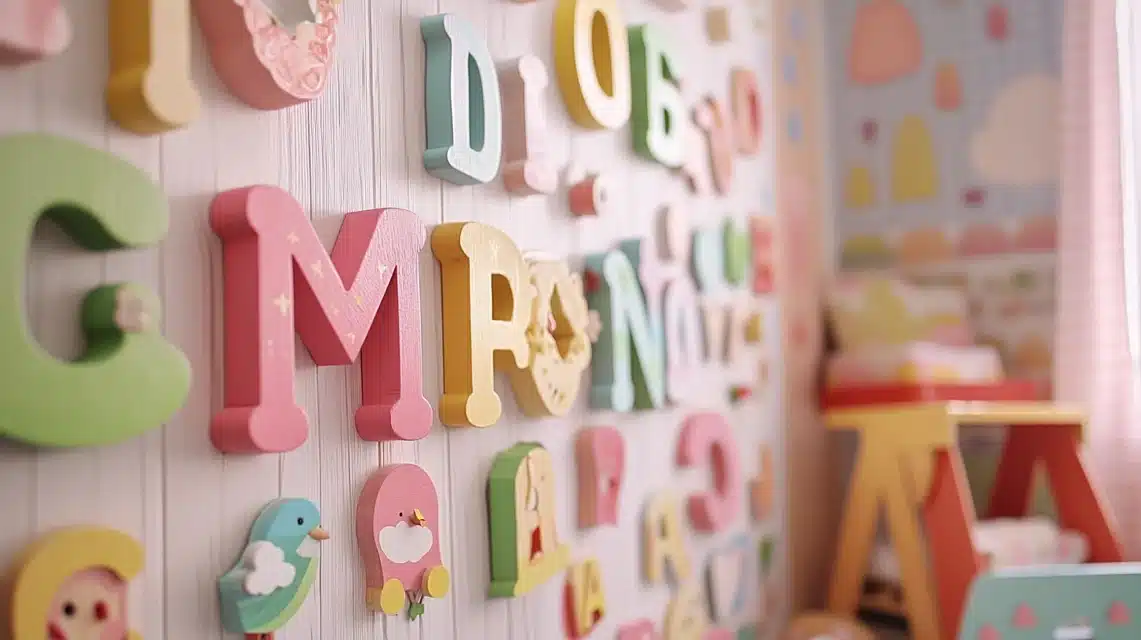
2. Painted Wooden Letters
Tools & Materials Required
- Wooden letters ($2-3 each)
- Acrylic paint in your chosen colors
- Paintbrushes
- Sandpaper
- Command strips
- Newspaper for workspace
Step-by-Step Process
- Sand each wooden letter smooth
- Wipe off dust with a clean cloth
- Paint a base coat on each letter
- Add a second coat after drying
- Paint patterns or designs if desired
- Let dry completely (24 hours)
- Attach command strips to the back
- Arrange letters on the wall
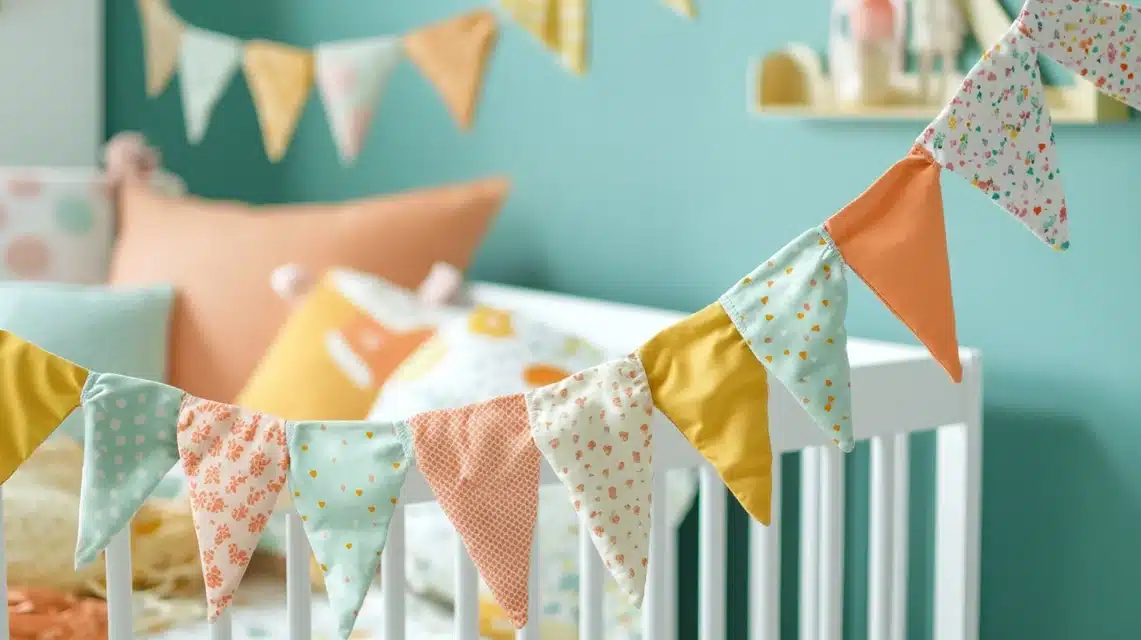
3. No-Sew Fabric Bunting
Tools & Materials Required
- Fabric scraps or fat quarters ($1-2 each)
- Twine or ribbon ($3)
- Scissors
- Iron and ironing board
- Ruler
- Fabric glue ($4)
- Triangle template (cardboard)
Step-by-Step Process
- Cut triangle template (6×8 inches)
- Trace and cut fabric triangles
- Iron each triangle flat
- Fold top edge down 1 inch
- Add fabric glue inside the fold
- Insert twine into fold
- Press firmly to secure
- Space triangles 2 inches apart
- Let dry for 2 hours
4. Upcycled Book Page Mobile
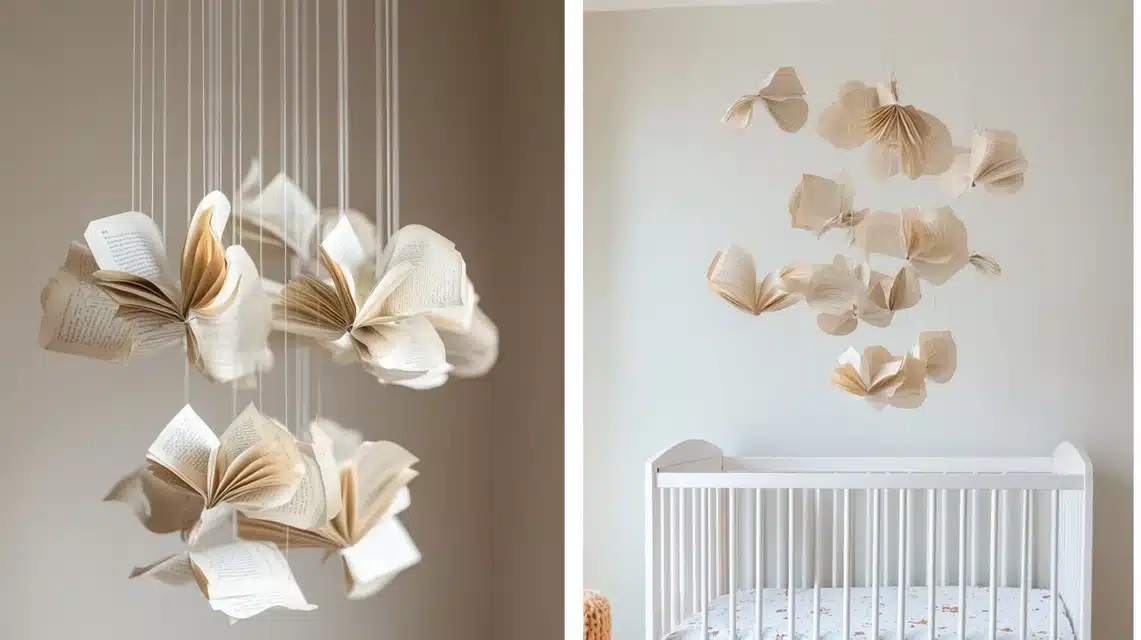
Tools & Materials Required
- Old children’s book pages
- Embroidery hoop ($2)
- Fishing line ($3)
- Scissors
- Hole punch
- Clear tape
- Paper butterflies/stars templates
Step-by-Step Process
- Remove pages from the book carefully
- Cut out shapes using templates
- Punch holes in each shape
- Cut a fishing line in varying lengths
- Thread line through holes
- Secure with small tape pieces
- Tie lines to embroidery hoop
- Balance shapes evenly
- Add ribbon for hanging
5. Simple String Art Heart
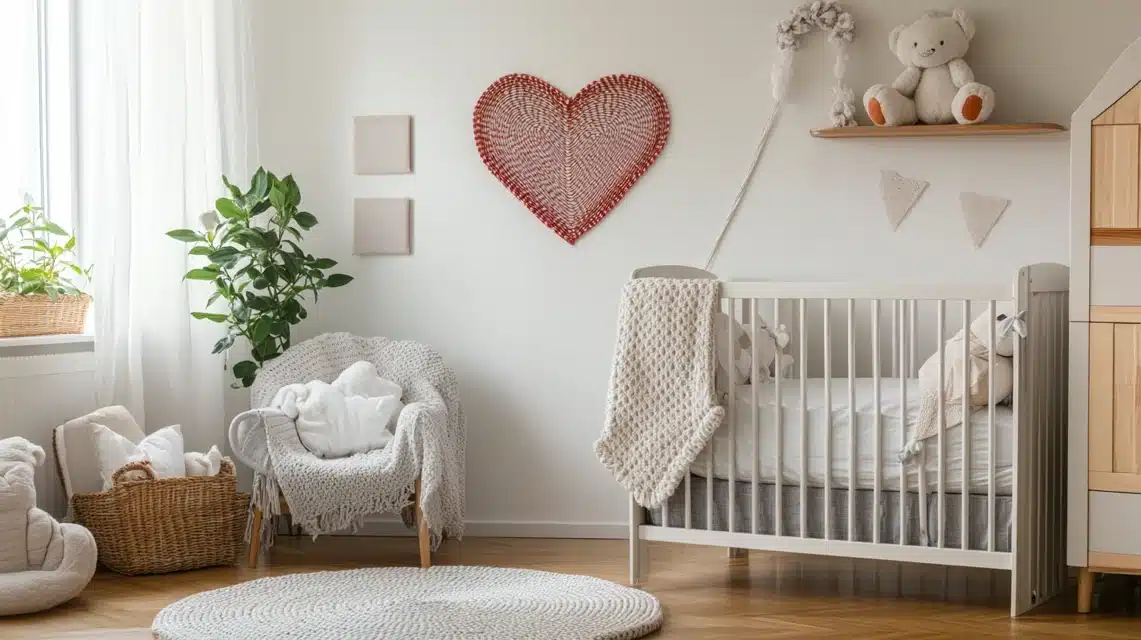
Tools & Materials Required
- Wooden board ($5)
- Small nails ($3)
- String or embroidery floss ($2)
- Hammer
- Heart template
- Pencil
- Ruler
Step-by-Step Process
- Sand wooden board smooth
- Draw or trace a heart pattern
- Place nails around the outline
- Hammer nails halfway in
- Tie string to starting nail
- Wrap string around nails
- Create a pattern inside the heart
- Secure the end with the knot
- Add hanging hardware
6. Painted Mason Jar Organizers

Tools & Materials Required
- Clean mason jars
- Acrylic paint ($5)
- Paintbrushes
- Sandpaper
- Clear sealer ($4)
- Ribbon or twine
- Labels (optional)
Step-by-Step Process
- Clean jars thoroughly
- Sand surface lightly
- Apply first paint coat
- Let dry completely
- Add second coat
- Apply sealer when dry
- Add decorative ribbon
- Create labels if needed
7. Framed Button Art
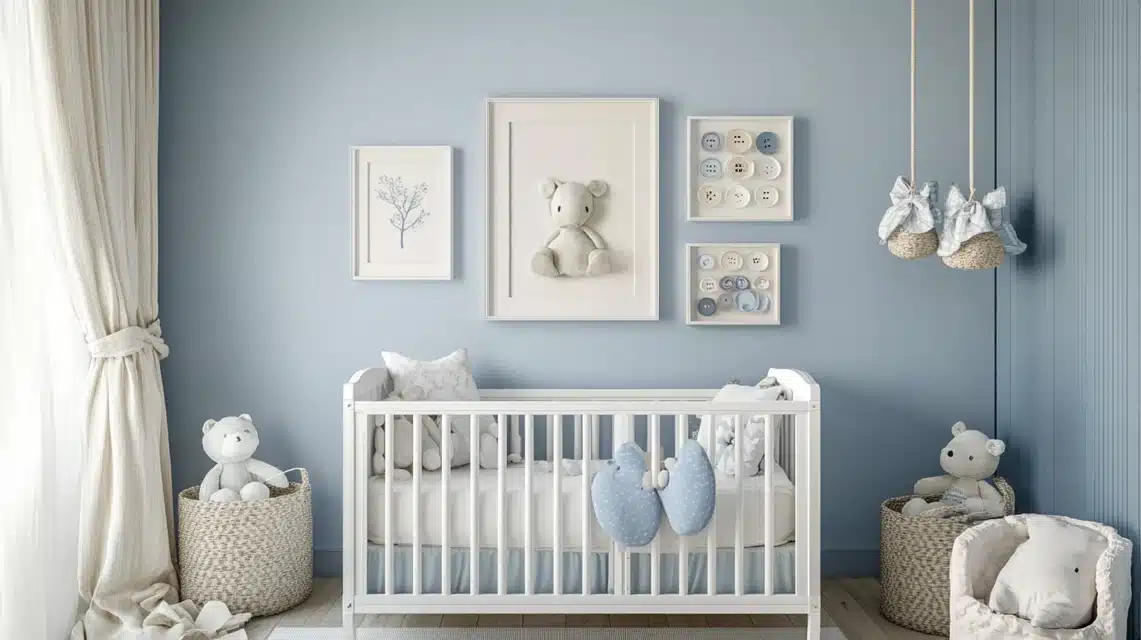
Tools & Materials Required
- Picture frame ($5)
- Buttons ($3-4)
- Canvas or thick paper
- Hot glue gun
- Pattern template
- Pencil
Step-by-Step Process
- Draw a design on canvas
- Sort buttons by color
- Lay out button pattern
- Start gluing from the center
- Work outward with design
- Fill in gaps with small buttons
- Let dry completely
- Place in frame
8. Wall-Mounted Floating Shelves
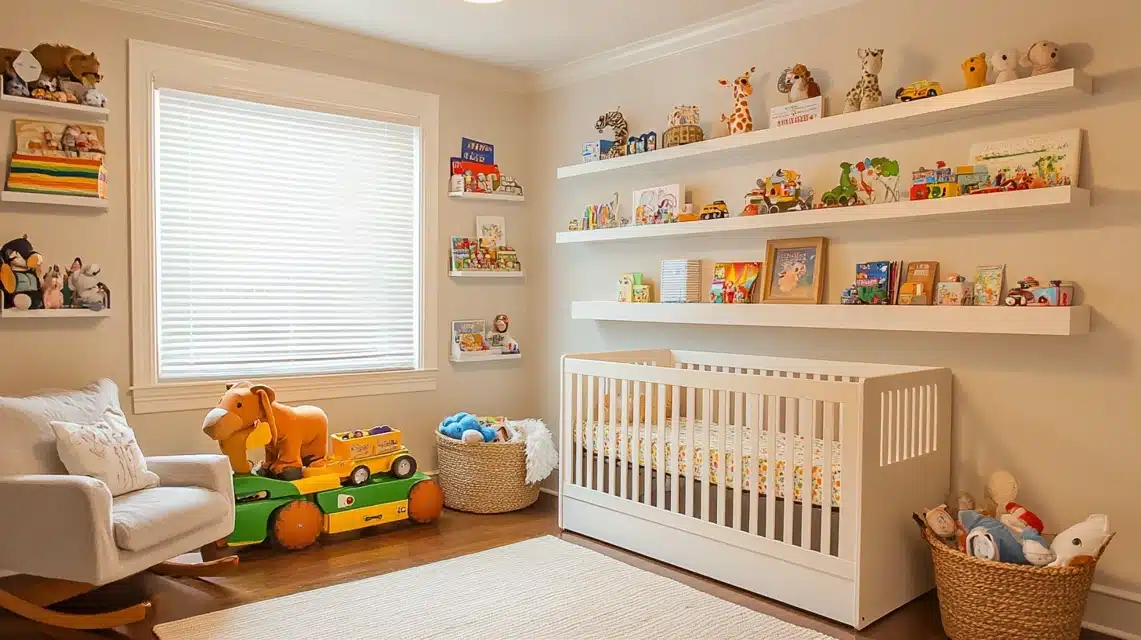
Tools & Materials Required
- Wooden planks ($10)
- Brackets ($8)
- Screwdriver
- Level
- Pencil
- Wall anchors
- Sandpaper
- Paint or stain
Step-by-Step Process
- Sand wood smooth
- Paint or stain shelves
- Let dry completely
- Mark wall for brackets
- Install wall anchors
- Attach brackets
- Check level
- Secure shelves to brackets
9. Paper Pinwheel Display
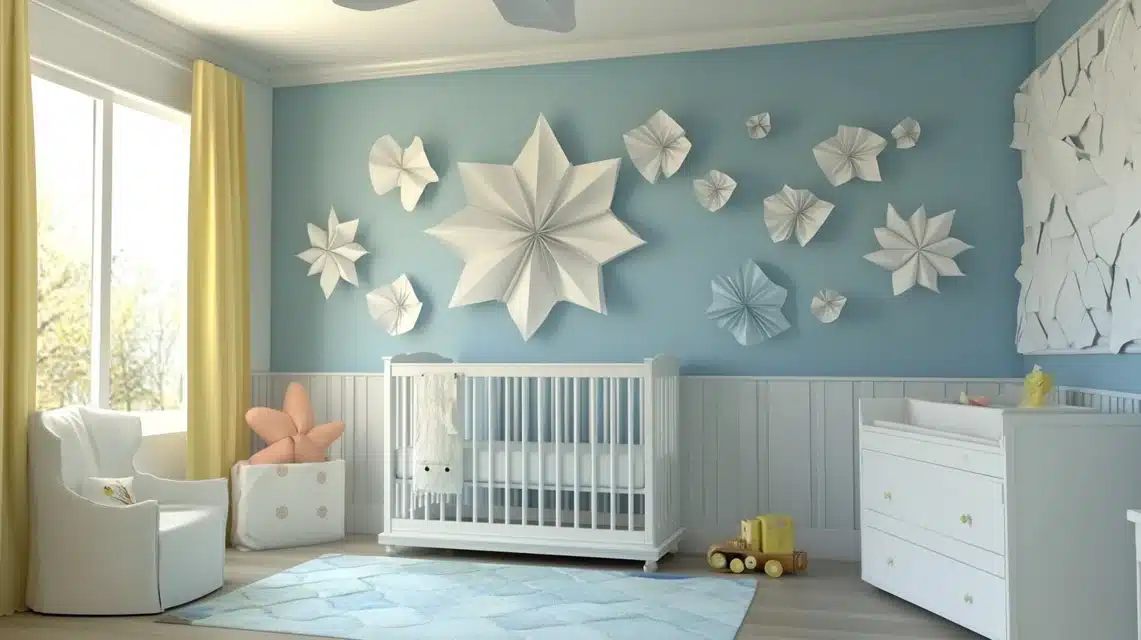
Tools & Materials Required
- Patterned paper ($5)
- Scissors
- Push pins
- Glue
- String
- Ruler
- Pencil
Step-by-Step Process
- Cut paper into squares
- Fold diagonally
- Cut toward center
- Fold alternate corners
- Secure with a push pin
- Add decorative center
- Attach string
- Create multiple sizes
10. Fabric-Covered Storage Boxes
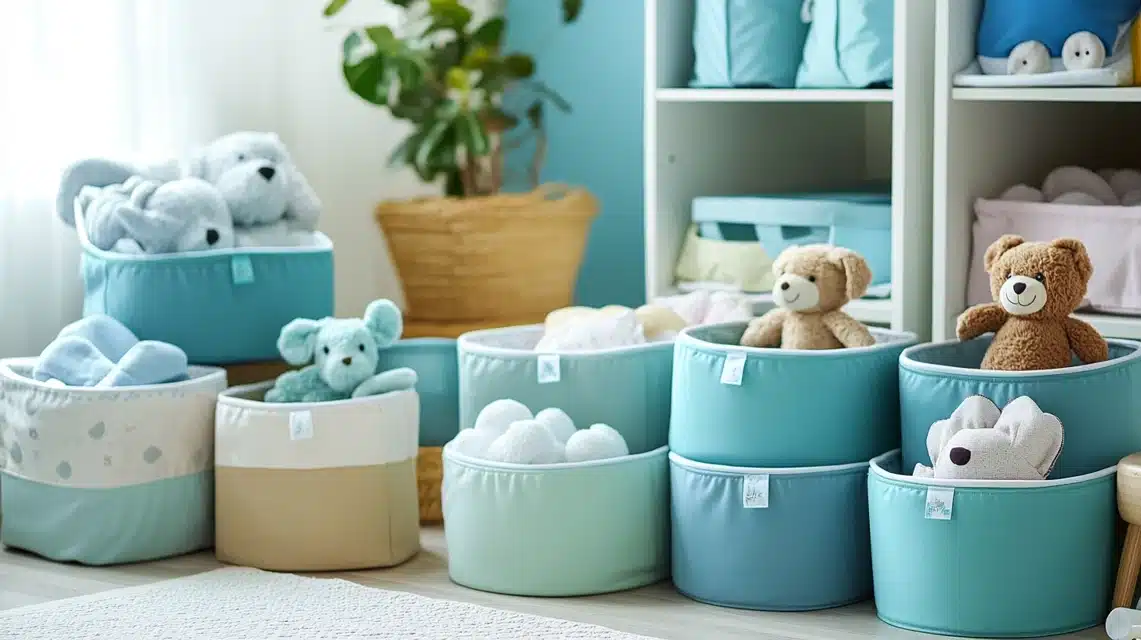
Tools & Materials Required
- Cardboard boxes
- Fabric ($5-10)
- Scissors
- Hot glue gun
- Ruler
- Iron
Step-by-Step Process
- Iron fabric smooth
- Measure box sides
- Cut fabric pieces
- Glue fabric to box sides
- Fold corners neatly
- Cover inside edges
- Add decorative trim
- Create matching lid
11. Window Valance From Old Sheets
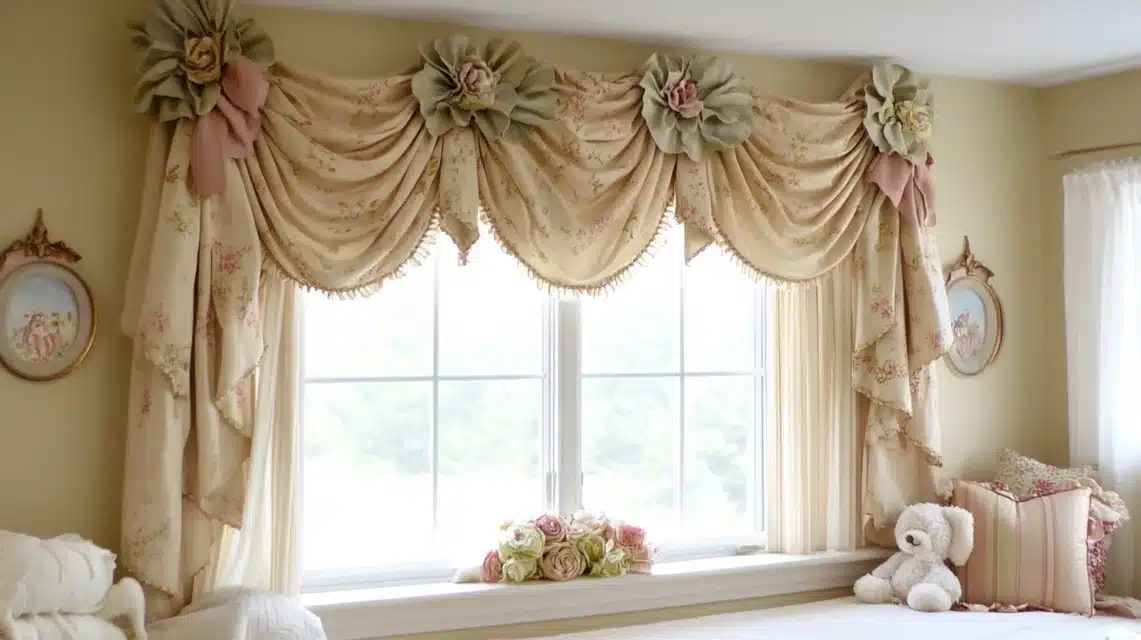
Tools & Materials Required
- Old sheets or fabric
- Curtain rod ($8)
- Scissors
- Iron
- Sewing pins
- Fabric glue
- Measuring tape
Step-by-Step Process
- Measure window width
- Cut fabric to size
- Iron edges flat
- Create rod pocket
- Glue or sew edges
- Add decorative trim
- Install rod brackets
- Hang valance
12. Painted Wooden Crates
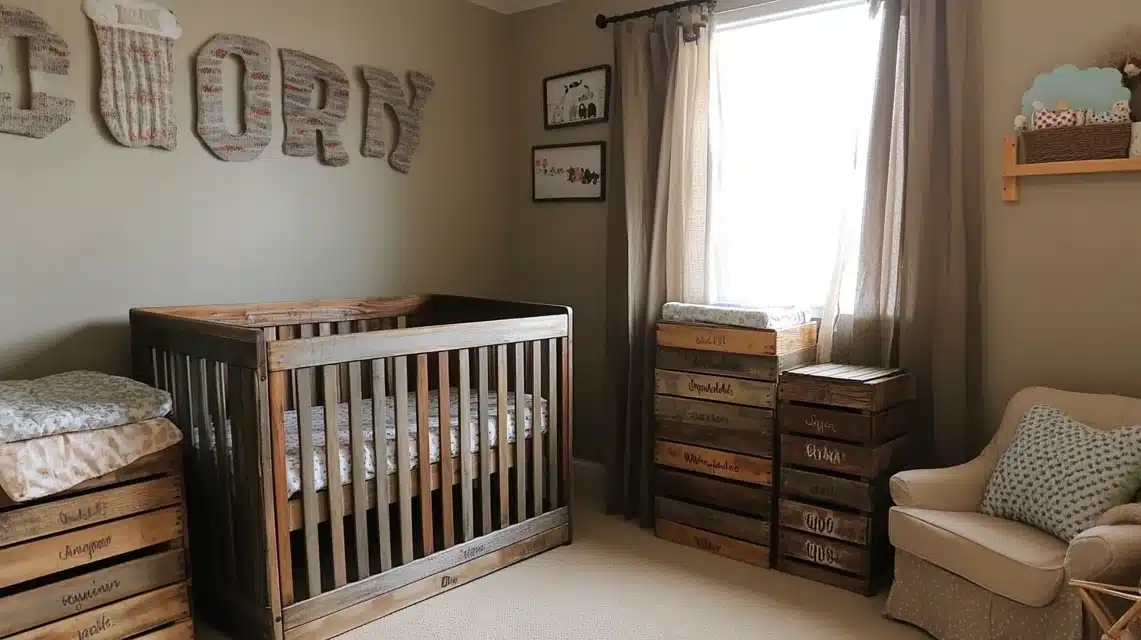
Tools & Materials Required
- Wooden crates ($8 each)
- Paint
- Brushes
- Sandpaper
- Sealer
- Wall brackets
- Screwdriver
Step-by-Step Process
- Sand crates smooth
- Clean off dust
- Apply primer
- Paint crates
- Add second coat
- Seal when dry
- Attach wall brackets
- Mount securely
13. Wall Name Banner
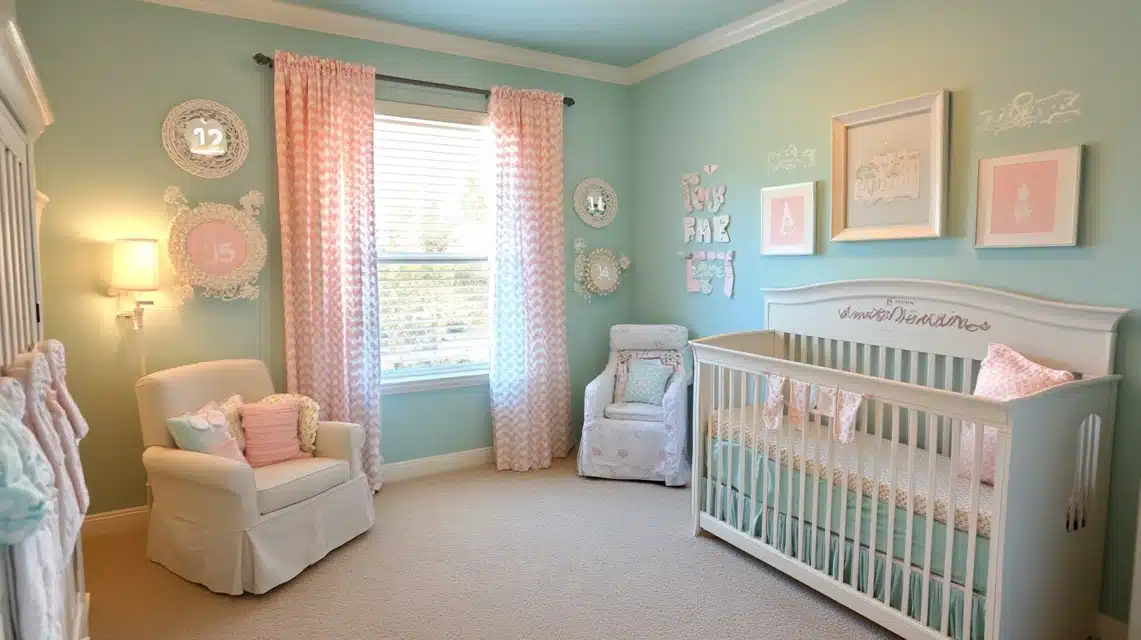
Tools & Materials Required
- Felt sheets ($1 each)
- Scissors
- Letter templates
- Ribbon
- Hot glue gun
- Ruler
Step-by-Step Process
- Create letter templates
- Cut letters from felt
- Cut banner shapes
- Arrange letters
- Glue letters to the banner
- Attach ribbon
- Space letters evenly
- Hang on wall
14. Repurposed Picture Frame Bow Holder
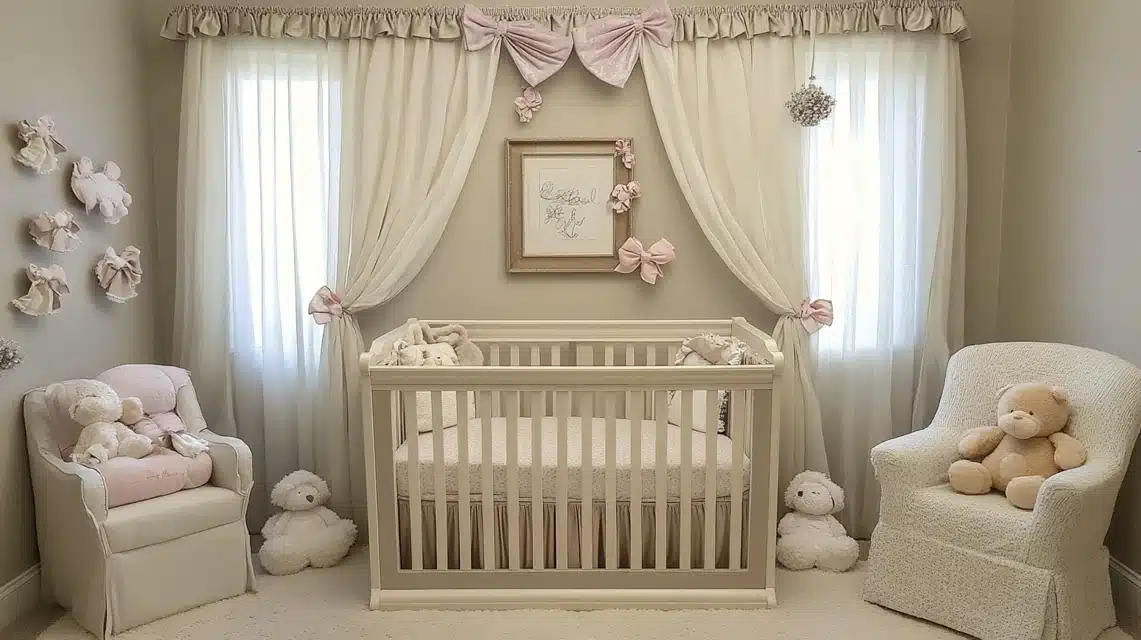
Tools & Materials Required
- Old picture frame
- Ribbon
- Staple gun
- Paint (optional)
- Scissors
- Hooks for hanging
Step-by-Step Process
- Remove frame backing
- Paint frame if needed
- Cut ribbons to size
- Space ribbons evenly
- Staple to frame back
- Secure all ribbons
- Add hanging hardware
- Mount on wall
15. Paper Lantern Cluster
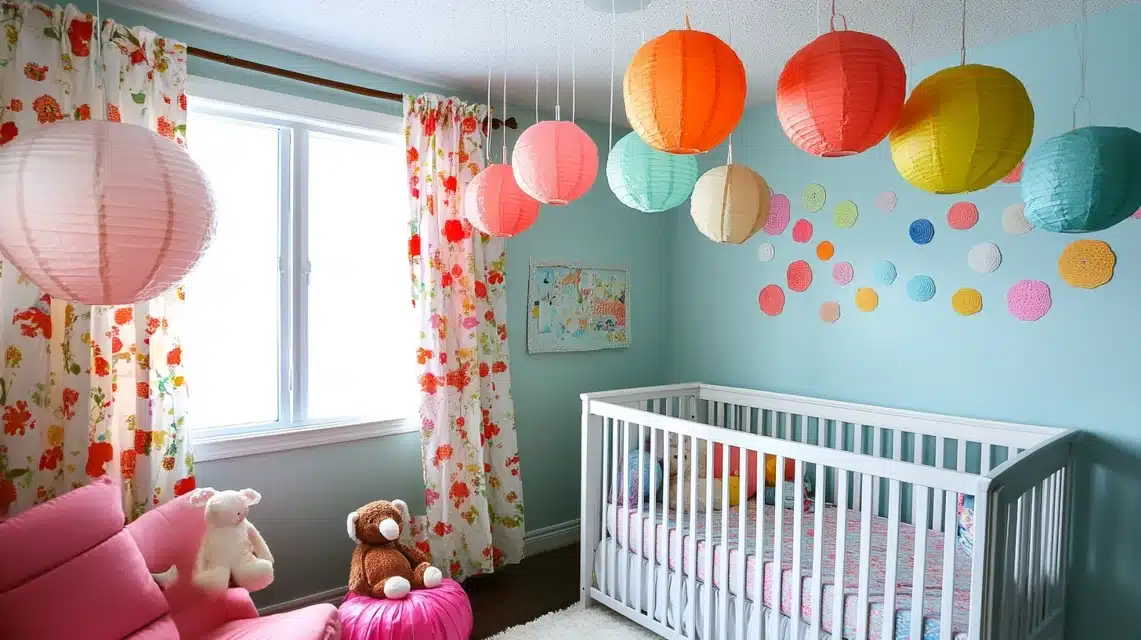
Tools & Materials Required
- Paper lanterns ($2 each)
- String lights
- Fishing line
- Hooks
- Scissors
- Tape
Step-by-Step Process
- Assemble lanterns
- Add lights inside
- Cut fishing line
- Attach to ceiling hooks
- Vary hanging lengths
- Space evenly
- Secure connections
- Test lights
16. Sock Animal Friends
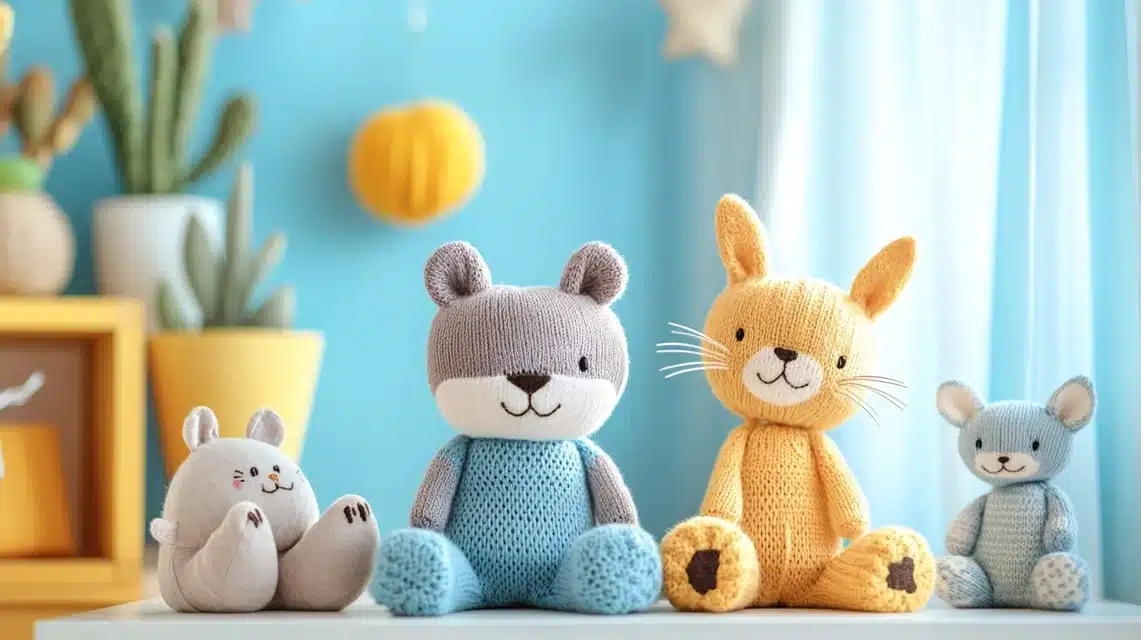
Tools & Materials Required
- Clean socks
- Stuffing ($4)
- Buttons
- Thread
- Scissors
- Needle
- Felt scraps
Step-by-Step Process
- Turn the sock inside out
- Sew bottom closed
- Turn right side out
- Add stuffing
- Create ears/nose
- Sew on buttons
- Add final details
- Display safely
17. Baby Clothes Display Line
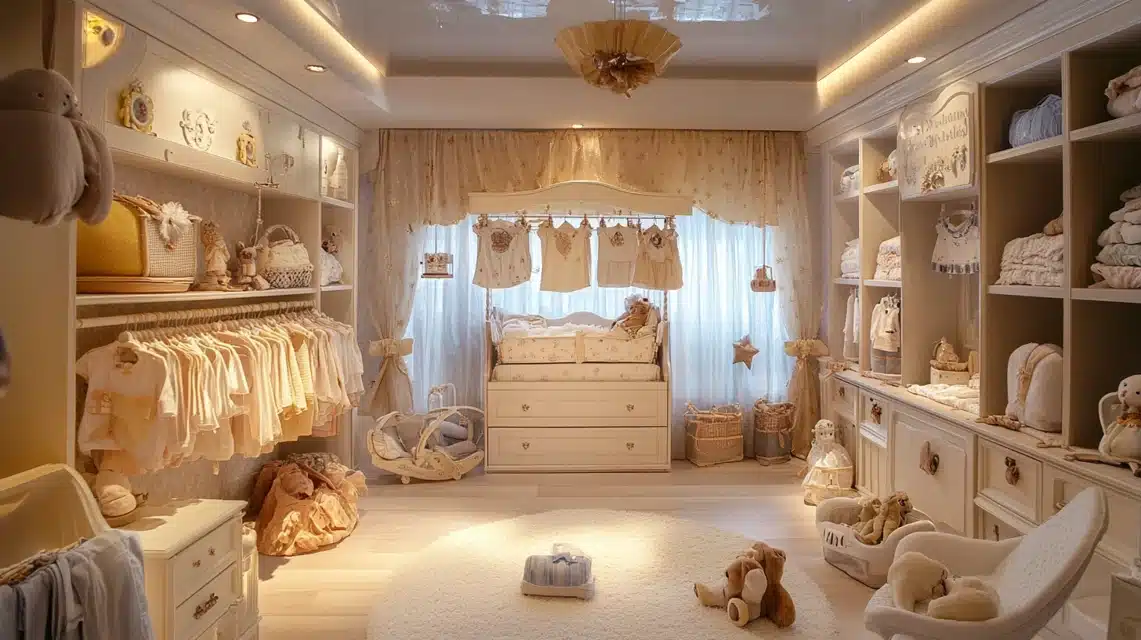
Tools & Materials Required
- Twine
- Mini clothespins ($3)
- Wall hooks
- Special baby outfits
- Level
- Hammer
- Nails
Step-by-Step Process
- Mark wall points
- Install hooks
- String twine
- Level line
- Add clothespins
- Hang special items
- Space evenly
- Secure ends
18. Book Page Wreath
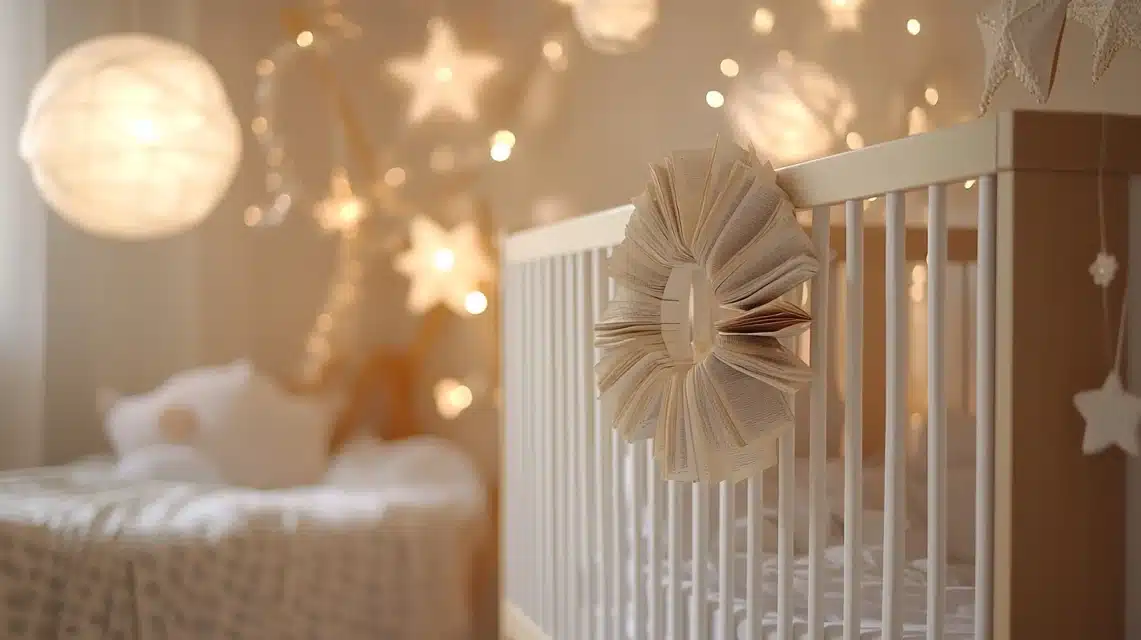
Tools & Materials Required
- Old book pages
- Wreath form ($4)
- Hot glue gun
- Scissors
- Ribbon
- Paint (optional)
Step-by-Step Process
- Roll book pages
- Create paper cones
- Glue to form
- Work in layers
- Fill gaps
- Add ribbon bow
- Attach hanger
- Mount on wall
19. Yarn-Wrapped Letters
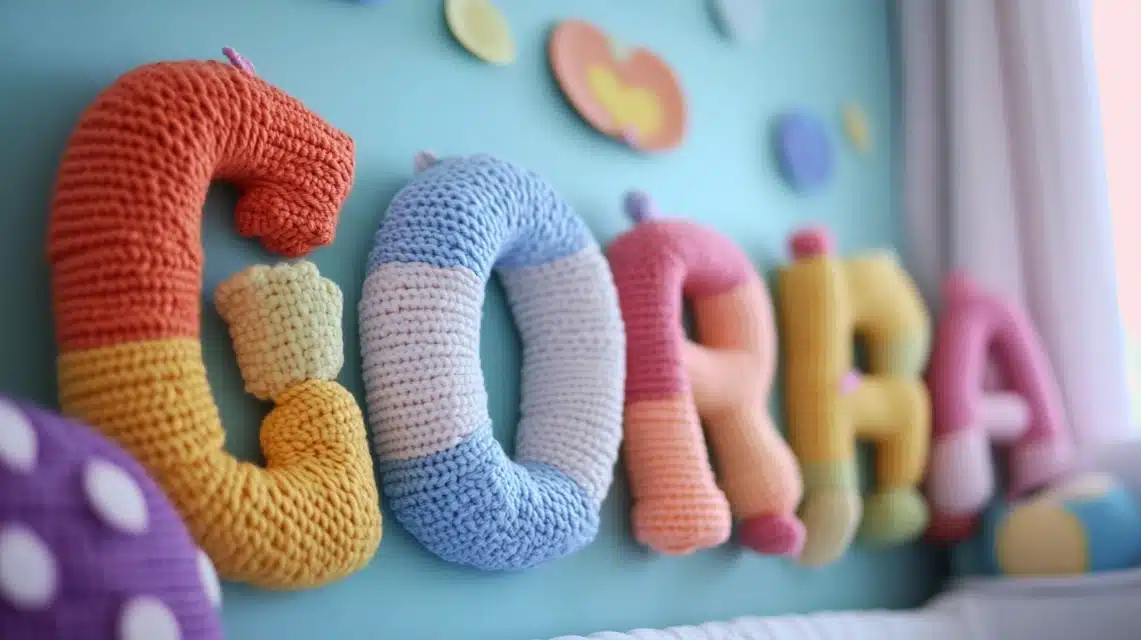
Tools & Materials Required
- Cardboard letters ($2 each)
- Yarn ($3)
- Scissors
- Hot glue gun
- Hooks for hanging
Step-by-Step Process
- Start at the letter corner
- Wrap yarn tightly
- Secure with glue
- Cover completely
- Change colors if desired
- Trim excess yarn
- Add hanging loops
- Arrange on wall
Approximate Budget Analysis to Create This Idea
| Category | Item | Cost ($) |
|---|---|---|
| Basic Supplies | Paint and brushes | 10 |
| Glue and glue gun | 8 | |
| Basic tools (scissors, ruler) | 7 | |
| Mounting items | 5-10 | |
| Total (Basic Supplies) | 25-35 | |
| Wall Decor Projects | Wooden letters | 12 |
| Paper for flowers | 5 | |
| Picture frames | 8 | |
| String art supplies | 5 | |
| Wall hooks and hangers | 5 | |
| Total (Wall Decor Projects) | 30-40 | |
| Storage Solutions | Mason jars | 5-8 |
| Wooden crates | 8-10 | |
| Fabric for boxes | 5 | |
| Labels and extras | 5 | |
| Total (Storage Solutions) | 20-30 | |
| Fabric Items | Fabric bunting materials | 8 |
| Old sheets for valance | 0 (reused) | |
| Felt for banners | 7 | |
| Yarn for wrapping | 5 | |
| Extra ribbon and trim | 5 | |
| Total (Fabric Items) | 25-35 | |
| Decorative Elements | Paper lanterns | 10 |
| Book pages | 0 (reused) | |
| Buttons and small items | 5 | |
| Sock animal supplies | 8 | |
| Total (Decorative Elements) | 20-30 |
Overall Total Budget Range – $120 – $170
How to Personalize & Customize These Ideas
1. Color Changes
I found that changing colors is the easiest way to make items match your nursery. For example:
- Paint wooden items in your chosen shades
- Pick fabric or paper in colors that fit your theme
- Mix different color yarns for wrapped letters
2. Adding Names
Make items personal by including your baby’s name:
- Put letters on painted storage boxes
- Include names in wall art pieces
- Create name-themed wall hangings
3. Size Adjustments
Fit items to your space:
- Make wall art bigger or smaller
- Adjust shelf lengths to fit walls
- Scale paper flowers up or down
4. Mix and Match
I like combining different ideas:
- Add buttons to framed art pieces
- Mix paper flowers with yarn letters
- Put fabric bunting above floating shelves
5. Material Swaps
Try different materials:
- Use denim instead of plain fabric
- Switch paper for felt in some projects
- Try cotton rope instead of yarn
6. Theme Integration
Match your nursery theme:
- Add forest animals to woodland themes
- Include stars for space themes
- Put sea creatures in ocean themes
How to Make the Nursery Cozy & Comfortable
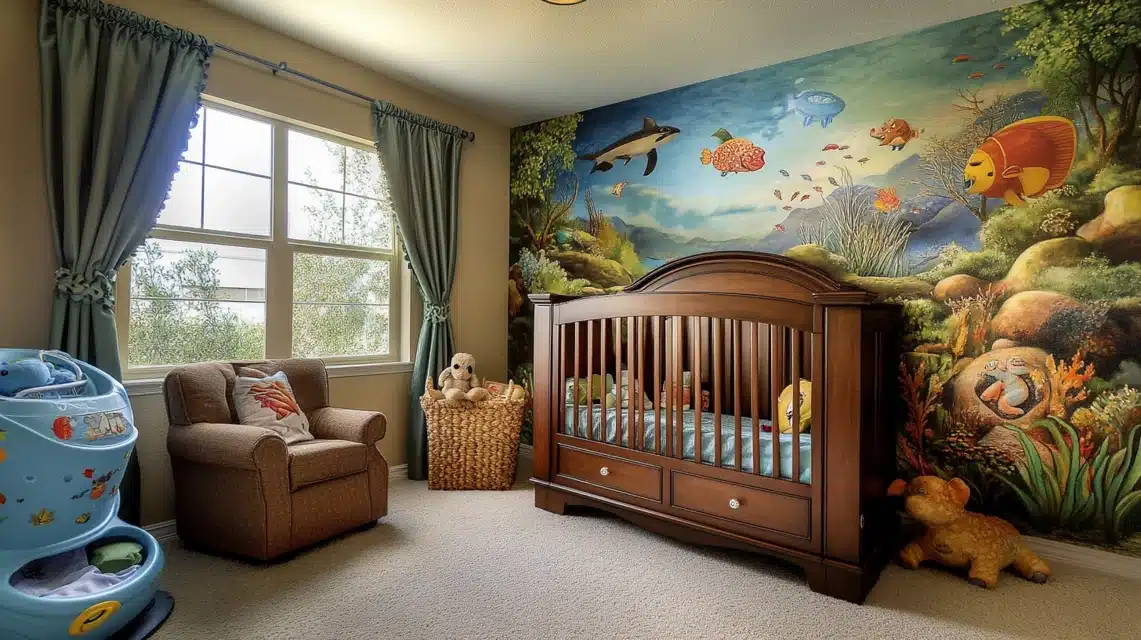
1. Soft Lighting Options
I learned that light makes a big difference:
- Put paper lanterns at different heights
- Use soft white bulbs in lamps
- Place nightlights in corners
- Keep window treatments light but not too thin
2. Texture Mixing
Add different feels to the room:
- Place soft rugs on the floor
- Layer fabrics on the windows
- Mix smooth and fuzzy materials
- Add quilted items to walls
3. Smart Storage
Keep things neat but handy:
- Put daily items in easy-reach baskets
- Store extra supplies in painted boxes
- Use pretty jars for small things
- Keep diaper items close to the changing area
4. Comfy Seating Area
Make a nice spot for feeding time:
- Put soft cushions in the chair
- Keep a small table nearby
- Add a footrest
- Place supplies within arm’s reach
5. Temperature Control
Keep the room just right:
- Use curtains to block the hot sun
- Keep a light blanket handy
- Put a small fan in summer
- Watch for drafty spots
6. Sound Management
Create a quiet space:
- Add soft items to reduce noise
- Keep noisy toys in closed boxes
- Put felt pads on drawer bottoms
- Use door stoppers to prevent slams
Top 5 Organizational Hacks to Check Out
| Category | Tip |
|---|---|
| Group Storage System | Put items in clear containers |
| Label every box and bin. | |
| Sort by size and type | |
| Keep daily items at eye level. | |
| Store extras up high. | |
| Door Space Use | Add hooks on the back |
| Hang a shoe organizer. | |
| Store small items in pockets. | |
| Put frequently used things here. | |
| Keep diaper supplies handy. | |
| Clothing Management | Sort clothes by size |
| Use dividers in drawers. | |
| Roll items to save space | |
| Keep the next size ready. | |
| Remove too-small items weekly. | |
| Supplies Station | Make a changing table caddy. |
| Keep wipes in reach | |
| Put creams in small bins. | |
| Store extras in boxes below | |
| Check stock weekly | |
| Toy Control | Use bins by type |
| Rotate toys monthly | |
| Keep favorites easy to reach | |
| Store books spine-out | |
| Make cleanup easy |
Conclusion
Creating a cozy nursery doesn’t mean emptying your wallet. I’ve used these ideas in my own baby’s room, and they worked wonderfully.
With just $120-170, you can make a space that feels warm and personal.
Remember to put safety first in all your DIY projects. Take time to plan your design, gather materials, and work step by step. Your baby’s room should be both beautiful and practical.
I’d love to hear how these ideas work in your nursery! Try starting with one or two projects that fit your style and budget.
Leave a comment below to share your creations or ask questions. Want more budget-friendly baby room tips?
Check out my guide on DIY baby mobiles.

