How to Upgrade a Concrete Porch with a Deck
Is your concrete porch looking a little worn out or outdated?
If so, you might want to know how to breathe new life into it without breaking the bank. Building a deck over a concrete porch is a cost-effective and straightforward solution.
It not only gives your porch a fresh, stylish look but also adds value to your home. Additionally, you don’t need to dig holes or deal with a complicated foundation; it’s a quick and easy upgrade.
In this guide, I’ll walk you through the easy steps to convert your concrete porch into a beautiful deck.
Ready to get started on your DIY deck project? Keep reading to learn how.
Can You Build a Deck Over a Concrete Porch?

Yes, building a deck over a concrete porch is possible, and many homeowners choose this option because it’s both efficient and cost-effective.
This method can give your porch a new look and improve your outdoor area without the need for expensive demolition.
However, it’s essential to check the condition of your concrete first. If there are cracks or uneven spots, they’ll need attention before you can proceed.
How Much Does It Cost to Build a Deck Over Concrete?
The cost of building a deck over a concrete porch can vary depending on several factors, including the materials chosen and the size of the area.
On average, you can expect to pay between $1,500 and $5,000 for a DIY deck project. Composite decking tends to be more expensive than wood, but it’s also longer-lasting and requires less maintenance.
If you’re hiring a contractor, the cost could be higher due to labor fees.
Materials You’ll Need for the Project
Before you begin, you’ll need to gather a few materials. Here’s a list of what I recommend:
- Decking Material: Pressure-treated wood or composite decking are both popular choices. Composite decking is low-maintenance, while pressure-treated wood is more affordable.
- Joists: These will form the framework of your deck. Make sure they’re strong enough to support the weight.
- Deck Screws: Use these to secure the decking to the frame.
- Concrete Anchors: If you’re planning to attach the deck to the concrete, these are essential.
- Decking Sleeper System: This is a system of wooden slats placed on top of the concrete to create a foundation for the deck.
- Shims: If your concrete porch is uneven, you may need these to level things out.
Now, let’s get into the process of actually building your deck!
Step-by-Step Process of Building a Deck
Building a deck over a concrete porch involves several important steps to ensure stability and a long-lasting result.
Below, I’ve broken down each part of the process to guide you through the transformation.
Step 1: Prepare the Concrete Slab
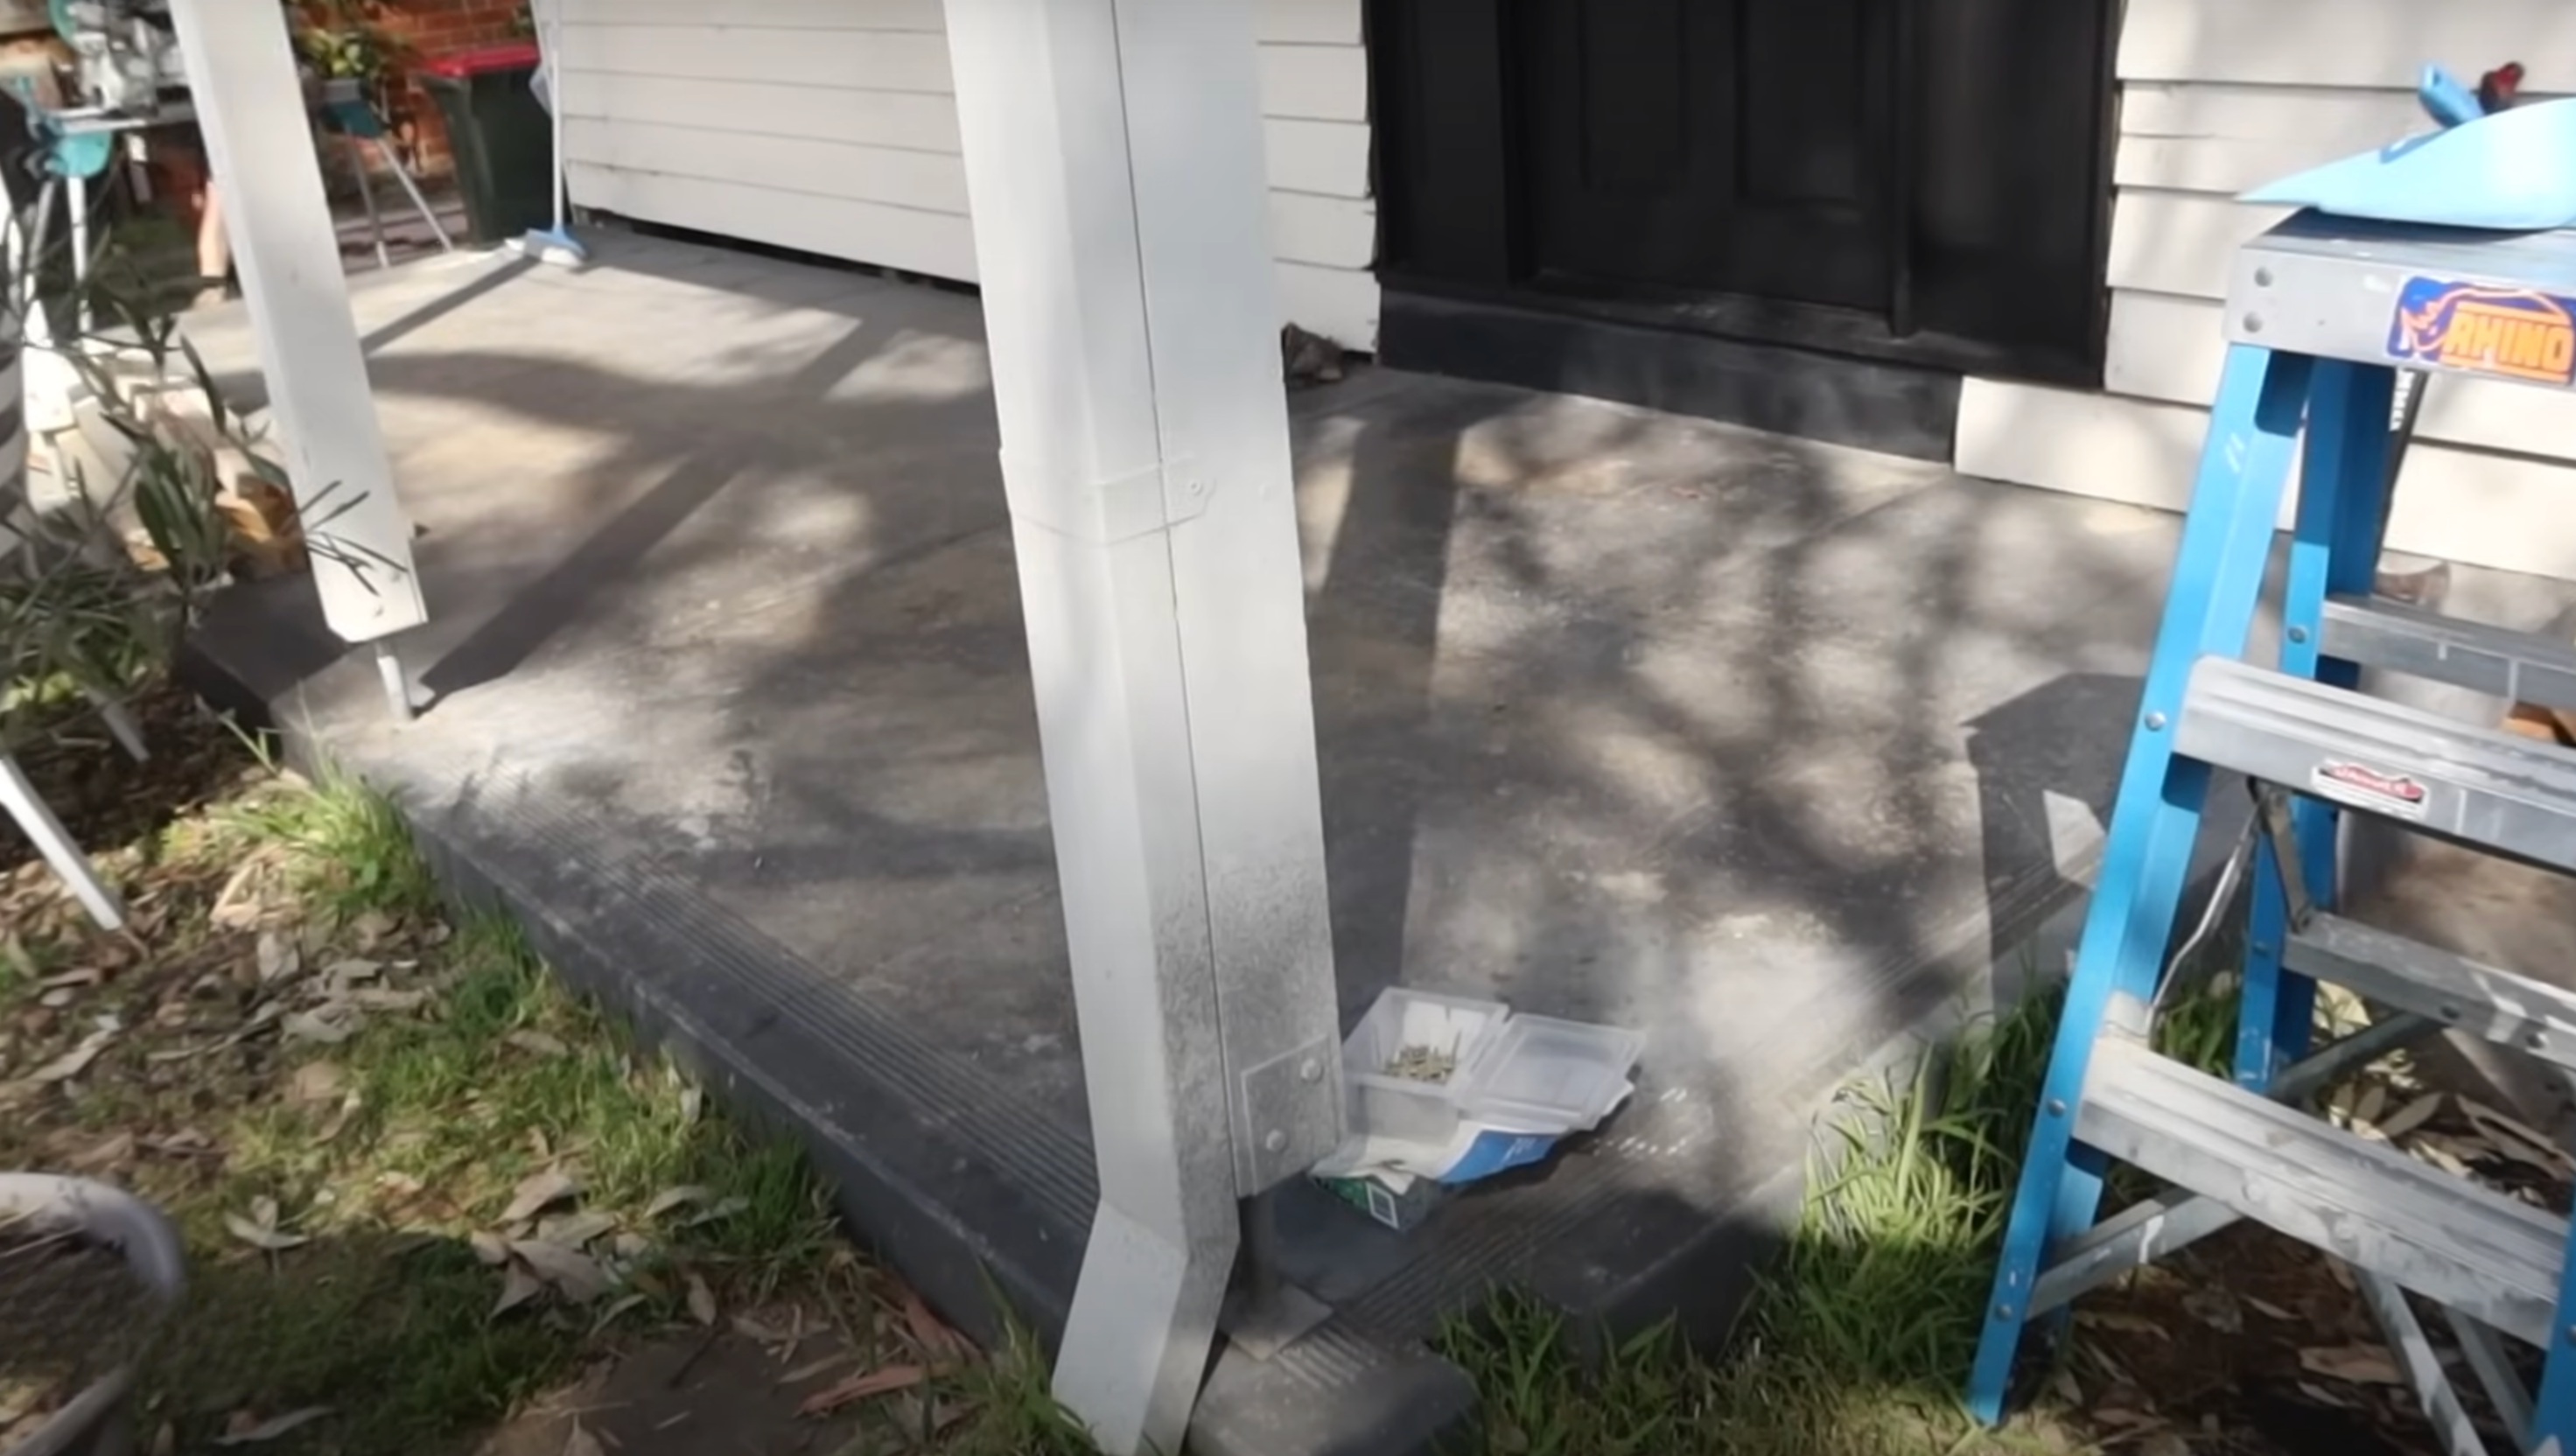
First, ensure your concrete slab is in good condition. Inspect the surface for any cracks or damage and make necessary repairs. Then, clean the slab thoroughly by removing dirt, debris, or stains. This will ensure that your deck’s foundation is solid and stable.
Once the slab is clean and in good condition, the next step is to check the level. To do this, run a string line across the entire slab. You can use a 10mm packer to test the height at different points along the string line.
If the packer touches the string line, it means the joist is too high, and you may need to lift the sides of the joists. On the other hand, if there’s a gap between the packer and the string line, you’ll need to pack the bottom of the joists to adjust the level.
Step 2: Lay Down the Joists
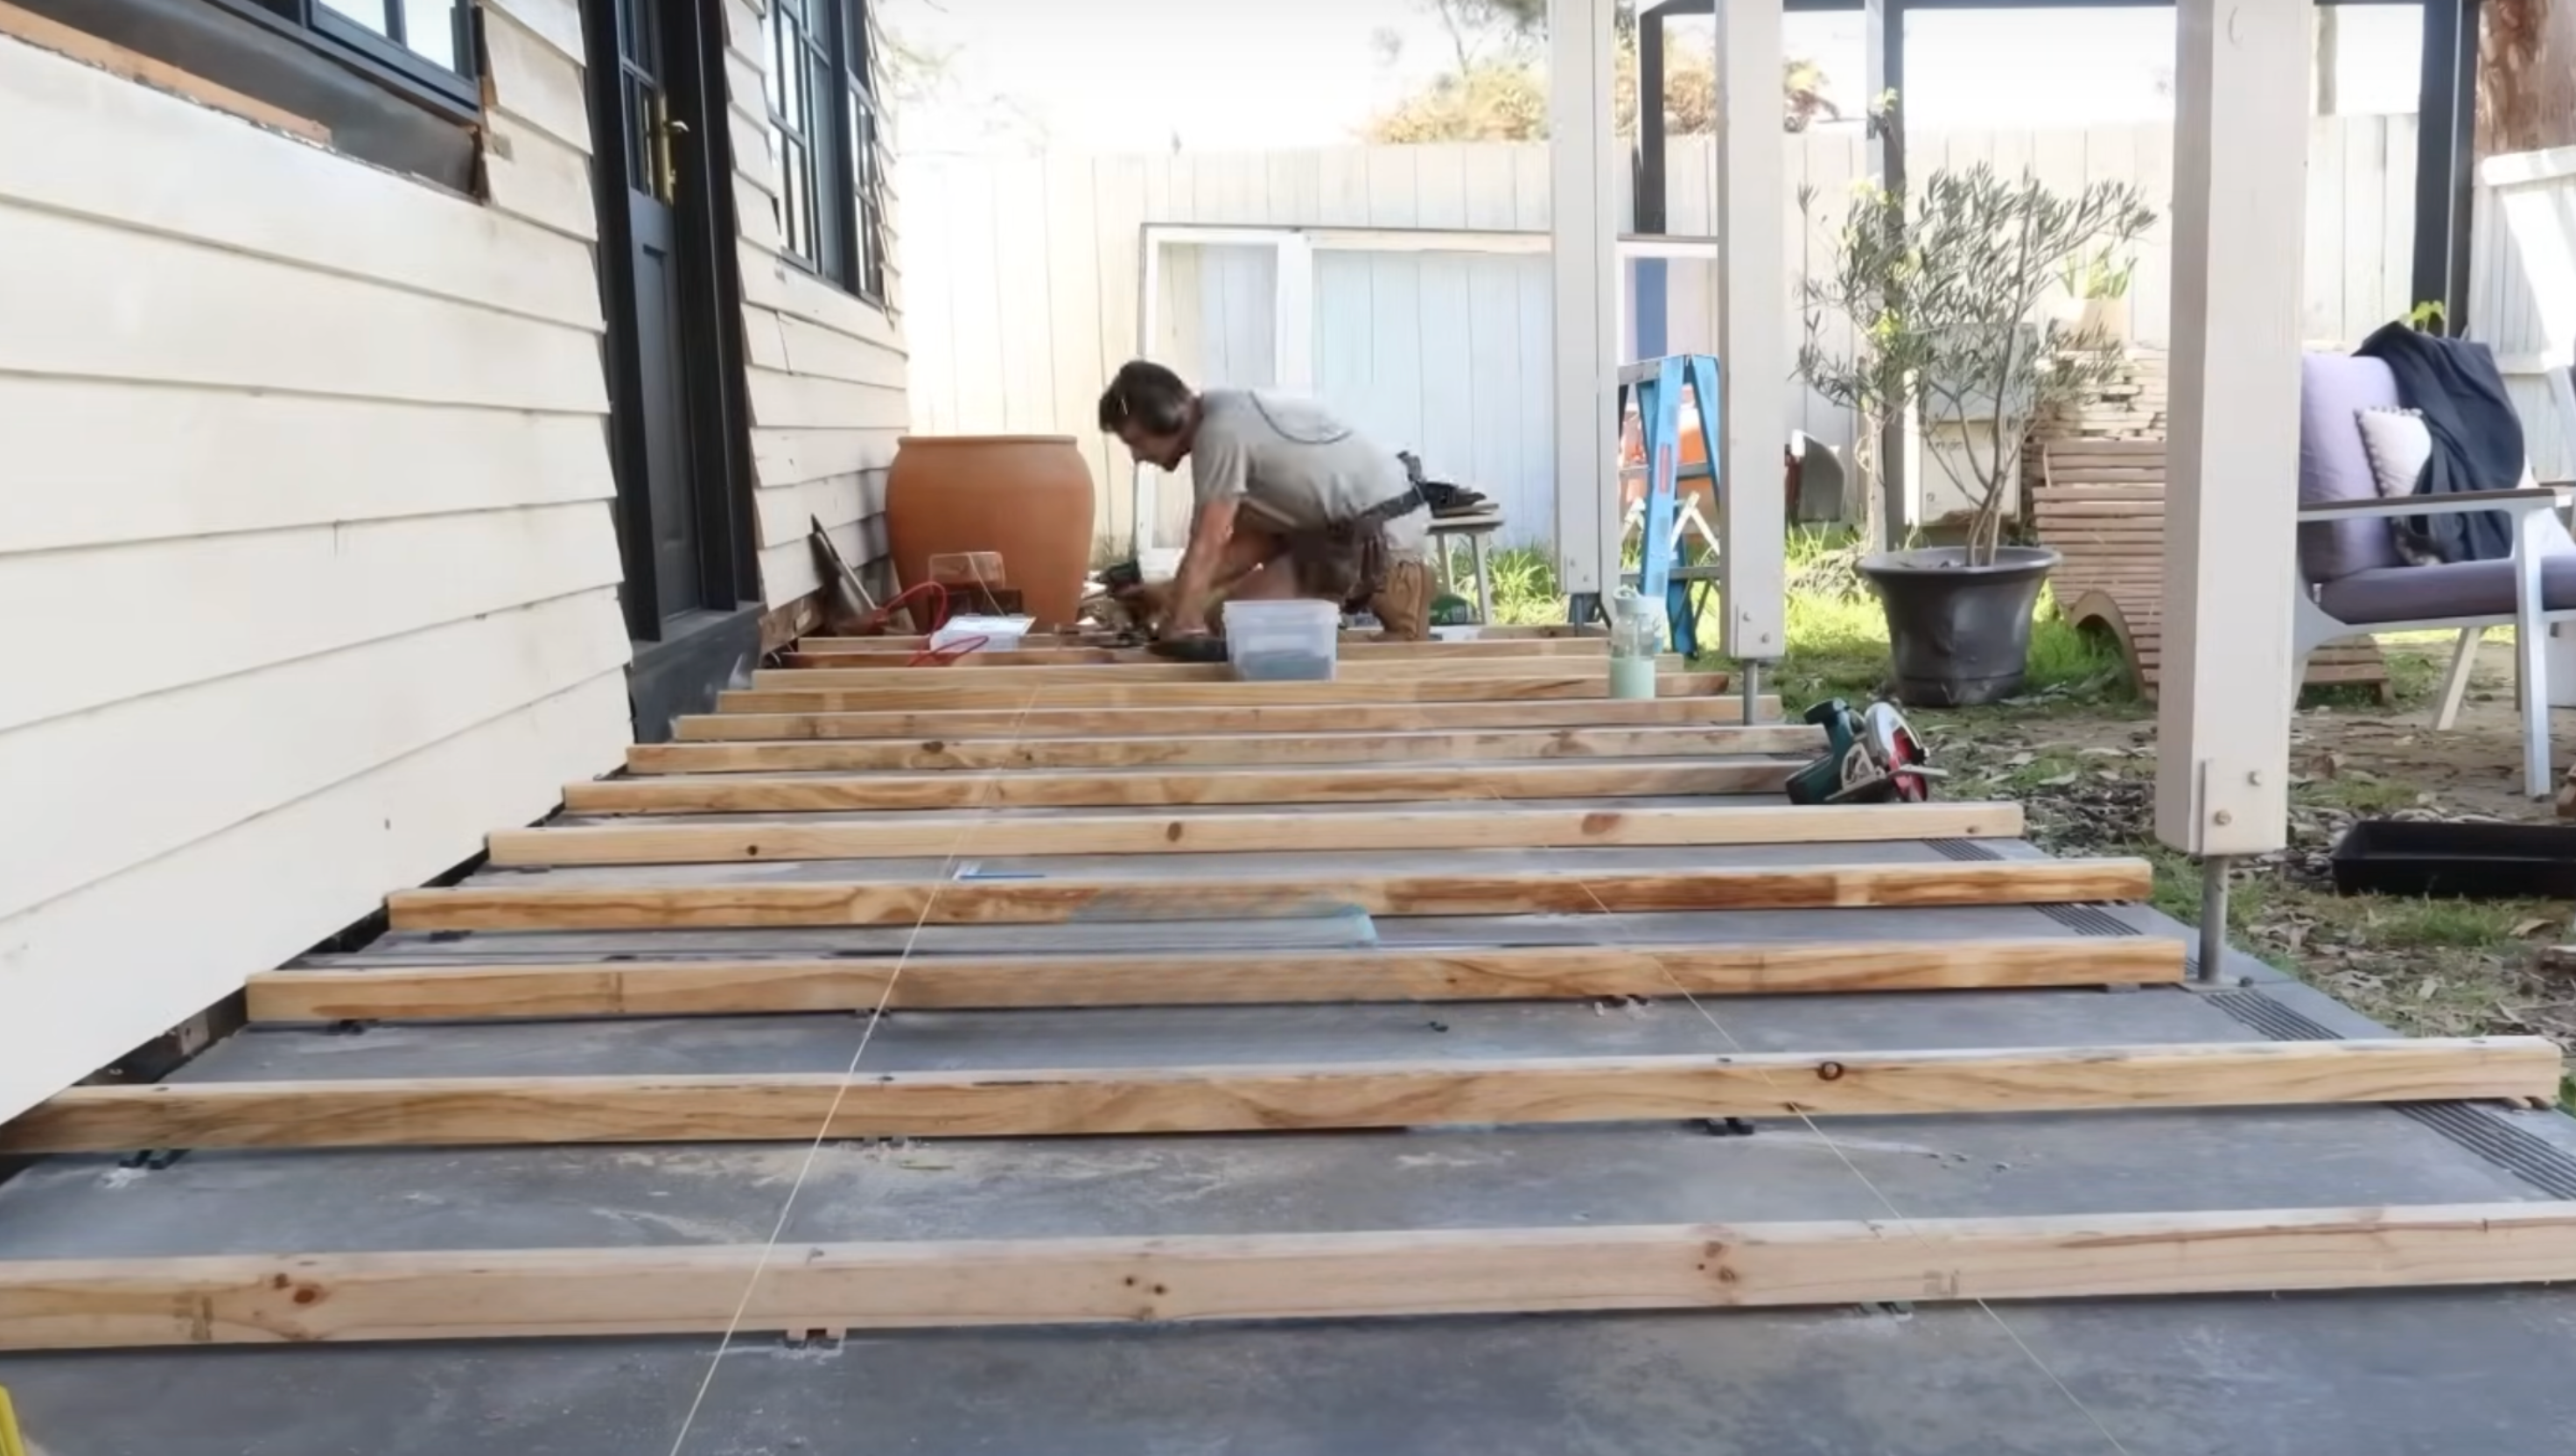
Once you’ve determined the level, install the joists across the length of the slab. These joists should be securely screwed into place, providing a solid frame for the rest of your deck. Use the string line to ensure the joists are aligned properly.
After installing the end joists, slide the 10mm packer along the joists, checking for any irregularities in height. If the packer touches the string line, it indicates that the joist is too high in that spot, and you may need to adjust the height of the sides.
If there is a gap, pack the bottom of the joist to align it with the middle flat point. This method will help ensure the joists are level across the deck.
Step 3: Create a Bay Area for Decking
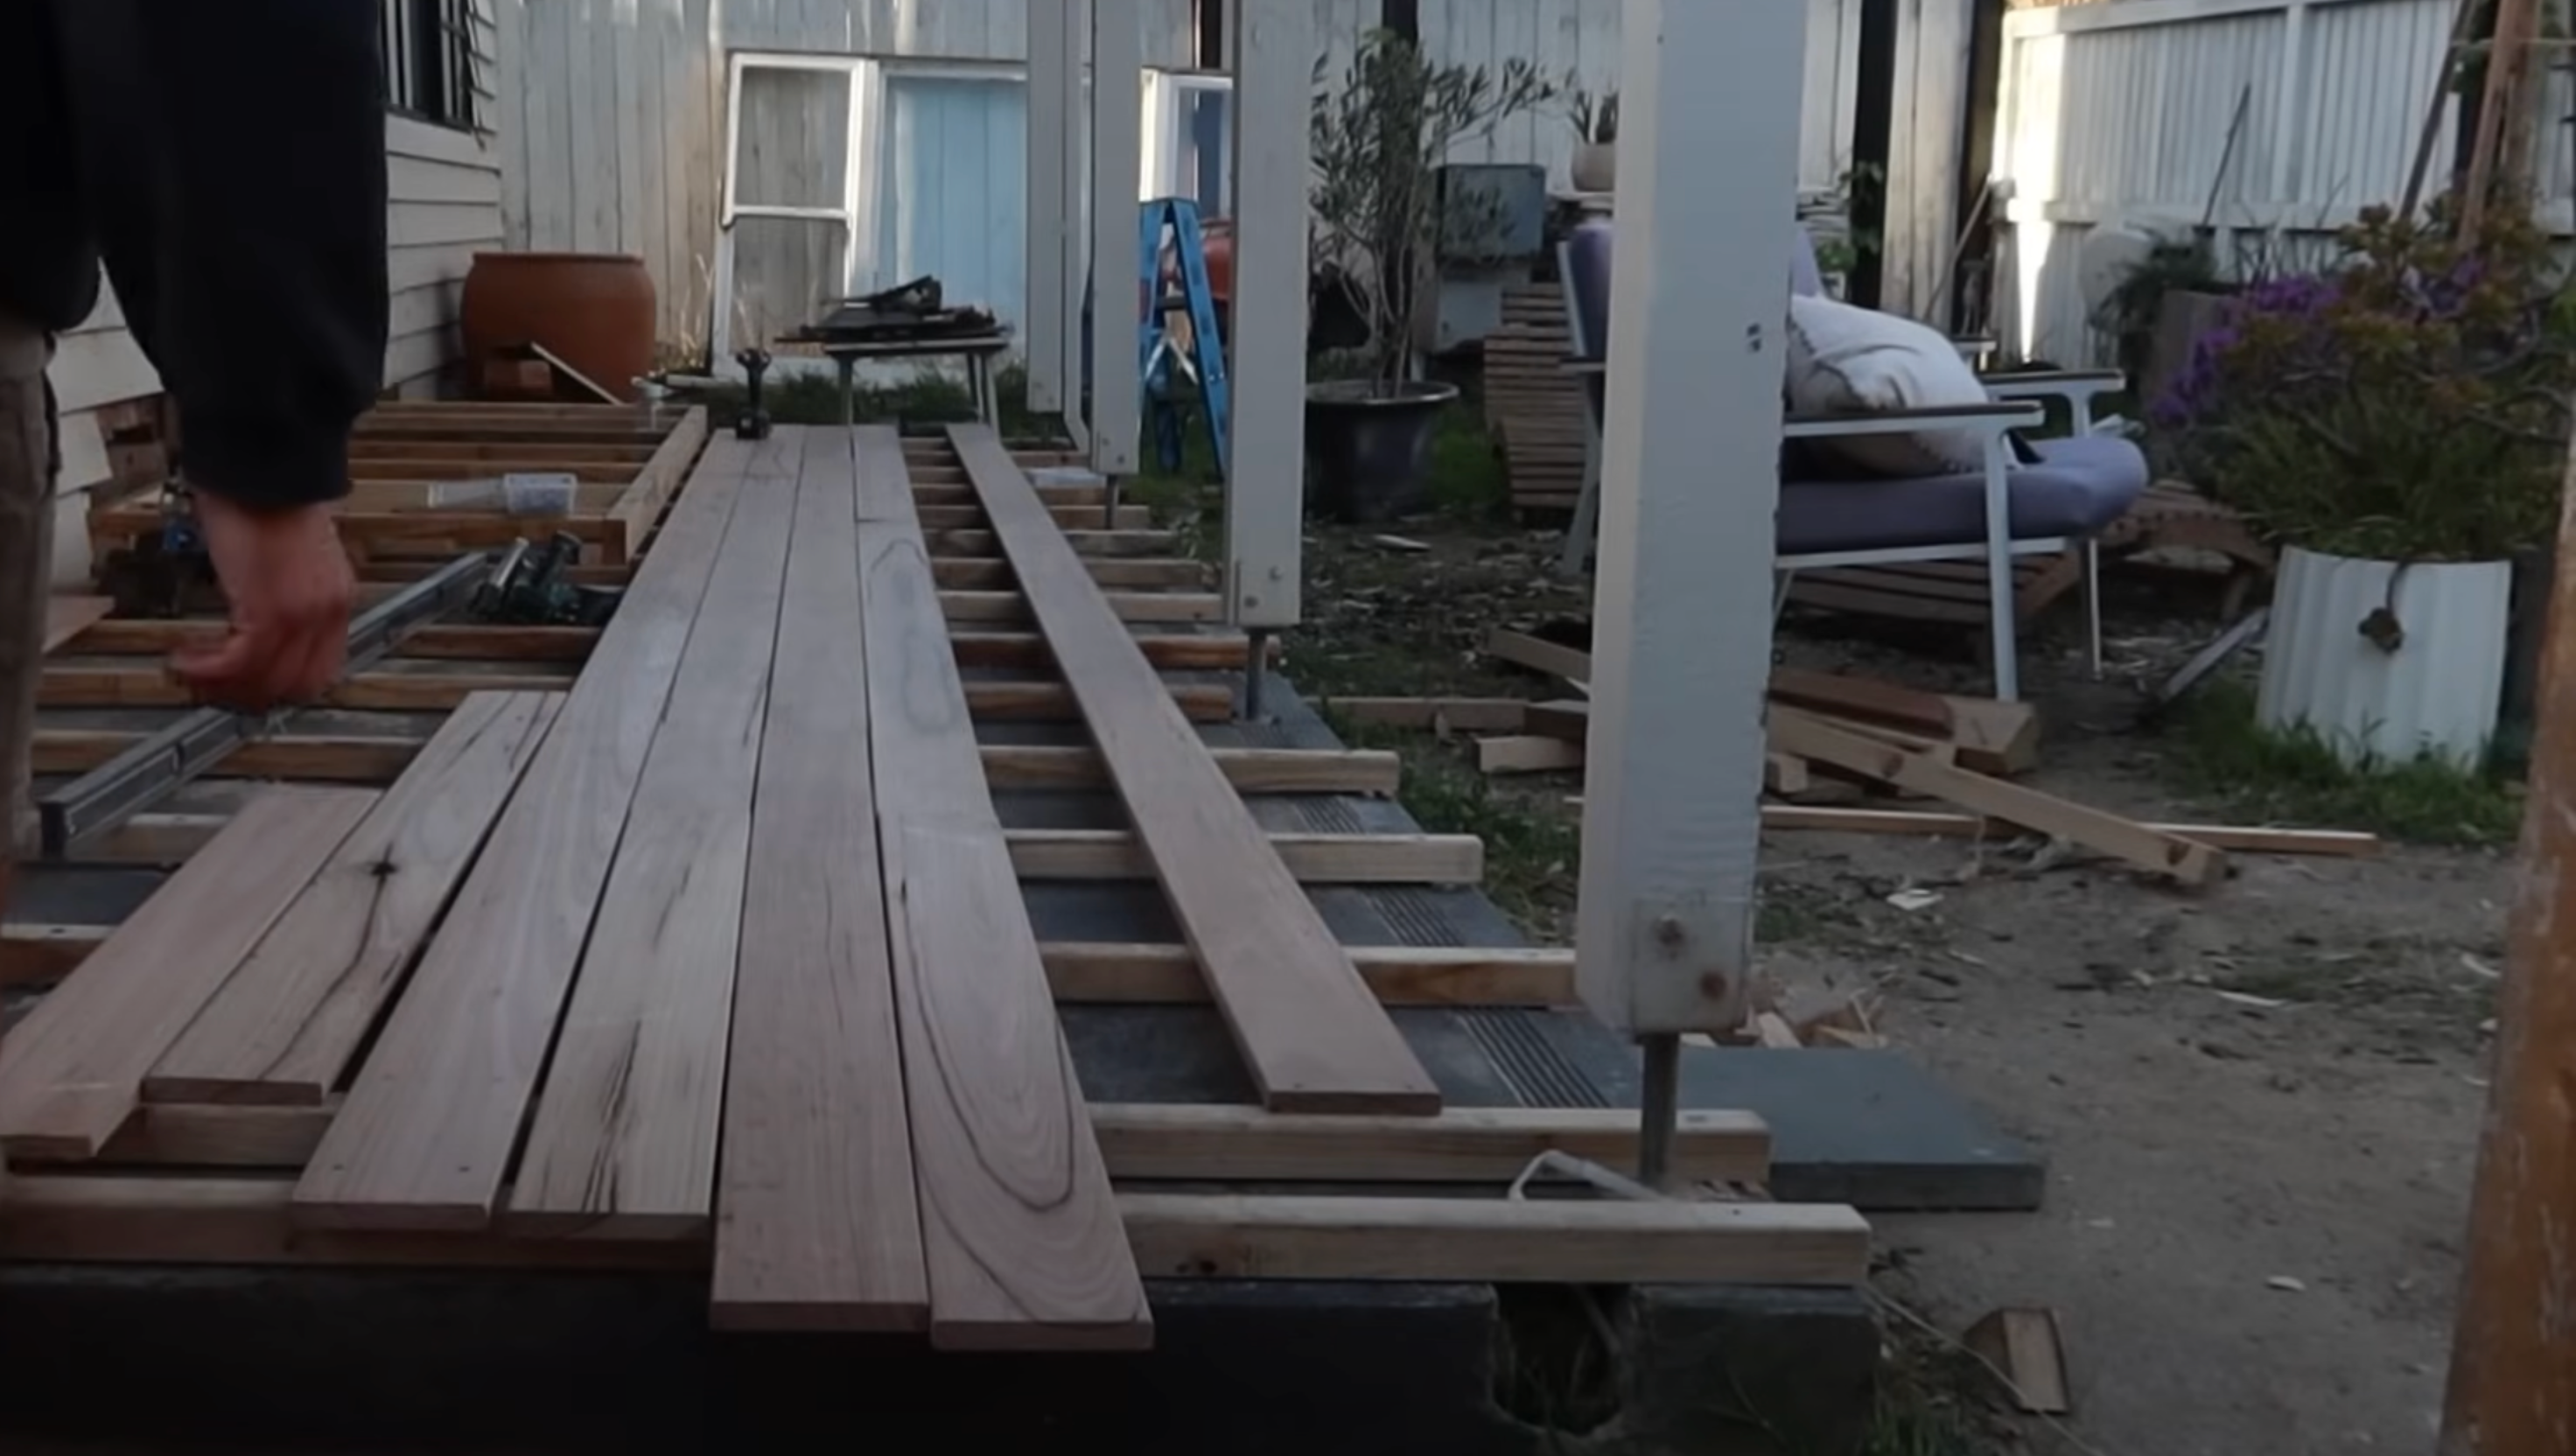
Now that your joists are in place, it’s time to prepare for the decking. Start by setting your first decking board. This board should be perfectly straight, as it will act as the foundation for the rest of the decking.
After placing the first board, create a “bay” area by positioning two straight boards parallel to each other. Leave enough space in between the two boards to fit four or five decking boards.
To ensure that the boards remain straight and the gaps between them are consistent, use wedges.
These wedges will hold the boards in place and help you achieve an even gap between each board. Once the bay is set up, you can begin installing the remaining decking boards, ensuring each one is aligned correctly and spaced evenly.
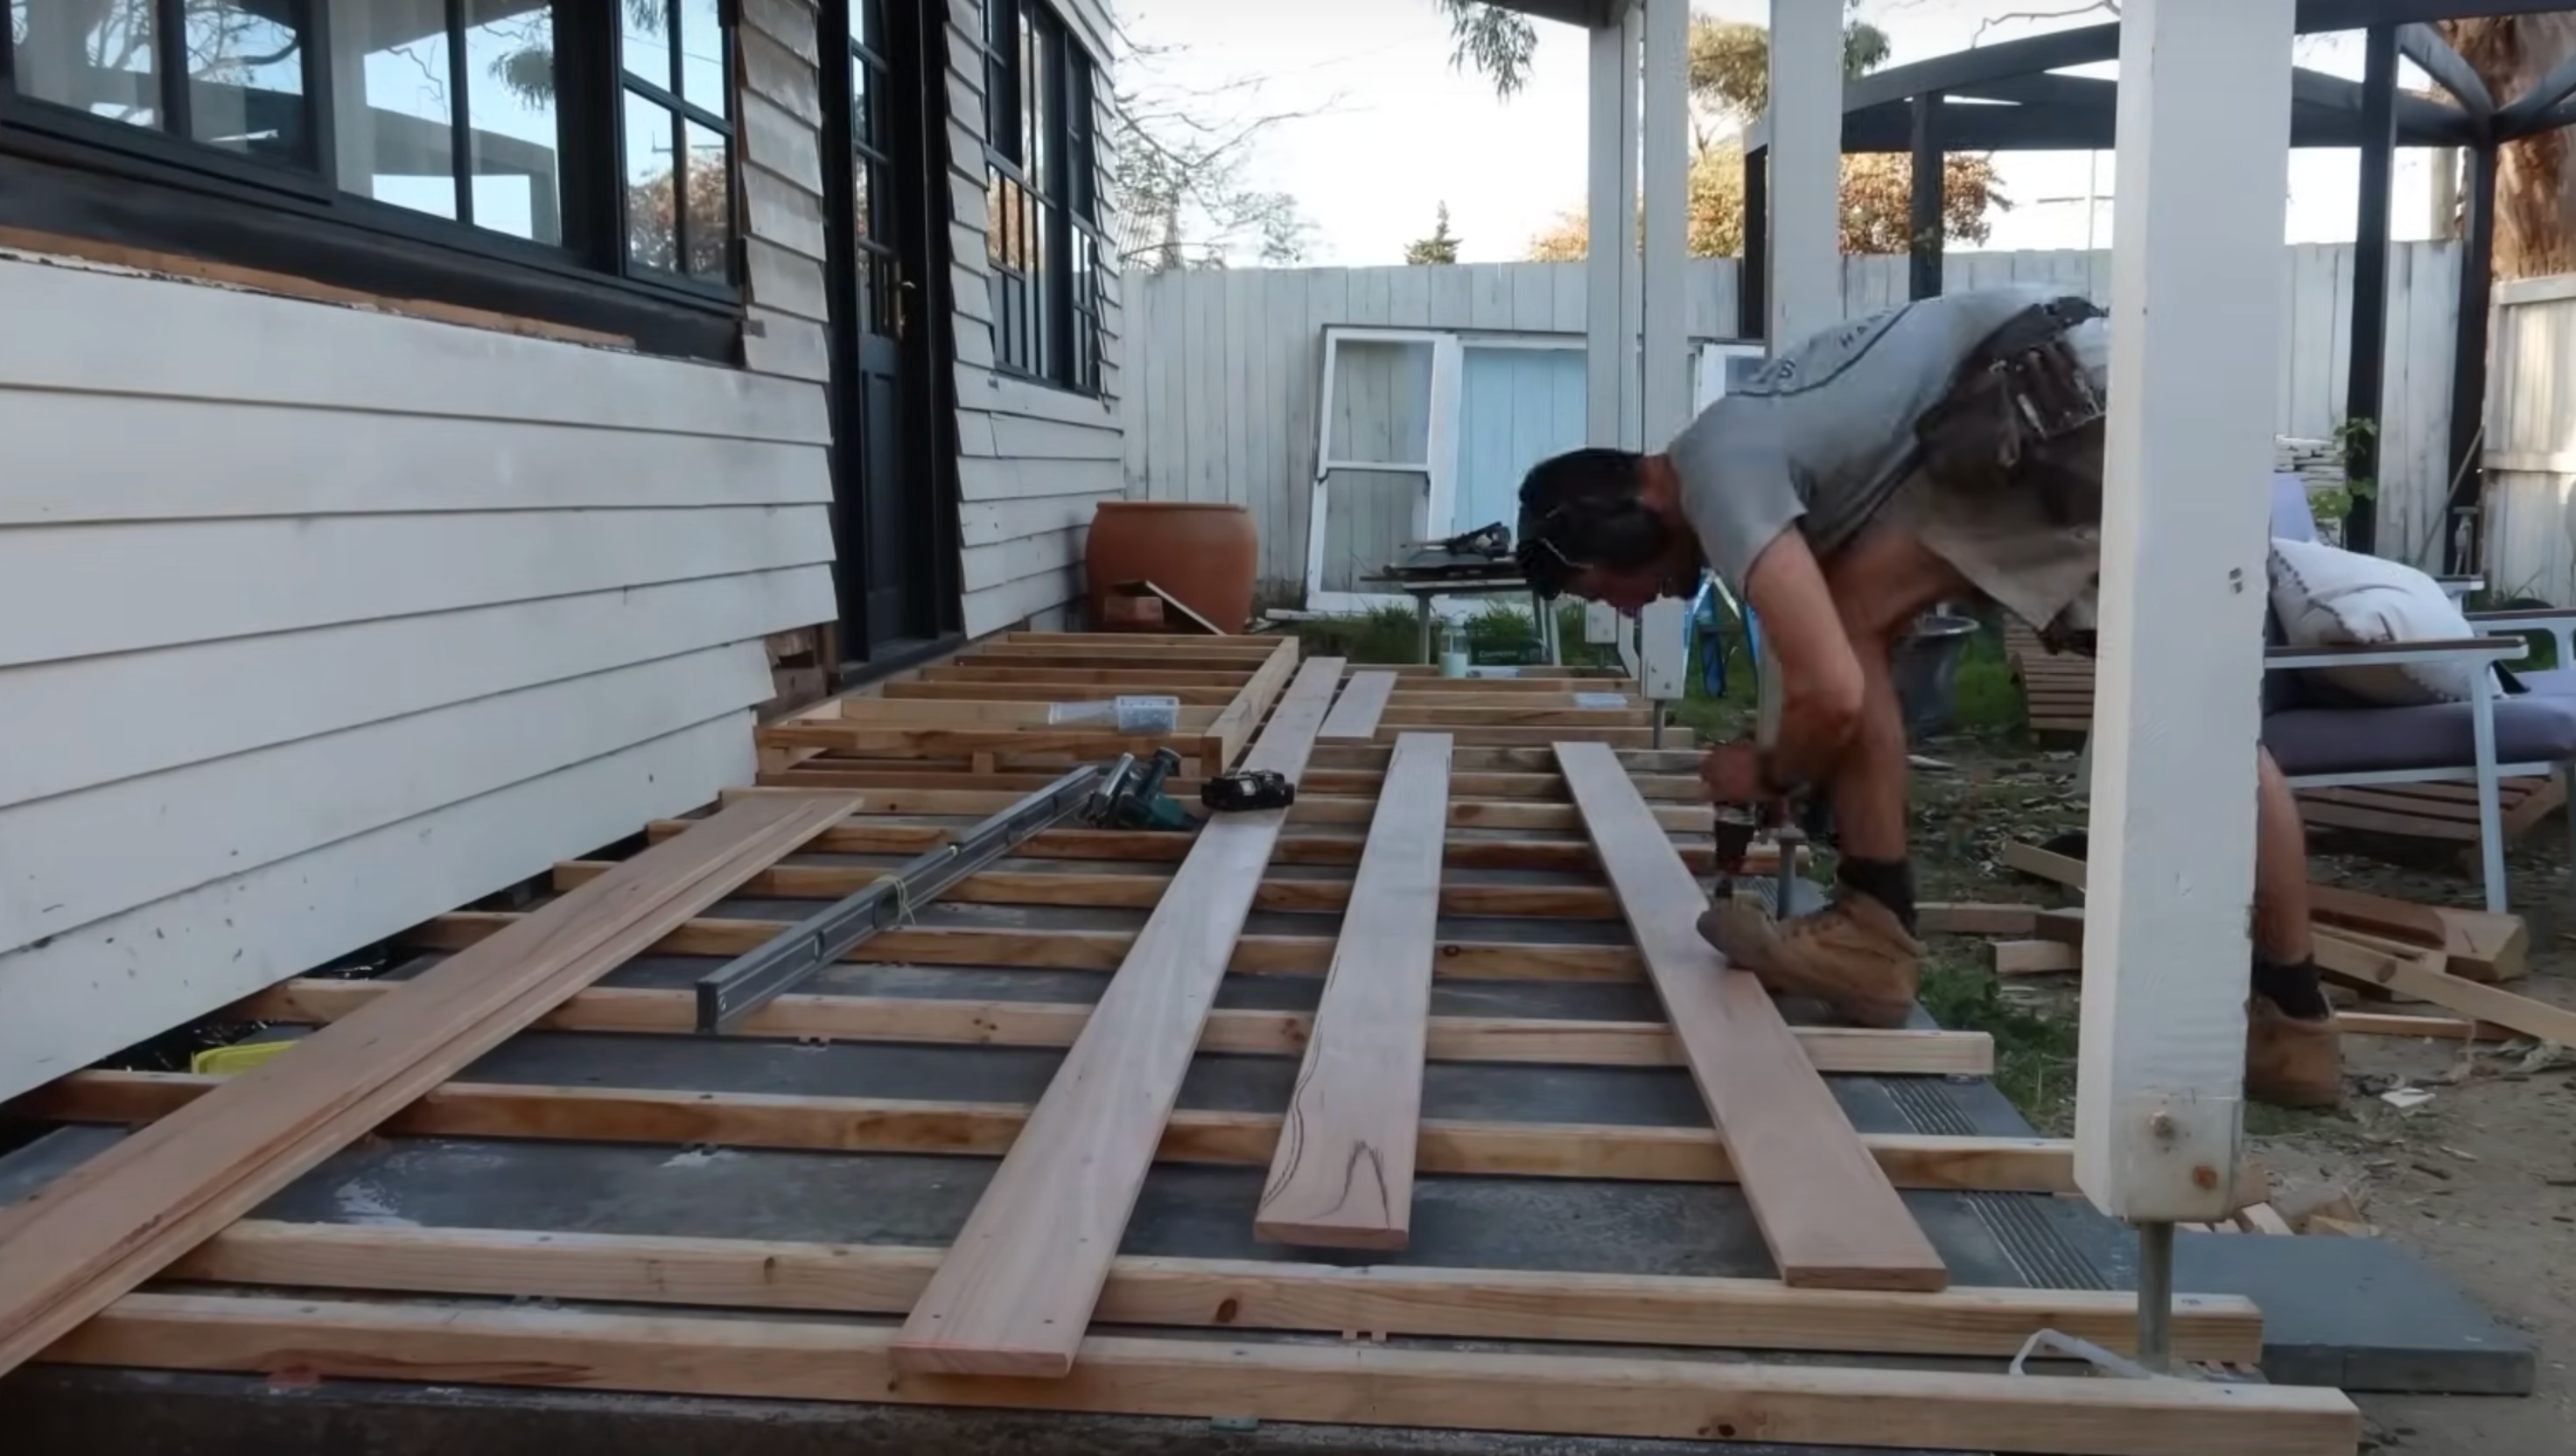
Step 4: Install Decking Boards
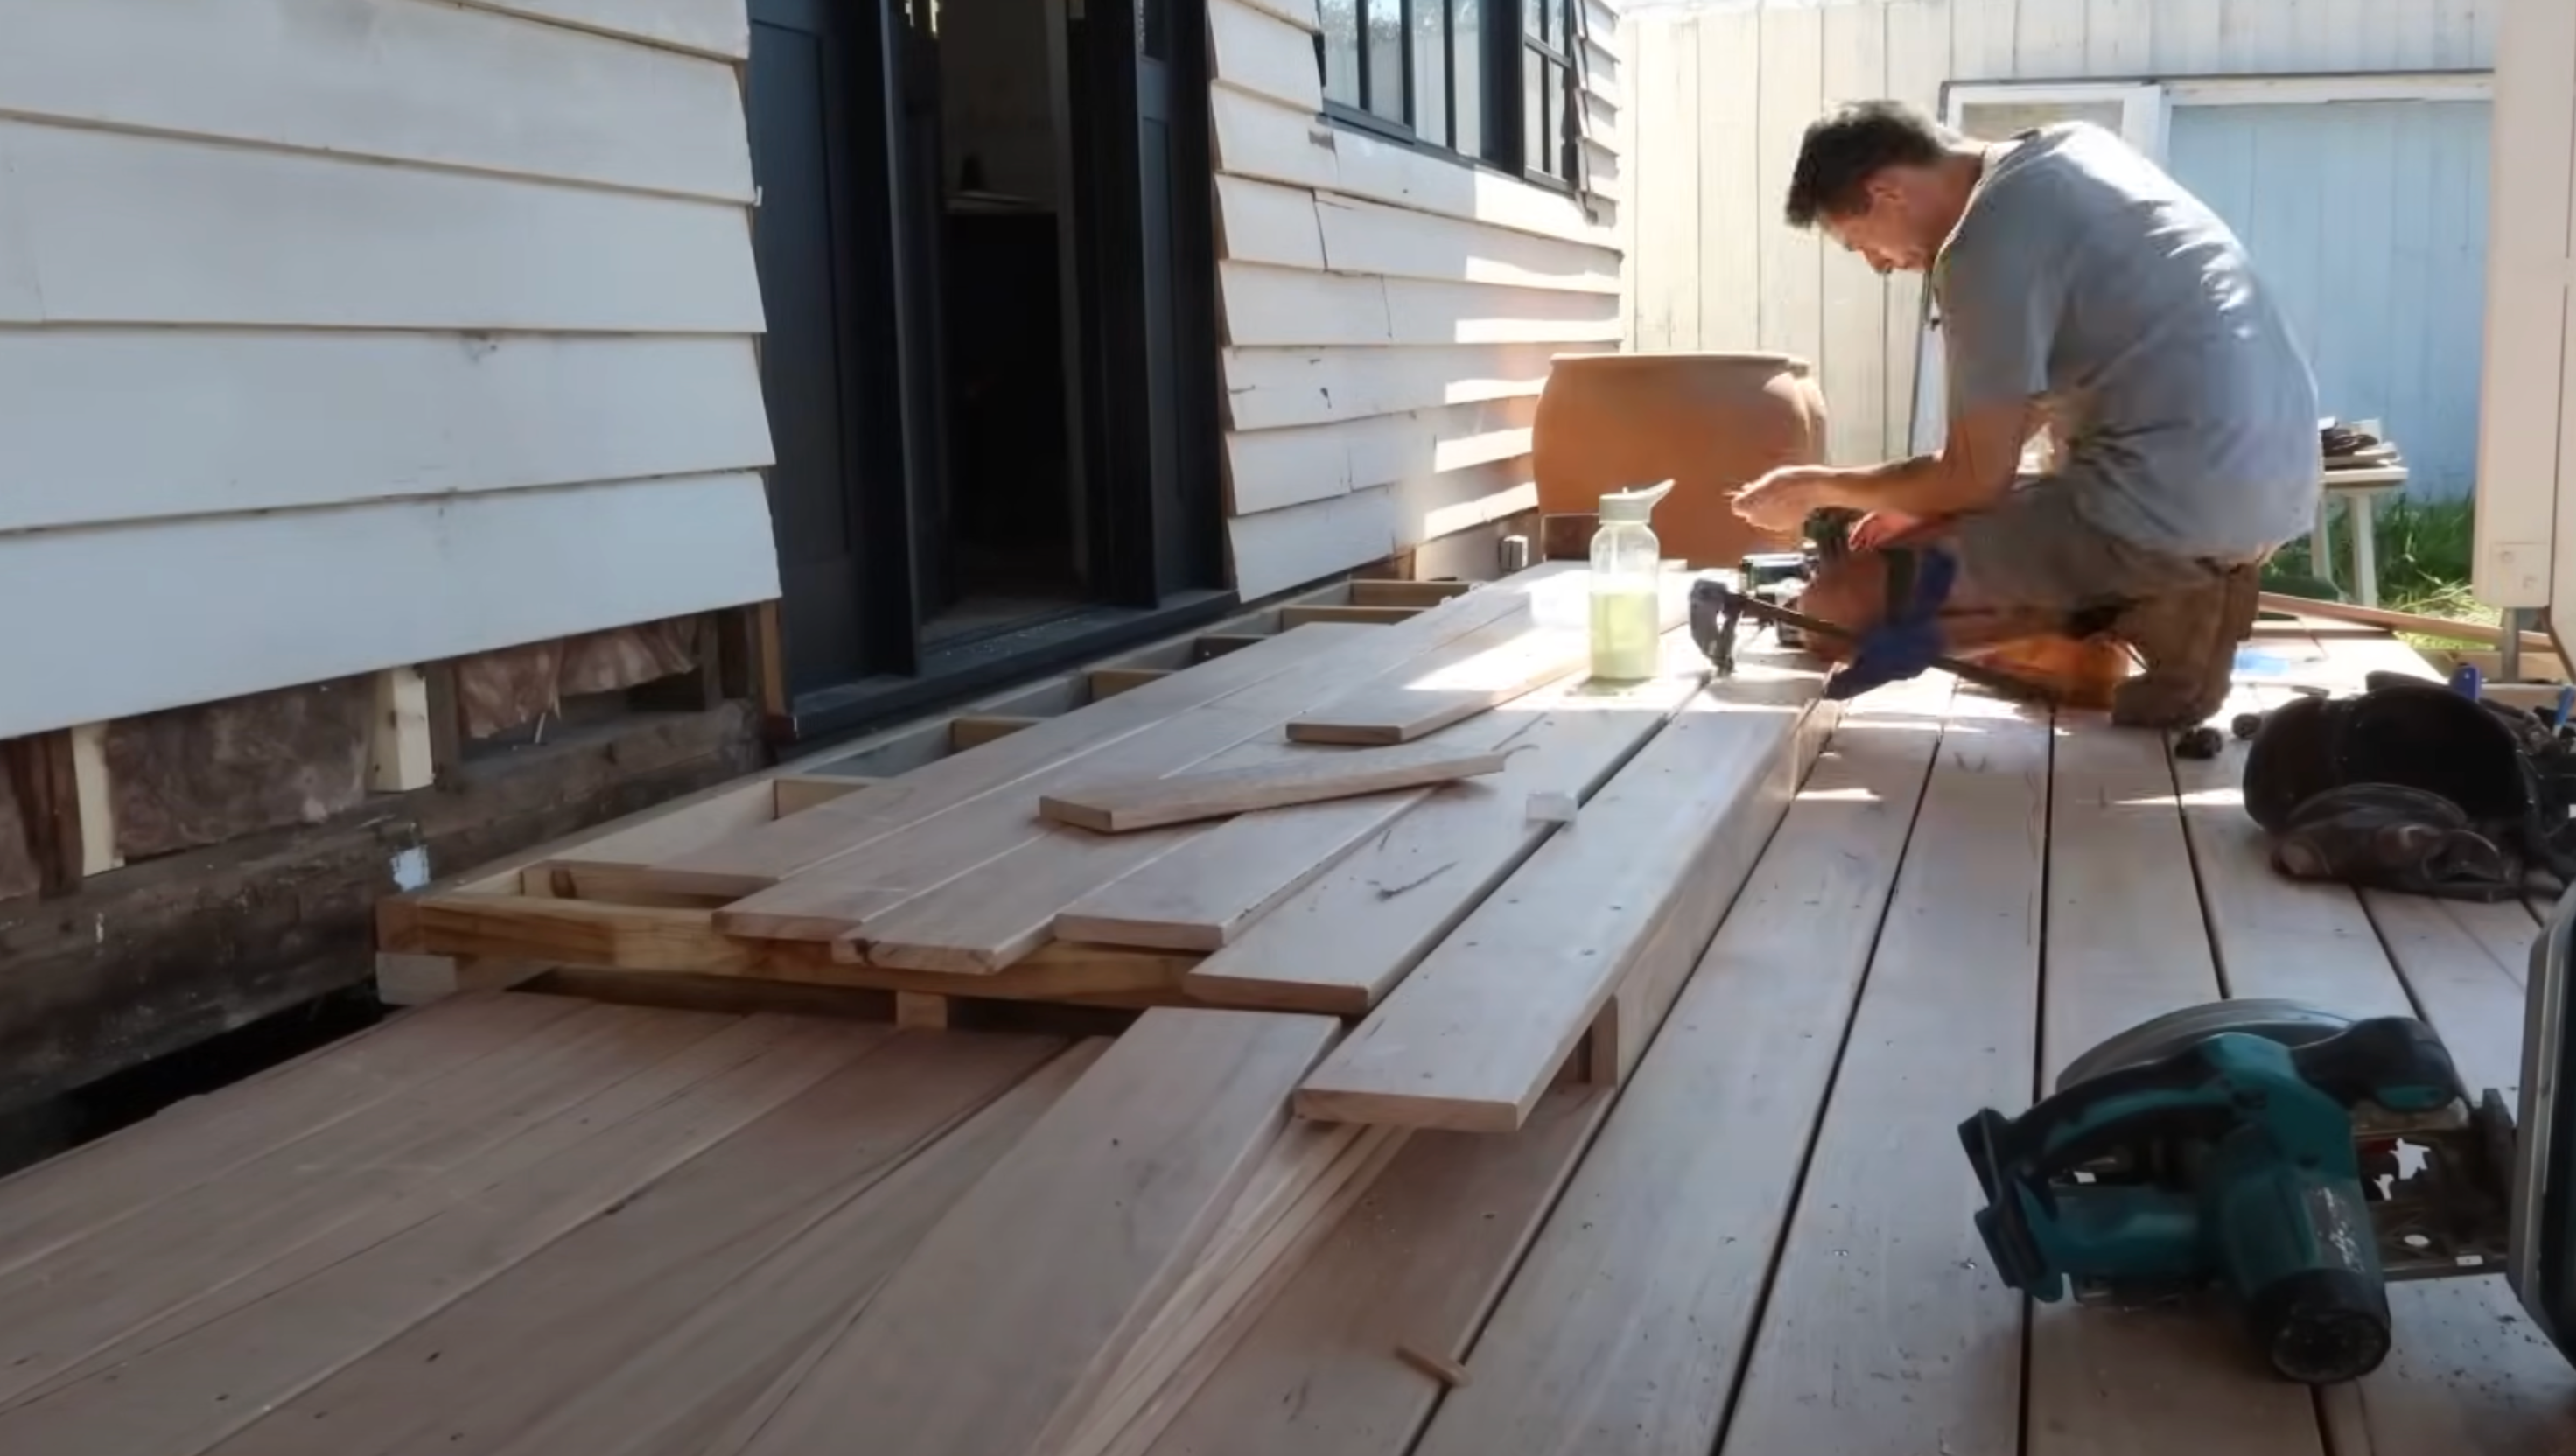
With the bay area set up, it’s time to install the remaining decking boards. Start from the first board, making sure it’s aligned with the rest. Work your way along the length of the deck, adding new boards one at a time.
For each board, ensure there is a small gap between them to allow for drainage. This is particularly important in areas that receive substantial rainfall.
Once all the boards are installed, you can trim the overhanging edges for a clean, finished look.
It’s important to use 50mm stainless steel screws to secure the boards to the joists.
These screws should have a flat shank at the top, which helps pull the decking boards down tightly, preventing any gaps between the boards and joists.
Step 5: Add the Front Door Landing
If you’re building a deck around a front door, consider constructing a small landing to create a step-up from the concrete slab. For this project, you’ll want to make a 90mm step-up at the front door.
This can be achieved by extending the deck underneath the door, ensuring the landing is raised high enough to create a natural step.
You can also add some planters next to the front door to add aesthetic appeal and create a more dynamic look by varying the levels of your deck.
Step 6: Install Joist Protection (Optional)
While not always necessary, some people choose to install joist protectors to prolong the life of their deck.
Joist protectors can prevent moisture from accumulating between the joists and decking boards, which could lead to wood decay.
If you’re building a deck in an area that’s exposed to weather, using joist protectors or plastic strips can help protect your structure from moisture.
While this step isn’t essential for every project, it’s something to consider if you want to ensure your deck lasts as long as possible and remains in good condition over the years.
Step 7: Fine-Tune the Deck Gaps
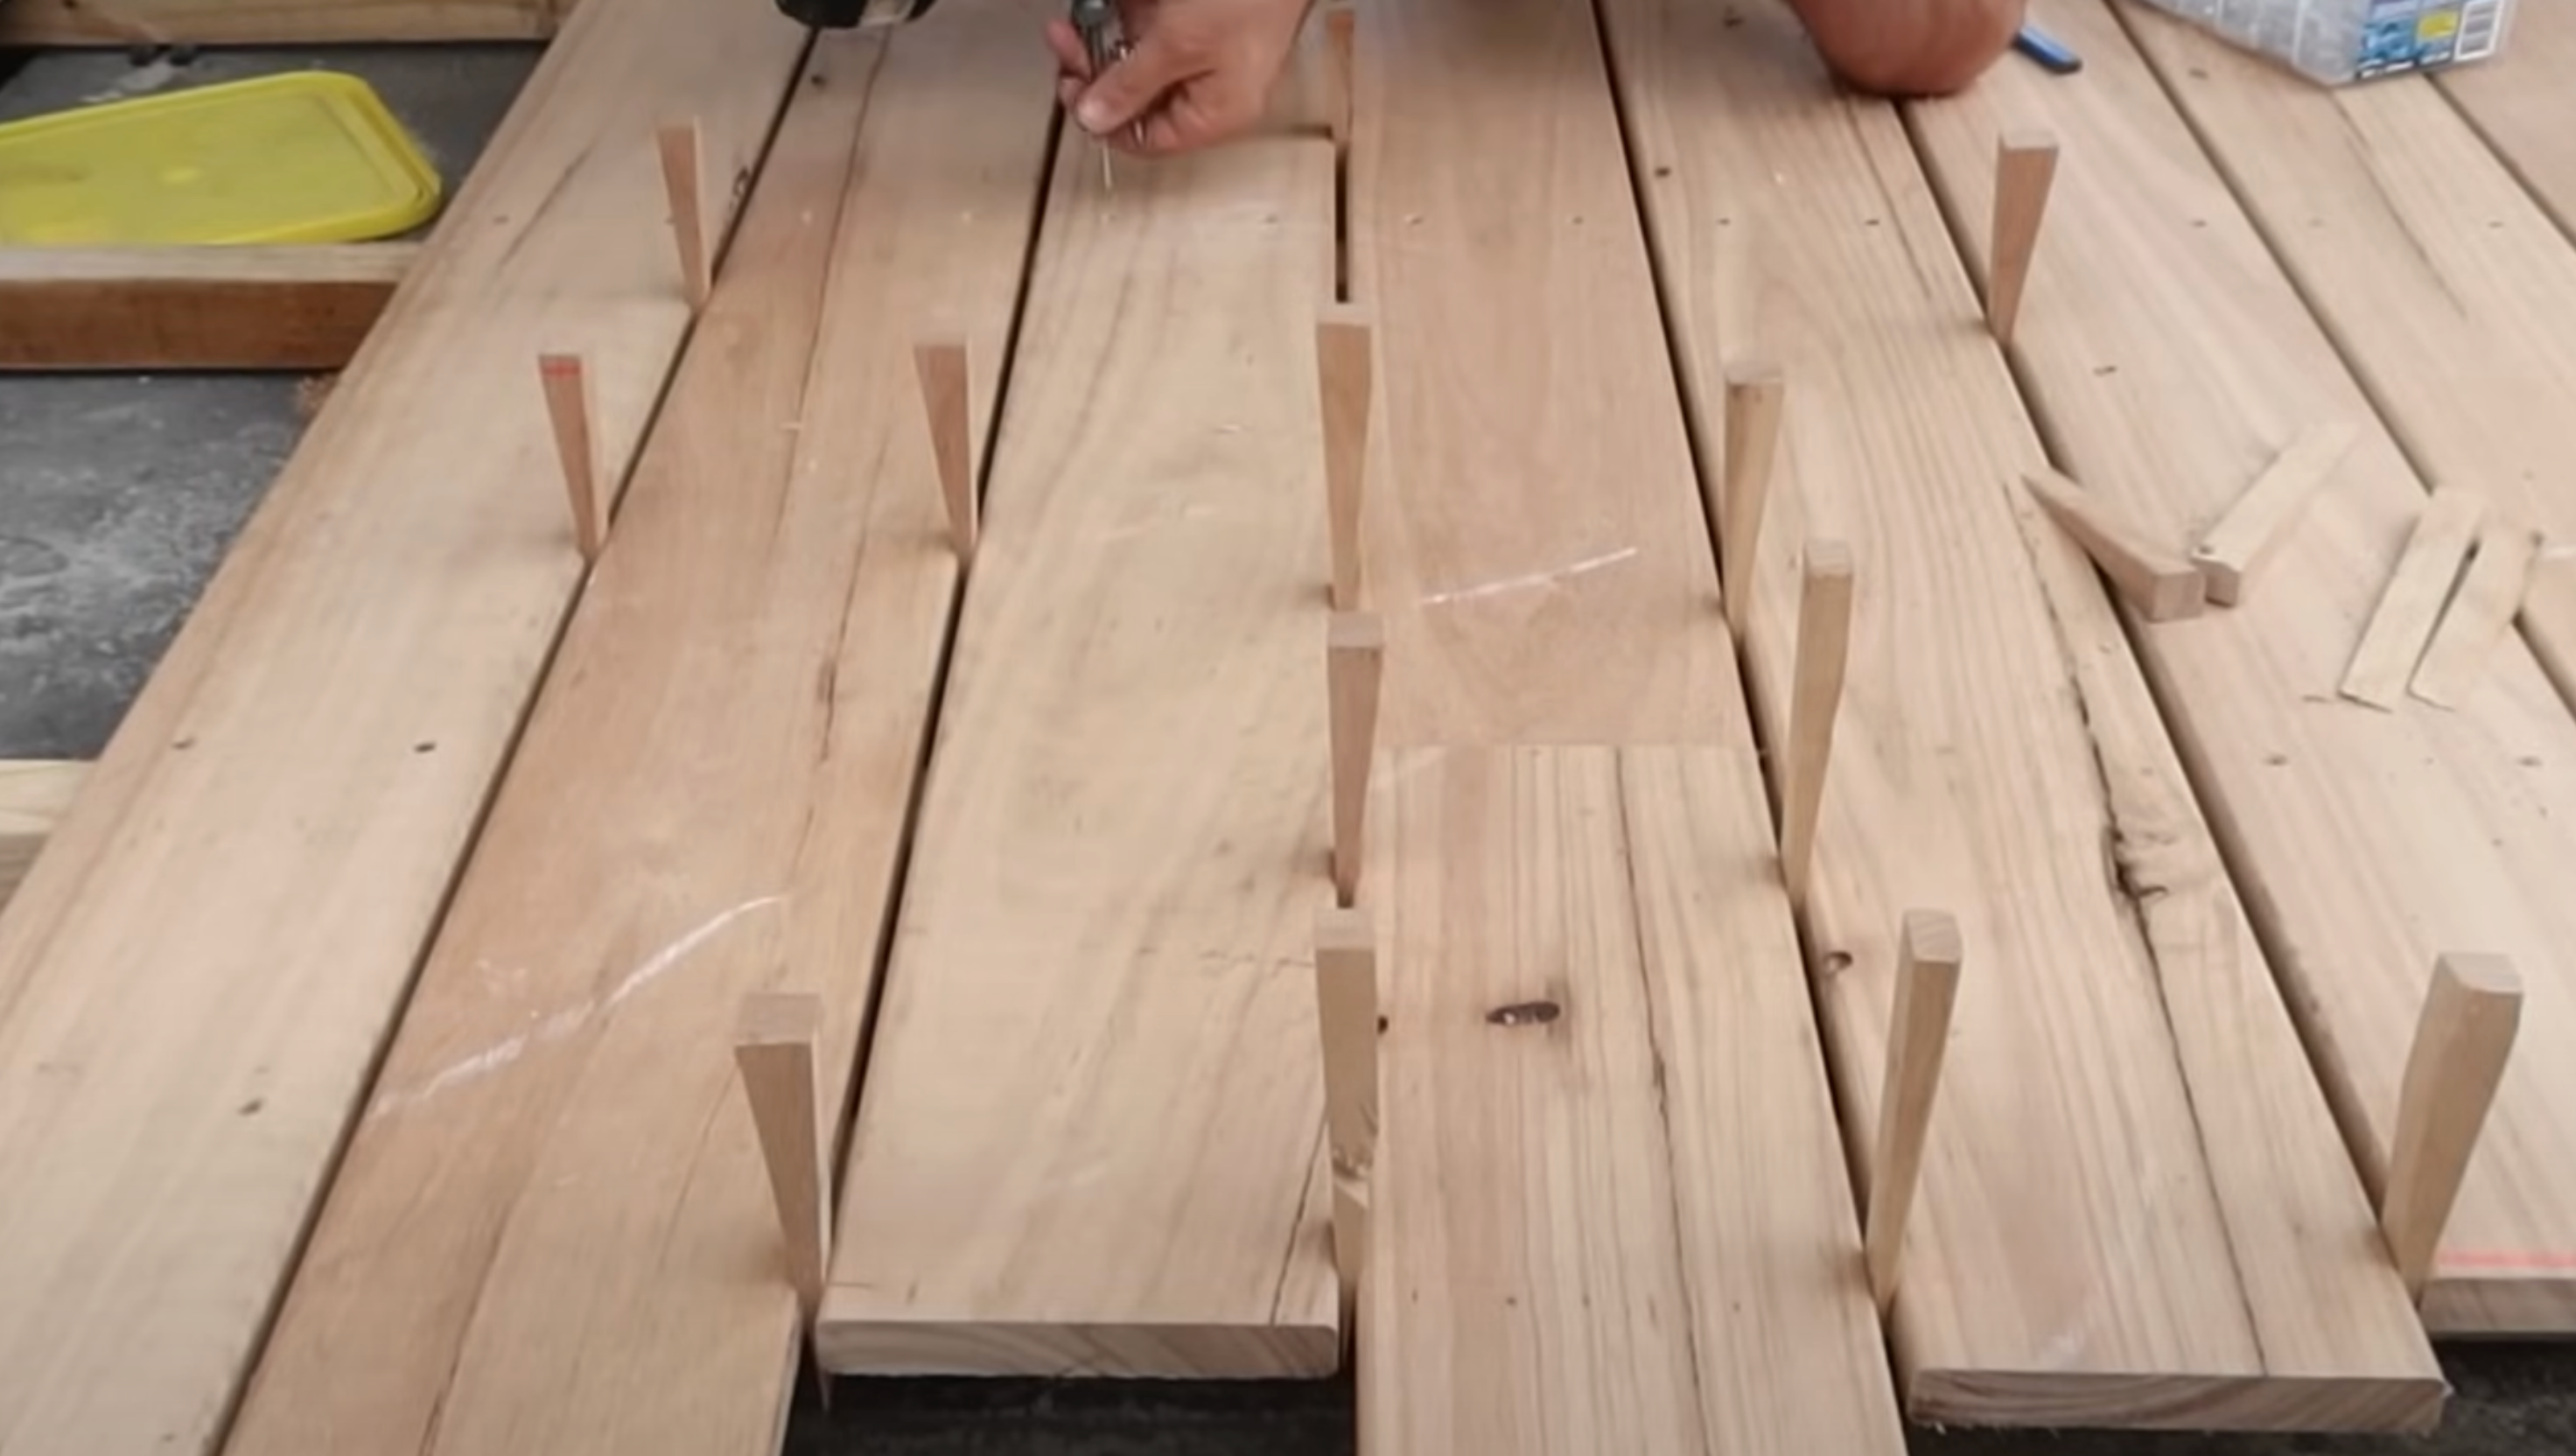
Once the decking boards are in place, it’s time to fine-tune the spacing between them.
Using wedges made from decking offcuts, you can adjust the gaps between each board. Insert the wedges along the joists to maintain consistent spacing, making small adjustments where needed.
This is a simple and effective way to ensure that all the gaps between the boards are even, even if there is a slight variation in their thickness.
These small adjustments will ensure a smooth and uniform finish to your deck, with clean, neat gaps that give a professional appearance.
Step 8: Finish and Seal the Deck
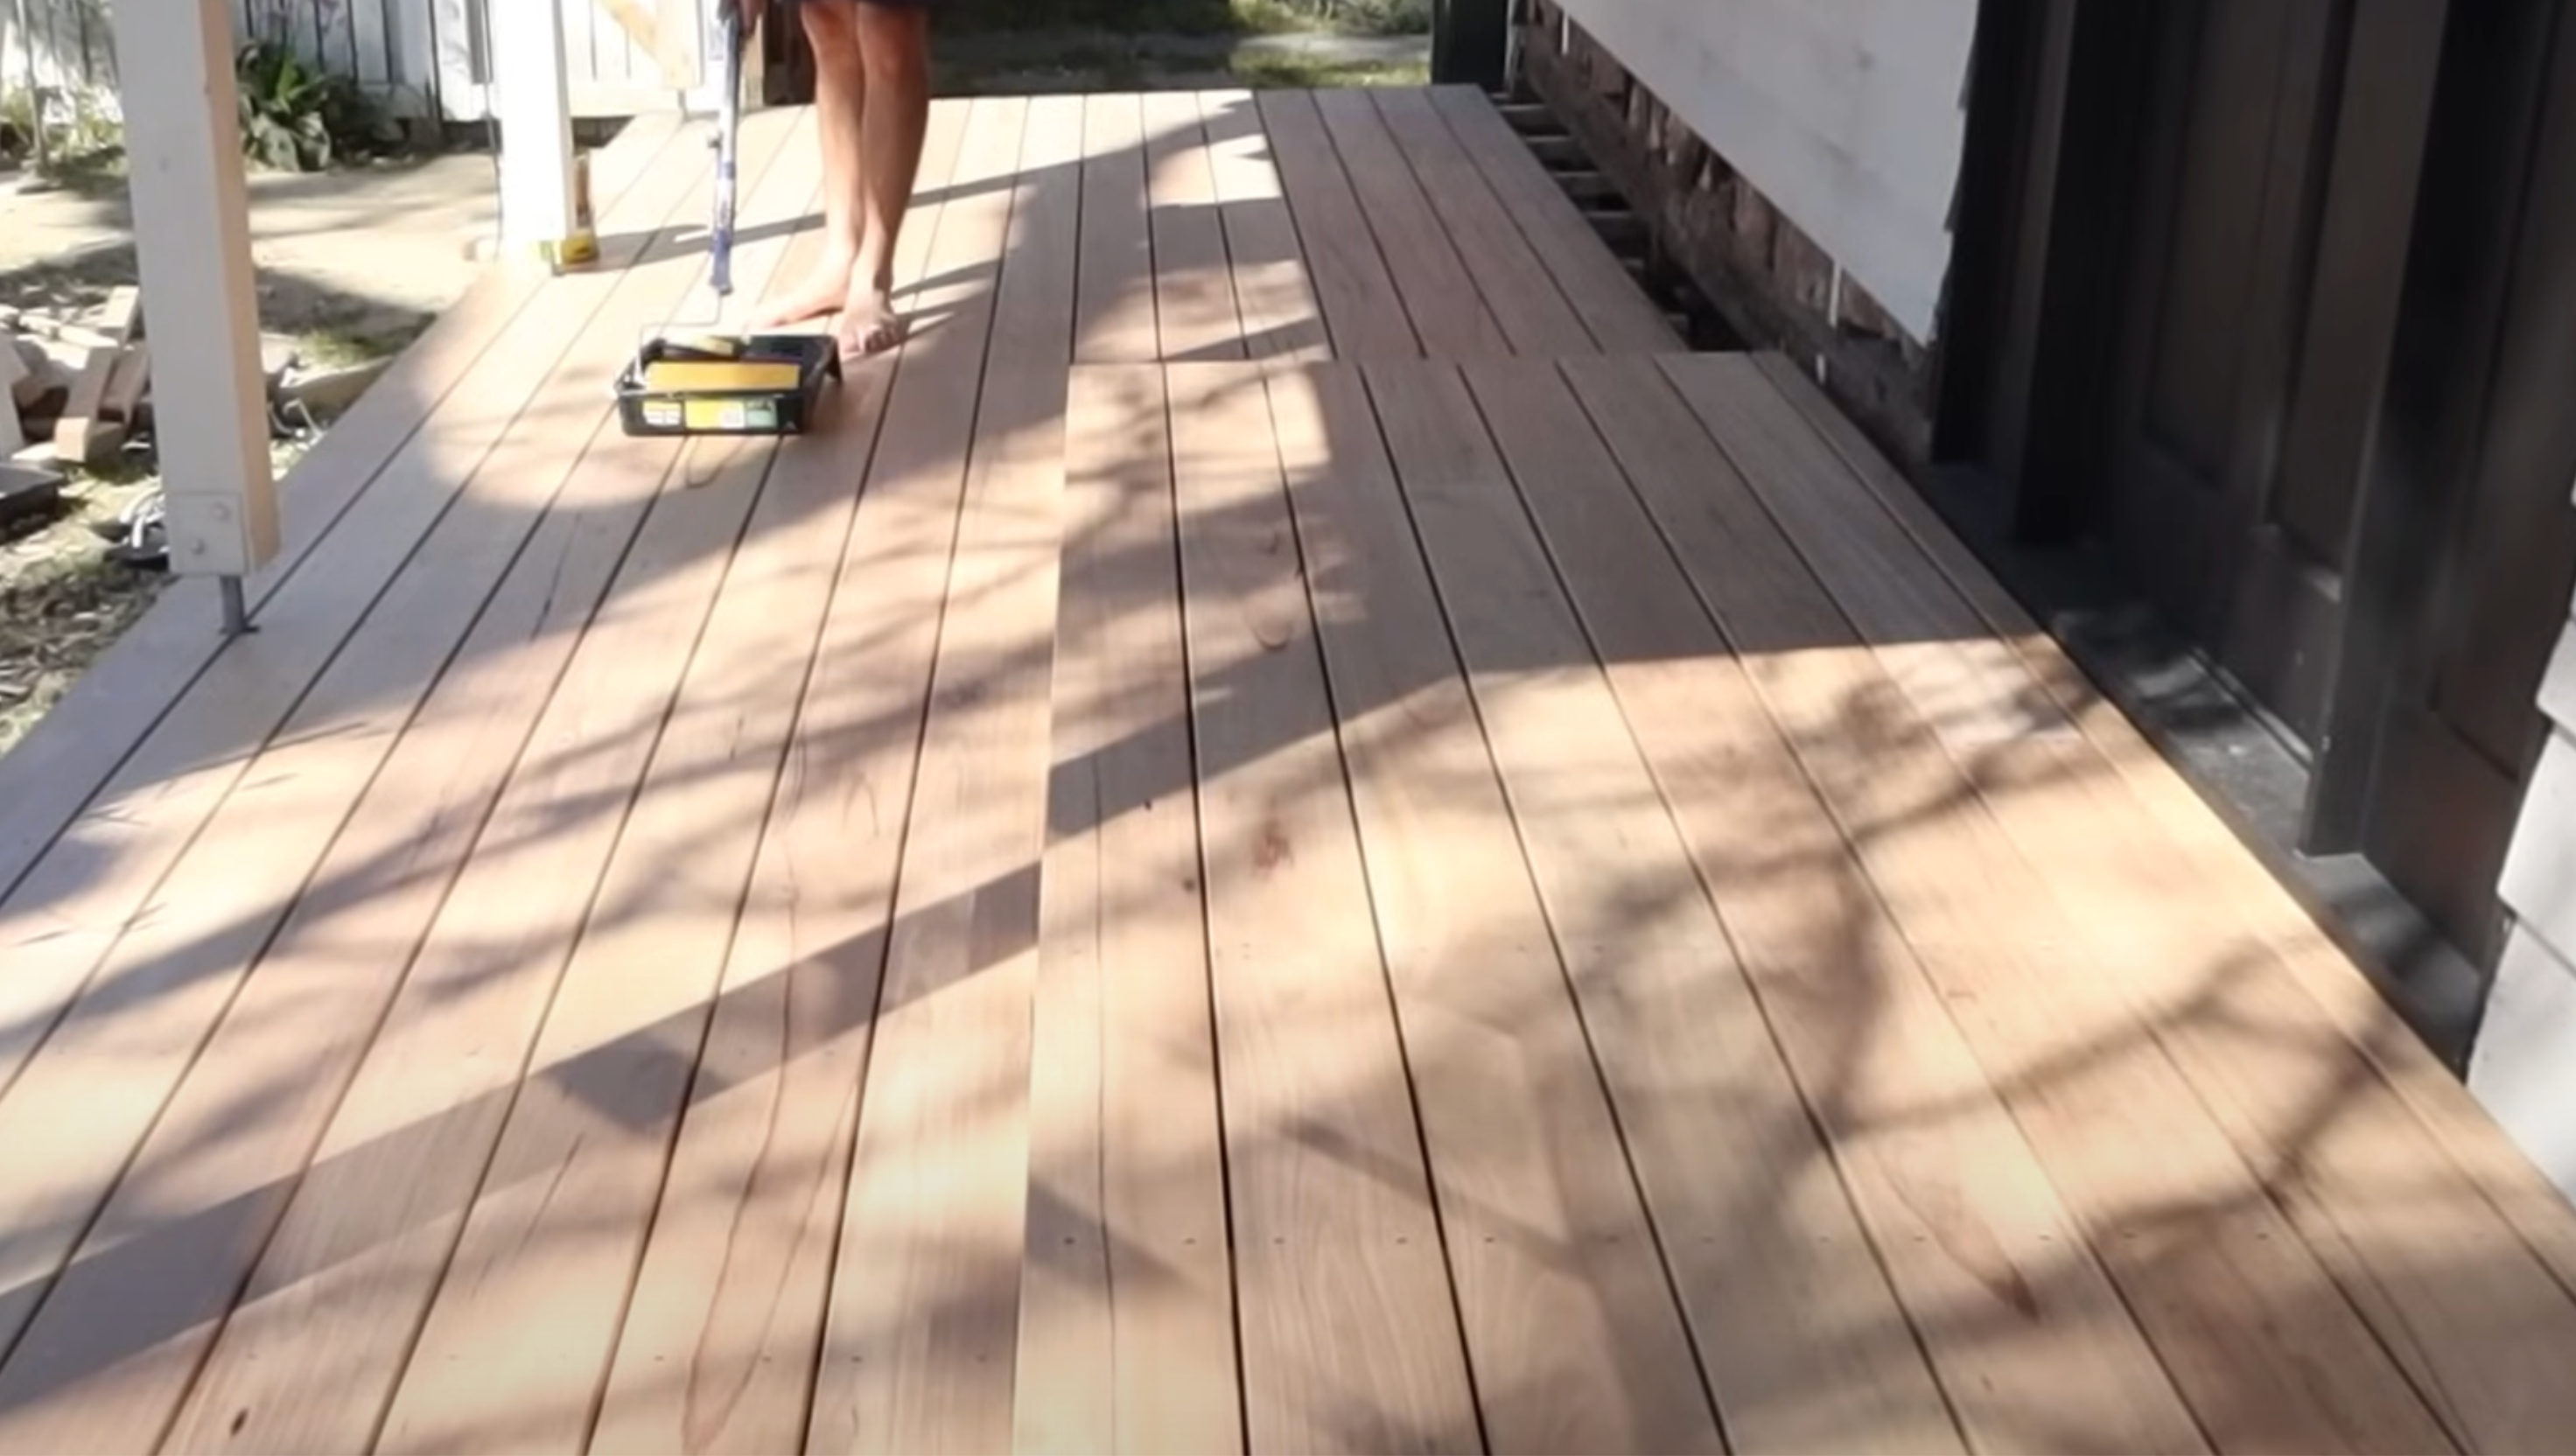
After everything is installed and adjusted, it’s time to finish up the deck. Take a final look to ensure all the boards are properly aligned and that all the gaps are even. If there are any imperfections, now is the time to correct them.
Once you’re satisfied with the alignment, trim the overhanging edges for a clean finish. If you’re using timber, like Blackbutt, it’s recommended to seal the deck to protect the wood from the weather.
A sealant will help keep the deck looking great and ensure that it lasts for many years.
Want to see the process in action? Watch the video below for a step-by-step visual guide on building a deck over a concrete slab:
Common Mistakes to Avoid While Building a Deck
As with any DIY project, there are a few common mistakes that can hinder your progress. Here are a few tips to avoid issues:
- Not Preparing the Concrete: Always inspect the concrete and make repairs before building the deck. Cracks can lead to instability over time.
- Incorrectly Spacing Deck Boards: Make sure to leave enough space between the boards for proper drainage.
- Forgetting About Drainage: If water can’t escape beneath your deck, it could cause moisture problems. Be sure to include proper drainage systems.
Conclusion
To recap, building a deck over a concrete porch is a cost-effective way to enhance your outdoor space without the hassle of major renovations.
You can choose from materials like wood or composite decking, depending on your style and budget.
With the simple DIY steps I’ve shared, you can easily create a beautiful deck that adds value to your home. Make sure you have the right tools and take your time with each step for the best results.
Ready to get started? Don’t forget to check out other helpful blogs to find out more DIY tips and tricks for your next project!