How to Start Composting at Home for Beginners?
Learning how to start composting can feel confusing at first. I remember staring at my first plastic bin, wondering if I was doing it wrong just because it smelled a little earthy.
That confusion is normal, especially when you’re not sure what to use, where to keep it, or how much effort it takes.
The good news is that composting at home can be simple when you begin with the basics. You do not need a big garden or complicated setup to get started.
With the right balance of materials and a little regular care, everyday scraps can slowly turn into something useful.
This blog walks you through exactly how to start composting in a clear, beginner-friendly way, so you can begin with more confidence no matter how small your space is.
Composting Basics Every Beginner Should Know
Composting is the natural process of turning everyday organic waste into a dark, crumbly, soil-like material that can support plants and help improve garden soil.
At home, it works when food scraps, dry leaves, air, and moisture slowly break down together over time.
Fruit peels, vegetable scraps, coffee grounds, grass clippings, leaves, and small plant trimmings can all become useful instead of going straight into the trash.
For beginners, understanding this basic process makes composting much easier to manage. It helps prevent common problems like bad smells, pests, soggy piles, or slow breakdown.
Composting is also a simple household habit that reduces waste, supports healthier soil, and makes better use of materials you already have.
Different Ways to Start Composting at Home
The right composting method depends on your space, lifestyle, and how much time you want to spend maintaining it. These common methods cover options for homes with gardens as well as smaller living spaces.
1. Backyard Composting
Backyard composting is one of the most common methods for homes with outdoor space. Food scraps, dry leaves, grass clippings, and plant waste are collected in a compost bin or pile where they break down over time.
This method works well for gardeners with enough space who want to create compost for garden beds, lawns, or plants. It requires regular mixing, moisture checks, and a good balance of greens and browns.
It pairs naturally with other eco-friendly lawn care habits if you’re trying to reduce overall yard waste.
2. Compost Tumbler
A compost tumbler uses a closed container that can be rotated to mix materials and improve airflow. It keeps the compost more contained and can be easier to manage than an open pile.
This method is useful for beginners who want a cleaner setup with less manual turning. However, it usually holds less material and needs proper balance to prevent moisture or smell issues.
3. Indoor Composting
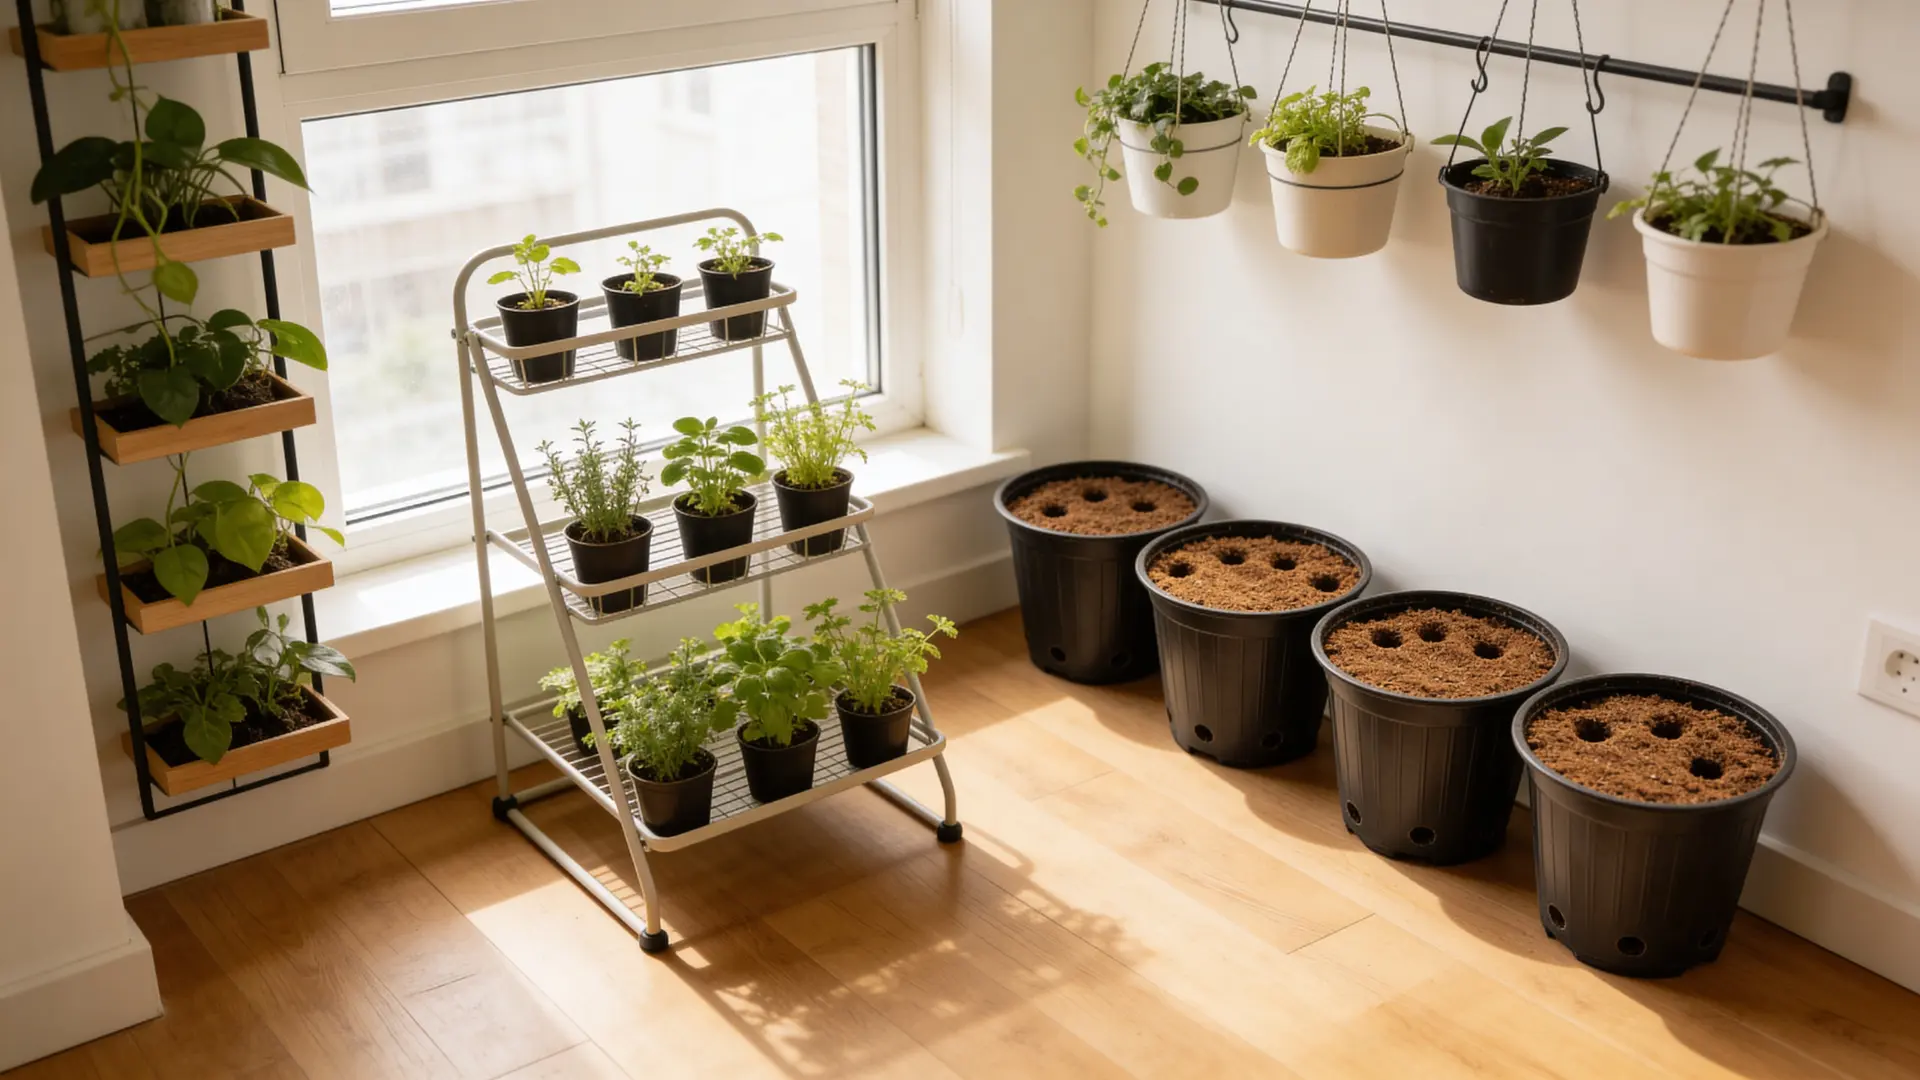
Indoor composting is a practical option for apartments, small homes, or places without outdoor areas. It uses compact bins or systems designed to collect and break down kitchen scraps in limited spaces.
This method requires more attention to moisture and odors, but it allows people with smaller living spaces to compost everyday food waste without needing a yard.
4. Worm Composting (Vermicomposting)
Worm composting uses red wiggler worms in a ventilated bin to break down kitchen scraps into nutrient-rich castings.
It’s one of the fastest small-space methods, often producing usable compost in 4–6 weeks, and it works well on a balcony or under a kitchen sink.
It does need a bit more attention to what you feed the worms — avoid citrus, onions, and anything too acidic.
What Can You Compost at Home?
Before adding scraps to your bin, it helps to know what belongs there. Most beginner-friendly compost items come from daily kitchen use, yard cleanup, and plain paper products.
| Compost Material | What to Add | Helpful Tip |
|---|---|---|
| Fruit and vegetable scraps | Fruit peels, vegetable ends, cores, and small meal-prep leftovers | Cut larger scraps into smaller pieces so they break down faster. |
| Eggshells, coffee grounds, and tea leaves | Crushed eggshells, used coffee grounds, paper filters, and loose tea leaves | Crush eggshells before adding them to the pile. |
| Plain bread and grains | Small amounts of stale bread, rice, pasta, and plain grains | Avoid oily, buttery, heavily seasoned, or moldy food. |
| Dry leaves and grass clippings | Dry leaves and thin layers of fresh grass clippings | Use leaves as brown material and avoid thick grass layers that may become slimy. |
| Small twigs and plant trimmings | Small twigs, dead plants, and garden cuttings | Break or chop larger pieces to help them decompose more quickly. |
| Plain cardboard and paper | Shredded newspaper, paper rolls, and uncoated cardboard | Tear or shred the material and avoid glossy or plastic-coated paper. |
Note: Avoid adding items like meat, dairy products, oily foods, pet waste, plastic-coated paper, and chemically treated materials, as they can attract pests, create odors, or affect the quality of your compost.
How to Start Composting at Home
Starting composting becomes easier when the process is kept simple. These five steps help you choose a setup, place it correctly, add the right materials, care for the compost, and use it when it is ready.
Step 1: Choose the Right Composting Method

The best composting method depends on your space, comfort level, and the amount of waste your home produces.
Backyard composting works well for homes with a yard, while a compost tumbler is better if you want a cleaner, closed setup.
Indoor composting can work in apartments, on balconies, or in homes with limited outdoor space. Worm composting is another small-space option if you are comfortable using worms to break down food scraps.
Note: Start with the method that feels easiest for your home, not the one that looks most advanced.
Step 2: Set up Your Compost Bin and Supplies

Your compost bin should be easy to reach, but not too close to doors, windows, or outdoor seating areas. A shaded or partly shaded spot with good drainage usually works best for outdoor composting.
You only need a few basic supplies to begin, such as a compost bin or tumbler, a kitchen scrap container, dry leaves, shredded cardboard, gloves, access to water, and a garden fork or shovel.
A compost thermometer is optional, but it’s a handy way for beginners to see the pile actually working. A healthy, active pile typically runs between 130°F and 160°F at its core.
Note: Keep your setup simple at first so composting feels like a normal household habit.
Step 3: Build Your First Compost Layer

Compost needs both greens and browns to break down properly, and a good starting ratio is about 2–3 parts browns to 1 part greens by volume.
Greens include fruit scraps, vegetable peels, coffee grounds, plastic-free tea bags, grass clippings, and fresh plant trimmings. Browns include dry leaves, shredded cardboard, plain newspaper, straw, small twigs, and wood chips.
Covering fresh food scraps with brown material can help reduce smells and keep pests away.
Note: If your compost starts to smell, add more browns and mix the pile for better airflow.
Step 4: Maintain Your Compost without Stress

Compost does not need daily work, but it does need light care. Turn it regularly to add air, keep it damp but not soaked, and cut larger scraps into smaller pieces so they break down faster.
If the pile is too dry, sprinkle in a little water and mix it. If it feels soggy, add dry leaves, shredded cardboard, or newspaper to restore the balance.
I learned this the hard way with my own first bin: I left it alone for almost a month, assuming “no maintenance” meant “no attention at all,” and it turned into a dense, smelly clump.
Note: Good compost should feel damp like a wrung-out sponge, not dripping wet or completely dry.
Step 5: Use Finished Compost in Your Garden

Finished compost is dark, crumbly, and earthy-smelling, with no clear food scraps left. It should look more like soft soil than the materials you first added.
Depending on your method and how often you turn it, this usually takes 2–6 months for an actively maintained pile, though an untouched backyard pile can take up to two years to fully break down.
You can use finished compost in garden beds, raised beds, flower beds, potted plants, around shrubs and trees, or as a light lawn top dressing. If scraps are still visible, let the compost break down longer.
Note: Use finished compost to support soil health, not as the only growing material for plants.
Common Composting Problems and Easy Fixes
Even a simple compost setup can run into small problems at first. Most issues come from moisture, airflow, or the wrong mix of materials, and they are usually easy to fix.
- Bad smell: A strong odor usually indicates too many wet scraps or not enough brown material. Add dry leaves, shredded cardboard, or newspaper, then mix the pile to improve airflow.
- Too much moisture: A soggy compost pile can slow decomposition and create unpleasant smells. Add more dry materials, mix the compost well, and make sure excess water can drain properly.
- Too dry: Compost that feels dry may take longer to break down because microorganisms need moisture to work. Add a small amount of water and mix the pile until it feels damp.
- Bugs or pests: Pests are often attracted to exposed food scraps or unsuitable materials. Cover fresh scraps with brown materials, keep the bin closed, and avoid adding meat, dairy, or greasy foods.
- Slow breakdown: Compost may take longer when scraps are too large, the pile lacks moisture, or it is not turned enough. Cut materials into smaller pieces, regularly mix the pile, and maintain a good balance of greens and browns.
- Compost is too compact: A tightly packed pile may not get enough oxygen, which can slow the process. Loosen the materials by turning the pile and adding dry, loose materials like leaves or shredded cardboard.
Conclusion
Learning how to start composting is easier when you begin with a simple setup and build the habit slowly.
You do not need to get everything right on the first try. Start with a small bin, add the right mix of greens and browns, and check moisture and smell once a week.
Over time, your kitchen scraps and yard waste can turn into useful compost for plants, soil, and garden beds. My own bin still isn’t perfect two years in, and that’s the point: composting rewards consistency, not perfection.
If you are new to composting, begin with one small container today and let each step feel manageable as you learn what works best for your home.
Frequently Asked Questions
Can I Compost in Winter?
Yes, composting can continue in winter, but the process may slow down in colder weather.
How Often Should I Add Scraps to My Compost Bin?
You can add scraps as often as needed, as long as you balance them with brown materials.
Should a Compost Bin Be in the Sun or in the Shade?
A partly shaded spot is often best because it helps control moisture and heat.
How Long Does It Take for Compost to Be Ready?
Most actively maintained piles are ready in 2–6 months. A pile that’s rarely turned can take up to two years, so regular turning and moisture checks are the fastest way to speed things up.