How to Stain a Deck: Step-by-Step Guide
Most people think staining a deck means slapping on a coat and calling it done. The real work starts long before the stain touches wood.
Cleaning, sanding, and drying matter just as much as the stain itself. Skip any one of them and even the best product fails fast.
Without proper prep, expect peeling, uneven color, and a finish that won’t last a season. The stain doesn’t fail, the preparation does.
Let’s walk through every step needed to get a clean, professional, long-lasting deck finish done right the first time.
How to Tell If Your Deck Needs Staining?
Not every deck needs staining on a fixed schedule. Here are three simple signs that tell you it’s time.
- Peeling or cracking: If the existing stain is visibly peeling, cracking, or flaking off the surface, the wood underneath is already exposed and vulnerable to damage.
- Fading color: A noticeable loss of color, especially in high-traffic areas like stairs and doorways, means the stain has worn away, and protection has gone with it.
- Water no longer beading: Splash a small amount of water onto the deck surface. If it soaks straight into the wood instead of beading up, a fresh coat is overdue.
If your deck is showing even one of these signs, staining sooner rather than later prevents bigger, costlier repairs down the road.
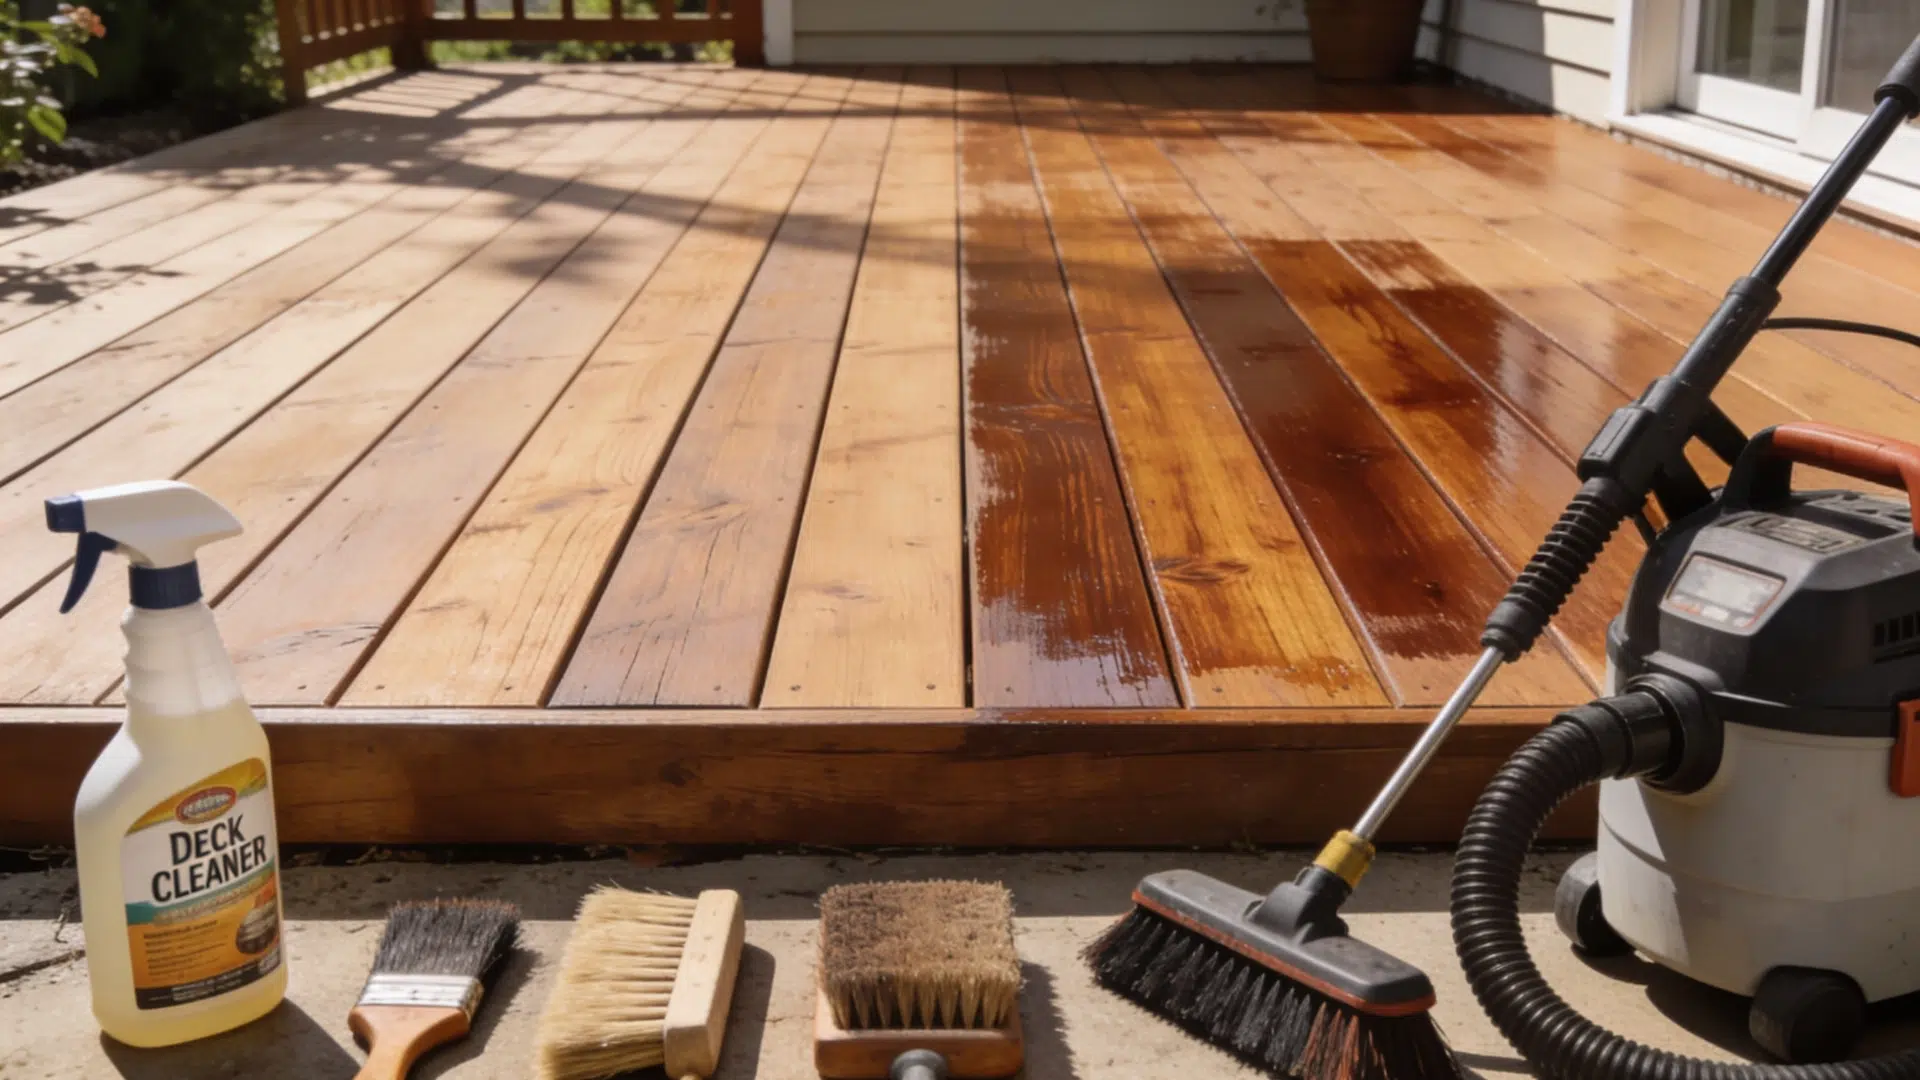
Tools and Materials List
| Main Tools | Others |
|---|---|
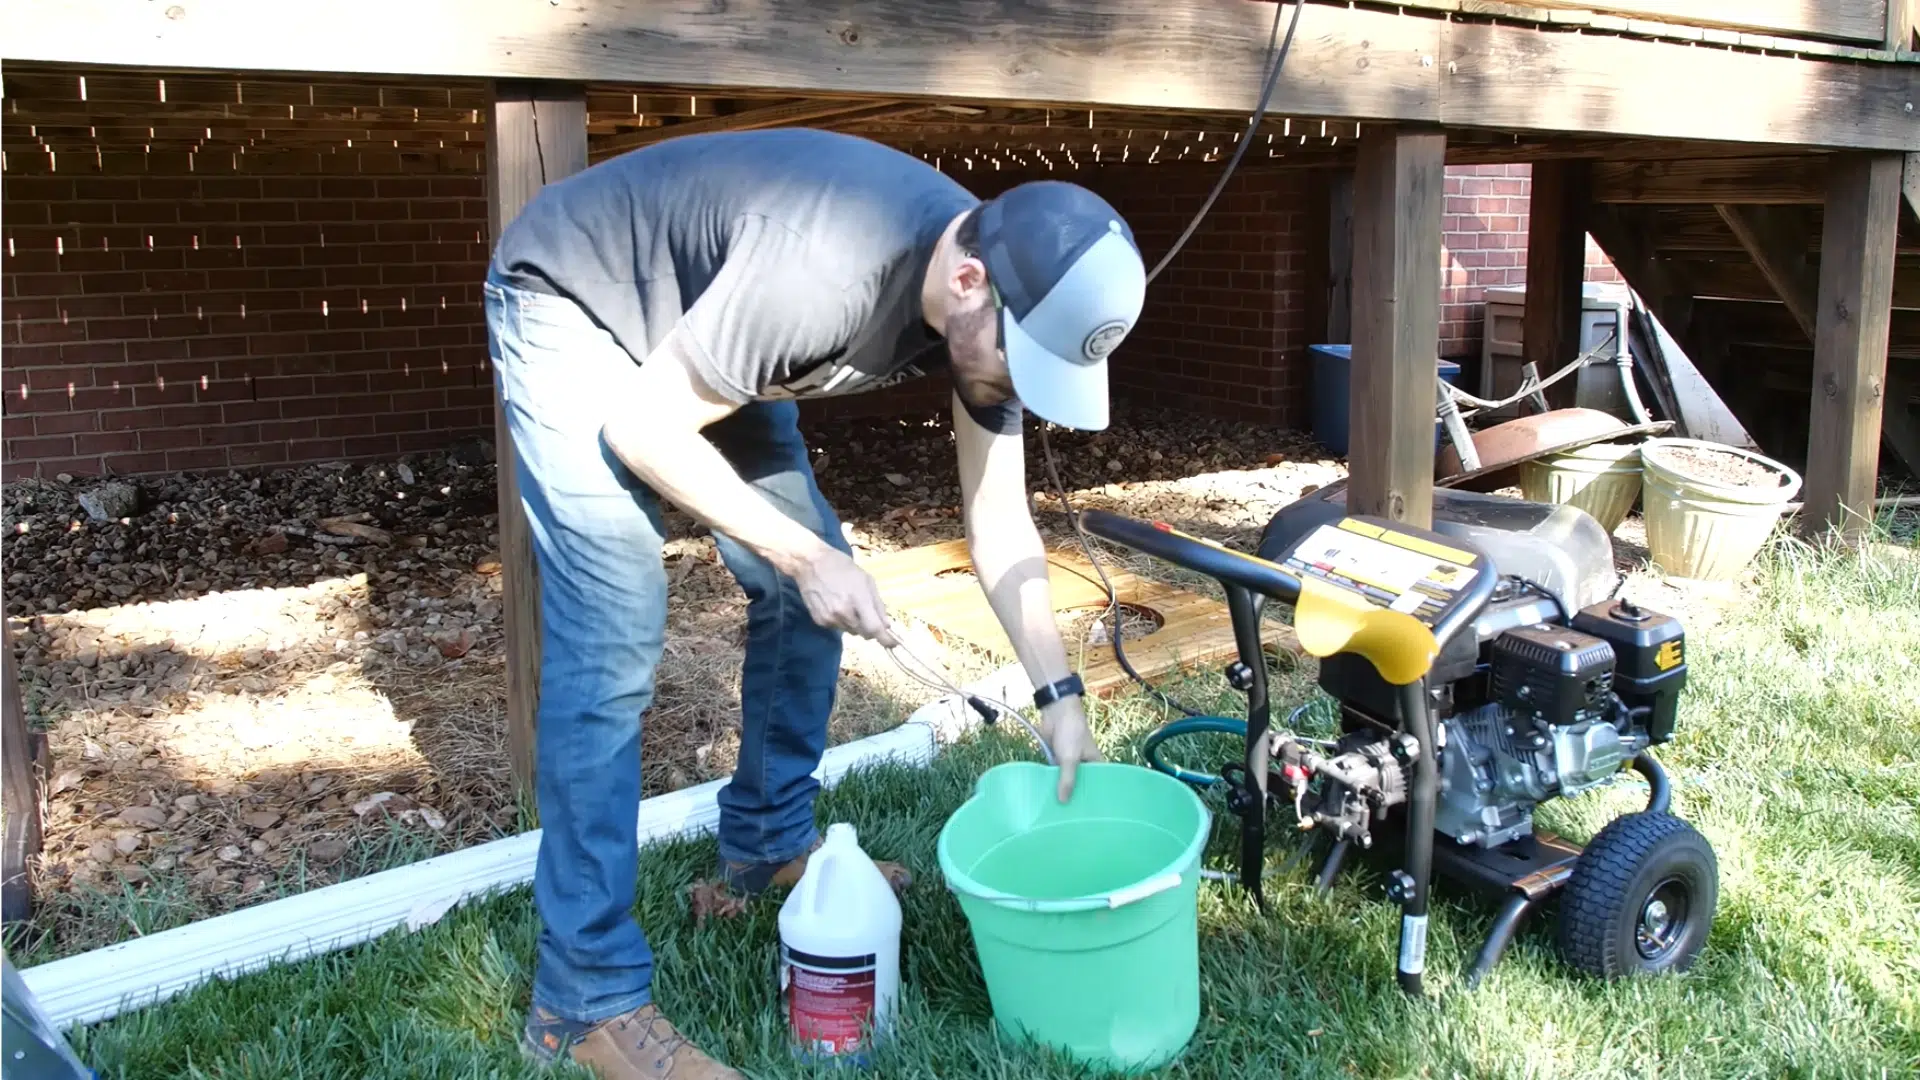
| Pressure washer (gas-powered or electric) | Semi-transparent stain and sealer |
| Black tip (low pressure) for initial rinse | Lamb’s wool applicator |
| Green 25-degree high-pressure tip for deep cleaning | Stain tray |
| Siphon tube for cleaner application | Brush for edges and small areas |
| Deck brush | Plastic sheeting for protection |
| Shop vac | Safety glasses |
| Orbital sander | Closed-toe shoes or boots |
| Nail set or punch | Hearing protection |
The Ultimate Guide to Staining Your Deck: Step-by-Step Process
Staining your deck involves careful preparation and precise application. Follow these steps to achieve a smooth, durable finish that protects and enhances your deck’s appearance.
Step 1: Prepare the Deck Area
A clear, debris-free deck makes every step that follows faster and cleaner. Starting on a cluttered deck leads to missed spots and uneven results.
- Remove all furniture, plants, and decorations from the deck completely
- Vacuum leaves and debris from between deck boards using a shop vac
- Remove any downspouts attached to the posts before starting
Clear the deck completely before touching anything else, working around obstacles creates problems that show up in the final finish.
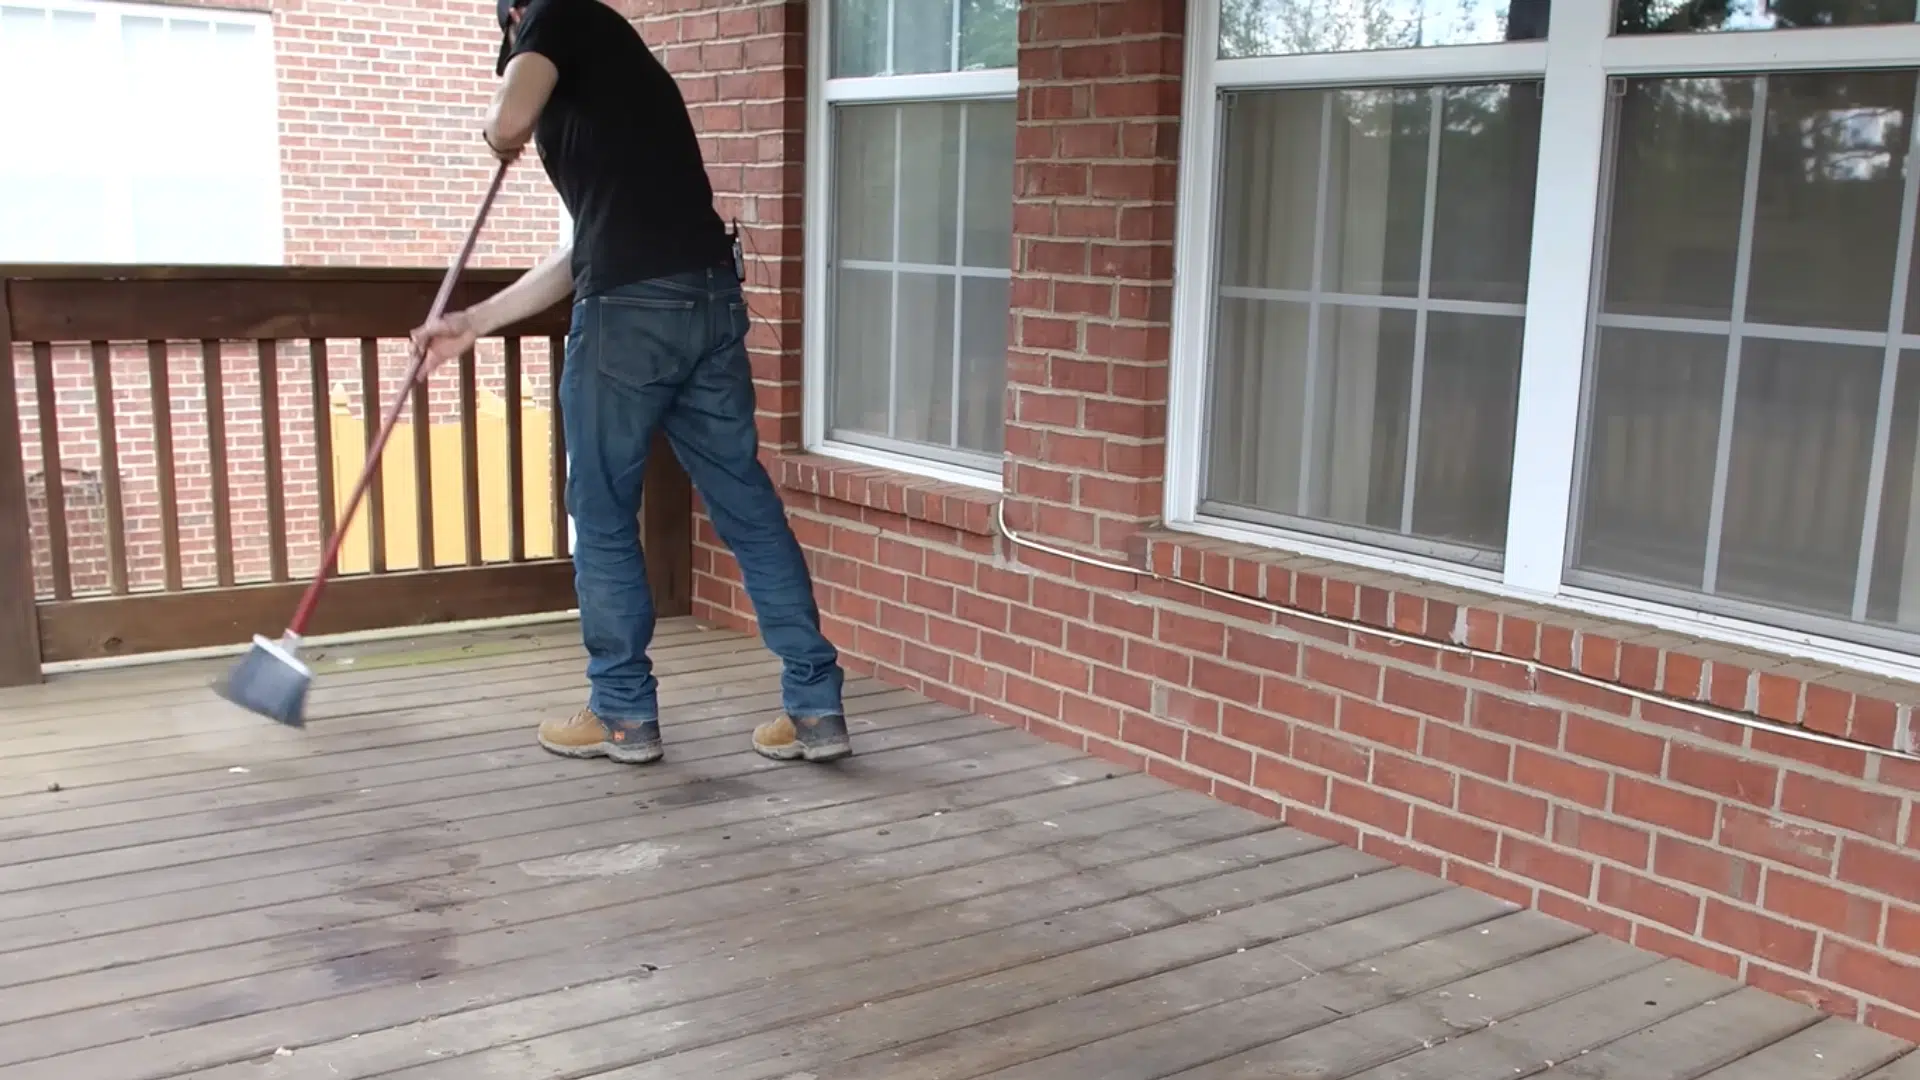
Step 2: Clean the Deck
Surface dirt and grease are invisible enemies, they block stain from bonding and ruin the finish before it even starts.
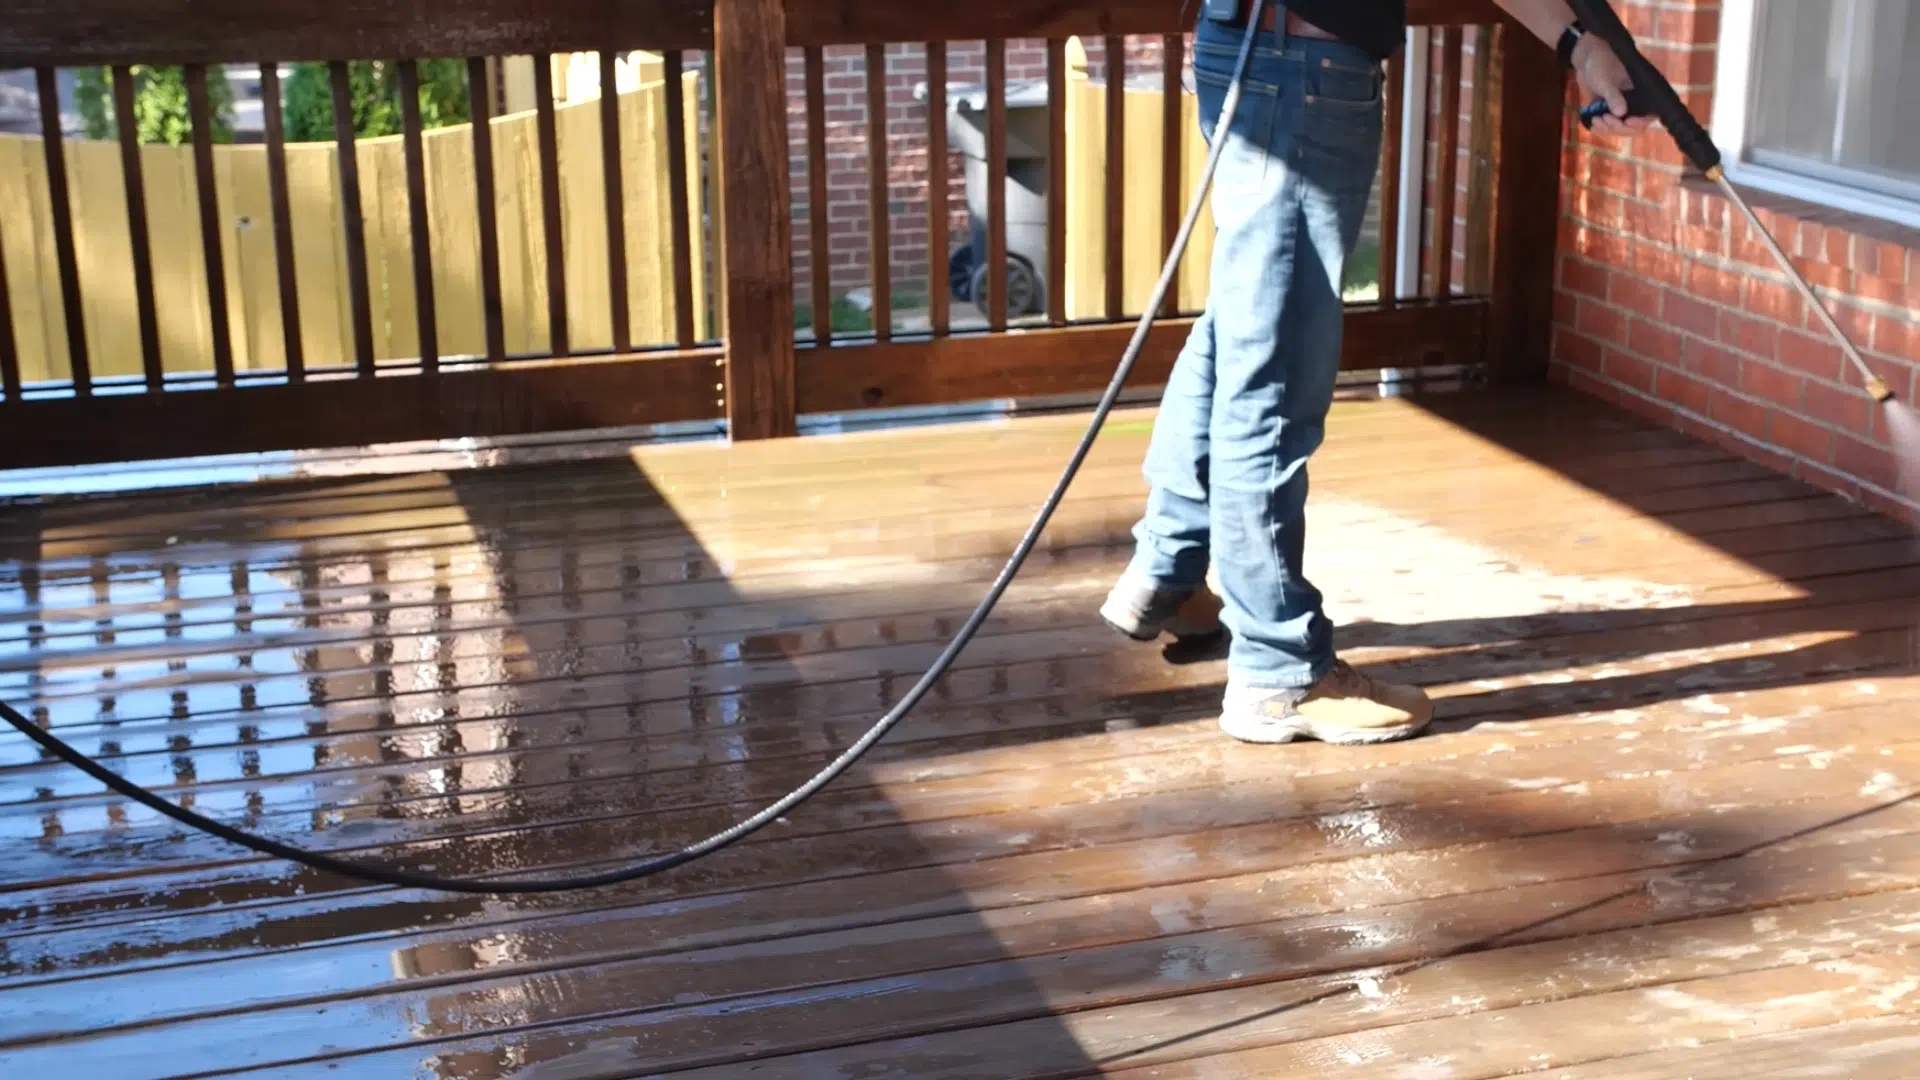
- Rinse the entire deck using the pressure washer with the black low-pressure tip
- Apply degreaser through the siphon tube and let it sit for 10 minutes
- Scrub any stubborn stains or grease spots with the deck brush
- Switch to the green 25-degree tip and wash off all degreaser and grime thoroughly
A properly cleaned deck looks noticeably different, if it still looks grimy after rinsing, go over it again before moving forward.
Step 3: Brighten the Wood
Cleaning removes the dirt, brightening opens up the wood grain so the stain can absorb evenly and deeply.
- Apply wood deck cleaner with oxalic acid through the siphon tube
- Let it sit on the surface for 5 to 10 minutes before rinsing
- Rinse thoroughly with the green 25-degree tip to remove all oxalic acid residue
The wood should look noticeably lighter and fresher after this step, that brightness means the grain is open and ready to absorb stain.
Step 4: Address Stubborn Stains and Nails
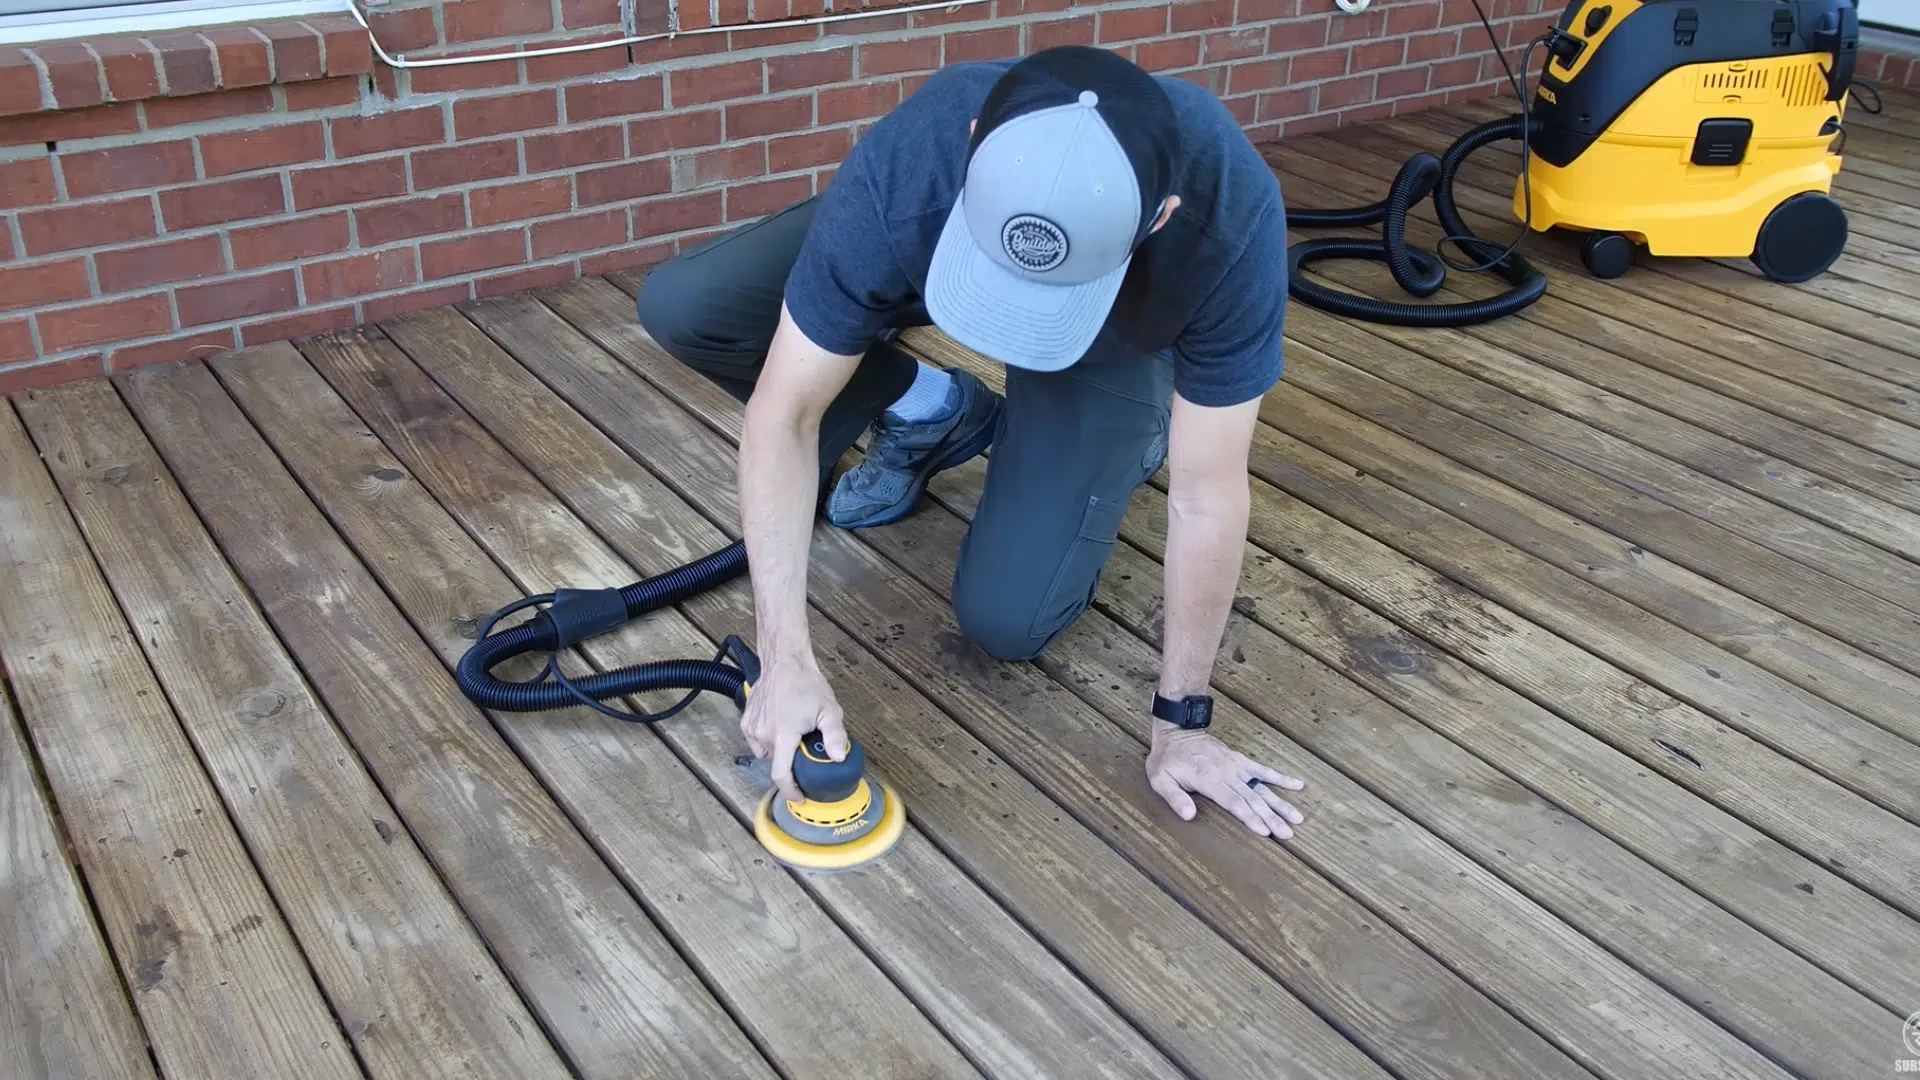
Leftover stains and raised nails both show through the finished stain, fixing them now takes minutes, fixing them later takes hours.
- Sand any remaining stains with the orbital sander until the surface is clean and even
- Use a nail set or punch to drive any raised nails below the deck surface
A smooth, even surface with no raised nails or stains is the only one worth staining, don’t skip this step to save time.
Step 5: Protect the House
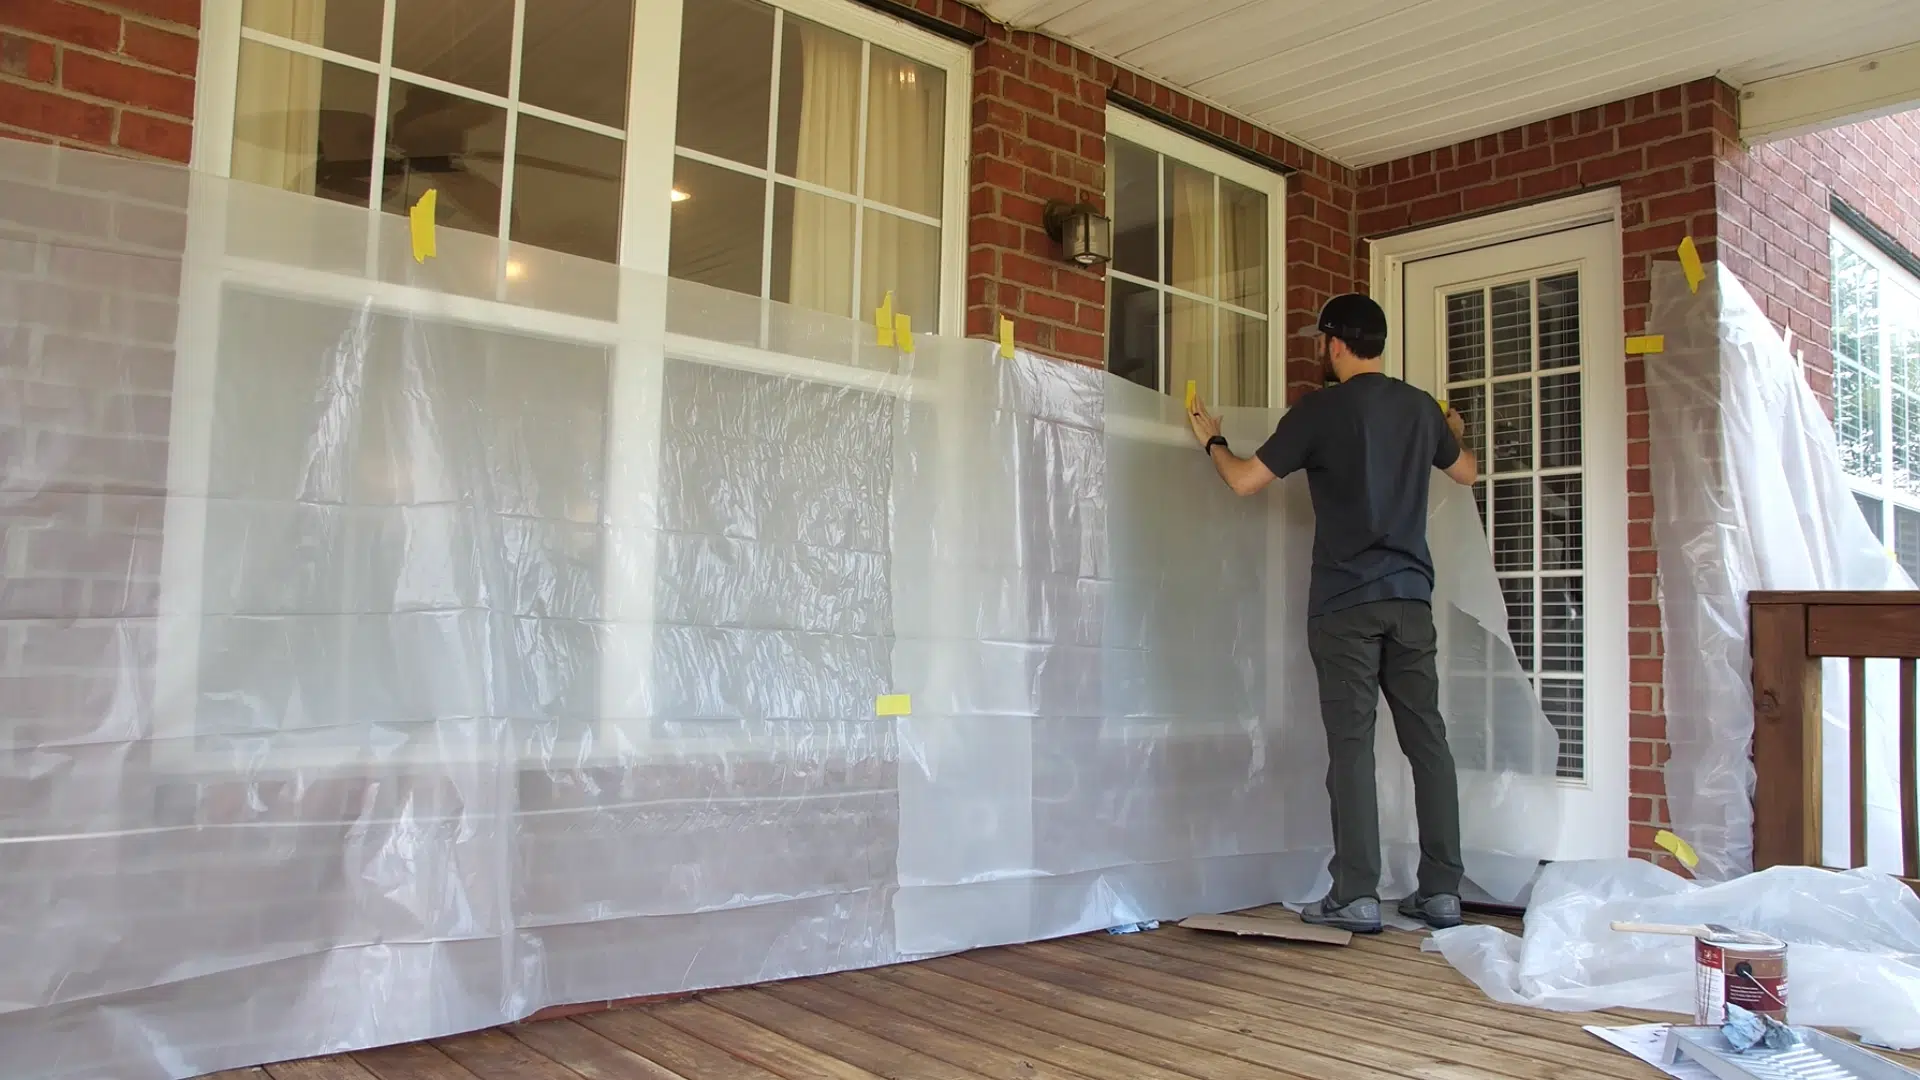
Stain overspray is nearly impossible to remove from siding and windows, protecting the house now saves a much bigger cleanup later.
- Tape plastic sheeting around the entire house perimeter before beginning to stain
- Cover any plants, furniture, or surfaces near the deck that could catch overspray
Five minutes of taping saves hours of scrubbing, never start staining without protecting everything surrounding the deck first.
Step 6: Stain the Deck
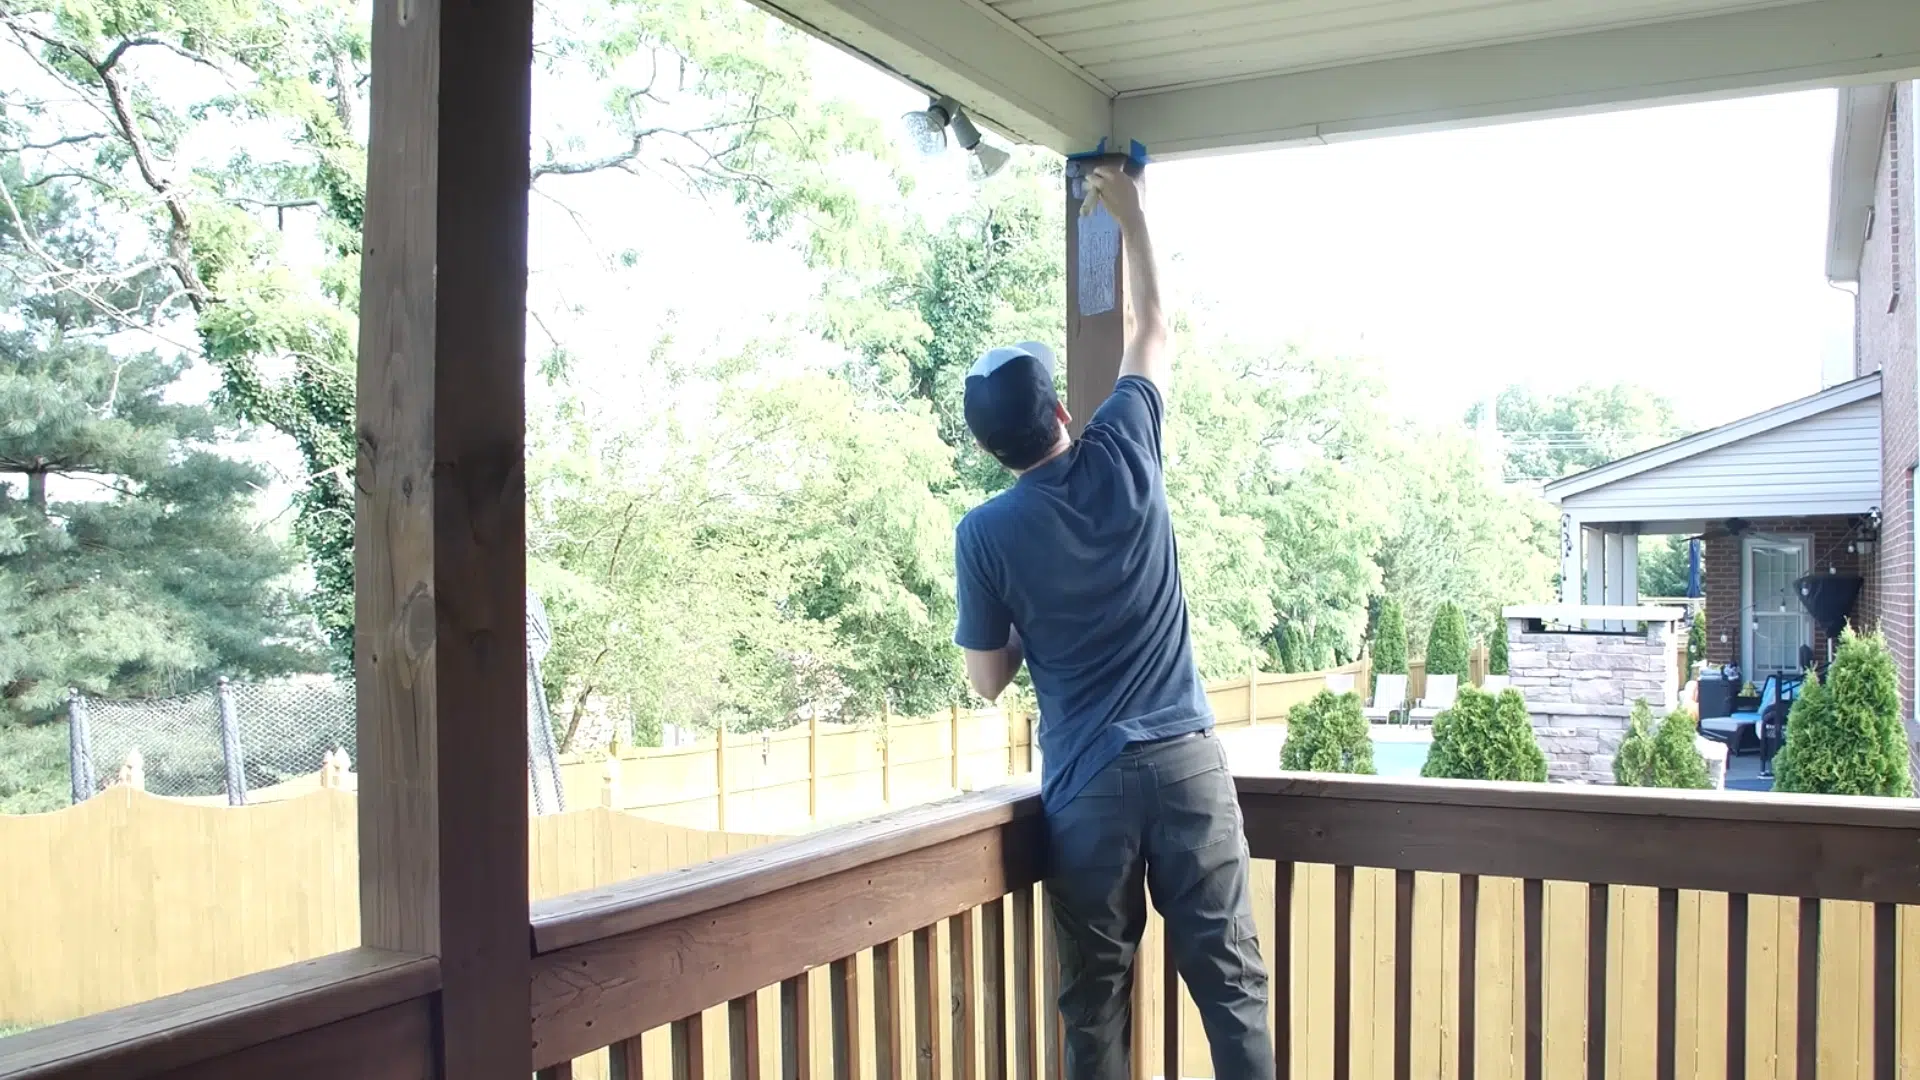
This is where everything comes together, the right technique here turns all the prep work into a finish that lasts for years.
- Apply semi-transparent stain using the lamb’s wool applicator for smooth, even coverage across all boards
- Use a brush to cut in edges and touch up any areas the applicator missed
- Let the first coat dry completely before applying the second coat
- Focus the second coat on areas that need more coverage or looked thin after the first
Once the second coat is dry and fully cured, the deck is ready to use, and built to handle years of weather, traffic, and wear.
For an in-depth overview of the process, check out the complete video tutorial below:
Common Mistakes to Avoid
Even with the right tools, small oversights can ruin the finish. Avoid these mistakes:
- Staining wet wood: Staining before the wood is dry traps moisture, causing peeling. Wait at least 48 hours after cleaning before staining.
- Working in direct sunlight: Full sun causes the stain to dry too fast, leaving streaks and uneven color. Stain in the morning or late afternoon when the wood is cooler.
- Skipping surface preparation: Staining without cleaning, sanding, or using a cleaner/brightener prevents proper adhesion. Ensure the wood is clean, smooth, and open-grained.
The right stain is crucial to effective results. Choosing the wrong one wastes all your prep work.
How to Choose the Right Stain for Your Deck?
Choosing the right stain depends on your deck’s condition, the look you want, and the level of protection the wood actually needs.
| Stain Type | Wood Grain Visible | Best For | Protection Level |
|---|---|---|---|
| Transparent | Fully visible | New or great condition decks | Light |
| Semi-Transparent | Partially visible | Average condition decks | Moderate |
| Solid | Not visible | Older or damaged decks | Heavy |
Before buying, always check the label for UV protection and waterproofing. A stain that guards against sun damage and moisture will outlast one that only adds color.
The best stain isn’t the most expensive one on the shelf. It’s the one that matches your deck’s current condition and the look you’re going for.
Conclusion
Staining a deck isn’t just about color; it’s about cleaning, prepping, and protecting the wood so the finish actually lasts.
Follow each step carefully, from brightening the surface to applying thin, even coats, and the results speak for themselves.
The right tools and proper prep are what make stain adhere and hold up against weather and everyday wear. Get the prep right, and the finish takes care of itself; that’s the only rule that matters here.
Frequently Asked Questions
How Long Should I Wait for My Deck to Dry Before Applying Stain?
After cleaning your deck, wait at least 48 hours for the wood to fully dry. If the deck is still damp or feels cold, give it more time to dry. Staining a wet deck can cause the stain to peel or apply unevenly.
Can I Stain My Deck in Direct Sunlight?
It’s best to avoid staining your deck in direct sunlight, as the stain will dry too quickly, leading to streaks and uneven coverage. Stain your deck in the early morning or late afternoon when the wood is cooler and in the shade.
How Many Coats of Stain Should I Apply to My Deck?
One Thin Coat of Semi-Transparent Stain Is Usually Enough. However, a Second Coat May Be Needed in Areas that Appear Thin or Were Missed. Allow the First Coat to Dry Completely Before Applying the Second.


