How to Refinish a Table: An Easy Guide
Refinishing a table is a great way to bring new life to old furniture. If your table is scratched, faded, or outdated, refinishing can restore its beauty and make it look brand new.
It’s a simple DIY project that doesn’t require expert skills but can give your table a fresh appearance.
By following a few easy steps, you can save money and avoid buying new furniture. This guide will walk you through the process, from preparing your table to applying the final coat of finish.
Let’s get started on giving your table a new look!
Preparing Your Table for Refinishing
Before you start refinishing, it’s important to prepare the table properly. This step ensures that the new finish sticks well and looks smooth.
Assessing the Table’s Condition
First, check the table for any damage or wear. Look closely for cracks, chips, or loose parts that might need repair.
If the table has severe damage, it’s best to fix those areas before moving forward with the refinishing process.
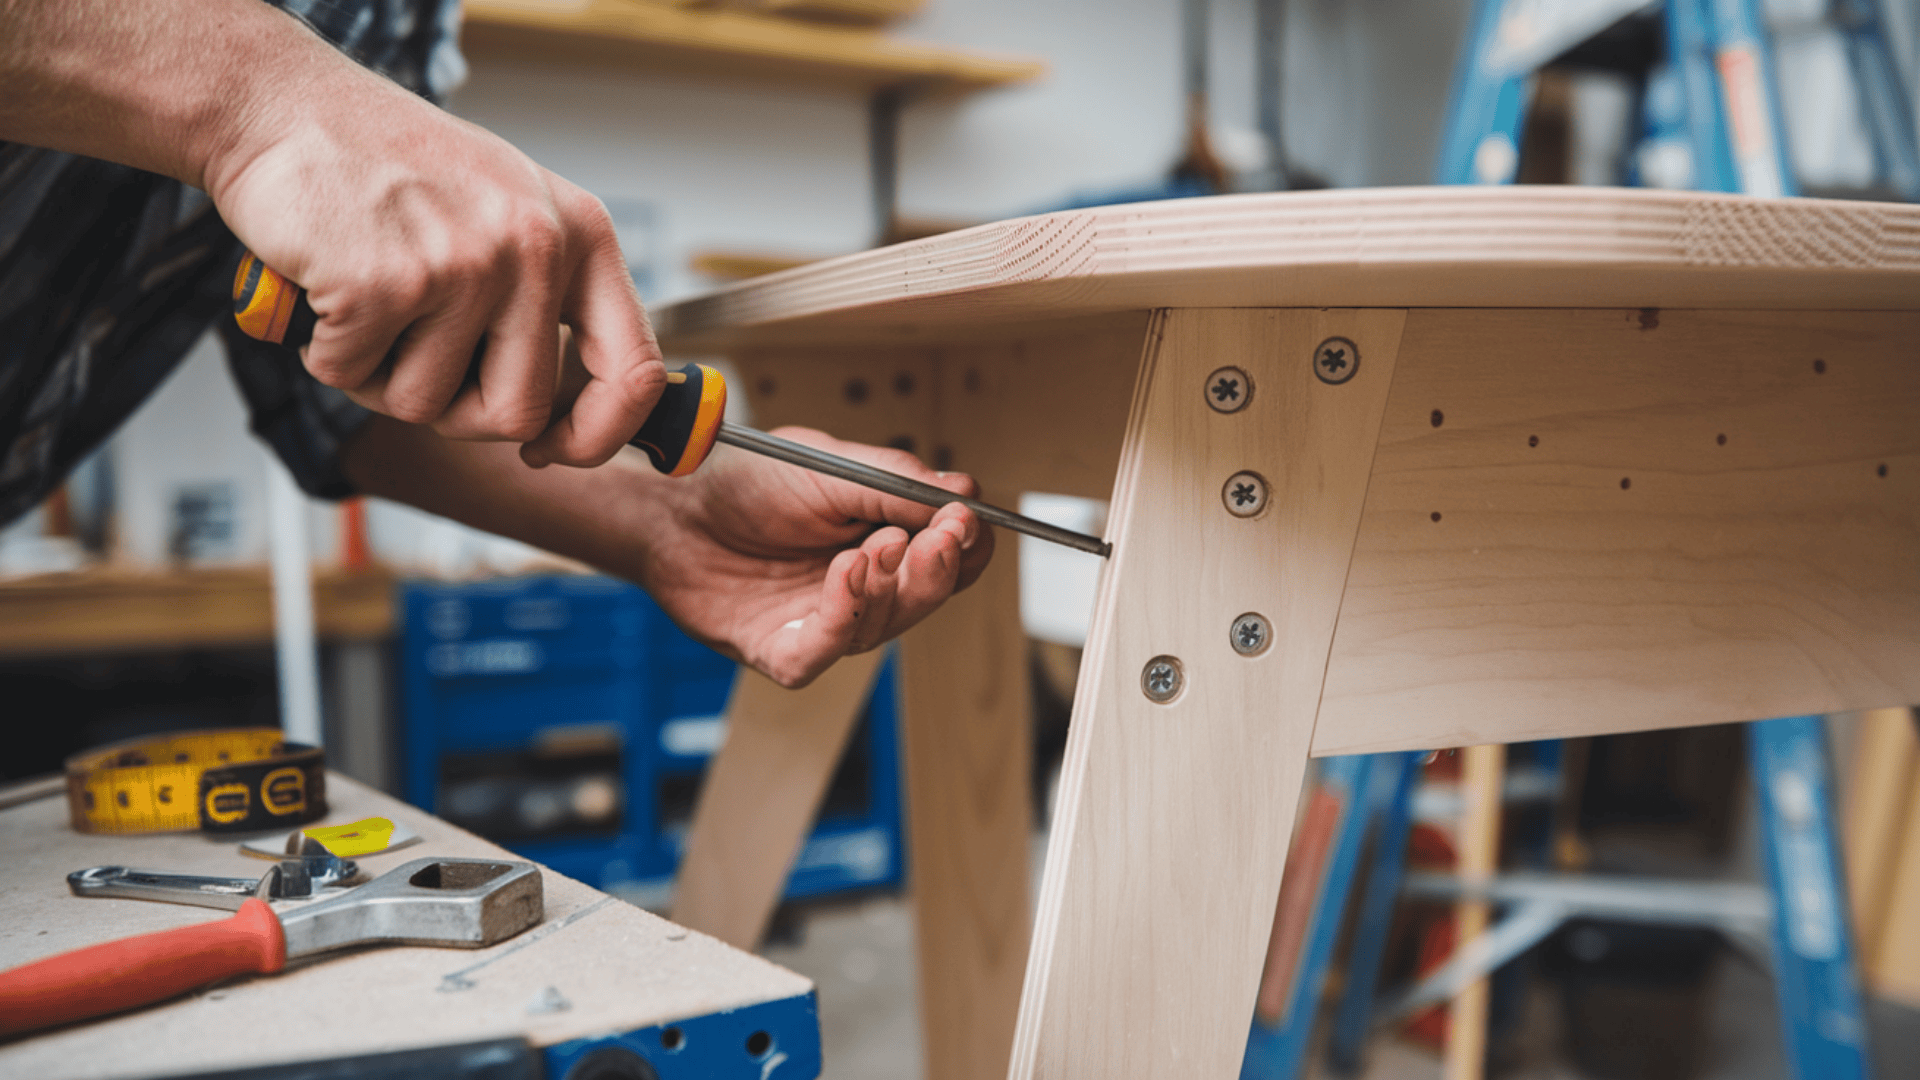
Removing Hardware
Next, remove any knobs, screws, or hinges attached to the table. This step prevents the hardware from getting damaged during refinishing.
Be sure to keep all the hardware in a safe place so you can reattach it later.
Proper preparation makes the refinishing process easier and helps the final result look professional.
Stripping the Old Finish
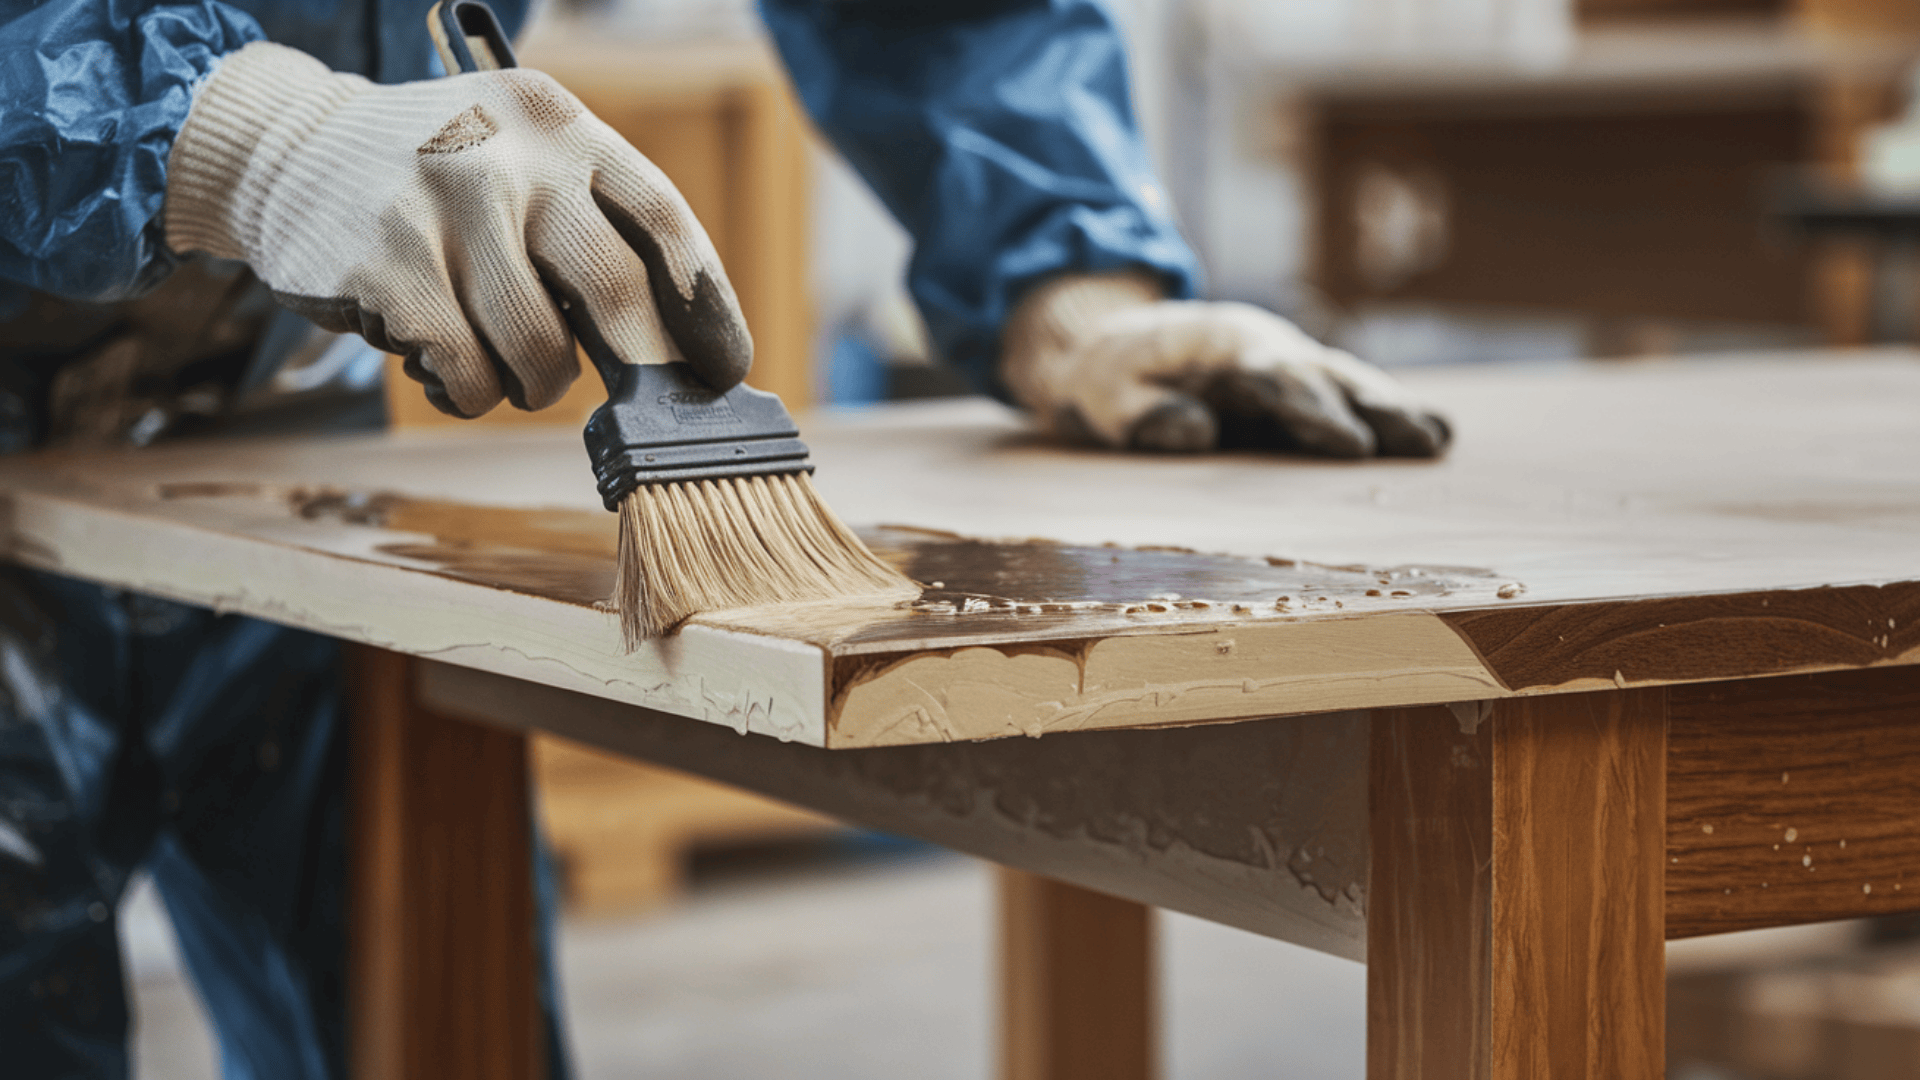
Now that your table is ready, it’s time to remove the old finish. This step is important to ensure the new finish adheres properly.
Using a Chemical Stripper
- Apply the stripper with a brush and let it sit for a few minutes.
- Once the finish starts to bubble, use a scraper to remove the old coating gently.
- Follow the instructions on the product and wear protective gloves and goggles.
Alternatives to Stripping
- Use a heat gun to remove the finish by softening it, making it easier to scrape off.
- This method works well for specific finishes, but be cautious to avoid damaging the wood.
When to Use Sandpaper
- Start with a coarse grit and gradually move to finer grits for a smooth surface.
- Sanding is especially helpful for areas where the stripper may not have worked.
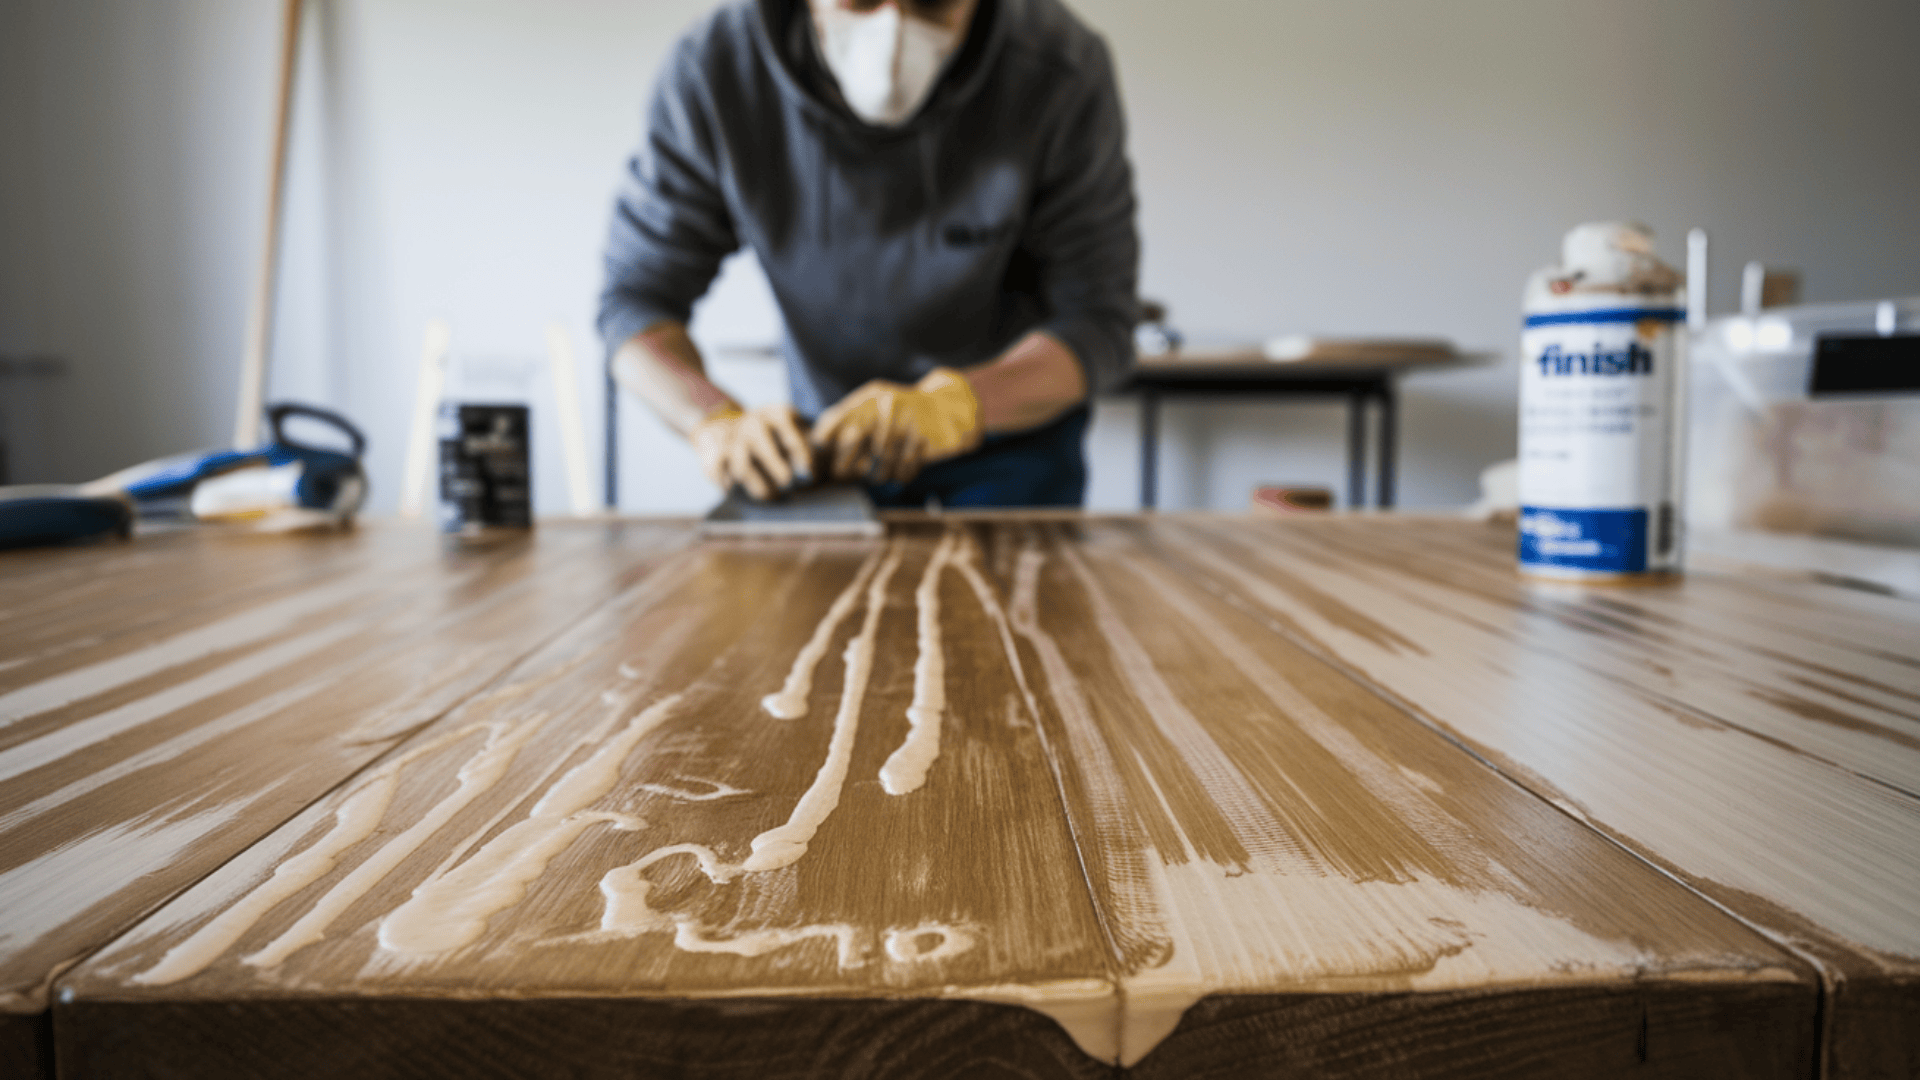
Sanding and Cleaning

After stripping the old finish, sanding and cleaning the surface are crucial to ensure a smooth and clean base for the new finish.
Sanding the Table
Start by using coarse sandpaper to remove any leftover finish and smooth, rough spots on the table.
Once the surface is even, move to finer grit sandpaper to achieve a smooth, refined surface.
Use a sanding block or hand-sanding for areas with curves or edges to maintain better control and avoid uneven sanding. This process helps create a flawless base for the next steps in refinishing.
Cleaning the Surface
- Dusting: Wipe the surface with a tack cloth to remove all dust and debris.
- Drying: Ensure the surface is completely clean and dry before staining or finishing.
Removing Imperfections
- Buffing: Use a wood cleaner or fine abrasive pad to buff out water stains or small imperfections gently.
- Caution: Be careful not to over-sand, as this can damage the wood
Staining Your Table
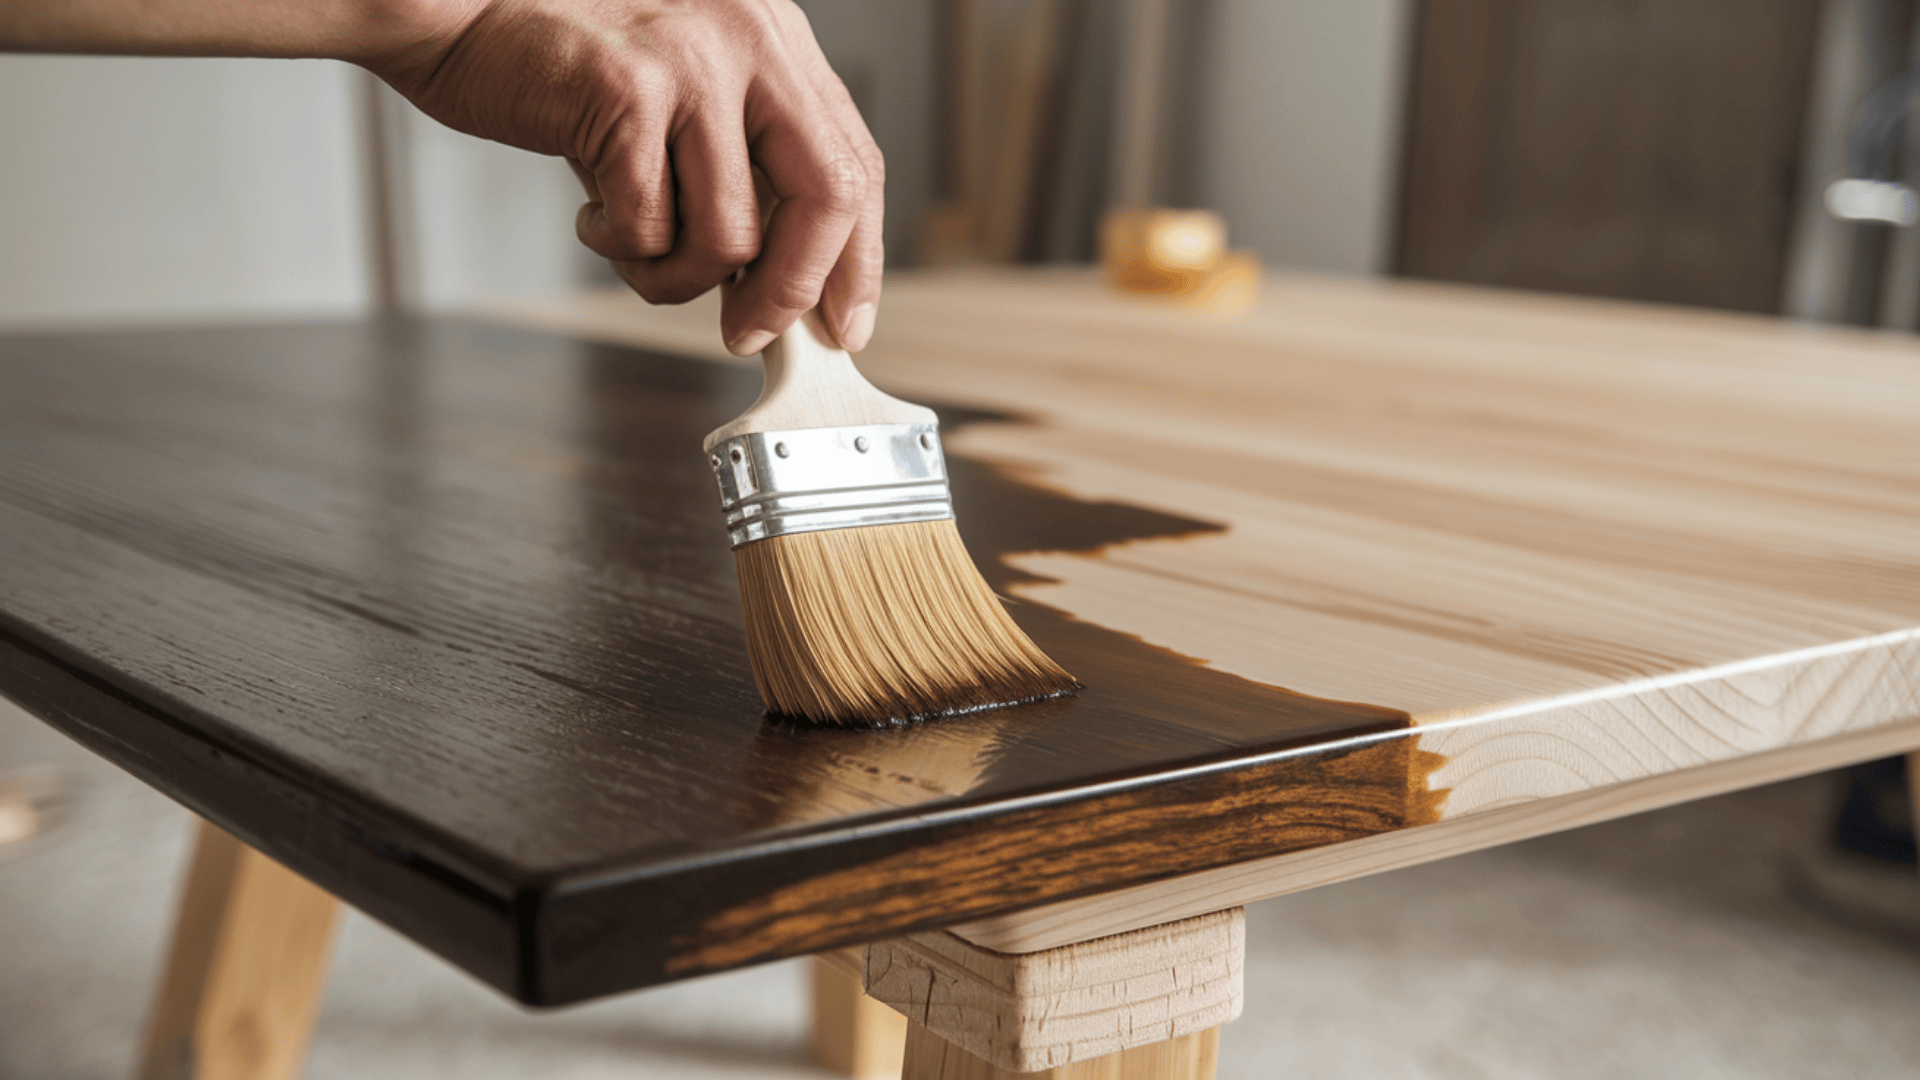
Now that your table is prepped and smooth, it’s time to add color and enhance its natural beauty with stain. This step gives the table a fresh look and highlights the wood’s grain and character.
Choosing the Right Stain
- Type: Choose a stain that suits the wood type and the look you want. Oil-based stains are often used for their deep, rich colors, while water-based stains are faster drying and easier to clean.
- Color: Consider the color and shade that will complement your space. Darker stains like walnut or mahogany can give a more elegant feel, while lighter stains like oak or pine offer a warmer, natural look.
- Finish: Decide between oil-based or water-based stains based on your desired finish. Oil-based stains tend to enhance the wood’s natural look, while water-based stains offer a quicker drying time and less odor.
Applying the Stain
- Brush: Following the wood grain, apply the stain with a brush or rag. Working in small sections ensures you can manage the stain better and keep it even.
- Excess: Wipe off excess stains with a clean rag to avoid blotches and uneven coloring. Removing any extra stain within a few minutes is important to achieve an even finish.
- Drying: If needed, let the stain dry fully before applying a second coat. Drying times can vary depending on the stain type used, so follow the manufacturer’s instructions for best results.
Common Challenges
- Streaks: If streaks appear, gently rub them with fine steel wool to smooth them out. Lightly sanding the area can also help remove marks and create an even finish.
- Blotches: To prevent blotches, apply the stain evenly and wipe off excess promptly. For tricky spots, use a brush to work the stain into the wood and avoid pooling.
- Touch-ups: For uneven staining, lightly sand the area and reapply a thin coat of stain. You can also use a slightly darker stain to cover areas that didn’t absorb color evenly.
Taking time during this step is crucial, as staining can dramatically change the table’s look. You can achieve a beautiful, professional-looking finish with patience and careful attention.
Applying the Finish
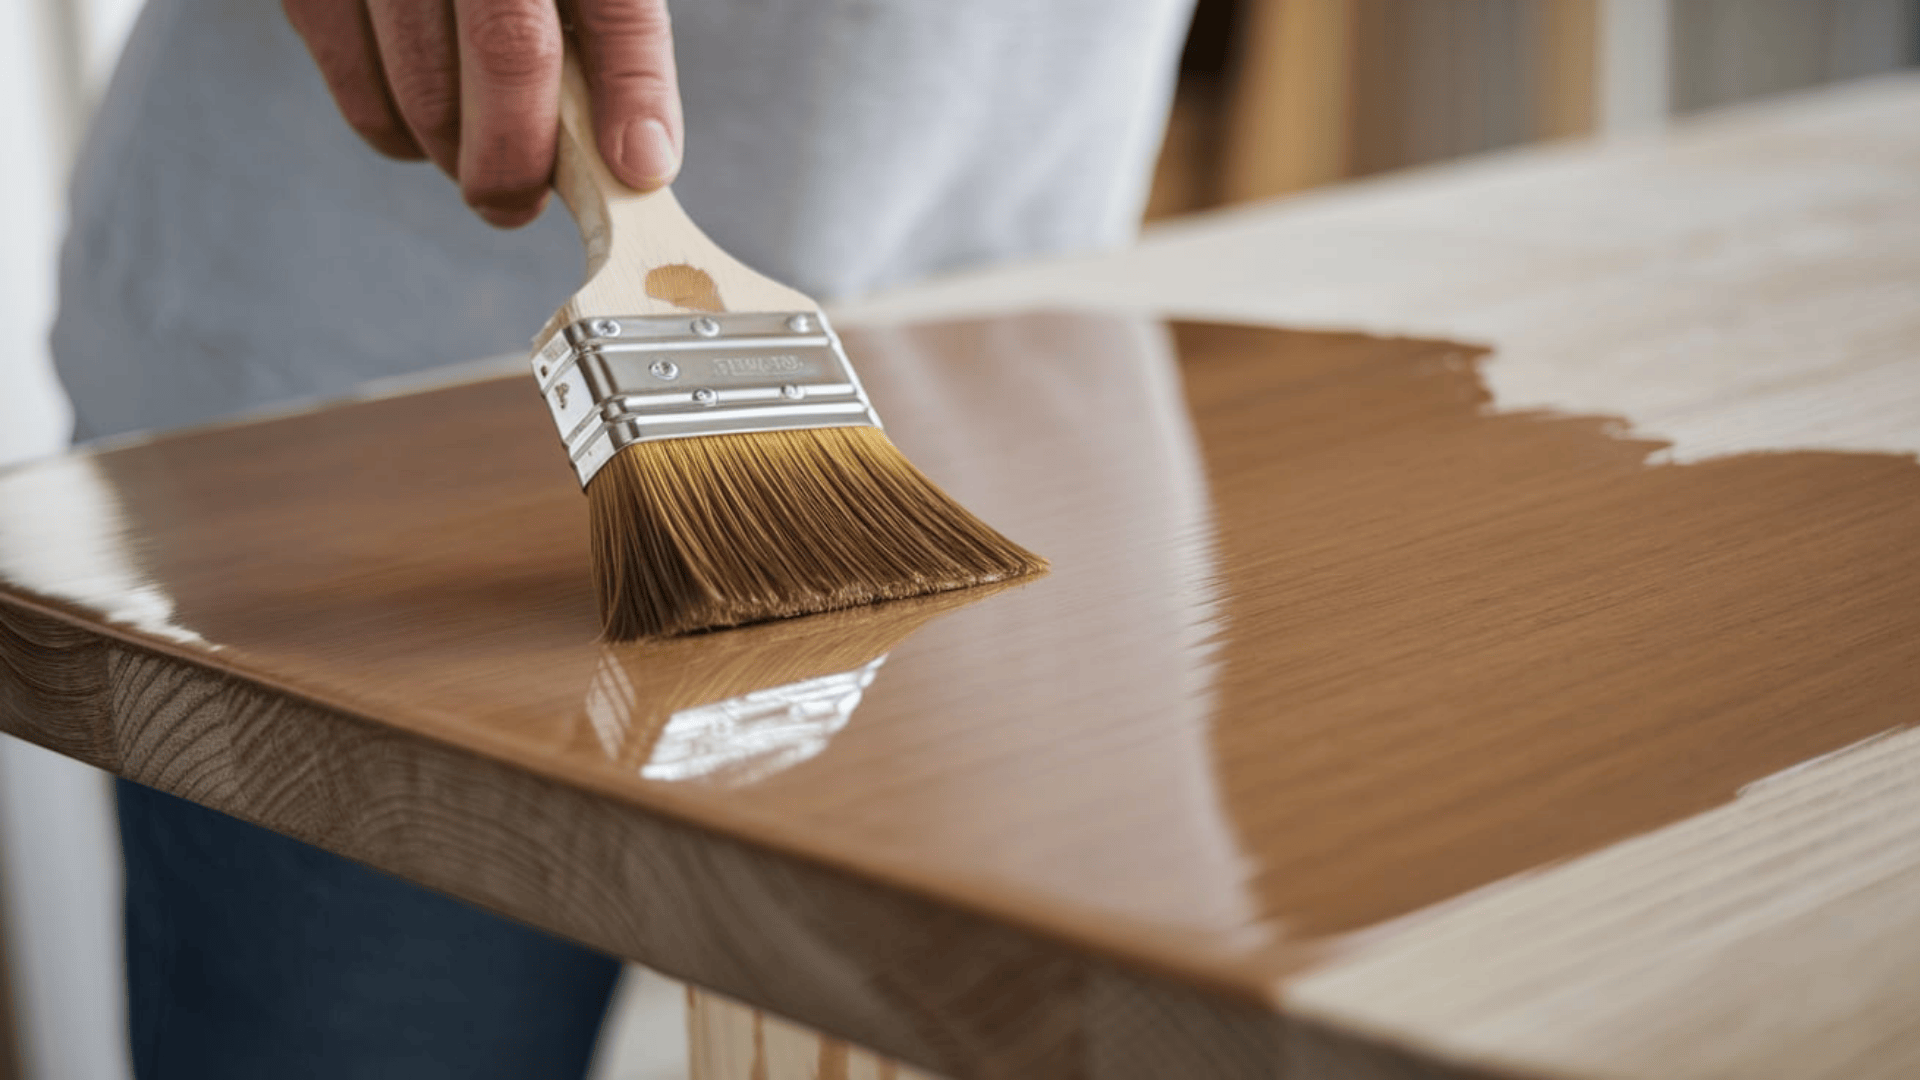
Once the stain has dried, it’s time to protect your table with a finish. Applying the right finish will enhance the color, provide durability, and give your table a polished look.
Types of Finishes
- Polyurethane: This is a common and durable finish that offers great protection. It’s available in oil-based and water-based versions, with oil-based being more durable and water-based drying quicker.
- Oil-Based: Oil-based finishes provide a deep, rich look but take longer to dry and have a stronger odor.
- Water-Based: Water-based finishes are faster drying, less odorous, and easier to clean up, but they might not be as durable as oil-based options.
How to Apply Finish Evenly
- Brush: Apply the finish using a high-quality brush or applicator. Be sure to apply it evenly, following the wood grain.
- Thin Coats: Use thin layers to avoid clumping or streaks. It’s better to apply multiple thin coats rather than one thick layer.
- Drying Time: Allow each coat to dry fully before adding another. This helps ensure a smooth, even finish without any streaks or bubbles.
Multiple Coats
- Durability: Applying multiple coats of finish will provide extra protection for your table. Two to three coats are typically ideal for a long-lasting finish.
- Sanding Between Coats: Lightly sand the table with fine-grit sandpaper between each coat to ensure a smooth, even surface.
- Final Coat: After the final coat, allow the finish to cure completely before using the table. Depending on the finish used, this can take several days.
Taking your time during this step will ensure your table gets a smooth, durable finish that lasts.
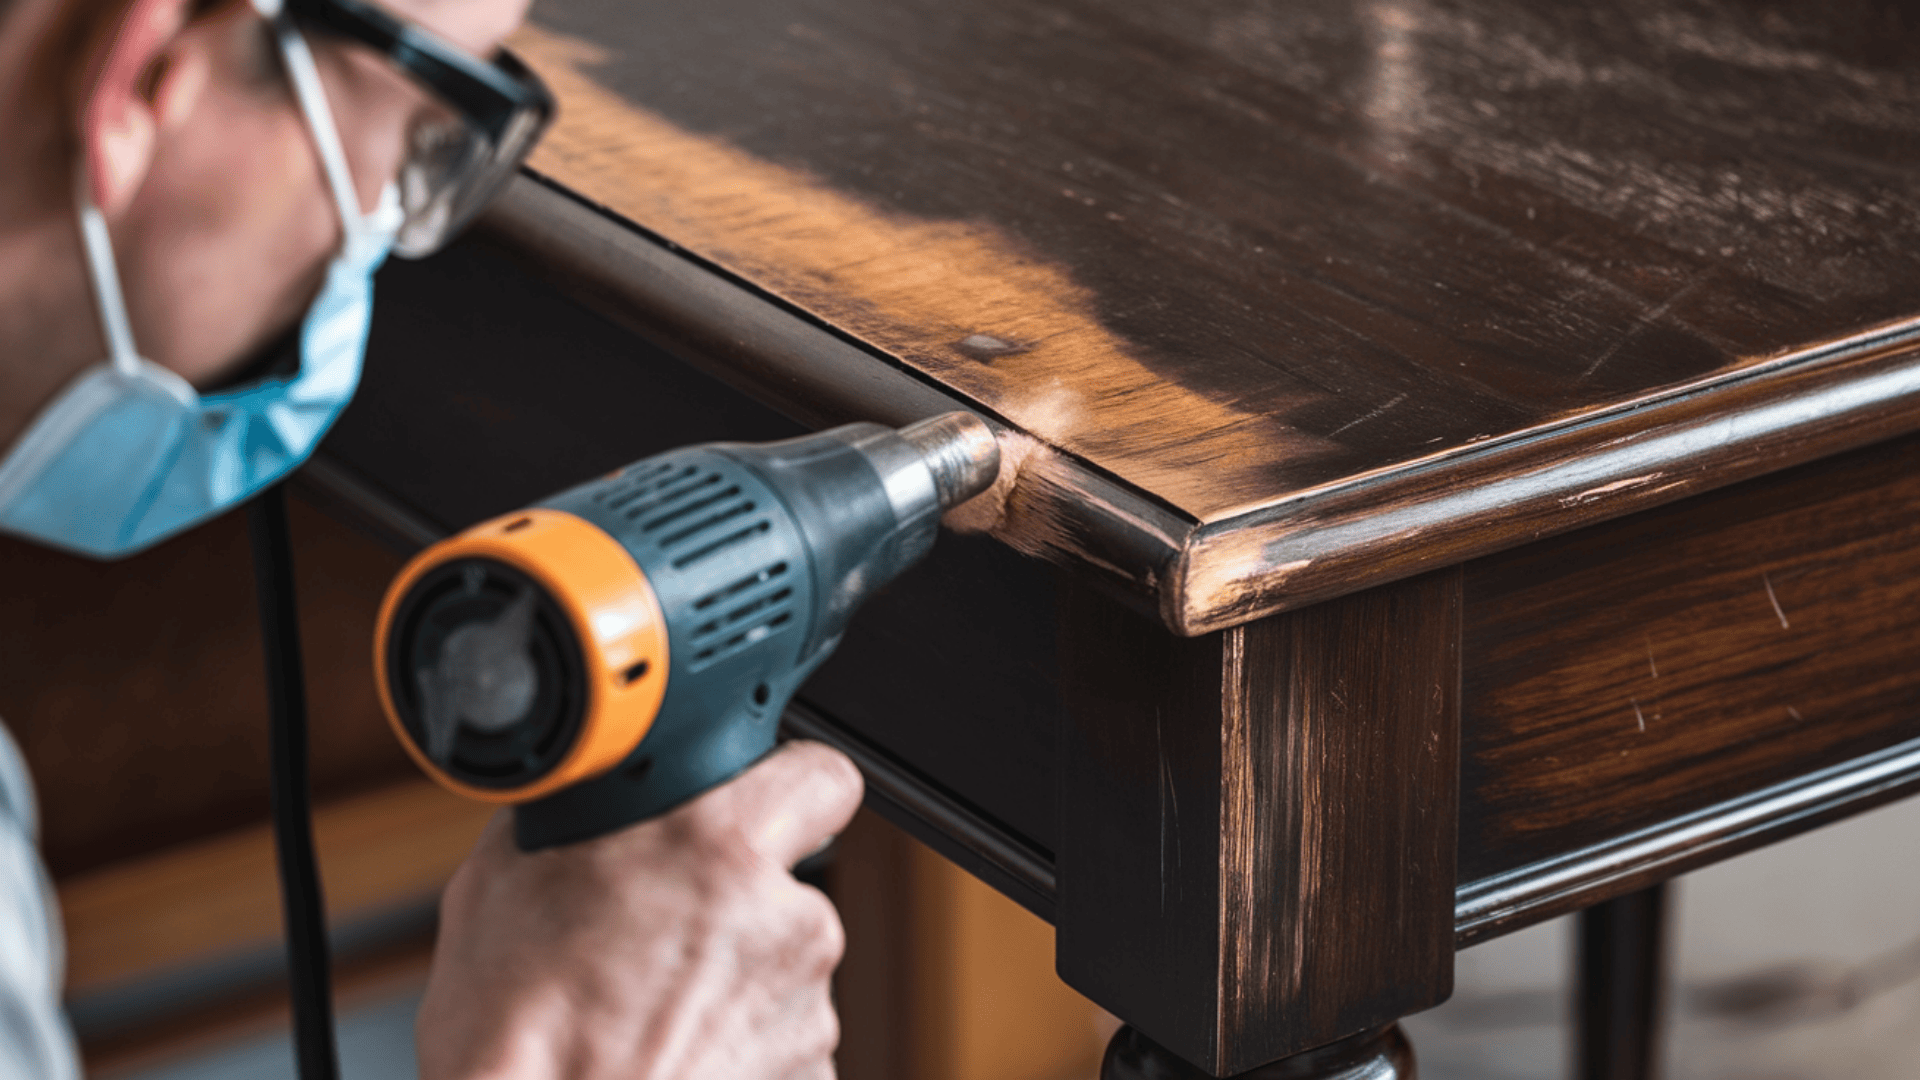
Refinishing Without Sanding
If you want to avoid the sanding process, there are still ways to refinish your table. These methods can save you time and effort while still providing a fresh look.
Using Chemical Strippers
Instead of sanding, you can use a chemical stripper to remove the old finish.
Apply the stripper according to the product instructions and let it sit for the recommended time.
Once the finish starts to lift, use a scraper to remove it.
While using chemical strippers is an effective alternative, always wear protective gloves and work in a well-ventilated area to ensure safety.
Other Methods to Avoid Sanding
Another method of refinishing without sanding is using a heat gun. A heat gun can soften the old finish, making it easier to scrape off without sanding.
Additionally, liquid sanding solutions are designed to prepare the surface for a new finish without the mess of sanding.
These alternatives work best for light touch-ups or delicate finishes, offering a faster way to refresh your table.
Common Refinishing Mistakes and How to Avoid Them
Refinishing a table can be a fun and rewarding project, but a few common mistakes can affect the final result. Here’s how to avoid them and ensure your project turns out great.
1. Choosing the Wrong Finish or Stain
- Problem: Using the wrong finish or stain can lead to a poor outcome. For example, a glossy finish may not suit a rustic table, and a dark stain may hide the wood’s natural beauty.
- Solution: Always choose a finish and stain that match your table’s wood type and the look you want. Test the stain on a small, hidden area of the table to see how it reacts with the wood before applying it to the entire surface.
2. Improper Sanding Techniques
- Problem: Sanding too aggressively or unevenly can leave scratches or create an uneven surface.
- Solution: Start with coarse sandpaper to remove the old finish, then gradually switch to finer grits to smooth the surface. Be gentle around edges and intricate areas to avoid damaging the wood. Always sand in the direction of the grain for a smoother finish.
3. Over-Applying Finish
- Problem: Applying too many coats of finish can cause the surface to become thick, uneven, and tacky.
- Solution: Apply thin, even coats of finish, allowing each coat to dry fully before adding another. Multiple thin layers are better than one thick layer, as this helps to avoid clumping and streaking.
Paying attention to these common mistakes can ensure a smooth refinishing process and achieve a beautiful, long-lasting result.
Conclusion
Refinishing a table is a rewarding and affordable way to restore old furniture.
Following the right steps and avoiding common mistakes can achieve a professional-looking finish that will last.
Start with proper preparation, including sanding and cleaning the surface. Take your time applying stain and finish, and consider alternatives like chemical strippers if you prefer to skip sanding.
With the right tools and techniques, you can easily transform your table into beautiful furniture.
You’ll enjoy your newly refinished table for many years by being patient and careful.
Looking for more helpful tips? Check out our other blogs on furniture care and DIY projects to continue your home improvement.