How to Refinish a Dresser: A Complete Step-by-Step Guide
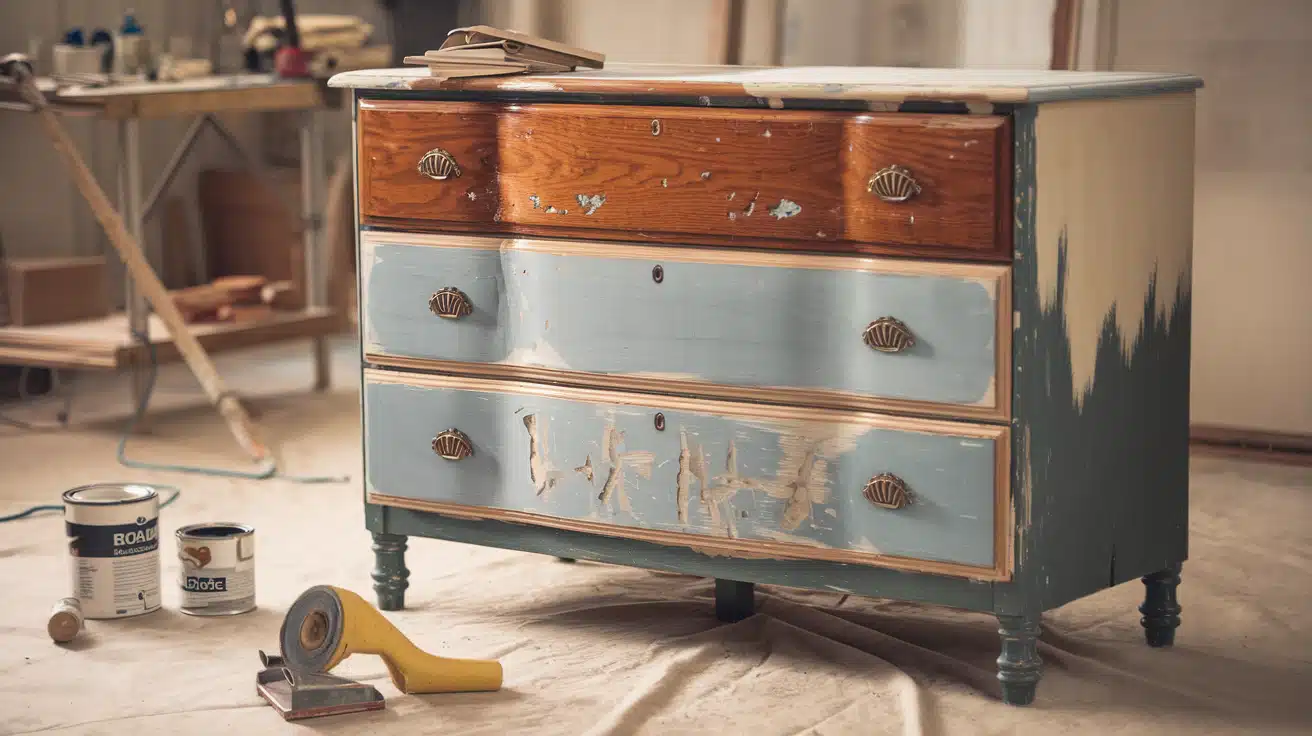
Old dressers hide potential beneath scratches and musty smells. With some effort, you can breathe new life into forgotten furniture pieces.
Refinishing a dresser is economical and rewarding. Simple techniques can modify a free Facebook Marketplace find or thrift store gem into a showpiece.
This guide combines expert refinishing methods with proven odor-elimination strategies.
If you are dealing with chipped corners, cracked sides, or that distinctive old furniture smell, our step-by-step approach will help.
We’ll walk you through each stage of the restoration process, from selecting the right supplies to applying the final coat of polyurethane.
Follow along to create a beautiful, fresh-smelling dresser that complements your space.
Step-by-Step Guide: How to Refinish a Dresser
Gather Your Essential Supplies
Before starting your dresser project, gather crucial supplies:
- Sandpaper – Coarse to fine grits for smoothing.
- Primer – Quality primers for wood surfaces.
- Paint/Stain – Choose based on your desired finish.
- Wood Filler/Bondo – Repair small scratches and larger damage.
- TSP Cleaner – For deep cleaning of wood surfaces.
- Mineral Spirits – To remove residue from stripping products.
- Baking Soda – Absorbs musty odors.
- White Vinegar – Disinfects drawer interiors.
- Gloves and Respirator – Protect your skin and lungs.
- Drop Cloths – To catch drips and debris.
Step 1: Remove Hardware and Clean
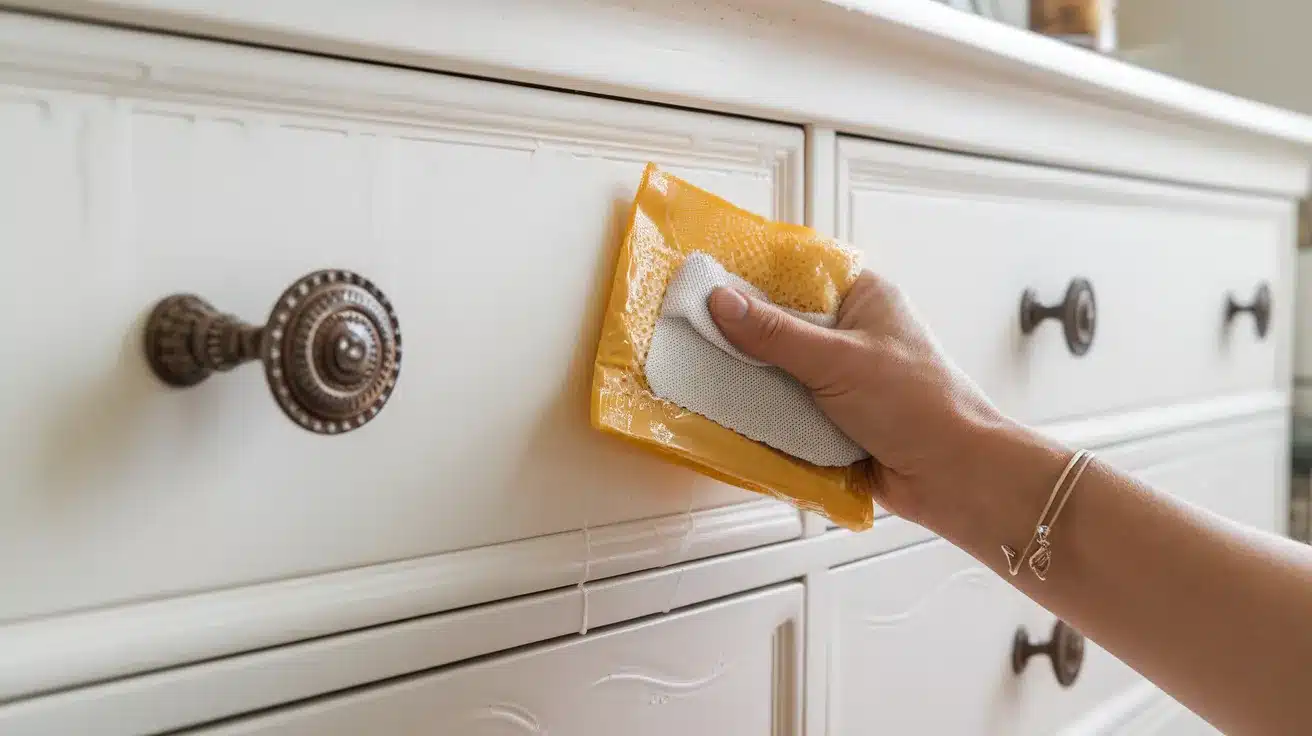
Start by removing all hardware from your dresser. Place knobs and pulls in a plastic bag to keep them organized.
Clean the entire piece with TSP and warm water. Rinse well with plain water afterward. Let it dry completely before moving forward.
Step 2: Repair Damage
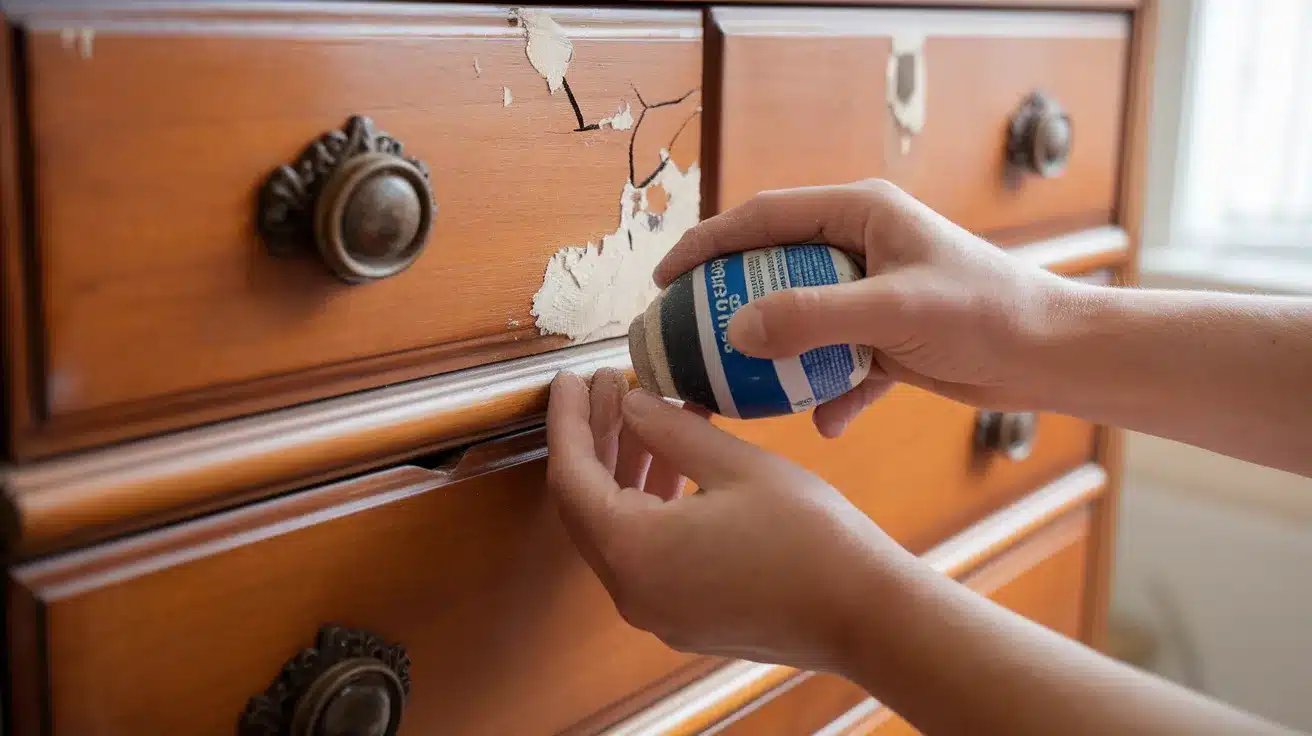
Examine the dresser for damage that needs repair. Fill cracks along the sides with wood filler or Bondo.
Shape the filler material to match the original contours. For chipped corners, build up layers of Bondo and sand between applications.
Allow all repairs to dry thoroughly before proceeding.
Step 3: Sand Surfaces
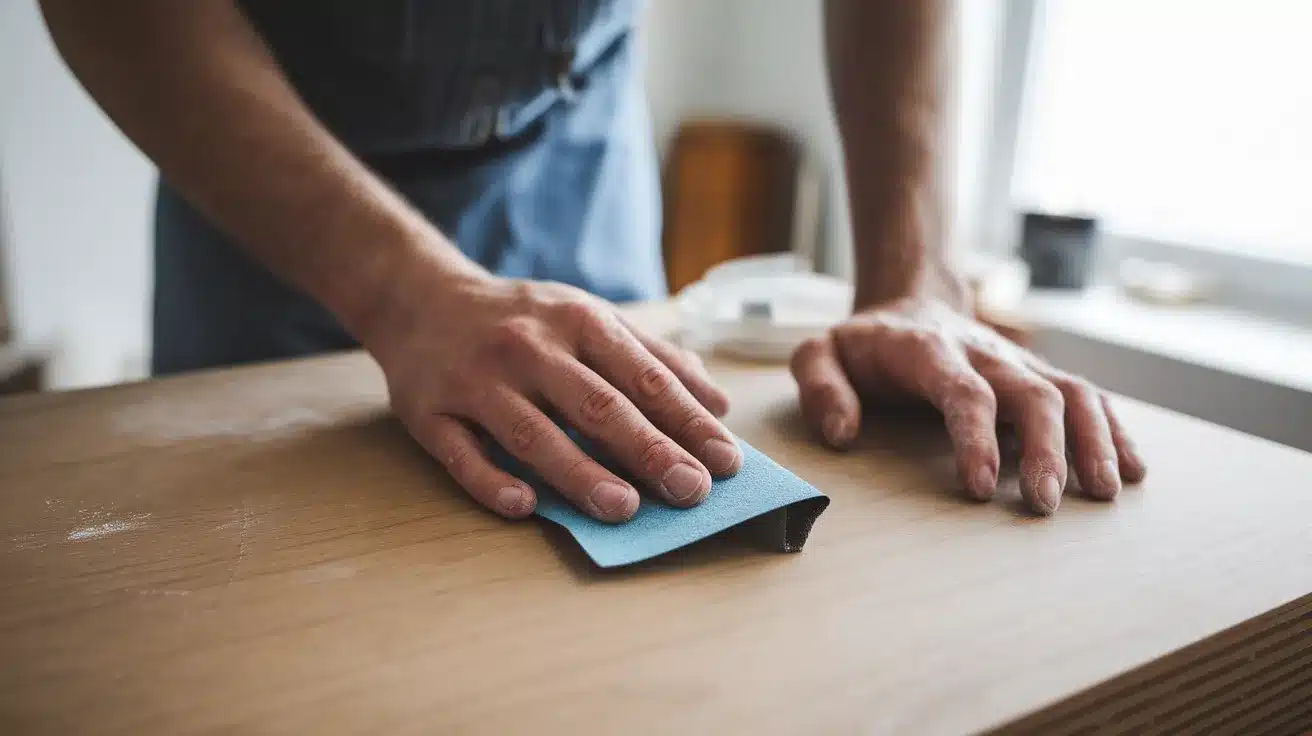
Sand all surfaces with 120-grit sandpaper to remove the old finish and smooth repairs. Follow with finer grit for a smooth surface.
Sand in the direction of the wood grain. Between sandings, wipe away all dust with a tack cloth.
Step 4: Prime and Paint or Strip and Stain
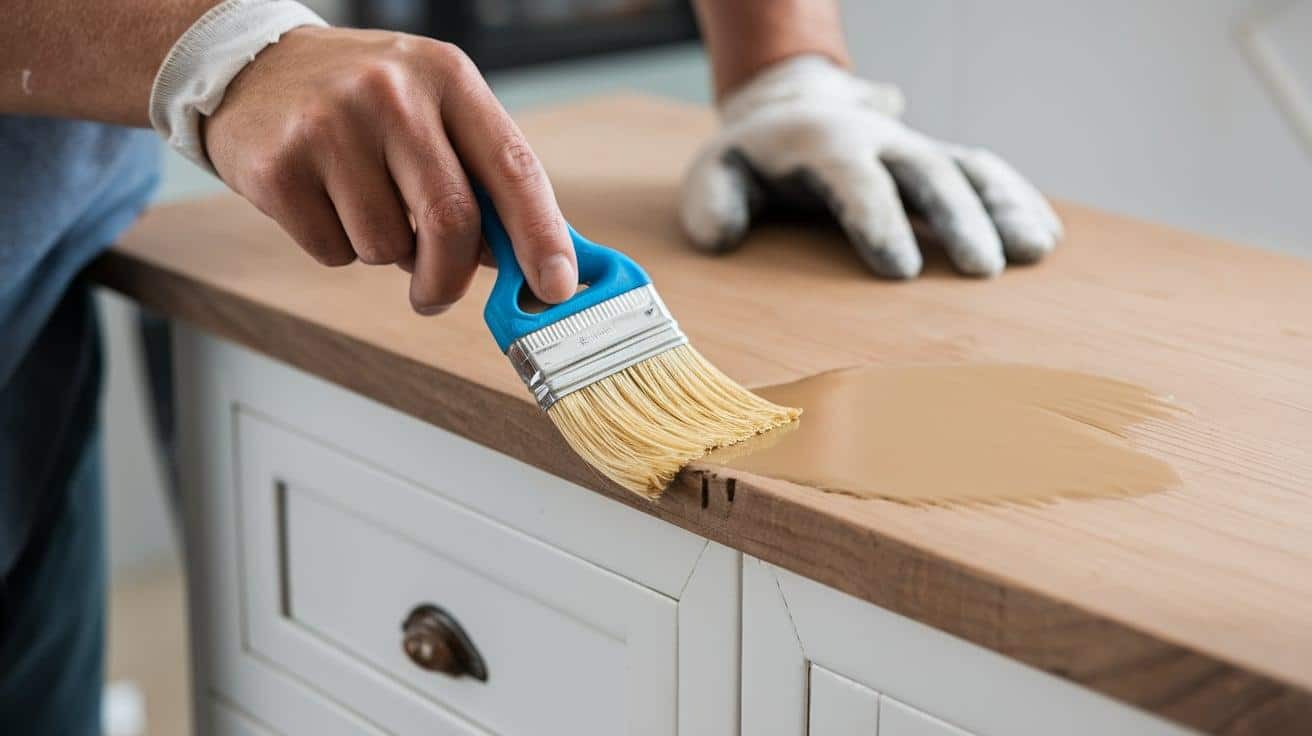
Based on the wood’s condition, decide whether to paint or stain. For painting, apply primer first with a brush or sprayer.
Add two coats of quality paint, like cabinet enamel. For staining, strip the old finish first with a product like Citristrip.
Apply your chosen stain with a pad or brush. Wipe excess stain after five minutes.
Step 5: Apply Protective Finish

Protect your refinished dresser with polyurethane. Apply at least two coats using a foam brush.
Sand lightly between coats with very fine sandpaper. This provides durability and water resistance.
Step 6: Reinstall Hardware
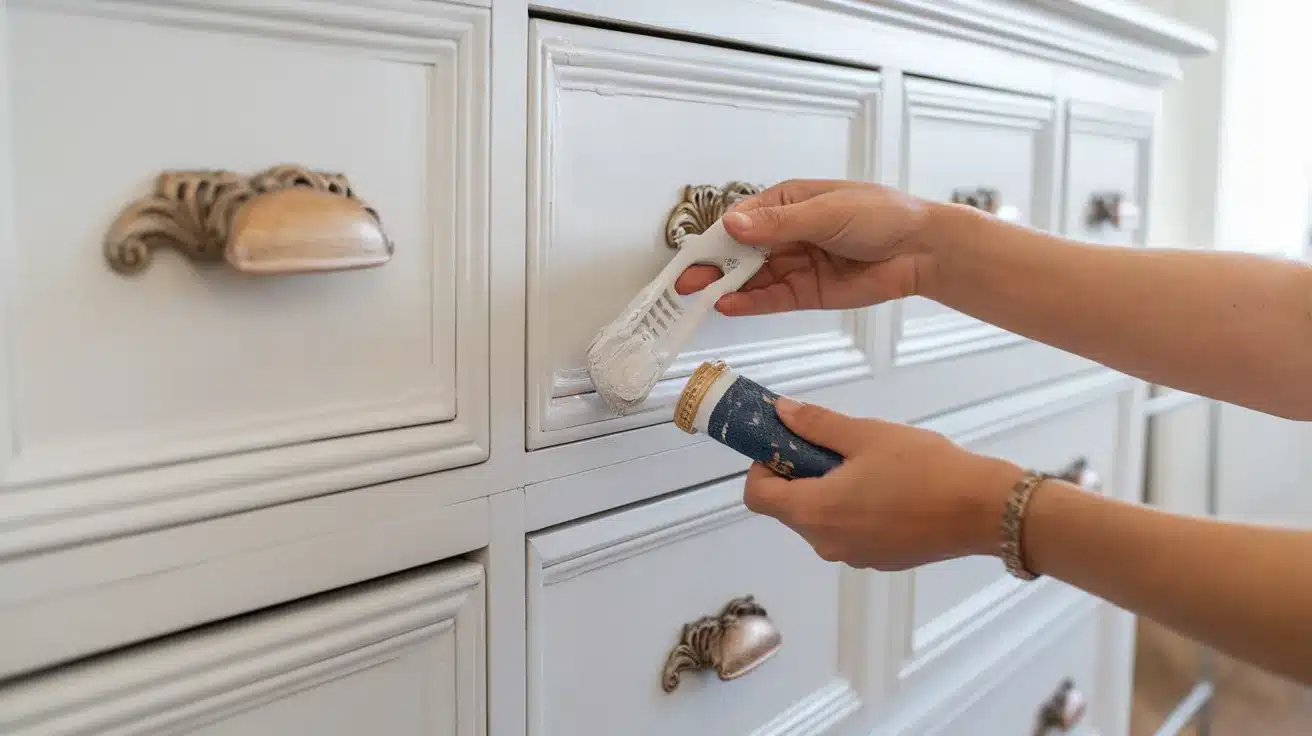
Finally, reinstall the original hardware or add new pulls for an updated look. Make sure drawers slide smoothly.
Pull them out slightly while drying to prevent sticking. Your refinished dresser is now ready to enjoy with a fresh new appearance.
Understanding Common Dresser Damage Issues
Structural Weaknesses
Old dressers may develop loose joints. Dovetail connections in drawers could separate, and leg attachments might become unstable, affecting safety and functionality.
Surface Damage
Sun exposure causes fading, water rings leave marks, and heat damage creates spots or bubbles in the finish. Scratches develop from years of use.
Veneer Complications
The veneer on older dressers can chip, peel, or bubble. Edges are particularly vulnerable to damage and missing veneer requires special repair techniques.
Hardware Deterioration
Original hardware may tarnish, handles could be loose, and drawer slides might wear down. In older pieces, keyhole mechanisms may fail.
Prevention Tips to Keep Your Refinished Dresser Fresh

Here’s an expanded guide on maintaining your refinished dresser:
Control Humidity Levels
- Use a dehumidifier in damp environments
- Aim for 40-60% relative humidity
- Avoid placing furniture near heating vents or radiators
- Consider using humidity monitors in your room
Use Proper Ventilation
- Ensure good air circulation around your furniture
- Avoid placing dresser directly against walls
- Keep some space between furniture items
- Consider periodic airing in dry weather
Apply Protective Finishes Correctly
- Follow the manufacturer’s instructions for polyurethane or wax
- Apply thin, even coats rather than thick layers
- Allow proper drying time between applications
- Consider reapplying protective finishes annually
Maintain a Regular Cleaning Schedule
- Dust weekly with a soft, clean cloth
- Use appropriate wood cleaners (avoid harsh chemicals)
- Clean spills immediately to prevent staining
- Polish quarterly with recommended products for your finish type
Tips for Refinishing Different Types of Wood
| Wood Type | Sanding Tips | Staining Tips |
|---|---|---|
| Solid Wood | Solid wood can withstand deeper sanding. Use coarse-grit sandpaper and follow with finer grit to smooth out the surface. | Solid wood absorbs stains well. Apply thin layers and wipe off excess stains to avoid uneven patches. |
| Veneer | Be cautious when sanding veneer to avoid damage. Use fine-grit sandpaper to smooth the surface without sanding through the thin veneer layer. | Veneer requires a more delicate touch. Apply stain lightly and avoid over-application. Consider using a wood conditioner before staining. |
| Pine or Softwoods | Softwoods like pine are softer and prone to denting. Use fine-grit sandpaper to avoid scratches and dents. | Pine absorbs stains unevenly. Test on a small section first and apply stain in thin layers to achieve an even finish. |
| Hardwood (Oak, Maple, Cherry) | Hardwood requires more effort for sanding, but it results in a smooth finish. Start with medium-grit paper and finish with finer grits. | Hardwoods absorb stain evenly so that multiple layers will enhance the depth of color. Consider using a glossy finish for a polished look. |
Common Mistakes to Avoid When Refinishing a Dresser
-
Avoid skipping sanding: Not sanding properly leads to a rough surface that won’t hold the finish well. Always sand to ensure smoothness.
-
Choose the right primer: An unsuitable primer can cause peeling and poor adhesion. Select one specifically for wood or furniture.
-
Don’t overload the brush or roller: Too much paint can cause drips or an uneven finish. Apply thin layers and let each coat dry first.
-
Allow enough drying time: Rushing can cause smudging or bubbling. Ensure adequate drying time between coats of paint, primer, or polyurethane.
-
Properly repair damages: Skipping repairs on cracks or chips will leave them visible after refinishing. Always fix surface imperfections before you begin.
-
Protect the piece after refinishing: Not using a protective finish like polyurethane can lead to damage. Seal your work with a protective coat.
-
Avoid refinishing in humidity: Humidity interferes with drying, causing bubbling or warping. Work in a dry, well-ventilated area.
-
Don’t skip cleaning: Failing to clean the dresser before refinishing traps dirt in the finish, ruining the final look. Clean thoroughly with TSP or another wood cleaner before starting.
When to Seek Professional Help for Dresser Refinishing

Extensive structural damage requires expert help. Drawers may not close properly. Joints can separate over time.
The frame might show significant warping. Professionals have specialized tools for these repairs.
Valuable antiques need specialized care. Professional restorers understand historical pieces.
They know period-appropriate materials. They can assess your furniture’s true value. They preserve the patina while fixing damage.
Persistent odors signal deeper problems. DIY solutions sometimes fail. Professionals can find hidden mold.
They detect pest infestations. They access commercial-grade treatments. These solutions aren’t available to consumers.
Complex refinishing techniques demand expertise. French polishing requires special skills. Marquetry repair is highly technical.
Veneer replacement must be precise. These specialized techniques take years to master.
Conclusion
Refinishing a dresser requires careful preparation, proper sanding, quality stain application, and protective finishing.
Each step builds on the previous one for lasting results.
A properly refinished dresser enhances your home’s aesthetic appeal while extending the furniture’s lifespan.
The renewed surface resists damage and maintains its beauty for years.
Don’t be intimidated by refinishing projects. With patience and the right tools, even beginners can achieve professional-looking results.
Start with a simple piece to build confidence before tackling more complex projects.
Remember that each refinishing project preserves memories and craftsmanship while giving you the satisfaction of transforming something old into something beautiful again.


