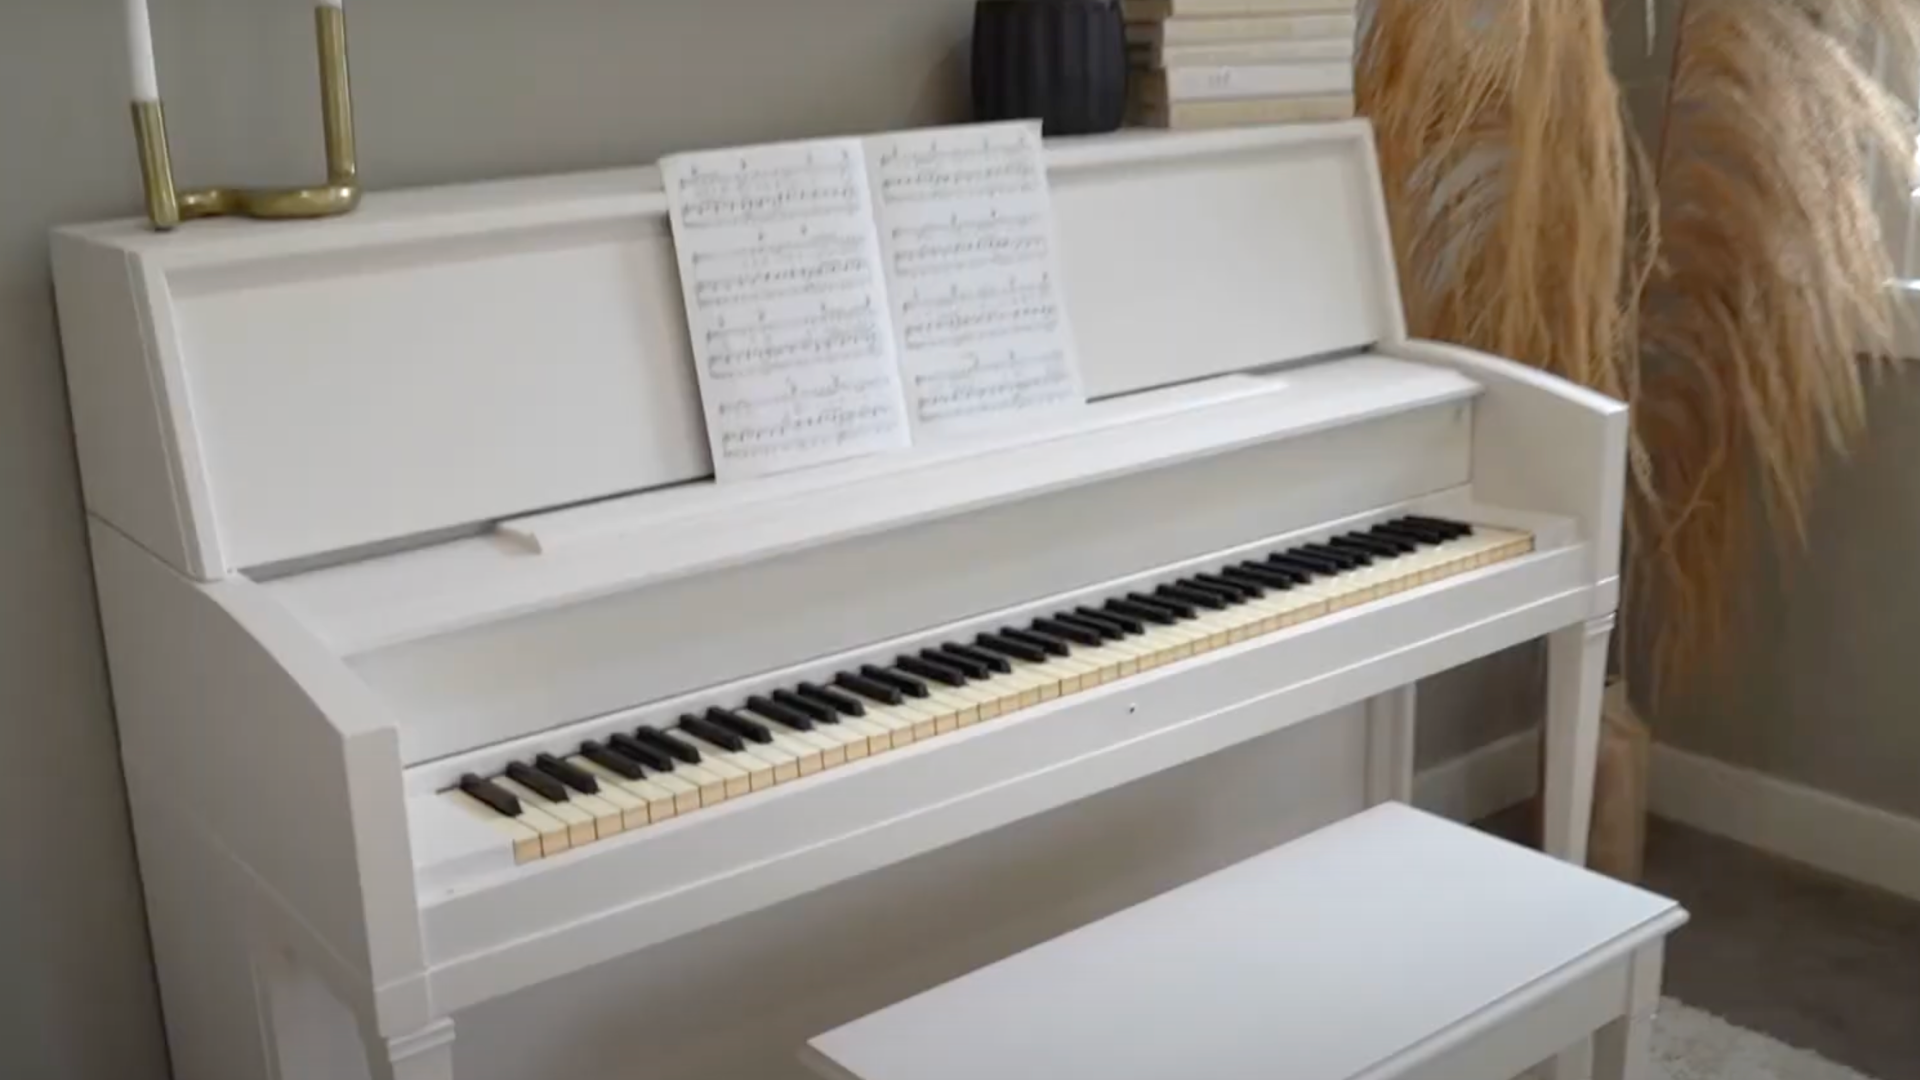
How to Paint a Piano: A Simple Step-by-Step Guide
Ever looked at your old piano and wished it looked better? Painting a piano might seem hard, but it’s not! With the right steps, you can change your piano’s color without hurting how it sounds.
This guide will teach you how to paint a piano the right way. We’ll cover picking the best paint, getting the piano ready, putting the paint on, and taking care of your painted piano.
You don’t need to be a pro painter – just follow our step-by-step tips. By the end, you’ll know how to turn that worn-out piano into a beautiful piece that fits your home’s style.
Ready to give your piano a new look? Let’s get started!
Choosing the Right Paint for Your Piano
Picking the right paint for your piano can make a big difference in its appearance and sound. The paint type matters for both appearance and music quality.
Best Paint Types for Pianos
Many people like chalk paint for pianos. It sticks well and doesn’t need much prep work.
- Chalk paint: Easy to use, gives a matte finish, needs a top coat for protection
- Latex paint: Good for smooth finishes, takes longer to dry, less smell
- Acrylic paint: Dries fast, water-based, comes in many colors
How Paint Affects the Sound
The paint you choose can change how your piano sounds. Thick paint might muffle some notes. Water-based paints often work best as they don’t add much weight.
Keep paint thin on sound parts. Too many layers can block sound waves. The finish type matters, too – glossy finishes reflect sound waves differently than matte ones do.
Ask a piano expert if you worry about sound changes.
Recommended Products
For best results, try Rust-Oleum Chalked Paint or Behr Premium Plus Latex Paint. Both work well on pianos. Get high-quality brushes with soft bristles to avoid marks.
Foam rollers help with smooth surfaces. For clear coats, Minwax Polycrylic works well to protect your paint job.
Most hardware stores carry these items. Small paint samples can help you test colors first.
Step-by-Step Instructions for Painting Your Piano
We will look at the steps involved in painting your piano here, so make sure to gather your materials first.
Essential Materials for Painting
Here’s the list of materials you will need for painting the piano:
- Cleaner (gentle, all-natural)
- Damp Rag
- Sandblock (120-grit)
- Painter’s Tape
- Paper for Masking
- Primer and Paint in One (e.g., Behr Ultra, Cameo White)
- Angled Paintbrush (2-inch)
- Small Paintbrush
- Microfiber Cloth
- Drop Cloth or Protective Floor Covering
- Paint Tray or Container
- Gloves
- Plastic Sheeting or Old Towels
Now, let’s begin with the steps
1. Prepare the Piano and Workspace

Clean your piano with a mild cleaner that won’t harm the wood. Just a bit of soap and water on a cloth works well. Rub the surface with 120-grit sandpaper to help the new paint stick better.
Don’t press too hard—you just need to rough up the surface a little. When you’re done sanding, wipe everything with a clean cloth to get rid of all the dust.
Make sure the room has good air flow. Set up your workspace with good lighting so you can see what you’re doing. Put down drop cloths to protect your floor from paint drips.
2. Mask Off Areas
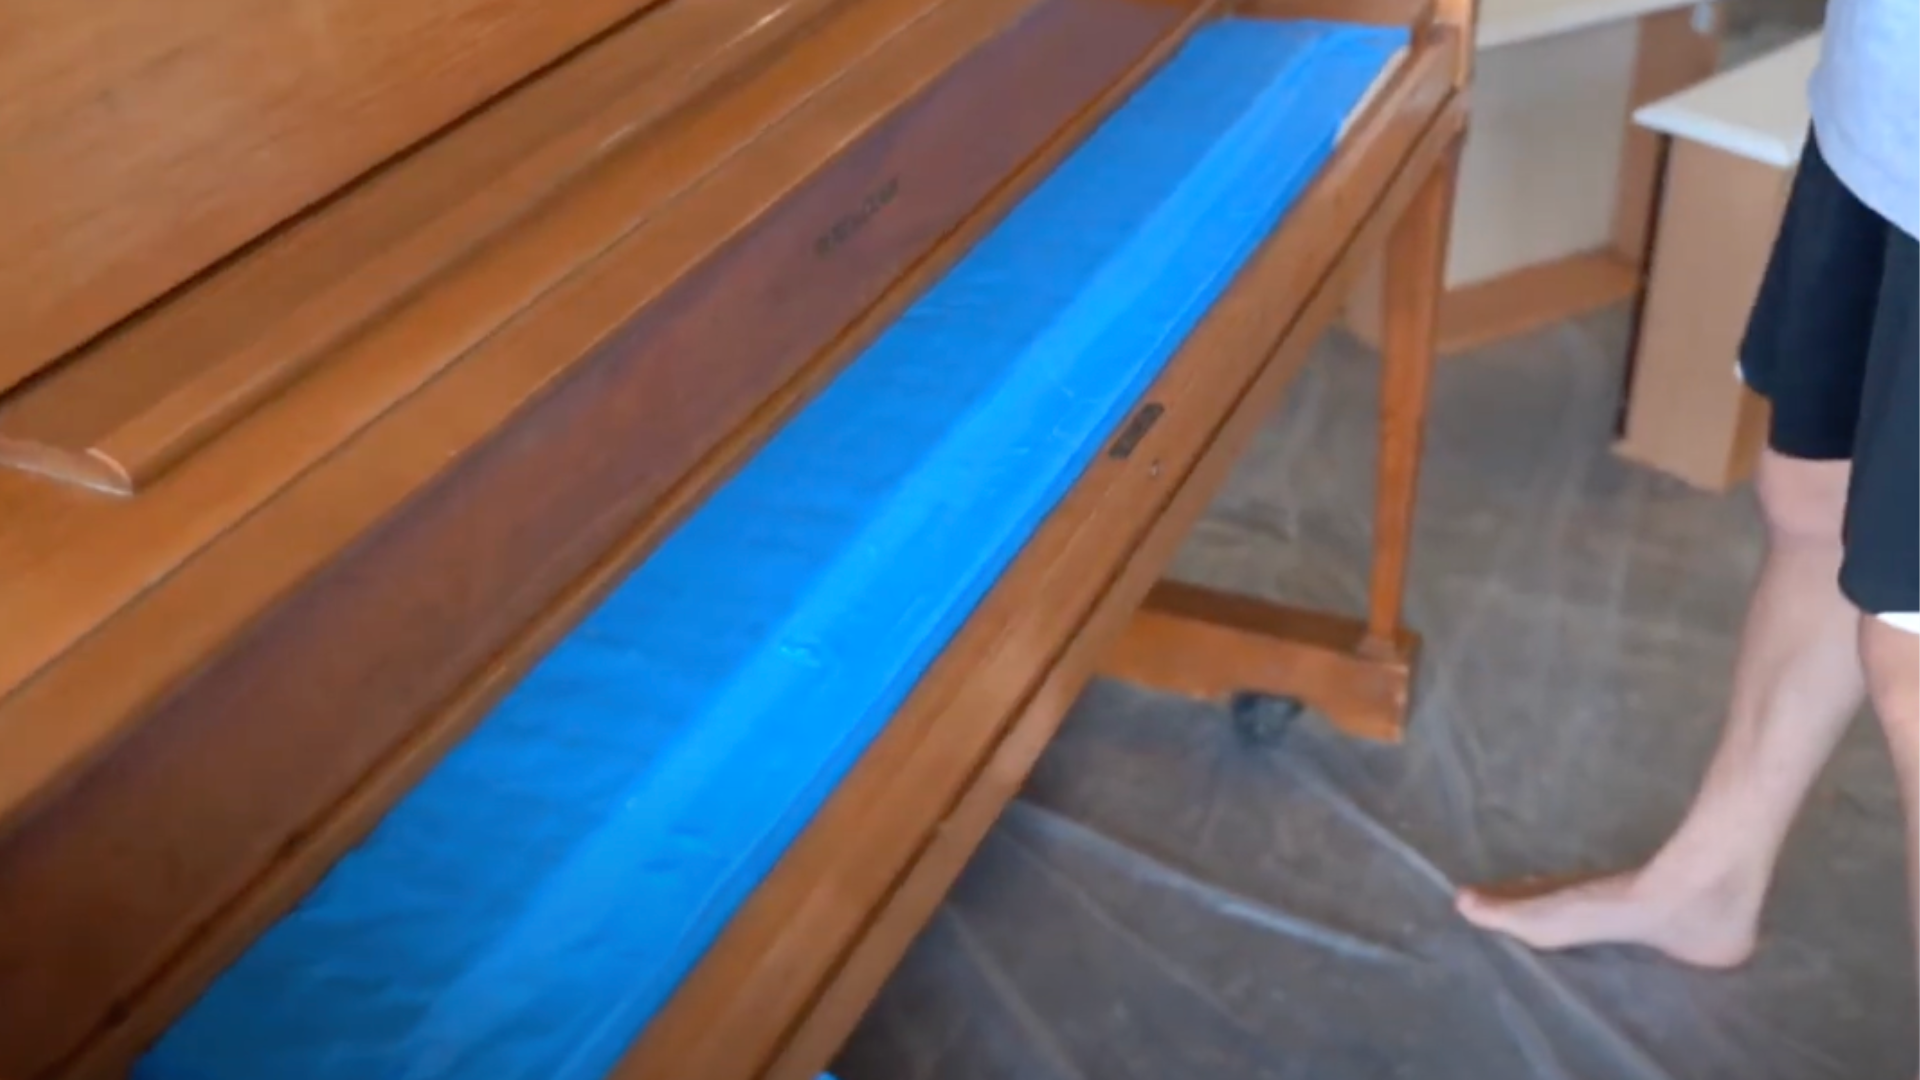
Put painter’s tape over all parts you want to keep paint-free. Cover the keys completely with tape and paper. Wrap the pedals and metal parts, too.
Don’t forget to mask the inside parts that make sound. Be extra careful with the tape edges—press them down firmly so paint can’t leak under. Take your time with this step because good masking makes cleanup much easier.
Check twice to make sure you haven’t missed any spots. Small bits of masking now save hours of cleanup later. Use plastic wrap for odd-shaped areas that tape won’t cover well.
3. Paint the Piano
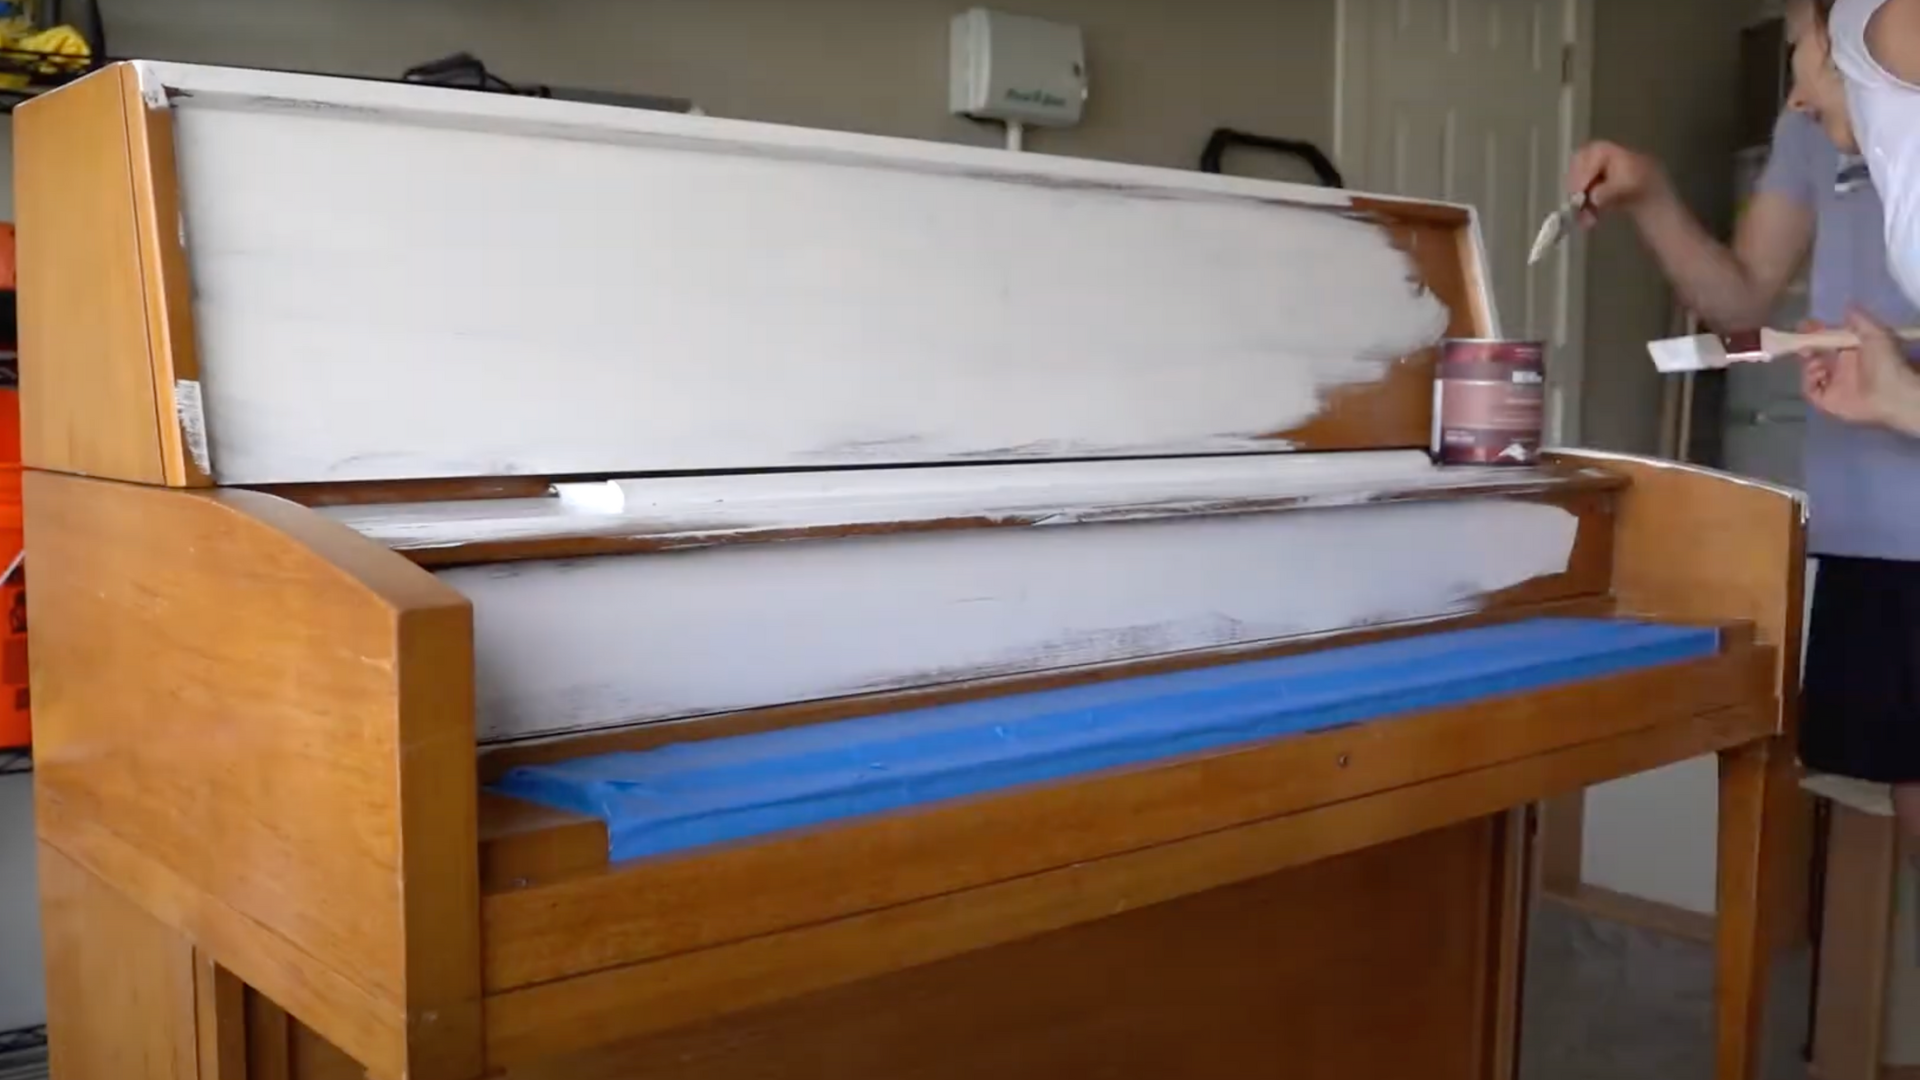
Start by using a brush to paint the hard-to-reach spots. Then, use a roller for the flat parts to get a smooth finish. Paint in thin layers rather than one thick coat.
This stops drips and helps the paint dry better. Wait at least 4 hours between coats. Most pianos need 2-3 coats for good coverage. Keep the room dust-free while painting. Work in good light so you can spot any missed areas.
Move slowly and watch for drips, fixing them right away. Make sure each coat is even before you start the next one.
4. Touch-Up
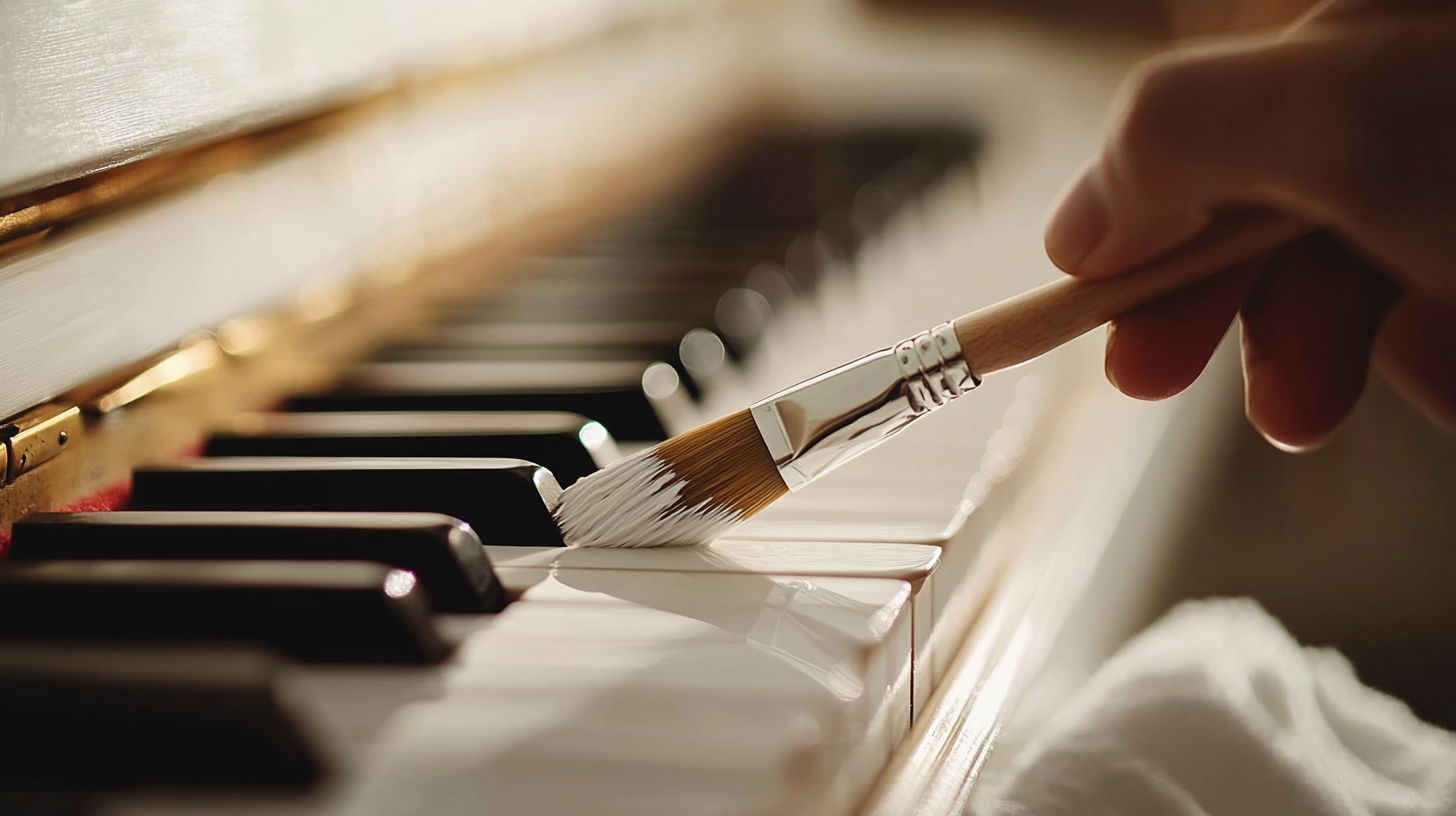
Look at your piano in good light to find spots you missed. Use a small brush to fix these areas. Check corners and edges where paint might be too thin. Take your time with this step—rushing can ruin your hard work.
Keep a cloth handy to wipe away mistakes while the paint is still wet. Make sure all parts have even coverage. Step back often to look at the piano from different angles.
This helps you spot places that need more work. Good touch-ups make the difference between an okay job and a great one. Let these small fixes dry fully before moving on.
5. Final Touches and Drying
Pull off the tape when the paint is almost dry but not completely hard. This helps create clean lines. If you see spots that need fixing, use a tiny brush. Let the piano dry for at least 72 hours before playing it.
Keep windows open for good air flow. Avoid touching the piano during this time. The paint needs about a week to fully harden. Watch out for dust settling on the wet paint.
You might want to cover the piano with a clean sheet, held up so it doesn’t touch the wet paint. Wait for the piano to be totally dry before putting back any parts you removed.
For a detailed explanation on how to paint your piano, you can watch the YouTube video below.
How to Maintain Your Painted Piano
Taking good care of your newly painted piano helps it stay beautiful for years. Regular maintenance prevents damage to the paint and keeps your piano looking fresh. Small efforts each week save you from big repair jobs later. A well-kept painted piano brings joy both to players and viewers in your home.
Now, let’s look at the tips for keeping your painted piano in top shape:
- Dust your piano weekly with a soft, clean cloth. Avoid chemical cleaners that might harm the paint. A slightly damp microfiber cloth works best for removing fingerprints.
- Keep your painted piano away from direct sunlight and heating vents. Heat and sun can make paint fade or crack over time. If possible, place your piano on an inside wall away from windows.
- Use coasters under any items you put on top of the piano. This stops water rings and scratches that can damage your paint job. Never place drinks directly on the piano surface.
- Touch up small chips right away before they get worse. Keep some of your paint stored in a small jar for quick fixes. Clean the chipped area before adding new paint.
- For extra protection, apply a gentle furniture wax once or twice a year. Test the wax on a hidden spot first to make sure it doesn’t affect the color. Apply with a soft cloth using small circular motions.
Common Mistakes to Avoid
Knowing what not to do is just as important as knowing what to do when painting a piano. Many people make simple errors that lead to poor results or wasted time and money. Avoiding these common mistakes helps ensure your piano painting project turns out well and lasts for years without problems.
Now, let’s look at the tips to help you avoid the most common piano painting mistakes:
- Skipping proper cleaning before painting: Dirt under paint causes bumps and peeling
- Rushing between coats of paint: Each layer needs full drying time
- Using the wrong type of brush: Quality brushes prevent streaks and loose bristles
- Applying paint too thickly: Thin, even layers work much better
- Removing masking tape too late: Pulling tape while paint is still slightly wet
Wrapping Up
Now you know how to paint a piano from start to finish! With some time and care, you can turn an old, boring piano into something you’ll be proud to show off.
Remember to pick the right paint, clean well before starting, use thin coats, and let each layer dry fully.
Once your piano is painted, keep it clean and away from heat to make your work last longer.
Want to try it this weekend? Start by picking your color and getting your supplies ready. Don’t worry if you’ve never done this before – just take it slow and follow each step.
Your newly painted piano will soon be the star of your room. Happy painting!