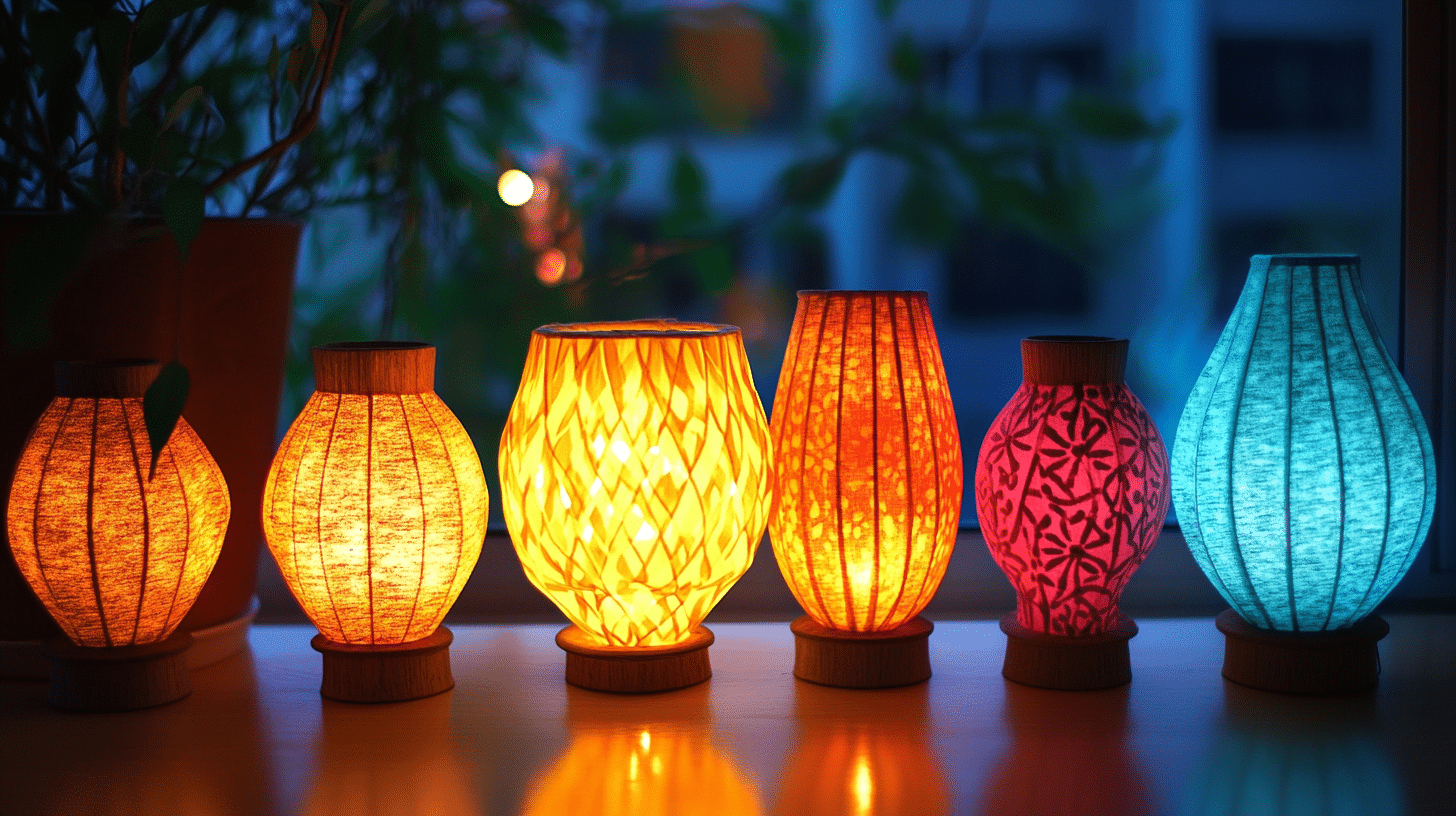
How to Make a DIY Lantern for All Ages
Making pretty lights for your home doesn’t need to break the bank. I know how hard it can be to find good-looking lanterns that fit both your style and money limits.
After trying many cheap store options that fell apart, I learned to make my own.
I want to share my tested method for creating simple but nice lanterns that cost less than $15 each. These lights last longer than store-bought ones, and you can match them to your home’s look.
In this guide, I’ll show you the basic items you need, three easy steps to build your lantern, and tips to make it look good.
Plus, I’ll share some money-saving tricks I picked up along the way.
List of DIY Lantern Projects I Usually Try When Bored
1. Paper Bag Mini Lights (Approximate Cost – $2-4)
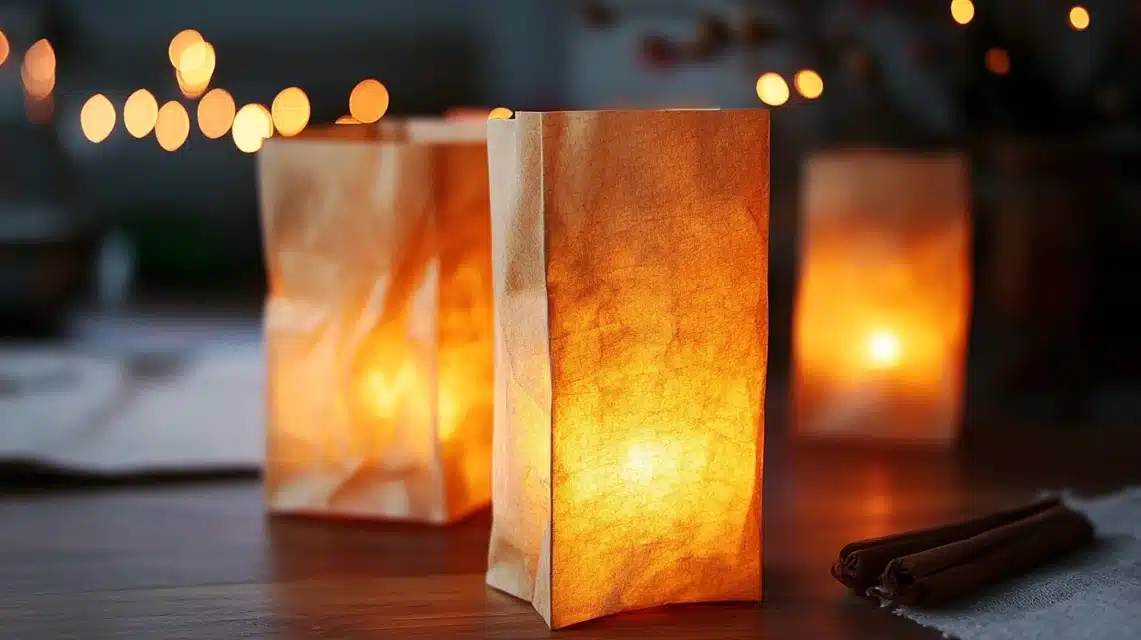
Tools & Materials Required
- Small paper bags (lunch bag size)
- LED tea lights
- Scissors
- Pencil
- Clear tape
- Paper punch (optional)
- Ruler
- Design patterns (if desired)
Step-by-Step Process
- Fold each paper bag’s top edge down 1 inch
- Draw your pattern on the bag with a pencil
- Cut out the patterns with scissors
- Make small holes using the paper punch if needed
- Place the LED tea light in the bag
- Fold the top edge to secure
- Use tape to hold the fold in place
- Space bags 6 inches apart when setting up
2. Tin Can Glow Lamp (Approximate Cost – $10-13)
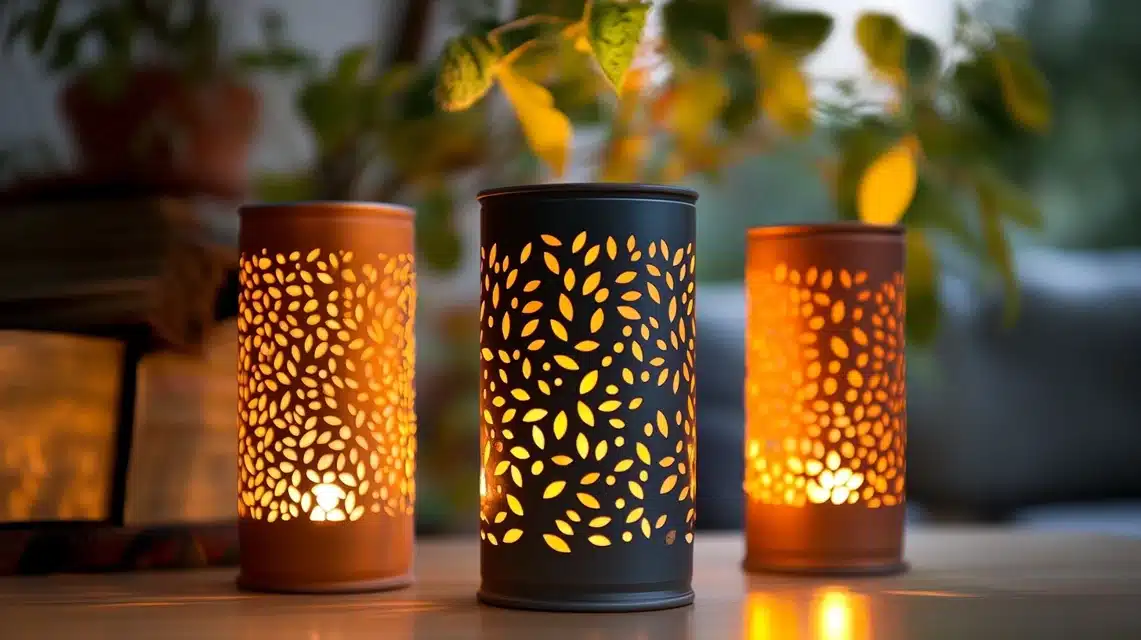
Tools & Materials Required
- Clean tin can
- Hammer
- Nail
- Marker
- Wire for handle
- Wire cutters
- LED light or candle
- Work gloves
- Safety glasses
- Sandpaper
Step-by-Step Process
- Clean the can well and remove the label
- Sand rough edges smooth
- Fill the can with water and freeze (helps prevent denting)
- Draw your pattern with a marker
- Put on safety gear
- Make holes with nails and a hammer
- Let the ice melt and dry can
- Add a wire handle through two holes at the top
- Place light source inside
3. Glass Jar Light Holder (Approximate Cost – $10-12)
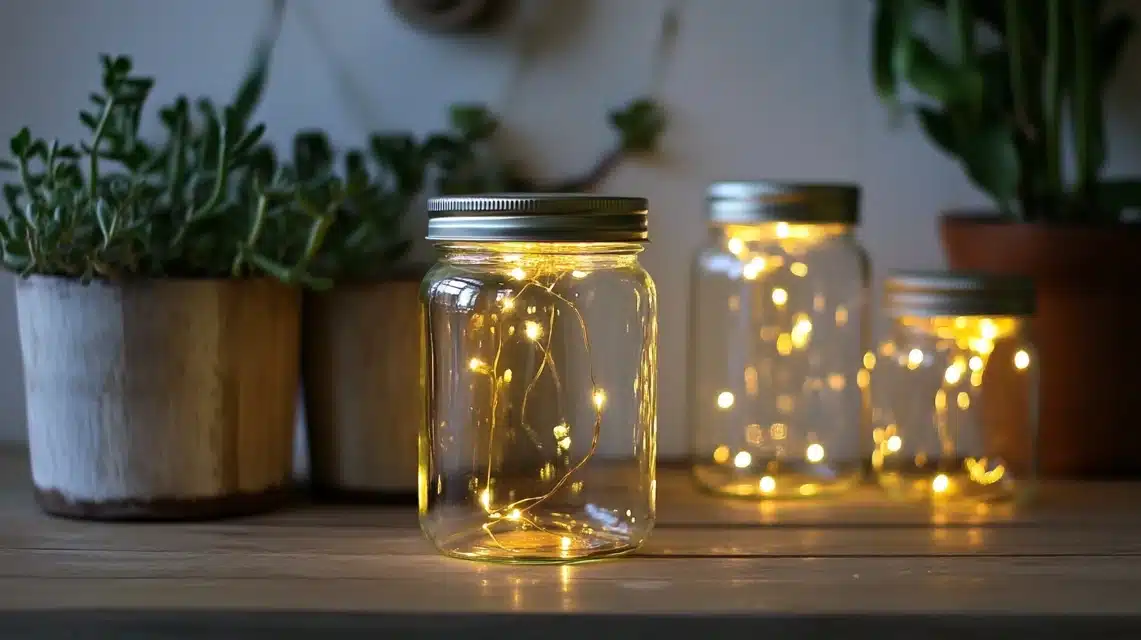
Tools & Materials Required:
- Clean glass jar
- String lights or LED candle
- Paint or tissue paper
- Glue
- Brush
- Scissors
- Rubber band
- Paper towels
- Cleaning solution
Step-by-Step Process
- Clean the jar fully and dry
- Remove labels and sticky residue
- If painting, apply thin layers of paint
- If using tissue, cut paper to size
- Apply glue to jar surface
- Wrap tissue paper or continue painting
- Let dry completely
- Add a light source inside
- Place in the desired spot
4. Milk Jug Night Light (Approximate Cost – $7-9)
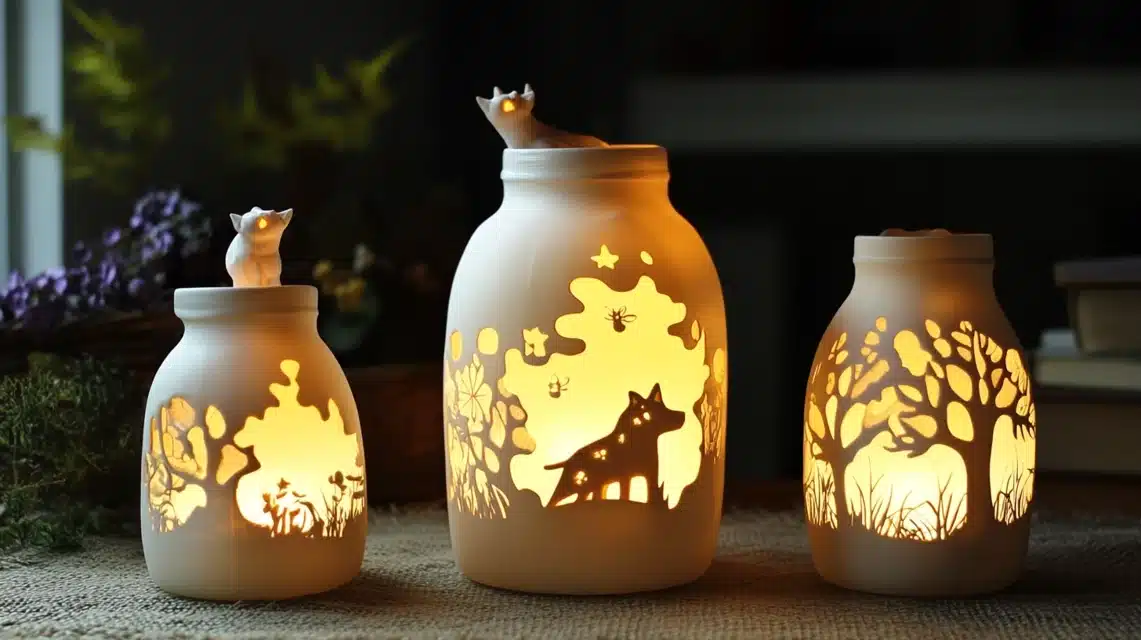
Tools & Materials Required
- Clean plastic milk jug
- Box cutter or scissors
- Marker
- LED lights
- Decorative tape
- Cleaning supplies
- Paper towels
- Design template
Step-by-Step Process
- Wash jug thoroughly
- Dry completely inside and out
- Draw your design on the jug
- Cut carefully along lines
- Smooth any rough edges
- Clean up cut areas
- Add decorative tape to the edges
- Insert LED lights
- Test light placement
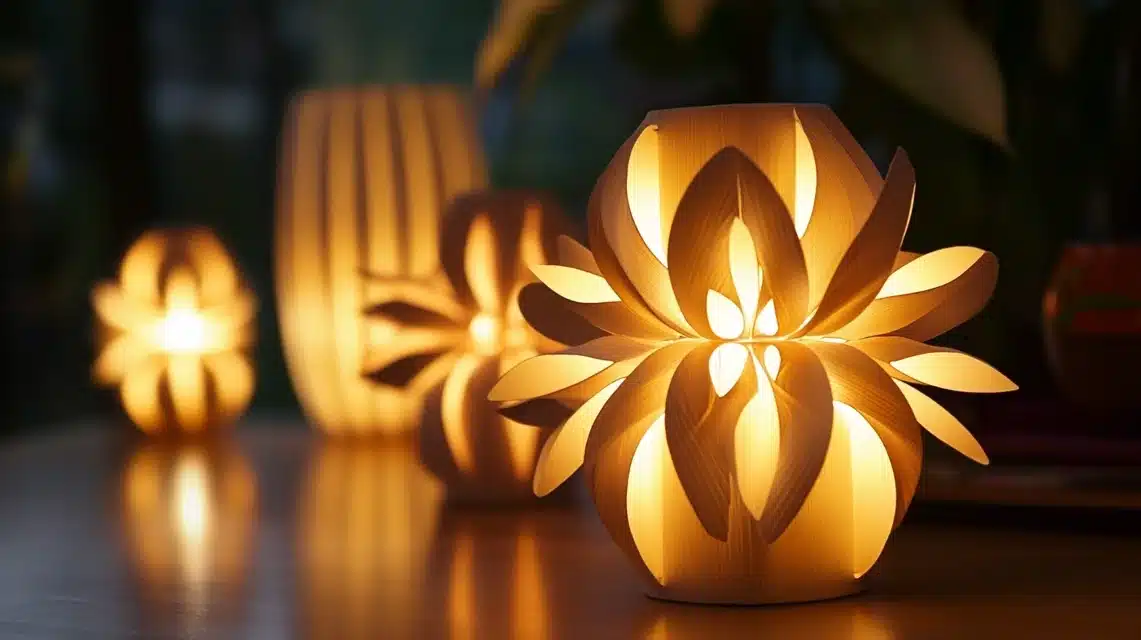
5. Paper Roll Table Light (Approximate Cost – $3-5)
Tools & Materials Required
- Paper towel rolls or toilet paper rolls
- Paint
- Brush
- String lights
- Scissors
- Tape
- Base (wooden or sturdy cardboard)
- Glue
- Ruler
Step-by-Step Process
- Collect several paper rolls
- Cut rolls to different heights
- Paint rolls as desired
- Let paint dry fully
- Make small holes for lights
- Attach rolls to the base with glue
- Thread lights through holes
- Secure rolls together if needed
- Test light string
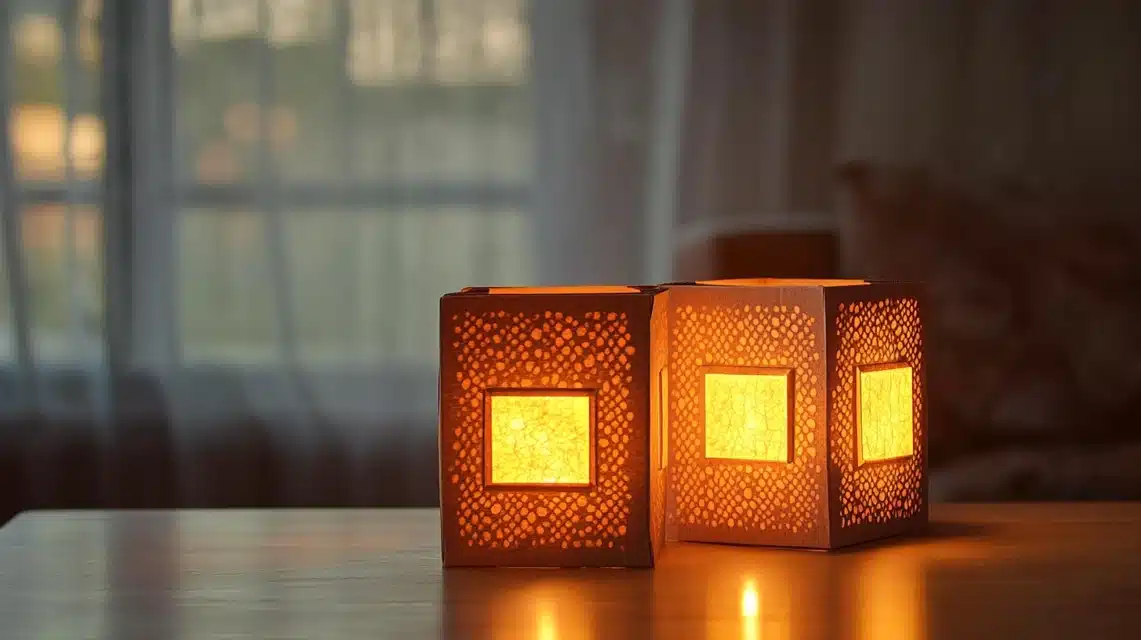
6. Cardboard Box Lamp (Approximate Cost – $8-10)
Tools & Materials Required
- Strong cardboard box
- Box cutter
- Ruler
- Pencil
- White paper
- Glue
- LED light fixture
- Safety gloves
- Decorative paper
- Clear tape
Step-by-Step Process
- Choose a sturdy box of the desired size
- Draw cutting lines on all sides
- Cut patterns carefully
- Cover inside with white paper
- Add decorative paper outside
- Make a small hole for the cord
- Install light fixture
- Test light before final setup
- Place in the desired location
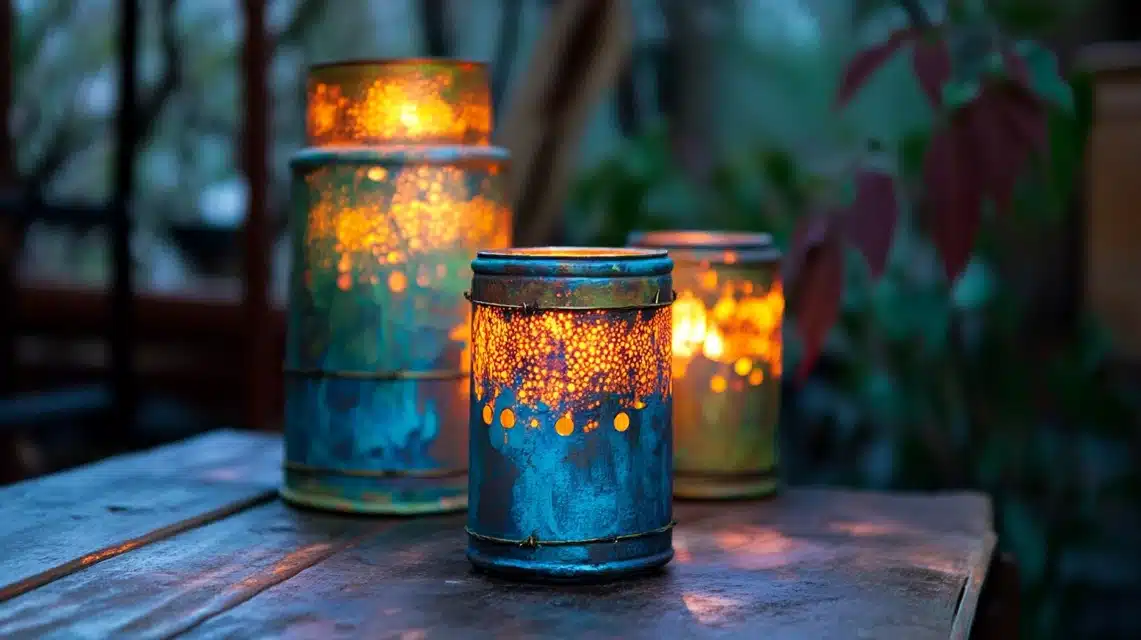
7. Paint Can Light Stand (Approximate Cost – $15-18)
Tools & Materials Required
- Clean paint can
- Drill and bits
- Work gloves
- Safety glasses
- LED light strip
- Sandpaper
- Metal paint
- Paintbrush
- Clean rags
- Primer
Step-by-Step Process
- Clean can thoroughly
- Sand the surface smooth
- Apply metal primer
- Let the primer dry completely
- Paint the can
- Drill pattern holes
- Sand hole edges are smooth
- Install LED strip
- Test light pattern
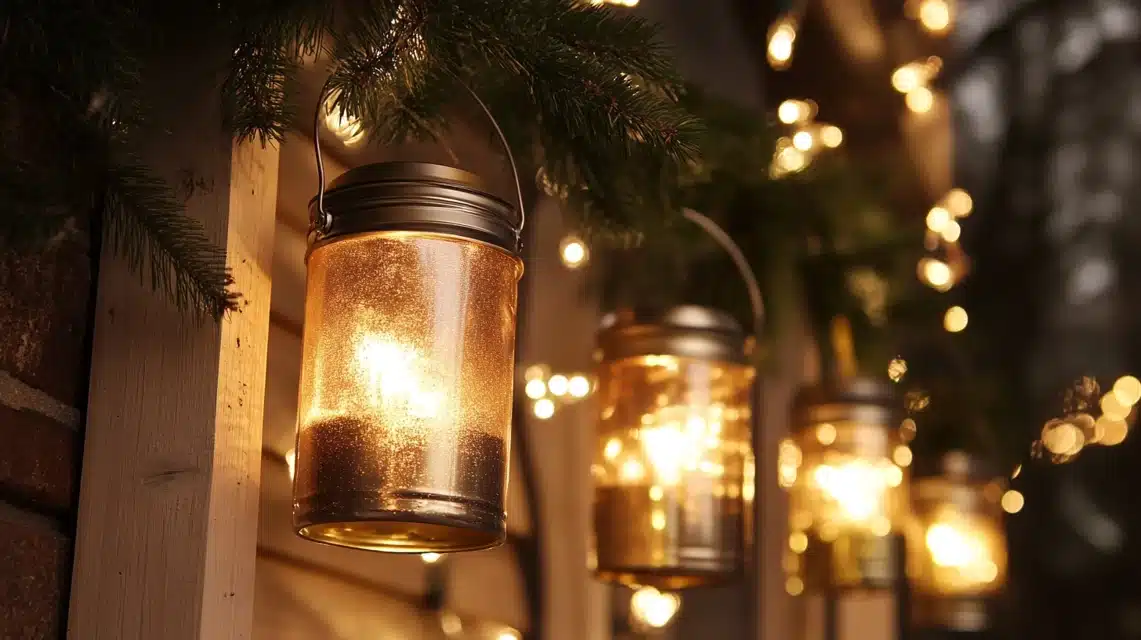
8. Coffee Can Porch Light (Approximate Cost – $16-19)
Tools & Materials Required
- Large coffee can
- Outdoor LED light
- Weather sealant
- Drill
- Metal paint
- Paintbrush
- Wire for hanging
- Pliers
- Work gloves
- Cleaning supplies
Step-by-Step Process
- Remove the label and clean the can
- Sand any rough spots
- Paint can with metal paint
- Add weather sealant
- Make drainage holes at the bottom
- Create hanging holes at the top
- Insert light fixture
- Attach hanging wire
- Test outside in dry weather
9. Ice Cream Tub Glimmer Light (Approximate Cost – $7-9)
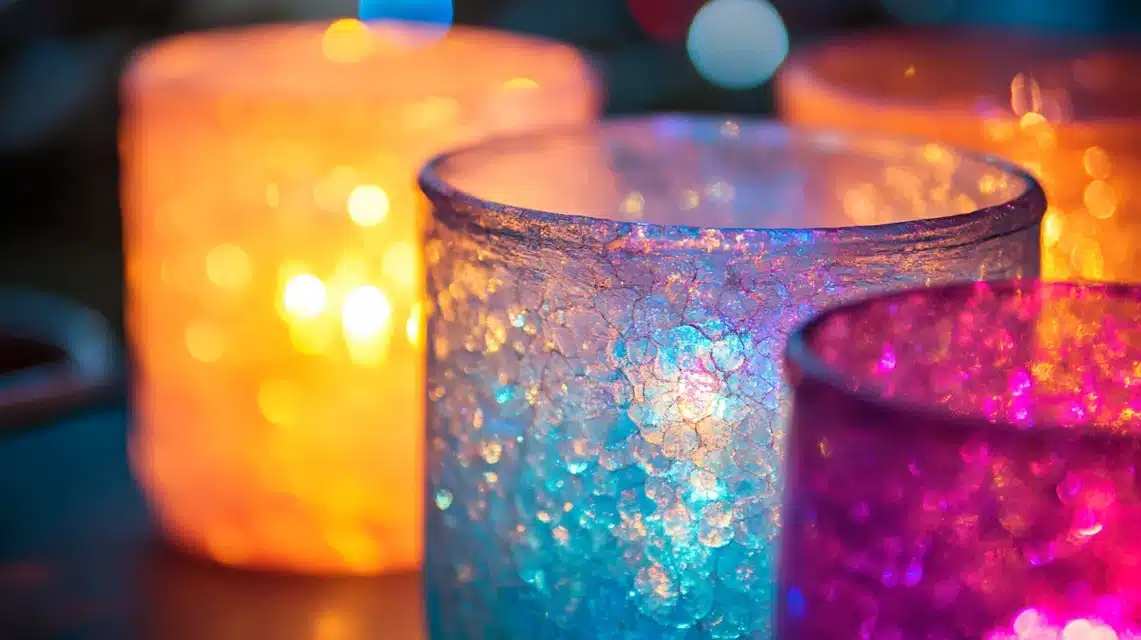
Tools & Materials Required
- Clean ice cream tub
- Battery LED lights
- Decorative paper
- Glue stick
- Scissors
- Ruler
- Pencil
- Clear tape
- Small rocks (for stability)
- Hole punch
Step-by-Step Process
- Washtub and dry well
- Plan your design
- Cut decorative paper
- Apply paper to tub sides
- Make light holes if needed
- Add small rocks at the bottom
- Place lights inside
- Secure lid if using
- Add finishing touches
10. Plastic Bottle Light Holder (Approximate Cost – $5-7)
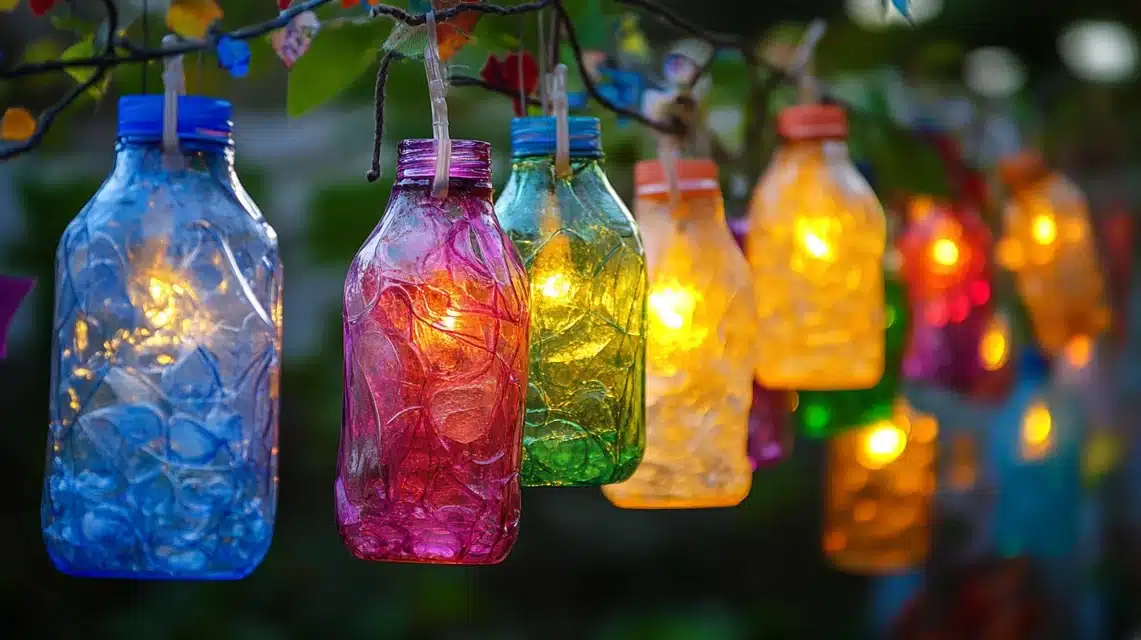
Tools & Materials Required
- Clean plastic bottle
- Scissors
- LED lights
- Paint
- Brush
- Marker
- Safety gloves
- Decorative tape
- Cleaning supplies
- Ruler
Step-by-Step Process
- Clean bottle completely
- Remove all labels
- Mark cutting lines
- Cut bottle to desired shape
- Sand any rough edges
- Paint as desired
- Let paint dry fully
- Add LED lights
- Test light setup
11. Old Book Light Stand (Approximate Cost – $22-25)
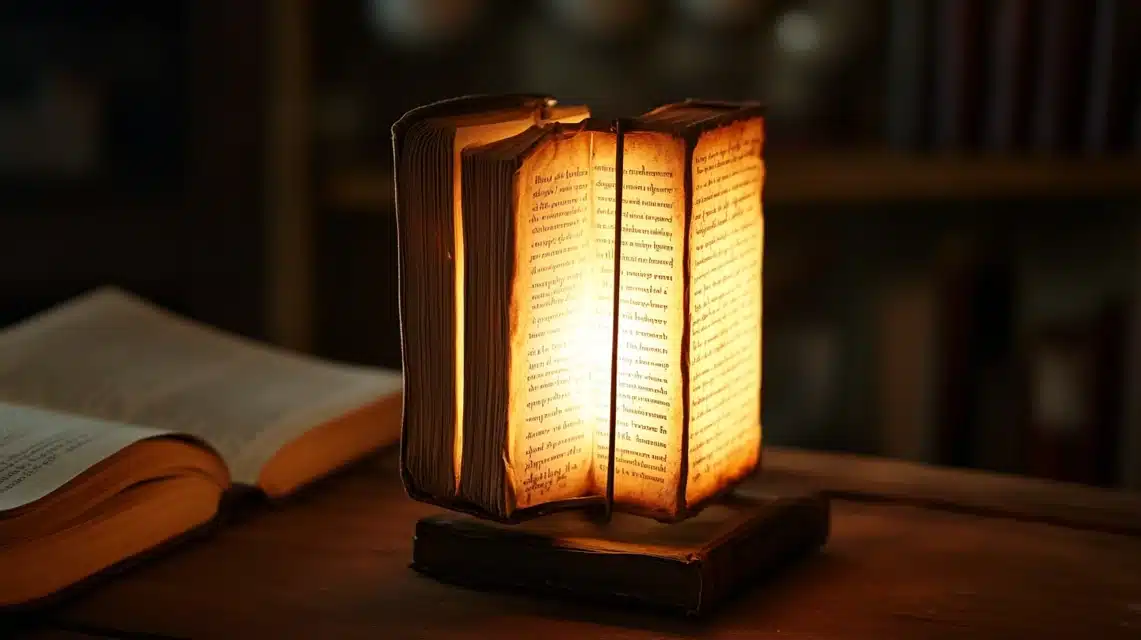
Tools & Materials Required
- Hardcover book
- Box cutter
- Ruler
- Pencil
- White glue
- LED light strip
- Clear tape
- Safety gloves
- Work mat
- Cleaning cloth
Step-by-Step Process
- Select a sturdy book
- Mark cutting area inside
- Cut pages carefully
- Create light space
- Glue remaining pages
- Let the glue dry fully
- Add light strip
- Hide cord neatly
- Test light setup
12. Wire Frame Light Box (Approximate Cost – $20-23)
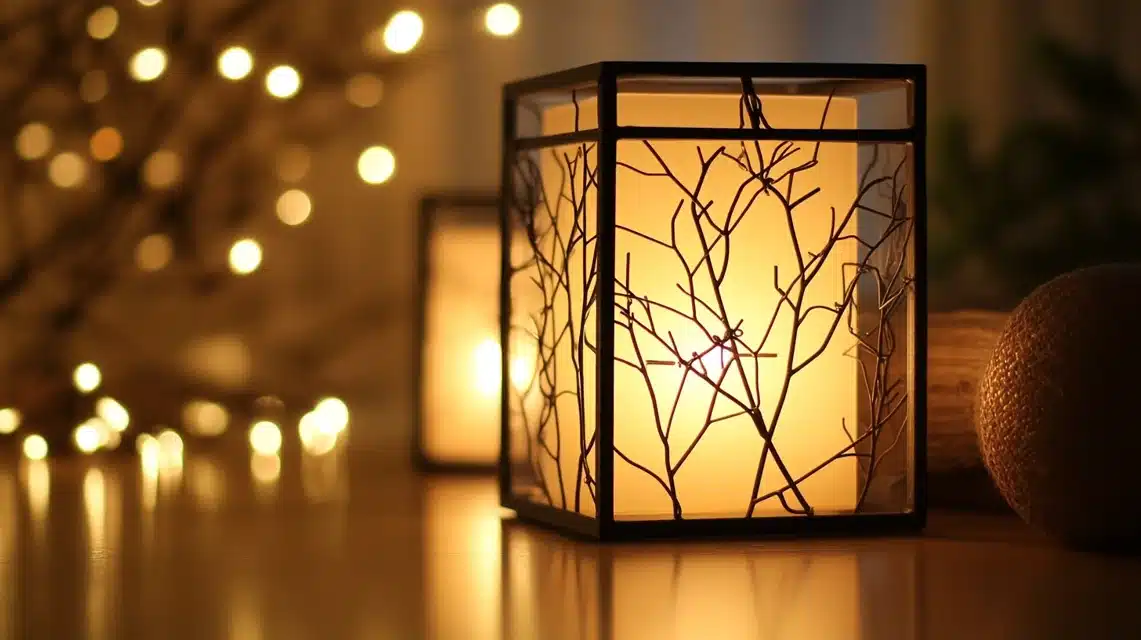
Tools & Materials Required
- Wire mesh
- Wire cutters
- Pliers
- LED string lights
- Gloves
- Metal clips
- Ruler
- Marker
- Small ties
- Base wood piece
Step-by-Step Process
- Measure wire mesh
- Cut to size needed
- Form box shape
- Connect corners
- Add base support
- Wrap lights around the frame
- Secure all parts
- Hide extra wire
- Check light pattern
13. Clay Pot Table Light (Approximate Cost – $20-23)
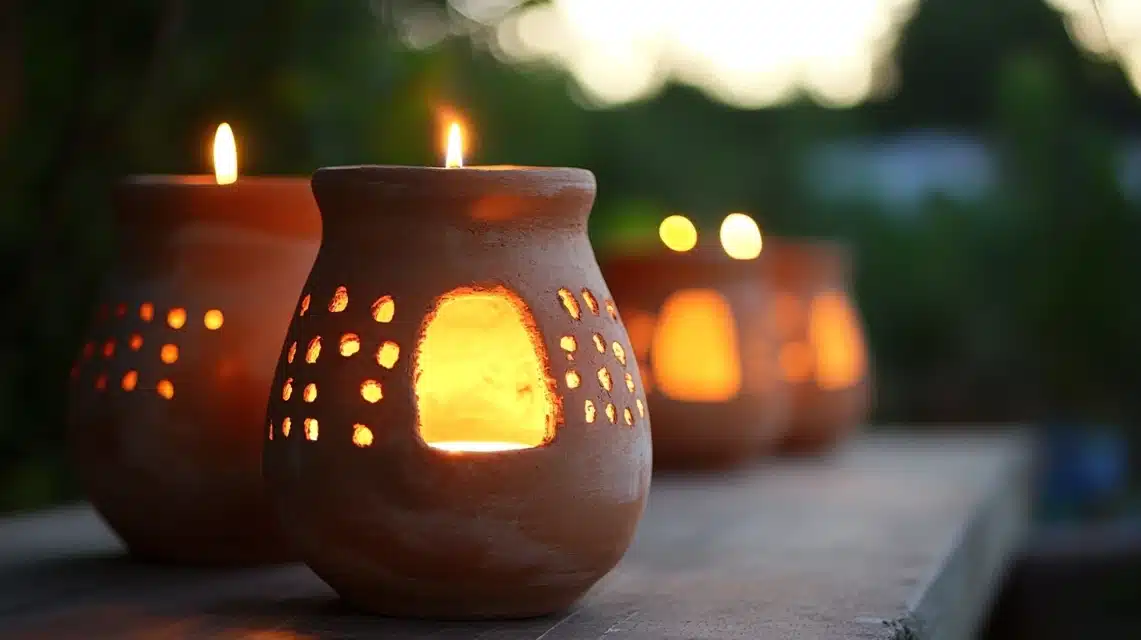
Tools & Materials Required
- Terra cotta pot
- LED light set
- Paint
- Brushes
- Clear sealer
- Saucer
- Drill
- Safety glasses
- Work gloves
- Newspaper
Step-by-Step Process
- Clean pot and saucer
- Make the drain hole bigger
- Paint pot as desired
- Apply sealer coat
- Let dry completely
- Thread lights through
- Place on saucer
- Add cord protection
- Position and test
14. Wooden Box Light Stand (Approximate Cost – $22-25)
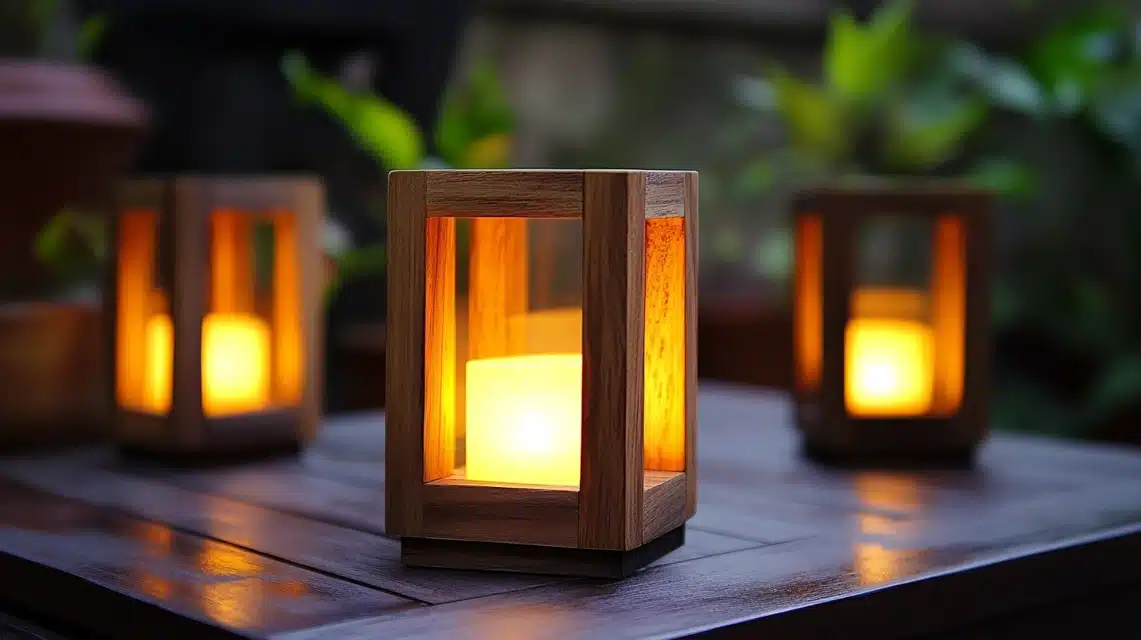
Tools & Materials Required
- Small wooden box
- Sandpaper
- Wood paint
- Paintbrush
- LED light strip
- Drill
- Wood sealer
- Safety gear
- Clean cloth
- Screwdriver
Step-by-Step Process
- Sandbox smooth
- Clean off dust
- Apply first paint coat
- Let paint dry
- Add second coat
- Make cord hole
- Install light strip
- Add sealer coat
- Test light setup
15. Egg Carton Light Box (Approximate Cost – $3-5)
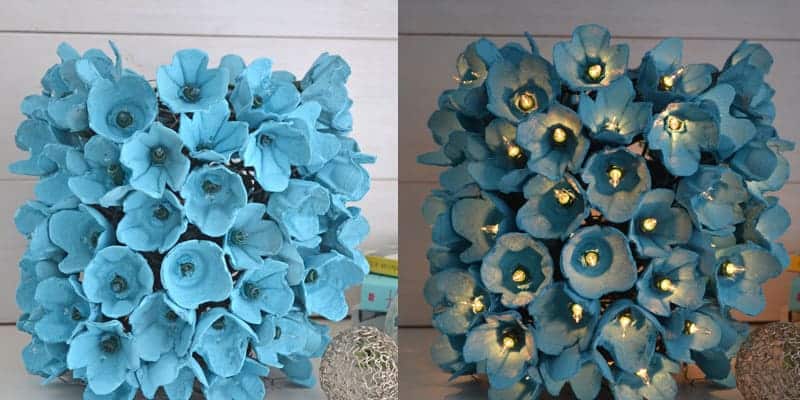
Tools & Materials Required
- Paper egg carton
- Scissors
- Paint
- Brush
- LED light string
- Clear glue
- Marker
- Base cardboard
- Paper towels
- Safety scissors
Step-by-Step Process
- Clean egg carton
- Cut off lid
- Paint inside white
- Paint outside colors
- Let dry fully
- Make light holes
- Attach to base
- Add light string
- Test light spread
16. Sand Bucket Glow Light (Approximate Cost – $17-20)
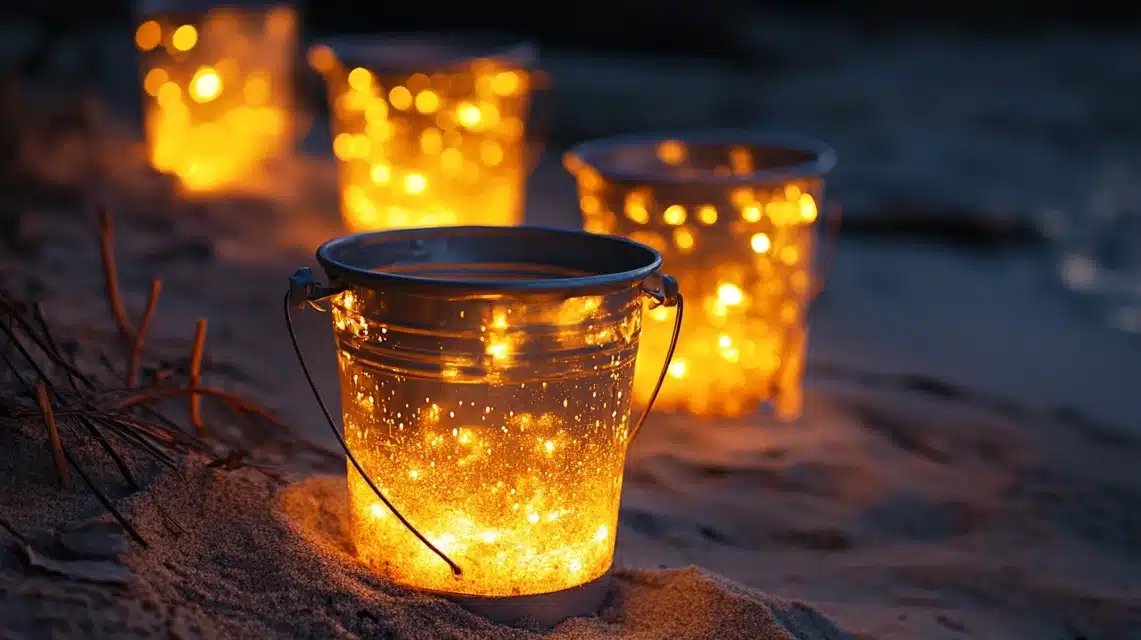
Tools & Materials Required
- Clean plastic bucket
- LED light set
- Sand
- Drill
- Small rocks
- Clear glue
- Work gloves
- Safety glasses
- Cleaning cloth
- Paint (optional)
Step-by-Step Process
- Clean bucket well
- Make drain holes
- Add a layer of rocks
- Pour in sand
- Create light space
- Place lights carefully
- Add more sand
- Level sand top
- Test light glow
How to Incorporate Technology with DIY Lanterns
| Category | Feature | Details |
|---|---|---|
| Basic Light Control | Simple Switch Installation | – Add a basic on/off switch to your lantern’s power cord – Use a push-button switch for easy handling – Pick switches that match your light’s power needs – Place the switch where you can reach it easily |
| Remote Control Setup | – Install a small remote receiver in your lantern base – Connect the receiver to your light source – Use a basic remote to turn lights on and off – Add brightness control with a dimmer remote – Make sure batteries are easy to change |
|
| Timer Functions | – Put in a timer module between power and lights – Set up daily on/off times – Choose between plug-in or battery timers – Look for timers with backup power options – Make sure the timer fits inside your lantern case |
|
| Smart Technology Add-ons | Smart Bulb Integration | – Use smart LED bulbs that connect to WiFi – Control lights from your phone – Change colors when you want – Set up light patterns – Make schedules for different times |
| Motion Sensors | – Add a small motion detector – Place the sensor near the lantern base – Set up auto-on when people come near – Choose how long lights stay on – Make sure sensor wires stay hidden |
|
| Light Level Controls | – Install a light sensor – Make lights turn on when it gets dark – Set different brightness levels – Use auto-dim features at night – Place sensors where they work best |
|
| Safety Features | Battery Backup | – Install backup batteries – Connect to the main power – Add auto-switch if power fails – Check batteries every month – Keep spare batteries ready |
| Weather Protection | – Use waterproof cases for parts – Seal all wire connections – Add drain holes for water – Cover exposed electronics – Test in different weather |
|
| Voice Control Setup | Smart Home Connection | – Link to home WiFi system – Connect to voice assistants – Set up voice commands – Create light groups – Make custom controls |
| Sound Effects | – Add small speakers – Play soft music or sounds – Control volume levels – Set up sound timers – Hide speaker wires neatly |
|
| Power Options | Solar Power | – Install small solar panels – Connect to battery storage – Add power controls – Place panels for the best sun – Include backup power |
| USB Charging | – Put in USB ports – Add battery packs – Make easy access points – Include charging cords – Set up power banks |
How Do I Create Lanterns for Events Like Weddings or Festivals?
When making lanterns for special events, the key is matching your design to the event’s mood and needs. I’ve learned that different occasions need different approaches, and I’m happy to share what works best.
1. Wedding Lanterns
Wedding lanterns need a touch of class and grace. I prefer using white rice paper for a soft, warm glow that fits the romantic mood.
My go-to method includes adding small LED string lights inside white paper lanterns with gentle lace patterns cut into the sides. For table settings, I make sets of different sizes, which looks better than using all the same size.
2. Table Number Lanterns
These are must-haves for wedding receptions. I print clear, easy-to-read numbers on light paper and cut them into the lantern sides. It’s smart to make backup lanterns – I learned this after a wedding where two got wet!
The best part is these can include the wedding’s special touches, like matching the font to other wedding items.
3. Photo Display Lanterns
These add a personal touch to weddings. I create these with square openings protected by clear covers, letting guests see special photos lit from within.
Small clips inside hold the pictures in place, and I always include extra space for adding more photos during the event.
4. Festival Lanterns
Festival lanterns need extra planning for outdoor use. I study traditional patterns for cultural festivals and use colors that match the celebration’s meaning.
Each festival has its own symbols, so getting these right matters a lot. I make sure to include strong hanging points and weather protection – festivals don’t stop for rain!
5. Holiday Season Lanterns
These need special care, too. I pick colors that match each holiday and add proper decorations. These need to be extra sturdy since they often stay up longer than other event lanterns.
I always include timer settings – it saves so much work during busy holiday times.
6. Birthday Party Lanterns
Birthday lanterns should bring fun and excitement. For age displays, I make big, clear numbers that show up well in photos.
The key is using bright colors that match the party theme. I learned to make stable bases after a windy party knocked over several lanterns!
Theme-based designs work great for kids’ parties. I match party themes exactly, from superheroes to space exploration. Different sizes create more visual interest, and I always include both hanging options and table stands for flexibility.
7. Garden and Outdoor Events
Garden party lanterns need special planning for outdoor use. I create flower patterns that match real garden colors and include proper drainage for rainy weather.
Bug-safe designs are important, too – I add mesh screens and closed tops to keep insects out while letting light shine through.
Conclusion
Making your own lanterns doesn’t need complex tools or lots of money. I started with simple paper lanterns and learned new methods along the way. Now, I can make lights for any event or space in my home.
The best part? You can start with basic items you have at home. Try the paper bag light or glass jar holder first.
Once you feel comfortable with those, move on to more fancy designs, such as wireframes or clay pot lights.
Remember to test your lights before setting them up, and always keep safety in mind. Start with one project, and soon you’ll have beautiful lights all around your home.
Why not begin today? Pick a design and gather your supplies. Your first lantern is waiting to shine!
Frequently Asked Questions
How Do I Ensure the Lanterns are Safe, Especially Concerning Fire Hazards?
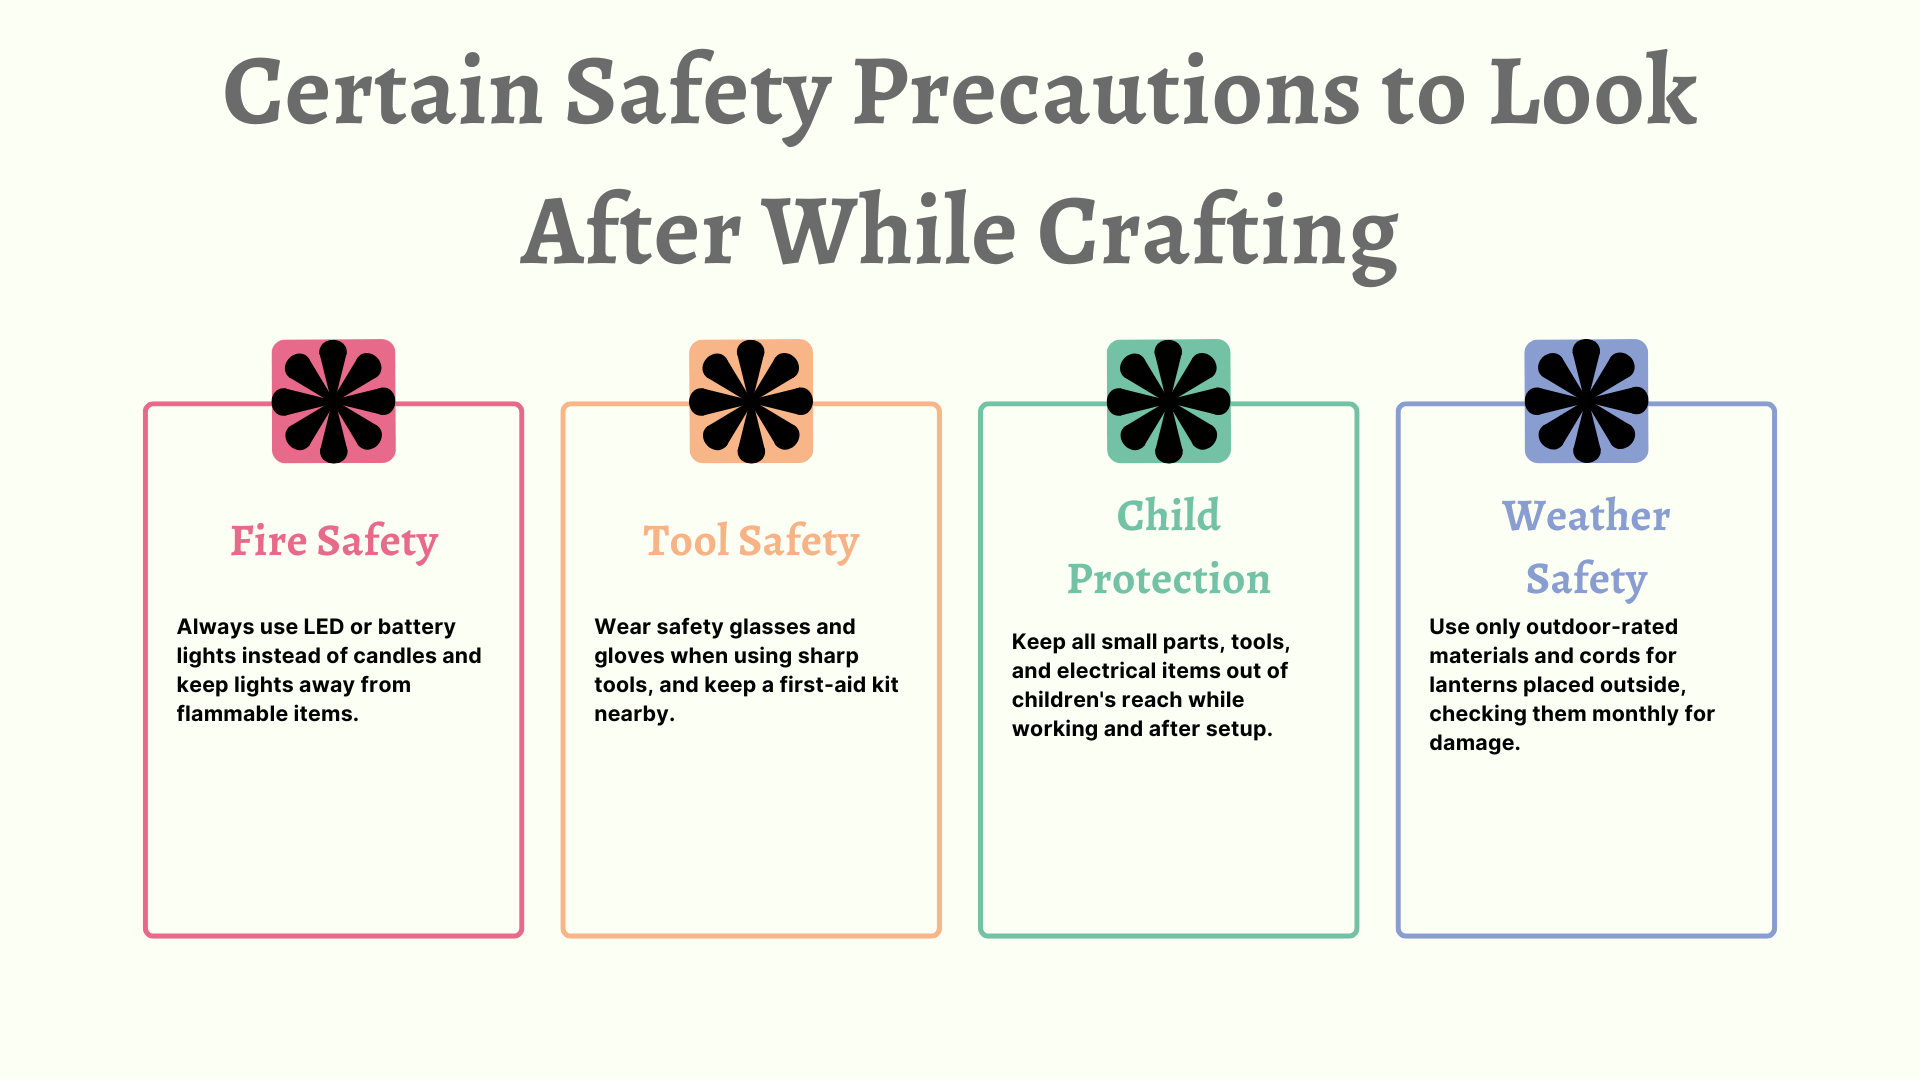
I always pick LED lights over candles, check wires monthly, keep papers away from bulbs, and use fireproof glue. Testing each lantern before display helps spot safety issues early.
Are There Eco-Friendly or Sustainable Options for Making Lanterns?
I reuse glass jars, old paper, and tin cans to make lanterns. Solar-powered lights work great, and recycled boxes make good bases. Used paper rolls create nice table lights.
What are Some Easy and Safe Lantern Projects I Can Do with My Kids?
Kids love making paper bag lights and milk jug lanterns. We use battery lights, safety scissors, and washable paint. I help with tricky parts while they handle safe tasks.

