How to Make a DIY Dog Bed: Creative Ideas and Tips
Looking for a comfy spot for your dog to rest?
Making your dog bed at home saves money and lets you create something special for your pet.
Many store-bought beds can be costly and might not match your home’s style or dog’s needs.
This guide will teach you simple ways to build a custom dog bedusing basic materials and tools.
I’ll walk through several designs that work well for dogs of all sizes.
You’ll get step-by-step instructions, material lists, and useful tips to make the process smooth and fun.
After creating hundreds of DIY pet projects and helping other dog owners do the same, I can tell you that making a dog bed is easier than you might think.
Your furry friend will have a cozy spot to call their own, and you’ll feel good knowing you made it yourself.
Let’s start creating that perfect bed for your pup!
Choosing the Best Materials for Your Dog Bed
1. The Right Fabric Matters
Cotton, fleece, and canvas are top choices for dog beds. Cotton feels soft but stays strong wash after wash.
Fleece is great for cold nights and keeps your dog snug.
On the other hand, Canvas can withstand scratching and pawing while staying in good shape.
My dog has tried them all, and these fabrics last the longest.
2. Inside the Bed
The filling gives your pet the comfort they need.
Memory foam helps older dogs rest their joints. You can also use clean old pillows – they work well and save money.
Regular foam pieces make the bed fluffy and full.
Some pet owners like cotton batting because it’s light and easy to work with.
3. Why You Need a Waterproof Layer
A waterproof liner saves your hard work.
Trust me—I learned this after a water spill ruined my first dog bed.
This layer sits between the outer fabric and the filling.
It keeps moisture from getting inside if your dog has an accident or knocks over its water bowl.
Step-by-Step Guide to Making a DIY Dog Bed
Let me walk you through making a basic dog bed to keep your pet happy.
I’ve made this process as simple as possible, using methods that worked well for many pet owners.
Step 1: Measure Your Dog
Start by watching your dog during nap time.
Notice how it stretches out or curls up. Measure its sleeping space, then add 6-8 inches to both length and width.
This extra room ensures it can shift positions comfortably.
Keep these numbers handy for your fabric shopping.
Step 2: Prepare Your Materials
Begin by cutting two pieces of your chosen fabric using your measurements.
Cut the waterproof liner just slightly smaller than your fabric pieces – this prevents bunching at the edges.
Set out your filling material and gather your sewing supplies: thread, scissors, and pins.
Step 3: Create the Bed Cover
Place your fabric pieces together with the good sides facing inward.
Pin around the edges, but leave one side open—you’ll need to fill this gap later.
Sew three sides with a half-inch seam, then turn the cover right side out.
Step 4: Add the Liner
Slide the waterproof liner inside your fabric cover.
Secure it at the corners with a few pins. Make some quick stitches to keep it in place.
This step prevents the liner from shifting around, saving you trouble later.
Step 5: Fill and Finish
Now comes the fun part.
Gradually add your filling material, checking the thickness as you go.
Press down on it to test how it feels—think about how your dog likes to rest.
Once you’re happy with the fullness, sew the final side closed with small, tight stitches.
Give the bed a good fluff and shape.
Quick Tip: Take short breaks between steps to check your work. It’s easier to fix small issues early than to redo everything later.
Creative Designs: Finding the Perfect Shape
Each dog has their own sleeping habits.
I’ve seen this firsthand with my own pets and through helping other dog owners find the right bed style.
Here are seven designs that have proven successful.
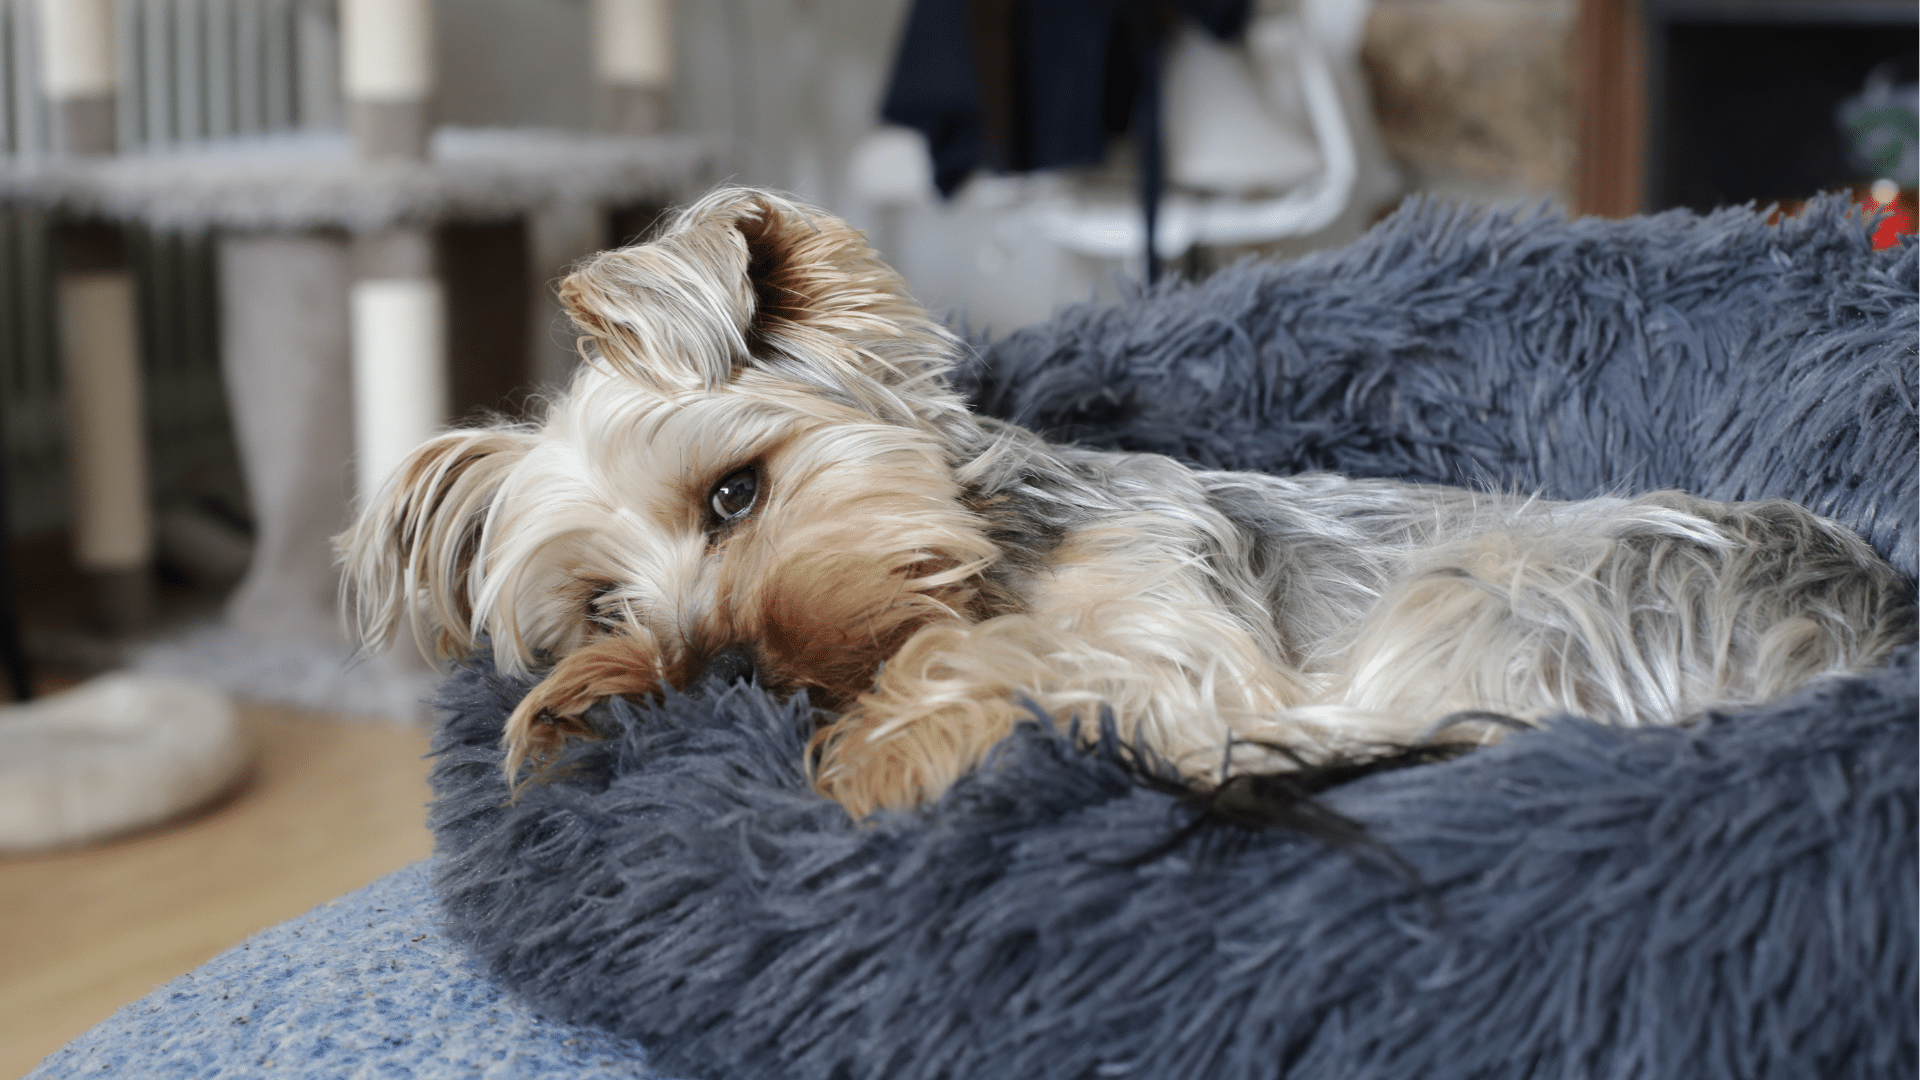
1. Round Beds
Small and medium dogs often spin in circles before settling down.
A round bed gives them space to follow this natural behavior.
My terrier loves her round bed because it matches her curling instinct.
The circular shape creates a sense of security, making it perfect for dogs tying themselves into a ball.
2. Rectangular Beds
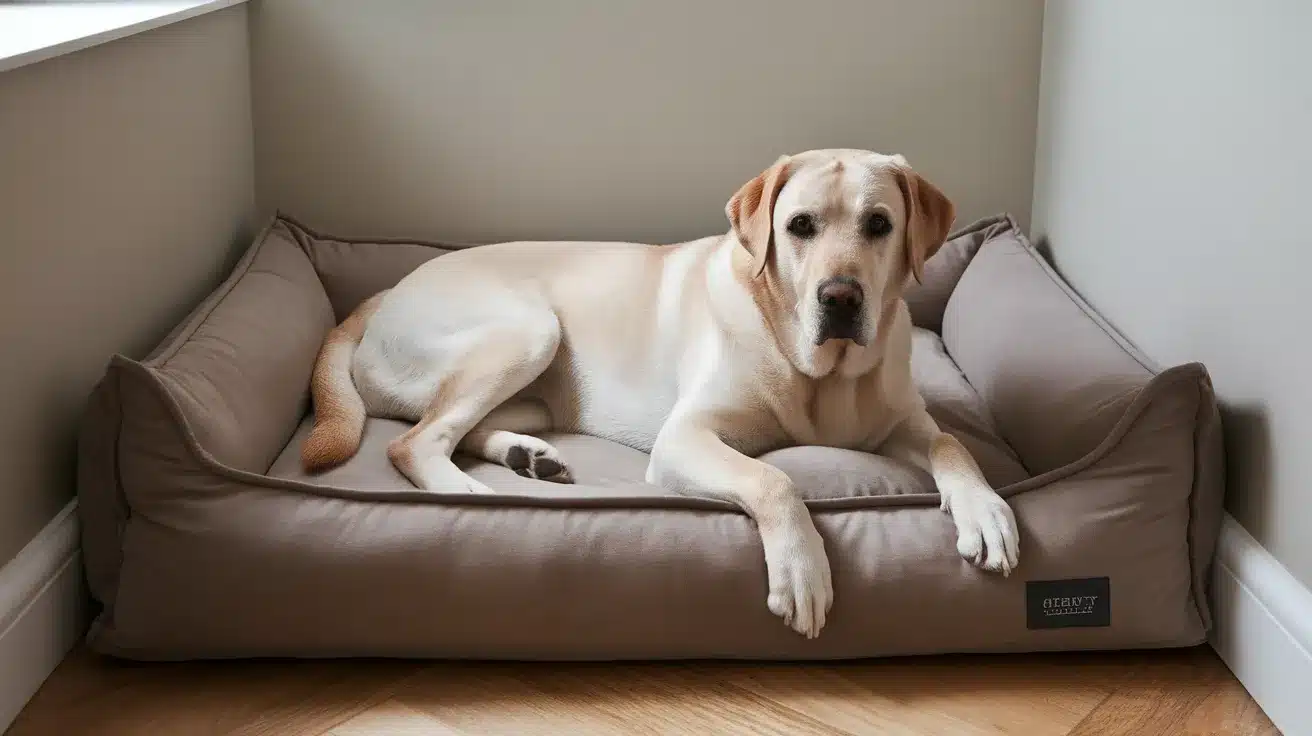
Long beds work well for larger breeds or dogs who like to sprawl out.
When my Labrador stretches during sleep, he needs that extra length.
These beds fit nicely against walls or in corners, making them great for any room layout.
3. Donut Shaped Beds
The raised edges of a donut bed create a cozy nest.
My friend’s anxious pup found comfort in this style – the high sides made him feel protected.
It’s like giving your dog a warm hug while they rest.
4. Raised Platform Beds
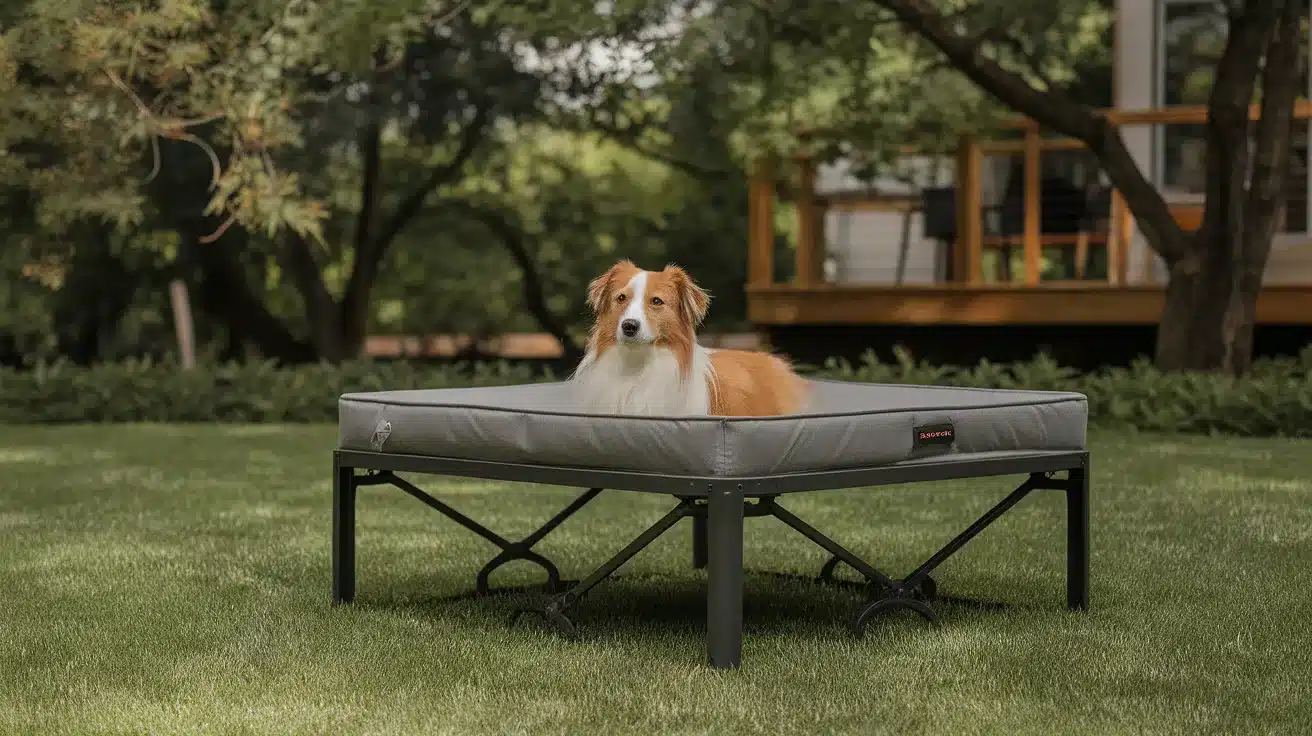
Lifting the bed off the ground helps airflow underneath, keeping your pet cool.
These work well in warm climates or for thick-coated breeds.
Plus, they keep your dog away from cold floors in winter.
5. Storage Beds
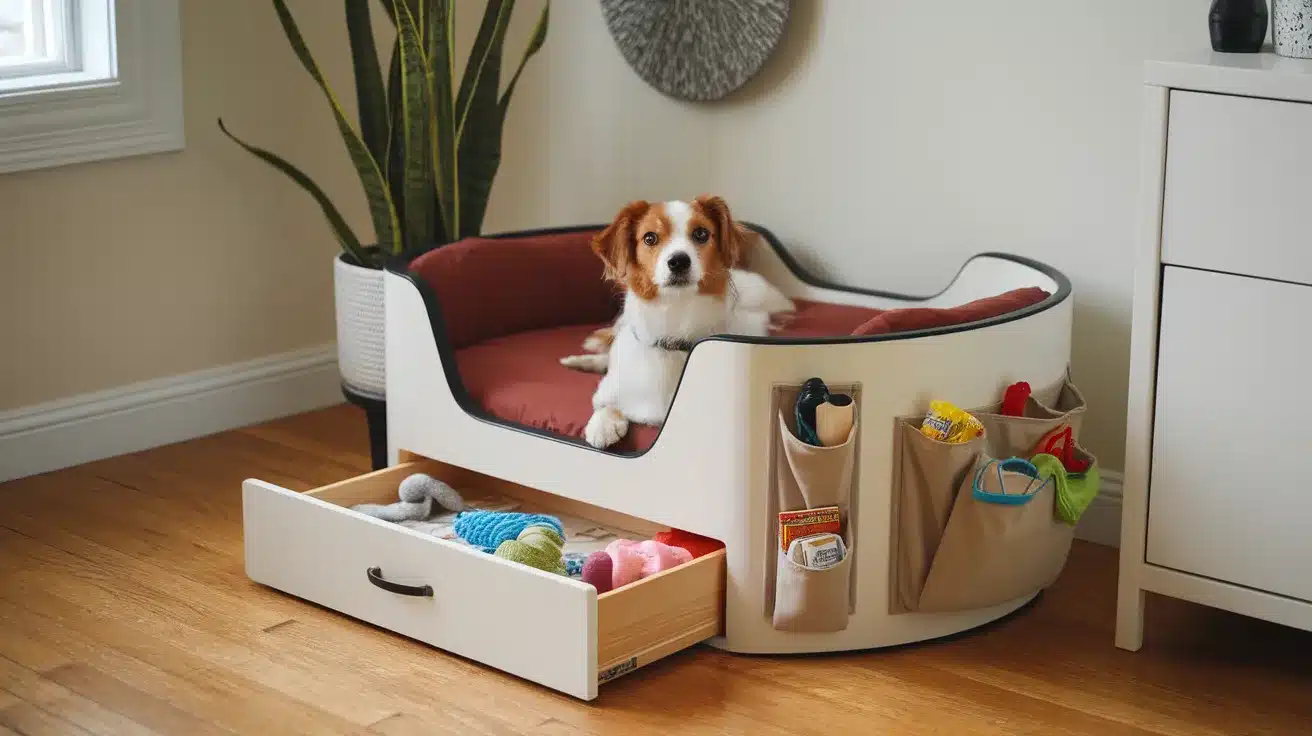
Why not make the bed do double duty?
Add a drawer underneath or pockets on the sides to store toys and treats.
This saves space and keeps pet items organized.
My small apartment became much tidier after making one of these.
6. Cushion Style
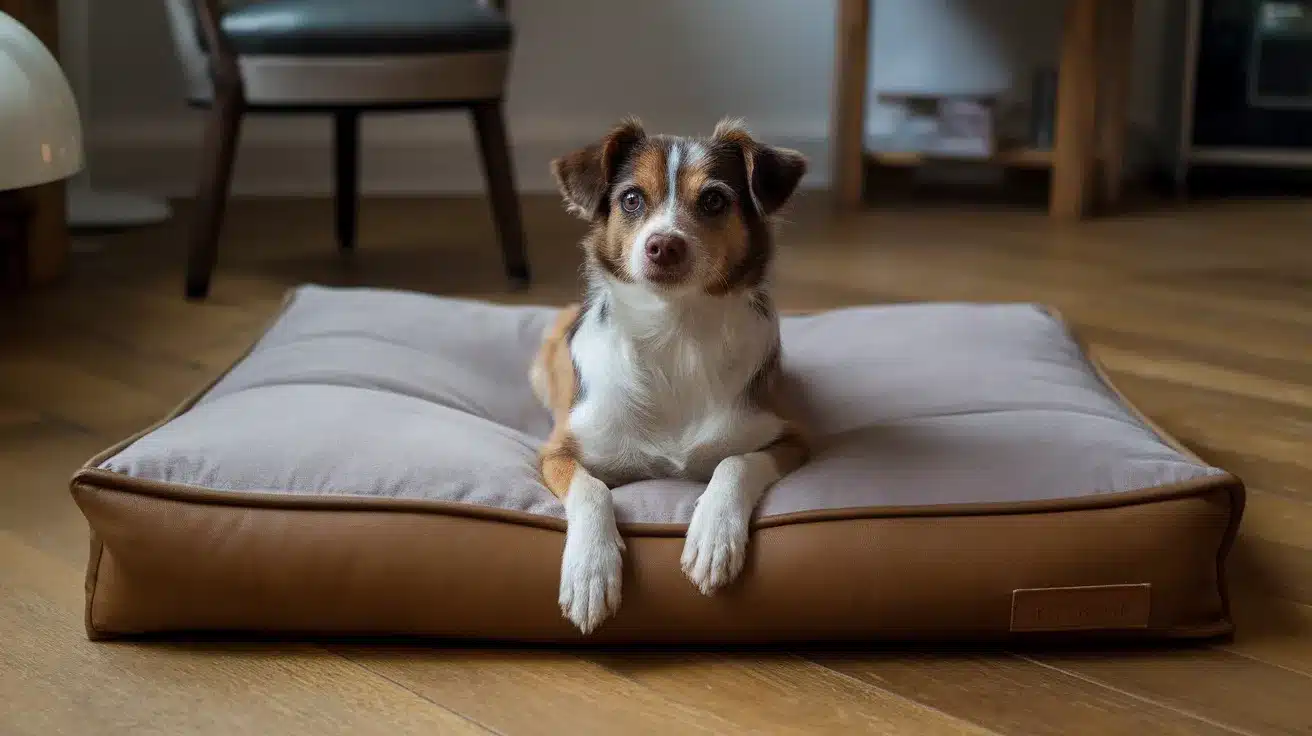
Sometimes, simple works best.
A flat cushion gives your dog freedom to use it however they please.
My client’s Chihuahua drags his cushion all over the house, choosing new spots throughout the day.
7. Customized Beds
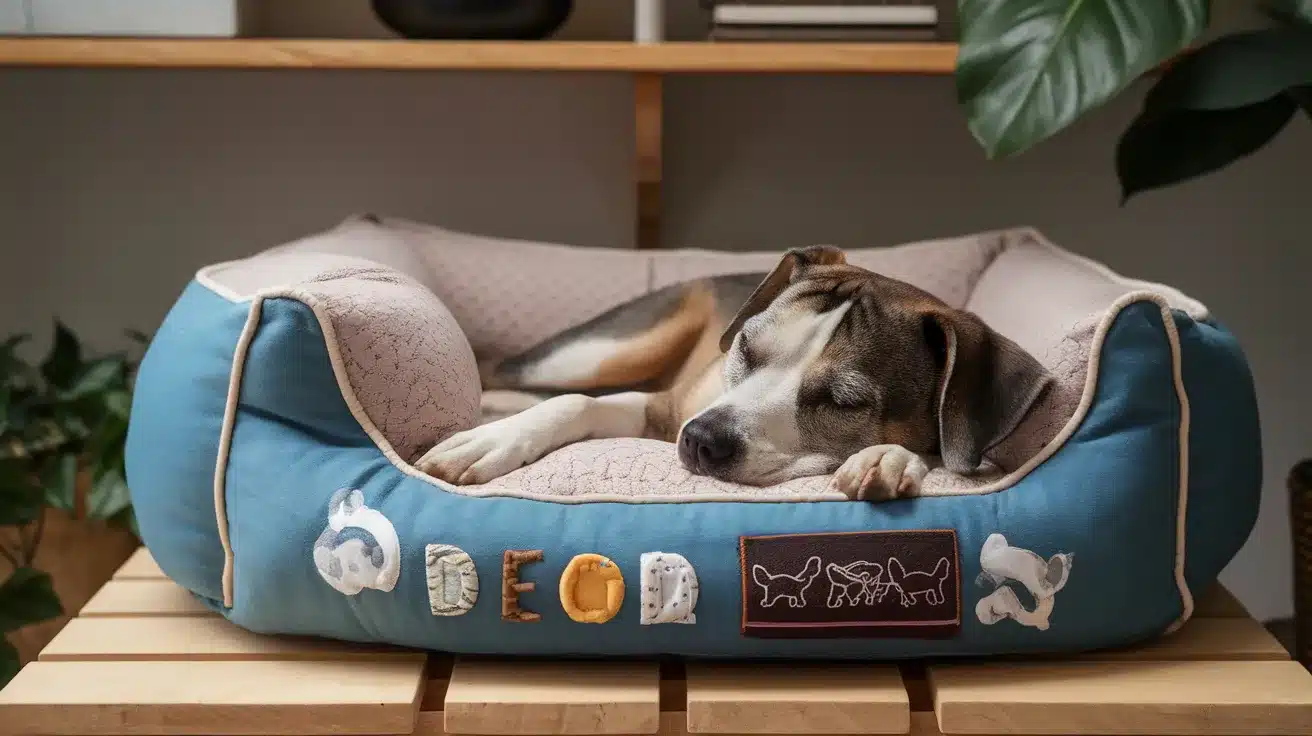
Watch how your dog sleeps and build accordingly.
If they prop their head up, add a pillow section. If they nest, create deeper sides.
The beauty of making it yourself means every detail can match your dog’s preferences.
Comfort Tips: Adding Cushions and Padding
Your dog spends many hours sleeping, so the padding in their bed matters.
After years of making dog beds, I’ve learned what makes them truly comfortable.
1. Making Layers Count
Start with a firm base layer—think dense foam or tightly packed filling.
Next, add a softer middle section that molds to your dog’s body shape.
Finally, top it off with a plush layer your dog can snuggle into.
Think of it as building a sandwich of comfort.
2. Support Where It Matters
Memory foam works wonders, especially for older dogs or those with sore joints.
I’ve seen dogs who wouldn’t use other beds fall in love with memory foam.
Put a 2-inch piece at the base, then add softer layers.
Your dog’s body heat will help the foam mold perfectly to its shape.
3. Smart Padding Tricks
Make sections in your bed filling by sewing channels or pockets.
This stops the padding from moving around too much.
Add or remove filling from each section until you find what your dog likes best.
In my experience, Dogs often show you what they need.
If your pup keeps dragging blankets to its bed, it might want more softness. If it avoids the bed, try less filling.
4. Test the Comfort
Press your hand into the bed.
It should sink in slightly but not hit the floor.
The filling should spring back when you lift your hand, which means it will keep its shape over time.
Maintenance Tips for a Long-Lasting Dog Bed
A clean, well-maintained bed keeps your dog healthy and happy.
Let me share what I’ve learned about making dog beds last longer.
1. Regular Cleaning Makes a Difference
Put a washable cover on your dog’s bed—cleaning is much easier.
Shake the bed outside once a week to remove loose fur and dirt. For small messes, dab the spot with warm water and mild soap.
When the whole bed needs washing, follow the care instructions for your fabric.
Most covers can go in the washing machine on a gentle cycle with cold water.
2. Making It Last
Pick materials that can handle rough treatment.
I’ve found that tight weave fabrics last much longer than loose ones.
Double-stitch the seams where your dog often steps or digs.
Keep the bed away from direct sun to prevent fading and fabric breakdown.
3. Fresh Filling Matters
Press down on different spots to check the filling every three months.
If you notice thin areas or lumps that won’t smooth out, it’s time for a new one.
Depending on how much my dog uses it, his bed must be filled every 6-12 months.
4. Quick Fixes Save Time
Fix small tears right away – they only get bigger if you wait.
Keep matching thread and a few fabric patches ready for repairs.
If your dog likes to chew, spray the bed with pet-safe bitter apple spray to protect it.
Each week, a few minutes of care saves you from replacing the whole bed. Your dog will thank you, and have many happy naps!
Conclusion
Making your own dog bed is simpler than you might think.
I’ve helped many pet owners create beds their dogs truly enjoy, and you can do it, too.
The best part?
You get to pick every detail – from the shape to the softness level.
Now, you have all the tools and know-how to build a cozy spot for your pup.
Take your time with each step, and don’t worry if it’s not perfect at first. Your dog will love it because it came from you.
If you need help along the way, refer to this guide.
Remember, the most important ingredient is the care you put into making it.
Are you ready to start? Your dog’s new favorite spot awaits!
Share your finished bed photos in the comments below – I’d love to see what you create.
Frequently Asked Questions
How Long Does It Take To Make A DIY Dog Bed?
For beginners, set aside 2-3 hours.
Once you’ve gathered your materials, the sewing and assembly usually take about an hour.
Can I Make A Dog Bed Without Sewing?
Yes!
You can create a no-sew bed using fleece and the tie method or use an old pillow and secure the fabric with fabric glue.
What Size Should The Bed Be For A Growing Puppy?
Make the bed slightly larger than your puppy needs now.
Add 12-15 inches to their current length to account for growth over the next few months.