How to Create Stunning Beginner Epoxy Projects
Making things with epoxy can feel scary at first. Trust me, I know – I started with zero experience and made plenty of mistakes along the way. But here’s the good news: you don’t need special skills to create beautiful epoxy items.
I’ve spent years working with epoxy, and I want to help you skip the trial and error phase. In this guide, I’ll walk you through simple epoxy projects that look great but don’t need fancy tools or methods.
Ready to make something special? I’ll show you exactly what materials to buy, how to mix epoxy safely, and the steps to follow.
By the end of this post, you’ll feel confident starting your first epoxy project.
Let’s get started!
How to Create Beginner Epoxy Projects
Tools & Materials Required
- Epoxy resin (1:1 ratio mix)
- Drill with a paddle mixer
- Mixing buckets
- Measuring cups
- Masking tape
- Propane torch or heat gun
- Gloves
- Popsicle sticks for mixing
- White epoxy dye
- Metallic powder colors (like Blue Pearl, Gold Dust)
- Epoxy dispersion fluid
- Wood surface (prepped with white epoxy undercoat)
Step-by-Step Process to Create
- Prep Work
- Round corners of wood surface
- Apply 2 coats of white epoxy undercoat
- Let dry fully
- Create Tape Dam
- Put multiple layers of masking tape around the project edges
- This holds colors in place during curing
- Mix Epoxy
- Mix parts A and B (1:1 ratio)
- Blend with a paddle mixer for 2 minutes
- Use 5-6 oz per square foot for this type
- Color Preparation
- Split mixed epoxy into separate cups
- Add epoxy dispersion fluid to cups for metallic powders
- Mix white dye into the largest portion
- Add metallic powders to smaller portions
- Stir each color well
- Combine Colors
- Pour colors back into the main bucket
- Add in layers without mixing
- Start with white as a base
- Add accent colors in small amounts
- Pour and Level
- Pour the mixture onto the surface in angled lines
- Let epoxy self-level
- Don’t tilt or manipulate the surface
- Remove Air Bubbles
- Use a torch or heat gun
- Keep moving 1 inch above the surface
- Cover entire area
- Final Steps
- Wait 3 hours
- Remove tape dam from top down
- Help edges flow with gloved fingers
- Let cure completely

Best Techniques to Avoid Mistakes
- Measure your epoxy parts exactly – I always use marked cups for the perfect 1:1 mix.
- Mix slowly to limit air bubbles – rushing creates a cloudy finish.
- Check your room temp before starting – cold spaces mess up how epoxy flows.
- Test colors on scrap pieces first – I learned this saves time and materials.
- Keep dust off your work area – even tiny bits can ruin the finish.
- Clean tools right after use – dried epoxy won’t come off later.
- Don’t rush between coats – half-cured layers can cloud up.
- Watch your epoxy thickness – too thick can trap bubbles.
Easy Epoxy Resin Projects for Beginners
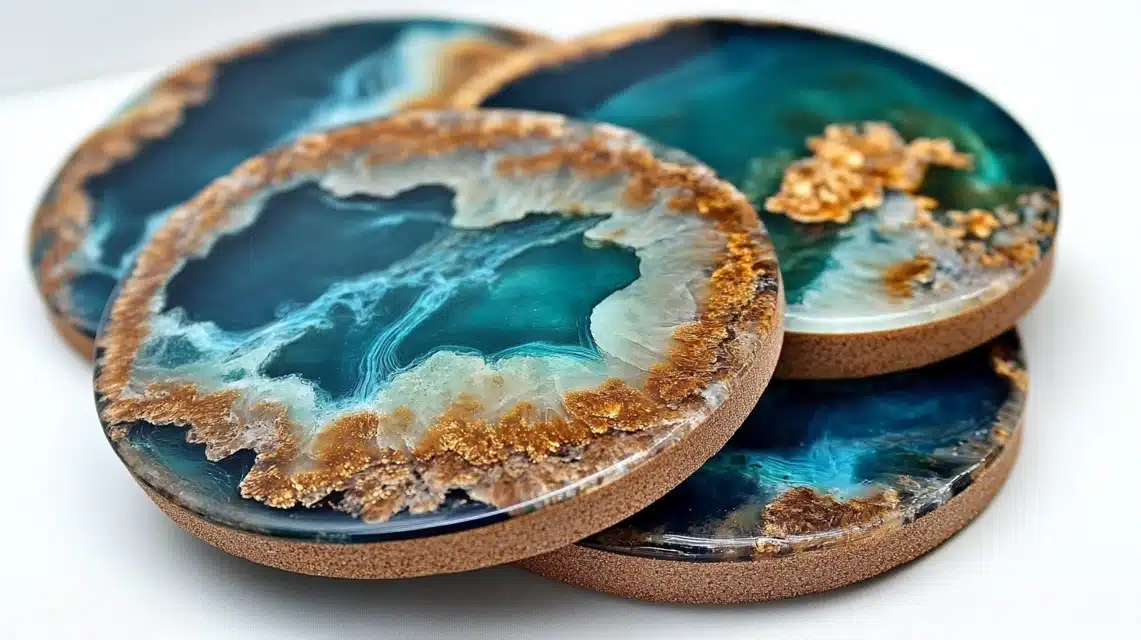
1. Coasters (Approximate Cost Range – $4-6 each)
Tools & Materials Required
- Silicone coaster molds (4×4 inch)
- Epoxy resin and hardener
- 2-3 color pigments
- Small mixing cups
- Stirring sticks
- Disposable gloves
- Heat gun or torch
- Plastic drop cloth
- Leveling tool
Step-by-Step Process
- Cover workspace with plastic
- Mix epoxy per package (usually 1:1 ratio)
- Split into small cups for colors
- Pour white or the main color first
- Add accent colors in small drops
- Use a stick to make gentle swirls
- Pop bubbles with heat
- Let cure for 24 hours
- Remove from molds
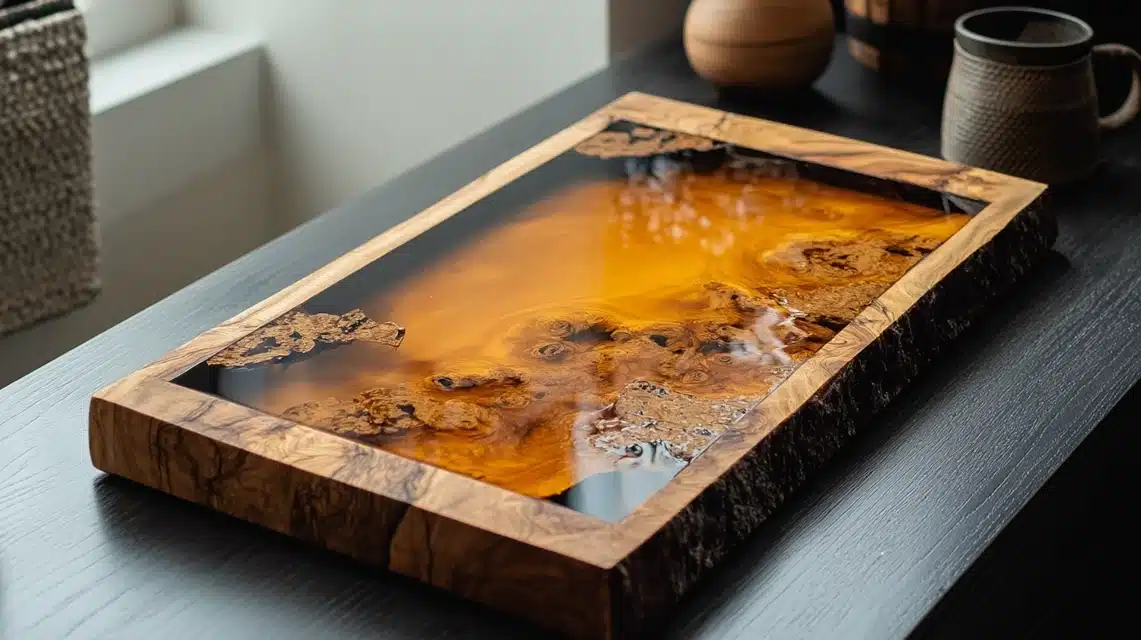
2. Serving Tray (Approximate Cost Range – $40-50)
Tools & Materials Required
- Wooden tray base
- Epoxy resin mix
- One color pigment
- Paintbrush
- Mixing bucket
- Stir stick
- Gloves
- Heat source
- Painters tape
Step-by-Step Process
- Clean wooden tray well
- Tape edges for dam
- Mix epoxy (6 oz per square foot)
- Add chosen color
- Pour in the middle of the tray
- Let spread naturally
- Remove air bubbles
- Wait 3 hours
- Remove tape
- Let cure for 24 hours
3. Small Wall Art (Approximate Cost Range – $30-40)
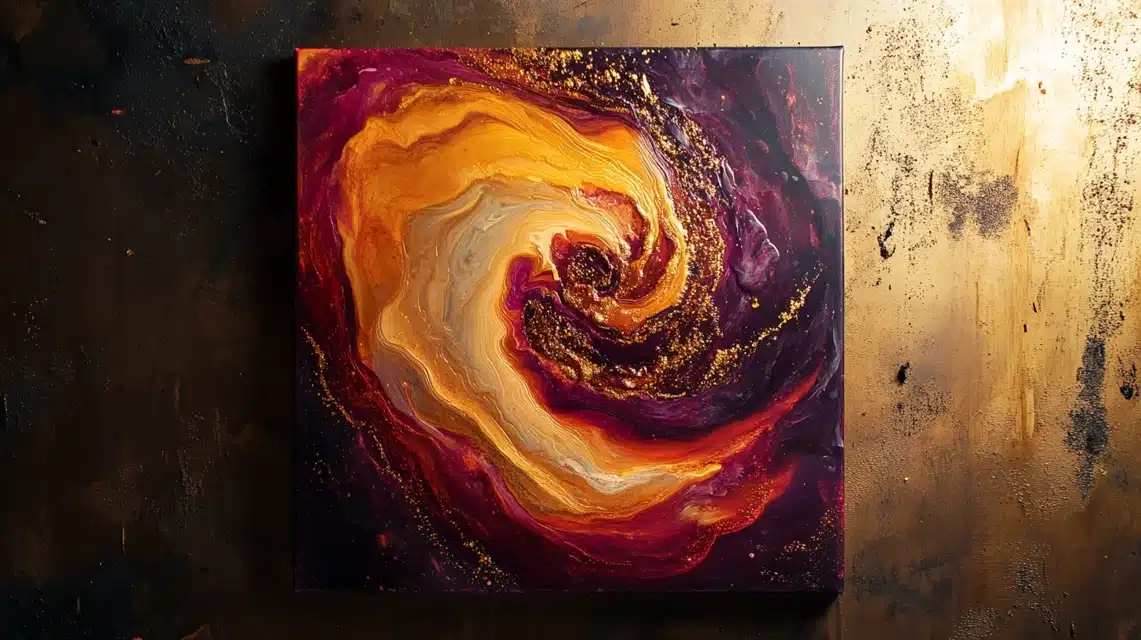
- 8×10 canvas board
- Epoxy resin mix
- 2-3 colors max
- Small cups
- Stir sticks
- Level
- Plastic sheet
- Heat gun
- Gloves
Step-by-Step Process
- Level your canvas
- Mix epoxy
- Split into colored cups
- Pour colors in sections
- Tilt for basic swirls
- Remove bubbles
- Let set 24 hours
4. Jewelry Dish (Approximate Cost Range – $20-25)
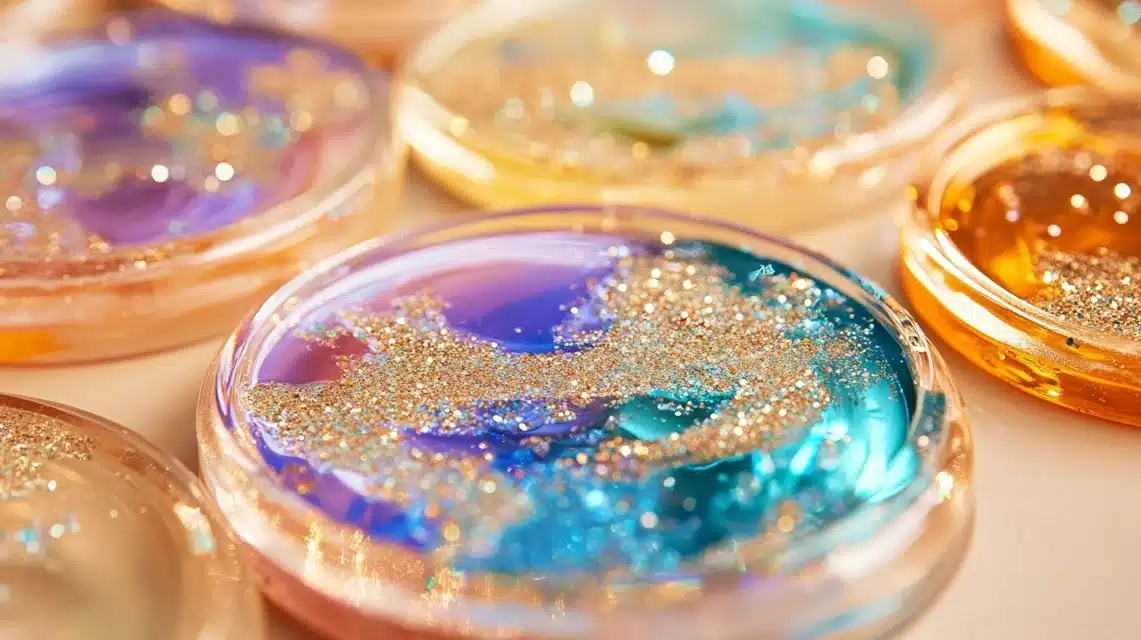
Tools & Materials Required
- Round silicone mold
- Epoxy resin
- Single color pigment
- Fine glitter
- Small mixing cup
- Stir stick
- Heat tool
- Gloves
Step-by-Step Process
- Mix small batches of epoxy
- Add color and glitter
- Pour into mold
- Check for level
- Pop bubbles
- Let cure for 24 hours
- Unmold gently
5. Photo Frame (Approximate Cost Range – $25-30)
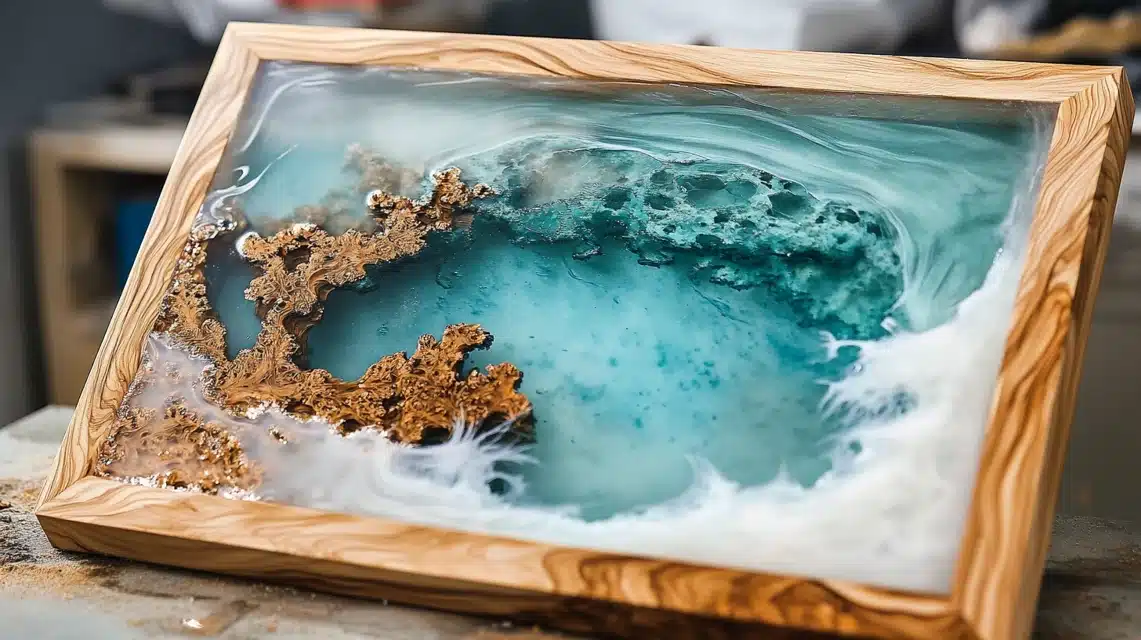
Tools & Materials Required
- Wood frame
- Clear epoxy
- Mixing cups
- Brush
- Painters tape
- Drop cloth
- Heat source
- Gloves
Step-by-Step Process
- Tape off the glass area
- Mix clear epoxy
- Brush on frame
- Check coverage
- Remove bubbles
- Let cure
- Remove tape
6. Bookmarks (Approximate Cost Range – $4-5 each)
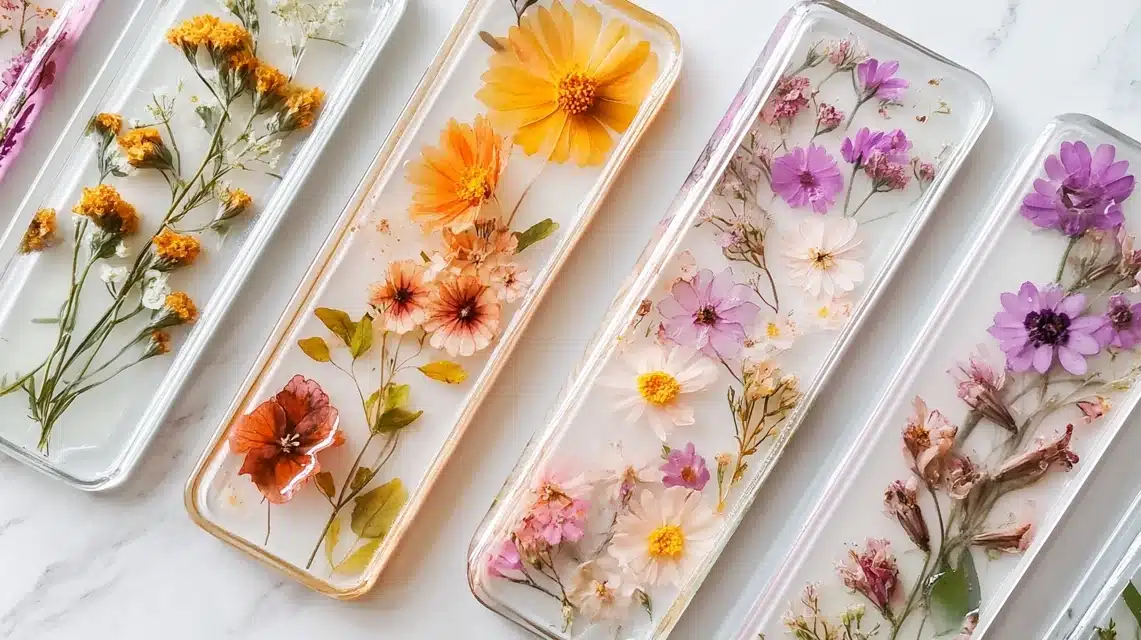
Tools & Materials Required
- Bookmark molds
- Clear epoxy
- Dried flowers
- Tweezers
- Small cups
- Stir sticks
- Heat tool
- Release spray
Step-by-Step Process
- Spray mold
- Mix a tiny batch of epoxy
- Pour thin layer
- Place flowers
- Cover with epoxy
- Remove bubbles
- Let cure
7. Key Holders (Approximate Cost Range – $30-35)
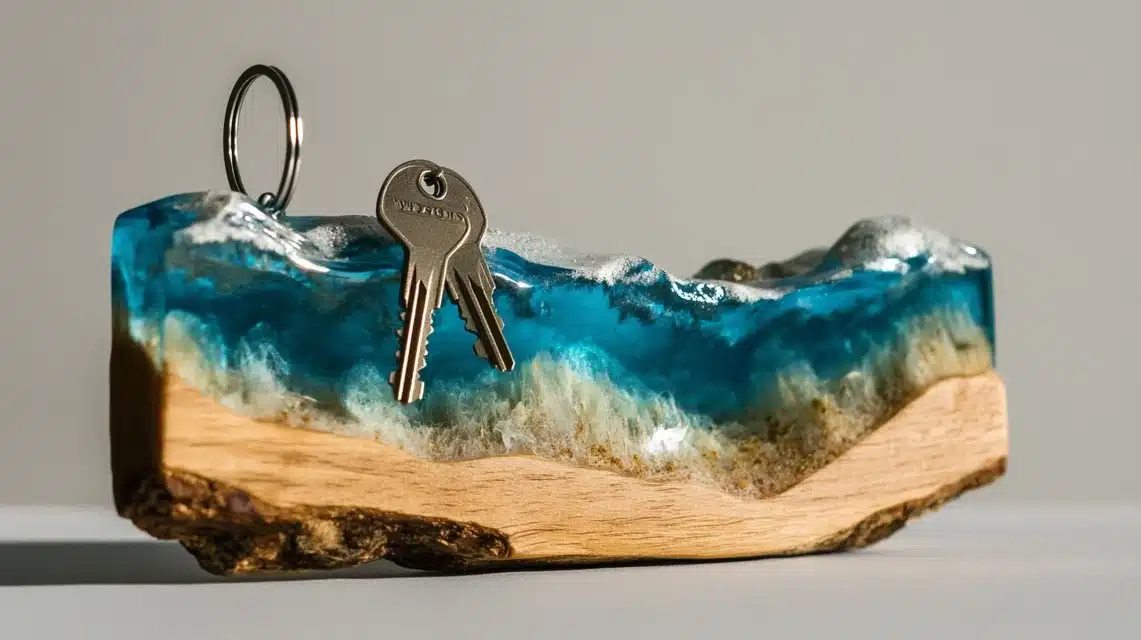
Tools & Materials Required
- Wood base
- Epoxy mix
- One color
- Hooks
- Drill
- Mixing cup
- Heat gun
- Tape
Step-by-Step Process
- Sand wood
- Mix colored epoxy
- Pour even layer
- Let cure
- Drill holes
- Add hooks
- Mount
8. Phone Stand (Approximate Cost Range – $25-30)
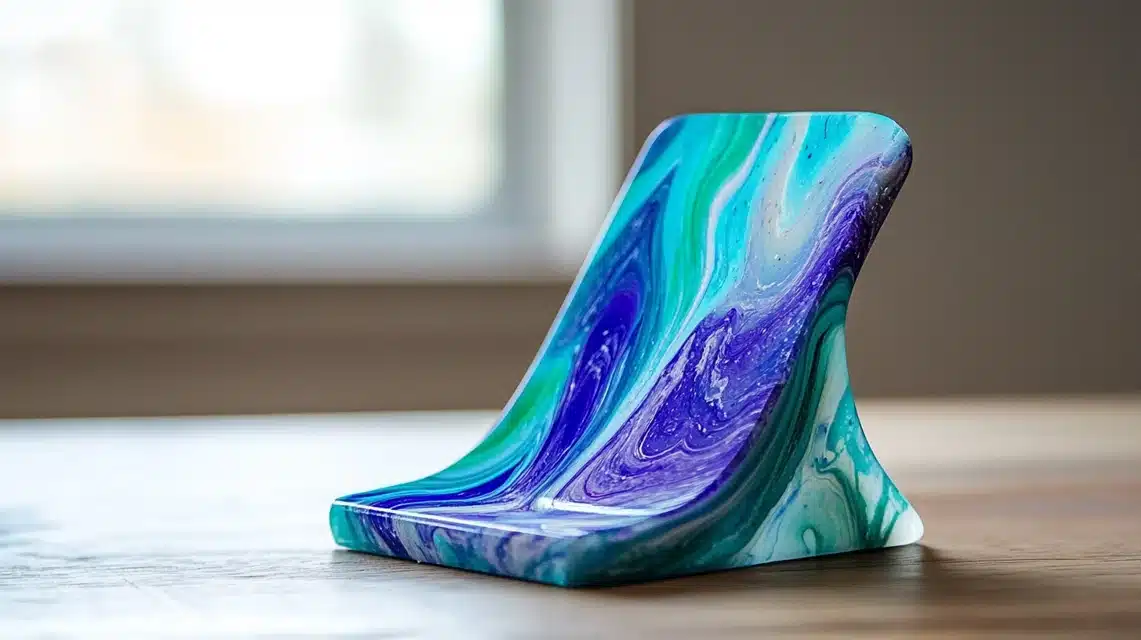
Tools & Materials Required
- Stand mold
- Epoxy resin
- Two colors max
- Cups
- Sticks
- Heat tool
- Release spray
- Level
Step-by-Step Process
- Prepare mold
- Mix base color
- Pour the first layer
- Add the second color
- Remove bubbles
- Let cure
- Sand edges
9. Plant Pot Cover (Approximate Cost Range – $30-35)
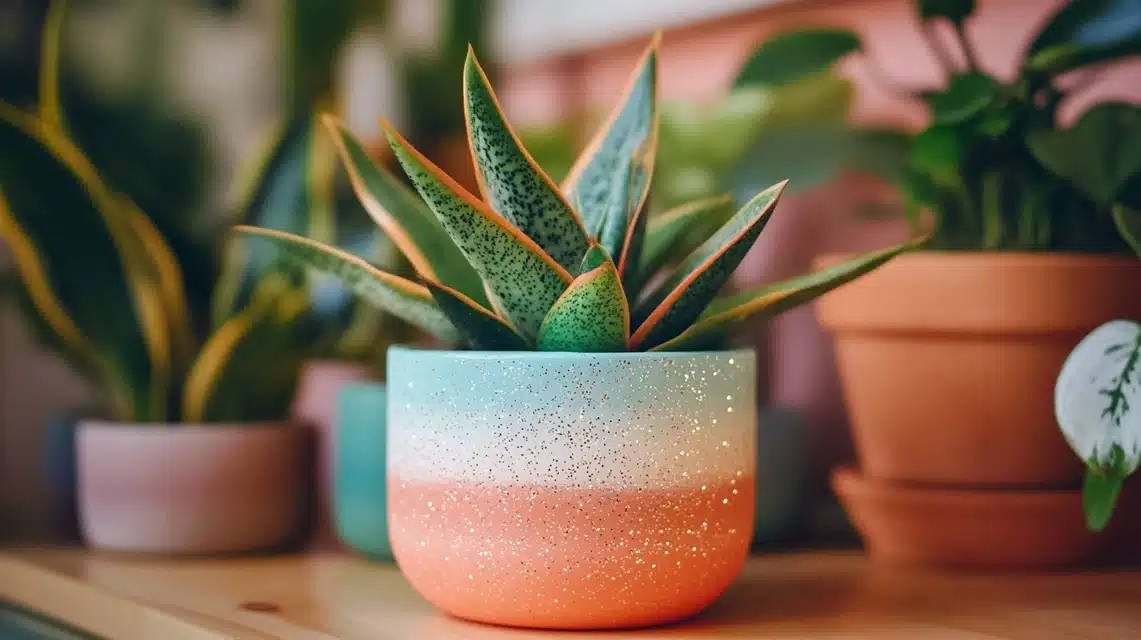
Tools & Materials Required
- Clean terra-cotta pot
- Clear epoxy
- Sparkle powder
- Brush
- Cups
- Sticks
- Drop cloth
- Gloves
Step-by-Step Process
- Clean pot surface
- Mix sparkle epoxy
- Brush on a thin coat
- Check drips
- Add second coat
- Let cure upside down
- Buff finish
10. Drawer Pulls (Approximate Cost Range – $8-10 each)
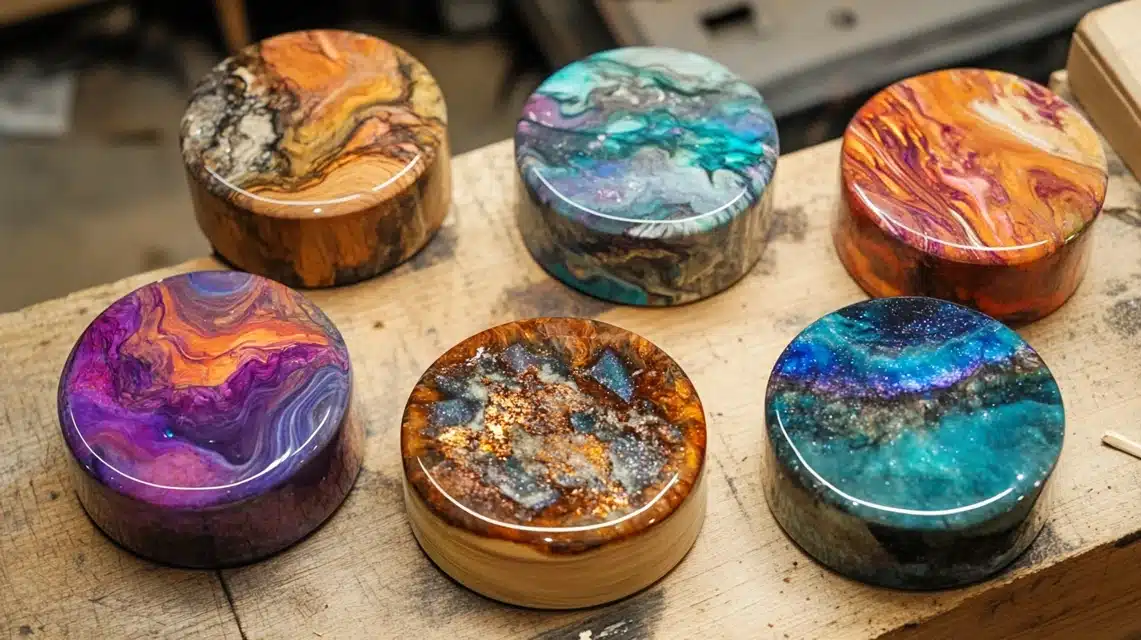
Tools & Materials Required
- Round pull molds
- Epoxy mix
- Basic colors
- Hardware
- Small cups
- Sticks
- Heat tool
- Mold release
Step-by-Step Process
- Prep molds
- Mix small batches
- Add color
- Pour carefully
- Insert hardware
- Remove bubbles
- Let cure
11. Coaster Holder (Approximate Cost Range – $25-30)
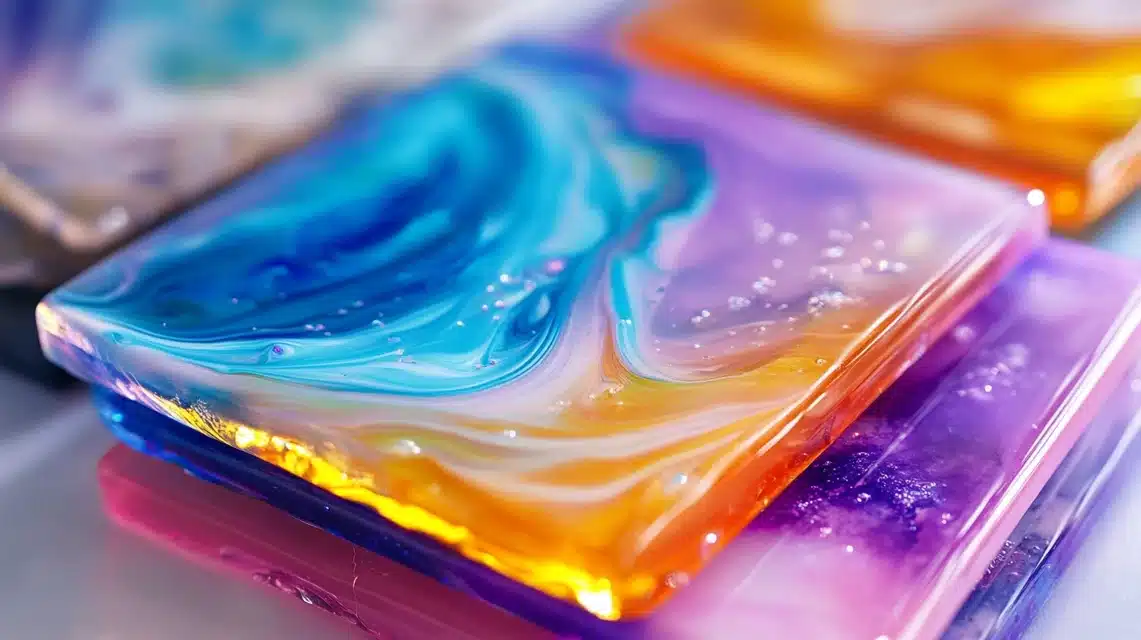
Tools & Materials Required
- Square mold
- Epoxy resin
- Matching colors
- Cups
- Sticks
- Level
- Heat source
- Release spray
Step-by-Step Process
- Prep mold
- Mix epoxy batch
- Add colors
- Pour in layers
- Level check
- Remove bubbles
- Cure fully
12. Trinket Box (Approximate Cost Range – $15-20)
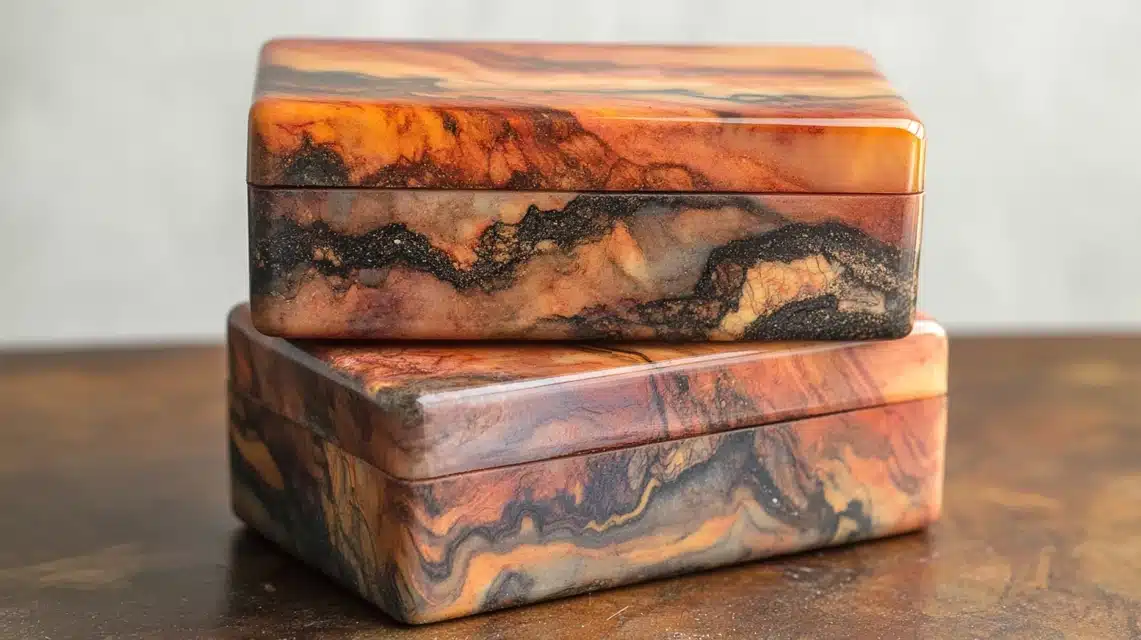
Tools & Materials Required
- Box silicone mold
- Epoxy resin mix
- 2 color pigments
- Small mixing cups
- Stir sticks
- Heat gun
- Level
- Gloves
- Release spray
Step-by-Step Process
- Spray mold with a release
- Mix epoxy in a 1:1 ratio
- Split into colored cups
- Pour base color first
- Add a pattern with a second color
- Check that the lid fits well
- Remove bubbles
- Let cure for 24 hours
- Sand edges if needed
13. Paper Weight (Approximate Cost Range – $15-25)
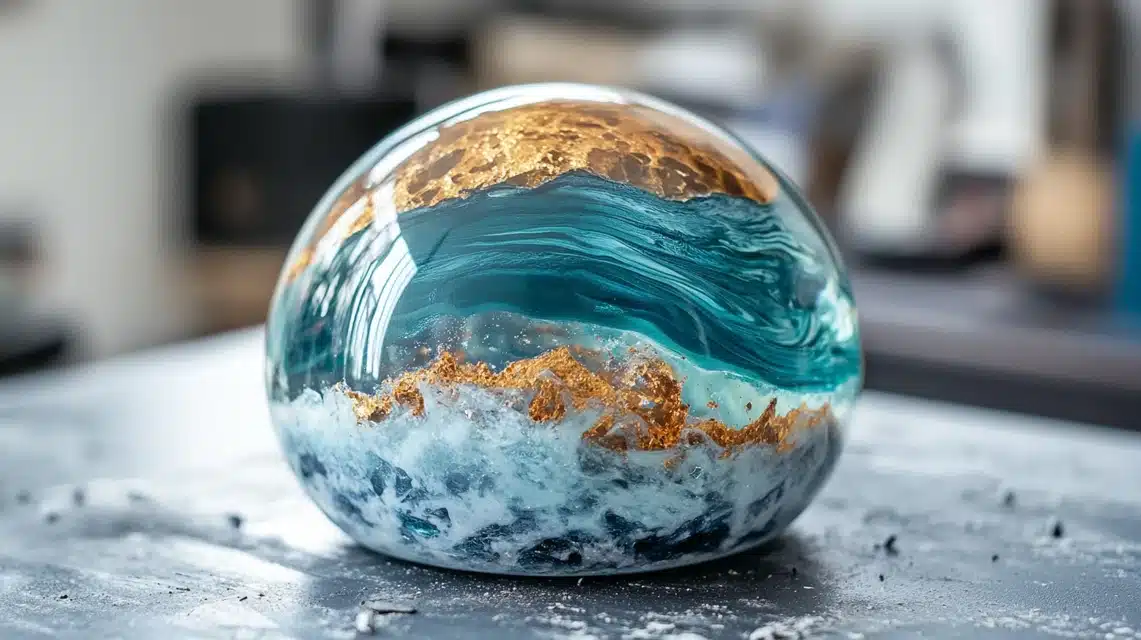
Tools & Materials Required
- Dome mold
- Clear epoxy
- Single color tint
- Mixing cup
- Stir stick
- Heat tool
- Mold release
- Polishing cloth
- Gloves
Step-by-Step Process
- Clean mold well
- Apply release spray
- Mix small epoxy batch
- Add single color
- Pour slowly to the center
- Check for level
- Remove air bubbles
- Cure 24 hours
- Polish after unmolding
14. Pencil Holder (Approximate Cost Range – $20-25)
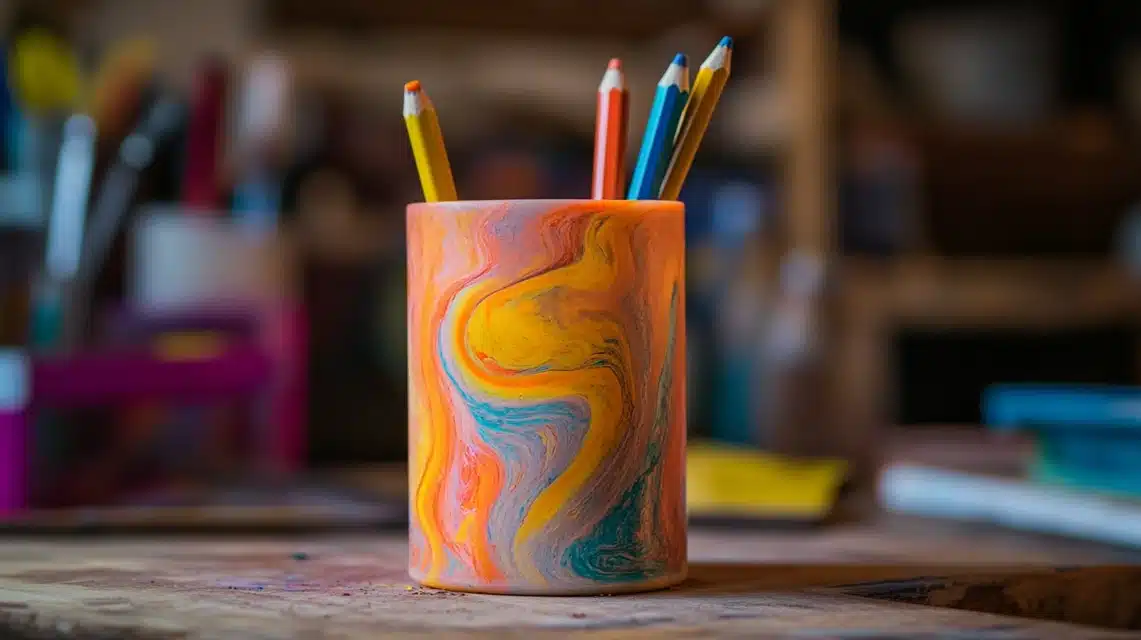
Tools & Materials Required
- Cylinder mold
- Epoxy resin
- 2 light colors
- Mixing cups
- Sticks
- Heat gun
- Release spray
- Level
- Gloves
Step-by-Step Process
- Prepare cylinder mold
- Mix epoxy base
- Split for colors
- Pour the main color
- Add swirl color drops
- Use stick for light swirls
- Remove bubbles
- Let cure standing
- Sand base flat
15. Table Numbers (Approximate Cost Range – $12-15 each)
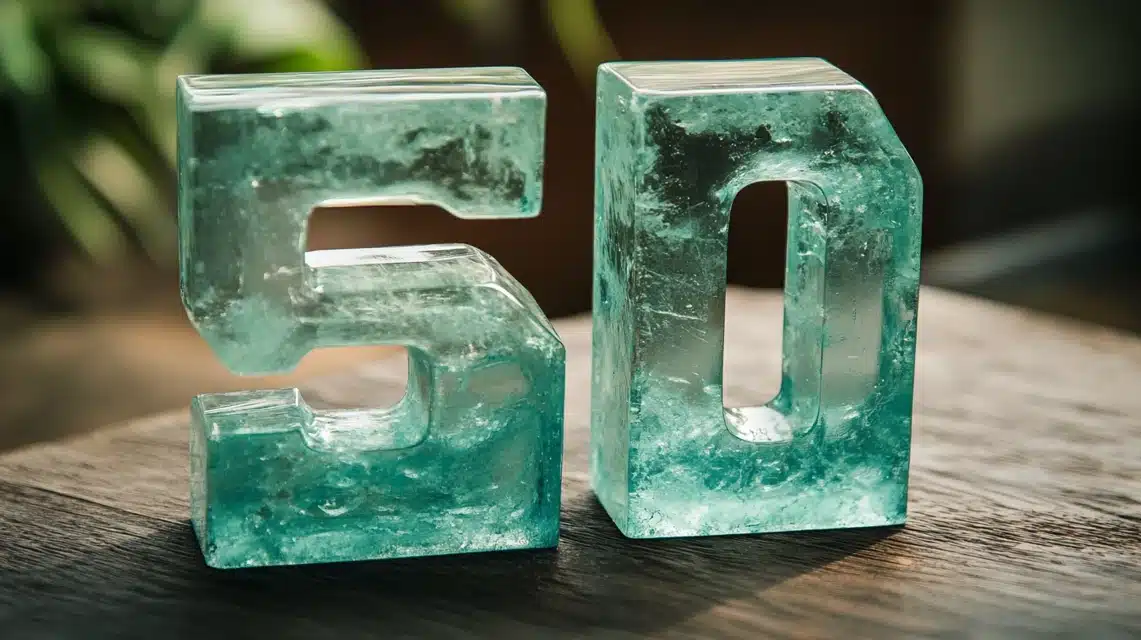
Tools & Materials Required
- Flat number molds
- Clear epoxy
- Gold powder (optional)
- Small cups
- Fine brush
- Heat tool
- Release spray
- Gloves
- Polishing cloth
Step-by-Step Process
- Clean molds well
- Apply thin release coat
- Mix a small epoxy batch
- Pour thin first layer
- Add the second layer
- Check number clarity
- Remove any bubbles
- Cure 24 hours
- Polish edges
Common Tips for These Projects
- Start with small batches
- Test mold release first
- Check levels while curing
- Keep dust off items
- Let cure fully before use
Smart Polishing & Finishing Techniques to Follow
Basic Sanding Steps
- Start with 220 grit sandpaper
- Move to 400 grit
- Finish with 800-1000 grit
- Use wet sanding method only
- Sand in one direction
Hand Polishing Tips
- Wait 72 hours after cure
- Use light pressure
- Work in small sections
- Keep surface wet
- Wipe clean between grits
Machine Polishing
- Use foam pads only
- Keep speed medium
- Move steadily
- Don’t stay in one spot
- Check heat buildup
Final Touches
- Clean with a soft cloth
- Apply polish in circles
- Buff with microfiber
- Let rest for 10 minutes
- Final light buff
Surface Care
- Keep water handy
- Check progress often
- Clean between steps
- Let dry fully
- Use proper cloths
Problem Fixing
- Fix scratches early
- Remove dust spots
- Level high spots
- Fill small holes
- Blend edges well
Some Common Troubleshooting Issues to Look After
1. Bubbles in Cured Surface Fix
- Use the heat gun right after pouring
- Mix epoxy more slowly
- Work in a warmer room
- Pour thinner layers
- Keep mixing cups clean
2. Sticky or Soft Spots Fix
- Check mixing ratio
- Use fresh epoxy only
- Mix fully (3 minutes)
- Check room temp
- Wait for full cure time
3. Cloudy Finish Fix
- Store epoxy properly
- Check moisture levels
- Avoid cold temps
- Mix slowly
- Use clean tools
4. Uneven Surface Fix
- Level work area first
- Check thickness
- Pour steadily
- Watch edge buildup
- Use proper amounts
5. Color Issues Fix
- Test colors first
- Mix small batches
- Add color slowly
- Keep ratios noted
- Store pigments well
6. Curing Problems Fix
- Check room temp
- Watch humidity
- Use proper ratio
- Mix well
- Time your pours
7. Edge Drips Fix
- Check tape seal
- Watch pour amount
- Remove tape on time
- Keep level
- Clean edges fast
Conclusion
Making your first epoxy project doesn’t need to feel scary. Now you know the basics – from picking easy starter projects to fixing common issues that pop up along the way.
I started just like you, learning these same steps. Remember to keep your first projects simple, follow the safety rules, and give yourself time to learn. Don’t rush the process – good epoxy work needs patience.
Why not start with something small, like coasters or a simple tray? These build your skills without using too much material. Plus, you’ll end up with something pretty and useful!
Have questions? Leave them in the comments below. I’m here to help you start your epoxy crafting path with confidence.
Ready to begin? Get your supplies, and let’s create something special!

