
How to Create Rustic DIY Wooden Pumpkins?
Fall is a good time to start simple crafts, and making DIY wooden pumpkins is an easy way to decorate your home.
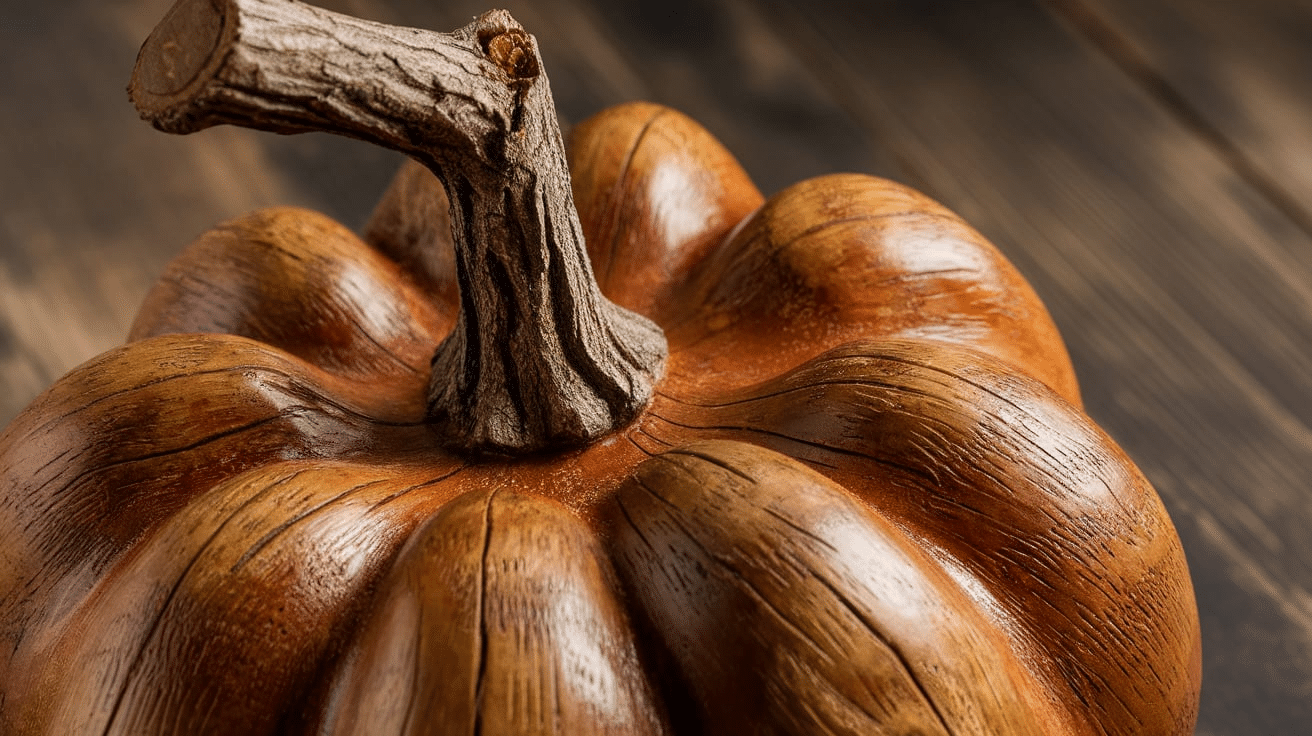
These wooden pumpkins give your space a homemade and natural feel.
Whether you are new to DIY or have done many projects before, making these pumpkins is easy and fun. You only need scrap wood, paint, and a few basic tools.
This guide will show you each step to make wooden pumpkins for your home. They will add a simple and comfortable look to your space.
Ready to start your fall project? Let’s begin!
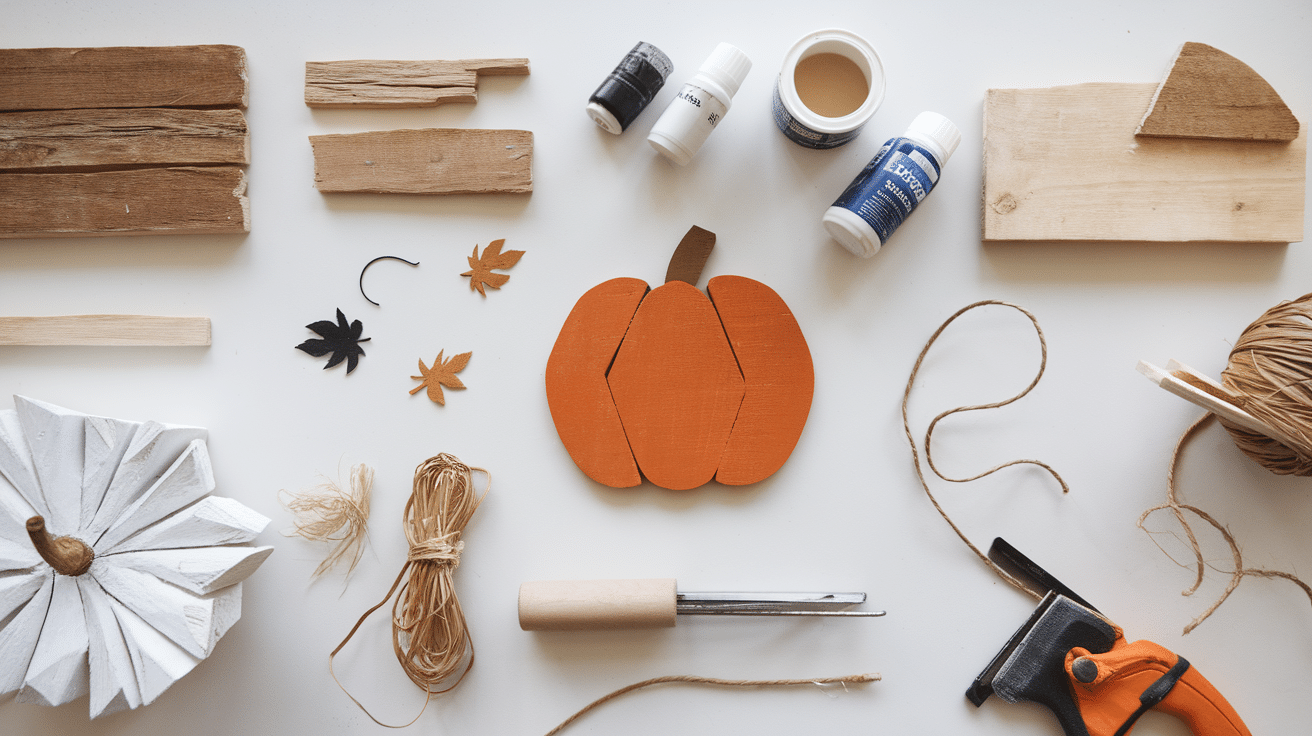
Materials Needed for Rustic DIY Wooden Pumpkins
Making DIY wooden pumpkins is an easy and fun project that needs only a few materials.
If you want to add a simple look to your fall decor or just enjoy crafting, this project uses basic items that you can find easily.
Here is a list of what you need:
1. Scrap Wood
Scrap wood is the main material used to make wooden pumpkins. You can use leftover wood from old projects, pallets, or extra wood pieces from your garage.
Softwood, like pine, is easy to cut and sand, making it a good choice. Hardwood like oak or maple is strong but may take more effort to shape.
Use wood in different thicknesses and sizes to make pumpkins in various shapes. Cutting some taller and others wider will give your display a simple but natural look.
If the wood has rough edges, sanding it will help smooth the surface for painting or staining.
If you want a natural look, leave the wood as it is and seal it to protect the surface. Scrap wood helps you make something useful without buying new materials.
2. Paint
Paint gives your wooden pumpkins color and helps them match your space. Orange is the most common choice, but you can also use white, green, or brown for a simple and natural look.
Acrylic paint works well because it dries fast and is easy to apply. Chalk paint can give a soft, old-style look, while spray paint provides a smooth finish.
Use a brush or sponge to apply the paint in thin layers. Let each layer dry before adding another to avoid uneven spots. If you want a faded look, lightly sand the edges after the paint dries.
Paint makes each pumpkin look different and helps them fit in with your fall decor.
3. Wood Glue
Wood glue holds the wooden pieces together and makes the pumpkins strong. It helps keep the parts in place while they dry, making the project easier to complete.
Apply a thin layer of glue to the edges before pressing the pieces together. Hold them in place for a few minutes to make sure they stick well.
If needed, use clamps to keep the wood steady while the glue dries.
Let the glue dry fully before painting or decorating the pumpkins. This will help them stay solid and last longer. Wood glue is a simple and strong way to attach pieces without using nails or screws.
4. Saw
A saw is needed to cut the wood into pumpkin shapes. You can use a hand saw, jigsaw, or miter saw depending on what you have. A hand saw works well for straight cuts, while a jigsaw helps with curved shapes.
Before cutting, mark the shape of the pumpkin on the wood with a pencil. Cut slowly and follow the lines to get the best shape. If the edges are rough, sand them down for a smooth finish.
Always work on a stable surface and use safety gear like gloves and goggles. Taking your time while cutting will help you get the right shape for your pumpkins.
5. Wire
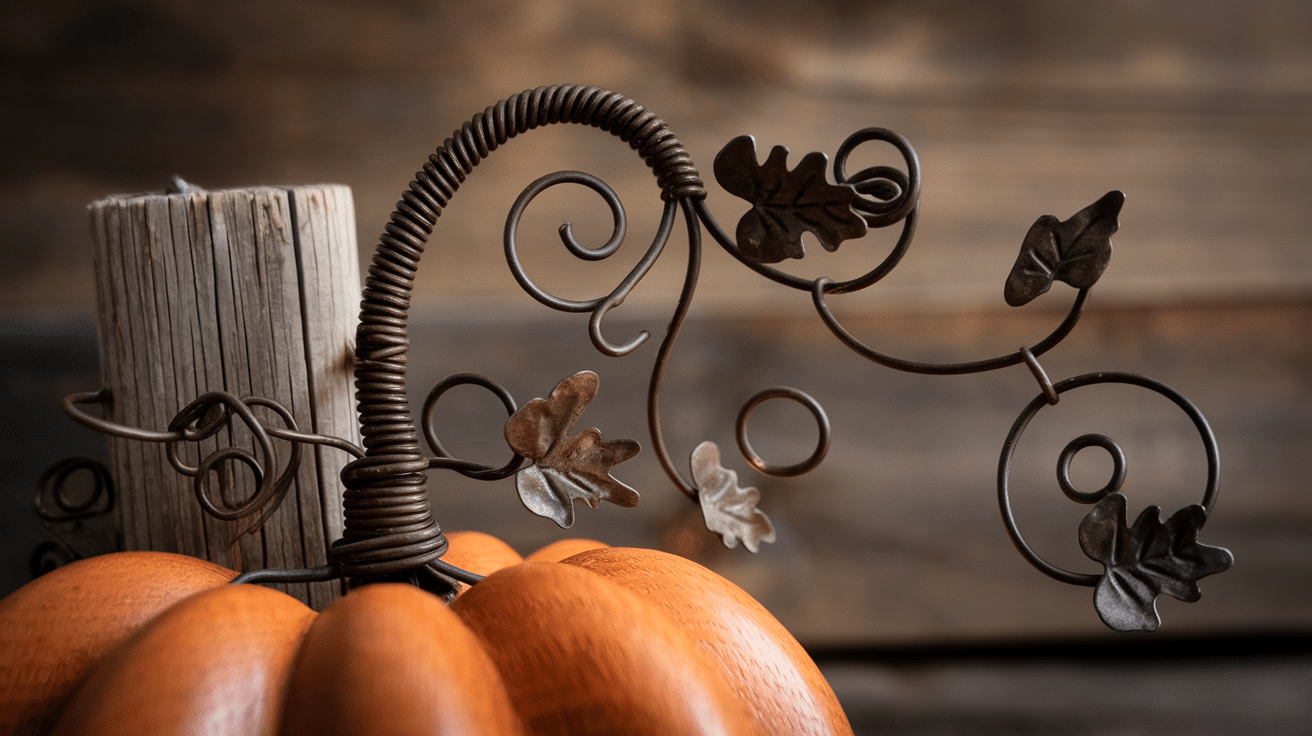
Wire is useful for adding details to your wooden pumpkins. You can twist it into curls to make vines or shape it into loops for a simple stem.
Use thin, flexible wire that is easy to bend. Wrap it around a pencil or your finger to create a spiral shape. If you want longer vines, cut and twist a piece loosely.
Attach the wire by wrapping it around the wooden stem or securing it with a small nail or glue. You can also paint the wire green or brown to match real pumpkin vines.
Wire adds a simple extra detail to your wooden pumpkins, making them look more natural.
6. Raffia
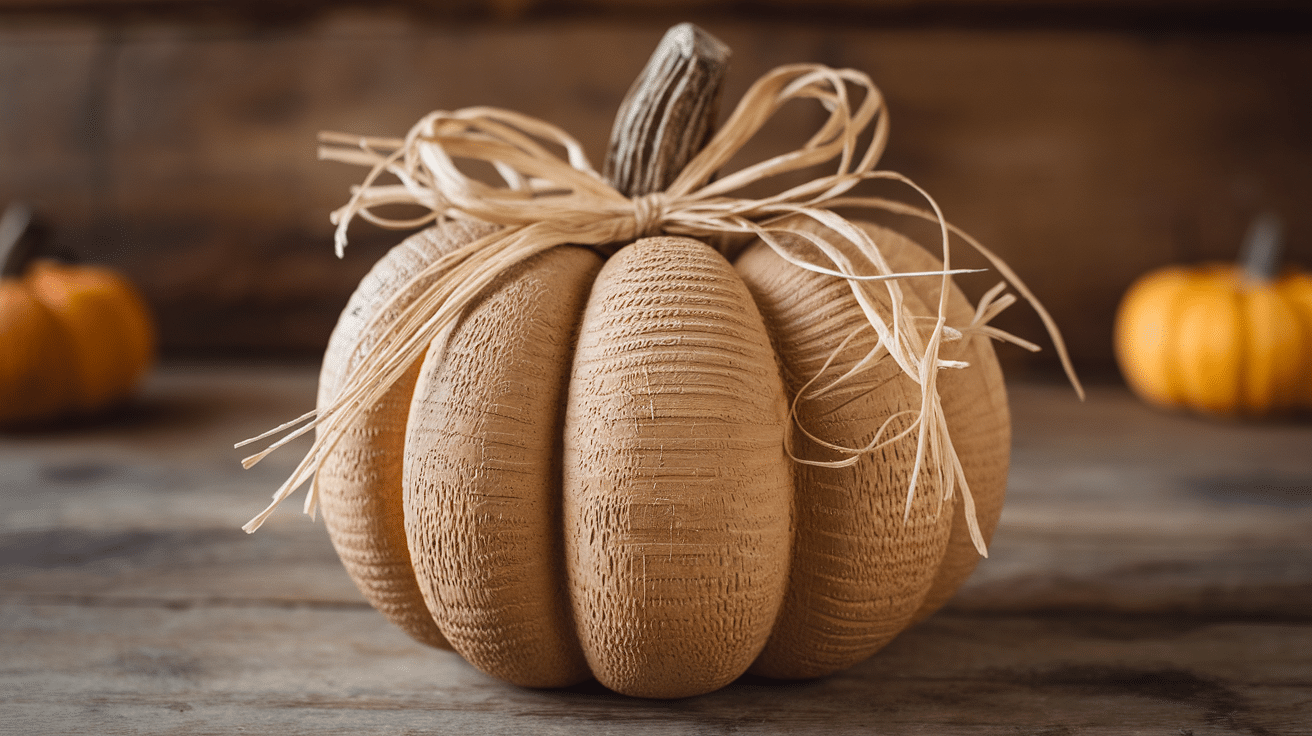
Raffia is a simple way to decorate your wooden pumpkins and give them a natural look. You can tie it around the stem, wrap it around the base, or use it as a small bow for extra detail.
Cut a few strands of raffia and tie them around the stem for a simple, rustic style. If you want a thicker look, layer multiple strands together before tying. You can also mix raffia with twine for more texture.
Raffia is light and easy to work with. It stays in place without glue, but you can secure it with a small dab if needed. This simple material makes your wooden pumpkins look more like real ones.
7. Metal Leaves
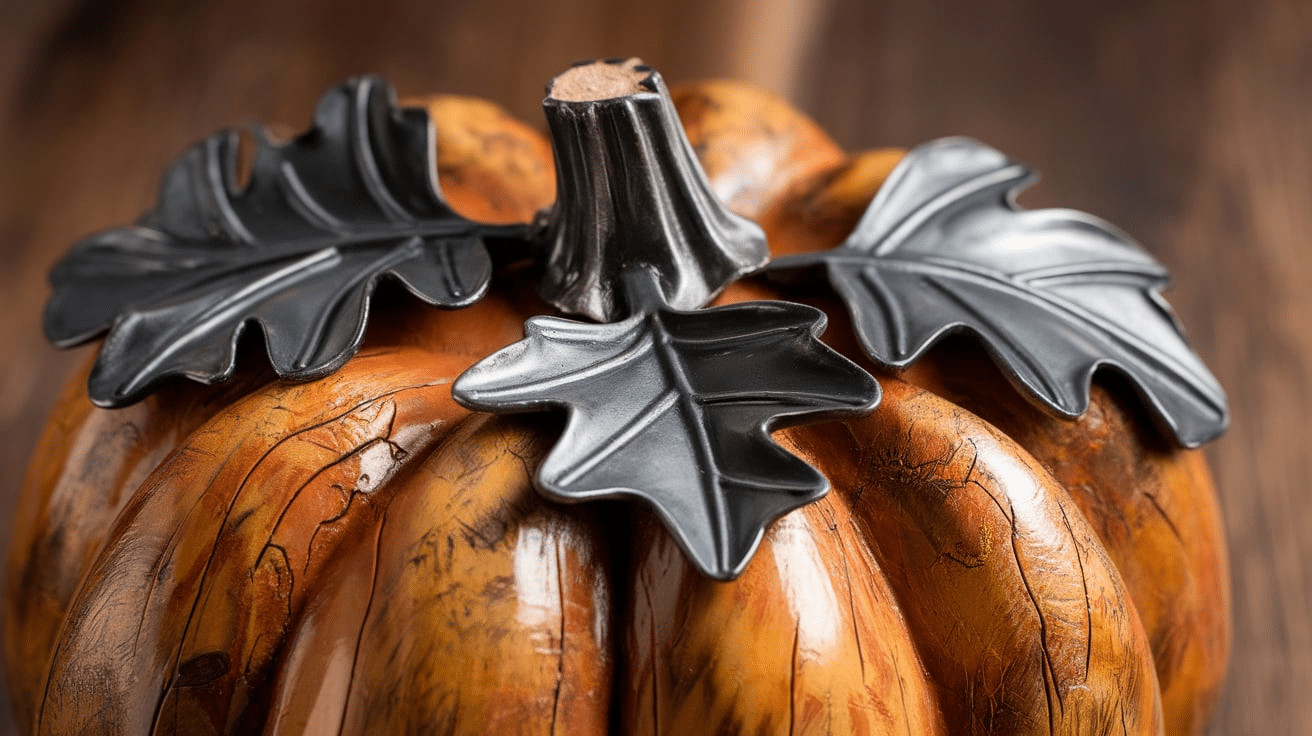
Metal leaves add a simple detail to your wooden pumpkins. You can attach them near the stem to give the pumpkins a natural look.
You can buy metal leaves from craft stores or make your own by cutting thin metal sheets into leaf shapes. If the edges feel rough, sand them lightly to smooth them out. You can also bend the leaves slightly to give them a more natural shape.
Attach the metal leaves with small nails or glue or wrap thin wire around the stem. If you want them to match your style, you can paint them in different colors like brown, green, or gold.
Metal leaves are a strong and simple decoration that helps make your wooden pumpkins look more complete.
8. Twine
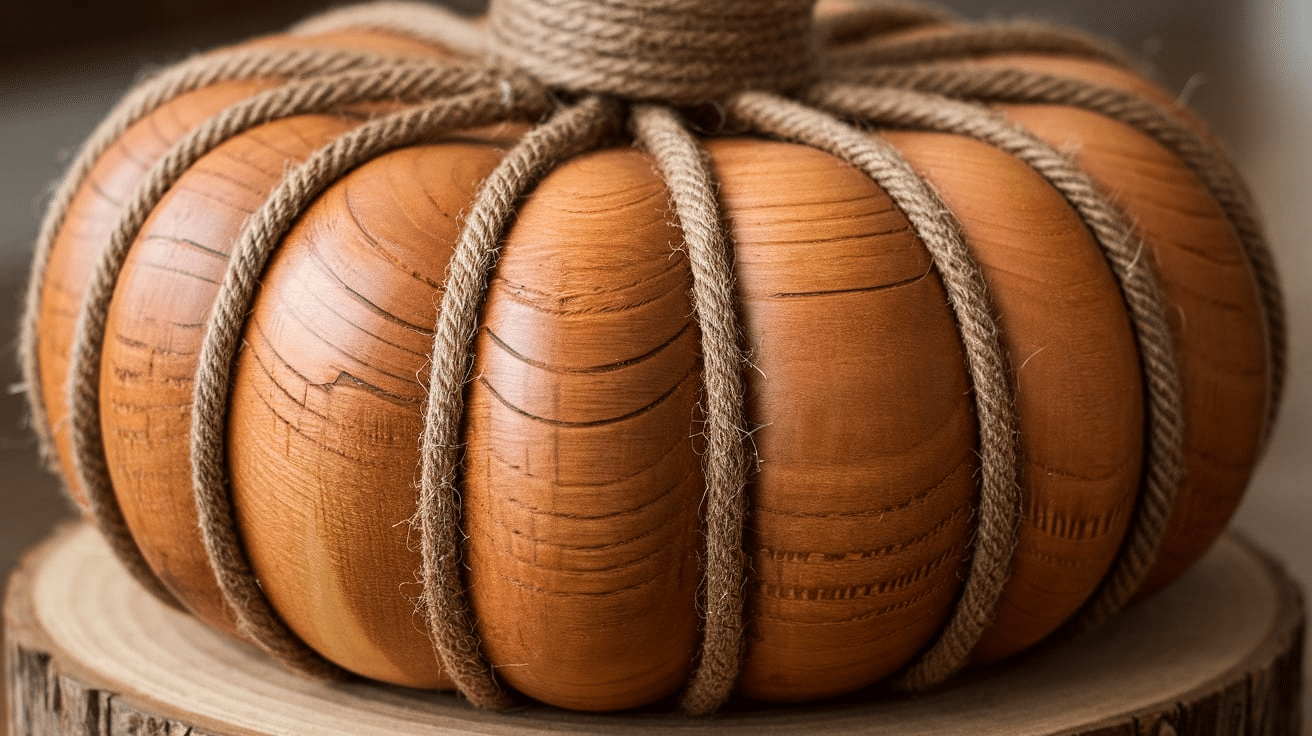
Twine is a simple way to add detail to your wooden pumpkins. You can wrap it around the stem, tie it into a bow, or use it to add texture to the pumpkin body.
Cut a piece of twine and wrap it around the stem a few times before tying a small knot or bow. If you want a stronger hold, add a small dab of glue. You can also use twine to create ridges on the pumpkin by gluing it along the wood in curved lines.
Twine comes in different shades of brown, so you can choose one that matches your style. It gives your wooden pumpkins a natural and handmade look.
9. Sanding Materials
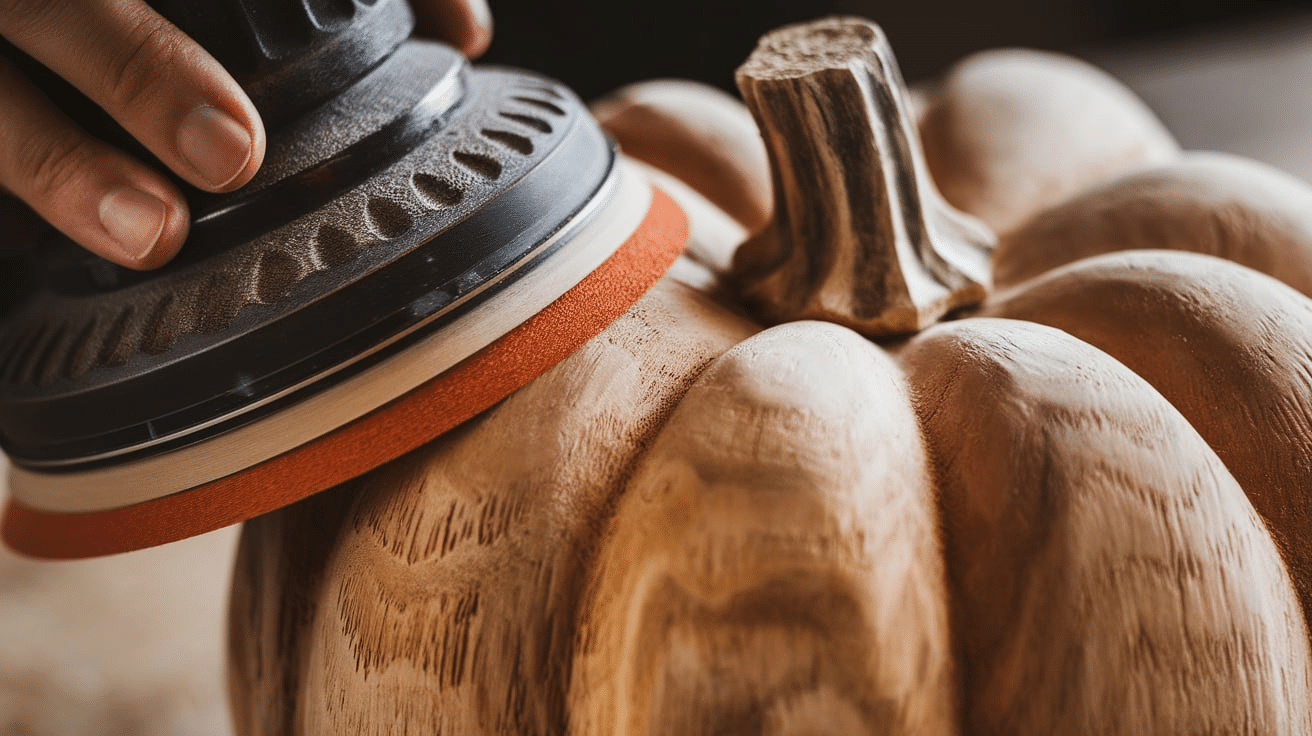
Sanding materials help smooth the wood and prepare it for paint or stain. You can use sandpaper or a sanding block to remove rough edges and make the surface even.
Start with medium-grit sandpaper to take off any splinters or uneven spots. If the wood feels rough, use fine-grit sandpaper to make it smoother. Sand in the direction of the grain to avoid scratches.
After sanding, wipe off the dust with a dry cloth or a damp rag. This helps the paint or stain stick better and gives the pumpkins a clean finish.
Sanding makes your wooden pumpkins look neat and helps them last longer. Taking time on this step will give you the best results.
10. Stain
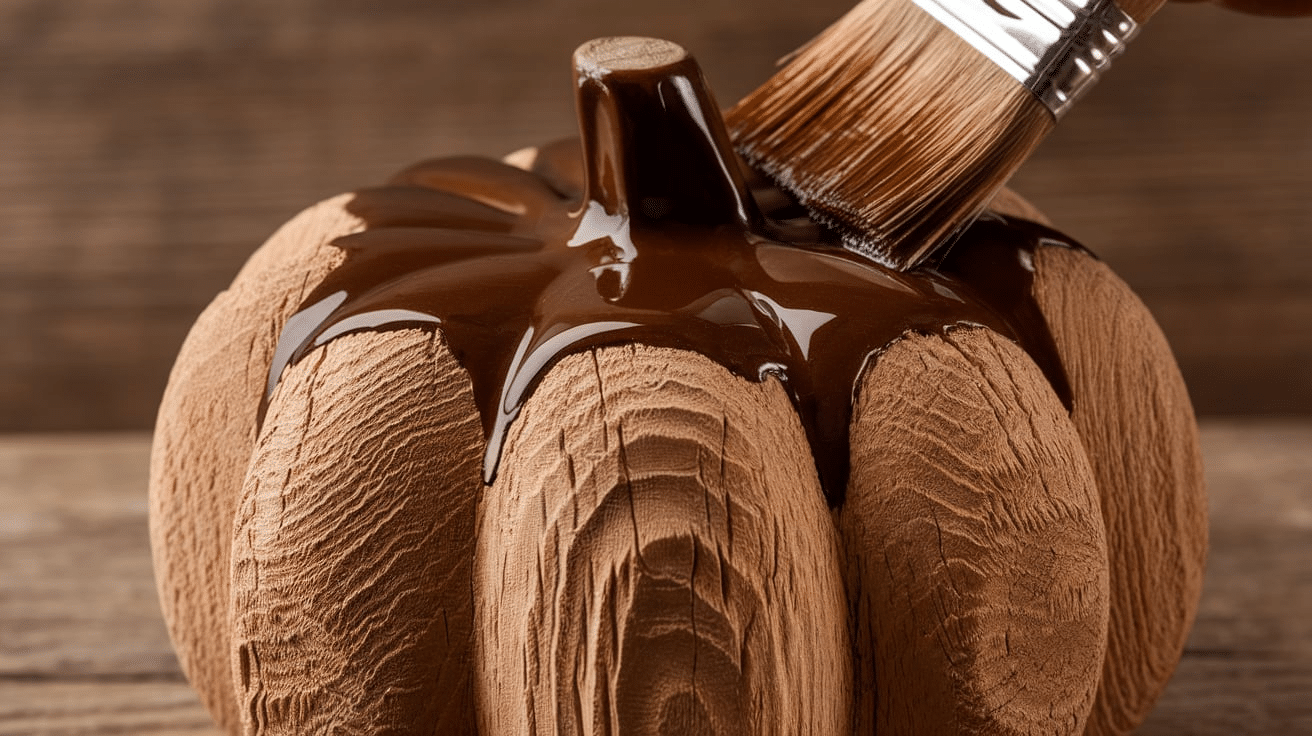
Stain gives your wooden pumpkins a natural look while protecting the wood. It brings out the grain and makes the pumpkins look aged or darker, depending on the stain color you choose.
Use a cloth or brush to apply the stain in the direction of the grain. Wipe off any extra stain with a clean cloth to keep the color even. Let it dry completely before adding decorations or a sealant.
If you want a deeper color, apply a second coat after the first one dries. Stain works well if you prefer a simple, wood-finished pumpkin instead of using paint. It helps keep the wood looking good while adding a nice color.
11. Hot Glue Gun
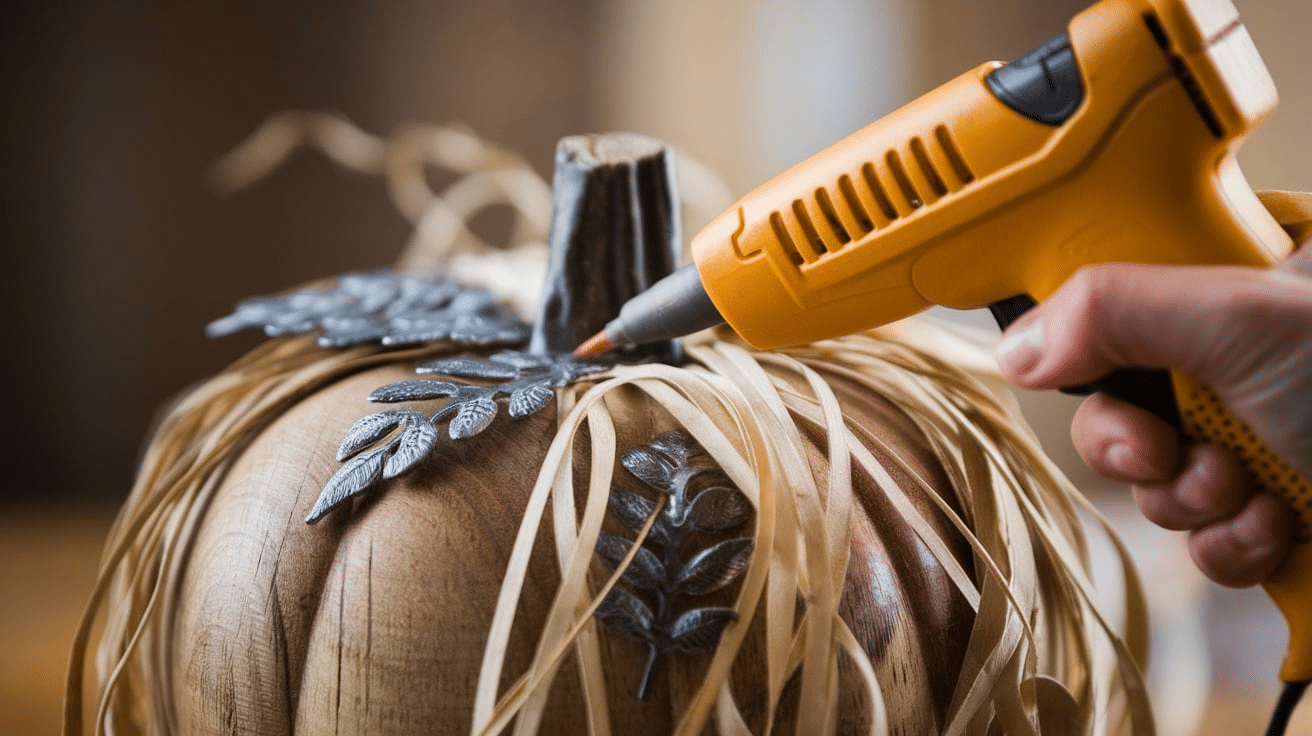
A hot glue gun helps attach decorations to your wooden pumpkins. You can use it to secure raffia, twine, metal leaves, or other small details.
Plug in the glue gun and let it heat up. Apply a small amount of glue to the back of the decoration and press it onto the wood.
Hold it in place for a few seconds until the glue sets. Be careful, as the glue can be very hot.
Hot glue dries quickly and holds well, but it is best for lightweight items. If you need a stronger hold for heavier decorations, you may need nails or wood glue.
Using a hot glue gun makes decorating your wooden pumpkins quick and easy.
Step-by-Step Guide to Making Rustic DIY Wooden Pumpkins
Step 1: Gather Scrap Wood
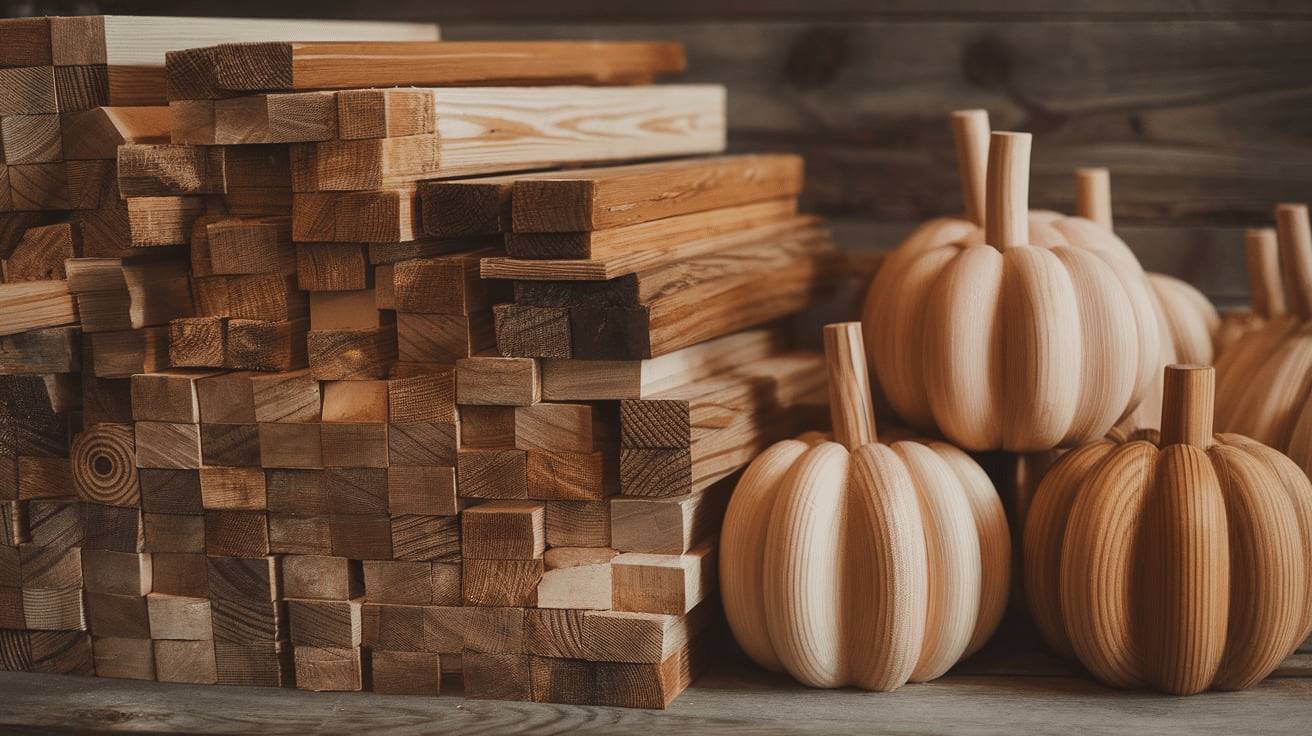
Find scrap wood from old projects, pallets, or leftover pieces in your garage. Wood from furniture or construction leftovers also works well. Try to use wood that is not too thin, as thicker pieces make sturdier pumpkins.
Decide how big you want each pumpkin to be. Use different sizes of wood to make a set of pumpkins that look good together.
If the pieces are too large, cut them down to the size you need. Check for nails, screws, or rough edges before moving to the next step.
Use sandpaper to smooth the surface if the wood has splinters or uneven spots. This will help paint or stain go on evenly later. Wiping the wood with a dry cloth removes any dust before sanding.
Using scrap wood saves money and helps reduce waste. Each piece of wood will give your pumpkins a different look, making them more interesting.
This is a simple way to reuse materials and create something useful for your home.
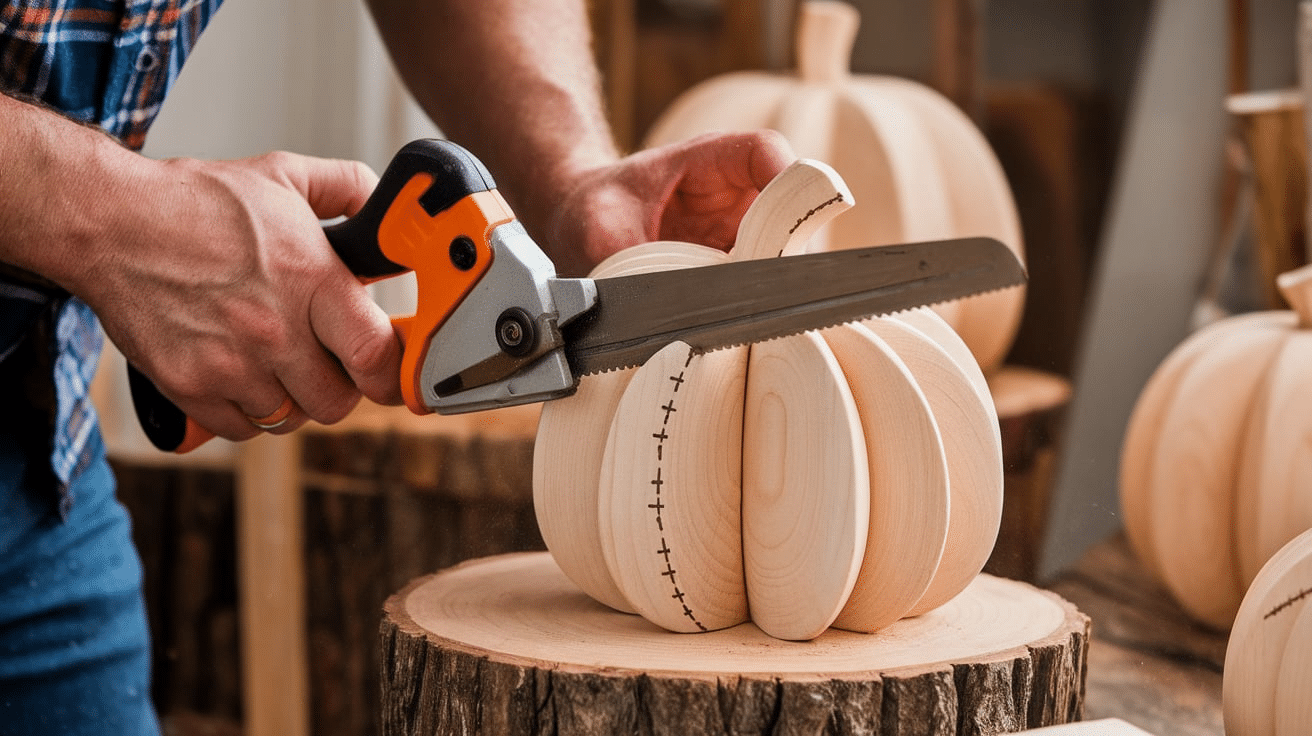
Step 2: Cut the Wood Pieces
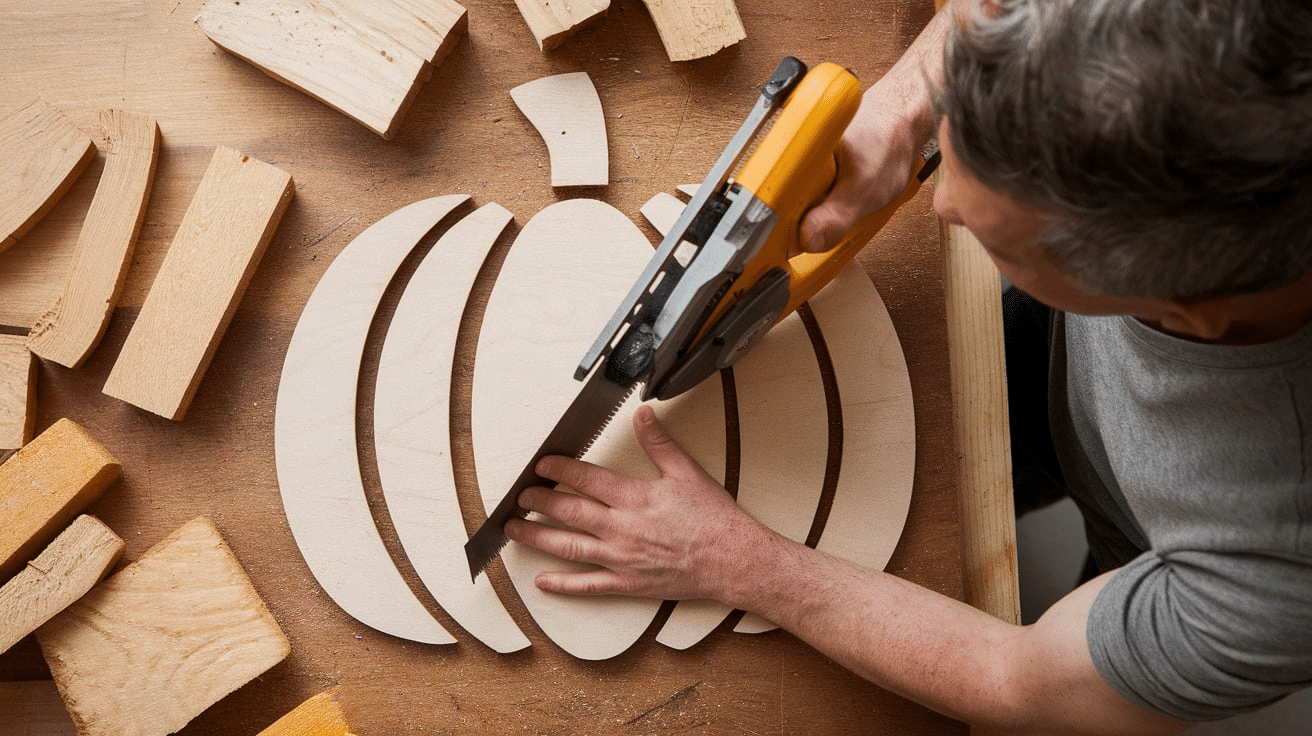
Mark the shape of your pumpkins on the wood using a pencil. You can make them round, oval, or slightly uneven to look more natural. If you want different sizes, draw a few pumpkins of varying heights and widths.
Use a hand saw, jigsaw, or miter saw to cut along the lines. Cut slowly and follow the shape carefully to avoid mistakes if you want straight-edged pumpkins, cut rectangular or square pieces instead of rounded shapes.
After cutting, check the edges for rough spots. If the cuts are uneven, use sandpaper to smooth them out. Sanding helps prevent rough edges and makes painting or staining easier later.
Cutting the wood into different shapes and sizes gives your pumpkins a natural look. Taking your time with this step will help your project turn out better in the end.
Step 3: Sand the Edges
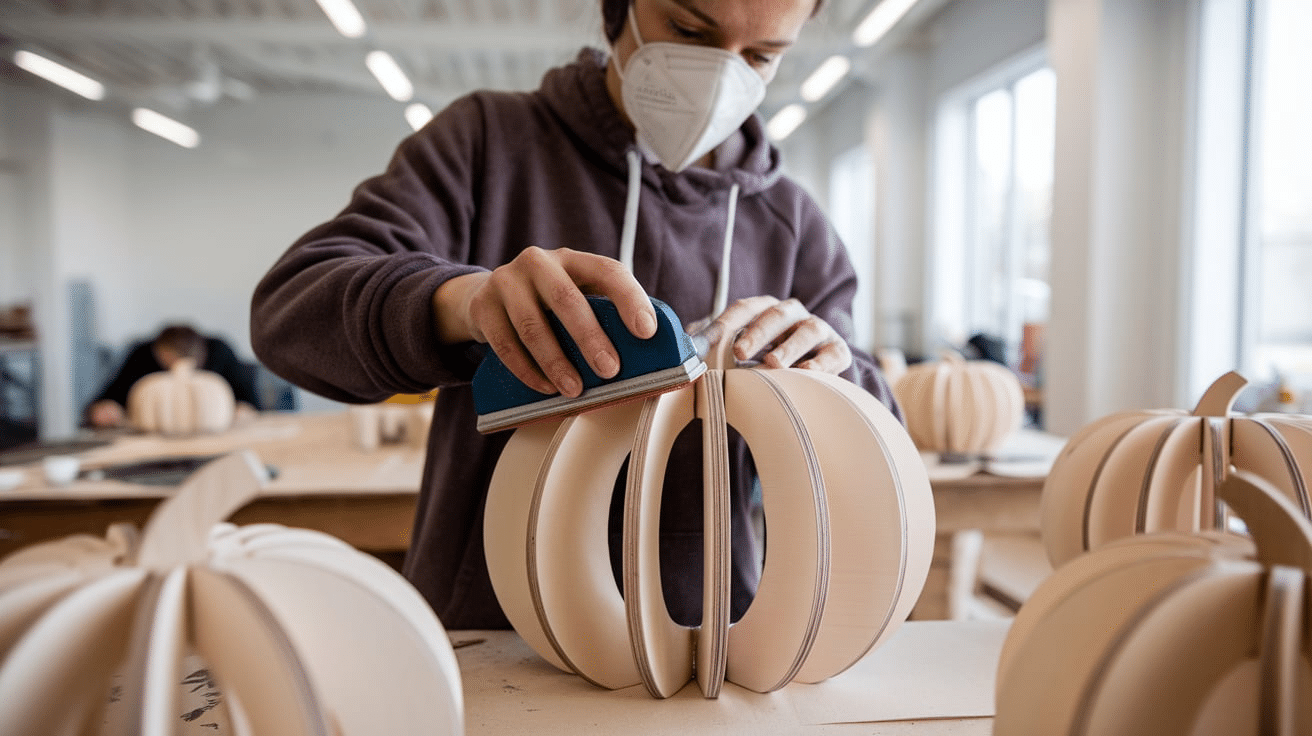
After cutting the wood, you need to sand the edges to make them smooth. This helps remove rough spots and makes painting or staining easier.
Use medium-grit sandpaper to sand the edges and surface. Move the sandpaper in the direction of the wood grain to avoid scratches. If the wood has small details or curves, fold the sandpaper or use a sanding block to reach those areas.
If the edges still feel rough, switch to fine-grit sandpaper for a smoother finish. Wipe off the dust with a dry cloth or a brush. Removing dust helps the paint or stain stick better.
Sanding the edges gives the pumpkins a clean and finished look. Taking time on this step will make the next steps easier and help your project turn out better.
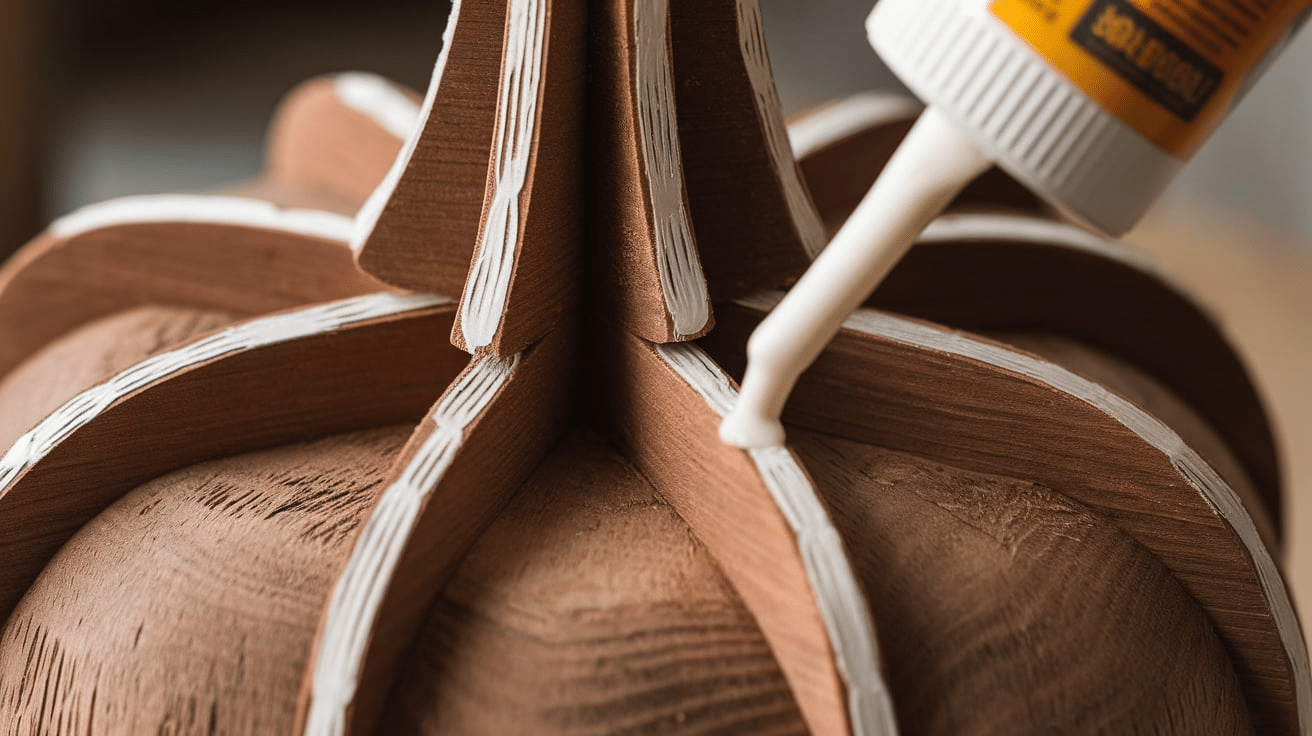
Step 4: Assemble the Pumpkin
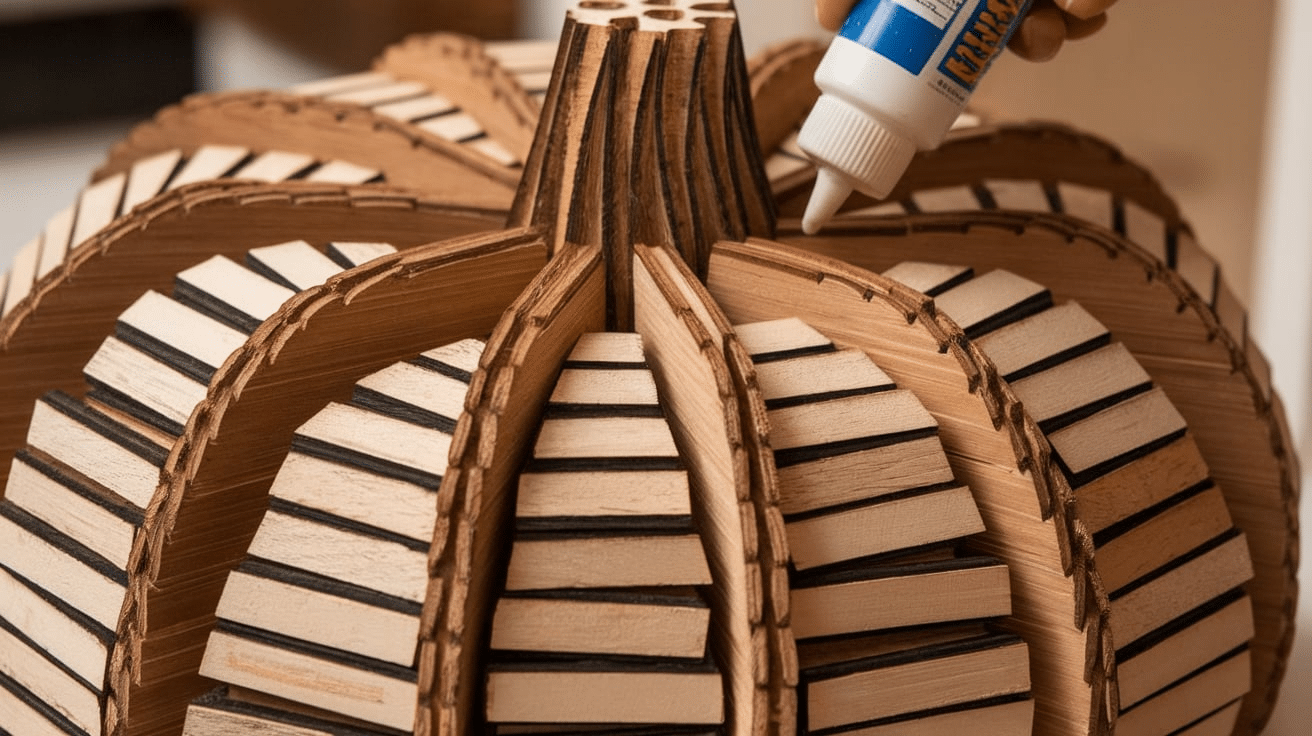
Now that the wood pieces are cut and sanded, it’s time to put them together. Arrange the pieces in the shape you want before attaching them. If you are making a layered pumpkin, stack the pieces to see how they look.
Apply wood glue along the edges where the pieces will connect. Press them together firmly and hold them in place for a few minutes. If needed, use clamps to keep them steady while the glue dries.
For extra strength, hammer in small nails or use screws to secure the pieces. Make sure everything is lined up before tightening them.
Let the glue dry completely before moving to the next step. A well-assembled pumpkin will be strong and ready for painting or staining.
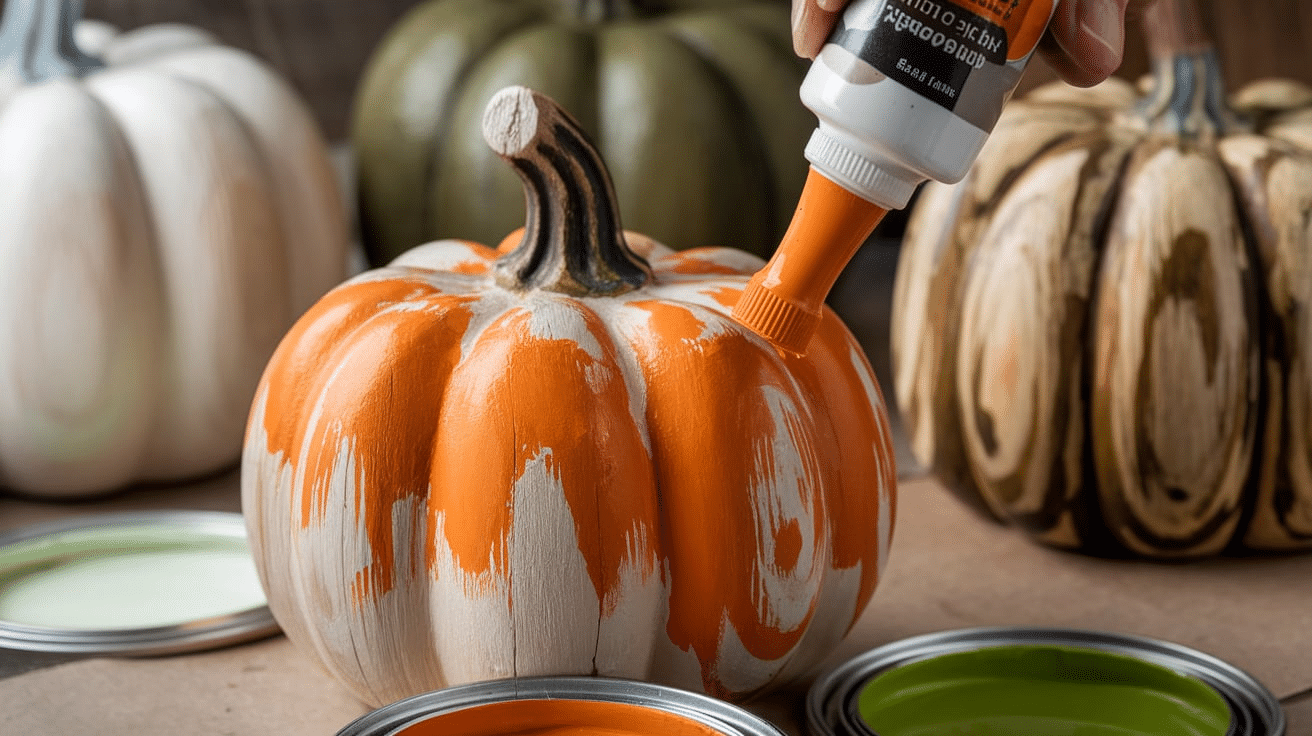
Step 5: Paint or Stain
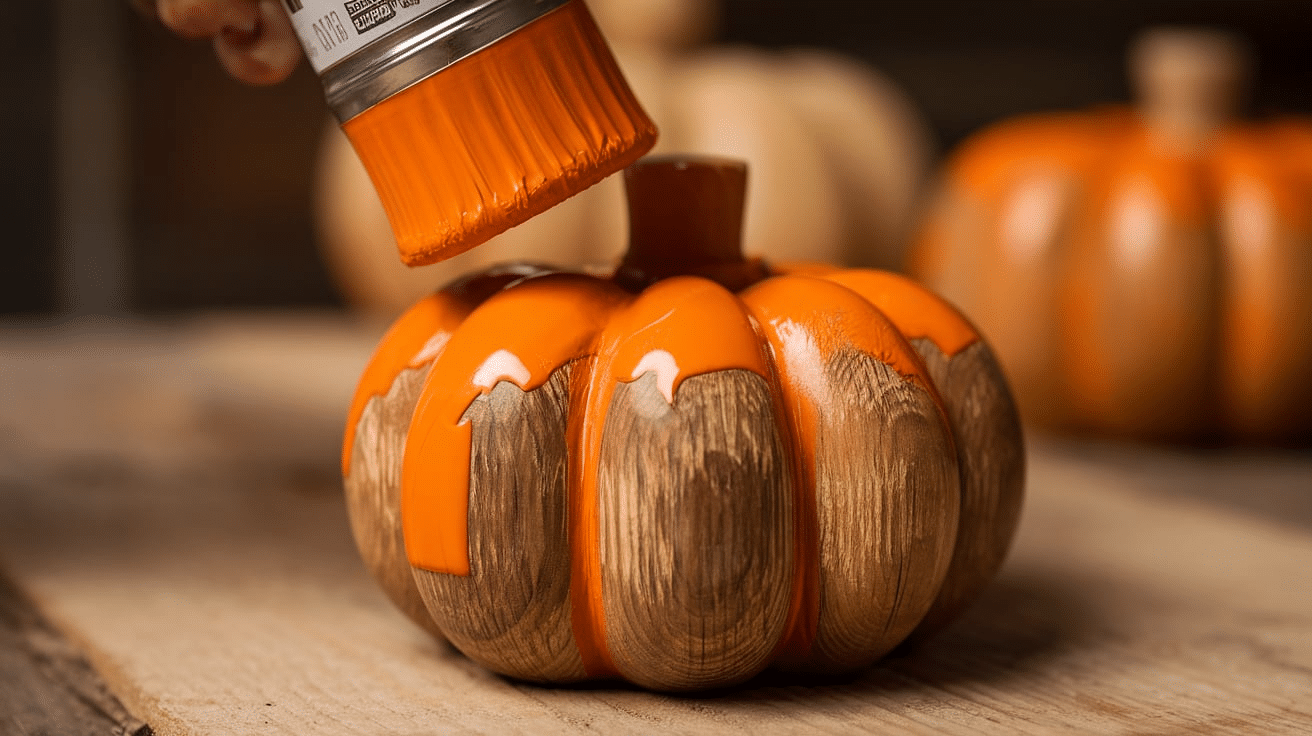
Once the pumpkin is assembled and the glue is dry, you can add color with paint or stain. Both options work well, so choose the one that fits your style.
If you paint, pick a color that matches your decor. Orange, white, green, or brown are great choices for a simple look. Use a brush or sponge to apply a thin coat of paint. Let it dry, then add another coat if needed. Lightly sanding the edges after the paint dries can give it a softer, aged look.
If you stain, choose a shade that brings out the natural wood grain. Use a cloth or brush to apply the stain in the direction of the grain. Wipe off any extra stain with a clean cloth, then let it dry. A second coat can be added for a darker color.
After painting or staining, apply a clear sealant to protect the surface. This helps the finish last longer and keeps the pumpkin looking good.
Step 6: Create and Attach the Stem
Now that your wooden pumpkin has color, it’s time to add the stem. The stem gives it a finished look and makes it easier to decorate.
You can use a small branch, scrap wood, cork, or twine to make the stem. If using wood, cut a small piece and sand the edges to smooth them. If using a branch, choose one that looks sturdy and fits the size of your pumpkin.
Attach the stem to the top of the pumpkin using wood glue or small nails. If using glue, press the stem down firmly and let it dry completely before moving on. If using nails, hammer them in carefully so the wood doesn’t crack.
Once the stem is attached, you can leave it as it is or stain or paint it to match the pumpkin. A well-placed stem makes the pumpkin look complete and ready for decoration.
Step 7: Add Decorative Touches

Now that the pumpkin is assembled, painted, and has a stem, you can add simple decorations to make it stand out.
Tie raffia or twine around the stem to give it a natural look. You can make a small bow or wrap it loosely for a simple touch. If you want more detail, attach metal leaves near the stem using glue or small nails.
For extra texture, twist the thin wire around a pencil to create spirals. Attach the wire near the stem so it looks like pumpkin vines. If you want a more aged look, lightly sand the edges of the wood to give it a softer appearance.
These small details help complete the pumpkin and make it fit your style. Keep it simple, or add more decorations based on what you like. Once finished, your wooden pumpkin is ready to display.
Additional Ideas and Inspiration
Mini Pumpkins

If you want to decorate small spaces or give simple gifts, try making mini versions of your wooden pumpkins. These small pumpkins work well as table centerpieces or decorations for a mantel or shelf.
Make them the same way as the larger pumpkins by cutting the wood into smaller pieces. Adjust the size based on where you plan to place them. You can also add small details like twine bows or raffia accents to give each one a different look.
These mini pumpkins are easy to make and fit well in any space. They bring a simple and handmade feel to your home without taking up much room.
Pumpkin Displays
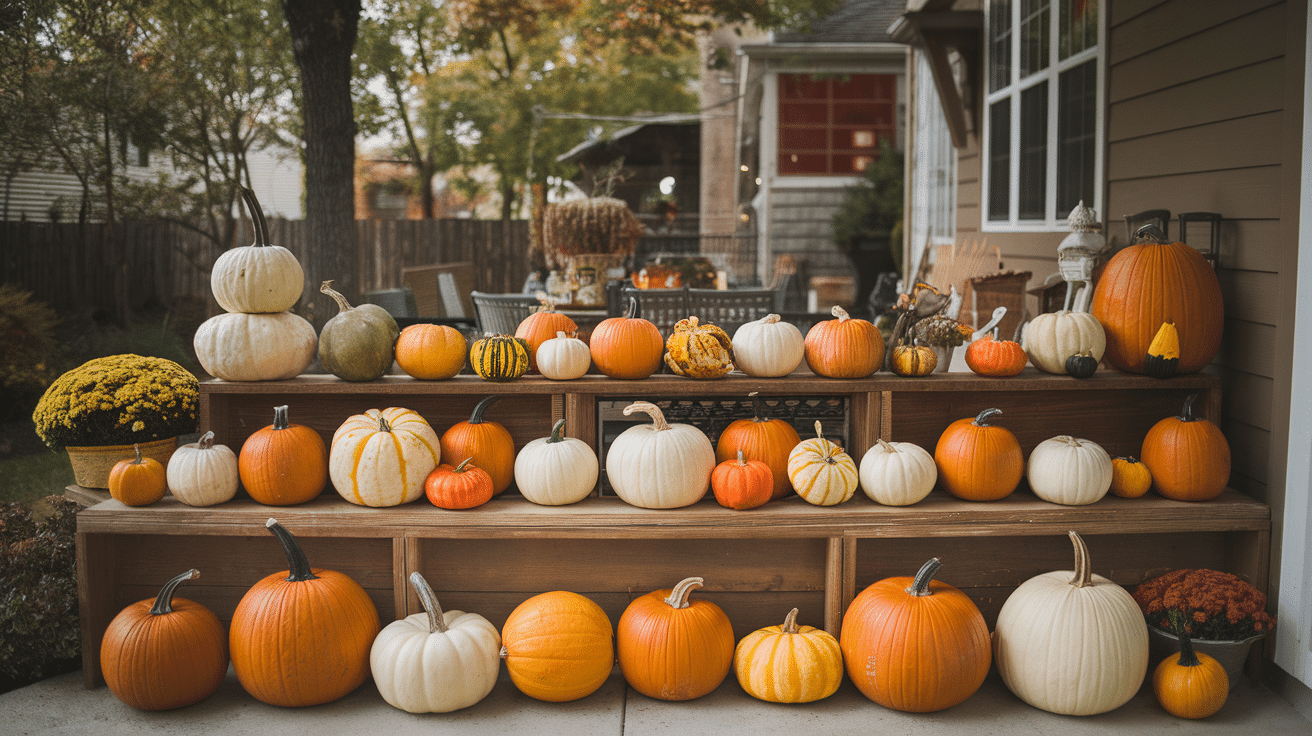
To make your display stand out, group several wooden pumpkins together. Use different sizes, colors, and designs to create a simple but interesting arrangement. Place them on your front porch, dining table, or in the garden for a seasonal look.
You can also stack the pumpkins or line them up along a fireplace or staircase. Arranging them in different ways will help them fit well in any space.
This is an easy way to decorate for fall without adding too much. Mixing shapes and colors will give your display a balanced and natural feel.
Conclusion
Making wooden pumpkins is a simple and enjoyable craft. It feels good to create something with your own hands, especially when you see how each pumpkin turns out in its own way.
Whether you make one pumpkin or a whole set, you will enjoy every step, from cutting the wood to adding the final details. The finished pumpkins bring a homemade and personal feel to your home.
If you have been thinking about trying this project, now is a good time to start. Gather some scrap wood and get creative. You can try different colors, sizes, and designs to make pumpkins that match your space.
They don’t have to be perfect. Each one will have its own look, and that makes them special. Whether you are new to crafting or have done many projects before, making wooden pumpkins is a simple way to decorate for fall.
Frequently Asked Questions
What Type of Wood is Best for DIY Wooden Pumpkins?
When it comes to creating rustic DIY wooden pumpkins, the type of wood you choose can make a big difference in how your pumpkins turn out. Here are a few options:
- Pine: Pine is a popular choice because it’s affordable and easy to work with. It’s soft enough to cut but still durable enough for your project. Pine takes both paints and stains well, making it perfect for that rustic look.
- Cedar: Cedar is naturally resistant to decay and insects, which is great if you plan on keeping your pumpkins outdoors. It has a beautiful grain and works well for giving your pumpkins a more natural look.
- Poplar: Poplar is another good option. It’s lightweight and smooth, making it easy to cut and paint. If you’re looking for a smooth surface to work with, poplar is a solid choice.
What If I Don’t Have a Jigsaw?
If you don’t have a jigsaw, don’t worry! There are other tools you can use to cut your pumpkin shape:
- Coping Saw: A coping saw is a handheld tool with a thin blade, perfect for making detailed cuts, especially on curves. It’s easy to control, so it’s great for beginners.
- Hand Saw: If you don’t mind a bit of elbow grease, a hand saw will work just fine. It’s perfect for making straight cuts or rough shaping. Just make sure you have a fine-toothed saw for smoother cuts.
- Scroll Saw: If you have access to one, a scroll saw is perfect for intricate cuts. It offers more precision and control, especially for detailed pumpkin shapes.
Can I Use a Different Kind of Paint for My Wooden Pumpkins?
You can use different types of paint depending on the finish you want. For example:
- Acrylic Paint: This is the most popular choice as it’s easy to apply, dries quickly, and comes in many colors.
- Chalk Paint: If you want a matte, textured finish, chalk paint is a great option. It gives your pumpkins a vintage, rustic look.
- Spray Paint: For a smoother, faster finish, spray paint works well. Just make sure to do it in a well-ventilated area.


