How to Create Perfectly Pleated Curtains
Are your curtains looking flat and lifeless? I’ve spent years making curtain pleats, and I want to share my best tips with you.
Making pleated curtains isn’t hard once you know the right steps. In this guide, I’ll show you how to turn simple fabric into beautiful window treatments that give your room a polished look.
You’ll learn which tools you need, how to measure correctly, and the exact steps to create even, lasting pleats. Plus, I’ll share some simple tricks that help avoid common mistakes.
By the end of this post, you’ll have the know-how to make pleats that look clean and stay in place.
Ready to start? Let’s learn how to make those perfect pleats!
An Overview of Different Types of Pleats
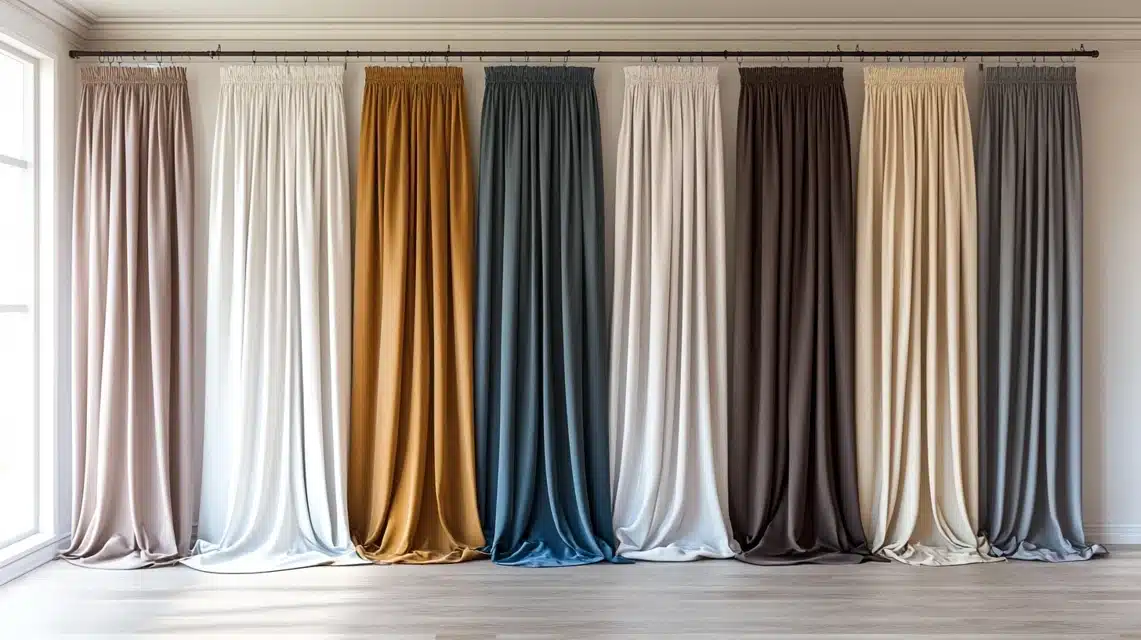
I’ve worked with many pleat styles over the years, and I’d like to tell you about each type. Let me break down the main pleat styles you can work with.
- Box Pleats: Box pleats form a flat box shape at the top of your curtain. I find these pleats work really well in formal rooms. The neat folds come together to make a square pattern, which helps your curtains hang straight down.
- Pinch Pleats: When I make pinch pleats, I gather the fabric into groups of three small folds. These pleats add a formal touch to any room. The fabric bunches together at the top and fans out below, making your windows look taller.
- Pencil Pleats: These thin, upright pleats remind me of pencils standing in a row. I like using pencil pleats when I want a simpler look. They work well with lighter fabrics and give windows a clean, modern feel.
- Goblet Pleats: Think of a wine glass shape – that’s what goblet pleats look like at the top. I save these pleats for formal spaces like dining rooms. The round, cup-like top needs stiffer fabric to keep its shape well.
- Cartridge Pleats: These pleats make round tubes at the top of your curtain. I often suggest these for rooms where you want some extra style. They look full and rich, especially with thicker fabrics.
How to Choose the Right Pleat for Your Curtain
I want to share some key factors that help me pick the best pleat style for different situations. Here’s what I think about when choosing pleats.
- Room Style Matters: I match my pleat choice to the room’s style. For example, I use pinch pleats in my traditional spaces because they have a classic feel. But when I decorate modern rooms, I pick pencil pleats for their clean lines and simple look.
- Think About Your Fabric: The fabric weight shapes my pleat choice. I’ve learned that heavy fabrics work better with box pleats and goblet styles. When I use light fabrics like cotton or linen, I choose pencil pleats because they hang better.
- Window Size Counts: Big windows need pleats that can handle more fabric. I often pick cartridge or pinch pleats for large windows because they manage fullness well. For smaller windows, I use pencil pleats to avoid overwhelming the space.
- Consider Your Time: Some pleats take more work to make and maintain. I tell my friends who want low-maintenance options to try pencil pleats. But if they don’t mind extra care, goblet or pinch pleats can add more style.
- Budget Factors: The pleat style affects how much fabric you’ll need. I’ve found that box and pinch pleats use more fabric than pencil pleats. This matters when I’m working with expensive materials.
- Light Control: Different pleats let in different amounts of light. When I want more light control, I choose fuller pleats like box or cartridge styles. These pleats overlap more, giving better light blocking when closed.
Different Methods for Pleating Curtains
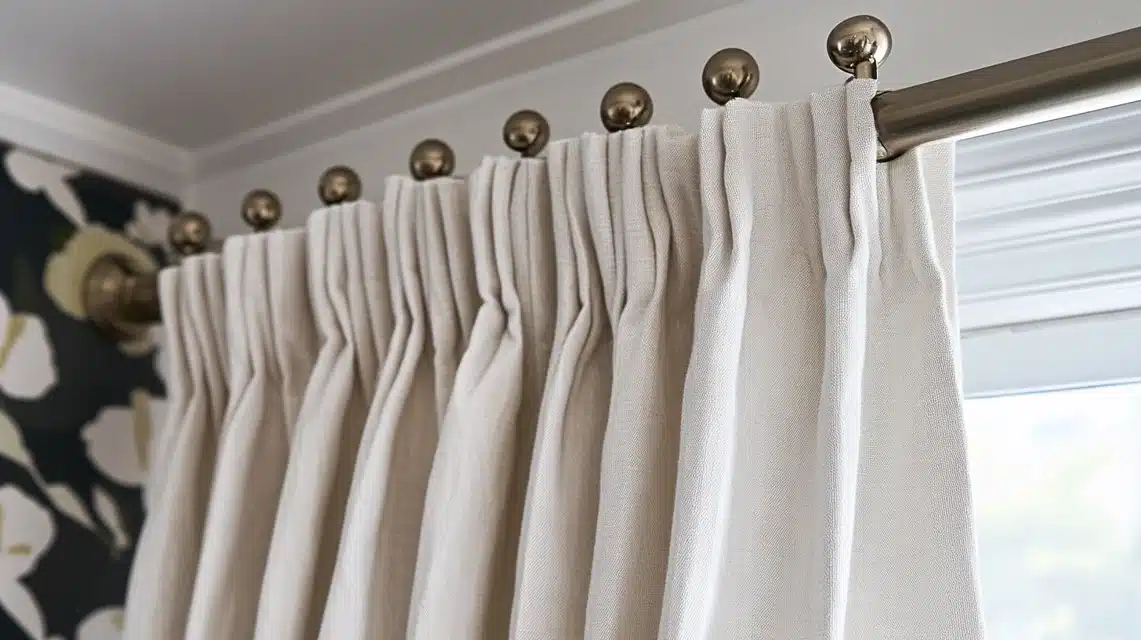
Method 1: No-Sew Pinch Pleats with Pleater Tape
Tools & Materials Required
I use pleater tape, pleat hooks, scissors, measuring tape, and an iron for this method. I also keep pins handy to hold things in place while I work.
Step-by-Step Instructions
- First, I measure and iron the pleater tape across the curtain’s top edge.
- I make sure to leave equal space on both sides.
- Next, I insert pleat hooks into the tape pockets, spacing them evenly throughout.
- I find that marking the spots with pins helps keep the spacing perfect.
Method 2: Pleating with Curtain Clips

Tools & Materials Required
For this method, I gather curtain clips, measuring tape, and a pencil for marking. Sometimes, I also use a ruler to keep my folds straight.
Step-by-Step Instructions
- I start by marking where each pleat will go on the curtain top.
- Then, I make even folds in the fabric, keeping the depth consistent.
- I secure each pleat with clips, making sure they’re firmly attached.
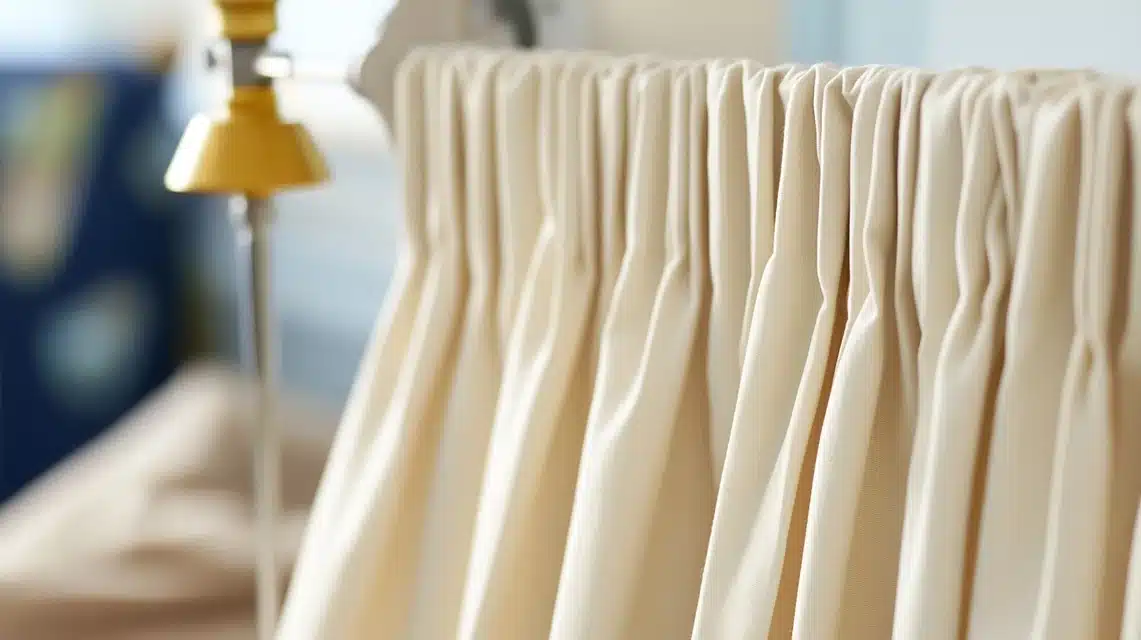
Method 3: Sewing Pinch Pleats
Tools & Materials Required
I need thread, needles, pins, scissors, measuring tape, and a sewing machine for this method. I also keep my iron ready to press pleats.
Step-by-Step Instructions
- I begin by carefully marking my pleat positions on the fabric.
- Then, I fold each pleat and pin it in place.
- When sewing, I make sure my stitches stay even and strong. I always press each pleat after sewing to make it crisp.
How to Hang Your Pleated Curtains
- Measure Your Window: I always start by measuring my window width and height. I add extra inches on each side of the window to let enough light in when the curtains are open. For height, I measure from the rod to where I want the curtains to end.
- Choose Your Rod Height: I place my curtain rod 4-6 inches above the window frame. This makes my windows look taller. The rod should extend about 3-5 inches past each side of the window frame.
- Check Your Hardware: I make sure my rod brackets can hold the weight of my pleated curtains. Heavy fabrics with full pleats need strong support. I always use wall anchors with my bracket screws for extra strength.
- Prepare Your Curtains: Before hanging, I last check all my pleats. I straighten each fold and make sure the spacing looks even. When using hooks, I count the number of holes in my rod rings to space hooks properly.
- The Hanging Process: I carefully start from one end of the rod, attaching each pleat. I work slowly to avoid tangling the fabric. For clip rings, I attach them first to the rod, then clip my curtain pleats one by one.
- Adjust and Perfect: Once hung, I take time to adjust each pleat. I make sure they all face the same way and hang straight. Sometimes, I use my hands to shape the pleats and help them fall naturally.
- Final Touches: I step back often to check that both panels look balanced. If needed, I adjust the rod ends so the curtains hang evenly. Then I train the pleats by gently pulling the fabric straight.
Best Finishing Touch Options for Pleated Curtains
1. Steam Pressing: I like to steam-press my pleats once they’re hung. Using a handheld steamer, I work from top to bottom on each pleat. The steam helps set the folds and removes any wrinkles. I hold the steamer about six inches from the fabric to protect it.
2. Training Your Pleats: When I want my pleats to hold their shape, I tie them loosely with soft strips of fabric. I leave these ties in place for 24 hours. This helps train the pleats to fall perfectly every time.
3. Adding Weights: I often sew small weights into the bottom hem of my curtains. These weights help the fabric hang straight and smooth. They also stop the curtains from blowing around when windows are open.
4. Hem Finishing : For a clean look, I press the bottom hem with an iron after hanging. I make sure the hem lies flat and even across both panels. Sometimes I hand-stitch any loose areas in the hem.
5. Pleat Clips: I use special pleat clips that hold the folds in place near the top. These clips stay hidden behind the pleats but keep them looking neat. I remove them after a few days once the pleats set.
6. Tiebacks: When I want to frame my windows better, I add tiebacks. I place them about two-thirds down from the rod. This creates a gentle sweep in the fabric without pulling the pleats out of shape.
7. Regular Care: I brush my pleated curtains weekly with a soft cloth. This removes dust and helps maintain the pleats’ shape. I also adjust any folds that might have shifted during the week.
Certain Styling & Inspiration Ideas to Check Out
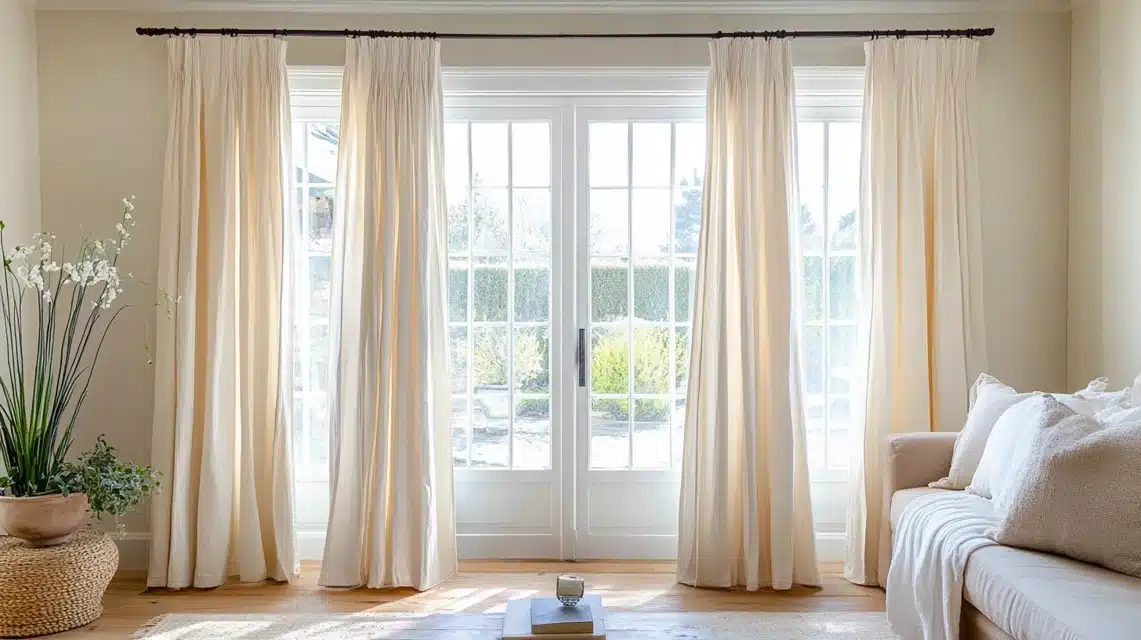
1. Classic Double Panels ($100-$300)
I love using two panels of pinch-pleated curtains on each side of wide windows. This style brings balance to my room. The fullness of double panels makes windows look grand without trying too hard.
2. Floor-Length Elegance ($150-$400)
My favorite look includes curtains that just touch the floor. This length works in both casual and formal spaces. I ensure the pleats stay crisp from top to bottom for a clean line.
3. Side Panel Accent ($75-$200)
Sometimes I use single pleated panels on each window side. This saves money but still looks put together. The panels frame the window without blocking too much light.
4. Layered Look ($200-$500)
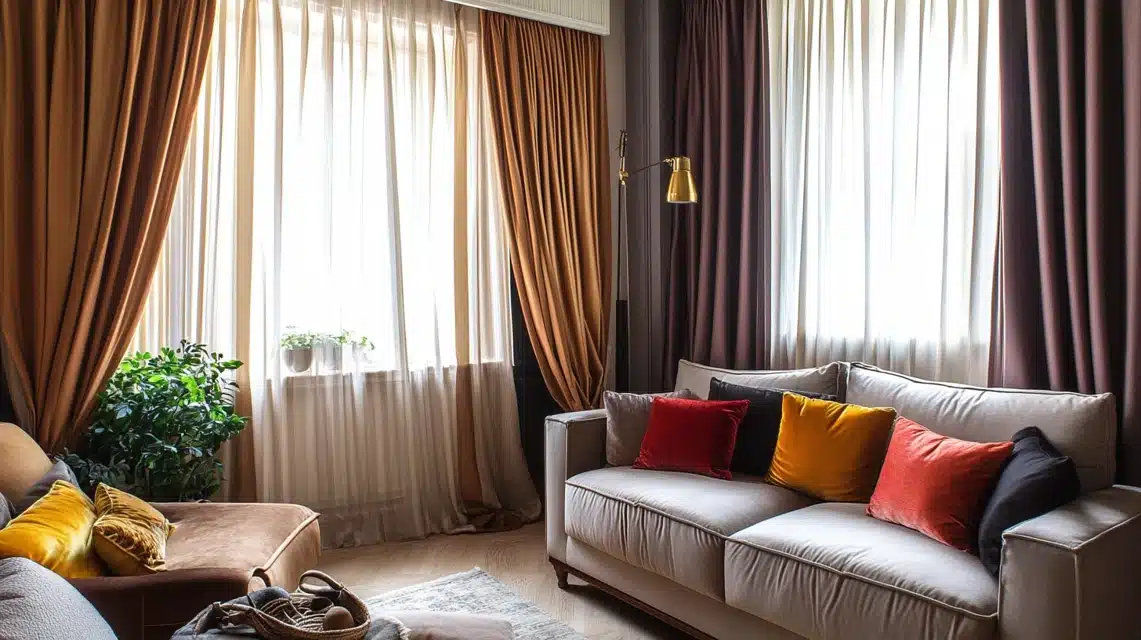
I combine sheer curtains under pleated panels. This gives me better light control throughout the day. The sheers filter sunlight while the pleated panels add style.
5. High-Mount Style ($125-$350)
When I hang pleated curtains close to the ceiling, rooms look taller. This trick works really well in spaces with standard-height ceilings. The vertical pleats draw eyes upward.
6. Pattern Play ($175-$450)
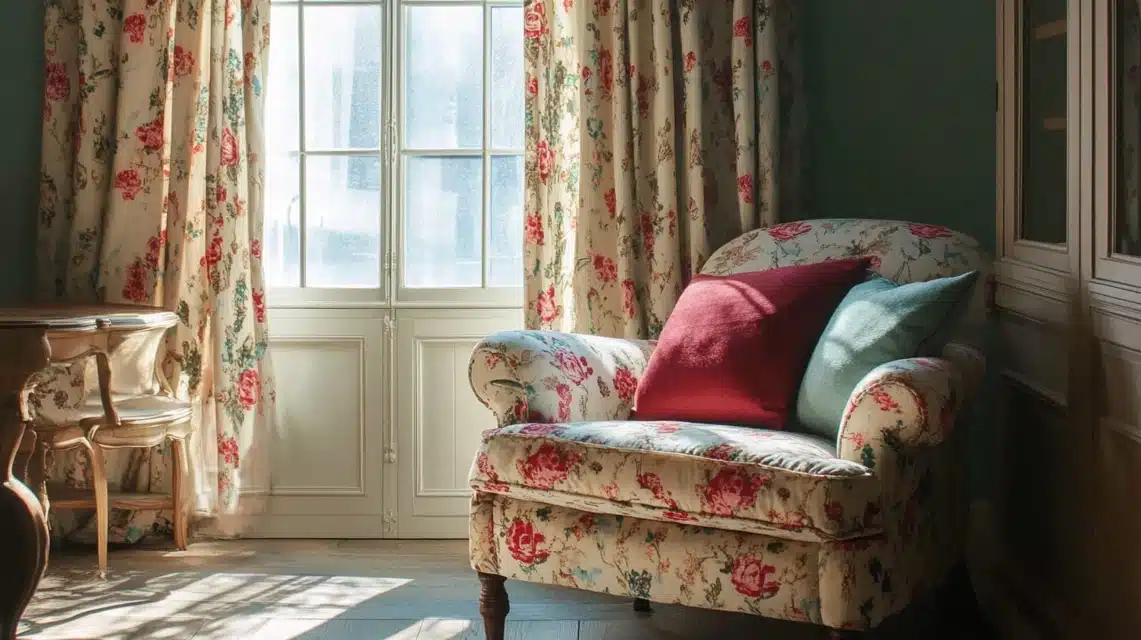
I pick patterned fabrics for pleated curtains to add interest. Stripes, small prints, or textured materials make simple pleats look special. The patterns show up best in natural light.
Conclusion
Making beautiful pleated curtains takes some practice, but I know you can do it. I’ve shared my favorite methods and tips to help you create the perfect pleats for your home.
Remember to pick the right pleat style for your room, take time with measurements, and pay attention to those finishing touches. If things don’t look perfect at first, don’t worry.
Even small adjustments can make a big difference in how your curtains look. Your first try might not be perfect but keep at it.
Want more home decor tips? Leave a comment below sharing your experience with pleating curtains.
You can also sign up for my newsletter for weekly updates on home styling ideas.
Frequently Asked Questions
What is the Difference Between French Pleats and Pinch Pleats?
French pleats and pinch pleats are actually the same thing. I use both names for pleats that fan out from three small folds pinched together at the top. The style creates a full, tailored look.
How Do You Calculate Fabric for Pleated Curtains?
I multiply my window width by 2.5 for regular pleats or 3 for fuller pleats. For example, a 40-inch window needs 100 inches of fabric for standard pleats. Add extra inches for hems and sides.
How Do I Ensure My Pleats are Even and Professional-Looking?
I mark pleat positions with pins before folding. Then, I measure each pleat with a ruler to keep the sizes identical. Using a pleating tape helps me space pleats evenly. Pressing each pleat sets the shape.

