How to Create an Ombre Wall Paint Effect
Want to paint your walls in a way that makes guests ask, “Who did this for you?”
I know the feeling of being stuck with plain walls that lack personality. My first attempts at wall painting left me with uneven colors and visible brush marks.
But after trying different methods, I found a simple way to create smooth, flowing ombre effects.
In this guide, I’ll show you my tested steps for painting an ombre wall. You won’t need fancy tools or special skills.
I’ll walk you through each step, from picking colors to getting that perfect blend between shades.
Understanding Ombre Wall Painting
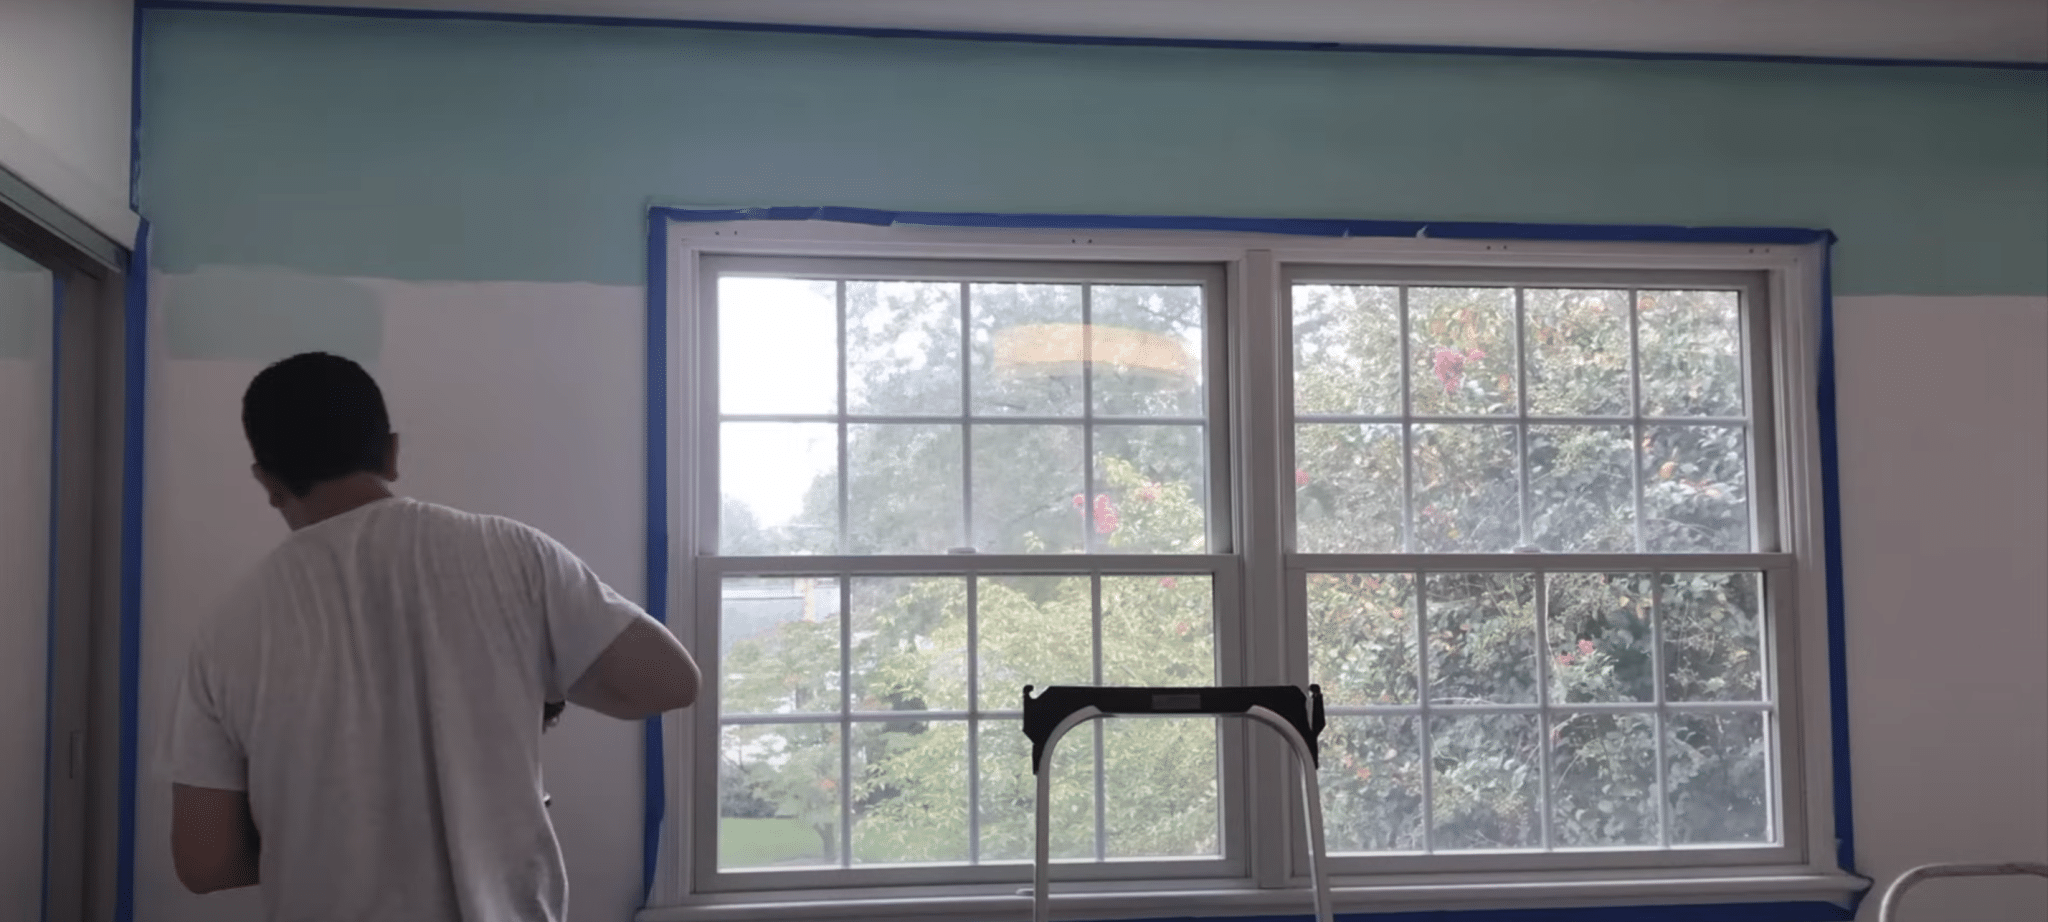
I’ll tell you what makes ombre walls stand out. Ombre is a painting style where one color slowly changes into another color. Think of how the sky looks during sunset – that’s a natural ombre effect!
When I create an ombre wall, I start with a darker shade at the bottom that gets lighter as it moves up. Sometimes, I use two totally different colors that blend together in the middle.
The key is making the change between colors look smooth, with no harsh lines.
The best part? You can make it as bold or subtle as you want. I’ve created soft white-to-gray walls that look clean and professional and have blue-to-green effects that make rooms feel fresh and lively.
Step-by-Step Guide to Painting an Ombre Wall
Tools & Materials Required
| Category | Item | Quantity/Description |
|---|---|---|
| Paint | Colored paint can | 1 |
| White paint can | 1 | |
| Eggshell finish interior wall paint | 1 (with primer) | |
| Paint mixing containers | 1 for each transition color | |
| Painting Tools | Narrow paint rollers | 1 for each transition |
| Paint brushes | 1 for each transition | |
| Paint trays | 1 for each color | |
| Stirring sticks | – | |
| Preparation | Painter’s tape | – |
| Floor covering tarp | – | |
| Tape measure | – | |
| Pencil | – | |
| Practice | Practice canvas | 1-2 pieces |
Step-by-Step Process
1. Planning Stage
- Measure wall height from ceiling to baseboard
- Divide wall height by the number of color transitions
- Draw your design on paper first
- Mark measurement points every 3 feet on the wall
2. Preparation
- Cover floors with a tarp
- Apply painter’s tape to protect baseboards, windows, fixtures
- Tape off adjacent walls
3. Paint Mixing
- First color: Use straight from the can
- Second color: Mix equal parts base color and white
- Third color onwards: Take half of the previous mix, add equal white paint
- Test colors on a practice canvas
- Let the test canvas dry to check the final colors
4. Painting Process
- Start from top to bottom
- Paint the first stripe completely
- Paint the top half of the second stripe
- Blend colors at the meeting point using a dry brush (45-degree angle)
- Continue pattern downward
- Keep brushes and rollers completely dry
- Work quickly between stripes
- Return tools to designated spots after each use
Approximate Cost Required to Paint
| Category | Item | Quantity | Cost per Item | Total Cost |
|---|---|---|---|---|
| Paint (Basic Items) | Main color paint can | 1 gallon | $25-35 | $25-35 |
| White paint can | 1 gallon | $25-35 | $25-35 | |
| Total for Paint | $50-70 | |||
| Essential Tools | Paint rollers | 6-8 pieces | $3-4 | $18-32 |
| Paint brushes | 6-8 pieces | $1-2 | $6-16 | |
| Paint trays | 6-8 pieces | $2-3 | $12-24 | |
| Paint mixing containers | 6-8 pieces | $3-4 | $18-32 | |
| Painter’s tape | 1 roll | $5-8 | $5-8 | |
| Floor tarp | 1 piece | $5-10 | $5-10 | |
| Practice Materials | Canvas boards | 1-2 pieces | $5-10 | $5-10 |
| Total Estimated Cost | $120-200 |
Note: These prices may vary based on:
- Your location
- Store selection
- Paint quality chosen
- Number of transitions planned
- Size of your wall
How to Enhance the Ombre Effect
1. Perfect Your Blending
- Use light up-and-down strokes with a dry brush
- Work in small areas at a time
- Keep strokes at a 45-degree angle
- Don’t press too hard while blending
2. Color Tips
- Start your blending while the paint is still wet
- Mix extra paint for touch-ups
- Test your color mix on a canvas first
- Use paint with primer for better coverage
3. Smart Techniques
- Paint one stripe fully, then half of the next
- Blend while both colors are wet
- Keep tools clean and completely dry
- Work in good lighting
4. Time-Saving Tips
- Label your paint mixes clearly
- Keep tools in order of use
- Have all supplies ready before starting
- Paint on a day with good natural light
5. Getting Clean Lines
- Use quality painter’s tape
- Press tape edges firmly
- Remove tape while the paint is slightly wet
- Pull tape at a 45-degree angle
Are Ombre Walls Still in Style?
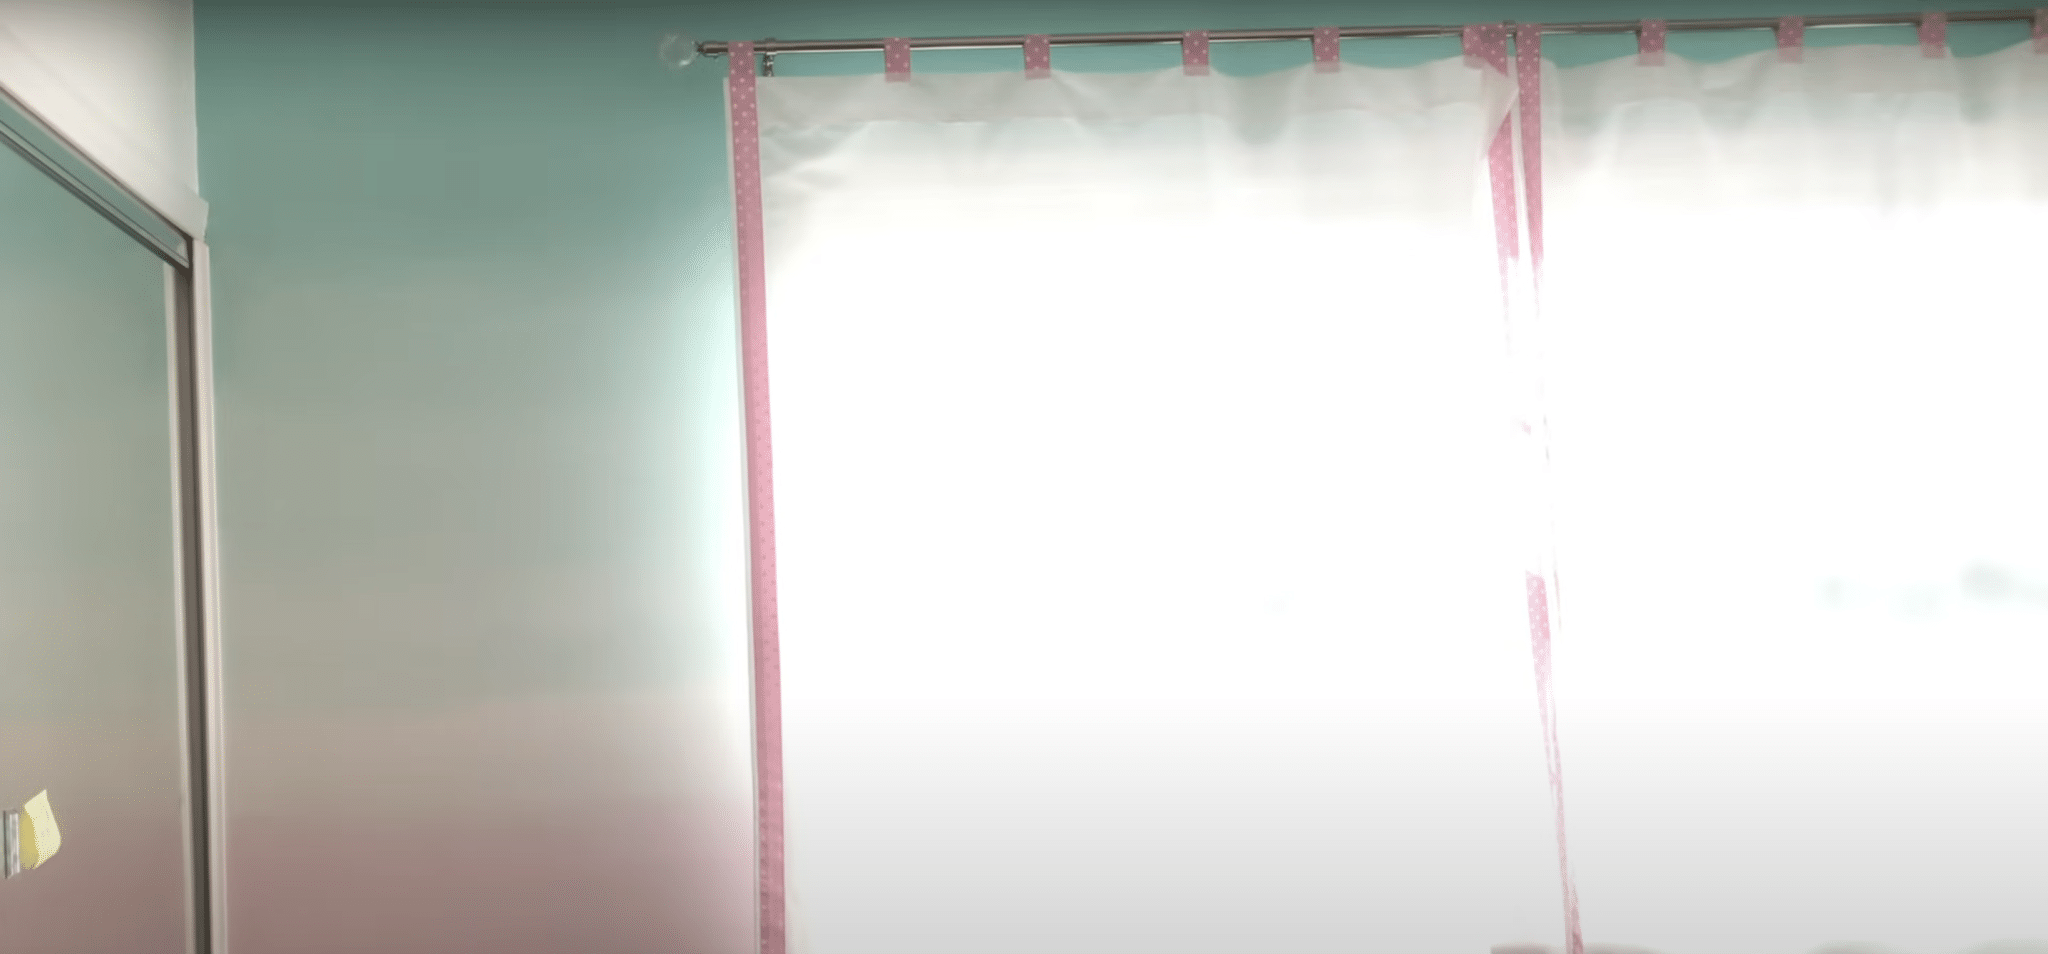
I’ve painted many walls over the years, and I can tell you that ombre walls are holding strong in home design. People keep asking me to create these smooth color transitions in their spaces.
Here’s what I’ve noticed: The style has grown up. Instead of bold color shifts, many people now choose subtle shade changes.
Light gray fading to white, or soft blue melting into cream – these gentle shifts work in most rooms.
What makes ombre walls stick around?
They’re great for:
- Making small rooms feel bigger
- Adding interest without being loud
- Creating calm spaces
- Working in any room
- Fitting different styles
The key is picking colors that match your room’s mood. Soft transitions between similar shades stay fresh longer than sharp contrasts.
Some Common Mistakes to Avoid
| Category | Common Mistakes | Description |
|---|---|---|
| Paint-Related Errors | Using wet brushes or rollers | Causes drip |
| Not mixing enough paint for touch-ups. | Insufficient paint for adjustments | |
| Starting without testing colors | This leads to unexpected results. | |
| Mixing two different colors directly | Always blend through white for smooth transitions | |
| Planning Mistakes | Skipping the wall measurement step | This may cause uneven coverage |
| Not buying enough supplies upfront. | Risk of running out mid-project | |
| Using just one brush for all transitions | Results in uneven blending | |
| Rushing into painting without a plan | This leads to inconsistent results | |
| Tool Management | Mixing up brushes between colors | Causes color contamination |
| Holding multiple brushes at once | This leads to accidental mixing. | |
| Not putting tools back in their spots | Harder to find and manage tools | |
| Using dirty or wet tools | It can ruin paint texture and finish | |
| Timing Issues | Letting paint dry between stripes | Creates visible lines between colors |
| Working too slowly between colors | Causes inconsistent blending | |
| Removing tape after the paint dries fully. | May tear the paint | |
| Not allowing enough time to finish. | Risk of uneven finish | |
| Blending Problems | Brushing too hard while blending | It can create harsh lines |
| Making uneven stripes | Disrupts smooth ombre transition | |
| Using too few color transitions | Results in a choppy effect | |
| Not testing technique on canvas. | Skipping practice can lead to avoidable errors. |
Best Painting Techniques Suggest for Ombre Wall
1. Color Transition Method
- Start with the darkest shade at the bottom
- Create at least 6 color transitions for smooth flow
- Mix paints in equal parts to keep consistent
- Check each mixed color before applying
2. Smart Application Tips
- Paint one full stripe at a time
- Do half of the next stripe quickly
- Work in 3-foot sections
- Keep edges wet for blending
3. Blending Skills
- Use light strokes at a 45-degree angle
- Move the brush only up and down
- Work in small sections
- Don’t overwork the paint
4. Professional Results
- Paint sample on canvas first
- Keep each tool for one color only
- Start from the top of the wall
- Let mistakes dry before fixing
5. Quality Control Tips
- Check lighting while working
- Stand back often to spot issues
- Fix problems after the paint dries
- Keep room well-lit while painting
6. Tool Handling
- Use clean brushes for each shade
- Roll paint in a ‘W’ pattern
- Hold the brush loosely while blending
- Clean spills right away
Common Blending Tips to Follow
I want to share my best tips for getting that perfect blend on your ombre wall.
When I blend colors, I always start with a dry brush – this is super important! I hold it at a 45-degree angle and use light strokes that go up and down. You don’t need to press hard; gentle strokes work much better.
Here’s what works best for me: I paint in small sections, about 3 feet wide. This helps me keep the paint wet for blending. I focus on mixing two colors at a time – trying to blend more than that can get messy. Trust me, I learned this the hard way!
If you make a mistake (we all do!), let that spot dry fully before fixing it. Don’t try to blend wet paint over dry paint – it never looks good. I like to step back every few minutes to check my work. Good lighting helps me spot any uneven areas.
The key is finding the right working speed. You want to move fast enough to keep the paint wet, but not so fast that you get sloppy.
Take short breaks between sections to keep your hand steady. Remember to keep your brushes organized – one brush for each color prevents muddy blending.
Conclusion
Creating an ombre wall isn’t as hard as you might think. I started as a beginner, and now I help others make their walls stand out.
You can create this lovely effect in your home with the right tools, proper planning, and patient blending.
Remember to test your colors first, keep your tools dry, and spend time blending. If you make a mistake, don’t worry – paint can always be fixed once it’s dry.
Ready to start your wall project? Save this guide, gather your supplies, and begin with a small practice canvas. I’d love to hear how your ombre wall turns out!
Share your experience or questions in the comments below.
Frequently Asked Questions
Which Color Combinations Work Best for Ombre Walls?
Complementary colors or shades within the same color family work best for ombre walls—think blues transitioning to turquoise or pinks fading into purples for a cohesive gradient effect.
Can I Achieve Professional-Looking Results as a Beginner?
Yes, beginners can achieve professional-looking ombre walls by following detailed tutorials, using quality brushes and paints, and practicing the blending technique on a small area first.
How Can I Blend Two Paint Colors Smoothly on a Wall?
Paint the two colors on the wall, overlapping slightly. While the paint is wet, use a clean, dry brush or sponge to blend the overlapping area in smooth, horizontal strokes.

