How to Convert an Antique Dresser into a Beautiful Bathroom Vanity
Antique dresser bathroom vanities combine vintage charm with modern utility. These pieces transform well-crafted furniture into functional bathroom fixtures that tell stories of the past while meeting today’s needs.
Old dressers bring solid construction and fine details that mass-produced units can’t match.
By choosing these pieces, you support sustainable practices and add authentic character to your space.
This guide covers everything from style selection to conversion steps. Whether you plan to create your vanity or purchase one ready-made, you’ll find the information needed to make informed choices for your bathroom update.
What Is an Antique Dresser Bathroom Vanity?
An antique dresser bathroom vanity combines the charm of old furniture with modern bathroom functionality.
These pieces start as traditional dressers, often crafted before 1950, that undergo careful modifications to accommodate plumbing and sink fixtures.
The concept emerged during the Victorian era when homeowners began adapting furniture for indoor plumbing installations.
Early versions featured washbasins and pitchers placed atop dressers, while modern adaptations included permanent sink fixtures and water lines.
These vanities preserve original craftsmanship while serving a new purpose in contemporary homes.
The transformation process maintains the dresser’s external character but modifies its internal structure to meet modern plumbing requirements.
Benefits of Using an Antique Dresser as a Vanity
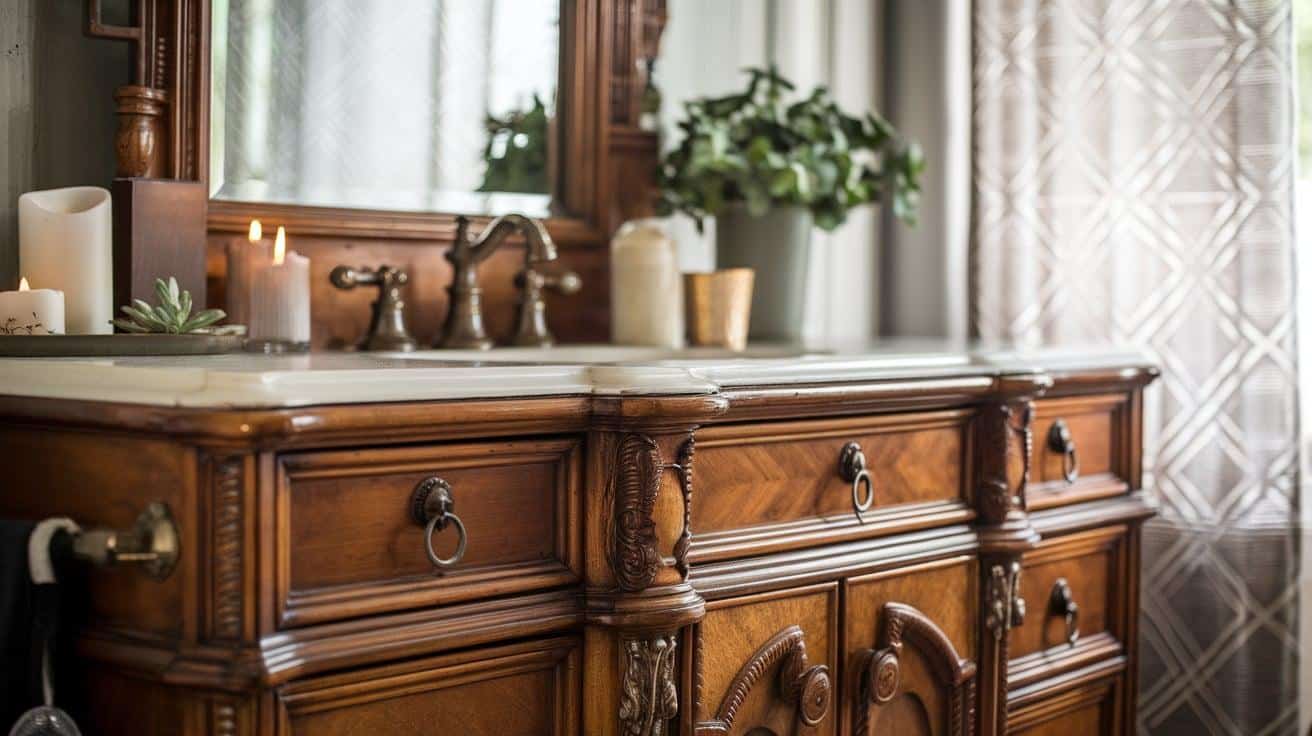
Converting an antique dresser into a bathroom vanity offers distinct advantages for homeowners seeking character in their spaces.
Each piece brings its history and craftsmanship, creating a focal point that mass-produced options cannot match.
This approach supports environmental responsibility by giving old furniture new life. By reusing existing materials, homeowners reduce waste and preserve the resources that would go into manufacturing new vanities.
The modification process allows for personal touches at every step. From selecting finishes to choosing hardware and fixtures, each decision shapes the final piece to match your vision.
Popular Styles and Design Inspiration
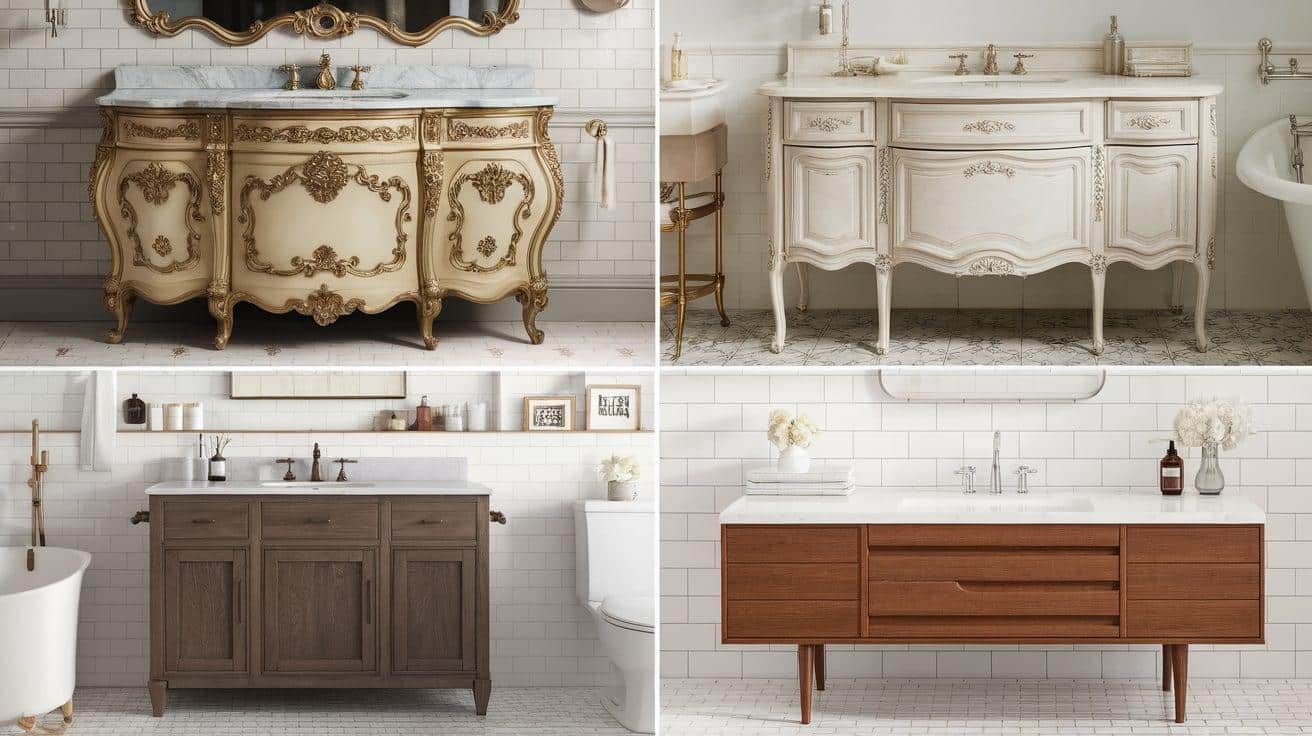
Victorian-style dressers feature ornate carvings and substantial proportions, making them ideal for larger bathrooms. These pieces often include marble tops and detailed woodwork that complement period homes.
French Provincial designs bring softer lines and lighter finishes to bathroom spaces. Their curved fronts and delicate details work well in spaces aiming for refined comfort.
Farmhouse-style pieces offer simpler lines and sturdy construction. These dressers typically feature solid wood construction and practical storage solutions that suit modern needs.
Mid-century dressers provide clean lines and minimal ornamentation. Their straightforward design makes them suitable for contemporary bathroom updates while maintaining vintage appeal.
Step-By-Step DIY Antique Dresser To Bathroom Vanity Conversion Guide
STEP 1: Remove the Backsplash and Dresser Top
Carefully remove the backsplash and the top of the dresser using a pry bar or similar tool.
This step helps create a flat, clean surface and prepares the dresser for modifications.
Removing the backsplash ensures a flawless fit when the sink and plumbing are added later.
STEP 2: Cut a Hole in the Sink
Place the sink on the dresser top to determine its placement and align it with your plumbing setup.
Mark the cut area using a template from the sink or tracing its outline. Cut the hole using a jigsaw, then sand the edges smoothly to avoid rough spots and ensure a perfect fit for the sink.
STEP 3: Adjust the Inside Frame for the Sink
Put the dresser top back on and position the sink to check how it fits within the frame.
Using a jigsaw, cut sections of the inside frame as necessary to accommodate the sink’s depth and plumbing.
Ensure the modifications don’t compromise the dresser’s structure while creating enough space for the sink.
STEP 4: Sand and Stain the Dresser Top
Sand the dresser top to remove any stains, scratches, or imperfections. Once smooth, apply a stain to refresh the wood and highlight its natural texture.
To protect the surface, add three coats of waterproof urethane and a final coat of flat polyurethane to achieve a durable and desired matte finish.
STEP 5: Attach the Sink to the Dresser Top
Position the sink on the dresser top, aligning it with the plumbing. Mark its placement for accuracy, then apply a generous bead of silicone along the sink’s edges.
Secure the sink to the top using the provided hardware, and add more silicone to seal the edges, ensuring a watertight finish.
STEP 6: Modify Drawers to Fit Plumbing
Remove sections from the back and bottom of the drawers to make room for the plumbing.
Reinforce the remaining structure with pine boards for durability, ensuring the drawers can still function effectively.
Cut and shape the boards to fit around the sink and plumbing, and secure them with screws for stability.
STEP 7: Secure the Vanity in Place
Position the dresser in the bathroom, and notch the bottom piece to fit around existing plumbing if necessary.
Attach the dresser to the wall securely with screws to prevent movement.
Reattach the backsplash, set the sink in place, and screw the top back on. Add new drawer hardware for a fresh, finished look.
Video Tutorial
For more details, check out this video tutorial by The Merrythought.
Maintenance and Care of Your Antique Vanity
1. Regular Cleaning Tips
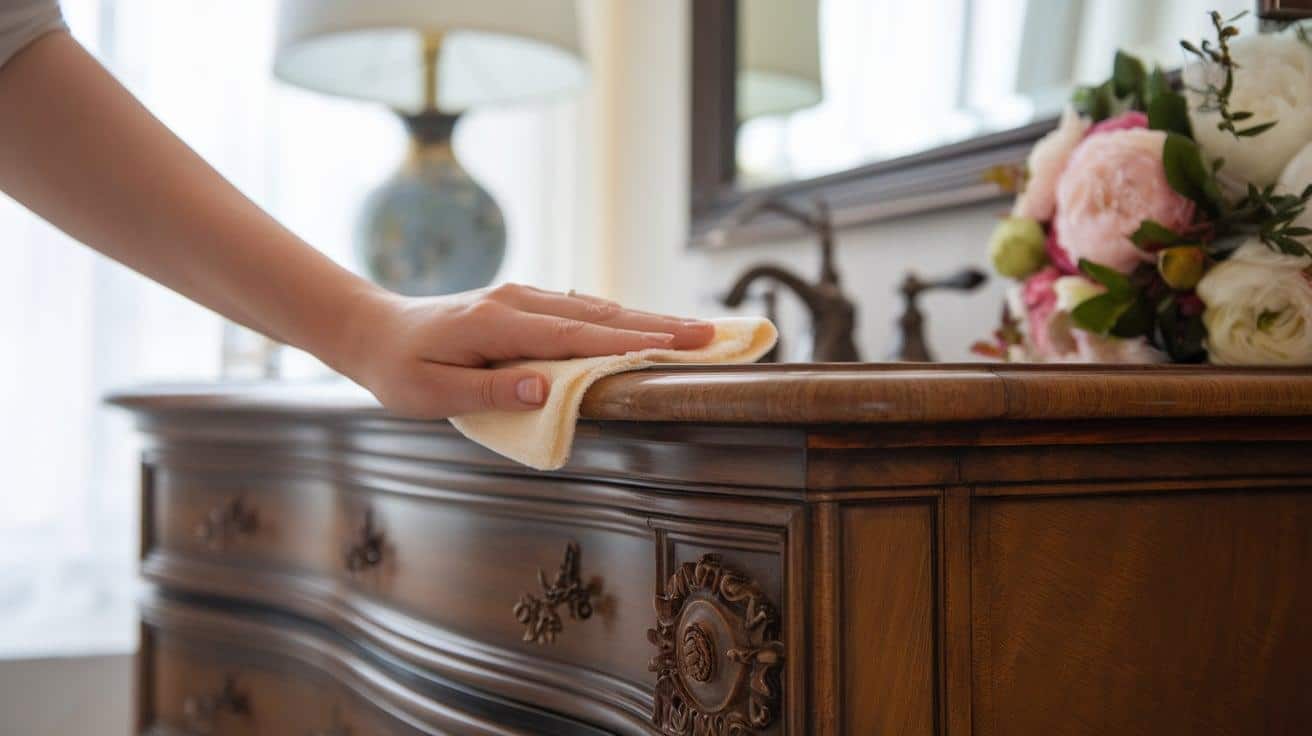
Daily maintenance requires gentle cleaning with a soft, dry cloth to remove dust and water spots. For deeper cleaning, use mild soap and water, being careful to dry surfaces immediately after wiping them down.
Avoid standard bathroom cleaners that contain harsh chemicals or abrasives. These products can damage original finishes and accelerate wear on antique surfaces.
2. Dealing with Wear and Tear
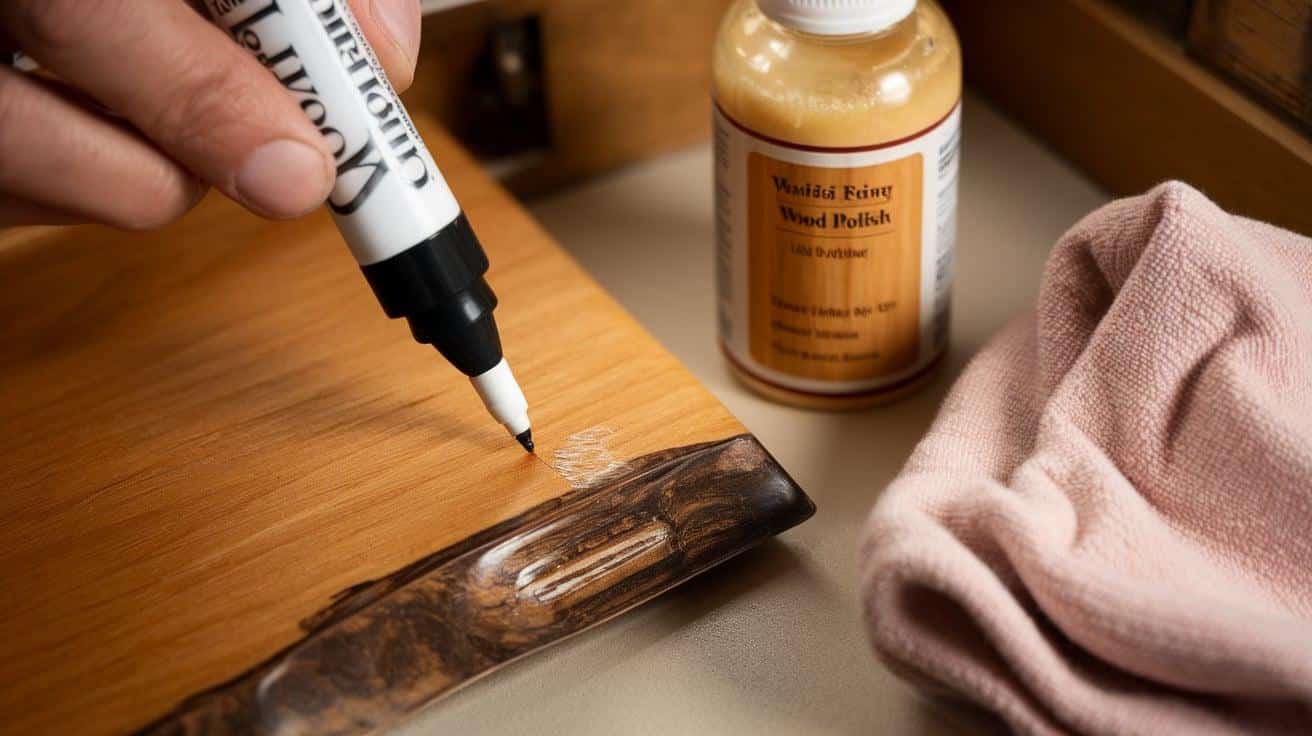
Small scratches and marks often respond well to careful treatment with furniture markers or wax fillers. Address these issues promptly to prevent further deterioration of the finish.
When surfaces show significant wear, consider professional refinishing to protect the wood. This process should maintain the piece’s antique character while providing adequate protection against moisture.
3. Long-Term Care
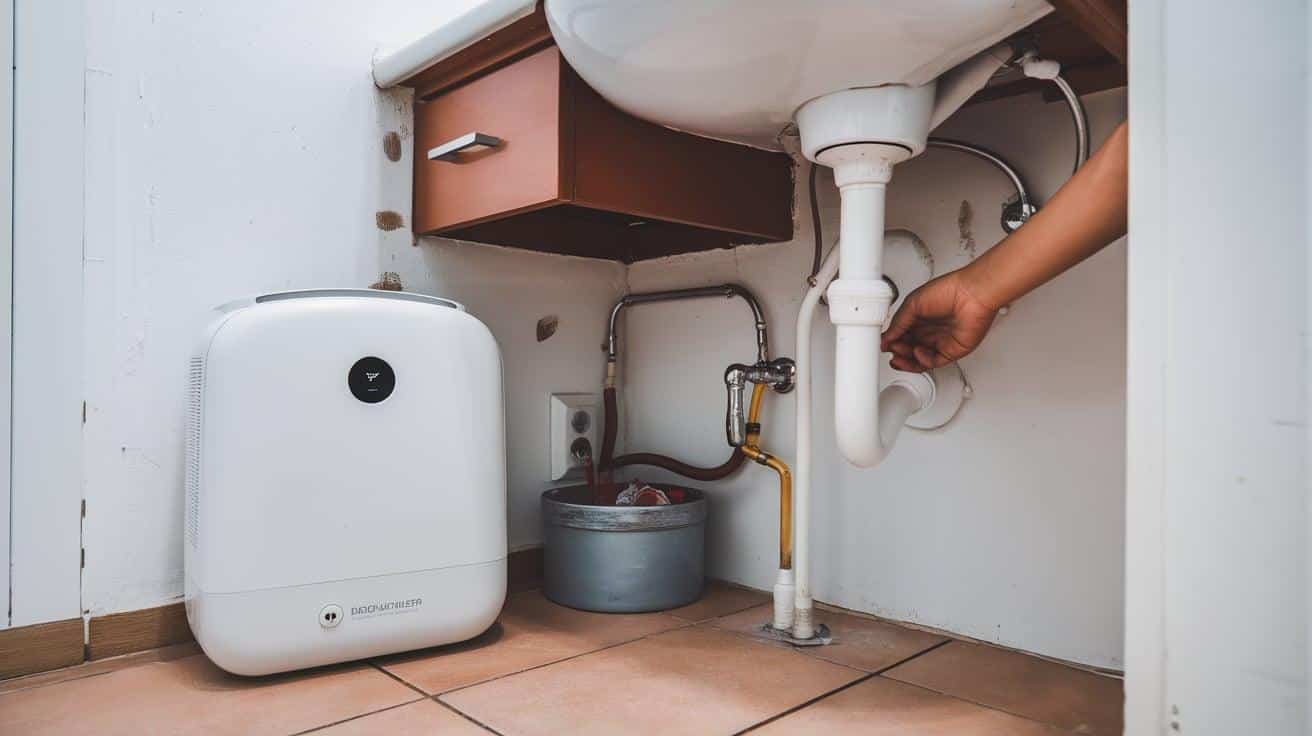
Water protection is the primary concern for bathroom furniture. To prevent water intrusion into wood surfaces, install proper sealing around the sink area and maintain caulk lines.
Monitor bathroom humidity levels to protect your antique vanity. Using a dehumidifier or proper ventilation helps prevent wood swelling and warping over time.
Regular inspections of plumbing connections help catch potential issues before they cause damage. Check under-sink areas monthly for signs of leaks or moisture accumulation.
Final Words
Creating a bathroom vanity from an antique dresser brings more than storage and style to your home.
It preserves history, supports sustainable choices, and adds personal meaning to your space. Each piece carries its story, enhanced by your careful updates and thoughtful modifications.
Proper planning and attention to detail allow you to turn a cherished old dresser into a functional bathroom centerpiece that will last for years. The time and effort invested results in a truly special addition to your home.
We’d love to see how your antique dresser vanity project turns out. Share your results or reach out with questions about your unique piece.
Frequently Asked Questions (FAQs)
What Is the Difference Between a Dresser and a Vanity?
A dresser is designed for clothing storage, while a vanity is built for bathroom use, incorporating plumbing, sinks, and storage tailored to toiletries.
What Type Of Sink Is Best For A Dresser Vanity?
A drop-in or vessel sink works best for dresser vanities, as they allow easy installation and preserve the dresser’s vintage aesthetic while housing plumbing.
Is It Cheaper To Build A Vanity Or Buy One?
Building a vanity from a dresser can be cheaper if you source materials affordably, but costs depend on the dresser, sink, and modifications required.

