How to Clean Furniture Before Painting
Want to give your old furniture a fresh look with paint? I know the feeling – I’ve been there, staring at my dusty cabinet, wondering where to start.
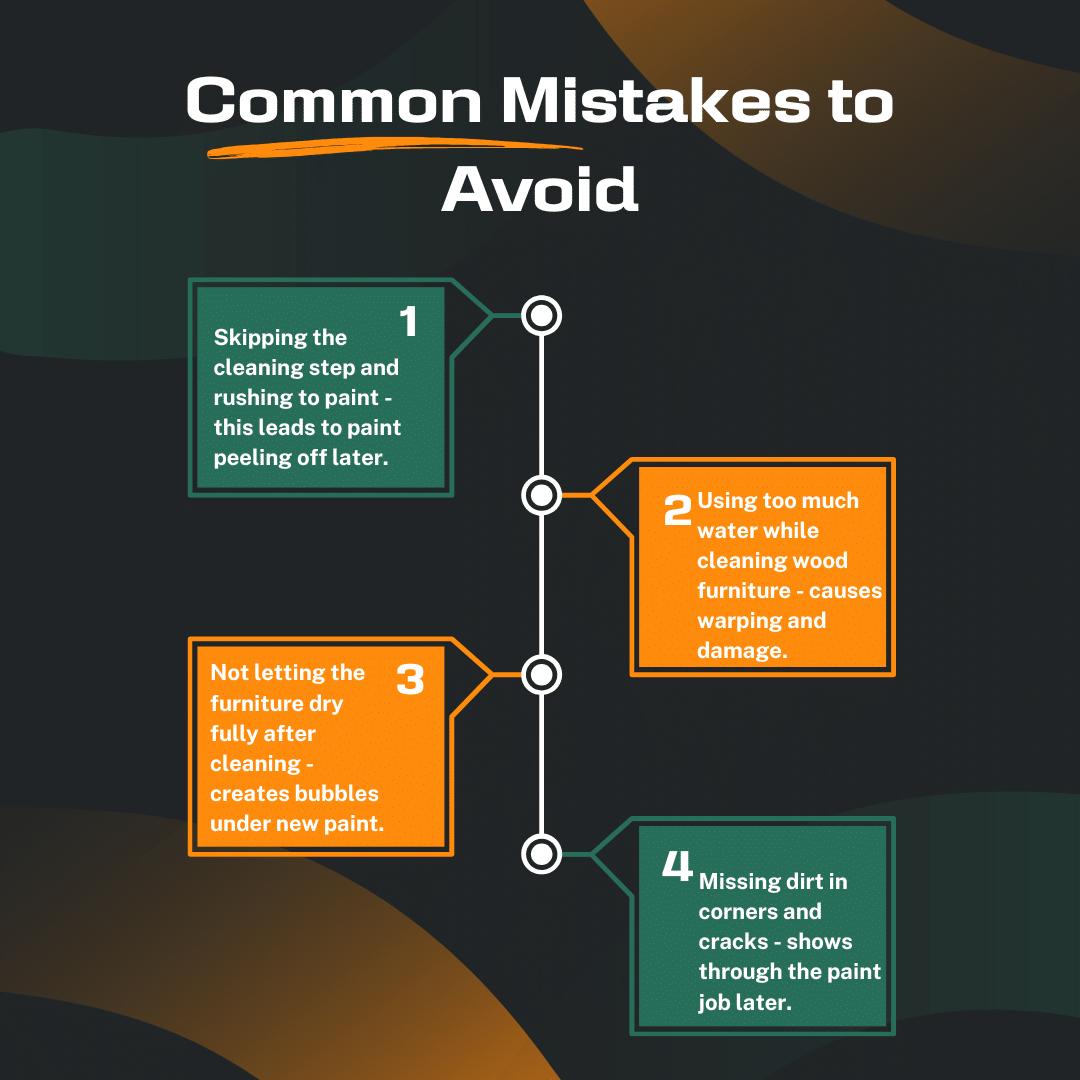
Many folks skip proper cleaning and jump straight to painting. Trust me, I made this mistake once. The paint bubbled and peeled within weeks.
Here’s the good news: I’ve learned the right way to clean furniture before painting, and it’s simpler than you might think. I’ll show you my tested steps to get your piece spotless and ready for paint.
By following these cleaning tips, you’ll get better paint coverage and a finish that lasts longer.
Let me walk you through the process.
Understanding Your Furniture
I’ll help you learn how to check your furniture before starting the cleaning process.
1. Identifying the Material
I can tell you that knowing what your furniture is made of makes a big difference. If you tap the surface, solid wood sounds heavy and feels firm.
Plywood has a lighter sound when tapped, while metal feels cold to the touch. Plastic has a hollow sound and often feels light.
2. Assessing the Current Finish
I look at the finish by checking a hidden spot first. Run your hand over it – is it smooth or rough? Shiny surfaces often have lacquer or varnish. Dull ones might have paint or stains. Some pieces have no finish at all. This helps me pick the right cleaning method.
3. Evaluating the Condition
Let me share what I check for:
- Loose parts need fixing first
- Sticky spots mean built-up dirt
- Scratches or dents show wear
- Wobbling tells me joints need work
- Fuzzy wood points to water damage
- Tiny holes might mean bugs
I make notes of these issues because they affect how I clean. Small problems grow bigger if we ignore them. Fix what you can before cleaning – it saves time later.
Think of your furniture like a patient getting ready for treatment. We need to know what we’re working with to give it the best care.
Step-by-Step Process to Clean Furniture Before Painting

Tools & Materials Required
- Clean white rags
- Soft sponge
- Bucket of warm water
- Gentle dish soap
- White vinegar
- Rubber gloves
- Soft brush
- Old towels
- Paper towels
- Fine-grit sandpaper
Step-by-Step Process
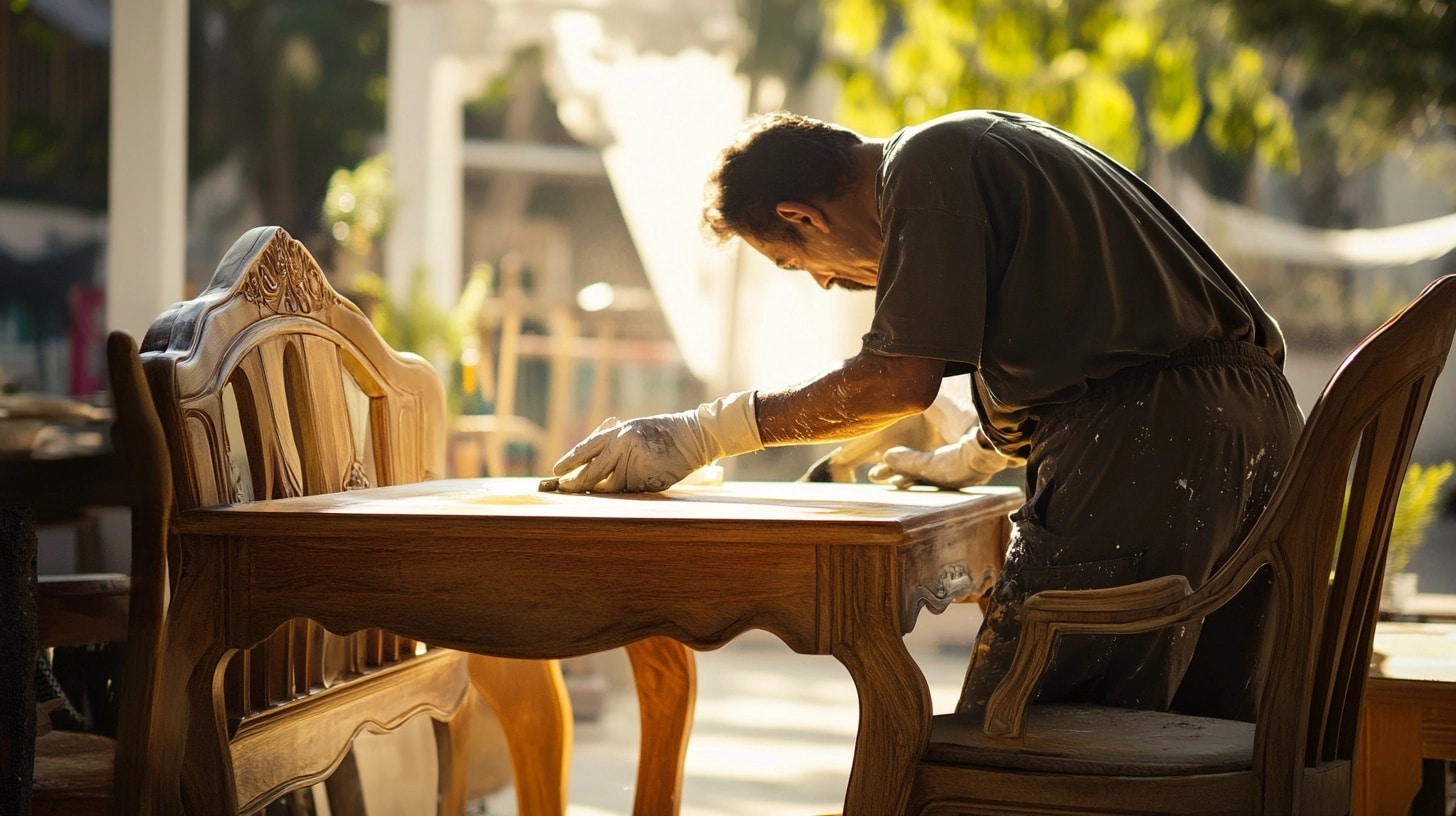
- Basic Dusting: First, I wipe off loose dust with a clean, dry cloth. I pay extra attention to corners and cracks where dirt likes to hide.
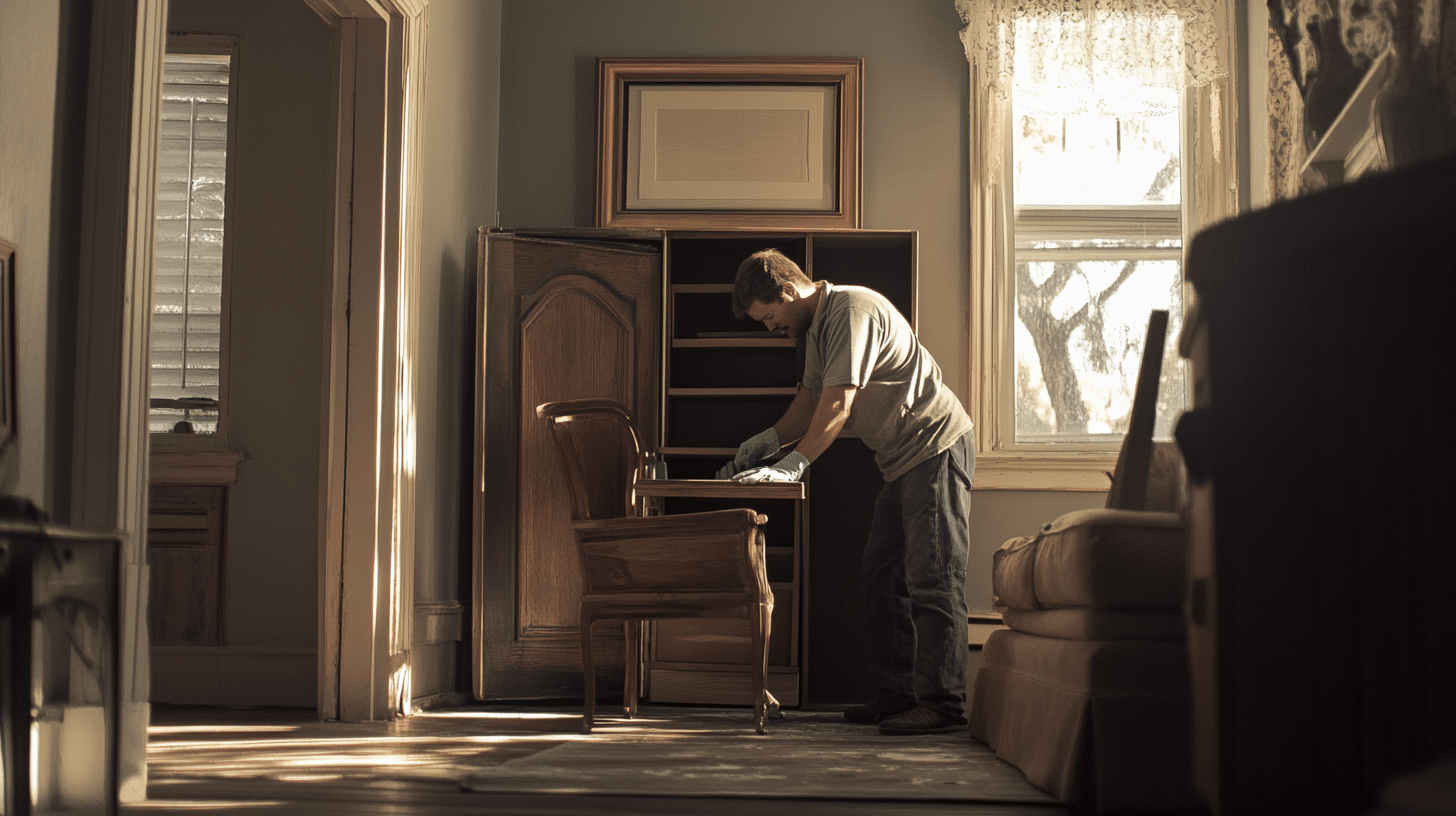
- Initial Cleaning: I mix warm water with a few drops of dish soap. Using a well-wrung cloth, I wipe down the entire piece. I avoid soaking the wood – less water is better.
- Tackling Tough Spots: I use a solution of equal parts water and white vinegar for sticky areas. I rub gently with the grain of the wood, removing old wax and grime.
- Detailed Cleaning: I clean tight spots and decorative parts with a soft brush, keeping the strokes light to protect the surface.
- Drying Process: I pat the surface with clean towels right away. Good drying prevents water damage. I let the piece sit for 24 hours in a warm room.
- Final Prep: I run fine-grit sandpaper lightly over the surface. This helps the new paint stick better. Then, I wipe off any dust with a tack cloth.
Remember to clean in a well-aired space. Keep windows open or fans running while you work.

How to Choose The Right Cleaning Agent
- For Raw Wood: I use a mild warm water and dish soap mixture. Strong cleaners can soak into bare wood and cause trouble later. If the wood is very dirty, I add a splash of white vinegar to my soap mix.
- For Painted Surfaces: I stick to gentle soap and water when cleaning old painted furniture. Harsh cleaners might damage the old paint or leave residue. A soft sponge works better than rough scrubbers here.
- For Varnished Wood: These surfaces need special care. I use a mix of one part white vinegar and four parts water. This cuts through dirt without hurting the finish. Some people like mineral spirits, but I find vinegar works just as well.
- For Metal Parts: Metal needs its own approach. I clean it with a mix of warm water and mild dish soap. If rust spots show up, I use steel wool very carefully. Stubborn spots get a wipe with white vinegar.
- For Laminate Surfaces: These smooth surfaces clean up well with soap and water. I avoid any oils or waxes – they leave films that can stop paint from sticking well later.
Remember to always test your cleaner first in a small, hidden spot. This helps prevent big problems before they start.
Where to Buy Them
| Store Type | Items Purchased | Notes |
|---|---|---|
| Local Hardware Stores | Dish soap, white vinegar, sandpaper, cleaning cloths | Nearby stores like Home Depot and Lowe’s; stock basic items needed frequently. |
| Grocery Stores | Dish soap, white vinegar, rubber gloves | The cleaning section has good prices for essentials. |
| Online Shopping | Various cleaning supplies (bulk purchase) | Order from Amazon or Walmart; allows reading reviews before buying. |
| Specialty Paint Shops | Furniture-specific cleaning supplies | Staff is knowledgeable about recommending the right products for furniture cleaning. |
| Dollar Stores | Sponges, rags, buckets | Quality is sufficient for most projects; prices remain affordable. |
Remember: You don’t need fancy brands. Simple, basic cleaning supplies often work best.
How to Deal with Special Situations
Let me share my tricks for handling tricky cleaning situations I’ve faced.
- Dealing with Mold: I start by taking the furniture outside. Mix one part water with one part white vinegar to kill mold spores. Pat the spot – never rub. Let it dry in full sun for a day. If mold returns, the piece might need expert help.
- Handling Sticky Residue: Old tape marks or sticker goo? I put a warm, damp cloth over the spot for 5 minutes. Then wipe with vinegar. The gunk usually comes right off.
- Removing Water Stains: White rings from cups? I use a dry cloth to rub the mark gently. If that fails, a mix of toothpaste and baking soda often works. Just don’t scrub too hard.
- Fighting Fungus Growth: First, I take it outside. Sunlight helps stop fungus. I clean it with a vinegar-water mix, then let it dry fully. Good airflow stops the fungus from coming back.
- Treating Bug Problems: See tiny holes? That means bugs. I clean with soap and water first. Then, check if the wood is still solid. Bad cases need a wood expert or a pro like painters in Brighton if you’re prepping for repainting.
- Getting Rid of Odors: Old, musty smells? I sprinkle baking soda, let it sit overnight, then vacuum. Fresh air and sunshine help, too.
Cleaning on Your Own or By Professional – The Best Option?
| Cleaning Method | Benefits | Drawbacks | When to Choose |
|---|---|---|---|
| DIY Cleaning | • Saves money • Flexible pace • Learn new skills • Control over products |
• Takes time to learn • Risk of mistakes • Initial tool costs • Hard to spot all issues |
• Simple cleaning • Small furniture pieces • Basic dirt only • No major damage • Time to learn |
| Professional Cleaning | • Expert knowledge • Special tools • Quick problem detection • Faster results • Effective with tough issues |
• Higher cost • Need to find quality service • Schedule depends on availability • Less product control |
• Valuable antiques • Complex needs • Mold or pest signs • Water damage • Limited personal time |
Points to Consider While Preparing for Painting After Cleaning
Surface Check: I run my hand over the clean surface. It should feel smooth, not sticky or rough. Then I look at it under good light to spot any missed spots.
Drying Time
- I wait 24 hours after cleaning
- Check if all areas are fully dry
- Feel for cold or damp spots
- Look for darker patches that show moisture
Room Setup
- I pick a dust-free space
- Keep temperature steady
- Make sure air flows well
- Cover floors with drop cloths
- Set up good lighting
Final Prep Steps
- Fill any small holes
- Sand rough spots lightly
- Wipe off sanding dust
- Check loose parts are fixed
- Remove or cover hardware
Testing Readiness: I test a small spot first. The whole piece is ready for paint if the test patch looks good after drying.
Moisture Check: I press a white paper towel on the surface. If it comes away clean and dry, we’re good to go.

Conclusion
I started this guide because I know how tempting it is to skip straight to painting. But proper cleaning makes all the difference between paint that lasts and paint that peels off in weeks.
Remember: take your time with cleaning, let everything dry well, and always test products first. These simple steps will give you much better results.
Got a piece of furniture waiting for a makeover? Why not start cleaning it today? Begin with basic dusting and work your way through the steps. If you run into trouble with mold or tough stains, don’t hesitate to call a pro.
Share your cleaning success stories in the comments below. I’d love to hear how these tips worked for your furniture projects!


