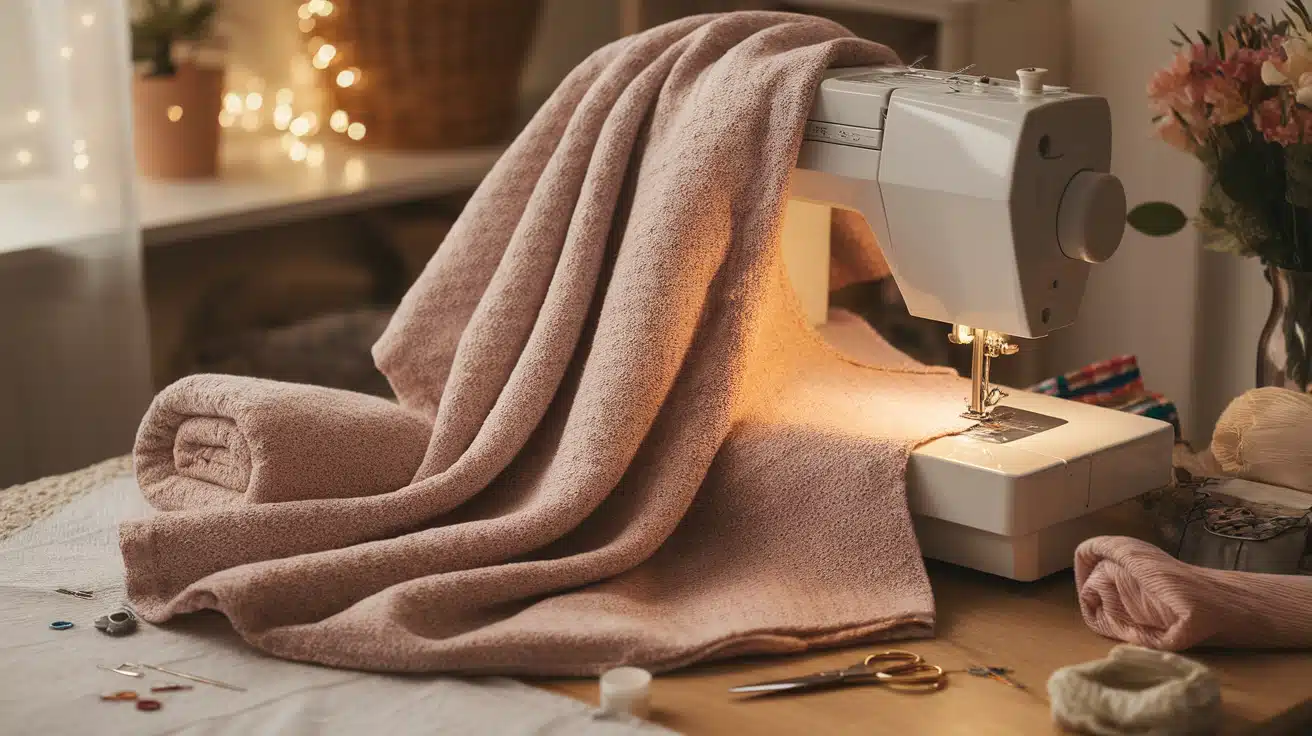
How to Clean a Wax Warmer: A Simple Guide
Wax warmers get messy fast. If you’ve ever struggled with stuck wax or a greasy bowl, you’re not alone. Cleaning it the right way makes every session easier and keeps your warmer working like it should.
This guide shows you how to clean a wax warmer using simple steps and everyday items. You’ll learn how to melt, wipe, rinse, and dry the bowl without wasting time or damaging it.
By the end, your warmer will be clean, safe, and ready to use again.
Want to avoid build-up and get better results every time you wax? Keep reading.
Why It’s Important to Clean Your Wax Warmer
Cleaning your wax warmer often might seem like a small step, but it makes a big difference.
First, leftover wax can collect dust, hair, or dirt, which isn’t good for your skin. It’s more hygienic to start each session with a fresh and clean bowl.
Next, regular cleaning helps your warmer last longer. Wax build-up can cause damage over time or make it harder to heat evenly. This means the warmer might stop working well if it’s not cleaned.
Finally, a clean bowl gives better results. Wax heats faster and sticks better when the surface is clear. So if you want smooth, easy waxing every time, don’t skip this step. It’s quick and totally worth it.
Step-by-Step Guide to Cleaning a Wax Warmer
By following this guide, you can keep your warmer working well and ready for every session. It only takes a few minutes and helps avoid sticky build-up or waste.
Tools and Materials
It’s best to gather your supplies before starting so you can move through each step without stopping. Everything on this list is affordable and easy to find in your kitchen or bathroom.
- Wax warmer
- Metal wax bowl
- Lid
- Power outlet
- Paper towels
- Popsicle stick
- Olive or vegetable oil
- Dish soap
- Warm water
- Sponge or soft cloth
- Dry towel
- Gloves (optional)
Step 1: Heat the Wax Warmer
Start by plugging in your wax warmer and turning the heat to the highest setting. Place the metal bowl back inside the warmer, then cover it with the lid.
Let it sit for about five minutes so the leftover wax has time to melt. Stay nearby while it heats up. This step helps soften the wax, making it easier to wipe out later.
If your warmer has a light or heat dial, make sure it’s working properly. Once the wax is fully melted, you’re ready for the next step.
Step 2: Wipe Out the Melted Wax
Once the wax has melted, carefully remove the hot metal bowl using the plastic side handles. If the metal feels too hot, let it cool for a minute or use gloves. Take a popsicle stick and a paper towel.
Use the stick to move the wax around, pressing the towel down to soak it up. Try to get as much wax as you can from the sides and bottom. This will leave only a thin layer behind, making the next step quicker and easier.
Step 3: Add Kitchen Oil
Now it’s time to loosen what’s left. Pour a small amount of kitchen oil, olive or vegetable, into the bowl. You don’t need much, just enough to swirl around.
Gently move the bowl so the oil spreads and mixes with any wax still stuck. The oil helps break down leftover wax and keeps it from clinging to the bowl.
Let it sit for a minute to work through the sticky spots. This makes wiping it clean much easier and keeps your bowl from getting stained.
Step 4: Reheat and Repeat
Place the oiled bowl back into the warmer and turn the heat on again. Let it warm up for another three to five minutes.
The oil and leftover wax will mix more as the heat melts them. Then remove the bowl and use another paper towel and the same popsicle stick to wipe it out again.
This second round helps clear out all the wax and oil that the first wipe didn’t catch. Make sure to check the corners and edges to get it fully clean.
Step 5: Wash with Dish Soap
Now that the wax and oil are mostly gone, take the bowl to the sink. Use warm water and dish soap to wash it like a cooking pot. Dish soap cuts through leftover grease better than hand soap.
Use a sponge or soft cloth to clean every part of the bowl, especially the inside. Rinse it well so no soap is left behind. Then dry it completely with a clean towel.
Make sure no slippery spots remain. Your bowl should now feel clean and smooth.
Step 6: You’re Ready to Wax Again
Once the bowl is dry, it’s ready to go back into the warmer. You can let it air dry or use a towel to speed things up. A clean bowl heats more evenly and gives you better results when waxing.
Keeping it clean after each use also helps it last longer. Store the warmer with the lid on to keep dust out. The next time you’re ready to wax, you’ll have a clean, mess-free setup. That’s it, you’re all set for your next session.
Want to see the whole process in action? Watch the video below for a quick demo on how to clean your wax warmer step by step.
Cleaning Tips as per the Warmer Type
Different wax warmers need different care. Using the right method helps keep them safe, clean, and working properly. Whether it’s ceramic, electric, or made for hair removal, each type has its dos and don’ts.
Follow these tips based on the kind of warmer you’re using to avoid problems later.
Ceramic Wax Warmers

Ceramic warmers look nice, but can chip or crack if scrubbed too hard. Avoid using rough sponges or anything sharp. Instead, let the wax melt fully, then wipe it out with a soft cloth or paper towel.
If needed, use a small amount of rubbing alcohol to clean leftover wax or stains. Be gentle when cleaning the edges and corners to avoid damage. Never soak the entire ceramic base in water.
With regular cleaning and careful handling, ceramic warmers can stay in good shape for a long time.
Electric Wax Warmers

Always unplug your electric wax warmer before cleaning it. Never wash it while it’s still warm or plugged in. These warmers often have a removable dish, which makes things easier.
You can clean the dish like normal, but avoid getting water or cleaner on the heating base. If any wax spills onto the base, wait for it to harden, then gently peel or wipe it off.
Use a dry cloth or a lightly damp one for surface dust. Keeping the cord and base dry keeps everything safe.
Tips for Maintenance
Taking care of your wax warmer helps it last longer and work better. A little attention after each use keeps things neat and saves you time in the future.
Here are some quick and helpful tips to keep your warmer in good shape:
- Use silicone inserts to reduce mess and make cleaning easier.
- Clean after every 2–3 uses to prevent thick build-up.
- Store in a dust-free place to keep the bowl and lid clean.
- Never pour wax down the drain; it can clog your pipes.
How Often Should You Clean a Wax Warmer?
How often you clean your wax warmer depends on the type you use and how often you use it.
For hair removal wax warmers, it’s best to clean the bowl after every session. Wax used on skin builds up fast and can get sticky or hard to remove later.
For fragrance wax warmers, cleaning after every few uses is usually enough, especially when changing scents. Letting old wax sit too long can cause bad smells or slow heating.
No matter what kind you have, a quick clean keeps your warmer working better and helps it last longer. Wiping it out regularly takes less time than fixing heavy buildup later.
Common Mistakes to Avoid
It’s easy to make small mistakes when cleaning your wax warmer, especially if you’re in a hurry. One common error is letting the wax cool too much before wiping it out; this makes the job harder and messier.
Scrubbing with rough tools can also scratch the bowl and wear it down over time. Using too much oil may leave the bowl greasy and harder to rinse clean.
Some people forget to clean the warmer regularly, leading to a thick build-up. Pouring melted wax down the sink can also block the drains completely.
Conclusion
By wiping out melted wax, adding oil, reheating, and washing the bowl, you ensure that your warmer stays safe and clean.
This guide helps you get better results, avoid sticky messes, and make your wax warmer last longer.
Remember to clean it often, use the right tools, and never pour wax down the drain.
Want more simple guides like this one? Check out our other blogs for helpful how-to tips on home and beauty care.