How to Sew a Blanket: Easy Step-by-Step Guide
Want to make something cozy with your own hands? Sewing a blanket is the perfect way to start!
If you’re thinking, “I don’t know how to sew a blanket!” This guide will show you exactly how to make it, step by step.
It’s one of the easiest projects for anyone new to sewing, and when you’re done, you’ll have something warm and useful.
You can choose from so many fabrics—soft cotton for summer, warm flannel for fall, or fuzzy fleece for winter nights.
The best part? You can make it just how you like it!
Let’s get started!
Materials and Tools Needed to Sew a Blanket
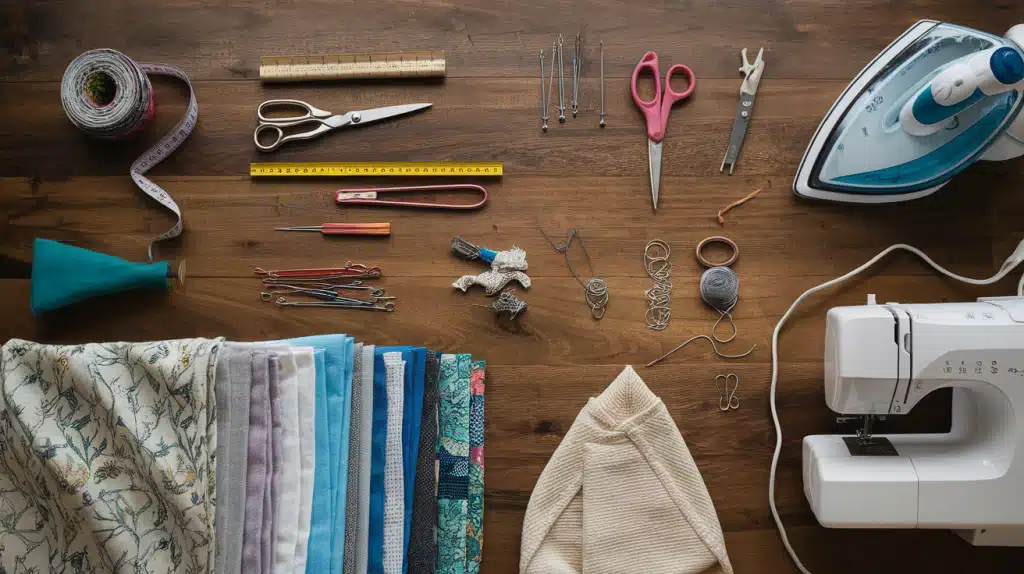
Before we jump in, let’s gather everything you’ll need.
Don’t worry if you don’t have fancy equipment – these basics will do the job perfectly:
- 2 pieces of fabric (size depends on how big you want your blanket)
- Measuring tape
- Sharp fabric scissors or rotary cutter
- Straight pins
- Thread that matches your fabric
- Sewing machine (or a needle for hand sewing)
- Iron and ironing board
- Disappearing fabric marker or chalk
- Safety pins (helpful for thicker blankets)
Having these items ready will make your sewing time much more fun!
Think about setting up a comfy spot with good lighting where you can spread out your materials.
Trust me, it makes a big difference when you’re not hunting for pins while in the middle of a project!
Step 1: Preparing Your Fabric
Getting your fabric ready is like setting the stage for a great show.
Taking time with this step makes the rest of your blanket-making so much easier!
Pre-Washing Your Fabric
- Wash your fabric before you start cutting. This stops it from shrinking later after all your hard work!
- Use mild soap and wash soft fabrics like flannel by themselves.
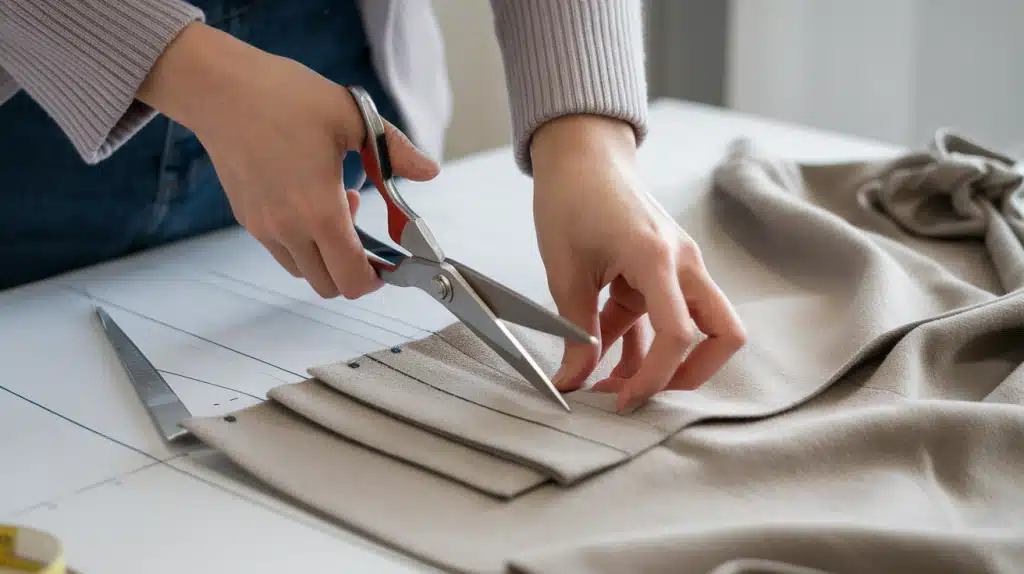
Cutting the Fabric
- Spread your fabric on a flat surface.
- Line it up using the edge as your guide.
- Cut with sharp scissors or a rotary tool for clean, straight lines.
- Make sure all layers are the same size.
Step 2: Sewing the Blanket
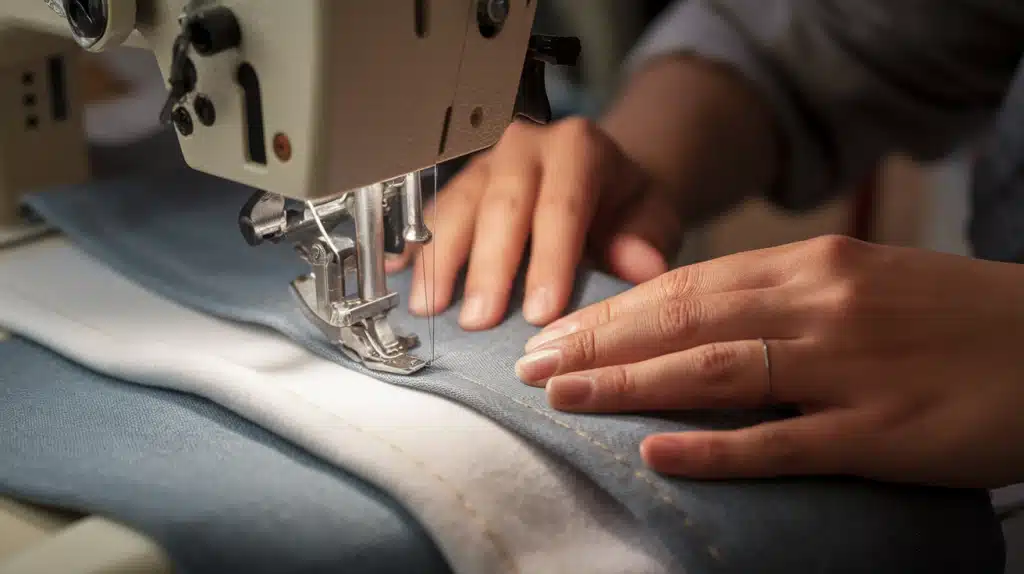
This is where your blanket starts to take shape!
Follow these simple steps and you’ll be wrapping up in your creation soon.
Lining Up and Pinning the Fabric
- Put batting on the bottom first.
- Place flannel on top with the right side facing up.
- Add plush fabric last with the right side facing down.
- Pin all layers together so they stay put while you sew.
Sewing the Edges
- Sew ½-inch from the edge all around.
- Leave a 6-10 inch gap for turning.
- Go slow if using a machine – no rush!
If you prefer, you can hand-sew using a blanket stitch instead.
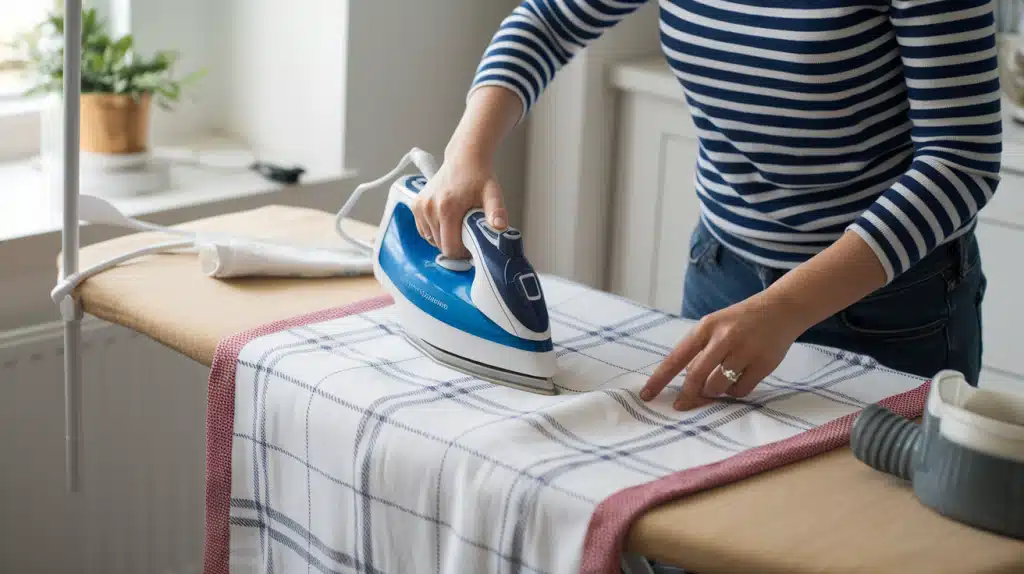
Trimming and Turning
- Trim the corners to remove bulk.
- Turn the blanket right side out through the opening.
- Press the edges with an iron for a clean finish.
Step 3: Finishing Touches
You’re almost done! These final steps will make your blanket look great and last longer.
Closing the Opening
- Turn your blanket right side out through the opening.
- Fold the raw edges in and pin them flat.
- Sew the gap closed with small, neat stitches that match your fabric for a clean look.
Topstitching for Durability
- Sew all the way around the edge of your blanket, about ¼-inch from the edge. This keeps all layers in place.
- If you want, add a second row of stitching for a nice touch and extra strength.
Choosing the Right Blanket Type
Before you start cutting fabric, think about what kind of blanket you really want to make.
The size and purpose will guide all your other choices!
Different Blanket Options
- Standard blankets fit beds and keep you warm at night.
- Throw blankets are smaller – perfect for couch cuddles and movie nights.
- Baby blankets are tiny and sweet for the little ones.
Don’t have a sewing machine? No problem! You can make no-sew blankets with just scissors and some knots.
Choosing the Right Fabric
Picking fabric is the fun part!
- Cotton: It feels light and breathes well for hot sleepers.
- Flannel: This gives you that warm, cozy feeling on cold nights.
- Fleece: Perfect if you want a blanket that’s super soft and holds heat well.
- Minky: It has those tiny bumps that feel amazing against your skin – babies and adults both love it!
Batting Options
Batting is the middle layer that makes your blanket fluffy and warm.
- Cotton: This kind of batting feels natural and gets softer over time.
- Polyester: It stays puffy longer and is often cheaper.
- Low-loft: The best batting to make thinner blankets that fold easily.
- High-loft: To create those fluffy, cloud-like blankets that make winter so much better!
Troubleshooting Common Issues
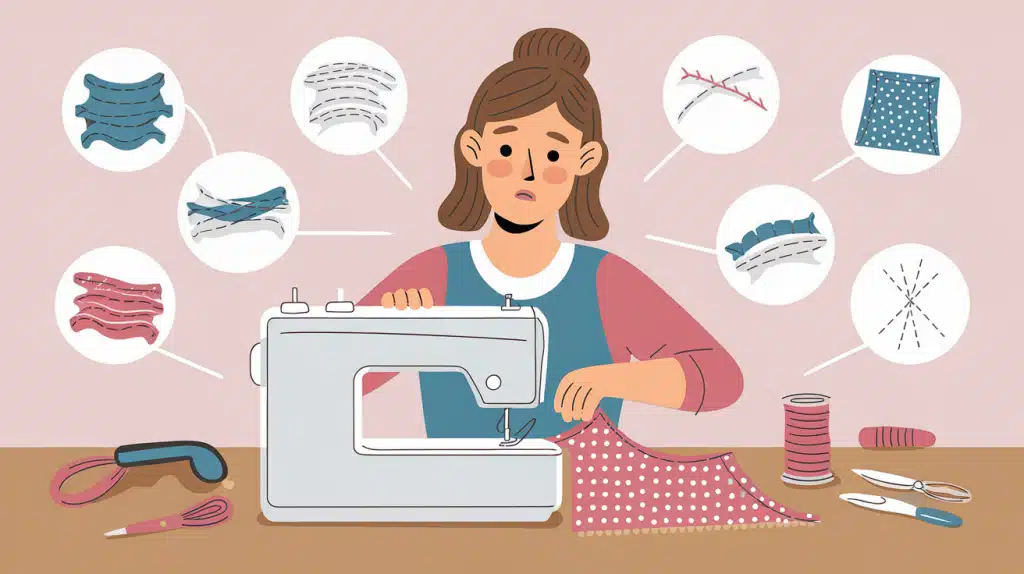
Even experienced sewers run into problems sometimes!
Don’t worry if things aren’t perfect – here are some quick fixes for the most common blanket-making troubles.
Fabric Bunching or Shifting
Is your fabric getting wrinkly or moving as you sew? Use more pins!
Place them closer together, every 2-3 inches. For thick fabrics, try using safety pins instead.
You can also use special clips made for sewing if pins aren’t working well.
Uneven Stitches
Seeing zigzags instead of straight lines? Check your thread tension.
Make sure your machine is threaded correctly. Try slowing down – rushing often causes wobbly stitches.
For hand sewing, use shorter, more careful stitches.
Fixing Gaps in Seams
Found a hole in your seam? No need to start over! Just unpick a few stitches around the gap, pin the area flat again, and resew just that section.
For tiny holes, you can hand stitch them closed with small, tight stitches.
Alternative Blanket Methods
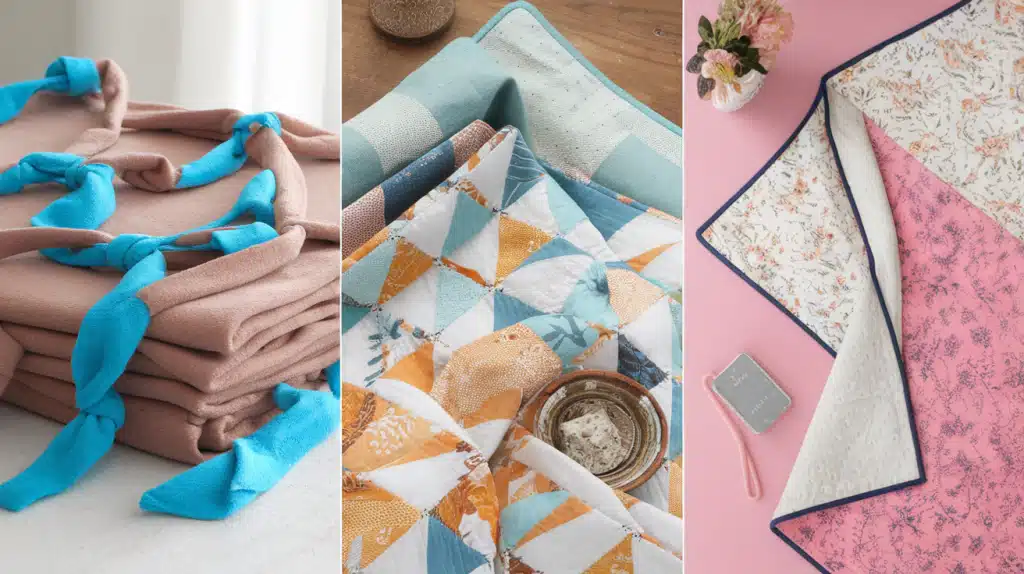
Don’t worry if traditional sewing seems too challenging! There are other ways to make cozy blankets that might be easier or more fun for you.
Here are some options that give you the same warm result with different methods.
1. No-Sew Fleece Tie Blanket
Can’t sew but still want to make a blanket? Fleece tie blankets are perfect!
Just cut fringe around the edges of two pieces of fleece, then tie the pieces together with simple knots.
It’s a great project to do while watching TV, and kids love to help with the tying part.
The result is just as warm and much faster to make!
2. Self-Binding Quilts
Self-binding quilts use a clever trick: your backing fabric folds over to create the binding.
Cut your backing fabric larger than your top layer. After sewing most of the way around, fold the extra backing over the raw edges.
This saves time and looks really neat when finished.
3. Reversible Blankets
Why settle for one look when you can have two? Use different fabrics for each side of your blanket.
Maybe flannel on one side for winter and cotton on the other for warmer days.
It’s like getting two blankets for the work of one! Just put both pretty sides facing out when you sew.
Conclusion
Making your own blanket isn’t just about saving money – it’s about creating something meaningful with your own hands.
The feeling of wrapping up in something you made yourself is truly special.
Remember that practice makes perfect. Your first blanket might not be flawless, but each one will get better.
Don’t be afraid to try new fabrics or techniques as you grow more confident.
Think of all the possibilities – birthday gifts that friends will love, a child’s favorite baby blanket, or even a family heirloom that gets passed down for years to come.
I hope this guide has answered your question about ‘How to Sew a Blanket’. Start sewing!