How to Build Wooden Shower Floors That Last for Years
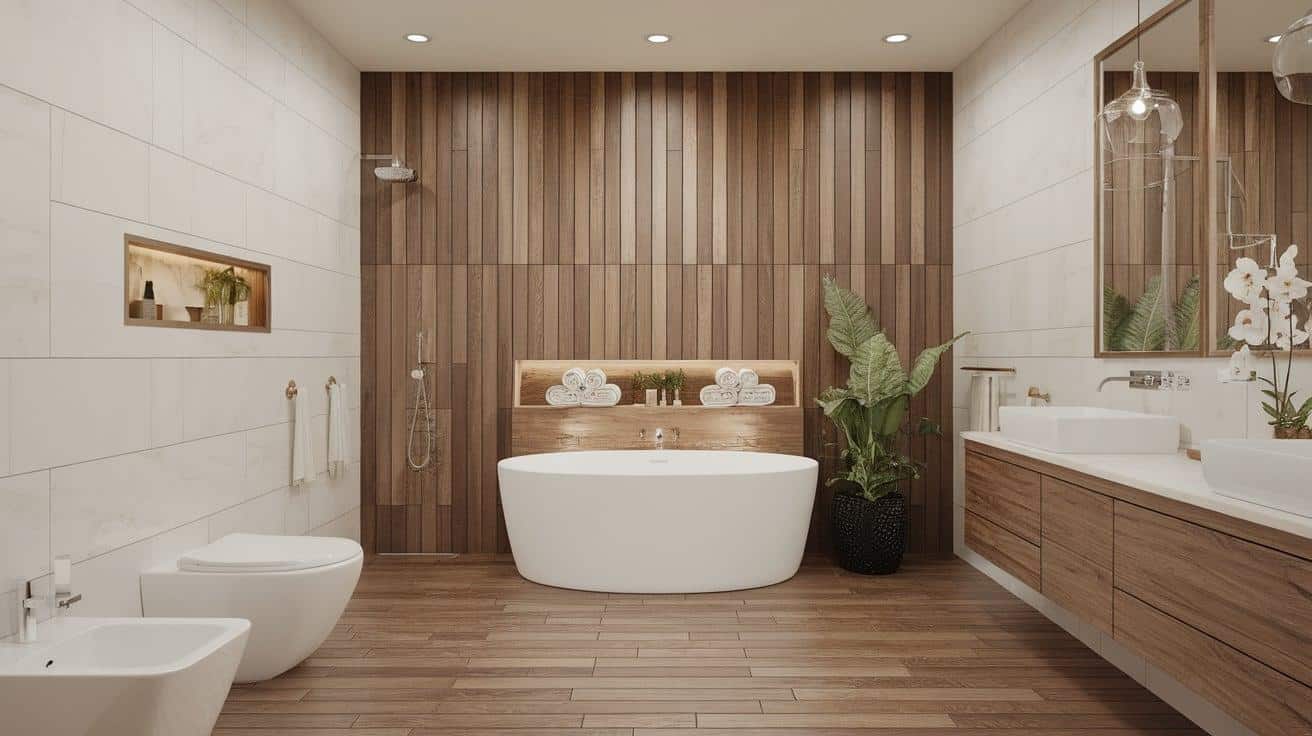
Wooden shower floors have gained popularity in recent years. They offer a spa-like feel that modifies ordinary bathrooms into luxurious retreats.
While many homeowners worry about using wood in wet areas, with proper materials and techniques, these floors can last for decades.
Wood shower installations bring natural beauty indoors while providing practical benefits like concealed drains and less splashback.
They work particularly well in doorless, no-threshold shower designs, making them ideal for small bathrooms and universal design.
This guide covers everything you need to know about wood shower installations, from selecting materials to maintaining them for lasting performance.
Steps to Install a Wooden Shower Floor
Creating a wood shower floor requires careful planning and execution to ensure proper functionality and longevity.
This systematic approach will help you achieve professional results.
Planning Your Layout
Before purchasing materials for your wood shower, measure your space and determine the slat direction and spacing.
Typically, gaps of 1/8″ to 1/4″ between slats allow proper drainage.
Draw a detailed plan showing the dimensions and drain location for your wood shower system.
Building the Base Structure
A proper wood shower floor sits on a waterproof base with an adequate slope (1/4″ per foot) toward the drain.
Install a pre-formed shower pan or create a mortar bed with a waterproof membrane.
This foundation is critical for preventing water damage beneath your beautiful wood shower surface.
Creating Proper Drainage Systems
Effective water management is essential in any wood shower installation.
Consider a linear drain system that allows water to flow easily between wooden slats.
To prevent backups, ensure the drainage pipe has the proper pitch and is correctly connected to the home’s plumbing system.
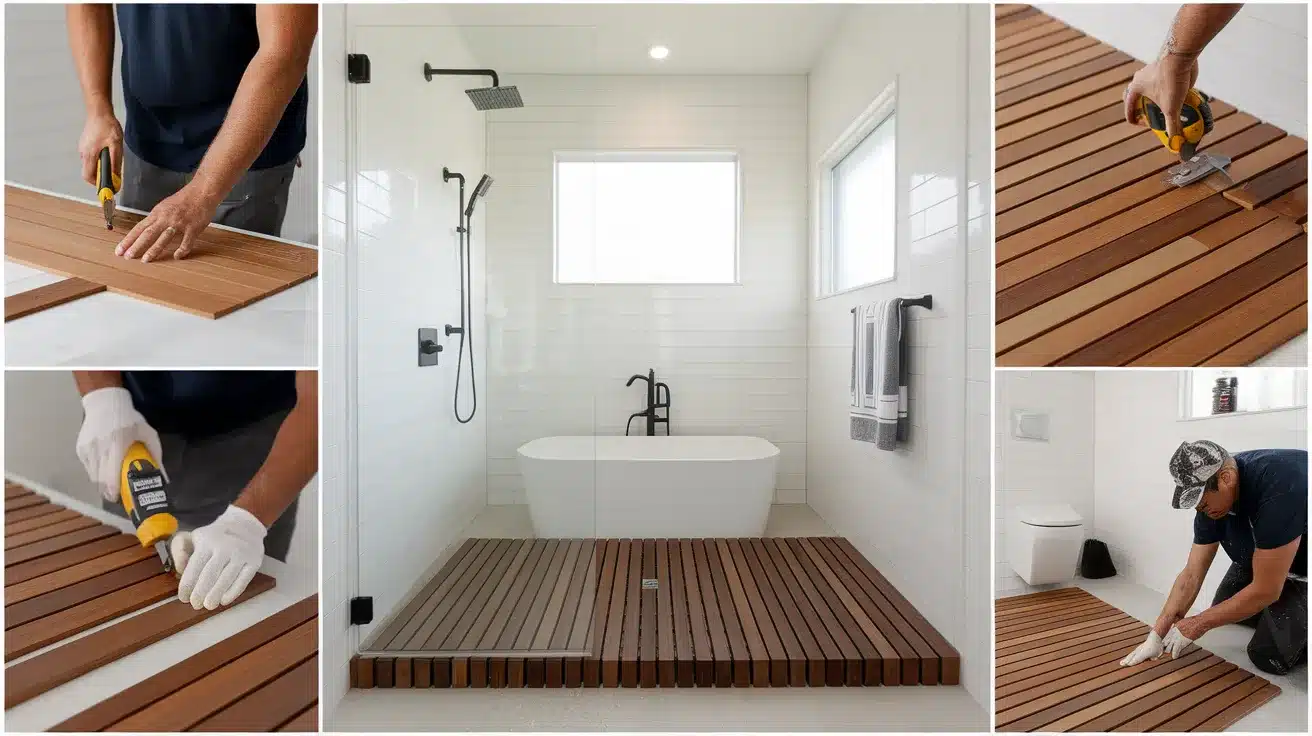
Installing the Wood Slats
Most wood shower floors feature removable sections for easier cleaning and maintenance.
Cut wooden slats to size, leaving expansion gaps at the edges. Use stainless steel screws and hardware to prevent rust issues common in shower environments.
Apply multiple coats of marine-grade sealant before final installation.
Budget-Friendly Wood Shower Floors
If authentic wood exceeds your budget or you prefer lower maintenance options, several alternatives can provide a similar aesthetic for your shower floor.
Porcelain Wood-Look Tiles
Modern manufacturing techniques create remarkably realistic wood-texture tiles perfect for shower floors.
These porcelain tiles offer the visual warmth of wood with superior water resistance and minimal maintenance.
Available in various “wood grain” patterns, they can mimic expensive hardwoods at a fraction of the cost.
Vinyl Planks With Wood Appearance
Waterproof vinyl planking designed specifically for wet areas can mimic wood grain patterns while offering superior water resistance.
These products install easily, require no sealing, and come in snap-together formats, ideal for DIY shower floor projects.
Their cushioned surface provides comfortable footing in shower spaces.
Composite Wood Products for Wet Areas
Engineered wood-plastic composites specifically formulated for wet environments offer the look of wood shower floors with enhanced durability.
These products combine wood fibers with polymers to create stable, water-resistant surfaces that don’t warp or rot.
Many options include built-in antimicrobial protection ideal for shower environments.
Proper Sealing and Waterproofing Techniques
Protecting your wood shower floor from moisture damage requires appropriate sealants and regular maintenance.
The right waterproofing approach can significantly extend your shower floor’s lifespan.
Oil-Based Sealants
Natural oils penetrate deep into wood fibers, offering protection while maintaining the wood’s natural feel underfoot in your shower.
Tung oil and Danish oil are popular choices that enhance grain patterns while creating water-resistant barriers.
For best results, apply multiple thin coats rather than one thick layer.
Marine-Grade Finishes
Products designed for boat decks can provide excellent protection for wood shower floors.
Marine-grade polyurethane and epoxy create waterproof barriers while allowing the beauty of the wood to shine through.
These finishes stand up to constant moisture and temperature changes typical in shower environments.
Maintenance Sealing Schedule
Most wood shower floors benefit from sealant reapplication every 6-12 months, depending on usage and water conditions.
Watch for signs of water absorption or dullness in the finish.
Regular maintenance prevents water from penetrating the wood and causing damage over time.
The Best Woods for Shower Floor Installation
Not all woods are created equal when it comes to handling constant moisture exposure.
Choosing the right type is crucial for a successful wood shower floor.
Tropical Hardwoods: Teak, Ipe, and Massaranduba
Teak remains the gold standard for wood shower floors due to its natural oils that resist water damage.
With proper care, a teak wood shower can last decades.
Ipe and Massaranduba offer similar water-resistant properties with slightly lower costs.
Cedar and Cypress Options
North American cedar and cypress contain natural compounds that fight decay and insects.
These domestic woods work well for wood shower floors but require more frequent maintenance than tropical options.
Their lighter tones create brighter shower spaces.
Durability Factors
Premium hardwoods like teak can withstand constant moisture for 20+ years in wood shower installations.
Their natural oils prevent warping, cracking, and rot even in daily use.
Less expensive woods often deteriorate within 5-7 years, developing mold or structural weakness.
Quality hardwoods provide superior longevity for your shower project.
Common Problems and Solutions
Even well-installed wood shower floors may encounter issues over time. Knowing how to address these problems quickly can prevent more extensive damage.
Addressing Mold and Mildew Issues
Mold growth can occur in the gaps between wood slats or underneath the shower floor structure.
Regular cleaning with a mild vinegar solution (1:4 vinegar to water) helps prevent fungal growth on wood shower surfaces.
For existing mold, use a soft brush with a mixture of baking soda and water, then rinse thoroughly and dry completely.
Fixing Warped or Split Wood
Excessive moisture or improper sealing can cause wood to warp or split in shower environments.
Small splits can be filled with a waterproof wood filler matching your wood type.
Sometimes, warped boards can be gently reshaped by controlled wetting and weighting, followed by thorough resealing once dry.
Repairing Damaged Slats
Individual damaged slats in a wood shower floor can often be replaced without dismantling the entire system.
Keep spare slats from your original installation for perfect color matching.
Light sanding and resealing can refresh worn areas of your wood shower floor, extending its lifespan considerably.
Maintaining Your Wooden Shower Floor for Longevity
Proper care significantly extends the life of a wood shower installation. A regular maintenance schedule prevents most common problems before they start.
Daily and Weekly Cleaning Routines
Rinse your wood shower floor thoroughly after each use to remove soap residue.
Weekly cleaning with a soft brush and mild soap (avoid harsh chemicals) keeps surfaces fresh.
Always squeegee excess water from wood surfaces and maintain good ventilation to promote drying between showers.
Monthly Maintenance Checks
Regular inspection of your wood shower floor can catch small issues before they become major problems.
Check for loose slats, signs of water penetration beneath the surface, and areas where sealant appears to be wearing thin.
Test how water beads on the surface—if it soaks in rather than beading up, it’s time to reseal.
Seasonal Deep Cleaning Processes
Twice-yearly deep cleaning and resealing keep your wood shower floor looking fresh and functioning properly.
If possible, remove floor sections and clean underneath to prevent hidden mold growth.
Apply fresh sealant according to manufacturer instructions, typically allowing 24-48 hours without shower use for proper curing.
Combining Wood with Other Materials in Shower Design
Mix wood with complementary materials for balance and longevity.
The right pairings help protect the wood in wet areas while creating eye-catching bathroom designs with natural warmth and style.
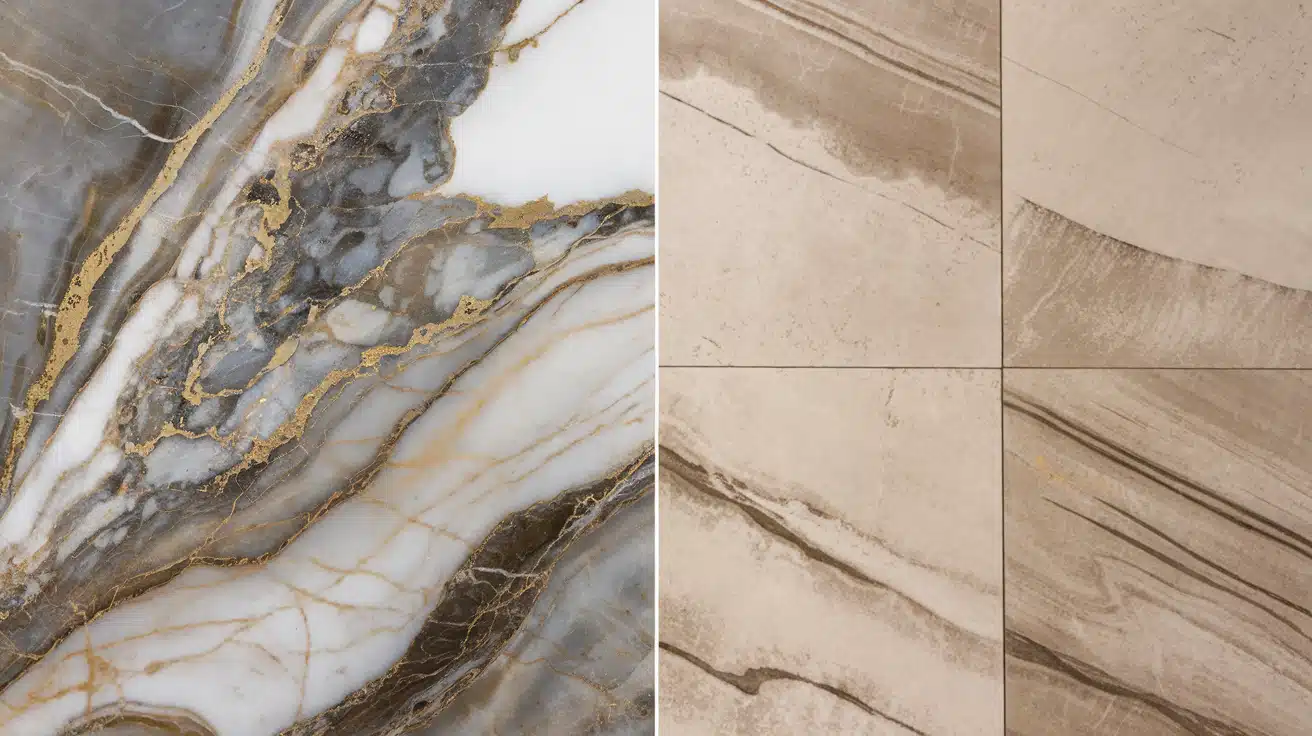
Wood and Stone Combinations
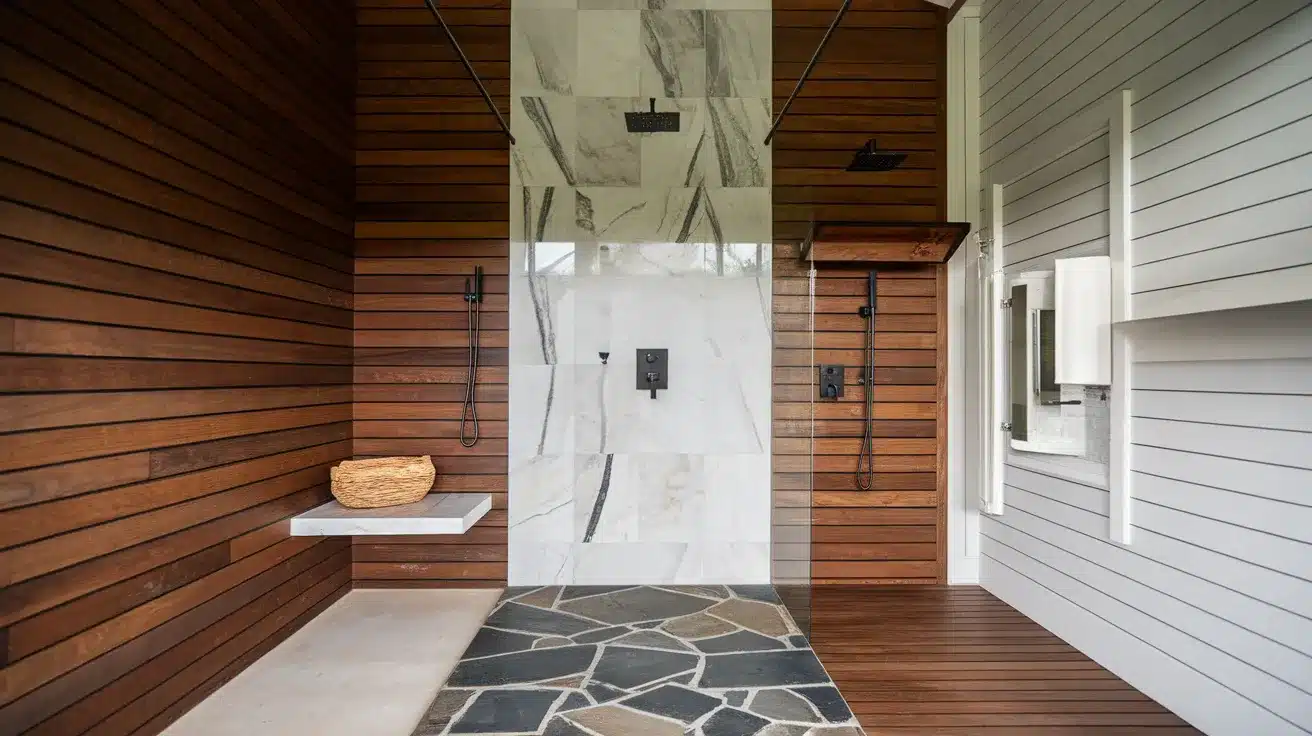
Stone bases with wooden wall accents create a natural harmony in shower spaces.
Pair dark woods with light marble for striking contrast or honey teak with gray slate for subtle beauty.
Use stone in the wettest areas and place wood in drier spots for a practical, long-lasting design.
Metal Accents with Wood Floors

Brass fixtures add warmth alongside wooden elements, while chrome creates a modern contrast with natural wood tones.
Wooden floors with sleek metal fixtures above balance soft and hard textures.
Wooden shower shelves with metal brackets provide simple touches that add character without excess.
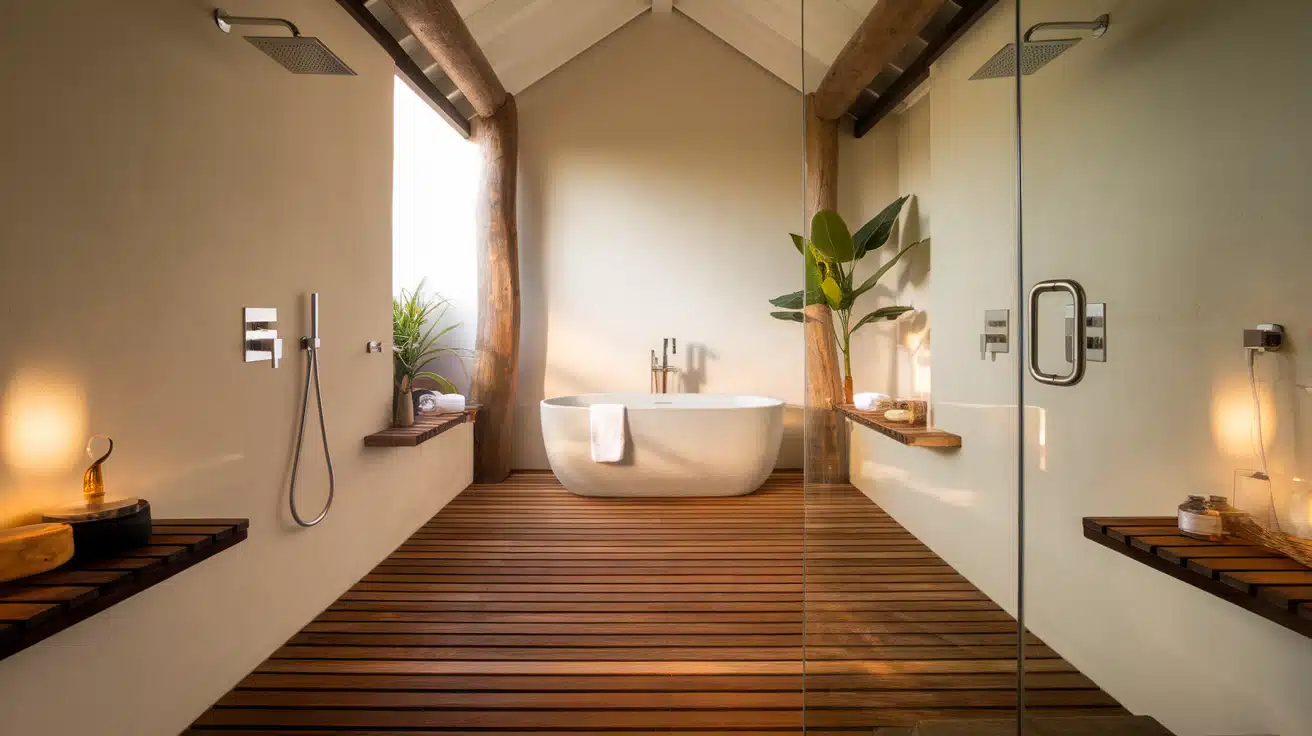
Glass and Wood Shower Designs
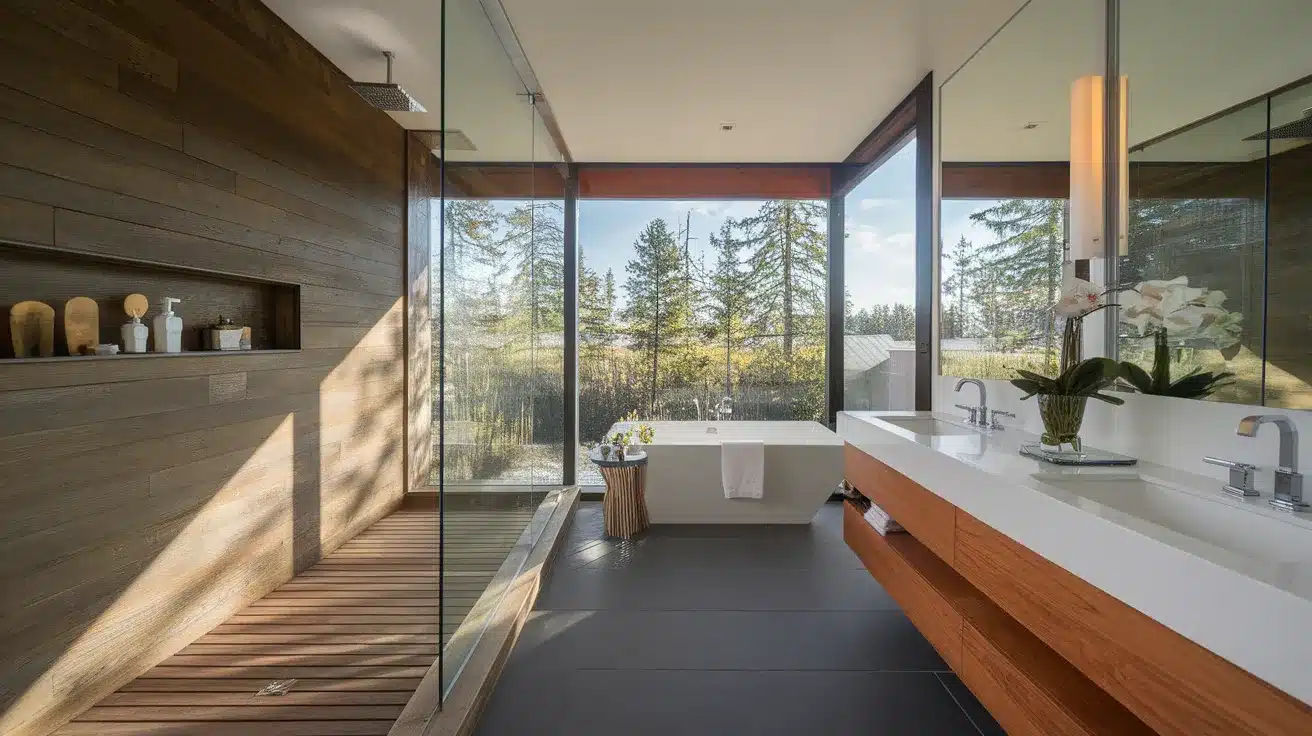
Glass showcases wooden details from all angles, letting natural beauty shine through.
This combination creates visual spaciousness in small bathrooms.
A glass enclosure with a wooden floor creates a floating effect. Good ventilation helps wood dry between uses, preventing mold and extending its life.
Conclusion
Wood brings natural warmth to shower spaces. Water-resistant woods like teak and cedar work best.
Proper sealing and drainage are essential, and maintenance matters for longevity.
Wood pairs beautifully with other materials. Stone bases highlight wooden accents.
Metal fixtures create contrast with wooden floors. Glass showcases wooden details from every angle.
Clean your wooden shower features regularly, check for issues monthly, and reseal as needed. This care keeps wood looking fresh.
Wood shower elements create a spa-like feel at home, add comfort underfoot, bring nature indoors, and stand out from standard bathroom materials.
With proper installation and care, your wooden shower features will last for years.
The natural beauty is worth the effort. Your bathroom becomes a relaxing retreat for daily enjoyment.