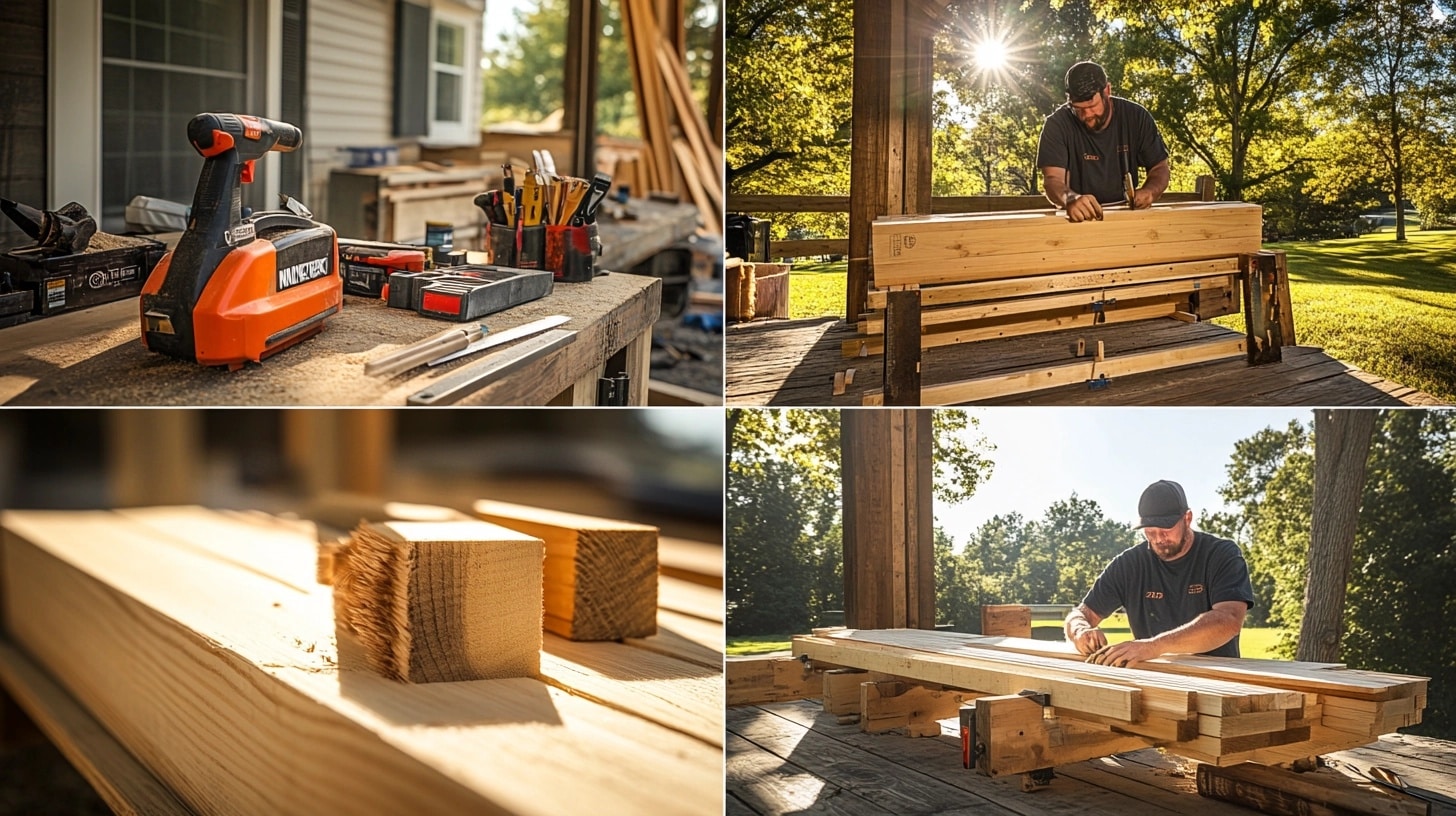
How to Build a Porch Bed Swing: A Step-by-Step Guide
Let me share something I have learned from fifteen years of crafting porch swings: This project creates more than just furniture.
Each swing tells stories of summer evenings, family gatherings, and quiet moments watching the world drift by.
Last month, I watched Sarah’s face light up when she saw her custom swing installed. “It’s exactly how I imagined it,” she whispered, gently testing its motion.
That’s the magic of building your own swing—it matches your vision perfectly.
Through this guide, I’ll share every detail learned from countless builds.
We’ll explore proper lumber selection, crucial assembly techniques, and those small comfort details that transform good swings into family treasures.
Whether you’re an experienced woodworker or tackling your first major project, these steps ensure success.
Remember, a well-built porch swing often outlasts its original porch. Let’s create something worthy of that responsibility.
Step-By-Step Approach to Build Porch Bed Swing
Step 1: Setting Up Your Workspace
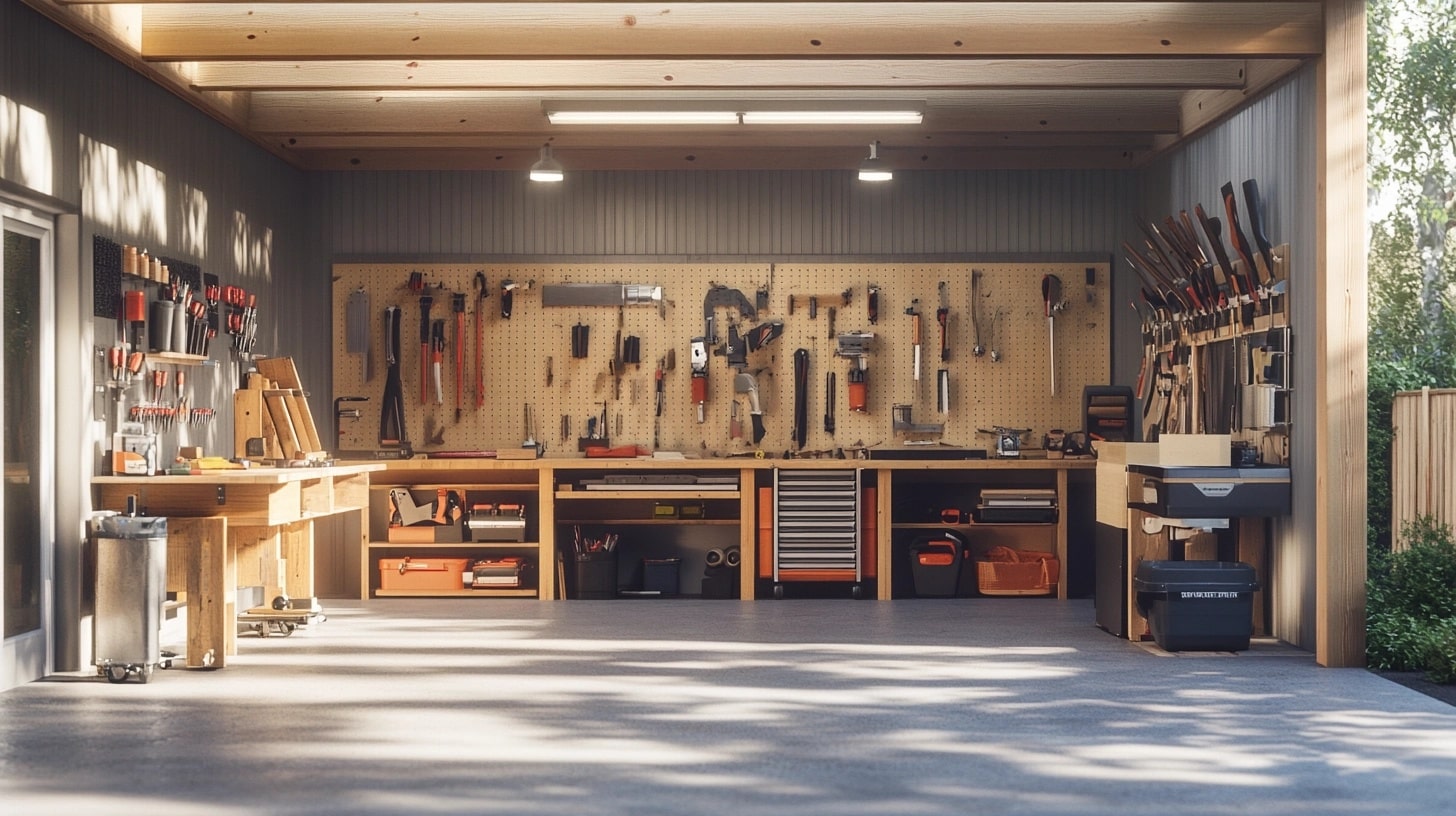
Clear a space at least twice the size of your finished swing dimensions. You’ll need room to maneuver long boards and assemble large components without constantly shuffling tools and materials.
Last week, a client tried working in a cramped garage corner – three hours of constant rearranging could have been avoided with a better initial setup.
Natural light becomes your best friend during this project. Position your workbenches or sawhorses where the morning sun helps you spot grain patterns and imperfections. If working indoors, bright LED shop lights at 45-degree angles eliminate shadowed areas that could hide potential issues.
Your cutting station needs careful consideration. Place sawhorses on level ground and check the stability before starting any cuts. I learned this lesson the hard way when an uneven garage floor led to slightly angled cuts that caused headaches during final assembly.
Create dedicated zones for different project phases. Your cutting area should be separate from the assembly space, preventing sawdust from interfering with glue joints. Establish a clean area for finishing touches and detail work.
Consider wind direction if working outside – sawdust in your fresh polyurethane ruins hours of careful preparation.
Tool organization impacts every phase of your build. Arrange frequently used items within arm’s reach of your primary work zone.
My system includes magnetic strips for keeping measuring tools handy and pegboard organizations for power tools. Remember, time spent searching for tools is stolen from the actual building.
Set up a small table dedicated to your plans and material lists. Keep these documents clean and protected – sawdust-covered measurements lead to costly mistakes.
I use clear plastic sleeves for plans and a dedicated notebook for modifications and measurements.
Step 2: Lumber Selection and Preparation
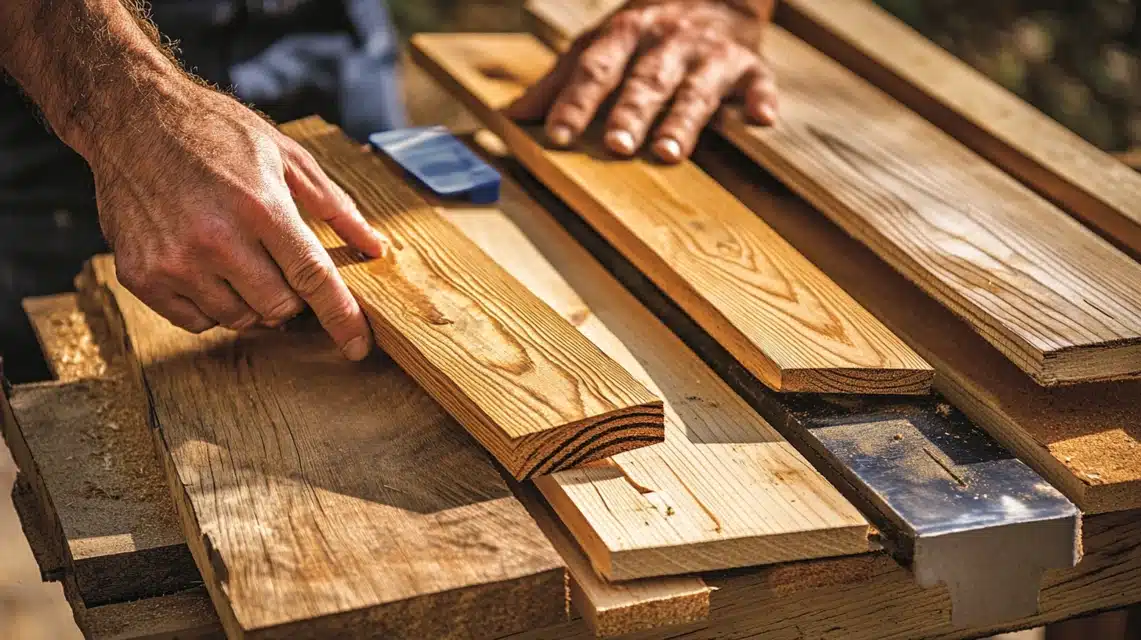
Start at the end of lumber stacks where fewer people reach. These boards often remain undisturbed, suffering less damage from constant handling. Examine each piece individually, standing at eye level with the board to spot any twisting or bowing.
Take your time – rushing this step always costs more later.
Look for boards with tight, straight-grain patterns running their entire length. Wide grain spacing indicates faster-grown wood, which is typically less stable over time.
During last summer’s build, I chose boards with grain lines spaced roughly 1/8 inch apart – those swings still hang perfectly level today.
Moisture content can make or break your project. Invest in an inexpensive moisture meter.
For exterior projects, aim for readings between 12% and 15%. Higher readings mean more drying time is needed. Lower numbers might indicate overly dry wood prone to cracking.
Before any cutting begins, arrange your selected boards in your workspace. Group similar pieces together based on their intended use. Support long boards every four feet to prevent sagging that could impact straight cuts later.
Label each board’s intended purpose with light pencil marks.
Here’s a trick learned from an old craftsman: Mark your cut lines on blue painter’s tape instead of directly on wood. The tape prevents splintering during cuts and removes cleanly without residue. Last month, this simple technique saved hours of cleanup on a complex swing design.
Rough-cut your pieces about an inch longer than their final dimensions. This extra length allows for fine-tuning during assembly and removes any minor end-checking that could compromise strength.
Store these pre-cut pieces flat with small spacers between layers for proper air circulation.
Step 3: Precise Cutting and Measuring

Start by marking your primary support pieces. These 2x4s form your swing’s backbone and determine its overall squareness.
Use a carpenter’s square with brass fittings—plastic squares often warp imperceptibly over time. One degree off here multiplies into visible problems later.
Never trust a single measurement. Instead, create physical templates for repeated cuts. During last week’s build, cardboard templates saved hours of work and eliminated inconsistencies. Mark your templates clearly – “front rail,” “back support,” etc.—to prevent mid-project confusion.
Position your saw blade exactly on the waste side of your pencil line. That fine pencil mark represents nearly 1/16 inch – significant when multiplied across several joints. Remember how wood grain affects cutting direction. Last month, cutting against the grain on seat slats left rough edges requiring extensive sanding.
For angled cuts, clamp a guide block to your work surface. This creates repeatable cuts without constantly checking angles. My current swing design includes 15-degree back supports – each cut matches perfectly thanks to a simple pine guide block.
Temperature affects wood and tools. Morning cuts often differ slightly from afternoon work as materials expand. When possible, make all similar cuts in one session. Those seat slats you’re cutting? Complete them all before breaking for lunch.
Set up proper support for long pieces. A falling board end can pull your cut-off square or create a dangerous kickback. Two summers ago, I learned this lesson the hard way – now adjustable roller stands support every long cut.
Step 4: Frame Assembly Fundamentals
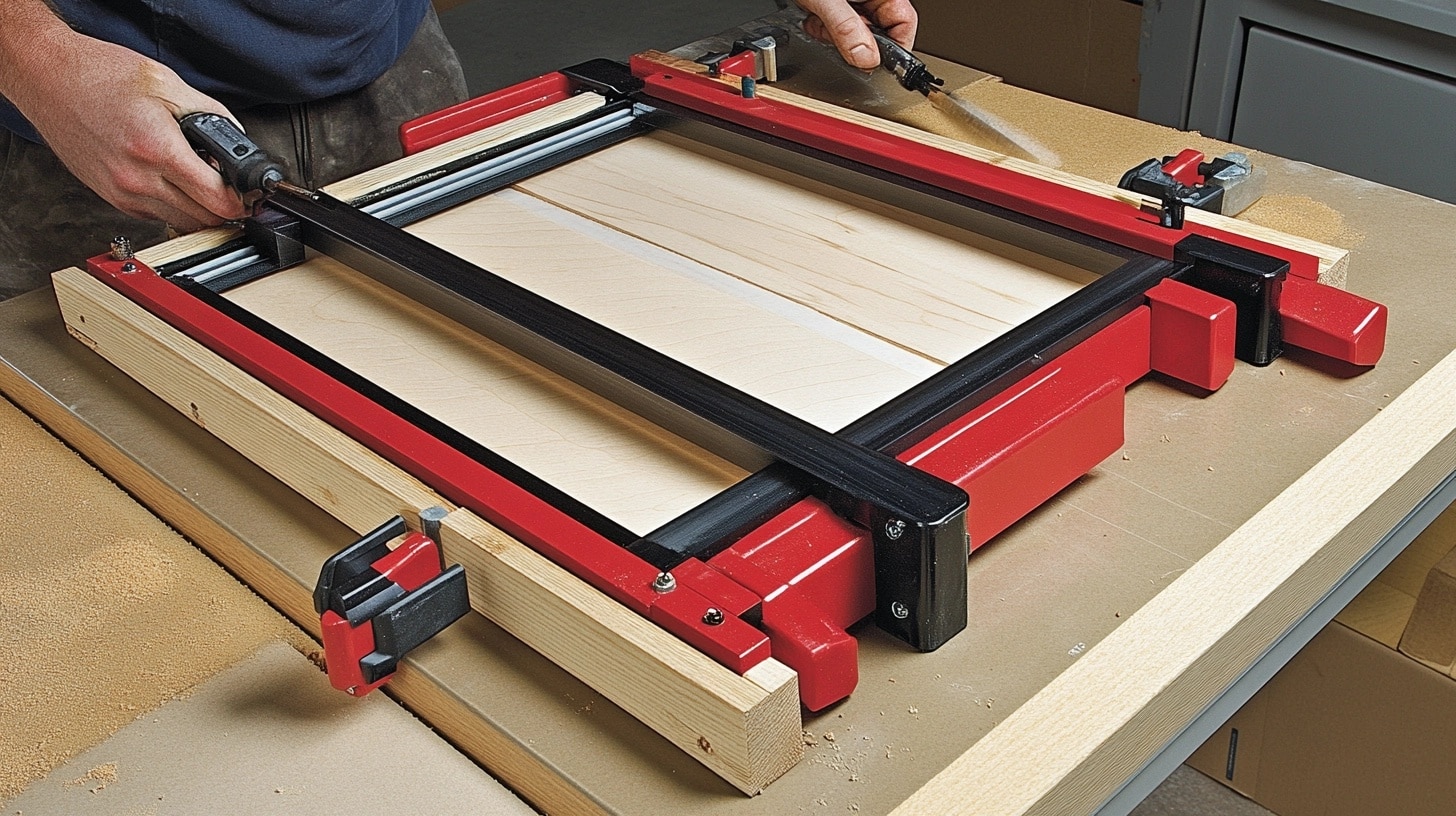
Set up your assembly on a perfectly level surface. My garage floor slopes slightly, so I use adjustable sawhorses with a leveled plywood top. Check the level in both directions before starting. A tiny tilt will become a major problem later.
Dry-fit everything before touching glue or screws. Lay out your main supports, checking diagonal measurements for a perfect square. Yesterday’s build looked perfect until diagonal checks revealed a half-inch difference. Catching it early saved hours of corrections.
Start with the main rectangular frame. Apply waterproof glue generously but neatly – excess squeezeout creates future water traps. Hold joints together with quick-grip clamps while driving screws. Those extra hands prevent slight shifts that weaken joints.
Counter-sink all screws slightly below surface level. Last month’s project taught me to pre-drill with two different bit sizes – one for the screw shaft, and another for the head. This prevents splitting and ensures flush seating.
Check for the square again after each major joint. Wooden cauls protect corners during clamping. That beautiful cedar doesn’t need clamp marks. Keep a damp rag ready – remove wet glue beats and scrape the dried beads later.
Pay special attention to support block placement. These small pieces distribute weight evenly across joints. My latest design uses doubled blocks at stress points – overkill maybe, but nobody ever complained about a swing being too sturdy.
Step 5: Seat and Back Support Integration
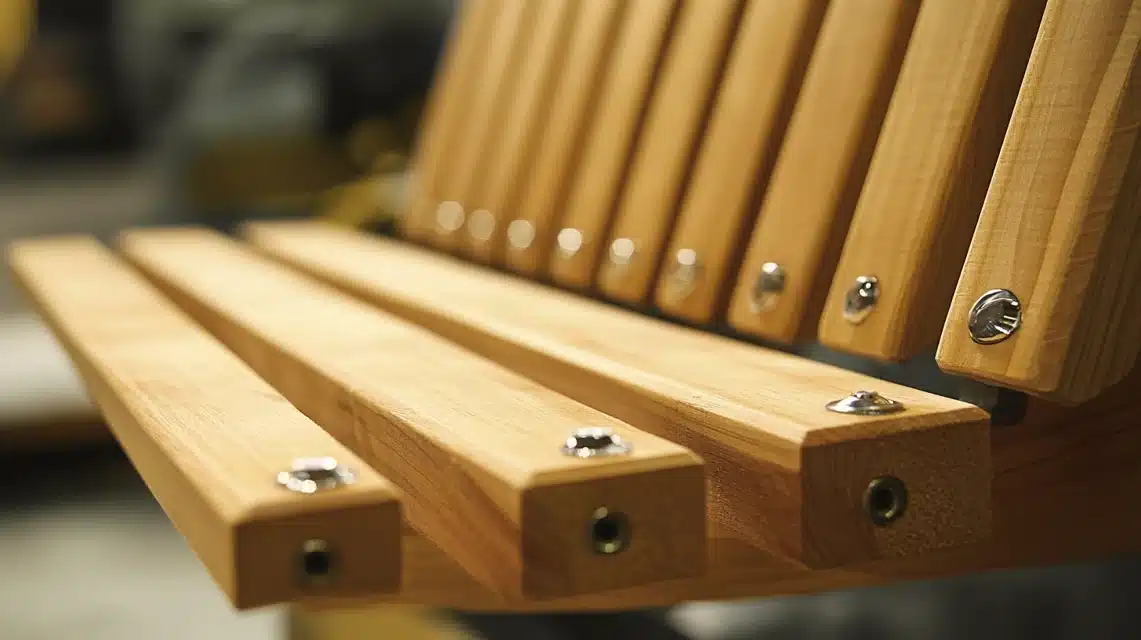
Start with the seat support structure. Position your lateral supports exactly 18 inches apart—this spacing prevents sag over time. Last summer’s swing had 20-inch spacing; within months, the center started to dip. Mark your positions with a white pencil—it shows clearly but wipes clean.
The secret to a comfortable back angle is the 15-degree tilt. Anything steeper feels like a church pew; anything less turns into a lounger. Use your angle guide blocks here—eyeballing these cuts never works. Test the angle by sitting against it before permanent attachment.
Critical joint alert: Where the seat meets the back requires special attention. Double up your support blocks here. Use carriage bolts with washers, not just screws. Three months ago, I watched a beautiful swing develop wobble because someone skimped on this connection.
Slat spacing makes or breaks user comfort. Leave exactly 3/8 inch between seat slats for drainage but not enough to catch phones or create pressure points. A simple spacer block maintains consistency. Cut one now from scrap wood.
Each slat needs at least three attachment points. Pre-drill everything using a combination countersink bit. If you rush this step, those cedar slats will split easily. Ask me how I learned that expensive lesson.
It’s time for assembly’s most satisfying moment: attaching the back slats. Work from the center outward, checking the level after every third slat. Any deviation multiplies as you move toward the edges. Keep your torpedo level handy.
Step 6: Armrest Integration and Comfort Details
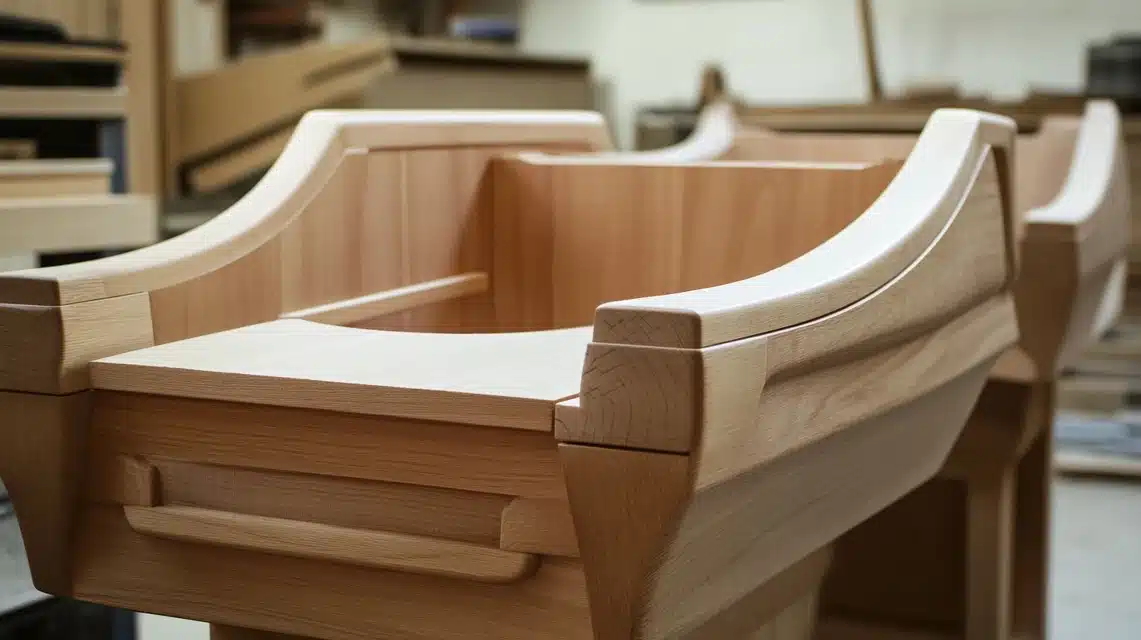
Begin with height testing. Stand your back slats and temporarily clamp a test armrest at 8 inches above the seat. Sit, relax, notice where your elbows naturally rest. Last week’s client discovered 7.5 inches suited her family better. These personal adjustments make all the difference.
Cut your armrest supports at slight angles—5 degrees forward, 3 degrees outward. Straight supports look fine but feel awkward. Remember Mr. Johnson’s swing last summer? After a week, we rebuilt those armrests because straight supports created pressure points.
Here’s a pro secret: Route a subtle channel underneath each armrest. This detail prevents water pooling and adds unexpected elegance. Keep the channel narrow – 1/4 inch wide, 1/8 inch deep does the job perfectly.
Connection time requires surgical precision. Pre-drill pilot holes at slightly different angles – this “cross-grain” technique locks arms securely. Use exterior-grade screws one size larger than you think necessary. That extra strength matters during enthusiastic conversations.
Remember the front support curve. A gentle radius here prevents snagged clothing and barked shins. Use a compass to mark perfect curves, then cut carefully with a jigsaw. Sand these curves to silky smoothness—they’ll be touched constantly.
Add subtle details now. Round over all edges with a 1/4 inch router bit. Create slight indents where thumbs naturally rest. These small touches separate good swings from great ones.
Final Thoughts
After guiding you through every cut, joint, and finish detail, one truth remains clear: great porch swings come from patience and attention to detail.
Your careful lumber selection will pay dividends through years of family use. Those extra minutes spent checking joints mean decades of creak-free swinging. Every rounded edge and carefully calculated angle adds to the overall experience.
Take pride in the process. Document your progress with photos. Make notes about your material choices and modifications. Good records make future repairs or adjustments simpler.
Most importantly, enjoy that first evening when you sit back, feeling the gentle sway of your creation. There’s nothing quite like relaxing in a swing you built with your hands. You’ve created more than furniture – you’ve built a family gathering spot that will collect memories for generations.
Frequently Asked Questions
How Much Weight Can a Porch Bed Swing Support?
A properly built swing using 2×4 supports and quality hanging hardware typically safely holds 500-600 pounds. Key factors include lumber grade, joint reinforcement, and correct hardware installation.
Always build with doubled support in critical stress areas. Remember: your chain or rope strength should match frame capacity. Install heavy-duty eye bolts rated at least 200 pounds above your expected load.
What Type of Wood Is Best for Outdoor Swings?
Cedar is the first choice because it is naturally weather-resistant and has beautiful aging properties.
Cypress offers excellent durability in humid climates. White oak provides exceptional strength but costs more. Pressure-treated pine works well on tight budgets.
Avoid softwoods like standard pine or spruce—they’ll deteriorate quickly outdoors. Whatever wood you choose, proper sealing remains crucial.
Do I Need Special Hardware to Hang a Swing in a Bed?
Absolutely. Standard swing hardware won’t suffice. Use heavy-duty eye bolts (at least 1/2 inch diameter) rated for significant weight. Install through bolts with washers where chains attach to the swing frame.
Spring-loaded hooks add safety and prevent chain binding. Never rely on standard screws or light-duty hooks – hanging hardware isn’t where you want to economize.
Can I Install a Porch Bed Swing on a Covered Porch?
Yes, if your porch structure can support it. First, inspect ceiling joists—they must handle both static weight and motion forces. Look for 2×8 or larger joists in good condition. Install mounting points directly into joists, never just the ceiling surface.
Consider adding extra support above mounting points for peace of mind. Covered porches are actually ideal—they protect your swing from direct weather.
How Do I Weatherproof an Outdoor Swing Bed?
Start with multiple coats of exterior-grade sealer, paying special attention to end grain and joints.
Apply a UV-resistant finish for sun protection. Create slight angles on horizontal surfaces for water runoff. Use exterior-grade cushions or quick-dry foam.
Consider a custom-fitted cover for severe weather. Most importantly, establish a seasonal maintenance routine checking seals and hardware.

