How to Build a Hall Tree: A DIY Guide
It is very common to trip over shoes at the front door all the time. Jackets were everywhere, and there was never a spot to sit and tie my shoes.
That’s when I decided to build a hall tree, and honestly, it changed everything. A hall tree is the best solution to a messy space as it provides storage, a seat, and a neat, clean-looking entryway all in one go.
In this blog, I’ll walk you through how I did it. From picking the right materials to building it step by step.
If your entryway could use some help, too, this might be just what you need.
What is a Hall Tree and Why Build One?
A hall tree is a multifunctional piece of furniture placed in an entryway or mudroom.
It usually includes a bench for sitting, hooks for coats and bags, and cubbies or shelves for shoes and storage. It keeps your entrance tidy and makes coming and going easier.
Customization: You choose the size, layout, and style to match your space.
Cost savings: DIY versions are often much cheaper than store-bought ones.
Functionality: You can add exactly what you need, extra hooks, drawers, or even a mirror.
Planning Your Hall Tree Project
Before you start cutting, take a little time to plan what you need. If you like sitting down to tie your shoes, make sure to add a strong bench.
To keep shoes organized, include open cubbies or hidden bins. Add hooks or a top rack for coats and bags. You can also fit drawers or baskets under the bench for extra storage.
If you like checking the mirror before leaving, mount one above the bench for quick touch-ups.
Choose Your Design Style
Your hall tree can be more than functional; it can be stylish, too. Pick a look that matches your home’s personality:
- Shiplap adds texture and a rustic touch
- Farmhouse gives cozy charm with distressed finishes
- Modern keeps it sleek with clean lines and minimal details
- Built-in creates a seamless, polished look, like it were always part of the house
- Freestanding gives flexibility if you like to rearrange
Think of it as the first impression of your home, and make it count.
Time Commitment
Building a hall tree can be a rewarding weekend project or a longer creative endeavor, depending on your skill level.
If you’re an experienced DIYer, you might finish in about 5 to 8 hours. For beginners, expect to spend 10 to 15 hours or more, especially if it’s your first large woodworking build.
Building a Hall Tree: A Step-by-Step Guide
Follow these simple steps to make a strong, useful, and good-looking piece of furniture that keeps your entryway neat and works just right.
Tools Checklist
Before you start building, it’s smart to gather all your tools and materials. Here’s what you need:
- Drill/Driver: for assembling parts and attaching hardware
- Saw: a circular saw to cut your boards to size
- Sander: orbital sander to smooth surfaces and edges
- Tape: for accurate layout and measurements
- Level: to ensure everything sits straight
- Pre-Cut: Use pre-cut boards to avoid complex cuts
- Alternative Saw: try a hand saw or a jigsaw if no circular saw
- Manual Sanding: Use sanding blocks if you don’t have a sander
- Optional: pocket hole jig, nail gun, or miter saw can speed things up, but aren’t essential
Step 1: Build the Bench Base

Start with the bench since it holds the weight. Cut a strong wooden board for the top and add sturdy side panels or legs.
Attach with screws and wood glue. Add a center support underneath if needed. You can build in shoe cubbies now, or leave space for baskets. Keep it level so it doesn’t wobble later.
Step 2: Construct the Back Panel

The back panel is the upright part behind the bench. Cut a large, flat board to match your bench width and attach it vertically.
You can use plywood, tongue-and-groove boards, or simple planks. Screw it to the back of the bench.
This panel will hold your hooks, mirror, and shelf, so make sure it’s strong and straight.
Step 3: Add Storage Components

Now add storage parts like shelves, cubbies, or drawers. Measure and cut small boards to divide the space under the bench or on the back panel.
You can screw in open cubbies or build simple drawers with wood glue and nails. Want extra space? Add a top shelf above the hooks for baskets, hats, or small bins.
Step 4: Assemble the Top Frame

Add a top frame to make your hall tree look complete. Use a wide board to create a shelf above the back panel. Add short side pieces if you want it boxed in.
This frame also gives a place to add trim or a ledge. Screw it in tight from the back and sides. Make sure it’s even.
Step 5: Sand, Prime, and Paint/Stain

Now it’s time to smooth and finish. Sand all surfaces, corners, and edges until there are no splinters. Wipe off dust. Apply a primer if you plan to paint.
Use two coats of paint or wood stain, letting each dry fully. A clear finish, like polyurethane, adds protection. Don’t rush this step; make your hall tree look clean and last longer.
Step 6: Add Hooks and Final Touches
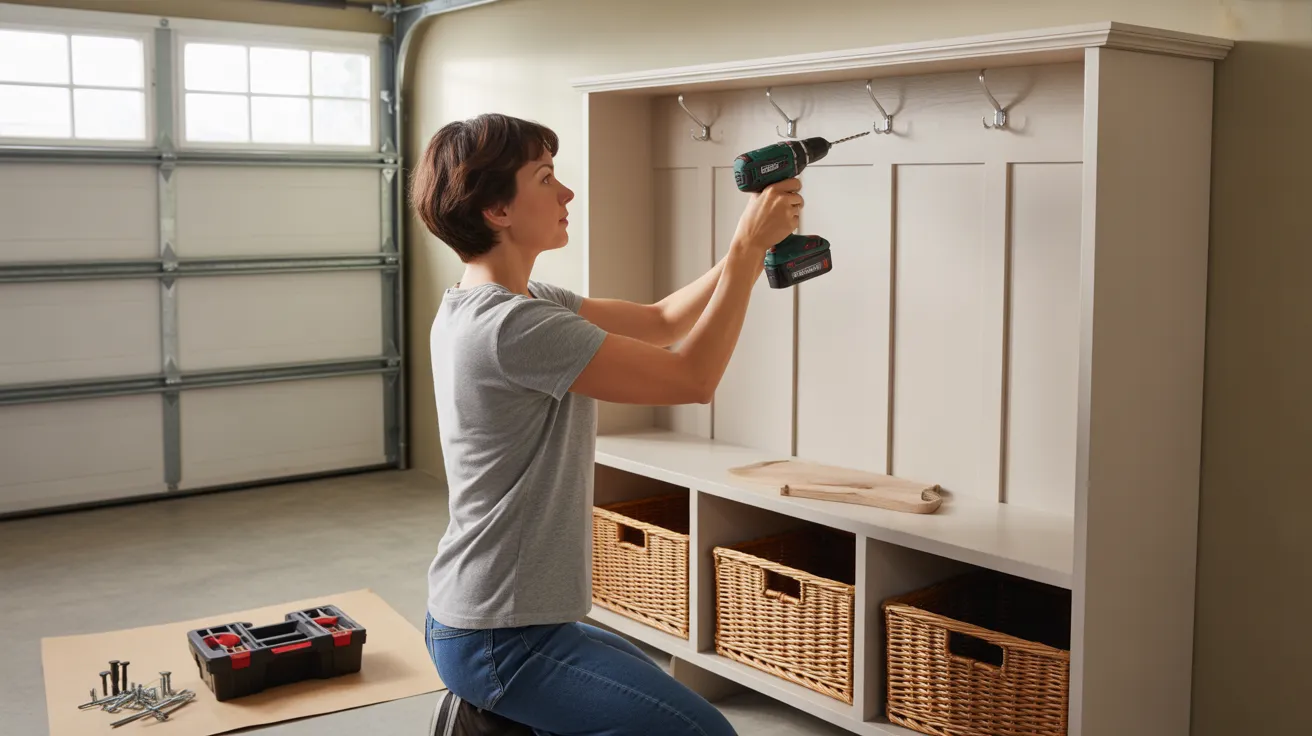
Once dry, add hooks where you want to hang coats, backpacks, or keys. Screw them in firmly. Add felt pads under the base if it’s on hardwood floors.
Attach drawer pulls or knobs if needed. Finish by placing baskets or decorations. Step back and enjoy your hall tree is now ready for daily use.
Best Materials to Use (Wood Types, Finishes)
Choosing the right materials will shape both the look and durability of your hall tree.
- Pine or common boards are affordable, easy to cut, and great for painting
- Plywood is a budget-friendly option for large panels or storage cubbies
- Hardwoods like oak or maple are strong and look great when stained
- Birch or furniture-grade plywood provides a smooth surface with a clean, polished look
- Use stain to show off natural wood grain and create a warm feel
- Paint gives a clean, colorful style—great for farmhouse or modern designs
- Add a polyurethane topcoat to protect against scuffs, water, and dirt
Choose based on your budget, tools, and how you want the finished piece to look and work.
Features to Add to Your Hall Tree

Want to make your hall tree even more useful? Try adding these extra features to boost storage, function, and daily convenience.
1. Shoe Storage Compartments
Add cubbies, bins, or pull-out drawers under the bench to keep shoes in one place. Open cubbies are great for quick access, while bins hide clutter.
Use strong wood so they last. Measure shoes first to make sure the space fits. It’s an easy way to stay neat every day.
2. Overhead Cabinets or Shelves
Mount a shelf or small cabinet above the hooks for extra storage. This is perfect for baskets, hats, or out-of-season gear.
Use brackets for support. If you add a cabinet, include handles for easy opening. Make sure it doesn’t hang too low. It gives you space without taking up floor space.
3. Built-in Lighting or Charging Stations
Add a small light strip or puck lights under the top shelf for better visibility. You can also install a power strip to charge phones, tablets, or earbuds.
Hide the wires for safety and a clean look. It’s helpful for busy mornings when you need power and light in one spot.
4. Mirror Panel or Message Board
Mount a mirror on the back panel for a quick look before heading out. Or add a chalkboard, corkboard, or whiteboard for reminders, notes, or schedules.
Place it at eye level for easy use. You’ll stay on track and ready each day, with everything in one smart, central place.
Styling Your Hall Tree
Now that your hall tree is built, it’s time to make it look great and fit your space. A little paint, stain, or some smart decorating can really pull it all together.
Paint or Stain Options
Paint gives full color coverage and hides wood grain. It works well in bright spaces and lets you match other furniture. Use primer first.
Staining shows off the wood’s natural lines. It looks warmer and is great for a more natural feel, but it works best with nicer wood.
Both finishes should be sealed with a clear coat to protect them from scratches and dirt.
Decor and Accessory Ideas
Add soft cushions on the bench to make sitting more comfortable. Use baskets or bins in cubbies for shoes, hats, or bags. Place a small rug under the bench to protect the floor.
Want a personal touch? Hang a small sign with your family name or a short welcome message. Keep it simple so it stays useful and tidy.
Common Mistakes to Avoid
Building your own hall tree is a great project, but small mistakes can lead to big problems. Here are the most common ones to avoid, so your build stays strong, safe, and neat:
- Measure twice before cutting any wood.
- Use a pencil and ruler for clean, accurate marks.
- Always check the fit before drilling or gluing.
- Leave space for door swings and nearby walls.
- Draw a quick plan before you start building.
- Drill pilot holes to prevent wood from splitting.
- Use wood glue with screws for stronger joints.
- Don’t skip clamps; they help hold pieces tightly.
- Keep heavy parts near the bottom for balance.
- Anchor tall hall trees to the wall for safety.
Wrapping Up
Now you know exactly how to build a hall tree from planning your design and picking the right wood to putting it all together and adding your personal touch.
You’ve also learned how to avoid mistakes and even upgrade your hall tree with additional features.
Building your own not only saves money but also gives you a custom piece that works for your home. So grab your tools, sketch your plan, and get started. You’ve got everything you need right here.
Ready to build your first hall tree? Bookmark this guide, share it, and make your entryway work the way it should!