
22 Fun and Easy DIY Wooden Pumpkins Ideas
Wooden pumpkins are a fun and creative way to add a cozy and fall touch to your home décor.
If you’re planning on decorating for Halloween or just love autumn, painting wooden pumpkins can be a simple and pretty craft project.
From bright orange pumpkins to more unique colors and designs, the possibilities are endless.
You can create them to match your personal style and place them around your home, on your porch, or even give them as thoughtful gifts for friends and family.
Painting wooden pumpkins is an activity that anyone can enjoy, no matter what your skill level is.
If you’re a beginner, you can start with basic designs, like solid colors or simple patterns, and work your way up to more difficult designs.
Not to mention, painting wooden pumpkins is an affordable way to decorate and try out new hobbies with only basic supplies.
This blog will share some fun and easy wooden pumpkin painting ideas for you to try at home and how you can make them more personalised.
Why Choose Wooden Pumpkins?
Wooden pumpkins are a fantastic choice for fall décor, and here’s why they’re so popular:
- Durability: Unlike real pumpkins that rot and can get messy, wooden pumpkins last year after year. They are strong, so you can keep reuse them for many fall seasons.
- Creativity: Wooden pumpkins are a blank canvas for creativity. You can paint them any color, add designs, or decorate them however you like.
- Simple to Work With: Wooden pumpkins are easy to paint, making them perfect for DIY projects. You can make them look good with just a few supplies.
- Eco-Friendly: Since you can use them over and over, wooden pumpkins are an eco-friendly option compared to buying new real pumpkins every year.
- Great for Any Space: Wooden pumpkins work in almost any space, from your front porch to your living room. They can be a fun addition to any part of your home.
With all these reasons, wooden pumpkins are a great craft to try this year.
Creative Themes & Design Ideas for Wooden Pumpkins
1. Classic Orange Pumpkin
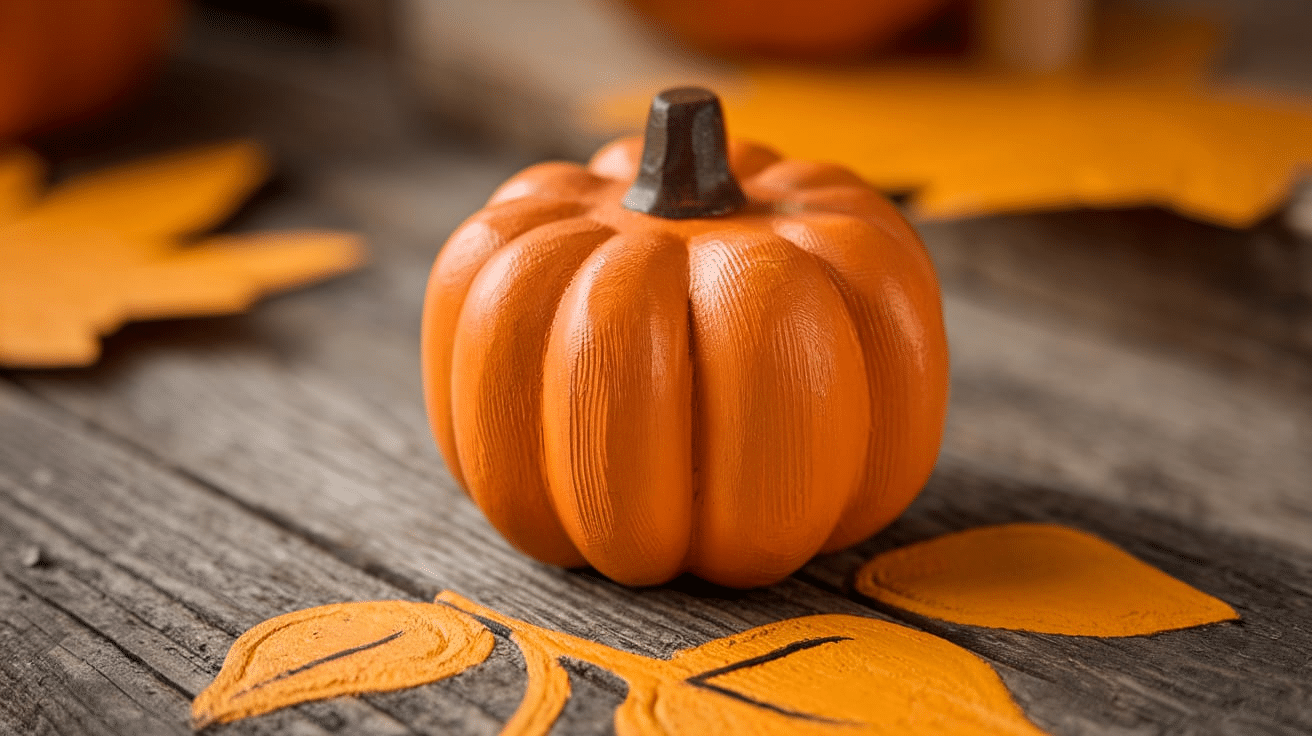
The simplest pumpkin design is painting it bright orange, which is easy and classic for fall. Just cover the pumpkin with orange paint, and add a green or brown stem for a little extra detail. This design is perfect for beginners and hard to mess up! It’s a quick and fun way to decorate for autumn.
2. Solid Color Pumpkin
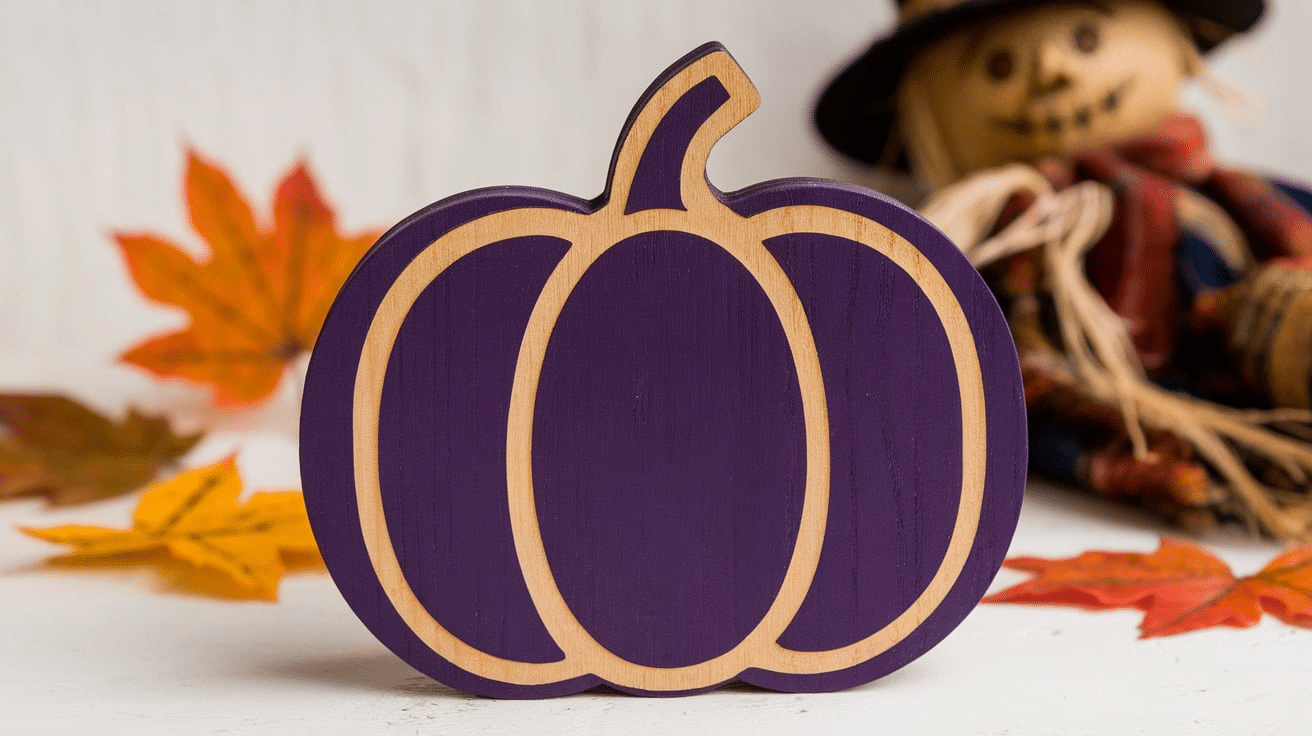
Pick a solid color that matches your style. You can paint your pumpkin in white, purple, teal, or any color. These colors give a fresh and modern twist to the classic pumpkin. It’s an easy way to make your pumpkin unique!
3. Pumpkin with Black Stem
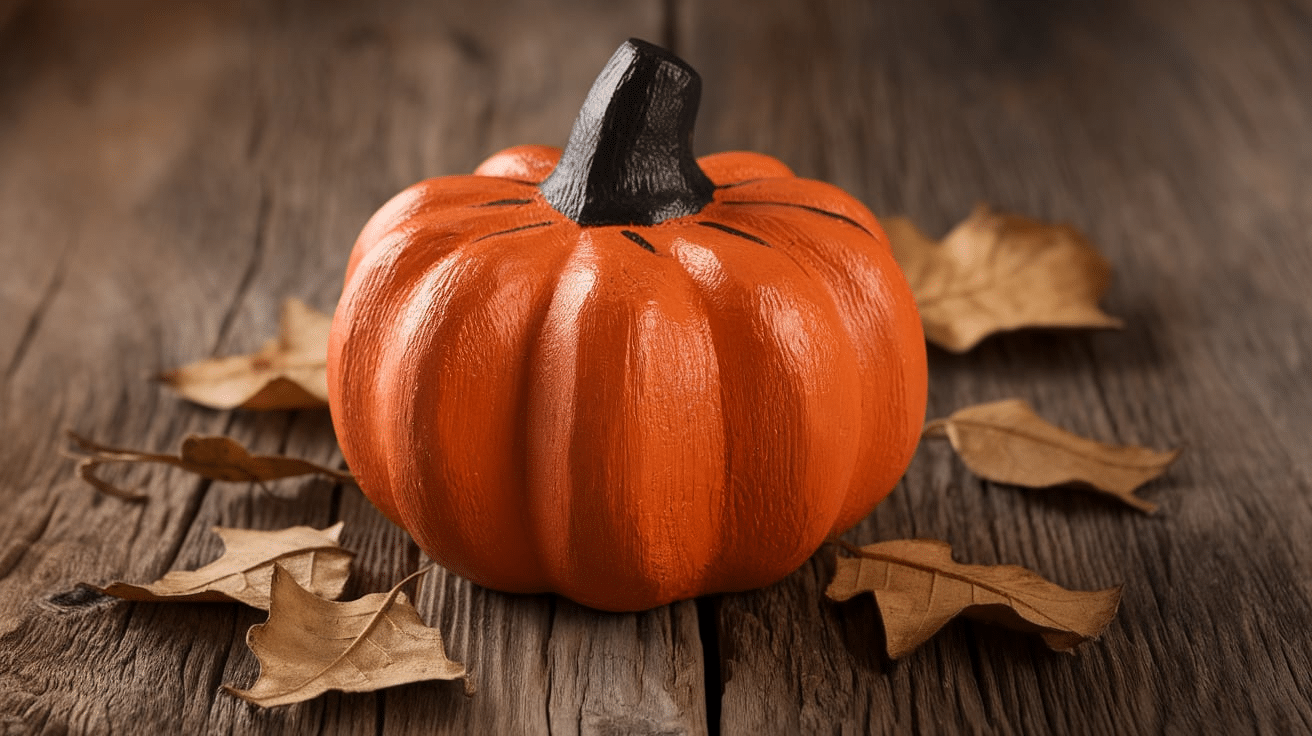
After painting your pumpkin orange or any color, paint the stem black. This creates a bold contrast and makes the top of the pumpkin stand out. It’s an easy way to add extra detail. The black stem gives the pumpkin a nice finished look.
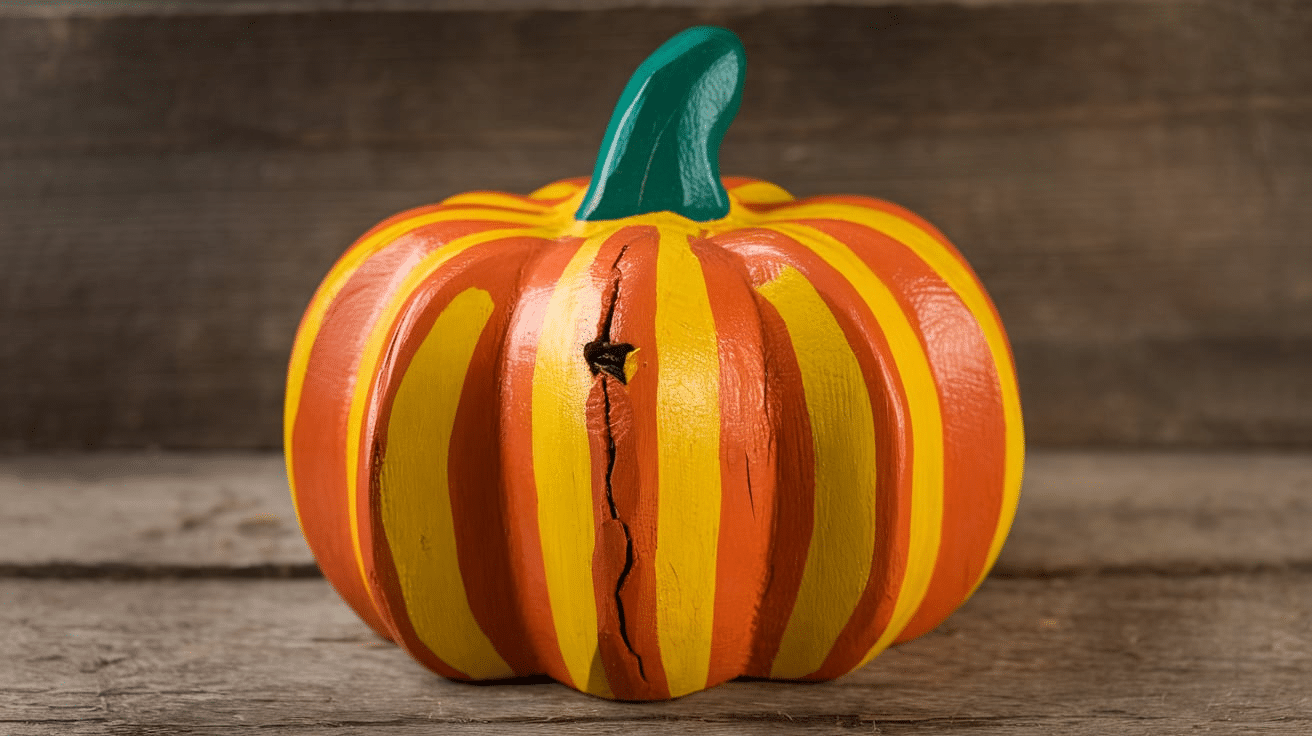
4. Simple Stripes
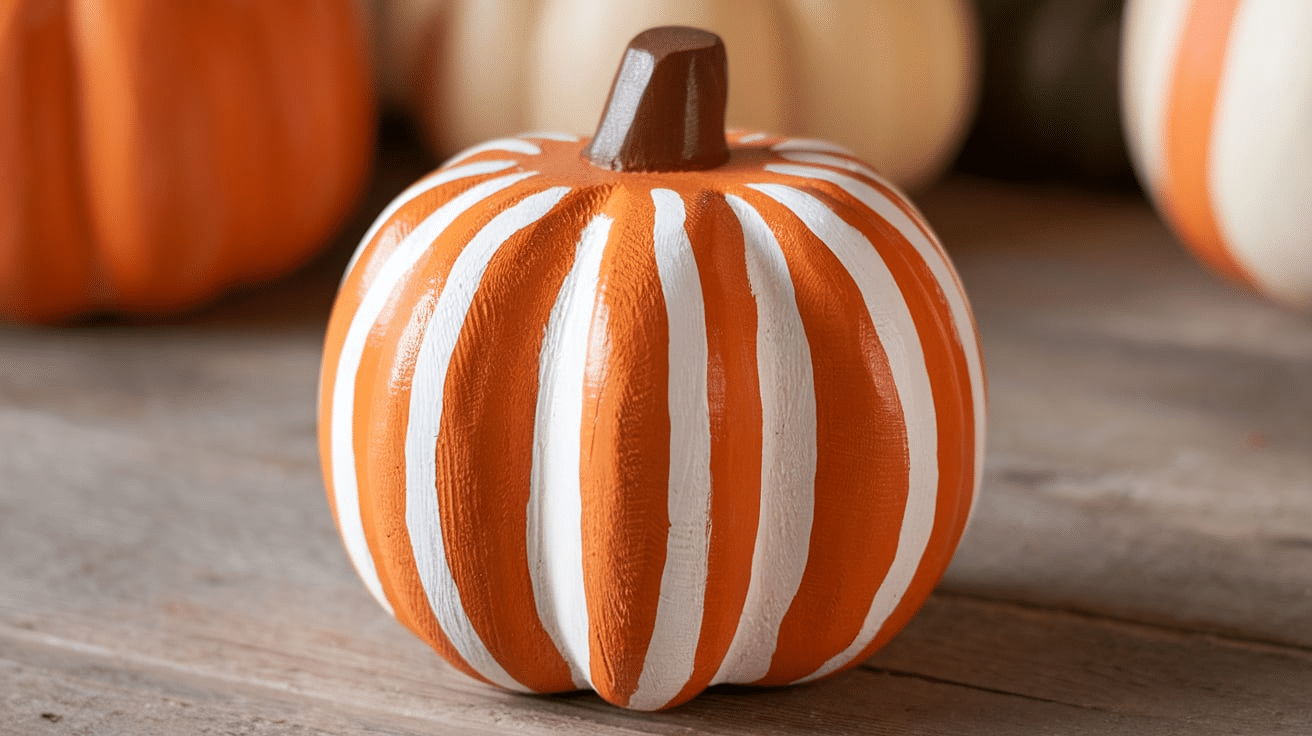
Use painter’s tape to make clean, straight lines on your pumpkin. Alternate colors like white, black, or orange to create a striped pattern. This design gives your pumpkin a neat, geometric look. It’s an easy way to add a polished touch.
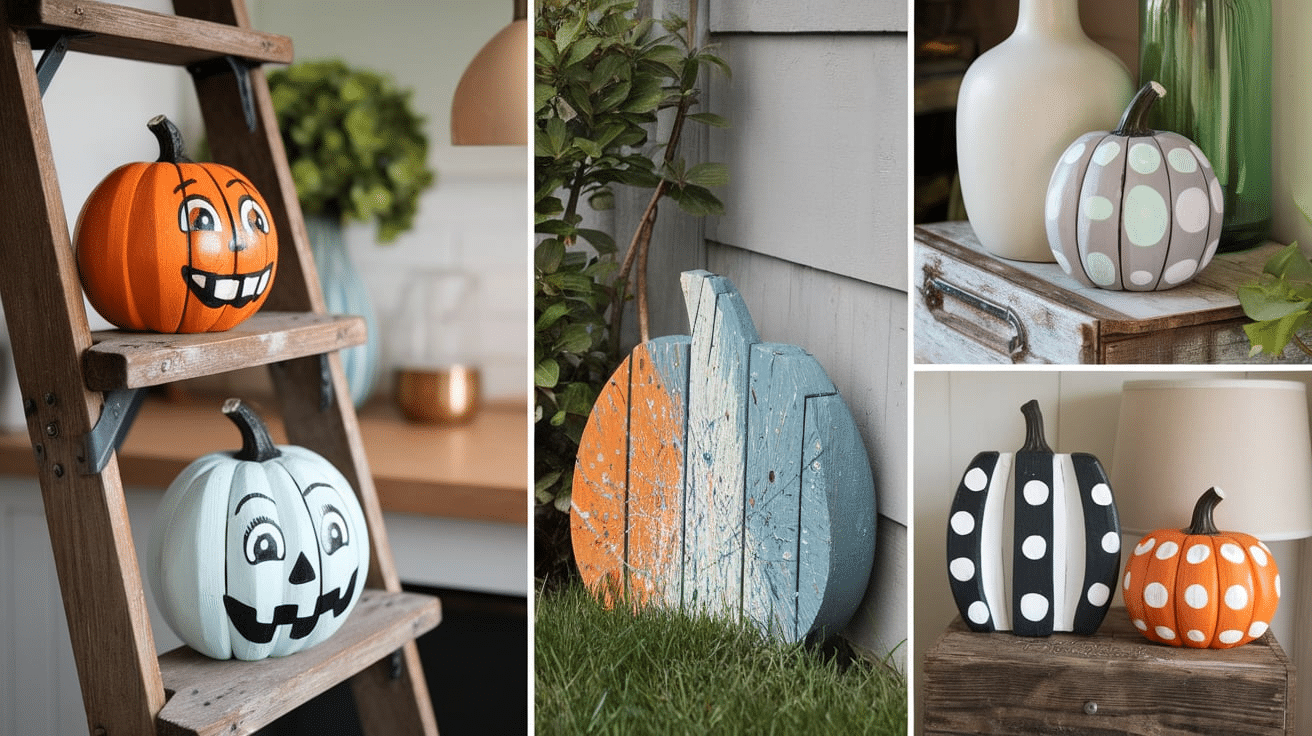
5. Polka Dots Pumpkin
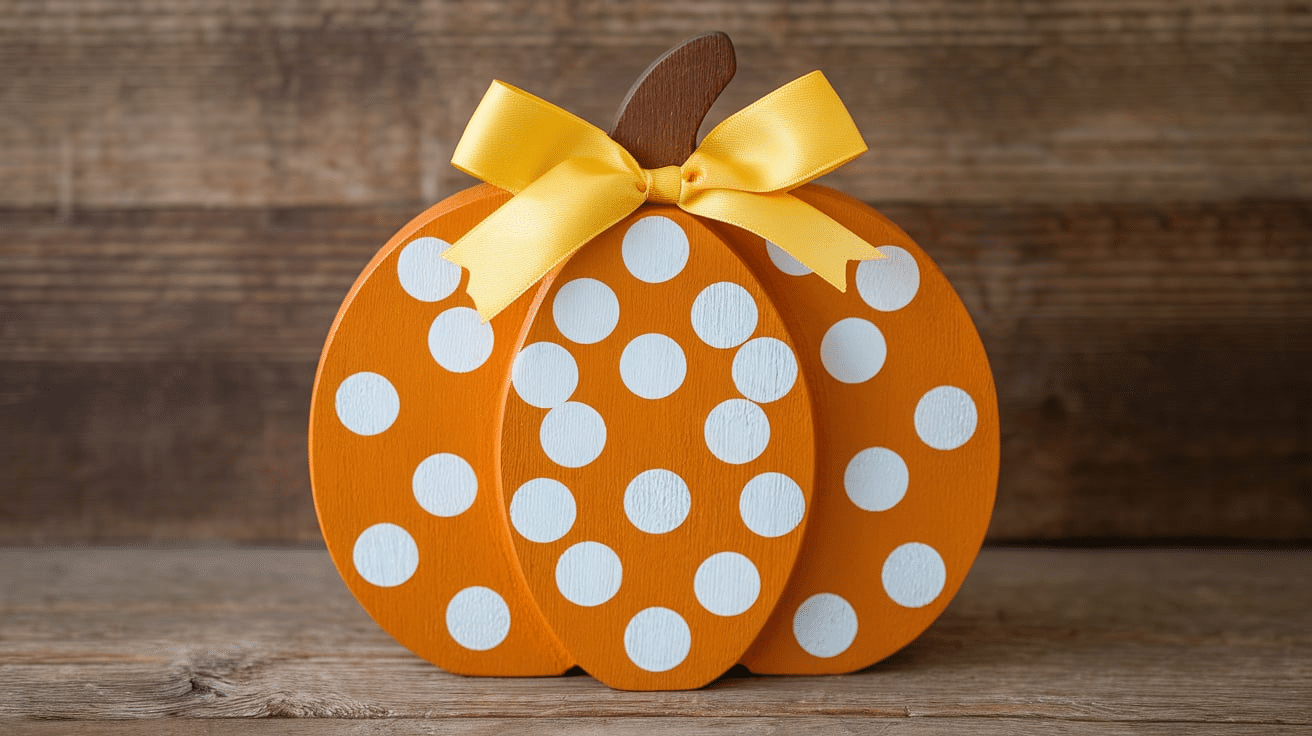
Paint your pumpkin in any color you like, then add polka dots with a contrasting color, like white or black. Use a round foam brush or the end of a pencil to create perfect circles. This design is simple, fun, and easy to do. It adds a playful touch to your pumpkin.
6. Pumpkin with Minimal Stems
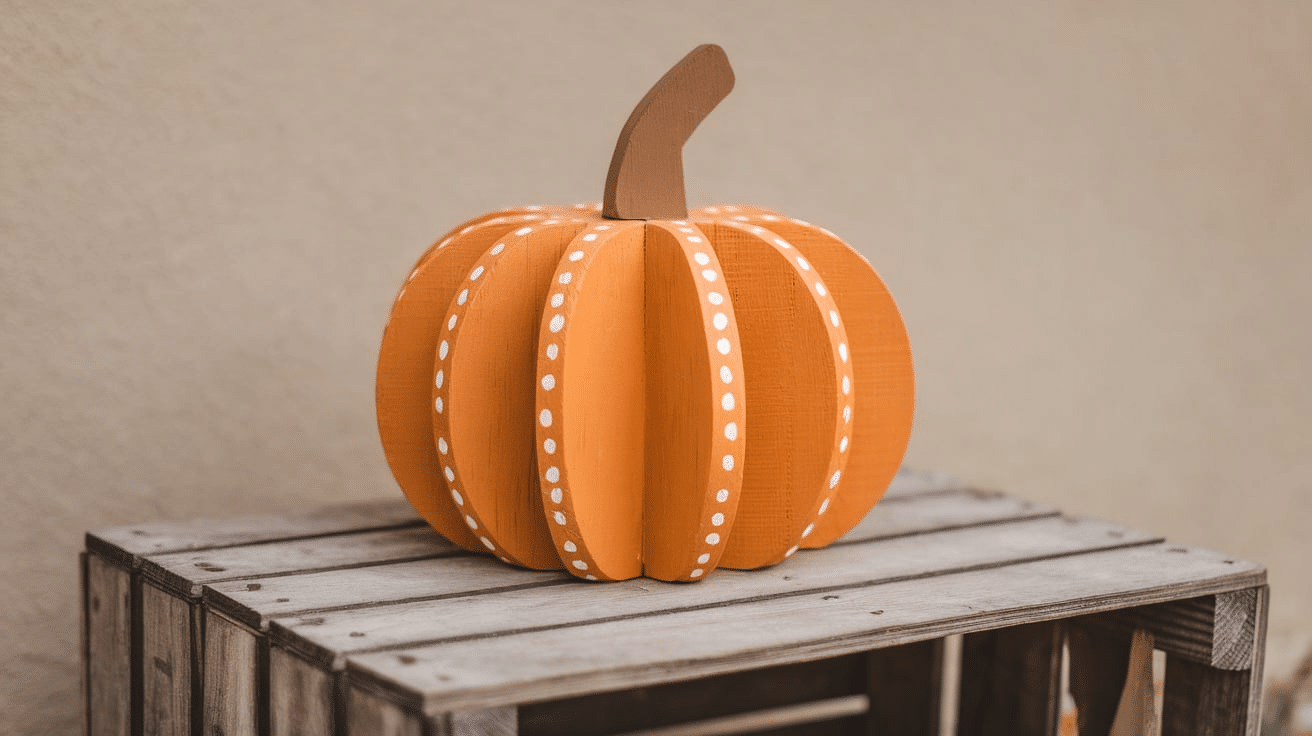
Paint your pumpkin in a bright color like orange or yellow and leave the stem unpainted. This gives it a rustic, natural look. It’s a simple and easy design that still looks great! Sometimes, keeping it basic is all you need.
7. Two-Tone Pumpkin
Divide your pumpkin into two sections, either vertically or horizontally. Paint each half a different color, like orange on top and yellow on the bottom. This creates a fun contrast and adds a playful touch to your design. You can use any color combination you want.
8. Textured Pumpkin
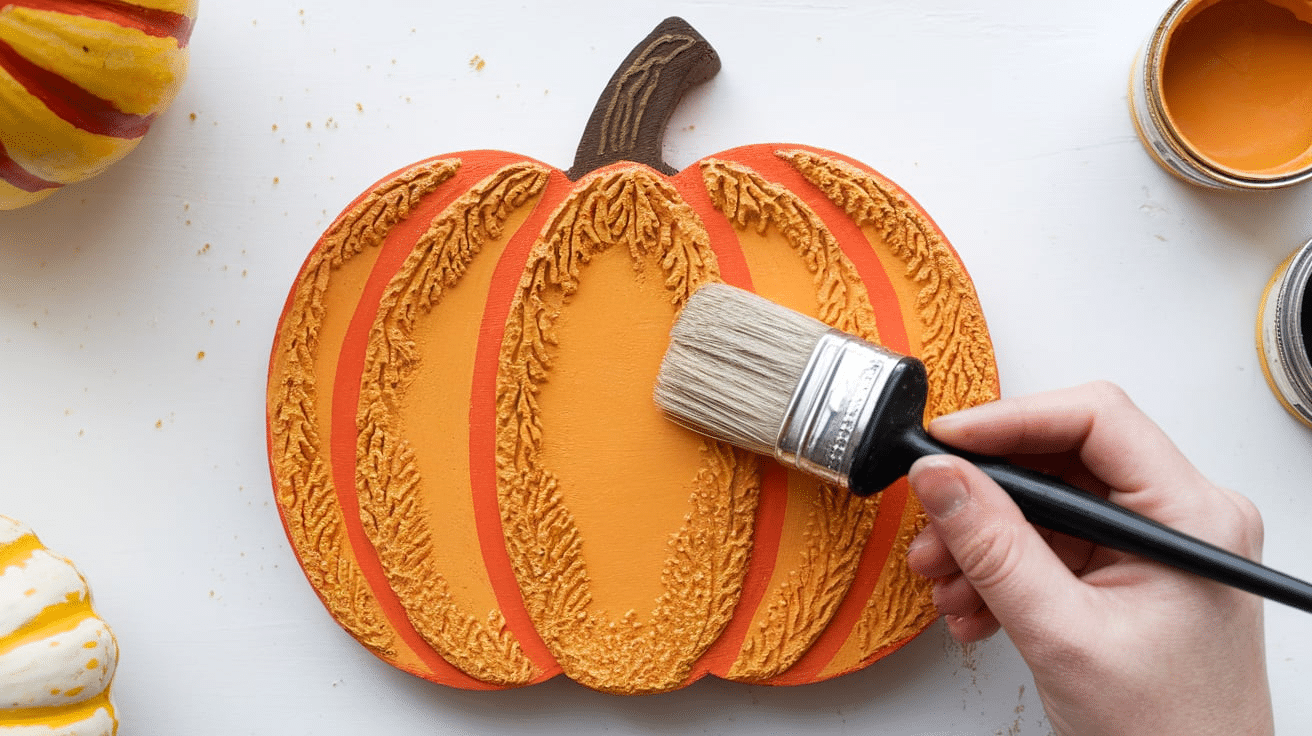
Paint your pumpkin with a base color like orange, then use a sponge or brush to add some sort of texture. This creates a distressed look that makes the pumpkin feel rustic and unique. It’s a simple way to add depth and character to your design.
9. Pumpkin with Fall Leaves

Paint your pumpkin in a neutral color like white or gray. Then, add simple fall leaves in red, yellow, and orange on one side for a seasonal touch. This design is easy and gives your pumpkin a cozy, autumn feel. You can also use bright colors for the pumpkin and add in details with other colors.
10. Plaid Pattern Pumpkin
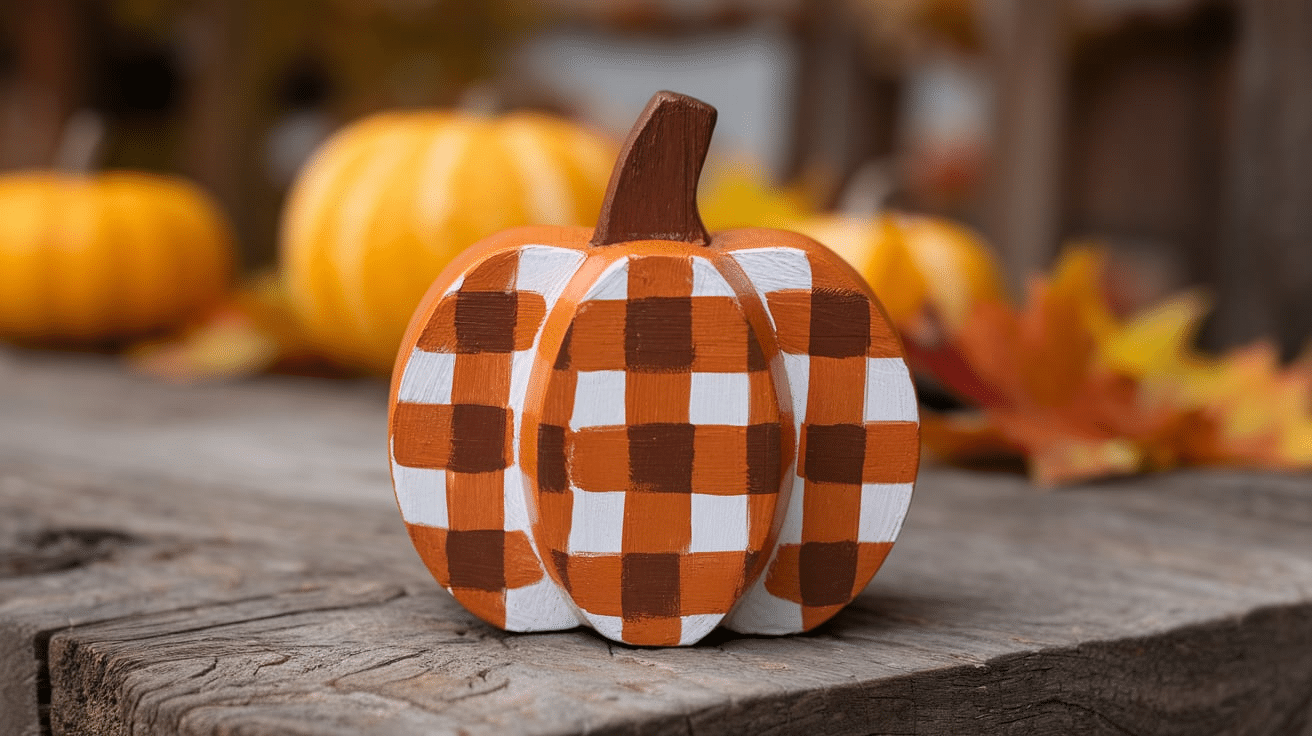
Use painter’s tape to create lines for a plaid pattern on your pumpkin. Choose warm autumn colors like red, green, and brown, and fill in the boxes. This simple technique gives your pumpkin a stylish and cozy look perfect for fall.
11. Rustic Wood Stained Pumpkin
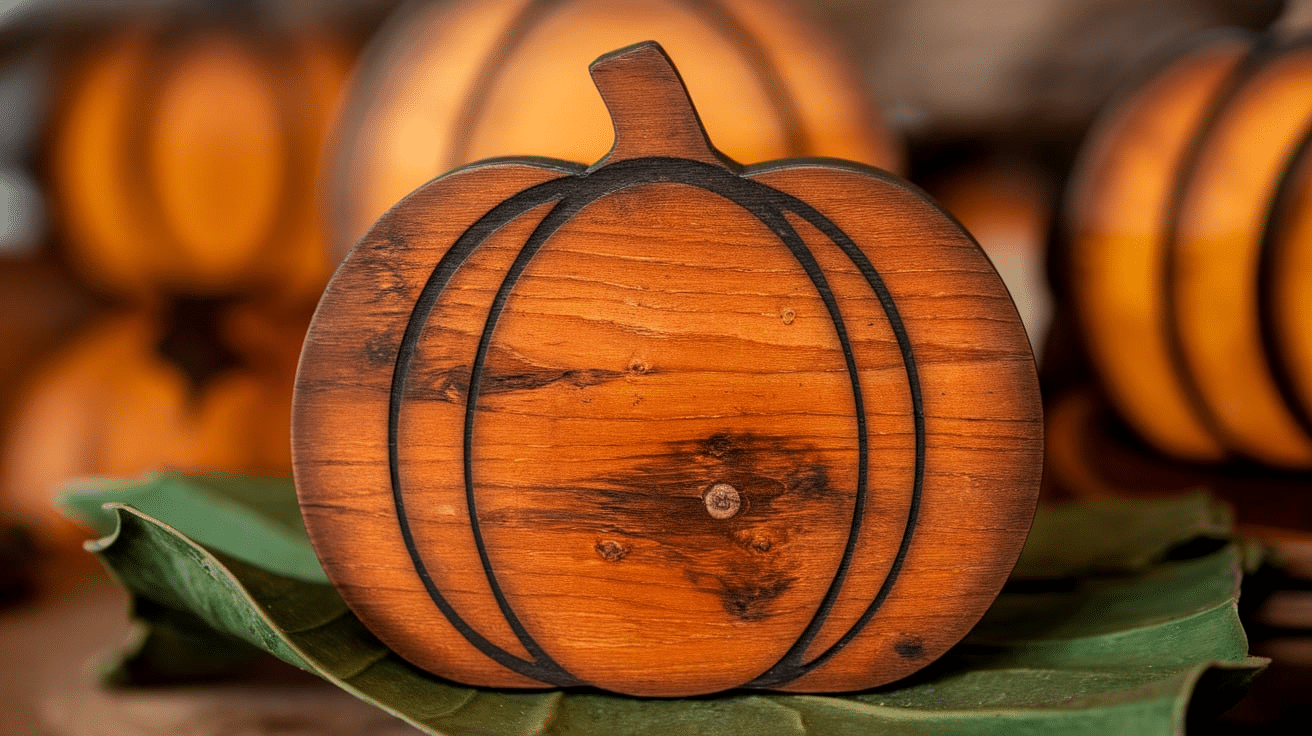
Create a rustic, vintage look by staining the wooden pumpkin with a wood stain. Optionally, paint delicate lace or doily patterns along the pumpkin’s edges or center. Use white or light pastel colors for the lace for a soft and feminine touch.
12. Sunflower Pumpkin
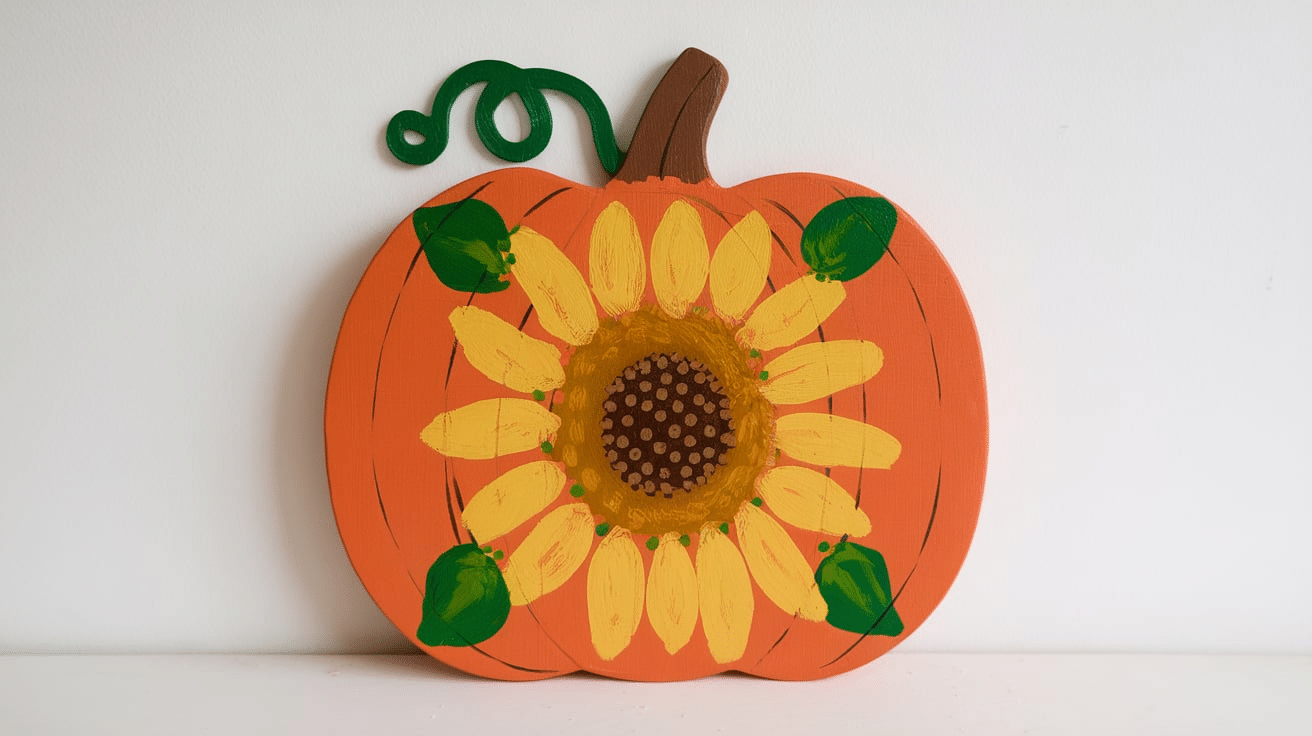
Paint your pumpkin with a soft golden yellow base to give it the look of a sunflower. Once dry, add dark brown paint to create the sunflower’s center. Then, paint petal shapes around the center using a warm yellow or orange color. Finally, add small green leaves at the base of the pumpkin to complete the sunflower design.
13. Galaxy Pumpkin

Paint your pumpkin in deep purples, blues, and blacks to create a galaxy effect. Blend the colors together for a cosmic look, and add white splatters to represent stars scattered across the sky. For an extra touch of magic, paint a crescent moon on one side of the pumpkin.
14. Watercolor Painted Pumpkin
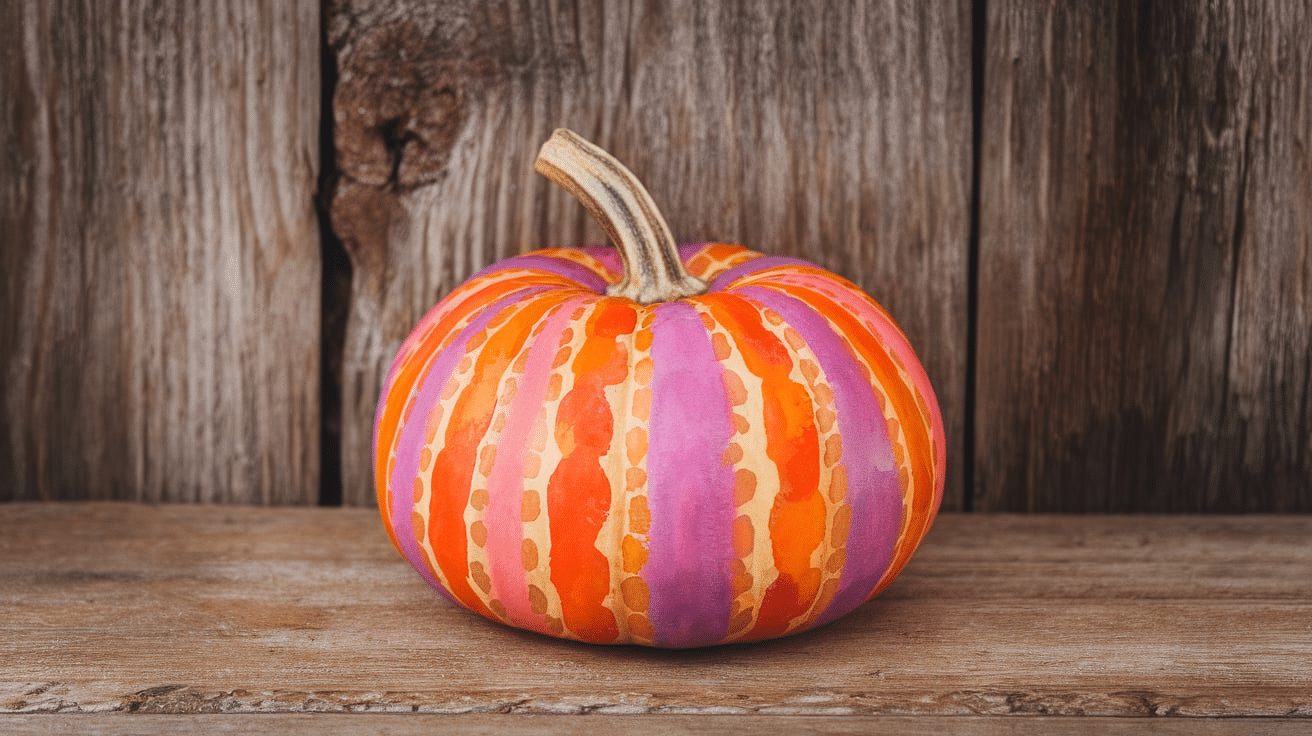
Use watercolor techniques to paint your pumpkin with soft, blended shades of orange, pink, and purple. Start by applying a light base of one color, then gradually layer the other shades, letting them blend into each other for a smooth, gradient effect. This subtle and artistic design gives your pumpkin a modern feel.
15. Rainbow Pumpkin
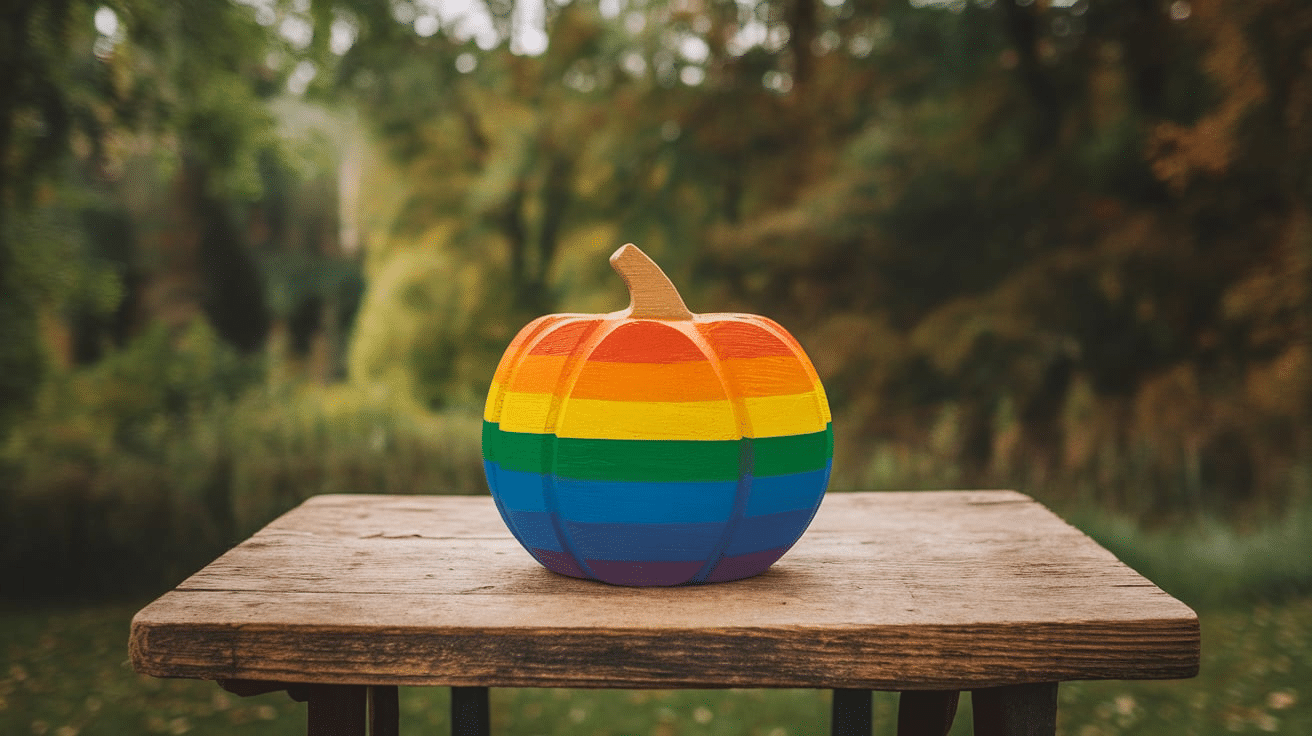
Create a gradient effect by blending the colors of the rainbow from top to bottom of your pumpkin. Start with red at the top and smoothly transition through orange, yellow, green, blue, and purple as you move down. This colorful design will catch the eye and add a vibrant touch to your autumn decor.
16. Mummy Pumpkin
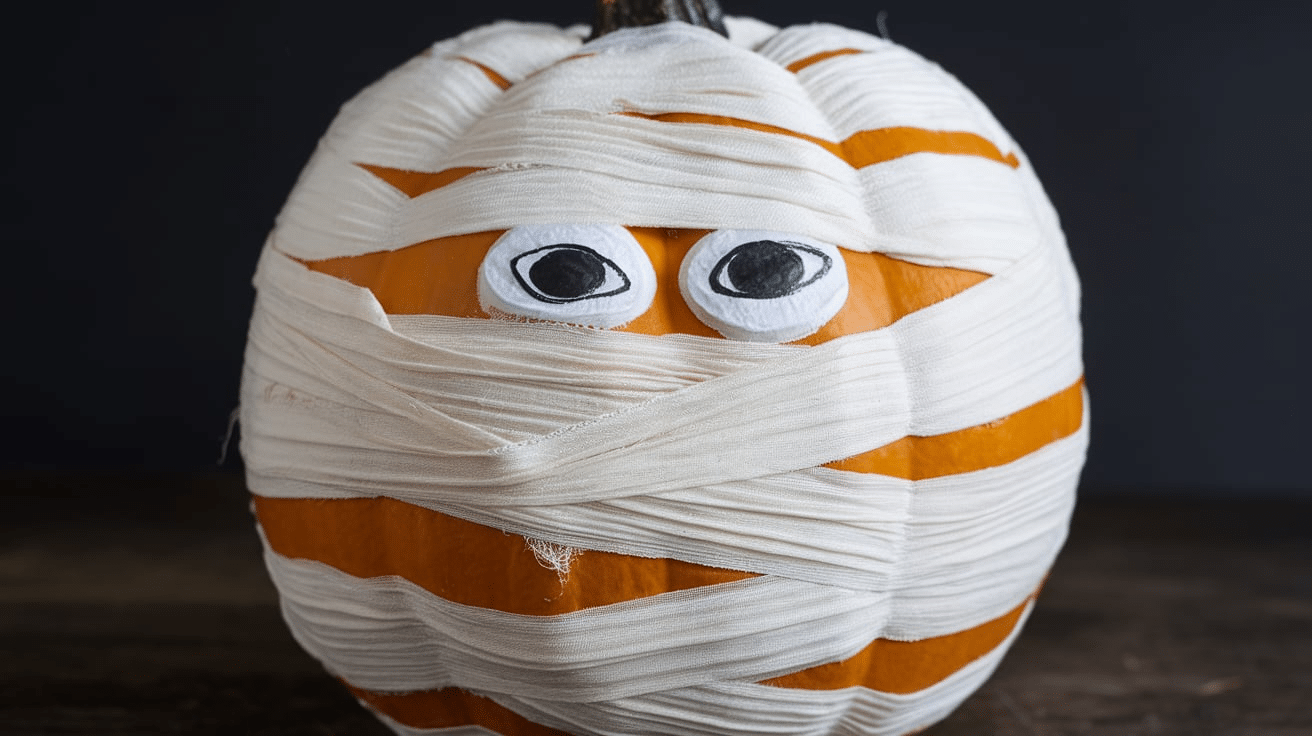
For a fun Halloween theme, paint your pumpkin white and add fabric strips around it, securing them with hot glue. Make sure the strips overlap just enough to leave a space for painted eyes in the middle. Add spooky, googly eyes for a humorous twist.
17. Monogrammed Pumpkin
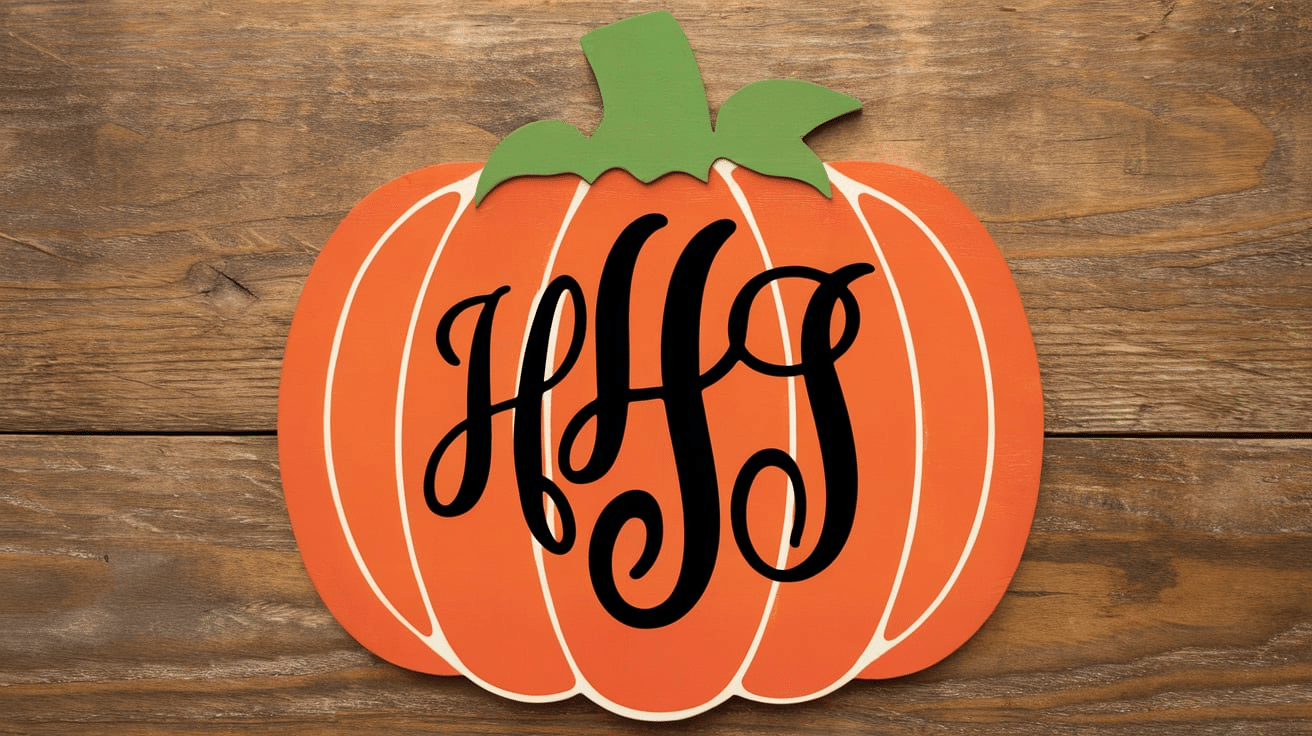
Start by painting your pumpkin in a solid color of your choice, like a warm orange, deep purple, or classic white. Once the base is dry, add your family’s initial or a full monogram in bold and contrasting colors such as black, gold, or dark brown. This personalized design is a stylish and meaningful way to make your pumpkin unique!
18. Name-Personalized Pumpkin
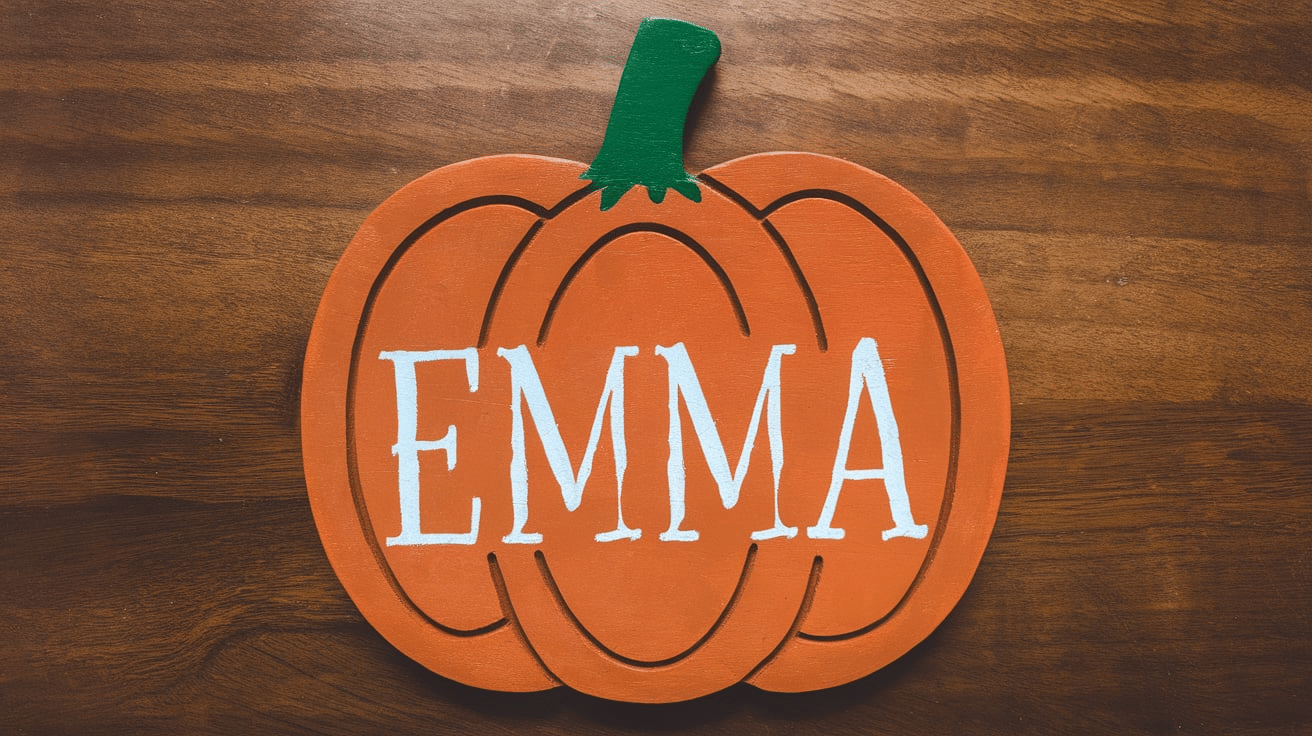
Paint your pumpkin in warm autumn hues like orange, red, and brown to capture the cozy fall vibe. Once the base is dry, add your name or your family’s names in a fun, handwritten style. For a casual look, use playful fonts, or go for elegant script fonts for a more refined touch. This personalized design will make your pumpkin feel extra special.
19. Family Tree Pumpkin
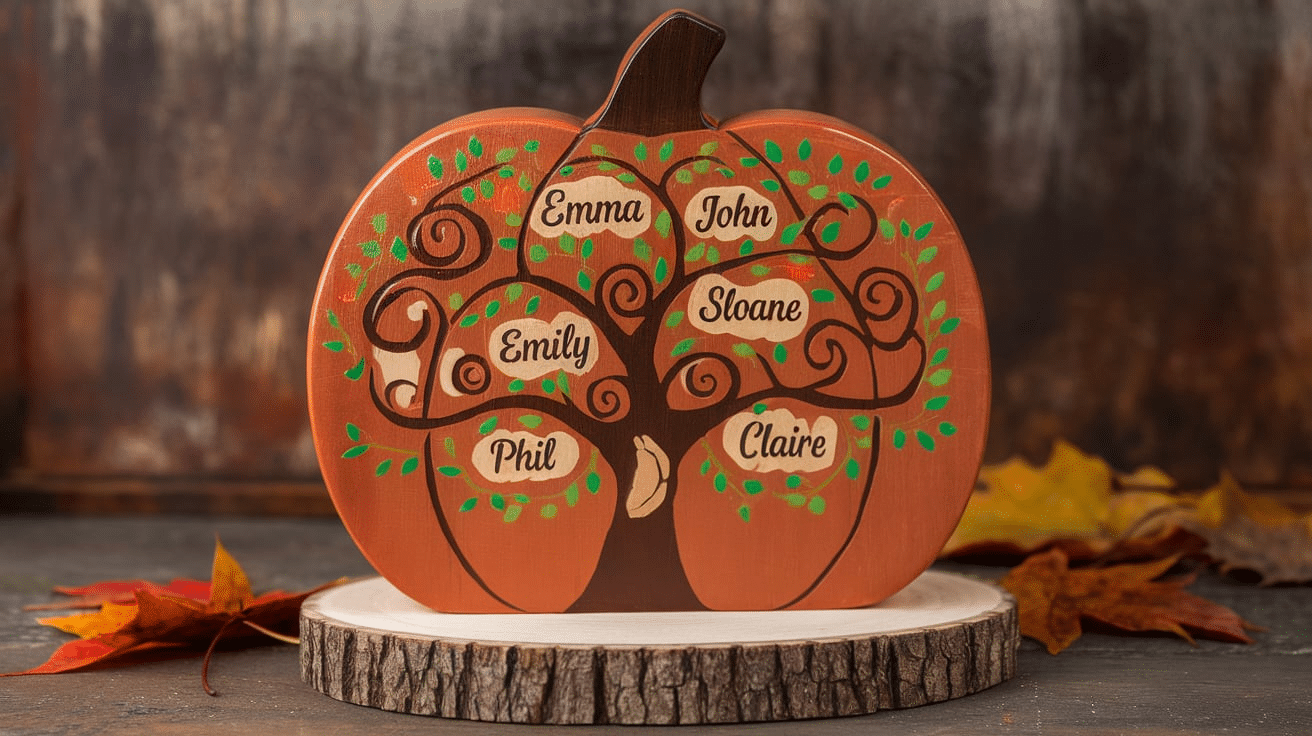
Paint your pumpkin in warm autumn colors like orange, red, and brown. Once the base is dry, add your name or your family’s names in a fun, handwritten style. For a casual look, use playful fonts, or go for fancy script fonts. This personalized design will make your pumpkin feel extra special and welcoming for the season!
20. Pumpkin with Special Dates
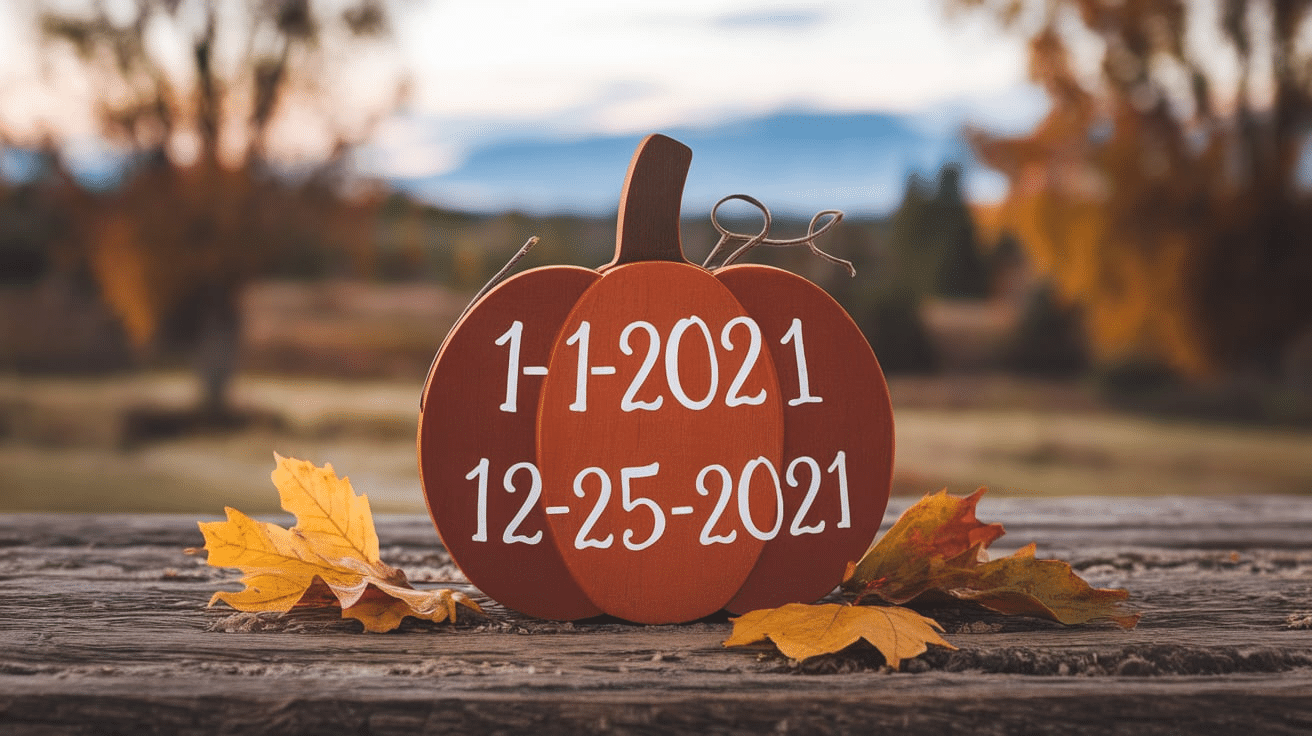
Paint your pumpkin with a meaningful year or date, such as your wedding year, a birthdate, or anniversary. Once the number is painted on, you can add little seasonal elements like leaves, or pumpkins around the date. This personalized design will make your pumpkin a special reminder of an important moment in your life.
21. Pet-Inspired Pumpkin
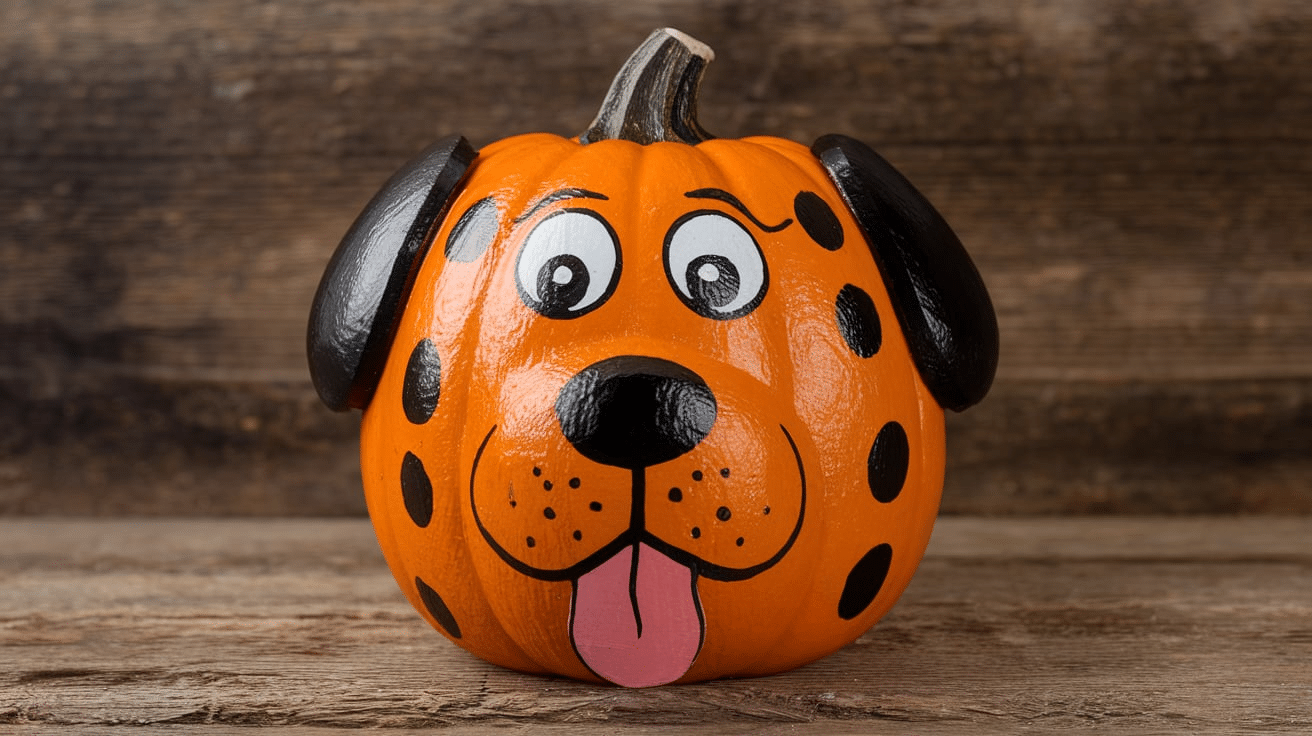
If you have a pet, why not paint a pumpkin to resemble them? Choose a color that matches their fur and then add cute details like a bow tie or collar. You can even paint their little nose or add fun accessories to make it extra personalized.
22. Pumpkin with Favorite Quotes
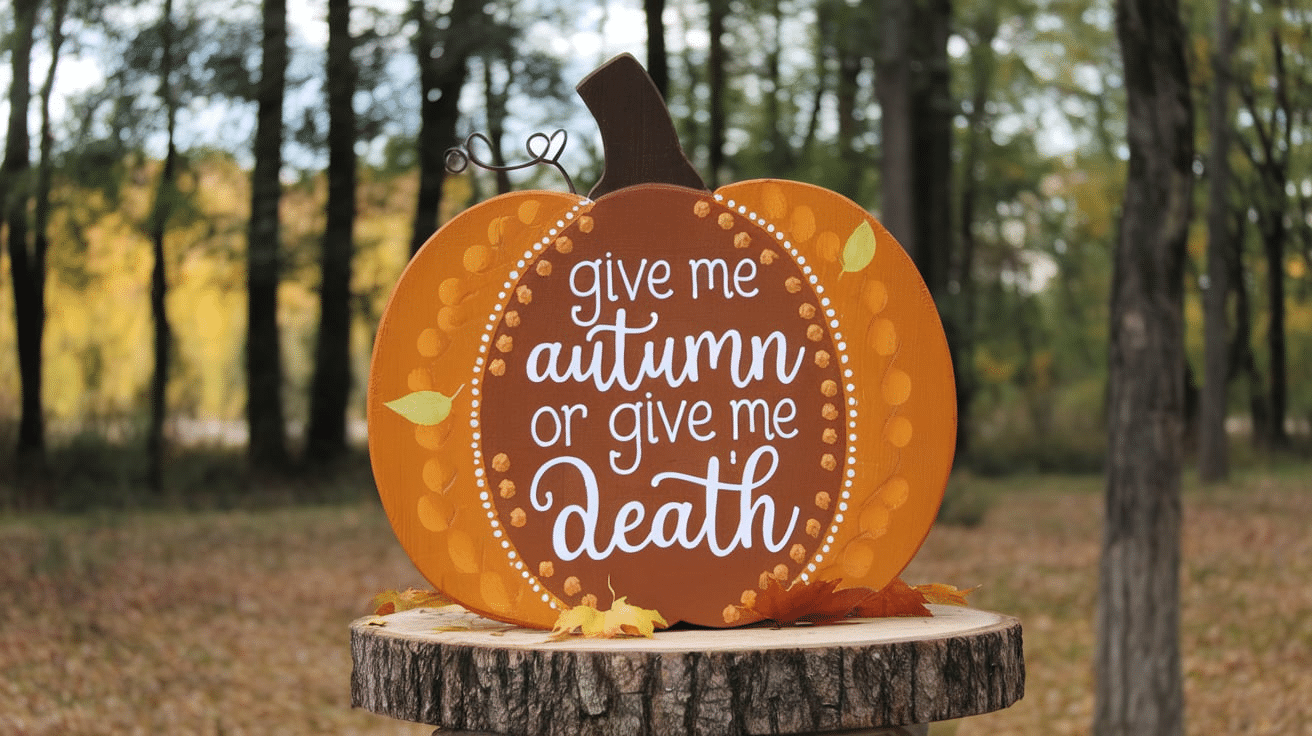
Choose a fall-themed or inspirational quote, and paint it on your pumpkin in a beautiful calligraphy style. Use fall-themed elements like acorns or leaves around the quote to frame it.
How to Paint Wooden Pumpkins
Here’s a step-by-step guide to help you paint your own wooden pumpkins:
1. Gather the Supplies
- Wooden pumpkins
- Paint
- Paintbrushes
- A pencil
- A plate or tray to put your paint on
- A clear sealer
2. Prepare Your Wooden Pumpkins
Before you start painting, make sure your wooden pumpkins are clean and dry. Wipe them down with a cloth to remove any dust or dirt.
If you want a smoother surface, you can lightly sand them with sandpaper, but this is optional. Don’t over-sand the surface.
3. Paint the Base Color
Start by painting the main color of your pumpkin. For a classic look, use orange, but feel free to get creative with other colors like white, black, or even metallic shades.
Use a larger paintbrush for the bigger areas and make sure to cover the entire surface. Let the first coat dry completely before adding another coat if you want it to be darker.
4. Add Details and Designs
Once your base coat is dry, it’s time to add fun details! You can:
- Paint a simple face for a jack-o’-lantern design.
- Add vines, leaves, or curly stems with green or brown paint.
- Use a smaller brush to paint patterns like stripes, polka dots, or even words on your pumpkin.
5. Let It Dry
After you’re done painting, let your wooden pumpkin dry for a few hours or overnight to make sure everything is set. Don’t add new layers or designs until the first coat is completely dried.
6. Seal Your Pumpkin
If you want your painted pumpkin to last, you can consider using a clear sealer. This will protect your paint from scratches or damage. Simply spray or brush the sealer over your pumpkin and let it dry before using your pumpkin.
With just a few simple steps, you can create unique and personalized wooden pumpkins for your home. Be sure to enjoy the process and get creative with your designs.
How to Display Your Wooden Pumpkins
Once you’ve painted your wooden pumpkins, it’s time to show them off. There are so many fun and easy ways to display them in your home. Here are some ideas to help you find the perfect spot for your pumpkins:
1. On Your Front Porch
Wooden pumpkins are perfect for outdoor décor, especially if you want to welcome guests in a fun way. Place your painted pumpkins on your front steps or near your door. You can even mix them with real pumpkins, hay bales, or a cute welcome sign for a cozy autumn look.
2. As a Table Centerpiece
A set of wooden pumpkins can make a great centerpiece for your dining or coffee table. Arrange them in the center of the table with some fall-colored napkins, candles, or even small decorative leaves around them. This creates a warm, festive vibe for family meals or fall parties.
3. On Shelves or Mantels
Display your wooden pumpkins on a bookshelf or mantel to add a touch of fall to your living room. Group a few pumpkins of different sizes together, or scatter them around with other fall decorations like candles, autumn leaves, or pinecones. It’s an easy way to add some charm to any shelf or mantel.
4. Near Windows or Entryways
Put your pumpkins on windowsills or by your entryway. They’ll catch the light and make your home look inviting. You can even pair them with small fall flowers in pots or a cute doormat for a welcoming entrance.
5. As Part of a Fall Wreath
If you like DIY projects, you can add small wooden pumpkins to your fall wreath. Glue or tie them onto the wreath along with faux leaves, pinecones, and ribbons. This will give your door a special touch and make it stand out during the autumn season.
6. On the Kitchen Counter
Wooden pumpkins also look great in the kitchen! Set them on the counter with a basket of apples, a jar of cinnamon sticks, or a fall-themed dish towel. This is a simple way to add a seasonal touch to your home.
7. As a Gift
Wooden pumpkins also make great gifts! Place one inside a gift basket with other small fall goodies like homemade cookies, hot cocoa mixes, or candles. It’s a lovely, personalized gift that brings the fall spirit to someone special.
8. Use Them as Place Settings
If you’re hosting a fall dinner or party, you can use your wooden pumpkins as place card holders! Just paint each guest’s name on a pumpkin and use it as a cute table setting. It’s a simple way to add a personal touch to your event.
No matter where you display your wooden pumpkins, mix them with other fall items like candles, leaves, or flowers to create a cozy, seasonal vibe. With all these display ideas, you can bring the autumn spirit into every room of your home!
Conclusion
Painting and displaying wooden pumpkins is a fun way to celebrate fall and add character to your home. Whether you go for simple, classic designs or get creative with unique patterns and themes, wooden pumpkins make great decorations that you can use year after year.
You can display them in so many places—on your porch, as a table centerpiece, or even on your mantel. They also make great gifts or a fun activity to do with friends and family.
More importantly, you can personalize them however you like, making them a perfect match for your home’s style. So, grab your paints and brushes, and start creating your own wooden pumpkins!
Frequently Asked Questions
What type of paint should I use for wooden pumpkins?
Acrylic paint works best because it’s easy to apply and dries quickly.
Can I use real pumpkins for this project?
Wooden pumpkins last longer and are more durable, but you can use real pumpkins for a natural look if you prefer.
Where can I buy wooden pumpkins?
You can find wooden pumpkins at craft stores, online retailers, or make your own using thin wood or MDF.
Can I use stencils on wooden pumpkins?
Yes! Stencils are a great way to create neat, detailed designs on your wooden pumpkins.
How do I store my wooden pumpkins?
Store them in a dry, cool place, away from direct sunlight for durability.


