14 Easy Diy Projects for Beginners at Home
Most DIY project lists are packed with ideas that demand a garage full of tools, a large budget, and skills most people simply don’t have.
The great results don’t require any of that. Every idea here is beginner-friendly, uses basic supplies, and costs well under $100.
From kitchen upgrades and home decor to outdoor projects and fun crafts, this list covers a wide range of easy wins for any space in your home.
Most of these can be finished solo in under 8 hours, meaning you can pick a project today and have real, visible results by tonight.
Easy DIY Projects for Beginners with No Tools
Not every project needs a drill or a trip to the hardware store. These ideas need little to no tools at all and are a great starting point for anyone who has never done a DIY project before.
1. No-Sew Throw Pillow Covers

Custom throw pillow covers can completely change the feel of a couch or bed without spending much at all. There is no sewing machine involved, just fabric glue or iron-on tape and about an hour of your time.
Time: 1 hour
What you need:
- Fabric of your choice
- Fabric glue or iron-on hem tape
- Scissors
Steps:
- Cut the fabric to size, leaving a few extra inches on each side for folding
- Fold the edges over and secure them with fabric glue or iron-on hem tape
- Slip the cover over your pillow insert and press the final edge closed
2. Fabric Wall Hanging

A fabric wall hanging adds color and texture to a plain wall without any drilling or nailing. The whole thing comes together with a dowel rod, some fabric or yarn, and a few basic knots.
Time: 45 to 60 minutes
What you need:
- A wooden dowel rod
- Fabric strips or chunky yarn
- Scissors
- Twine or string for hanging
Steps:
- Cut fabric or yarn into equal lengths and fold each piece over the dowel rod
- Pull the ends through the loop to create a simple lark’s head knot along the rod
- Tie a piece of twine to both ends of the dowel and hang it on a nail or hook
3. Rope Basket from a Laundry Bin

A plain plastic laundry bin or storage bucket can look like a high-end woven basket with just a roll of thick rope and a hot glue gun. The result looks like something from a home goods store.
Time: 1 to 2 hours
What you need:
- A plain plastic bin or basket
- Thick natural rope or jute twine
- Hot glue gun
Steps:
- Start at the bottom of the bin and apply a line of hot glue before pressing the rope firmly in place
- Wrap the rope tightly around the bin row by row, gluing each layer as you go
- Cut the rope at the top edge and press the end down firmly with a final line of glue
Budget Breakdown
| Project | Estimated Cost |
|---|---|
| No-Sew Throw Pillow Covers | $10 to $25 |
| Fabric Wall Hanging | $10 to $20 |
| Rope Basket from a Laundry Bin | $10 to $20 |
High-Impact Home Upgrade Projects
Small changes in the right places can make a huge difference. The projects are easy to complete in a single day and give your home a noticeably fresh, updated look.
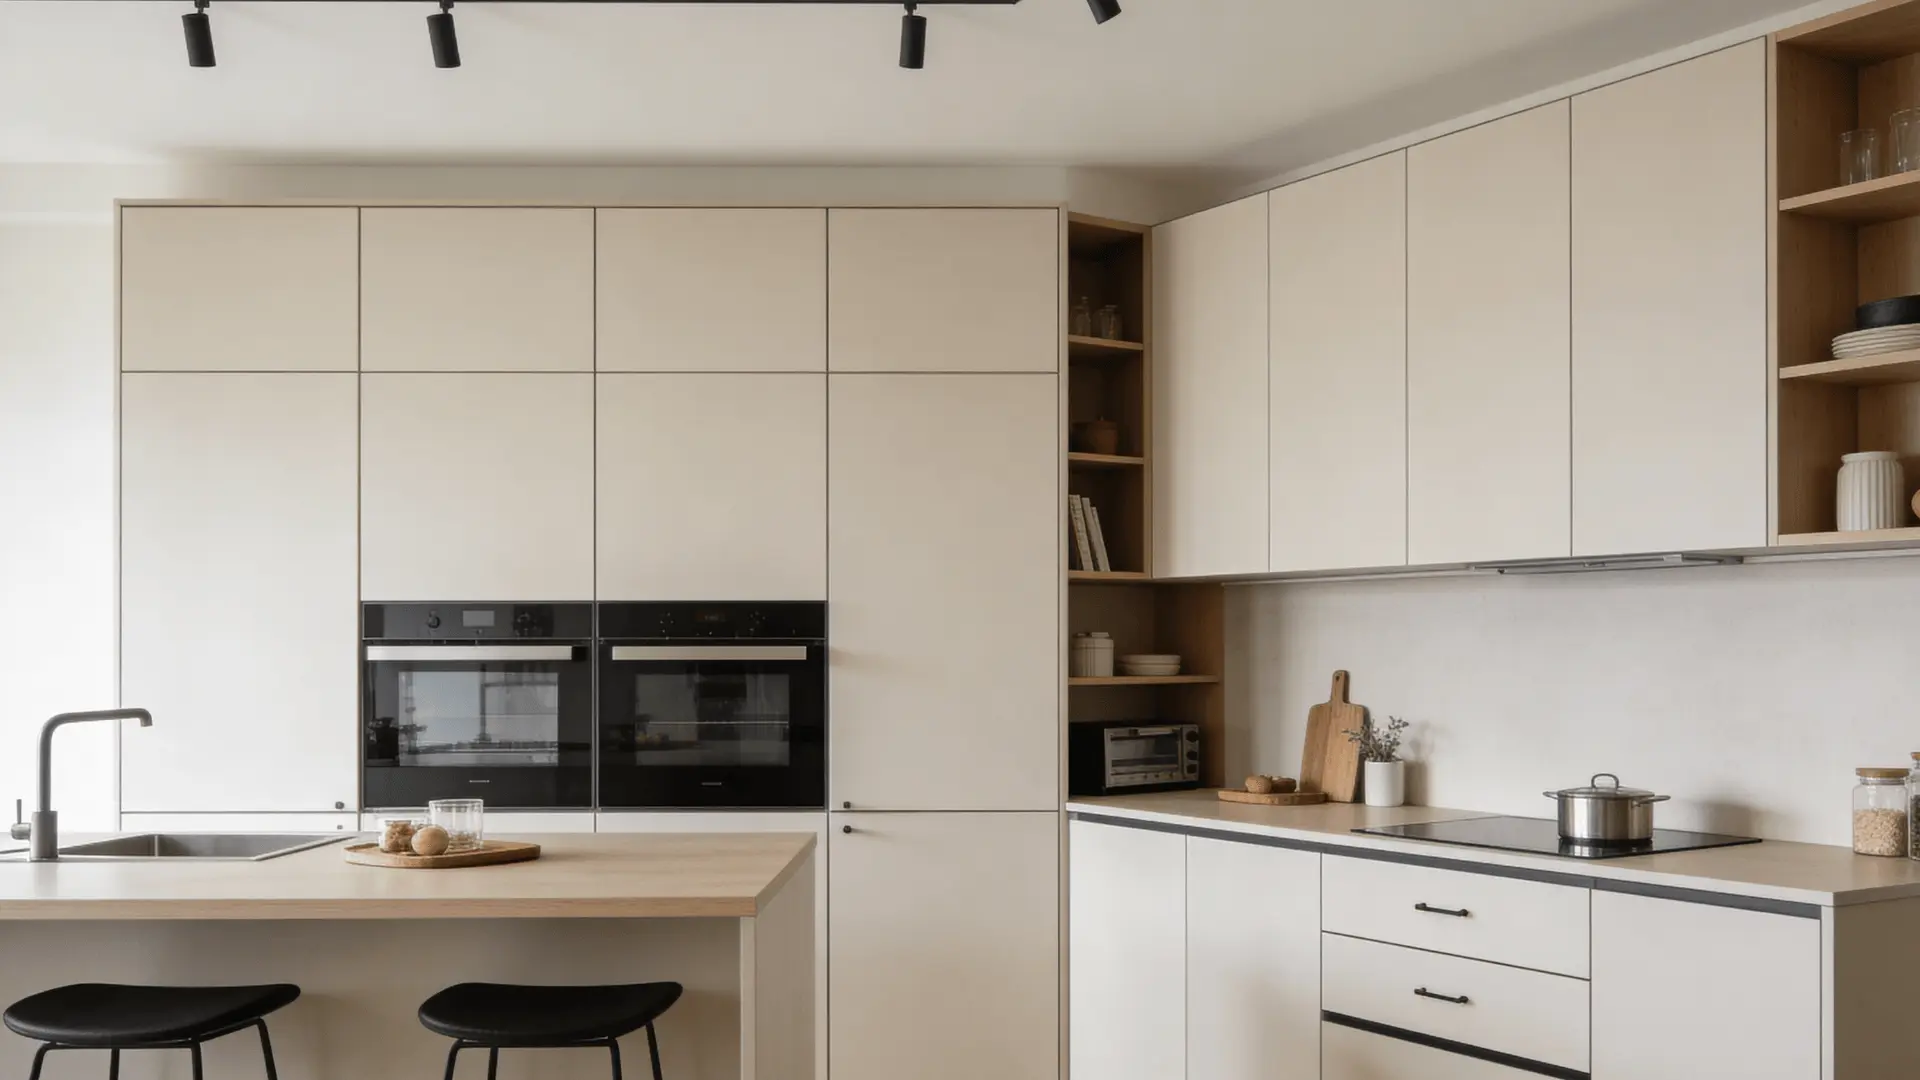
4. Swap Out Cabinet Hardware

Replacing old knobs and pulls is one of the fastest ways to modernize a kitchen or bathroom. New hardware makes cabinets look intentional and updated without any major renovation work.
Time: 1 to 2 hours
What you need:
- Screwdriver
- New knobs or pulls of your choice
Steps:
- Remove the old hardware using a screwdriver
- Line up the new piece and screw it in place
- Repeat across all cabinets for a consistent look
Pro Tip: Measure the hole spacing on your existing hardware before buying new pieces. Most standard pulls follow a 3-inch or 3.75-inch center-to-center spacing.
5. Paint Your Front Door

A freshly painted front door is one of the highest-impact curb appeal upgrades you can do for under $40. It takes just an afternoon, and the results are immediately noticeable.
Time: 2 to 3 hours, including drying time
What you need:
- Exterior paint
- Painter’s tape
- Brush or small roller
Steps:
- Sand the door lightly and apply one coat of primer
- Tape off edges and glass panels carefully
- Apply two thin coats of paint, letting each coat dry fully
Trending Colors Right Now:
| Color | Why It Works? |
|---|---|
| Matte Black | Bold, modern, works on most home styles |
| Navy Blue | Classic and clean against white trim |
| Sage Green | Warm, natural, very popular right now |
6. Install Battery-Powered Wall Sconces

Battery-powered sconces give any room a high-end, layered lighting look without touching a single wire. These are perfect for renters or anyone who wants to skip the hassle of electrical work entirely.
Time: Under 1 hour
What you need:
- Wireless wall sconces
- Rechargeable puck lights
- Command strips
Steps:
- Mark your desired placement on the wall with a pencil
- Stick command strips firmly and let them set for 30 minutes
- Attach the sconce, insert the puck light, and switch it on
7. Peel-and-Stick Accent Wall

A peel-and-stick accent wall is one of the most dramatic room changes you can make with zero permanent commitment. It goes up quickly, looks great in photos, and comes off cleanly when you’re done.
Time: 2 to 4 hours, depending on wall size
What you need:
- Removable wallpaper
- A level
- Smoothing tool
Steps:
- Clean the wall surface and let it dry completely
- Start from the top center and work your way down and outward
- Smooth out each strip firmly to remove any air bubbles as you go
Best rooms to try this in:
- Bedroom wall behind the headboard
- Entryway or hallway
- Home office feature wall
Pro Tip: Use the level on every single strip to keep the pattern straight from top to bottom.
Budget Breakdown
| Project | Estimated Cost |
|---|---|
| Swap Out Cabinet Hardware | $15 to $40 |
| Paint Your Front Door | $20 to $40 |
| Install Battery-Powered Wall Sconces | $25 to $60 |
| Peel-and-Stick Accent Wall | $30 to $80 |
Quick Craft and Decor Projects
These projects are all about making something with your hands and ending up with a result that looks genuinely good. No prior crafting experience needed, just basic supplies and a free afternoon.
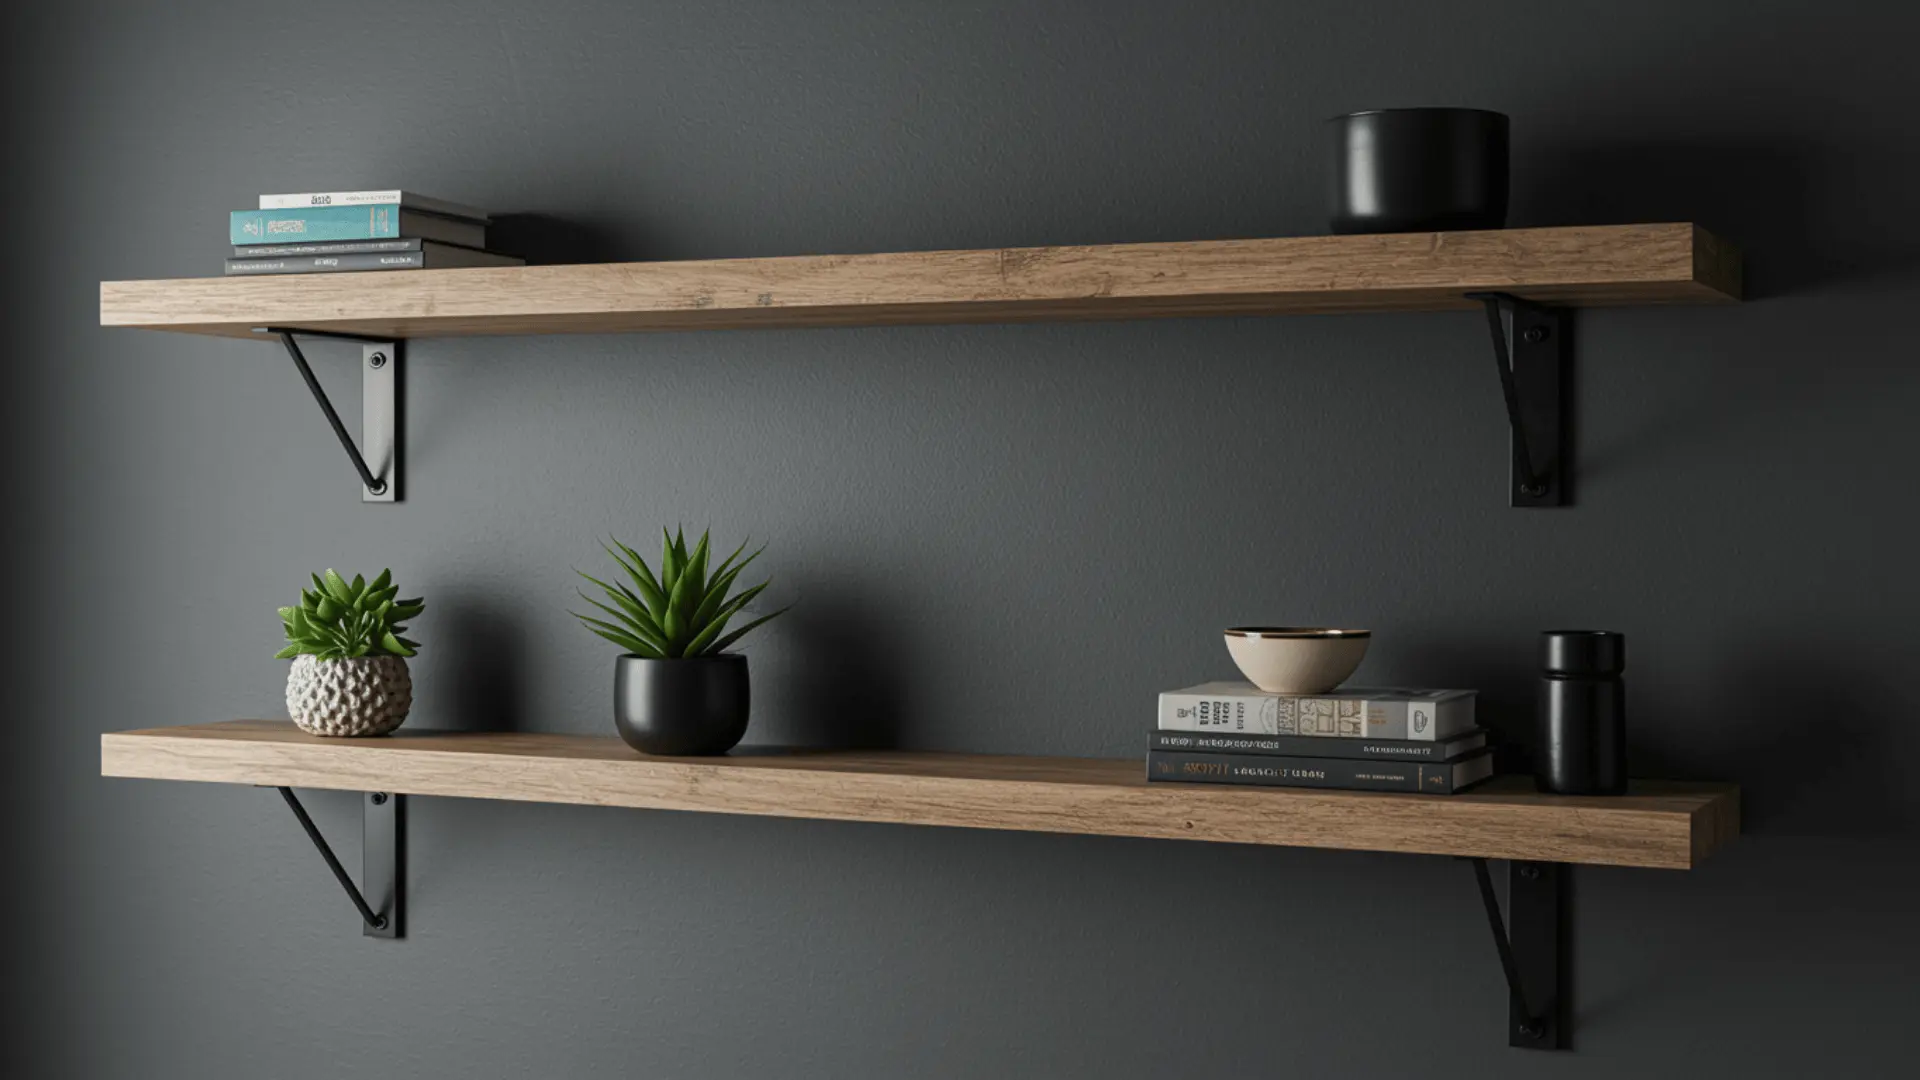
8. DIY Floating Shelves

Floating shelves are one of the best ways to add both storage and personality to a blank wall. They work in any room and can be styled however you like once they are up.
Time: 2 to 3 hours
What you need:
- Wooden boards
- Brackets
- Screws
- Level
Steps:
- Mark your bracket positions on the wall using a level
- Drill the brackets into wall studs for a secure hold
- Lay the wooden board on top and screw it into the brackets
Style Tip: Mount shelves at different heights instead of spacing them evenly. Staggered placement gives the wall a designer, intentional look.
9. Upcycled Paint Stick Tray

This is one of the most budget-friendly projects on the list. Paint stir sticks are free at most hardware stores, and with a little glue and stain, they become a genuinely useful home accessory.
Time: 1 to 2 hours plus drying time
What you need:
- Free paint stir sticks
- Craft glue
- Wood stain
Steps:
- Lay the stir sticks side by side and glue them together flat
- Glue additional sticks along the edges to form a raised border
- Let it dry fully, then apply wood stain for a finished look
How to use it: Place it on a coffee table as a riser for candles or books, or keep it near the entryway as a catch-all tray for keys and small items.
10. Custom Wooden Fridge Magnets

These little magnets are a great first woodworking project for anyone just getting started. They are quick to make, practical to use, and look far better than anything you’d find in a store.
Time: 1 to 2 hours
What you need:
- Small wood blocks
- Drill
- Heavy-duty magnets
- Wood stain
Steps:
- Sand each wood block smooth and apply a coat of stain
- Once dry, drill a small hole into the back of each block
- Press a heavy-duty magnet into the hole using strong craft glue
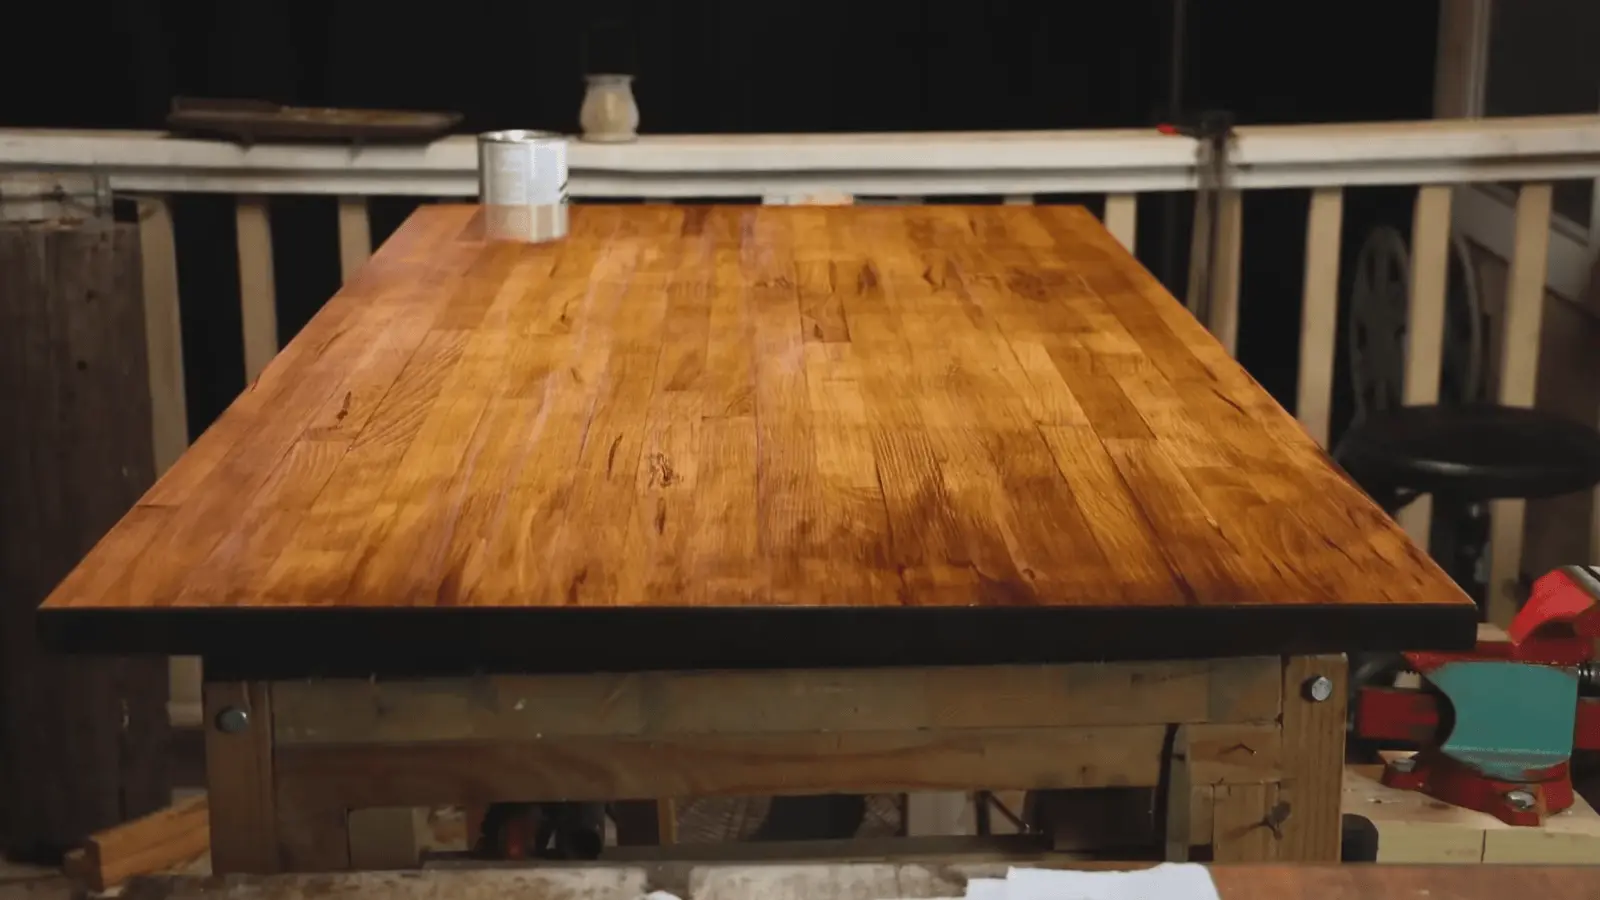
11. Refinish a Thrifted Piece of Furniture

A $5 side table from a thrift store can look completely new with a little sanding and a fresh coat of paint or stain. This project takes a full day, but most of that time is just waiting for things to dry.
Time: 1 full day, including dry time
What you need:
- Sandpaper
- Primer
- Paint or stain
- Brushes
Steps:
- Sand the entire piece to remove the old finish and rough up the surface
- Apply one coat of primer and let it dry completely before moving on
- Finish with two thin coats of paint or stain, letting each layer dry fully
Budget Breakdown
| Project | Estimated Cost |
|---|---|
| DIY Floating Shelves | $20 to $50 |
| Upcycled Paint Stick Tray | $0 to $5 |
| Custom Wooden Fridge Magnets | $10 to $20 |
| Refinish a Thrifted Piece of Furniture | $10 to $30 |
Outdoor and Garden DIY Projects
The outside of your home deserves just as much attention as the inside. Projects are simple, budget-friendly, and make a real difference in how your home looks from the street.
12. Build a Simple Raised Planter Box

A raised planter box is a satisfying weekend build that requires no carpentry experience at all. Once it’s done, you have a dedicated spot to grow herbs, flowers, or small vegetables right in your backyard.
Time: 3 to 4 hours
What you need:
- Basic lumber
- Screws
- Drill
- Soil
Steps:
- Cut lumber to your desired length and lay out the four sides
- Drill the corners together to form a solid rectangular frame
- Fill the box with quality soil, and it is ready to plant
Beginner Note: No special cuts or joints are needed here. Simple butt joints at the corners held together with screws are strong enough for any planter box.
13. Add Window Boxes

Window boxes are one of the easiest ways to make a home look well-kept and inviting from the outside. A few seasonal plants go a long way in adding color and life to a plain exterior wall.
Time: 2 to 3 hours
What you need:
- Pre-made or DIY wooden boxes
- Mounting brackets
- Seasonal plants
Steps:
- Mount the brackets below each window using a level to keep them straight
- Set the box securely onto the brackets and check that it sits evenly
- Fill with potting soil and plant your chosen flowers or greenery
14. Frame Out Your Mailbox

A framed mailbox setup is one of those upgrades that looks like it cost a lot more than it actually did. A simple wooden post frame with a few plants around the base is all it takes to make a big curb appeal difference.
Time: Half a day
What you need:
- Lumber
- Screws
- Outdoor plants or flowers
Steps:
- Build a simple rectangular post frame around the existing mailbox post
- Secure it firmly into the ground and attach it to the post with screws
- Plant low-maintenance flowers or shrubs around the base to complete the look
Budget Breakdown
| Project | Estimated Cost |
|---|---|
| Build a Simple Raised Planter Box | $25 to $60 |
| Add Window Boxes | $20 to $50 |
| Frame Out Your Mailbox | $15 to $40 |
Tips Before You Start Any DIY Project
Starting with a simple plan can save time, money, and frustration later. A few small checks before beginning can help projects look cleaner and last longer.
- Measure Carefully Before Making Changes: Wrong measurements can lead to uneven shelves, wasted materials, or extra repair work later. Double-check every size before cutting, drilling, painting, or placing anything permanently.
- Test Paint or Stain First: Colors often look different after drying or under room lighting. Try painting or staining on a small hidden area first before covering the full surface.
- Buy Extra Materials: Running short in the middle of a project can slow everything down. Keeping a little extra wallpaper, paint, screws, or wood helps avoid mismatched replacements later.
- Watch a Tutorial Before Starting: A short video can explain steps more clearly than written instructions alone. It also helps beginners understand tool handling, material setup, and common mistakes before starting.
Conclusion
These DIY projects show that simple changes can make your home feel more useful, fresh, and personal without costing too much.
You can start with one small project and build more confidence as you go.
Take your time, measure carefully, and focus on clean results instead of speed.
Try more beginner-friendly DIY projects to keep improving your home, and share your favorite idea or finished project in the comments.
Frequently Asked Questions
What DIY Crafts are Trending?
DIY crafts trending right now include junk journaling, textured wall art, crochet flowers, DIY room decor, upcycled furniture, and miniature crafts.
What DIY Sells Best?
The best-selling DIY items are handmade candles, jewelry, stickers, crochet products, custom gifts, and home decor. Personalized and easy-to-ship products usually sell the fastest online.
What is the Best Glue for DIY Projects?
Hot glue works well for quick crafts, super glue is best for plastic and metal, and wood glue is ideal for wooden projects. Many crafters also use Gorilla Glue or Mod Podge because they work on different surfaces and create strong bonds.