
DIY Sleek Cement Walls: A Step-by-Step Guide
We all want our homes to look unique and stylish. But let’s face it, fancy wall treatments can cost a fortune. That’s where DIY cement walls come in.
They’re trendy, budget-friendly, and easier to create than you might think.
We promise this guide will show you how to make a sleek cement wall that will wow your friends and family. You don’t need expensive tools or years of experience.
In this post, we’ll walk you through each step of creating your cement wall, from gathering materials to applying the final touches.
By the end, you’ll have the know-how to transform any room with this cool, modern look. Ready to roll up your sleeves and get started?
Why You Need a Sleek Cement Wall
Cement walls are becoming a big hit in home design. Here’s why you might want one:
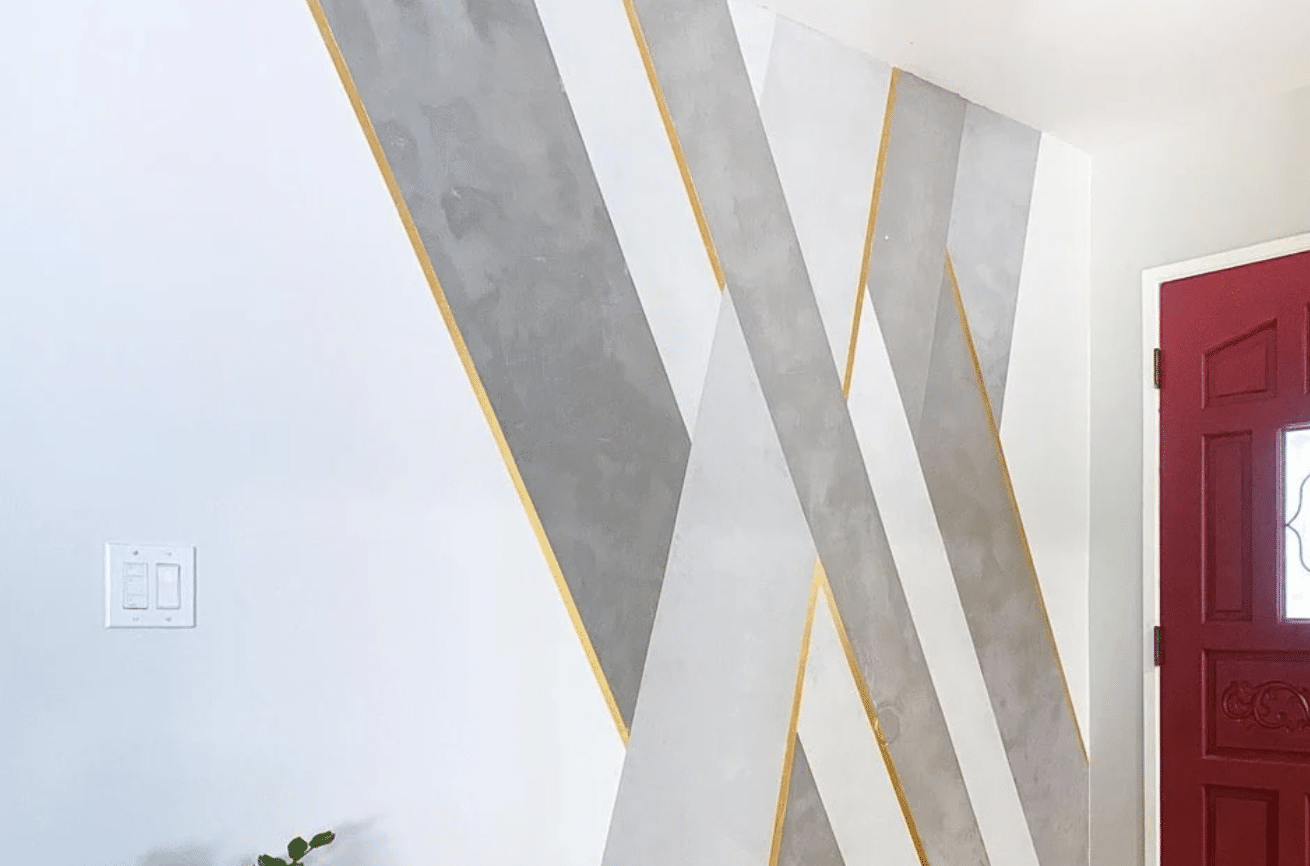
- They’re eye-catching: A cement wall stands out. It’s not your run-of-the-mill paint job.
- They’re tough: These walls can take a beating and still look good.
- They’re easy on the wallet: Cement is cheaper than other fancy wall treatments.
- They fit any style: A cement wall can work whether your home is modern or rustic.
- They’re one-of-a-kind: Each cement wall turns out a bit different, making yours special.
- They’re low-maintenance: Once it’s done, you won’t need to fuss with it much.
We’ve seen cement walls in living rooms, bedrooms, and even kitchens. They add a cool, urban feel to any space and are a great way to show off your DIY skills!
Essential Materials and Tools Required
| Material/Tool | Purpose/Use |
|---|---|
| Cement mix | Forms the base material for the cement wall. |
| White concrete pigment | (Optional) Used to lighten the tone of the cement. |
| Painter’s tape | Protects edges and adjoining surfaces during application. |
| Trowel | Spreads the cement smoothly across the wall surface. |
| Putty knife | Helps transfer and apply cement in smaller amounts. |
| Mixing container | Holds the cement and water for mixing. |
| Respirator | Protects against dust and fine particles during mixing. |
| Drop cloths | Shields the floor and nearby areas from spills and splashes. |
Preparation
Before we start, let’s get everything set up. This step is key to ensuring the success of your cement wall.
- Clear the space: Move furniture away from the wall. Take down any pictures or decorations.
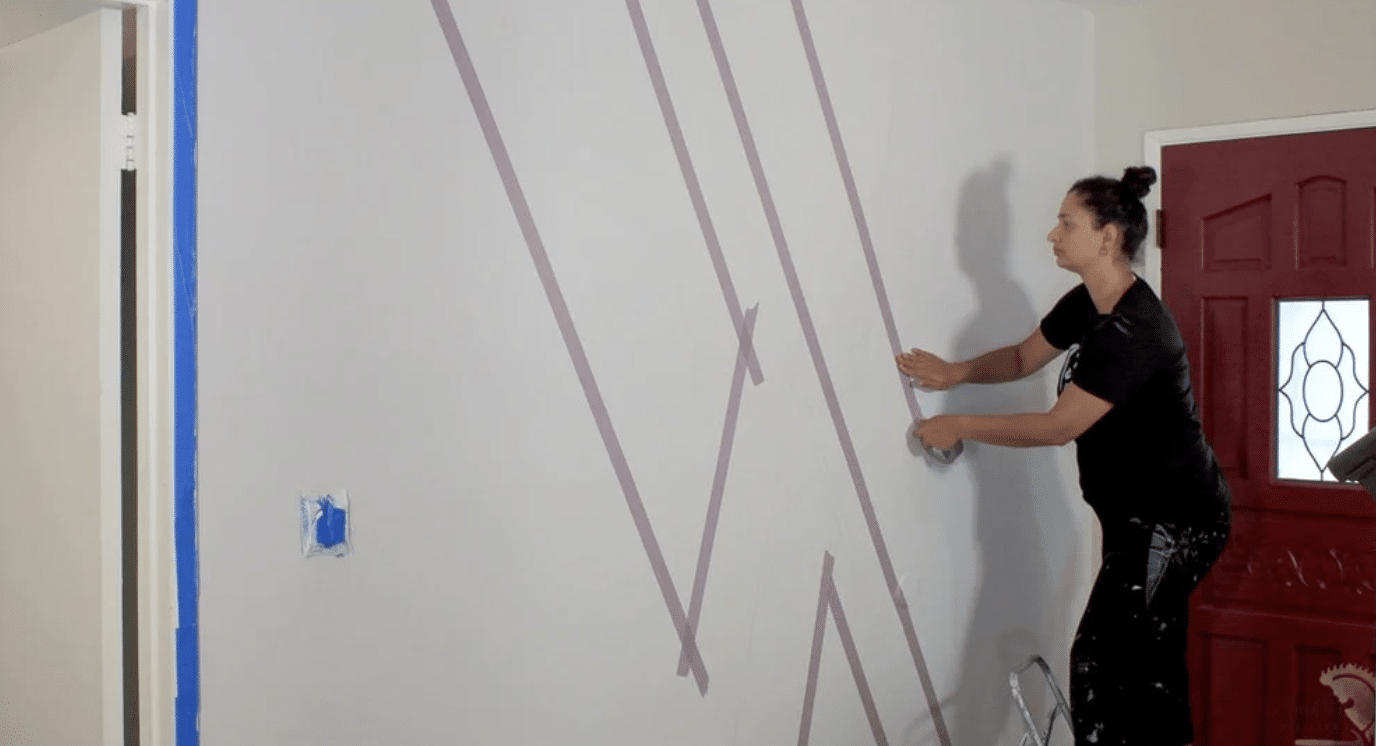
- Remove covers: Unscrew outlet covers and light switch plates. Set them aside in a safe spot.
- To protect your stuff, Lay drop cloths on the floor. Cover baseboards and trim with painter’s tape.
- Check the wall: Run your hand over the surface. Do you feel any bumps? Use a trowel to smooth them out.
- Clean up: Wipe down the wall with a damp cloth. Let it dry completely.
Remember, a clean, dry wall is your best friend for this project. Take your time—it’ll pay off later!
We like to think of this as building the foundation for your awesome new cement wall. Get this right, and you’re off to a great start!
Mixing the Cement
Now we’re getting to the fun part! Let’s mix up that cement.
- Read the instructions: Each cement mix is a bit different. Follow the package directions closely.
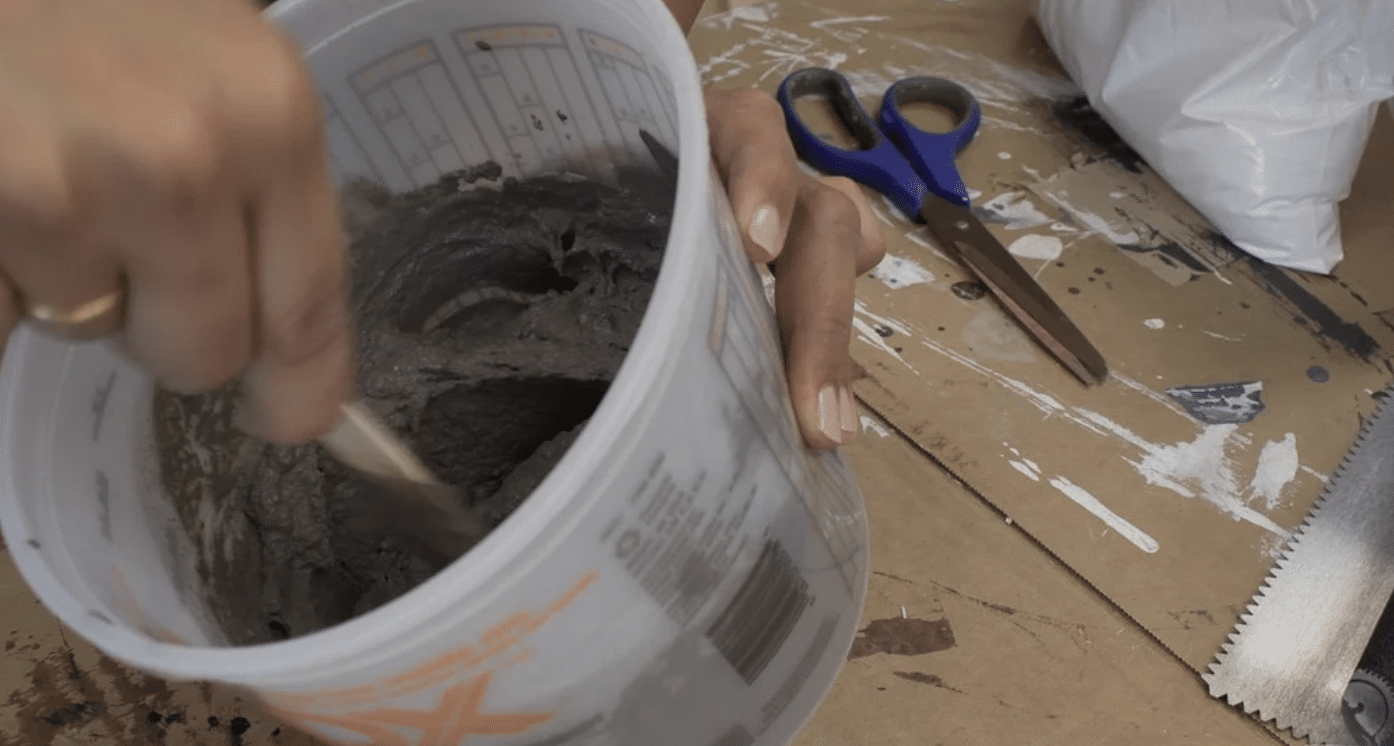
- Get the right tools: You’ll need a big bucket, mixing stick, or drill with a mixer attachment.
- Add water slowly: Start with less water than you think you need. You can always add more.
- Mix it up: Stir until you remove all the lumps. It should look like thick pancake batter.
- Want it smoother? Try adding some concrete pigment or using a finer mix.
- Test it: Your cement should stick to your trowel without dripping.
Remember, it won’t stick to the wall well if it’s too runny. If it’s too thick, it’ll be hard to spread.
Transforming Walls to a Cement-Look Finish
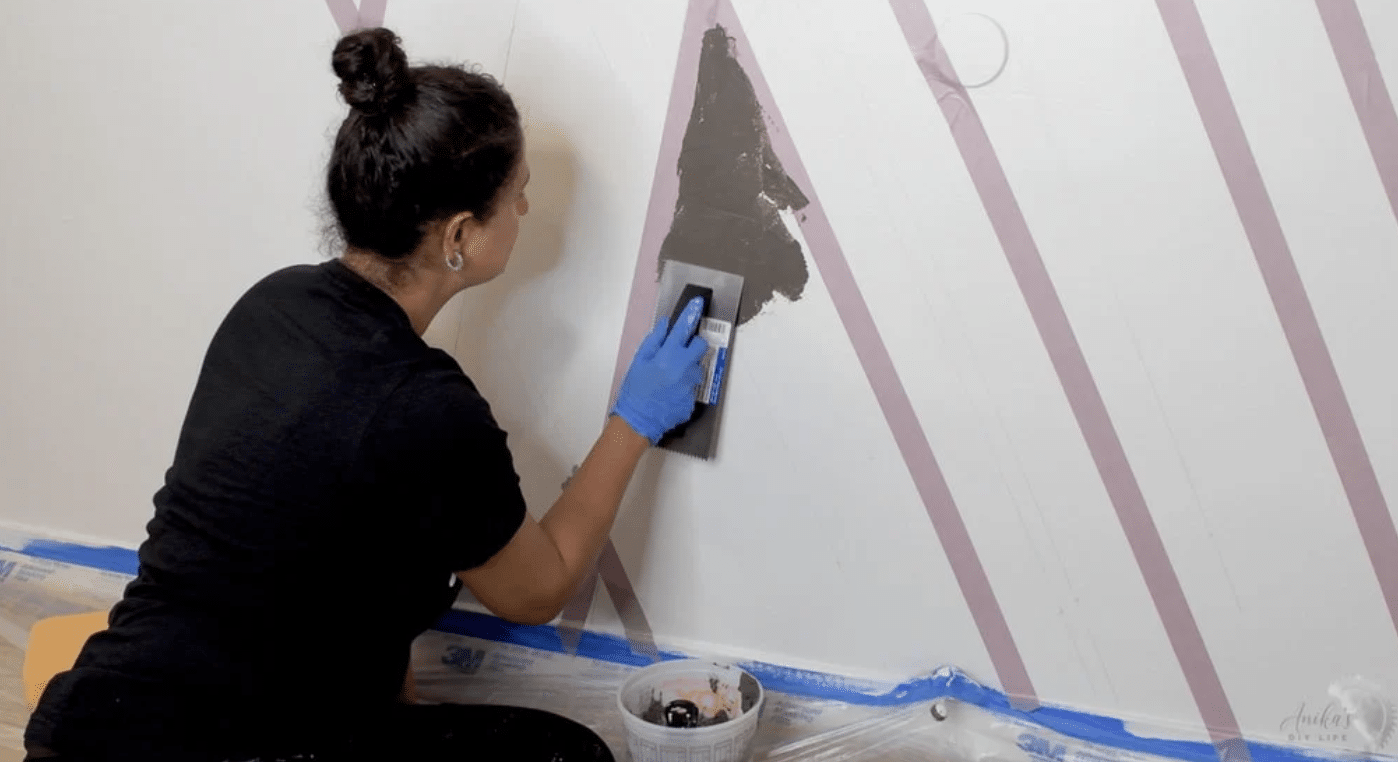
1. First Layer Application
It’s time to get that cement on the wall! Here’s how we do it:
- Grab your putty knife: Use it to scoop up some cement mix.
- Start spreading: Put small amounts on the wall. Don’t worry about being neat yet.
- Smooth it out: Use your trowel to spread the cement evenly.
- Keep it thin: You want a layer that covers the wall but isn’t too thick.
- Don’t stress perfection: Small bumps or lines are okay. They add character!
We find it helps to work in sections. This keeps the cement from drying before you can smooth it out.
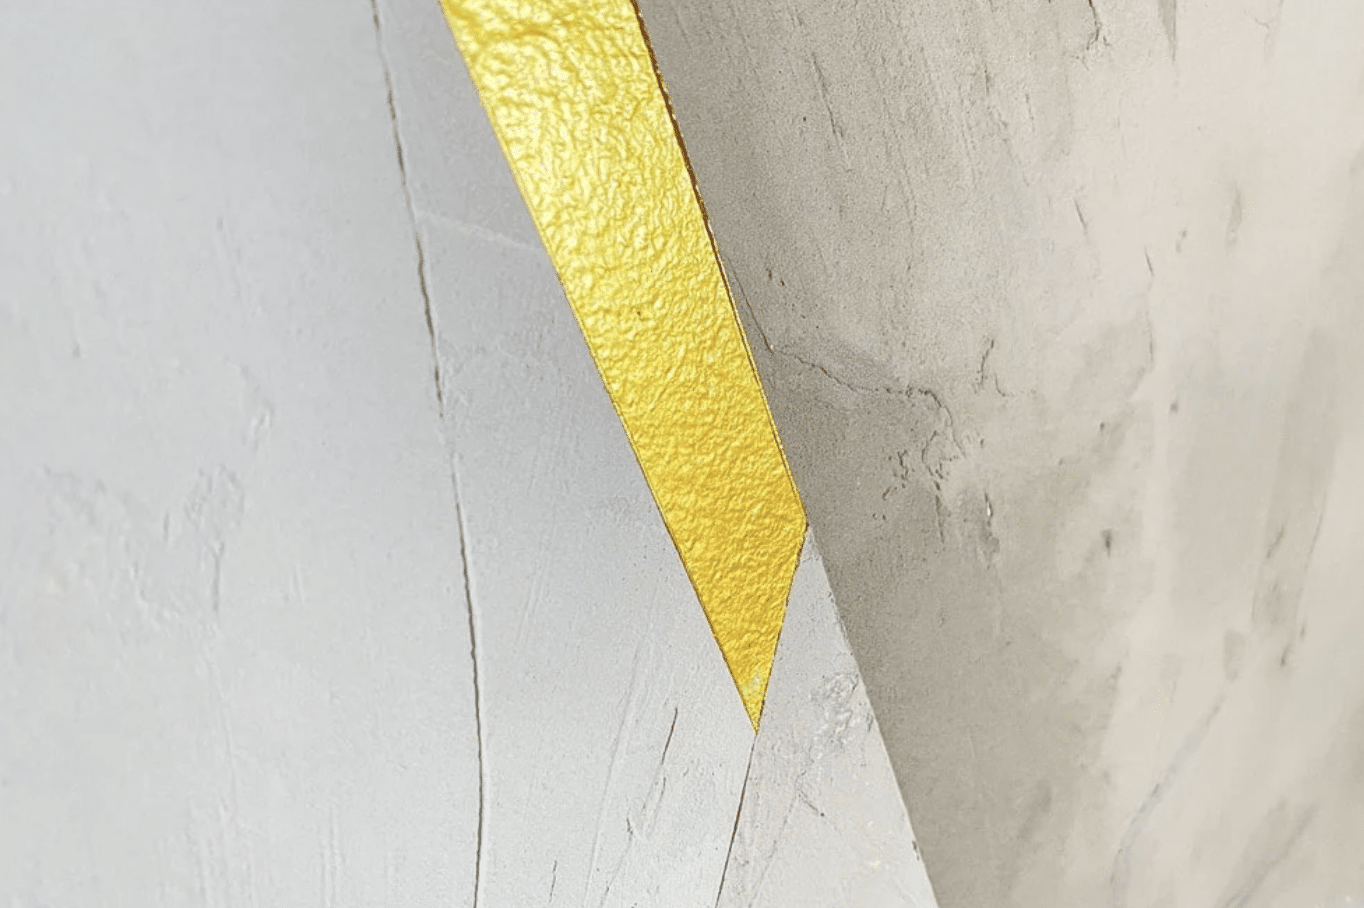
2. Creating Texture and Style
Now, let’s make your wall unique:
- Choose your look: Decide if you want smooth or textured.
- For smoothness: Use long, even strokes with your trowel.
- For texture: Try short, choppy strokes or swirls.
- Mix it up: You can do vertical strokes in one area and horizontal in another.
- Be artistic: Light trowel touches can create cool patterns.
- Step back often: Check your work from afar to see the overall effect.
Remember, there’s no right or wrong here. We love how each cement wall turns out a bit different. That’s what makes yours special!
3. Final Layer or Accent
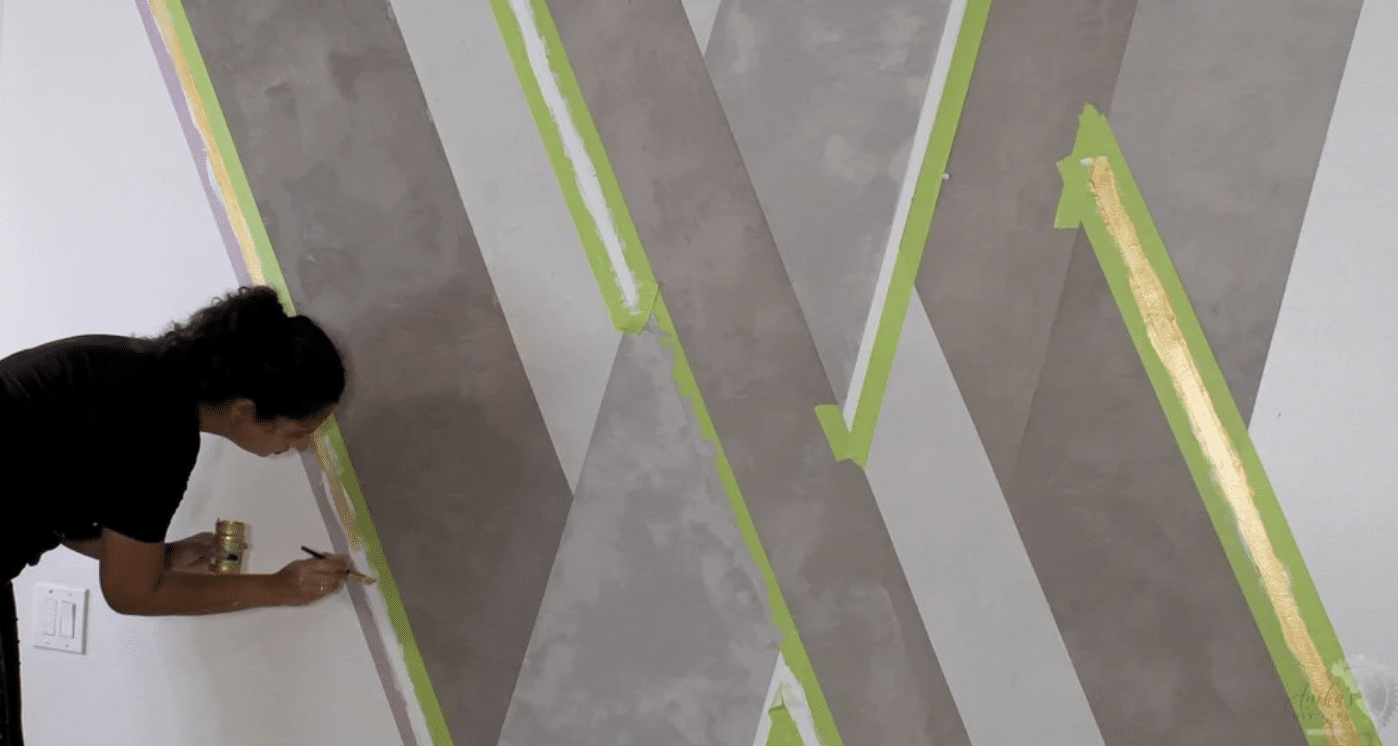
After a day of drying, let’s take a look at our work:
- Check it out: How does the wall look? Is the coverage good?
- Need more? If you see thin spots, it’s time for round two.
- Mix it up: Make a fresh cement batch, just like before.
- Add some flair: Want a two-tone look? Try mixing in some white concrete pigment.
- Apply carefully: Use the same method as the first layer.
- Get creative: Try making subtle stripes or patterns with the lighter mix.
We find that this second layer brings the wall to life. It’s where your vision starts to shine through!
4. Polishing and Sealing the Wall
Now, let’s put the finishing touches on your masterpiece:
- Let it dry: Give your wall at least 24 hours to set completely.
- Feel it out: Run your hand over the wall. Do you have any rough spots?
- Sand it down: Use fine-grit sandpaper to smooth out any bumps.
- Clean up: Wipe away any dust with a dry cloth.
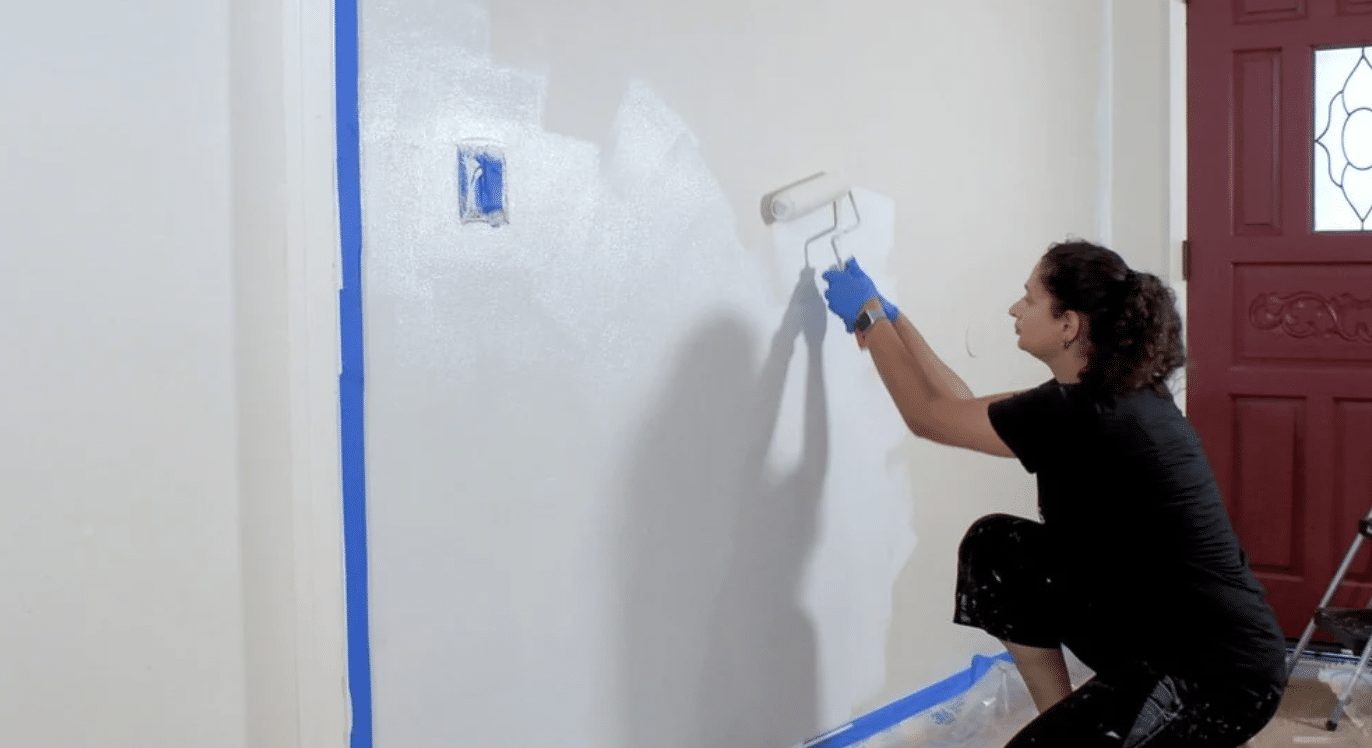
- Seal the deal: Choose a sealer – matte for a natural look, glossy for shine.
- Apply evenly: Use a roller to put on the sealer. Two thin coats work best.
We love this step because it makes your wall look sleek and finished. Plus, the sealer helps protect all your hard work!
Wrapping It Up
We’ve walked through the steps to create your sleek cement wall. You now have the know-how to tackle this project from prep to polish.
Remember, your cement wall is unique to you. Each bump and swirl tells a story of your handiwork. Don’t aim for perfection – embrace the character!
What’s next? Maybe you’ll start planning which room to transform. Or perhaps you’re itching to get your hands on that trowel. Whatever you decide, we’re excited for you.
Do you have questions? Feel free to post them in the comments. And if you do create your own cement wall, we’d love to see it! Share your photos and inspire others to try it.
Happy DIY-ing, and enjoy your new sleek cement wall!


