DIY Lawn Irrigation Installation: Step-by-Step Guide for Homeowners
Maintaining a lush and vibrant lawn requires consistent and efficient irrigation. While manual watering with a hose and sprinkler can get the job done, installing a DIY lawn irrigation system can save you time, water, and effort in the long run. In this guide, we’ll walk you through installing your lawn irrigation system, helping you achieve a healthy and beautiful lawn.
Importance of an Irrigation System
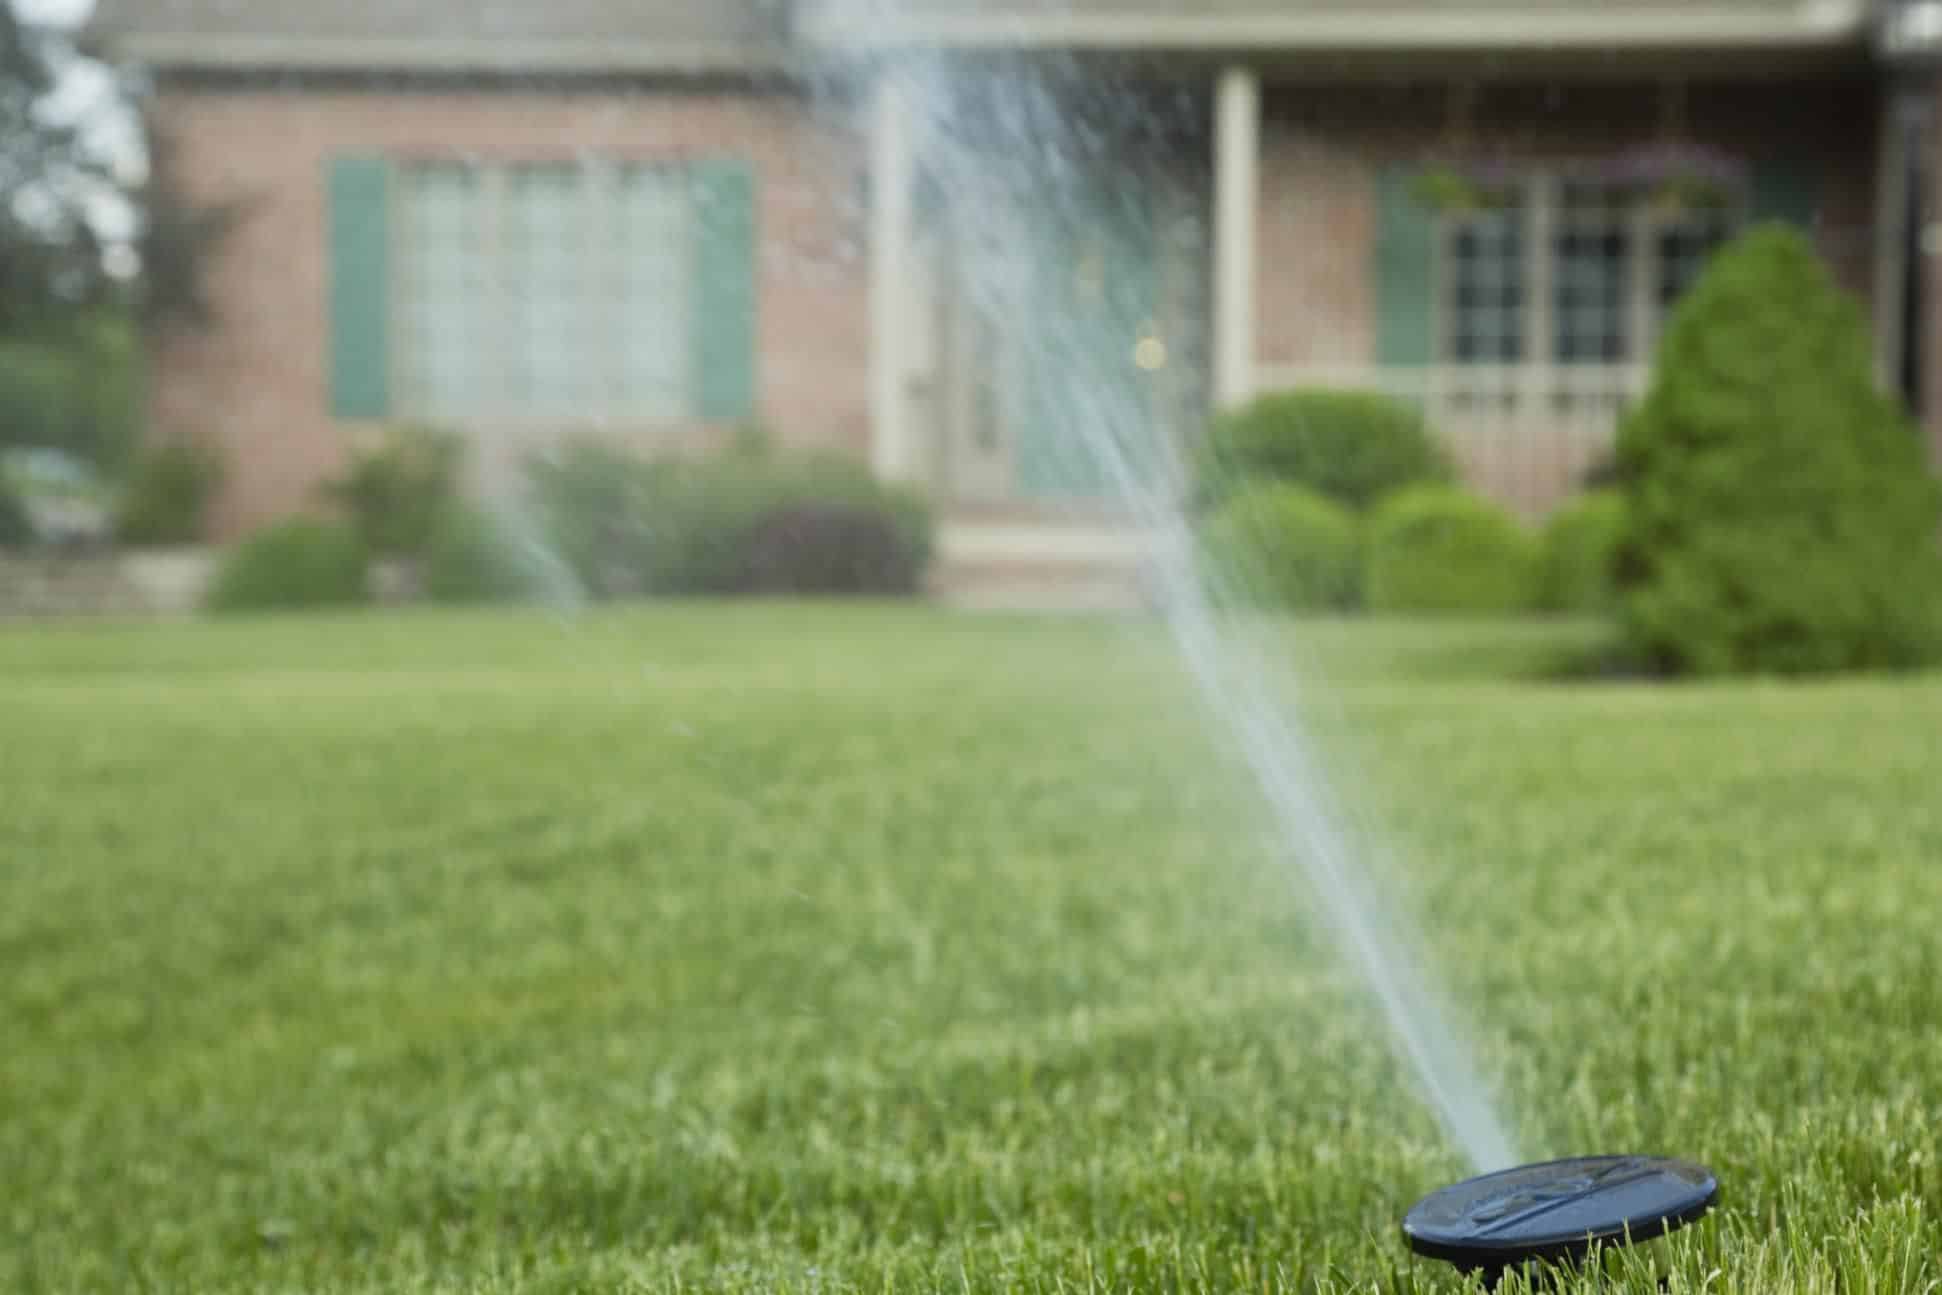
A well-designed irrigation system helps keep your lawn healthy and vibrant by providing consistent hydration. An automated sprinkler system will ensure that your grass, trees, plants, and other foliage receive the water needed to flourish. Additionally, with a timer or rain sensor installed in the irrigation system, you can easily customize the length and frequency of watering sessions to suit the needs of your plants.
Steps to Install a DIY Irrigation System
1. Plan Your Irrigation System
Before you start digging, take some time to plan your irrigation system. Consider the layout of your lawn, the types of plants you have, and the water pressure available. Draw a rough sketch of your yard, marking the locations of plants, pathways, and existing water sources.
2. Gather Your Materials
To install a lawn irrigation system, you’ll need the following materials:
- Irrigation tubing
- Sprinkler heads or emitters
- Connectors, couplers, and tees
- Backflow preventer
- Filter
- Pressure regulator
- Timer/Controller
- Shovel
- Pipe cutter
- Wire stakes
- Pipe clamps
3. Determine the Water Source and Pressure
Identify the water source for your irrigation system. You can connect it to your main water supply, but install a backflow preventer to avoid contaminating your drinking water. Test the water pressure to ensure it’s sufficient for your irrigation needs.
4. Install the Main Line
Dig a trench for the main irrigation line, ensuring it runs to the desired locations of your sprinkler heads or emitters. Lay the irrigation tubing in the trench, securing it with pipe clamps and connectors.
5. Add Sprinkler Heads or Emitters
Depending on your lawn’s layout, you must install sprinkler heads or emitters. Sprinkler heads are suitable for larger areas, while emitters are ideal for individual plants. Dig holes for the sprinkler heads or emitters and connect them to the main line using tubing and fittings.
6. Install a Filter and Pressure Regulator
Install a filter to prevent debris clogging your irrigation system and a pressure regulator to ensure even water distribution. Connect these components to the main line.
7. Install a Timer/Controller
A timer or controller is essential for automating your irrigation system. Attach it to the main line and program it to water your lawn at specific times and durations.
8. Test and Adjust
Before covering the trenches, turn on the irrigation system and test each sprinkler head or emitter. Check for even water distribution and adjust the flow rate if necessary. Make sure the system is working as intended before proceeding.
9. Cover Trenches and Secure Tubing
Cover the trenches with soil once you’re satisfied with the system’s performance. Secure the irrigation tubing using wire stakes to keep it in place and prevent tripping hazards.
10. Regular Maintenance
Regular maintenance is crucial to keeping your lawn irrigation system in optimal condition. Check for clogs, leaks, and damaged components. Adjust the timer/controller seasonally to account for changes in weather and plant needs.
Benefits of DIY Lawn Irrigation
Installing your lawn irrigation system offers several benefits:
1. Water Efficiency
A properly designed system delivers water directly to the root zone, reducing water wastage and promoting healthier plants. This targeted approach ensures water is distributed precisely where needed, minimizing runoff and evaporation. By avoiding the common pitfalls of uneven watering associated with manual methods, such as overspray or missed areas, you can rest assured that every inch of your lawn receives the nourishment it requires.
2. Time Savings
Automated irrigation eliminates manual watering, saving you time and effort. With a DIY lawn irrigation system, you can bid farewell to the time-consuming task of dragging hoses and adjusting sprinklers. Instead, you’ll enjoy the convenience of setting up a schedule that meets the specific needs of your lawn and plants. Whether you’re at home or away, your irrigation system will work tirelessly to keep your landscape nourished and thriving.
3. Consistent Watering
Your lawn receives consistent and even watering, preventing under or over-watering. One of the challenges of manual watering is achieving uniform coverage across your entire lawn. It’s easy to miss certain areas or over-soak others, leading to an uneven and patchy appearance. You can say goodbye to these inconsistencies with a DIY lawn irrigation system.
4. Improved Lawn Health
Adequate and timely watering helps maintain a lush and vibrant lawn. Your lawn is more than just a patch of grass; it’s a living ecosystem that requires proper care to thrive. Water is one of the essential elements that contribute to the health and vitality of your turf, and an automated lawn irrigation system plays a crucial role in delivering water when your lawn needs it the most.
5. Customization
You can customize your irrigation system to suit the specific needs of your lawn and plants. Every lawn has unique sizes, shapes, and vegetation types. Additionally, different areas of your landscape may have other water requirements due to factors such as sun exposure, soil type, and plant species. This is where an automated irrigation system’s flexibility and customization options truly shine.
If you ever feel overwhelmed, hire a professional contractor like Heroes Lawn Care in Edwardsville, KS, to help with your DIY lawn irrigation installation. With the right tools and knowledge, however, you can easily install your system in no time and enjoy a healthy and beautiful lawn for years.
How Much Does DIY Lawn Irrigation Installation Cost?
DIY lawn irrigation installation typically costs between $200 and $600, depending on the size of your lawn and the materials used. Gravity-fed systems are usually cheaper, while pressure-regulated systems require more expensive components. It’s also possible to purchase complete kits with all the necessary components for easy installation. With proper planning and careful execution, you can install a lawn irrigation system quickly and affordably.
Conclusion
Installing a DIY lawn irrigation system is an investment, but the long-term returns are well worth it. From improved lawn health to water savings and time efficiency, having an automated sprinkler system makes caring for your lawn easier. Following the steps outlined in this guide will help you develop a customized irrigation system tailored to your landscape and plants. With the system in place, your lawn will look vibrant and lush all year round!


