DIY Guide to Building a Picture Frame Accent Wall
Got a plain wall at home?
Let me guess – you’ve spent hours looking at home improvement photos, wondering how to make your walls more appealing.
I know that feeling. My walls used to be blank canvases that made my rooms feel empty and lifeless. Nothing I tried seemed to give them the character I wanted.
But here’s something that changed everything for me: a picture frame accent wall. I learned how to build one, which cost me less than $200.
In this guide, I’ll share my step-by-step method for creating a custom wall design to make your space feel like a high-end home without hiring professionals or spending thousands.
What is a Picture Frame Accent Wall?
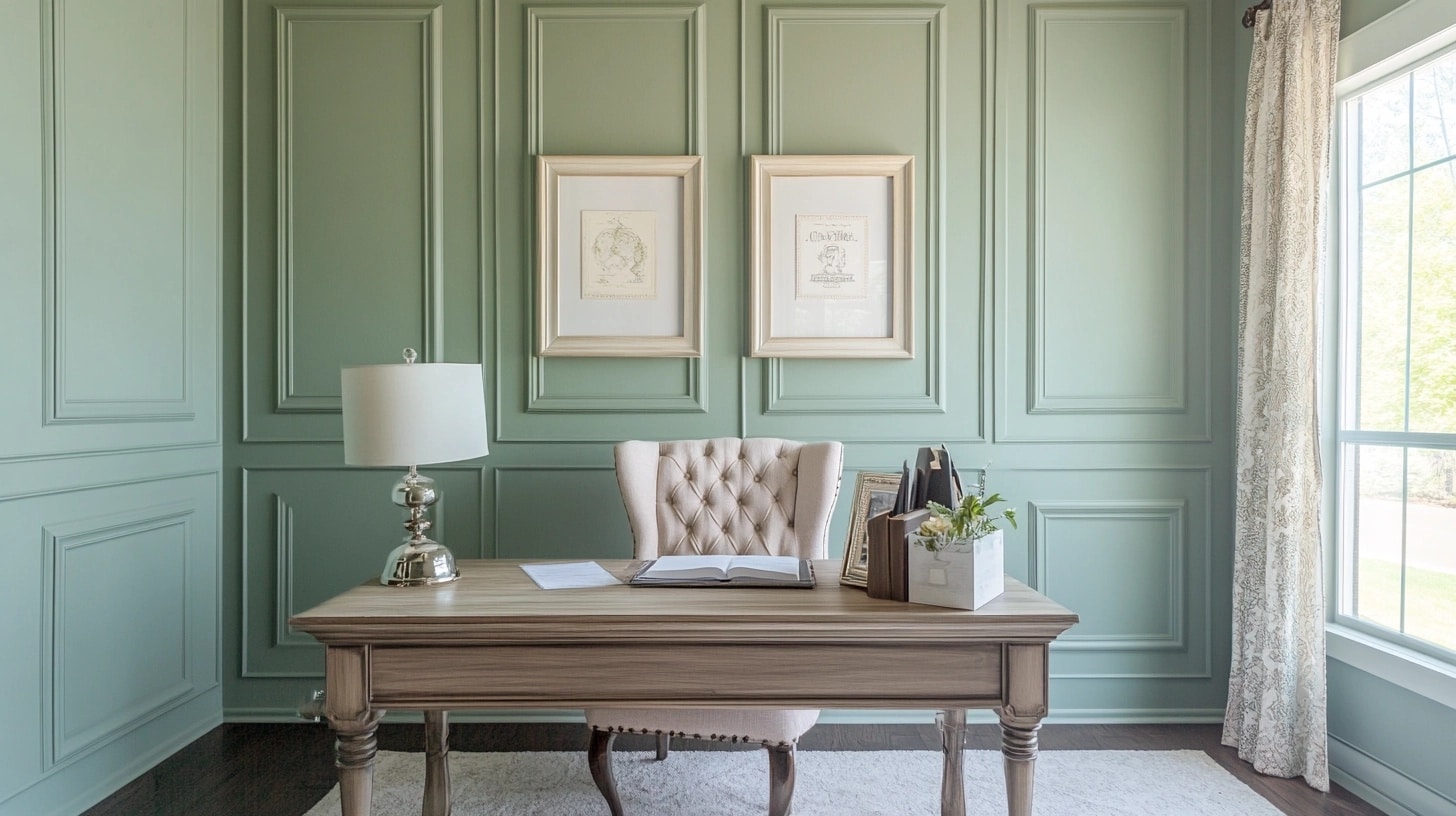
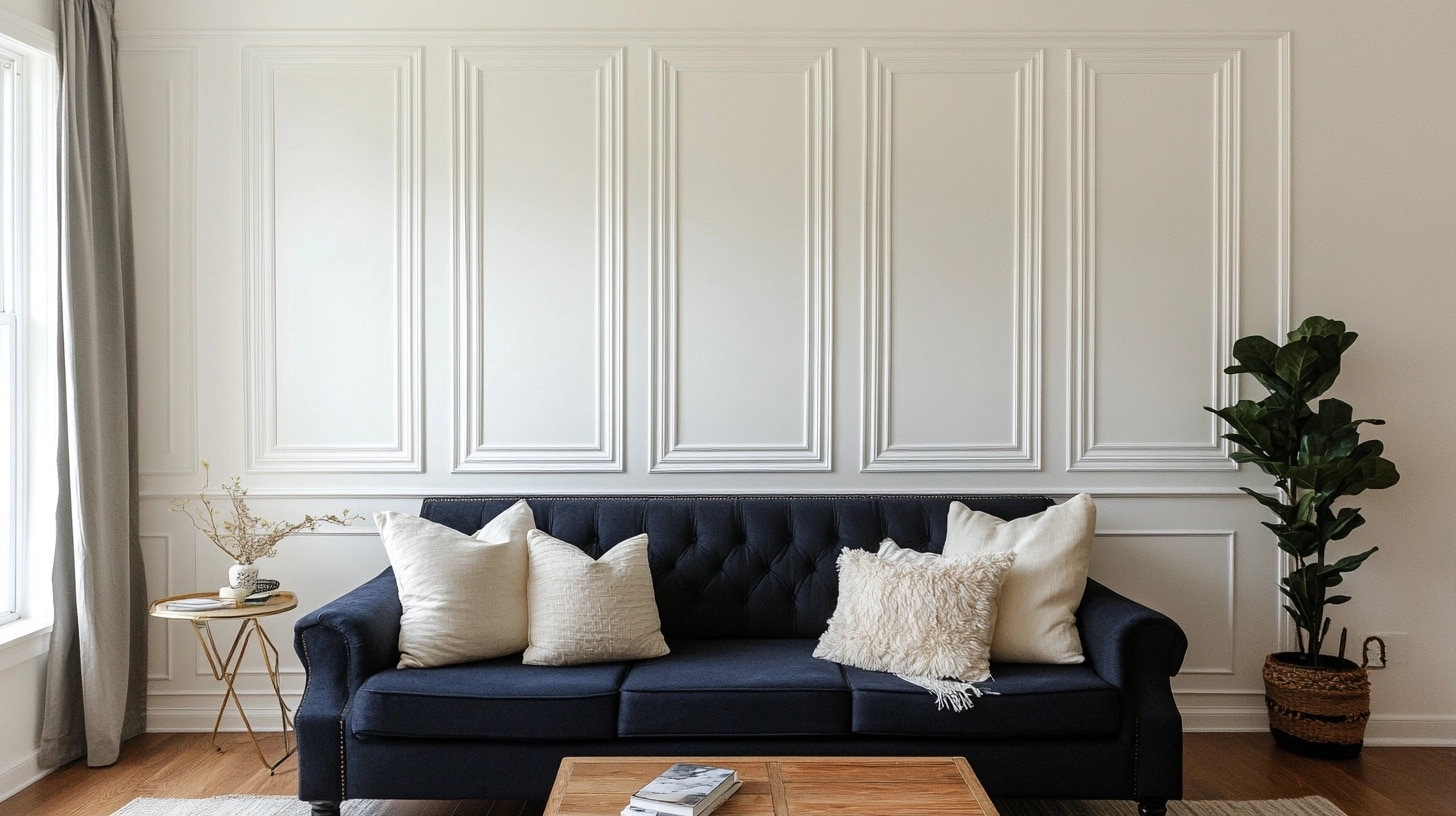
A picture frame accent wall uses wooden moldings to create geometric shapes on a flat wall surface. I like to think of it as adding a layer of character to your room with simple materials.
The design looks like empty picture frames that sit flat against the wall, giving it depth and visual interest.
These walls work well in:
- Living rooms behind sofas
- Bedrooms as statement headboards
- Dining rooms for classic appeal
- Home offices for a styled look
I’ve noticed that many homeowners choose this style because it:
- Costs much less than wallpaper
- Needs basic DIY skills and tools
- Creates lasting impact
- Takes just a weekend to finish
The best part? You can make the design as simple or detailed as you want. Some people stick to basic squares, while others mix different shapes to create unique patterns.
Every design choice makes the wall stand out in its own special way.
Essential Tips for A Stunning Picture Frame Accent Wall
Before starting your accent wall project, I want to share my tested tips from personal experience. These will help you sidestep common mistakes and create a finish that looks professional.
- Pick a wall that’s in good condition – fix any holes, cracks, or uneven spots first.
- Use one solid paint color as your base – this makes the design stand out better.
- Measure your wall’s height and width three times for exact numbers.
- Draw your pattern on paper before touching the wall – it helps spot spacing issues early.
- Buy 20% extra molding material to account for mistakes and angle cuts.
- Choose molding that matches your room’s existing trim style.
- Paint the wall and moldings the same color for a clean, unified look.
- Use a laser level to keep your lines perfectly straight.
- Start from the center of the wall and work your way out for balanced spacing.
- Check all your corners with a carpenter’s square for precise 90-degree angles.
- Apply caulk in all the corners and seams to hide small gaps.
- Let everything dry completely between steps – rushing leads to messy results.
Assessing Your Space
Before you grab your tools, I need to share crucial steps for checking your space. Getting these basics right makes all the difference between outstanding results.
1. Considering Room Size, Ceiling Height, and Wall Texture
Let me break down what you should look at:
Room Size:
- Small rooms (under 120 sq ft) work best with simple patterns
- Mid-sized rooms allow for more pattern variety
- Large rooms can handle bold, complex designs
Ceiling Height:
- 8-foot ceilings need shorter vertical panels
- 9-foot ceilings let you stretch designs upward
- Higher ceilings support taller patterns
Wall Texture Check:
- Smooth walls need minimal prep
- Light texture requires sanding
- Heavy texture calls for a skim coat first
2. Taking Before Measurements and Photos
Here’s my process:
- Take clear photos of the wall from different angles
- Note down switches and outlets
- Measure wall width at three points:
- Top near ceiling
- Middle section
- Bottom near floor
- Measure wall height at three points:
- Left side
- Center
- Right side
- Mark stud locations with small pencil dots
These details help spot any wall irregularities that might affect your design. I always keep these notes handy throughout the project.
DIY Picture Frame Accent Wall: Step-by-Step Instructions
Tools and Materials Required
| Tools | Materials |
|---|---|
| Measuring tape | Moulding/wood pieces |
| Level | Wood filler or spackle |
| Miter saw | Primer |
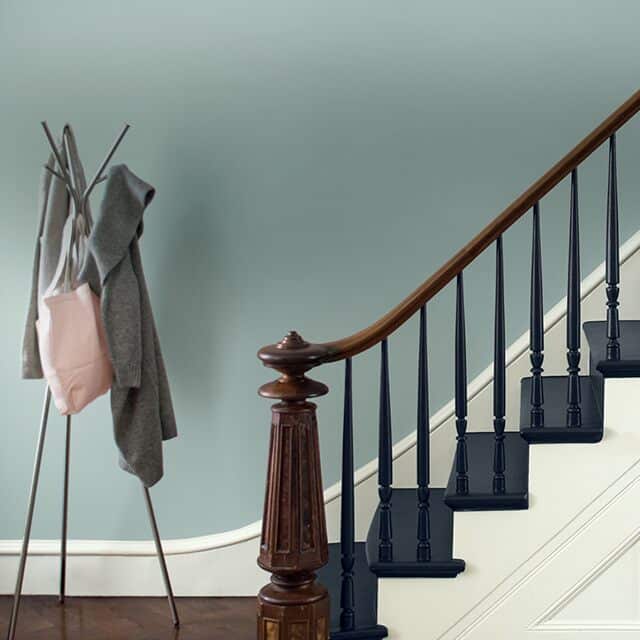
| Sandpaper (medium grit) | Paint (e.g., Benjamin Moore’s October Mist) |
| Caulking gun | Construction adhesive or nails |
| Paintbrush/roller |
Step 1: Plan and Measure the Wall
- Measure the dimensions of your wall precisely. Double-check all measurements, including the total wall size and the desired size and spacing of the mouldings.
- Decide on the layout of the mouldings, ensuring uniform spacing between the rectangles or squares.
Step 2: Cut the Moulding Pieces
- Purchase suitable wood pieces or mouldings based on your measurements.
- Use a miter saw to cut the wood into the required lengths for your design. Label each piece to avoid confusion during assembly.
Step 3: Attach Moulding to the Wall
- Mark the positions of the mouldings on the wall using a pencil and a level to ensure accuracy.
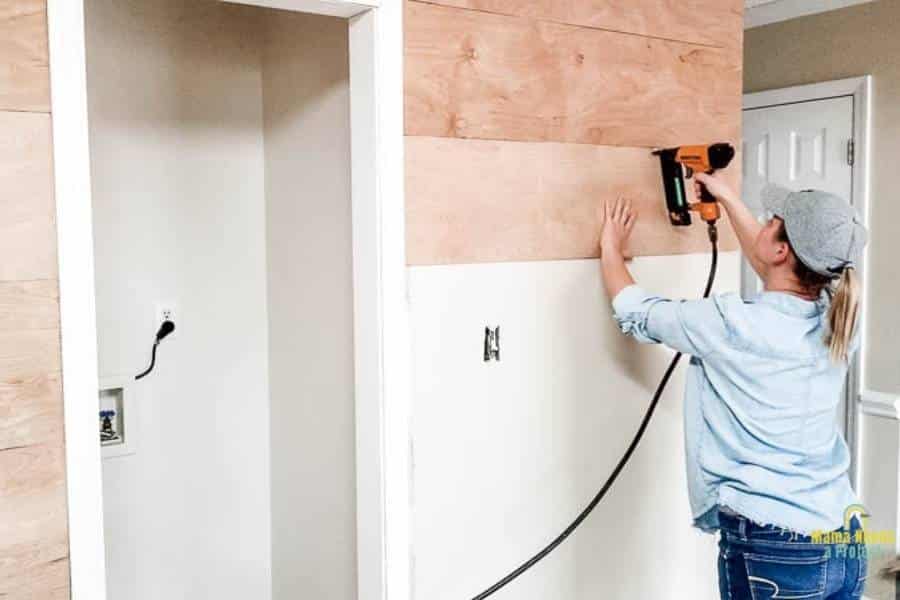
- Secure the wood pieces to the wall with construction adhesive or nails. Start with the larger outer frames, followed by inner details.
Step 4: Fill and Smooth the Joints
- Fill nail holes and gaps between moulding pieces with wood filler or spackle.
- Once dry, sand the surface to ensure a smooth finish. Take care to make the joints seamless.
Step 5: Prime and Paint the Wall
- Apply a coat of primer to the mouldings and the wall to ensure even paint coverage.
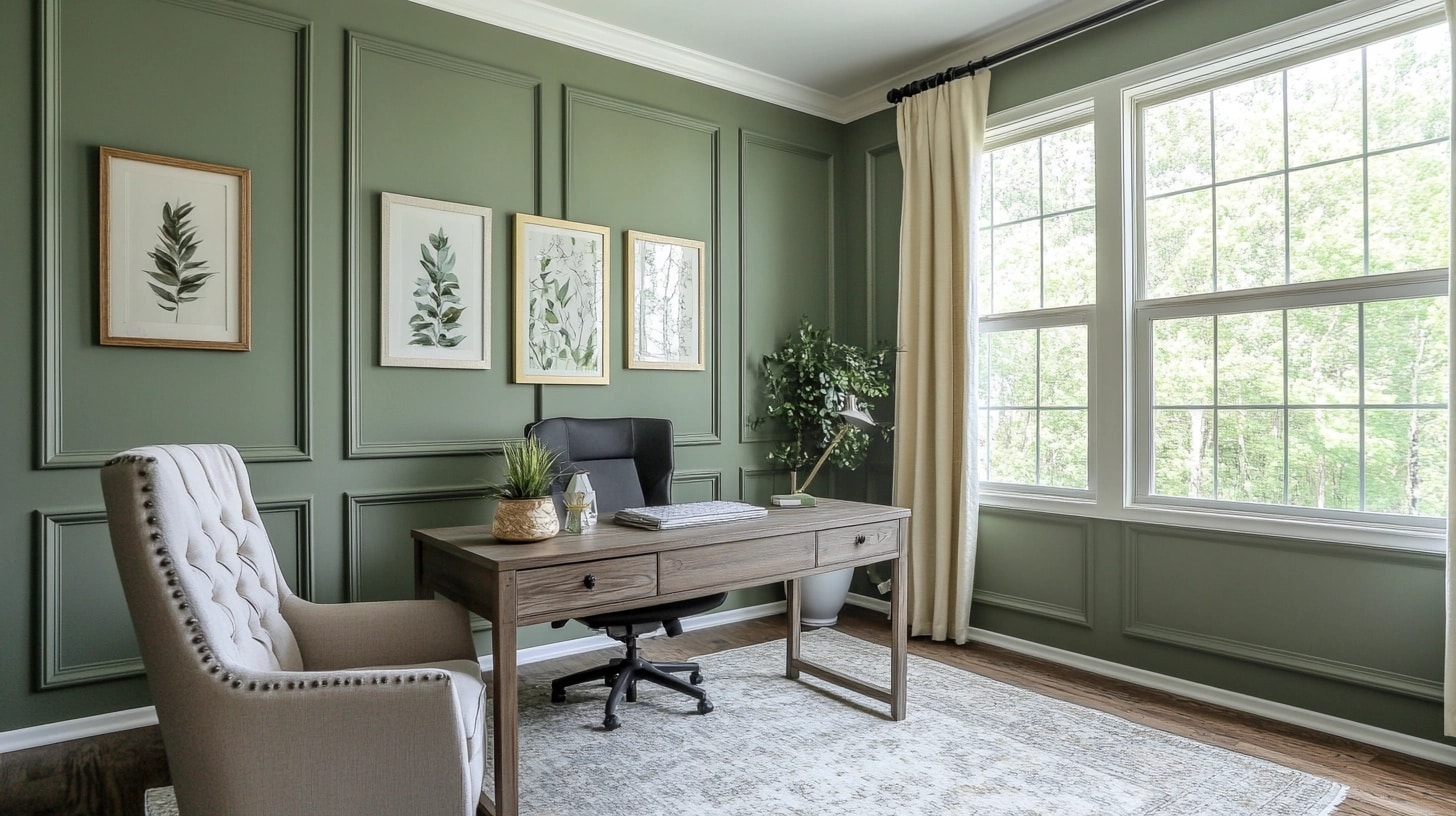
- Choose a complementary wall paint color, like an earthy sage green, and apply 2-3 coats as needed.
Step 6: Final Touches
- Inspect the wall for imperfections and touch up the paint as necessary.
- Add additional features, such as shelves or artwork, to complete the look of your accent wall.
For a more detailed tutorial, check out the video below:
Personalizing Your DIY Picture Frame Accent Wall
Color Combinations and Effects
Monochromatic vs. Contrasting Colors
I’ve found that using one color across the wall and frames creates a subtle, clean look. The frames cast small shadows that add interest.
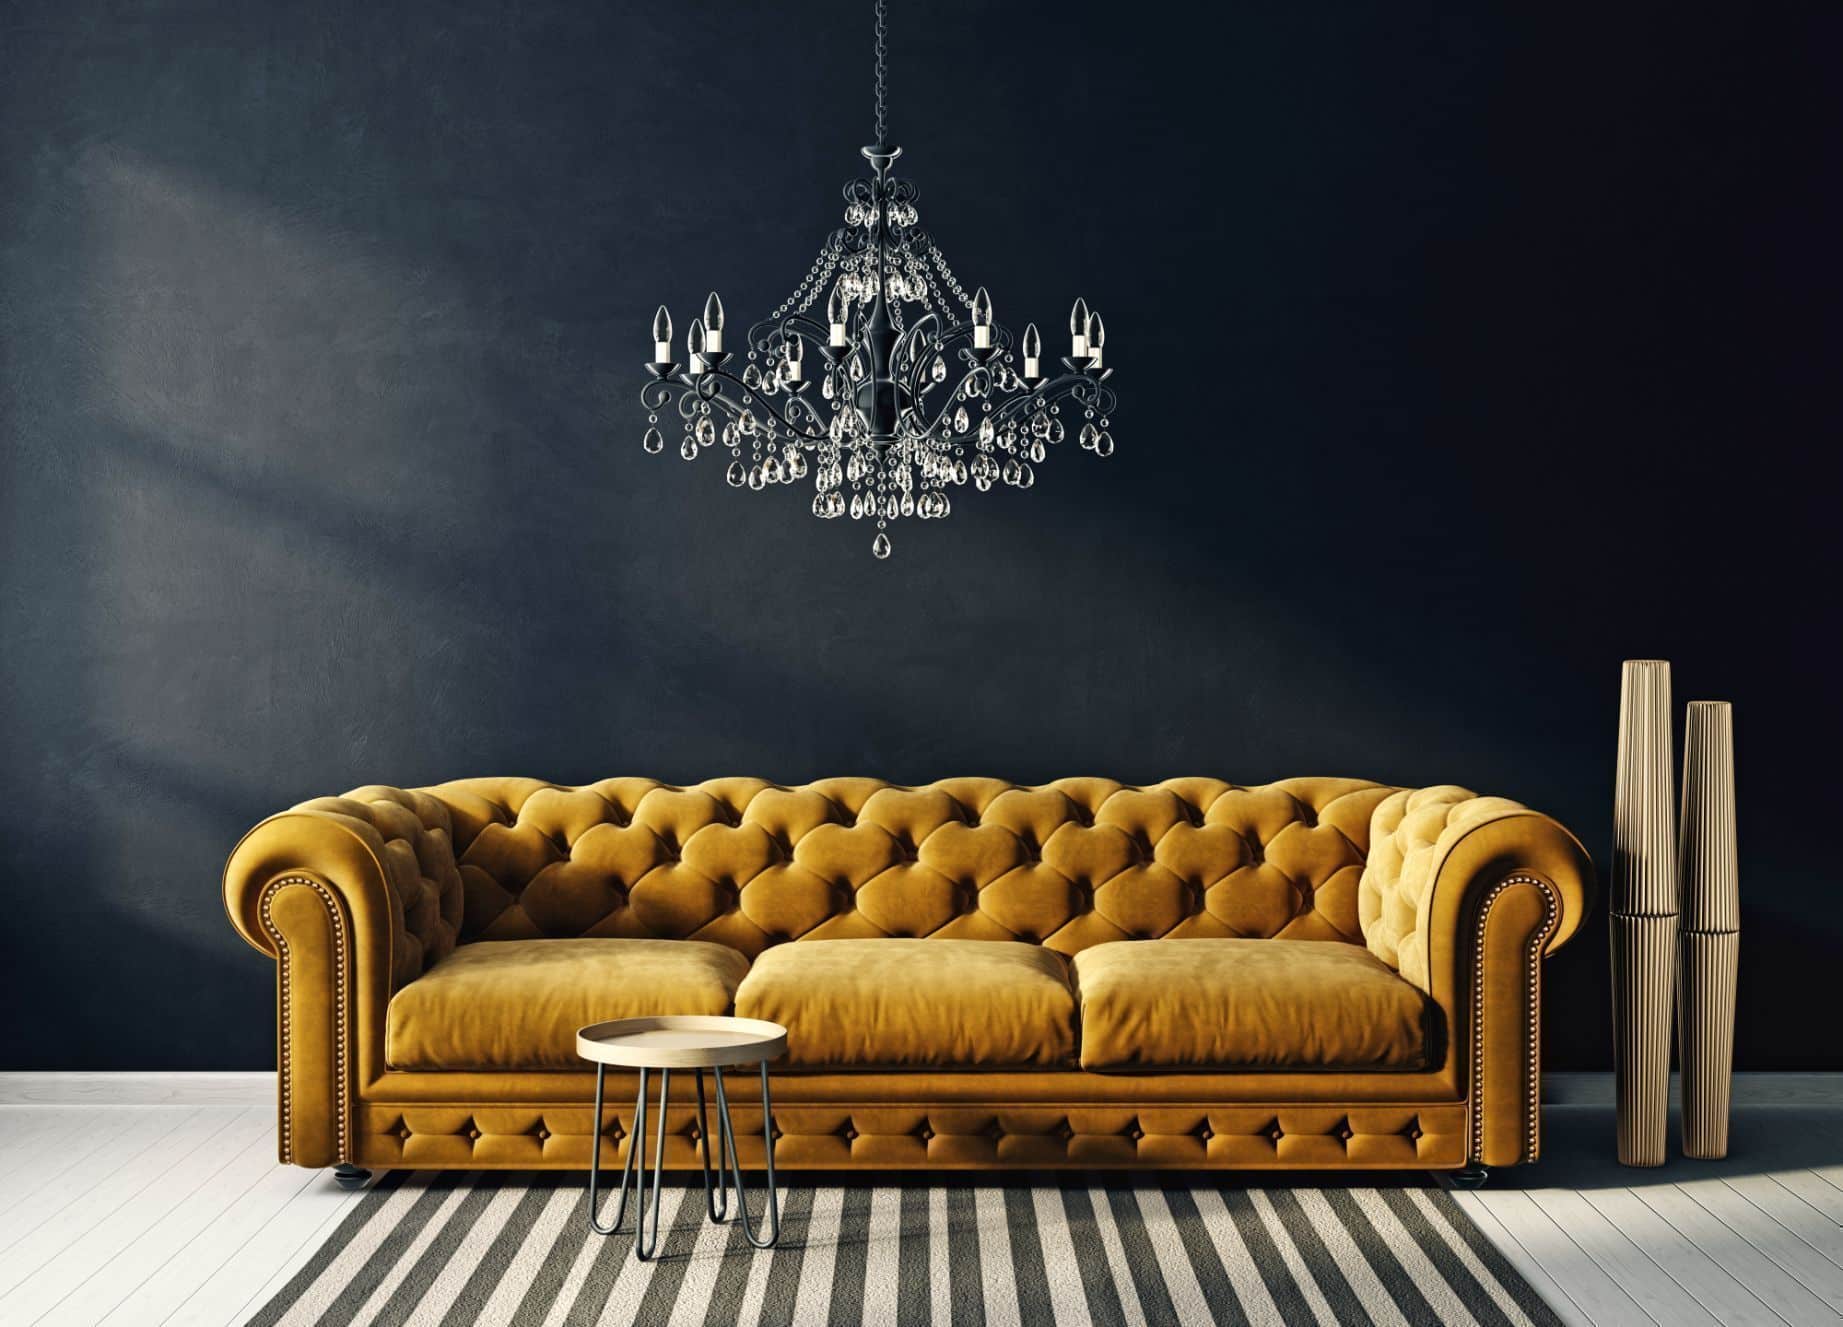
I paint the frames in a shade lighter or darker than the wall for a bolder impact. This creates depth without being too loud.
Using Wallpaper or Textured Paint Within Frames
I love filling selected frames with patterned wallpaper for added flair. Small wallpaper samples work great here.
Another trick I use is applying textured paint inside certain frames. This creates eye-catching sections while keeping costs low.
Adding Decorative Elements
Incorporating Artwork or Photographs
I hang special photos or art pieces in some frames while leaving others empty. This mix gives the wall a curated feel. Small art pieces work best – they don’t compete with the frame pattern.
Lighting Options to Highlight the Wall
Small wall sconces between frames add warmth to the design.
I also like using ceiling-mounted spotlights, which cast interesting shadows from the frames throughout the day. Battery-operated picture lights work well, too.
Extending the Design
Adding similar frame patterns to nearby spots ties the room together. Try small frames above doorways or along staircase walls. Even a simple border on the ceiling can make the room feel complete.
Tips from Interior Designers
I contacted several skilled home designers who shared their best advice about accent walls. These tips come from years of creating beautiful spaces and solving common design challenges.
- Keep frame sizes larger in main living spaces and smaller in bedrooms or offices.
- Follow the 60-30-10 color rule – main wall color 60%, frames 30%, accents 10%.
- Leave at least 4 inches between frames and corners for a balanced look.
- Stick to simple patterns in rooms with lots of furniture or decor.
- Line up frame edges with key furniture pieces like bed headboards or sofas.
- Consider your room’s natural light when choosing frame depths and paint finish.
- Match frame thickness to existing trim work in your home.
- Test your design with paper templates before making permanent changes.
- Plan frame placement around existing wall fixtures and outlets.
- Save complex patterns for rooms you don’t spend long hours in.
Wrapping It Up
Building a picture frame accent wall changed how I feel about my home. It’s more than just adding shapes to a wall – it’s about creating a special and personal space.
Remember these key points: Start with careful planning, take exact measurements, and pick a design that fits your room’s size.
Whether you choose matching colors or bold contrasts, the result will make your space stand out.
Ready to start your project? Gather your supplies and measurements. Take your time with each step, and don’t rush the process.
If you need help, share your progress in the comments below—I’d love to see how your wall turns out!

