
DIY Furniture Repair: Easy Fixes You Can Do at Home
Repairing furniture might sound tricky, but it’s easier than you think! Whether your chair has a loose leg, your table has a scratch, or your favorite dresser is looking a little worn out, there are simple ways to fix it yourself.
Instead of throwing away furniture that could still be useful, you can save money and add a personal touch by repairing it at home.
In this blog, I’ll walk you through some basic furniture repair tips that anyone can try, even if you’re a beginner. From fixing scratches to re-gluing parts that have come apart, this blog has got everything covered.
Why Repair Instead of Replace?
Repairing furniture instead of replacing it has a lot of benefits. First, it’s much cheaper! Buying new furniture can cost a lot of money, while fixing what you already have saves you a lot.
Plus, it’s good for the environment. When you repair your furniture, you keep it out of a landfill, helping to reduce waste. Another reason to repair is that it can make your furniture feel personal. By fixing it yourself, you add your own touch making it even more special.
Finally, furniture repair helps you learn new skills. You’ll feel proud knowing you fixed something on your own. So, instead of throwing away that scratched-up chair or broken table, try repairing it!
10 Easy Furniture Repairs You Can Do at Home
- Scratches, Dings, and Dents
- Cracks and Gouges
- Burns
- Veneer Surface
- Furniture Hardware
- Wooden Furniture Joints
- Upholstered Furniture
- Stains
- Wobbly Furniture
- Restoring and Refurbishing Antique Furniture
List of Common Tools and Supplies You’ll Need for Furniture Repair
- Screwdriver Set (Philips & Flathead)
- Wood Glue and Wood Filler
- Hammer and Pliers
- Clamps and Measuring Tape
- Sandpaper and Utility Knife
- Paint, Stain, and Brushes
- Wax Sticks or Touch-Up Markers
- Fabric Glue and Needle & Thread (for upholstery)
- Corner Brackets, Extra Screws, and Drill with Drill Bits
- Tack Puller and Cleaning Cloths
- Wood Putty and Safety Gloves
- Sponges and Brushes for Cleaning and Refinishing
How to Repair Scratches, Dings, and Dents
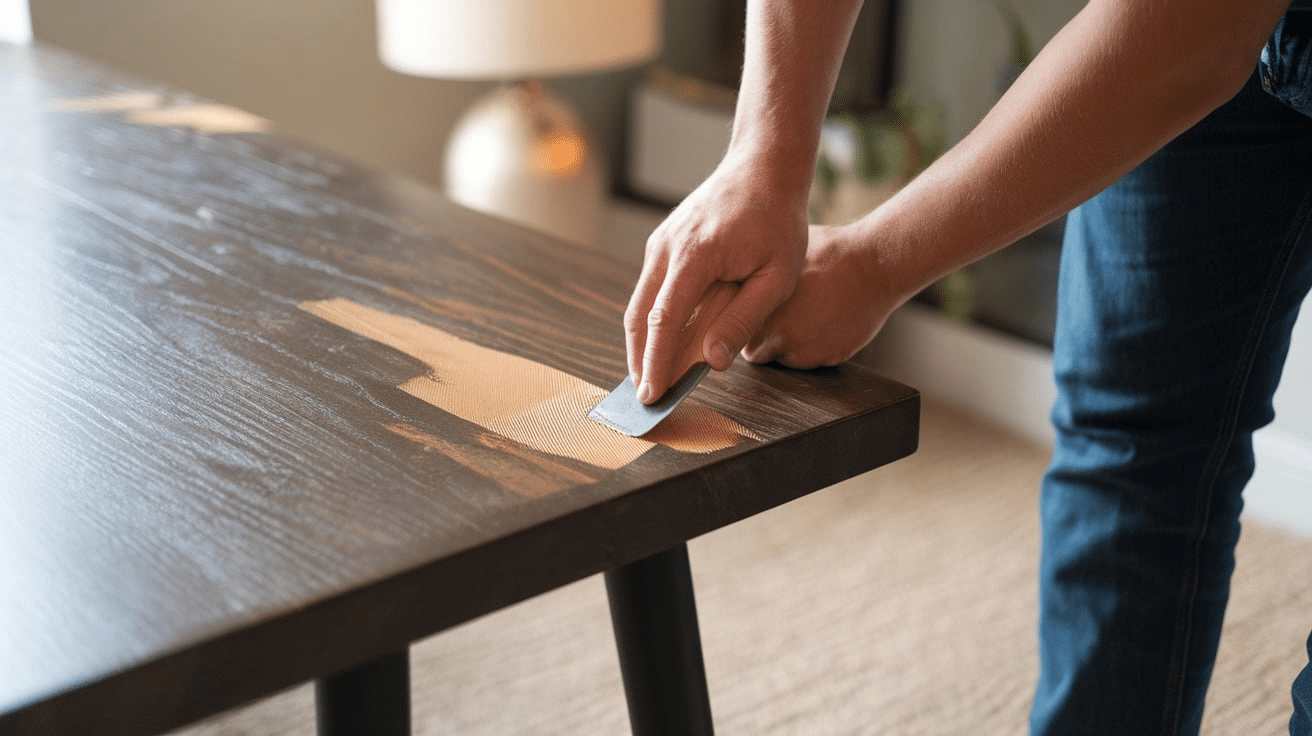
- Clean the Area: Make sure the damaged spot is free of dust and dirt.
- Use a Wax Stick: For small scratches, rub a wax stick that matches the wood color into the scratch.
- Fill Larger Dents: For bigger dents, use wood filler. Apply it, then let it dry.
- Sand Smooth: Once dry, sand the area to make it smooth.
- Stain or Paint: Match the finish by staining or painting the repaired area to blend it with the rest of the furniture.
- Buff and Polish: Use a cloth to buff the surface and give it a nice shine.
How to Repair Cracks and Gouges

- Clean the Crack or Gouge: Make sure there’s no dust or debris in the crack.
- Apply Wood Glue or Filler: For small cracks, use wood glue. For larger gouges, use wood filler.
- Press and Hold: If using wood glue, press the crack together until it sticks.
- Let It Dry: Allow the glue or filler to dry completely.
- Sand the Area: Once dry, sand the area until it’s smooth.
- Match the Finish: Stain or paint the repaired area to blend it with the rest of the piece.
How to Repair Burns
- Light Burns: For light burns, try rubbing the area with a damp cloth and using an iron on low heat to steam it out.
- Deeper Burns: Sand the burned area and apply wood filler to fill the burn.
- Let It Dry: Let the filler dry completely.
- Sand Smooth: Once dry, sand the area until it’s even with the rest of the surface.
- Finish the Repair: Re-stain or paint the area to match the original wood.
How to Repair a Veneer Surface

- Check the Damage: See if the veneer is just loose or cracked.
- Re-glue the Veneer: Apply wood glue to the loose edges and press it down.
- Clamp the Area: Use clamps to hold the veneer in place while the glue dries.
- Fill Cracks: If there are cracks, fill them with wood filler, let it dry, and sand smooth.
- Stain or Paint: Once the glue is dry and the surface is smooth, apply stain or paint to match the surrounding wood.
How to Repair Furniture Hardware
- Tighten Loose Screws: Check if any screws are loose, then use a screwdriver to tighten them.
- Replace Broken Hardware: If handles or knobs are broken, remove the old ones and replace them with new ones.
- Fill Large Holes: If the hole is too big, fill it with wood filler and let it dry before attaching new hardware.
- Reinforce for Extra Strength: If necessary, reinforce the hardware with extra screws or brackets.
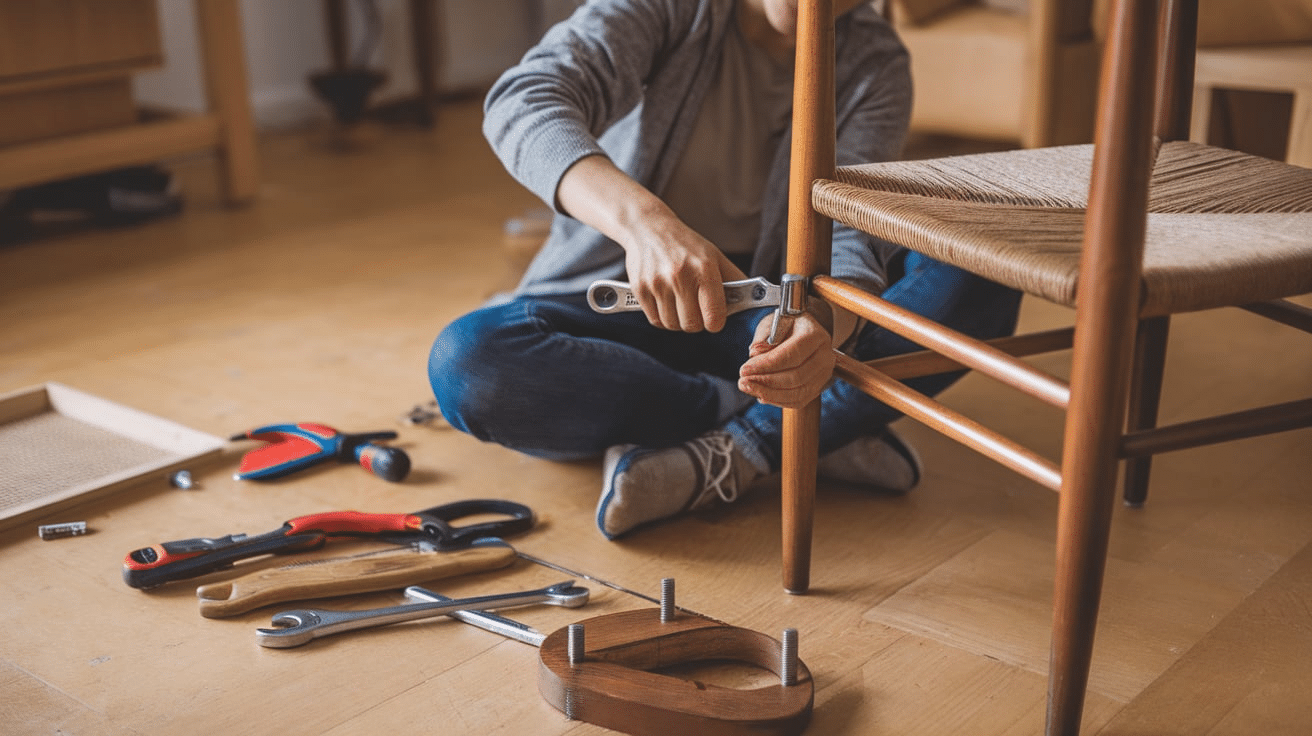
How to Repair Wooden Furniture Joints
- Check the Joint: See where the joint is loose or broken.
- Clean the Area: Remove any dust or debris from the joint.
- Apply Wood Glue: Put wood glue into the crack or loose area.
- Press the Joint Together: Push the joint back into place and hold it.
- Clamp It: Use a clamp to hold the joint in place while the glue dries.
- Let It Dry: Wait for the glue to dry completely (usually a few hours).
- Reinforce the Joint: If needed, you can add screws or wooden dowels for extra strength.
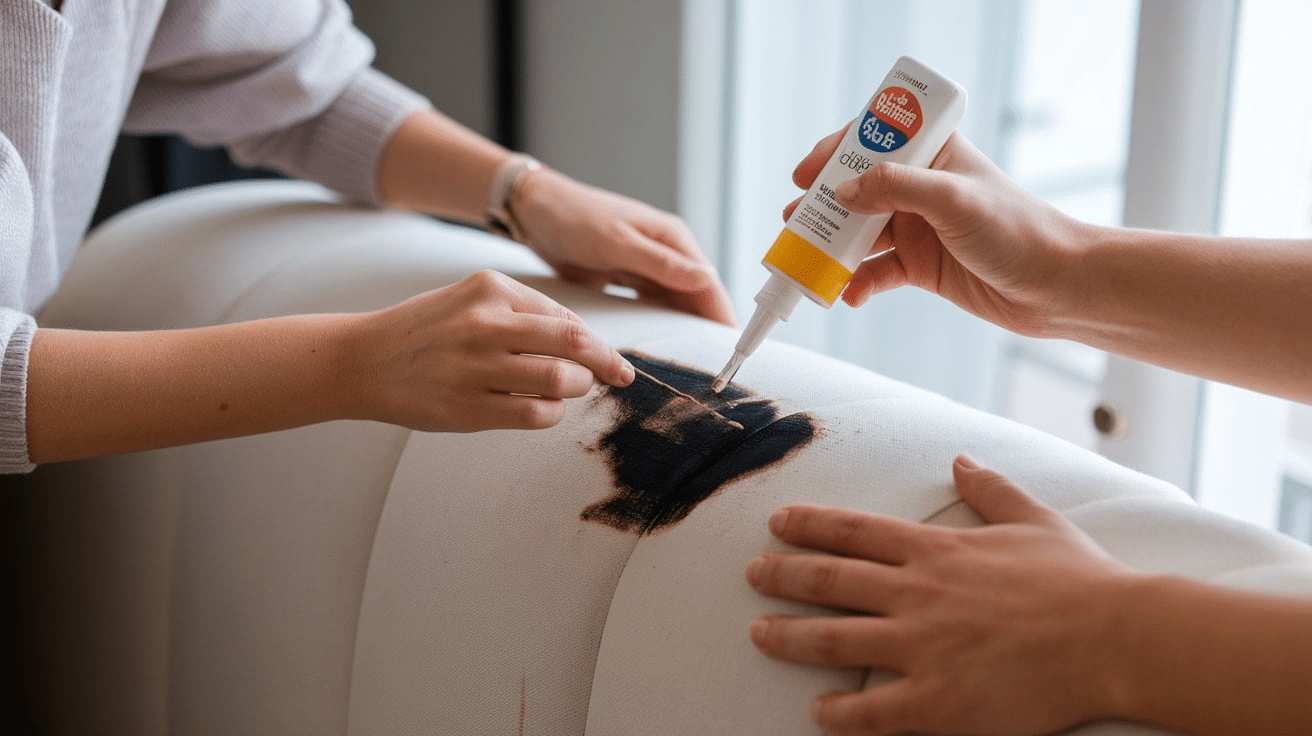
How to Repair Upholstered Furniture
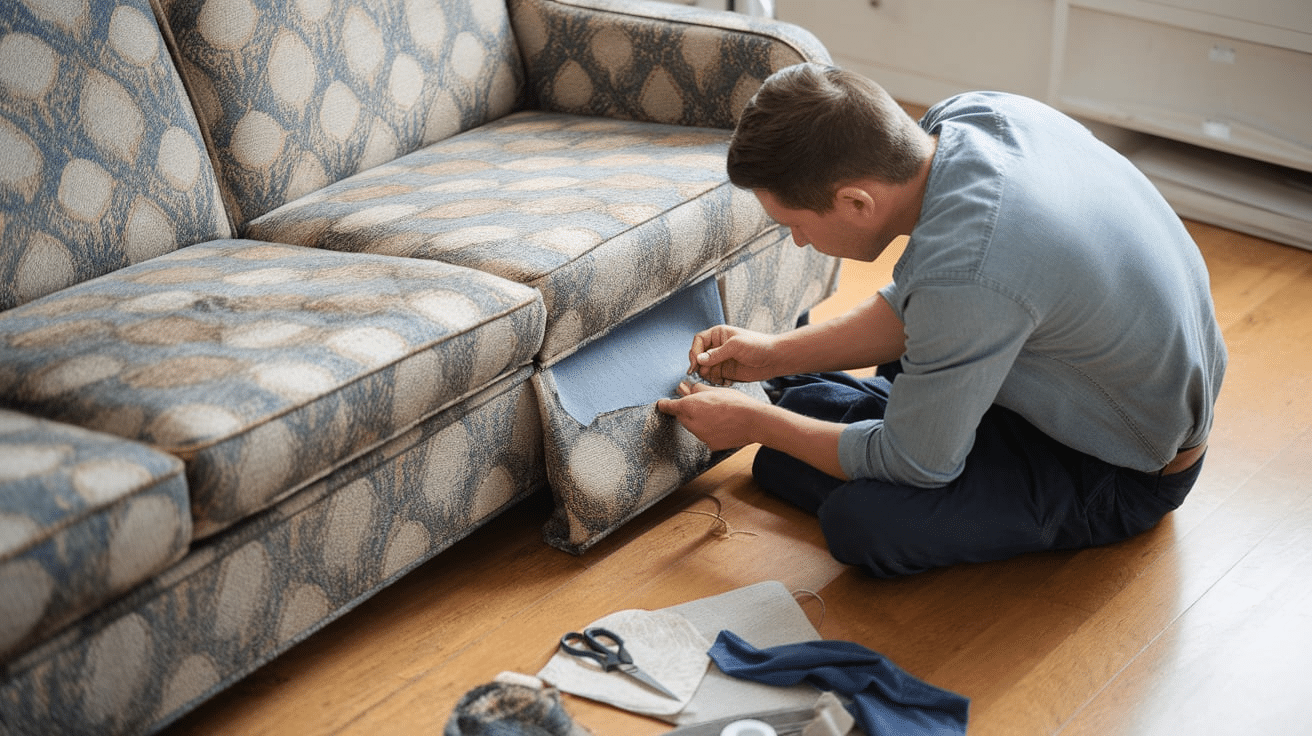
- Inspect the Damage: Look at where the fabric is torn or ripped.
- Cut a Patch: Cut a piece of fabric that matches the color and size of the tear.
- Apply Fabric Glue or Stitching: Use fabric glue for a quick fix or sew the patch if you prefer a more permanent solution.
- Smooth the Patch: Press the patch down flat to remove any bubbles.
- Refluff Cushions: If the cushions are flat, add extra stuffing or use a pillow insert to make them feel full again.
How to Repair Stains on Furniture
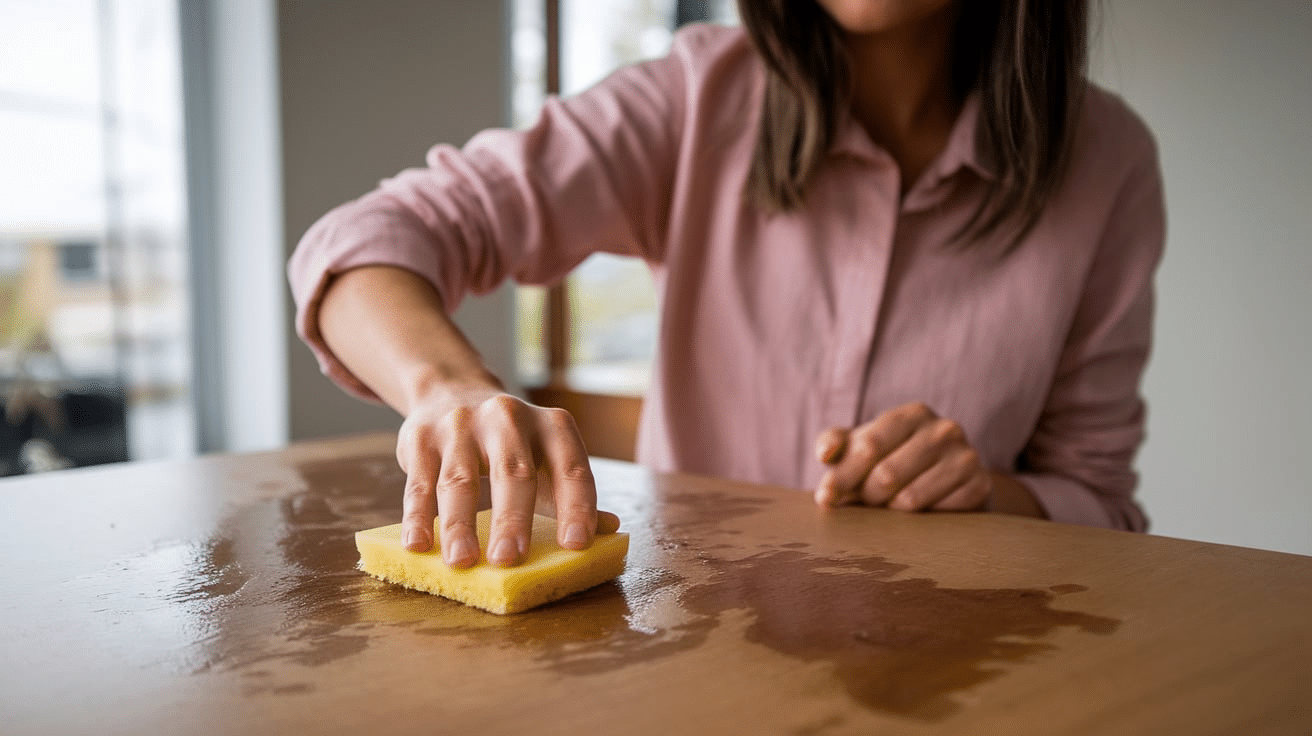
- Identify the Stain: Figure out what caused the stain (food, water, oil, etc.).
- Use the Right Cleaner: For water stains, rub the area with a damp cloth. For grease, use a bit of dish soap.
- Scrub Gently: Use a soft sponge or cloth to scrub the stain gently.
- Apply Baking Soda: For tough stains, sprinkle baking soda on the area and rub it in.
- Let It Dry: Allow the cleaned area to dry completely.
- Polish or Refinish: If needed, polish or re-stain the furniture to restore its original look.
How to Repair Wobbly Furniture
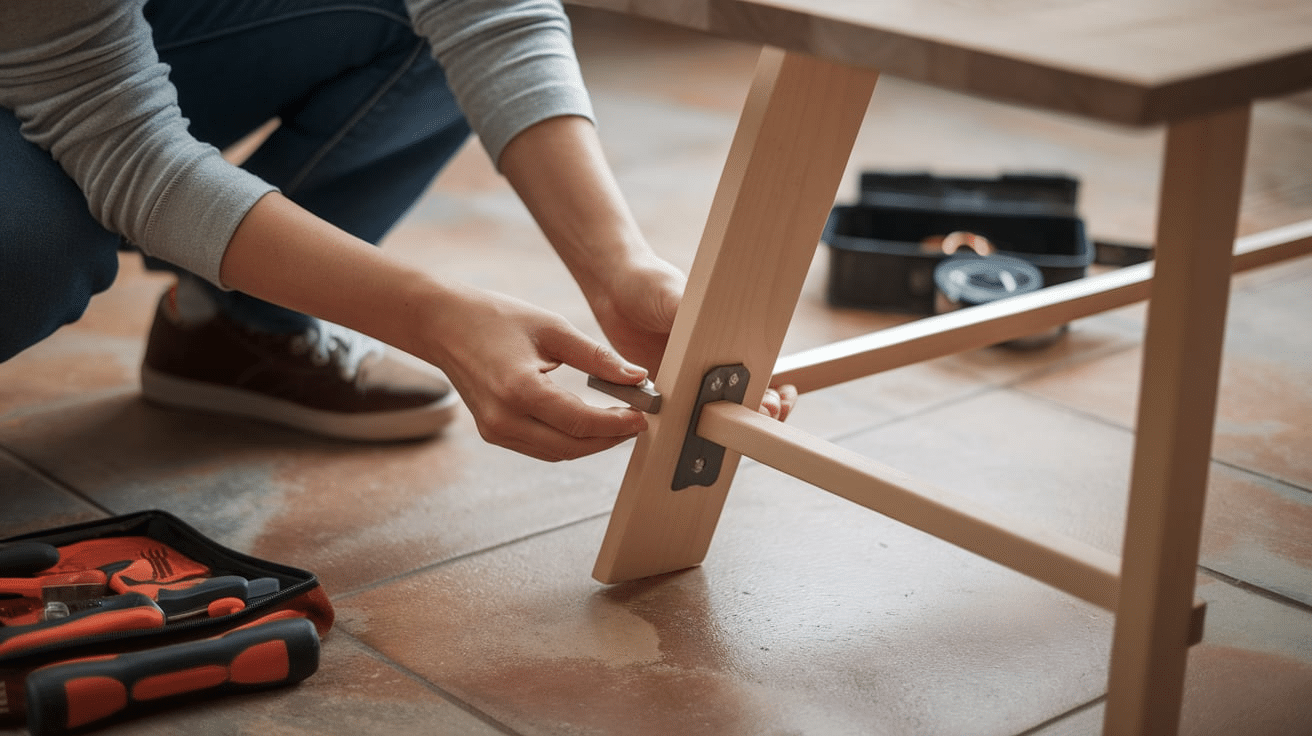
- Check the Legs or Frame: See if any screws are loose or if the legs are unstable.
- Tighten Screws: Use a screwdriver to tighten any loose screws on the legs or frame.
- Add Wood Glue: For broken legs or joints, apply wood glue to the crack or break.
- Clamp the Area: Hold the leg or joint in place with a clamp until the glue dries.
- Reinforce with Brackets: If needed, add corner brackets or extra screws for more stability.
How to Restore and Refurbish Antique Furniture
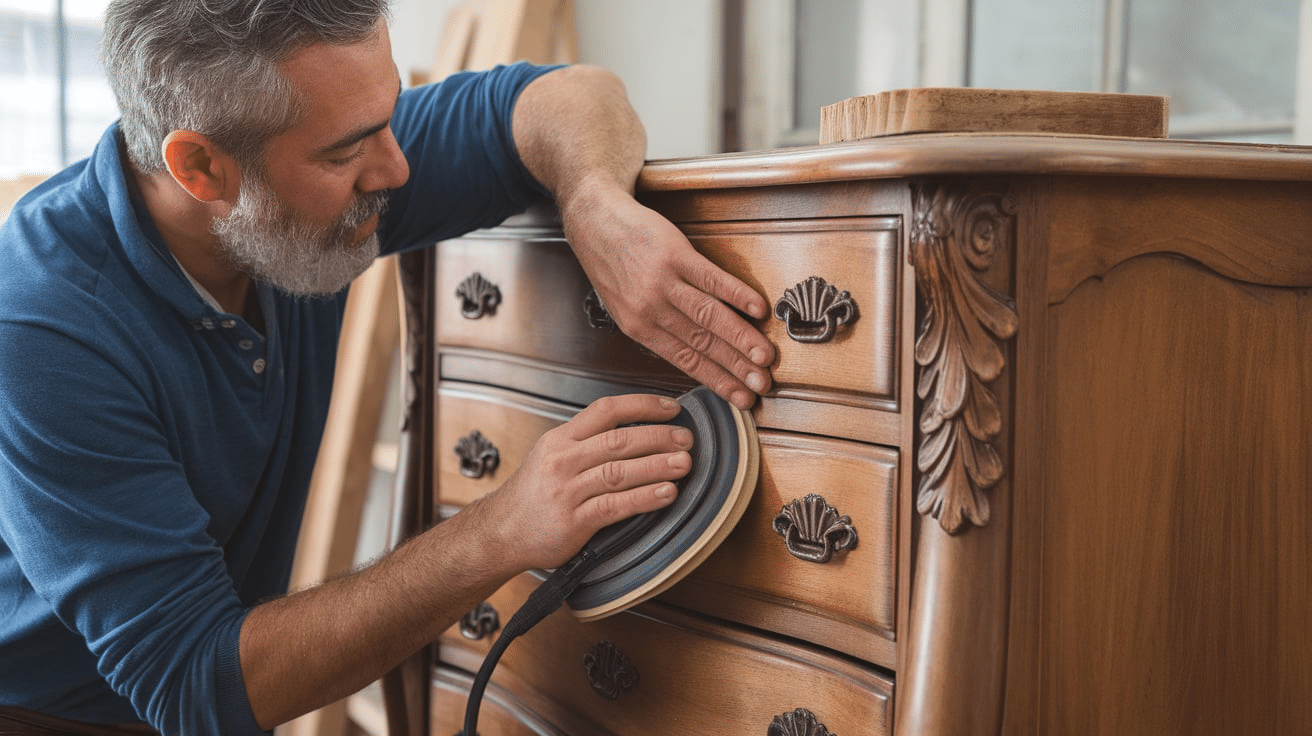
- Clean the Furniture: Gently wipe down the antique piece with a soft cloth to remove dust.
- Fix Scratches and Dents: Use wax sticks or wood filler to fix any damage to the surface.
- Re-glue Loose Joints: Apply wood glue to any loose joints and clamp them until dry.
- Refinish the Surface: Sand the surface lightly to remove old finishes, then re-stain or varnish.
- Polish the Furniture: Use a furniture polish to give it a nice shine.
Tips for Easy Furniture Repairs
- Always Test First: Before using any cleaner, glue, or stain, test it on a small hidden area of your furniture to make sure it doesn’t cause damage.
- Use the Right Tools: Having the right tools for the job, like a good screwdriver or a small brush for staining, can make repairs easier and more effective.
- Don’t Rush Drying Time: Whether you’re gluing or staining, let everything dry completely before using it. Rushing can cause the repair to fail.
- Keep It Clean: After each repair, give your furniture a quick wipe-down to remove dust or debris. A clean surface will help the repair last longer.
- Use Felt Pads for Protection: To keep your furniture from getting scratched again, stick felt pads on the legs of chairs and tables to protect your floors and surfaces.
- Call Professionals: If the damage to your furniture is too severe or you’re unsure how to fix it safely, don’t hesitate to call a professional
Conclusion
Furniture repairs don’t have to be complicated or expensive. With a few simple tools and a little time, you can fix common problems like scratches, cracks, and wobbly legs all by yourself.
DIY repairs are a great way to save money and add a personal touch to your furniture. Whether you’re fixing a minor scratch or giving an antique a new life, taking the time to repair your furniture can make it look as good as new.
Remember, if the damage is too serious or you’re unsure about how to repair it safely, it’s always a good idea to call a professional. They can help ensure the repair is done right and keep your furniture strong and safe.
Frequently Asked Questions
Can I repair furniture without professional help?
Yes, many repairs can be done at home with basic tools and materials.
How do I prevent my furniture from getting damaged again?
Use felt pads on furniture legs and clean surfaces regularly to avoid scratches and wear.
Can I restore antique furniture at home?
Yes, with gentle cleaning, minor repairs, and refinishing, you can restore antiques yourself.
Can I repair cracked wood furniture?
Yes, wood glue or wood filler can be used to repair small cracks and gouges.
How do I fix a loose cabinet door?
Tighten the screws or replace them if they’re stripped, and adjust the door if needed.
What kind of wood glue is best for furniture repairs?
PVA glue is a good all-purpose wood glue, but if you need stronger bonding, try epoxy.


