
DIY Corn Husk Wreath: A Step-by-Step Guide for Fall Décor
Fall offers the chance to fill our homes with natural beauty. Corn husk wreaths stand out among autumn decorations for their soft colors and simple charm.
These wreaths link us to the past when families gathered after harvest to create useful items from their crops.
Want to bring this classic look into your home? Our guide walks you through making your corn husk wreath.
You’ll learn how to turn simple dried husks into a beautiful door or wall piece. The best part? You can finish this project in under an hour.
We’ll show you everything – from picking the right materials to hanging your finished wreath. Plus, we’ll share tips to help your wreath last through many seasons. Let’s start creating something special for your home.
What Is a Corn Husk Wreath?
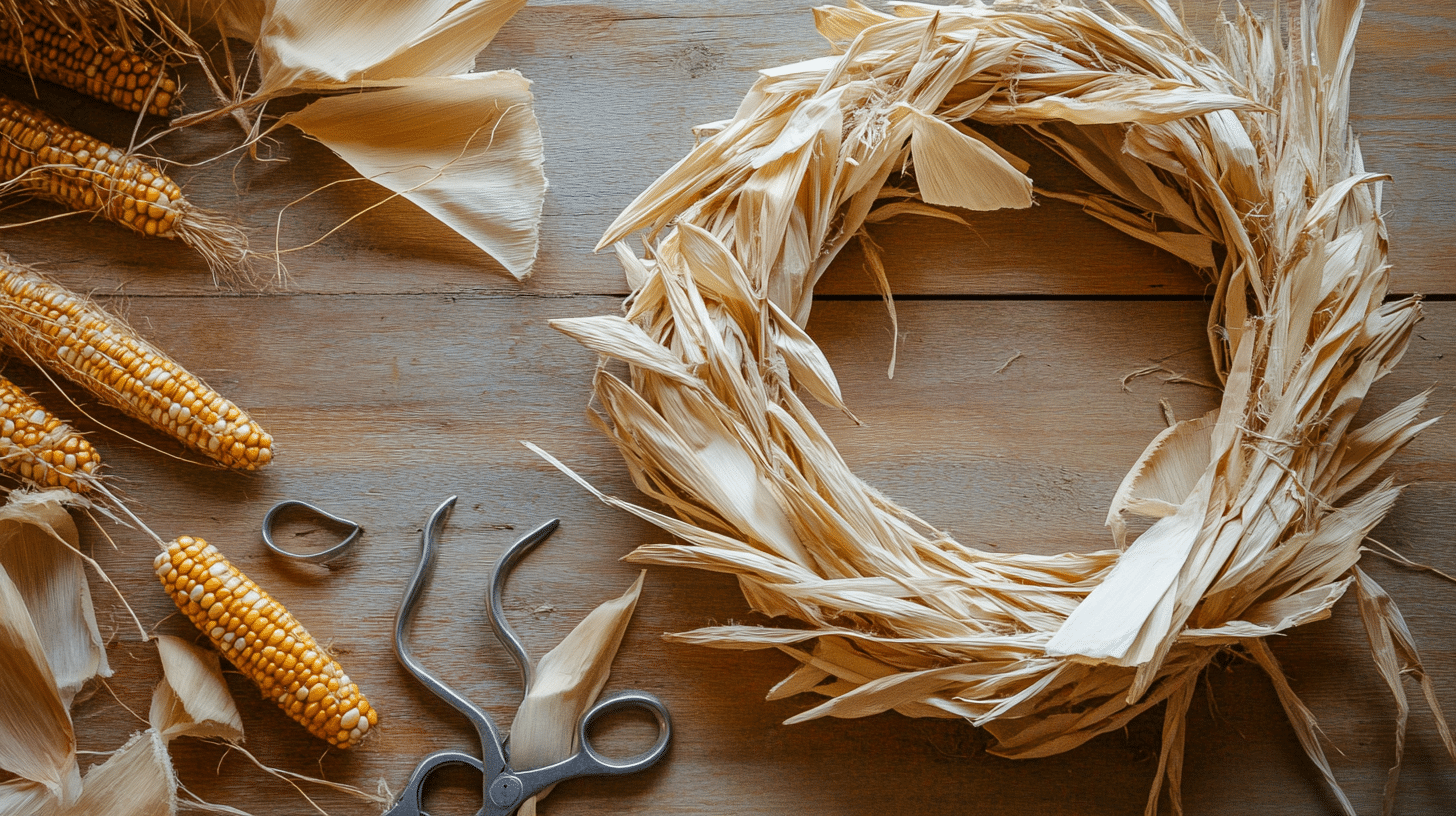
A corn husk wreath brings natural beauty to your home using dried corn leaves arranged in a circle.
These decorative pieces catch attention with their simple farm-fresh appeal. The dried husks create layers of texture that add warmth to any wall or door.
These wreaths stand out from store-bought options because they use real plant materials. Since no two corn husks look alike, each wreath shows unique patterns.
The soft tan colors fit well with many home styles, from country homes to modern spaces.
Historical and Cultural Context

Corn husk decorations trace back to early American farm life, where families used every part of their crops. Farmers and their families found smart ways to use leftover husks after harvest.
The tradition began in farming towns, where people gathered after corn picking to make household items. They turned simple husks into useful things like door mats, baskets, and wall decor. These items showed how much early settlers valued using all parts of their crops.
In many farming areas, making corn husk items became a social event. Neighbors would meet to craft while sharing stories and meals, helping build strong community bonds during harvest season.
Native American tribes first taught settlers about the many uses of corn husks. They showed how these plant parts could make dolls, mats, and other items. Their wisdom helped shape how we still use corn husks today.
The practice spread as more people saw how well corn husks worked for home decor. These wreaths became popular because they:
- It costs very little to make
- Used materials that were easy to find
- Lasted through many seasons
- Brought natural elements indoors
Craft Your Corn Husk Wreath: A Guide
A corn husk wreath makes a perfect weekend project. You can finish it in under an hour, adding charm to any space.
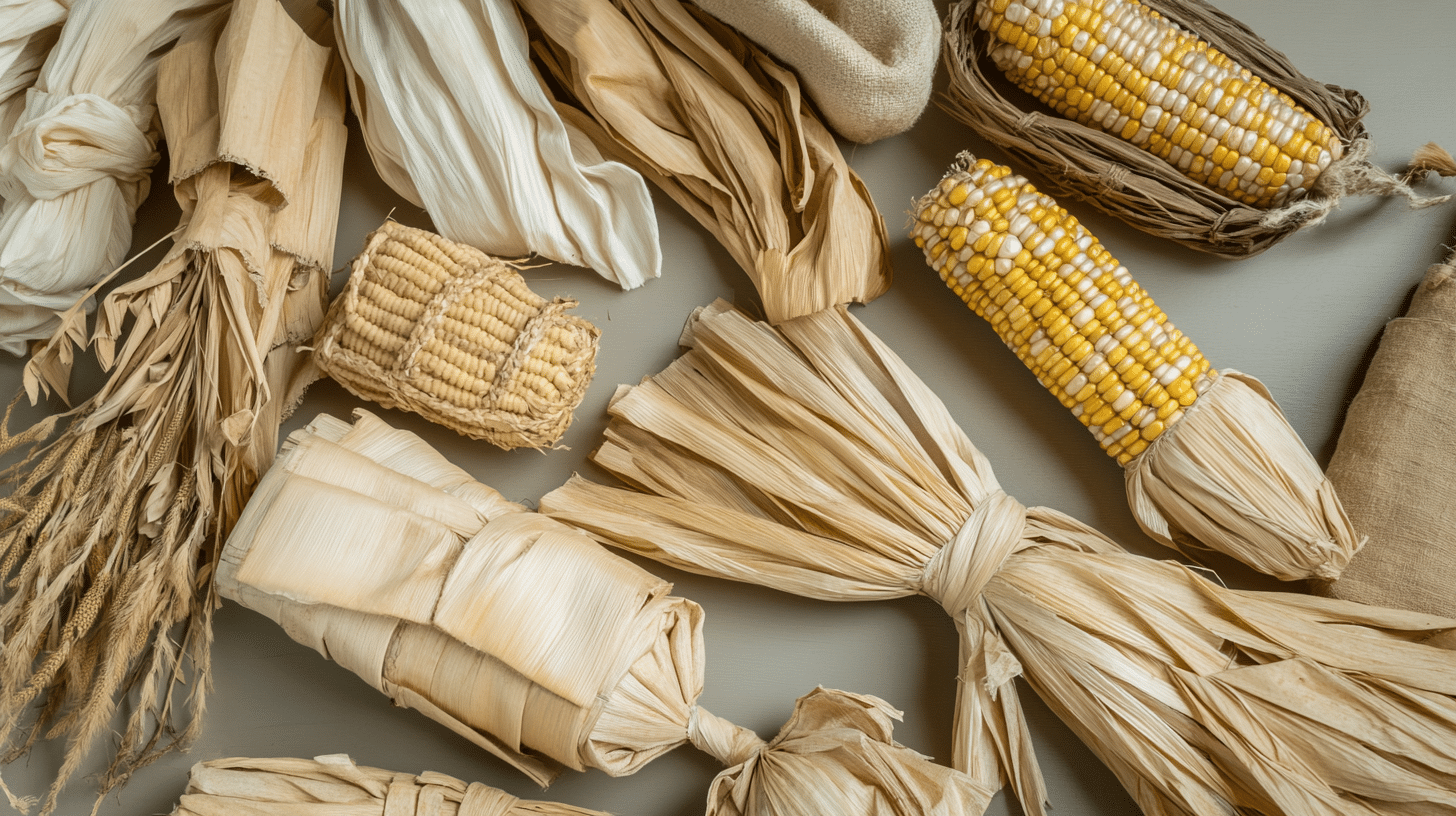
Materials and Tools Needed
Basic supplies:
- Metal wreath frame (12 inches) or wire hanger
- Corn husks (2-3 bags if store-bought, or 30-40 pieces if farm-fresh)
- Strong string or twine
- Sharp scissors
- Hot glue gun and glue sticks
- Floral wire or zip ties
- Ribbon (optional)
- Small corn cobs (optional)
Where to find corn husks:
- Local farms during harvest
- Grocery stores (look in the Mexican food section)
- Farm markets
- Online sellers
- Your garden
Step-By-Step Guide on Crafting a Corn Husk Wreath
1. Prepare Your Base
- Shape your wire hanger into a circle (if using)
- Or set up your metal wreath frame
2. Sort Your Husks
- Pick similar-sized pieces
- Remove any damaged parts
- Split wider pieces into strips
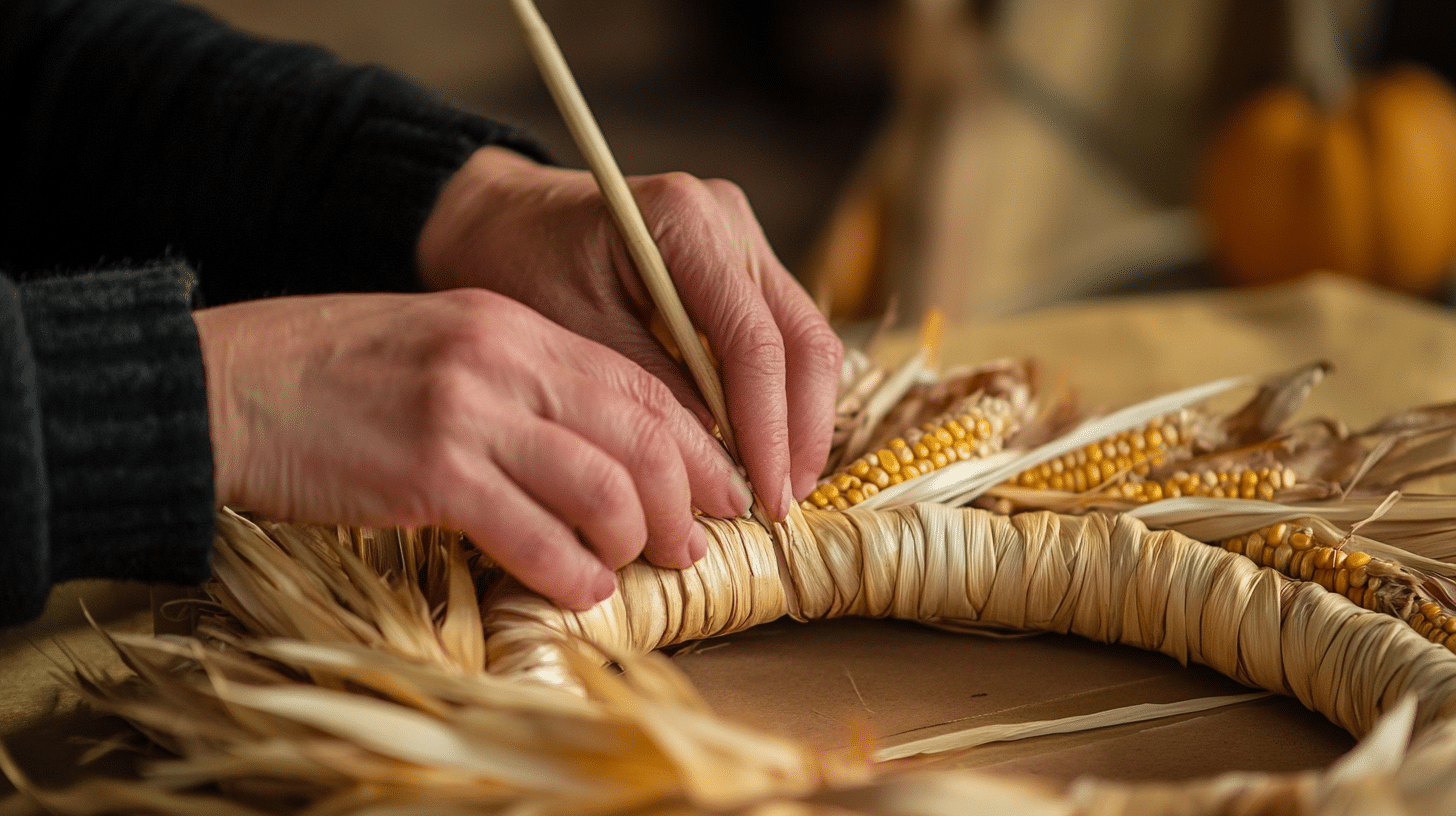
3. Create Bundles
- Take 5-7 husks
- Tie them at the center with twine
- Make about 5-6 bundles total
4. Attach to Frame
- Place bundles around the frame
- Space them evenly
- Secure with twine or wire
- Point husks in the same direction
5. Fill Gaps
- Add single husks between bundles
- Secure with hot glue
- Keep checking for bare spots
For more details, check out the detailed video tutorial by Hymns and Verses.
What You’ll Spend (Cost Considerations)
| ITEM | PRICE RANGE |
|---|---|
| Wire Frame | $2-4 |
| Corn Husks | $3-5 per bag |
| Twine | $1-2 |
| Total Cost | $6-11 |
Important Rules to Follow and Avoid
The Do’s
Making a corn husk wreath requires attention to small details. Before you begin, keep your husks in a dry space.
Test your hot glue on spare pieces to find the right heat setting. When you tie bundles, pull the twine tight to prevent slipping.
Space bundles evenly on the frame to keep your work neat. Before hanging, test whether your frame can hold the weight.
Point all husks in one direction for a clean look. Save some extra husks for fixes later. Pick a bright spot to work, and wait for glue to set before moving your wreath.
The Don’ts
Watch out for mistakes that can spoil your wreath. Look for signs of mold on husks before using them. Take time to let the husks dry fully.
Fill all spaces between bundles to make your wreath look full. Choose a strong string instead of a weak thread.
Keep your wreath away from rain and damp spots. When storing, don’t pile items on top. Be gentle when moving husks into place.
Keep wet husks separate from dry ones. Stay safe by watching for hot glue drips and sharp wire tips. Work at a table, and keep tools where children can’t reach them.
Expert Tips and Tricks
A well-made corn husk wreath comes from small but smart choices. Follow these tips from seasoned craft makers to get the best results.
Pick Your Husks Wisely: Fresh farm husks work better than stored ones. Look for pieces with even color and no marks. Wide husks let you create fuller wreaths. Pick through your supply and sort by size before starting.
Perfect Your Technique: Split big husks into smaller strips. This gives you more pieces to work with. Tie your bundles in the middle, not too close to the ends. Make each bundle the same size. Put them close together on the frame.
Make It Last: Proper care keeps your wreath in good shape. Brush off dust once a month with a soft cloth. Fix loose pieces as soon as you spot them. Store flat in a box when not in use. Add a clear spray coating to guard against dust.
Size and Shape Tips: For your first try, Start with a small wreath. A 12-inch frame works well for beginners. Ensure all husk tips point the same way—layer pieces to hide the frame and ties. Step back often to check your work.
Color and Style Natural husks give a clean, fresh look. You can also try these options:
- Mix light and dark husks
- Add small dried flowers
- Include thin ribbons
- Put in tiny corncobs
- Use season-colored string
Fun Facts Related to Corn Husk Wreaths
Did you know corn husks teach us about early American life? During winter, farm families often passed the time by making husk crafts. These items filled their homes with charm and showed their skill at using what they had.
Back then, people used corn husks in many ways. They stuffed mattresses, made chair seats, and wove baskets. Some folks even wrote letters on dried husks when paper was scarce. Each part of the corn plant had a use in daily life.
The art of making corn husk items spans many cultures. Mexican families used them to wrap tamales. Native Americans taught settlers how to weave mats. In the South, people made brooms and scrub brushes from stiff husks.
Today’s craft makers still find corn husks useful. A single corn plant gives about 8-10 good husks for crafts. The best husks come from corn picked late in the fall. Fresh husks need three weeks to dry fully before use.
Numbers tell an interesting story:
- Corn husks can last up to 2 years when stored right
- A medium wreath uses about 30 husks
- Most wreaths take 45 minutes to make
- Dried husks weigh less than paper
- Farm-fresh husks cost 75% less than store-bought ones
Final Words
Ready to create your corn husk wreath? You now have all the steps and tips to make a beautiful piece for your home. Start with the basic steps, then add your style as you get comfortable with the craft.
We’d love to see what you create! Share photos of your wreath in the comments below. Your work might give other readers fresh ideas for their projects.
Want more seasonal DIY guides? Sign up for our weekly newsletter. You’ll get craft tips, home decor ideas, and first looks at new projects in your inbox. Follow us on social media, too – we post quick tips and reader features every week.
Thank you for joining us today. Here’s to making your home cozy this fall season!
Frequently Asked Questions (FAQs)
How Long Should I Soak the Corn Husks?
Soak 10-15 minutes until they are pliable but not overly saturated.
Can I Use Colored Corn Husks?
Yes, you can dye corn husks or use naturally colored ones for a unique look.
How Do I Prevent My Wreath from Molding?
Ensure husks are thoroughly dried before assembly and stored in a dry place.


