DIY Christmas Trees: A Complete Guide for Festive Crafting
Want to make your own Christmas tree this year? I’ll show you how to create beautiful DIY Christmas trees that match your style and budget.
Making your own Christmas tree offers something special that store-bought ones can’t – a personal touch that makes your holiday decorations unique. Plus, it’s a fun activity that brings family and friends together.
This guide will walk you through different ways to make DIY Christmas trees, from simple tabletop designs to full-sized versions. You’ll learn which materials work best, what tools you need, and step-by-step methods anyone can follow.
I’ve tested these methods and am excited to share what worked (and didn’t). By the end of this guide, you’ll have all the know-how to craft your perfect DIY Christmas tree.
Which One Should You Choose: Diy or Store-Bought Christmas Trees
| Feature | DIY Christmas Trees | Store-Bought Trees |
|---|---|---|
| Initial Cost | $20-50 (materials) | $50-200+ |
| Time Investment | 2-4 hours per tree | 15-30 minutes setup |
| Customization | ✓ Full control over size/style | × Limited to available options |
| Size Options | ✓ Any size possible | × Standard sizes only |
| Storage Needs | ✓ Often flat or compact | × Bulky boxes needed |
| Skill Required | Basic crafting skills | No special skills |
| Durability | 3-5 years with care | 5-10 years average |
| Eco-Friendly | ✓ Can use recycled materials | × Often plastic-based |
| Repairs | ✓ Easy to fix/modify | × May need replacement |
| Personal Value | ✓ High sentimental value | × Limited personal connection |
| Setup Time | First time: 2-4 hours<br>Reuse: 30 minutes | 15-30 minutes yearly |
| Maintenance | Simple cleaning, touch-ups | Regular dusting, branch adjusting |
How to Craft a Wooden Christmas Tree Decoration
Getting Started with Your Tools and Materials
| Materials | Tools |
|---|---|
| 2 6′ 1×2 pine boards | Miter saw |
| Minwax Stainable Wood Filler | 220 grit sandpaper |
| Purdy 2″ Angled Nylox Paint Brush | Pin nailer |
| Purdy Revolution Jumbo Mini Roller Frame | Wood glue |
| Purdy White Dove 1/4″ Nap Mini Roller Cover | Tack cloth |
| Purdy Paint Pail | Purdy Premium Folding Multi-Tool |
| Sherwin-Williams ProClassic Interior Acrylic Latex Paint (Accessible Beige and a custom match color) |
Step 1: Prepare Pine Board Segments
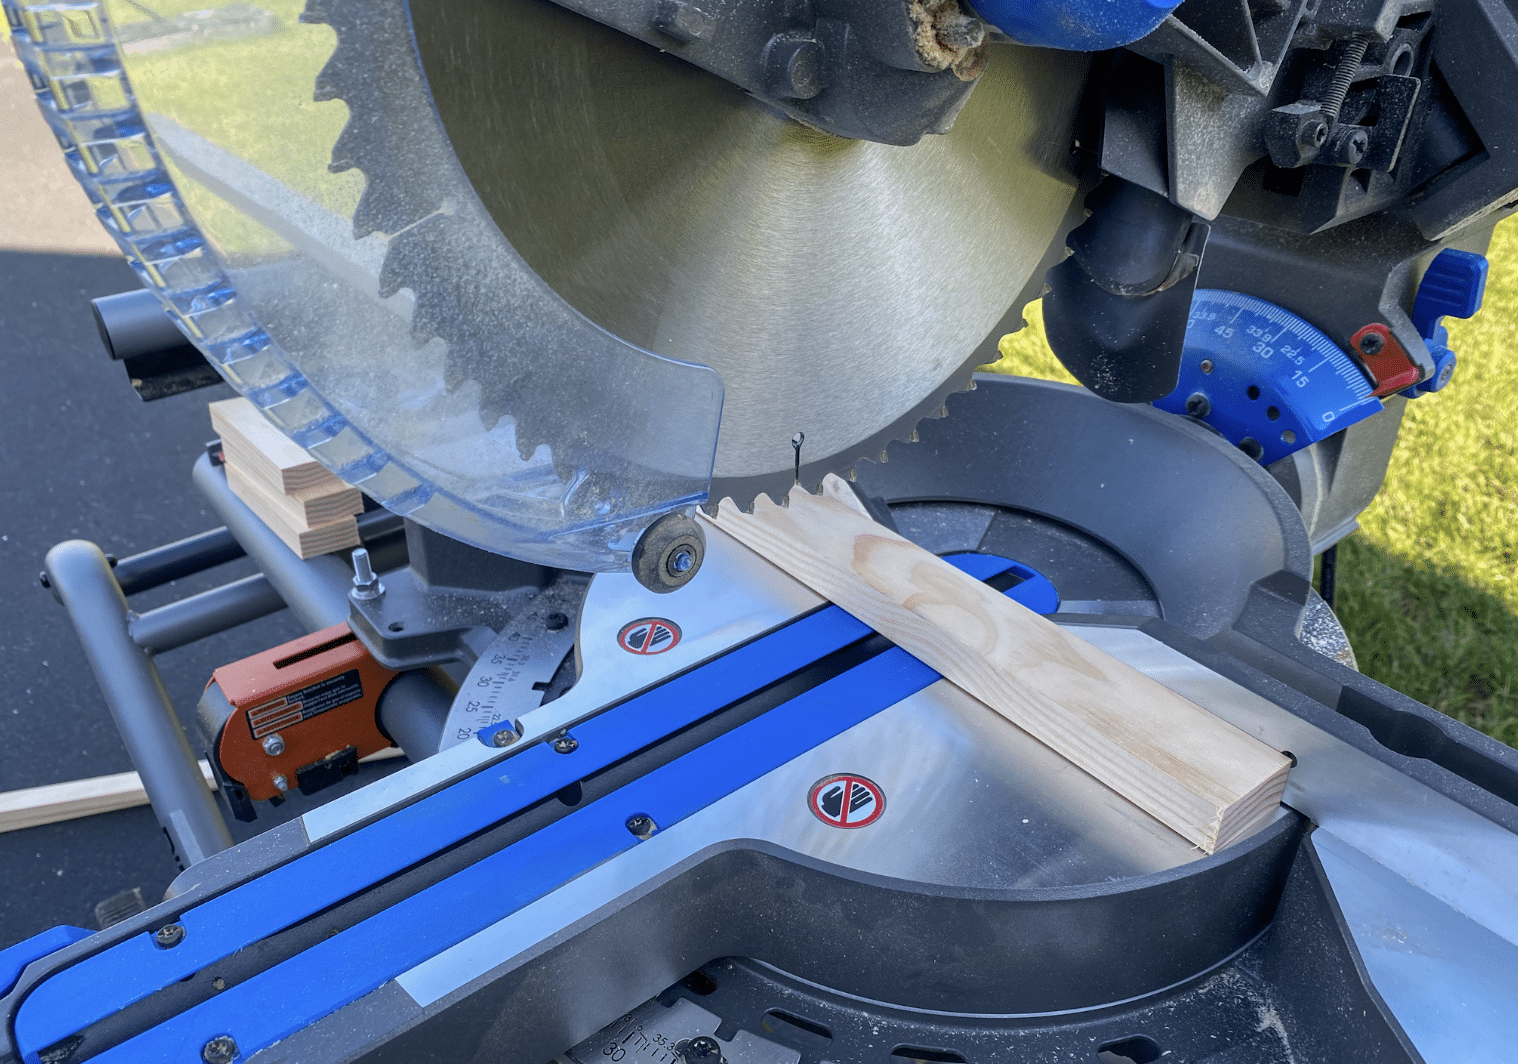
Start your DIY Christmas tree project by cutting your pine boards with care. You’ll need two 6-foot 1×2 pine boards. Here’s what to cut:
- Create 3½-inch pieces for the trunk (cut at 30-degree angles).
- Make 10¼-inch pieces for the base.
- Cut 5¼-inch pieces for the lower branches.
- Form 7-inch pieces for the upper right sections.
- Shape 6⅛-inch pieces for the upper left areas.
Step 2: Smooth the Wood Surfaces
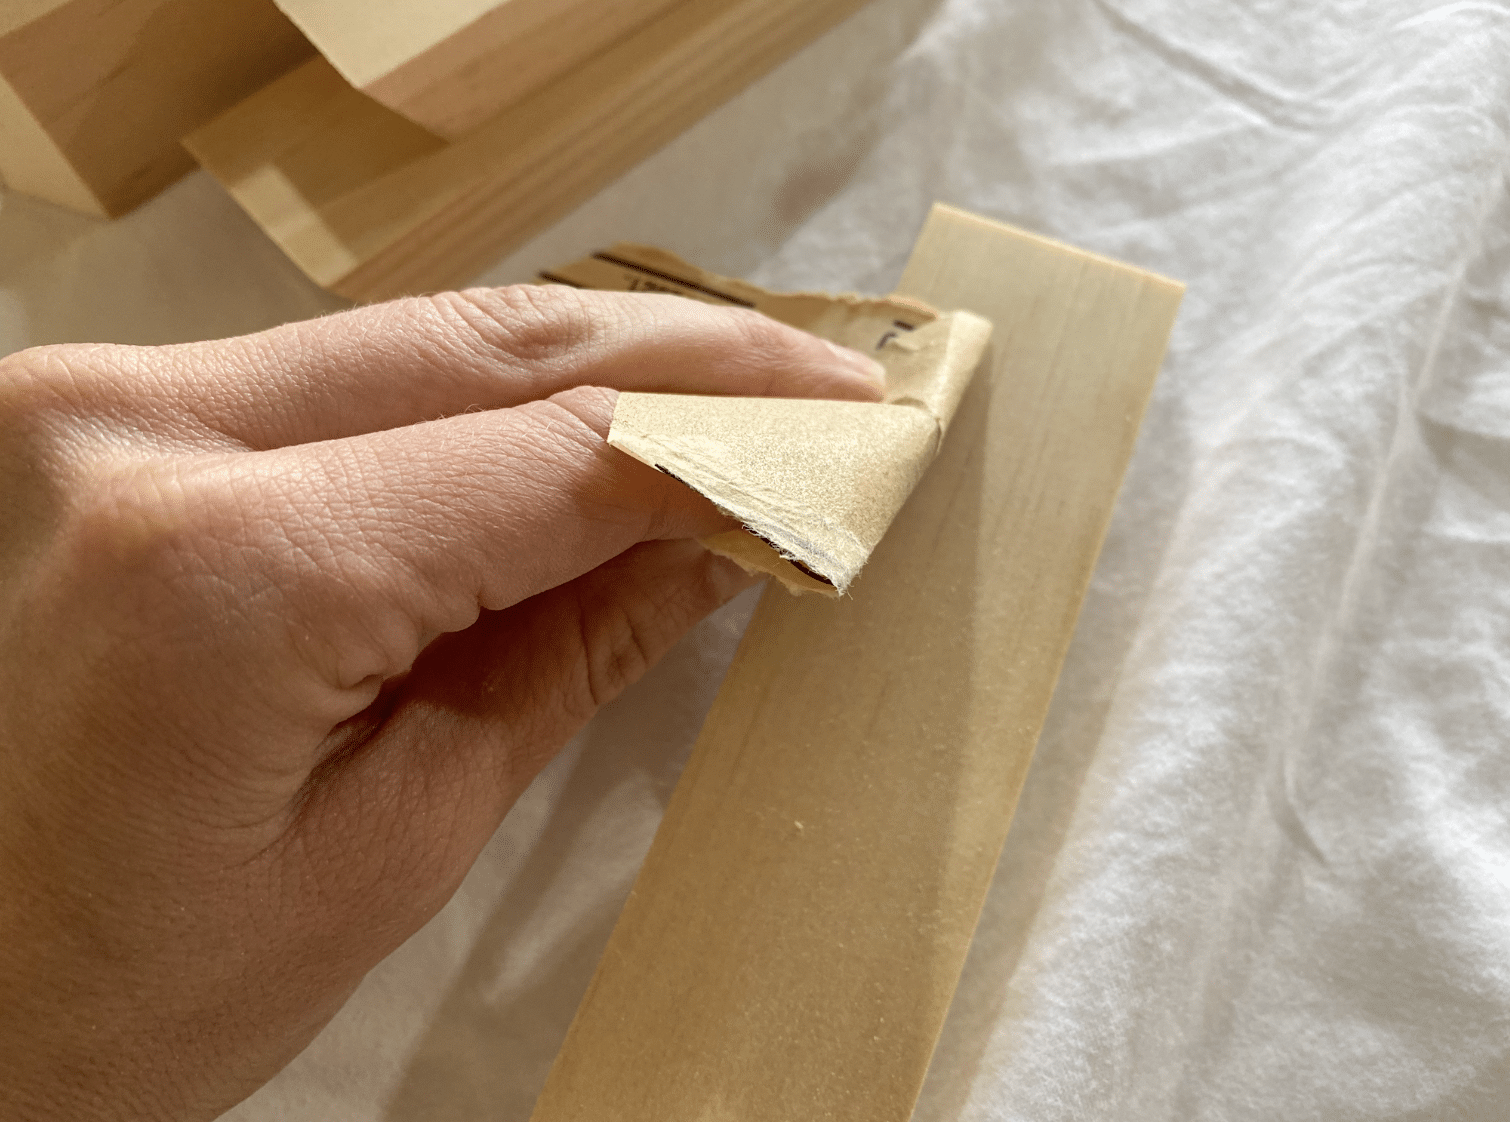
Quality matters when making DIY Christmas trees. Take your time with sanding:
- Use 220-grit sandpaper on all pieces.
- Work in the direction of the wood grain.
- Wipe each piece with a tack cloth.
- Check edges for smoothness.
Step 3: Construct the Tree Framework
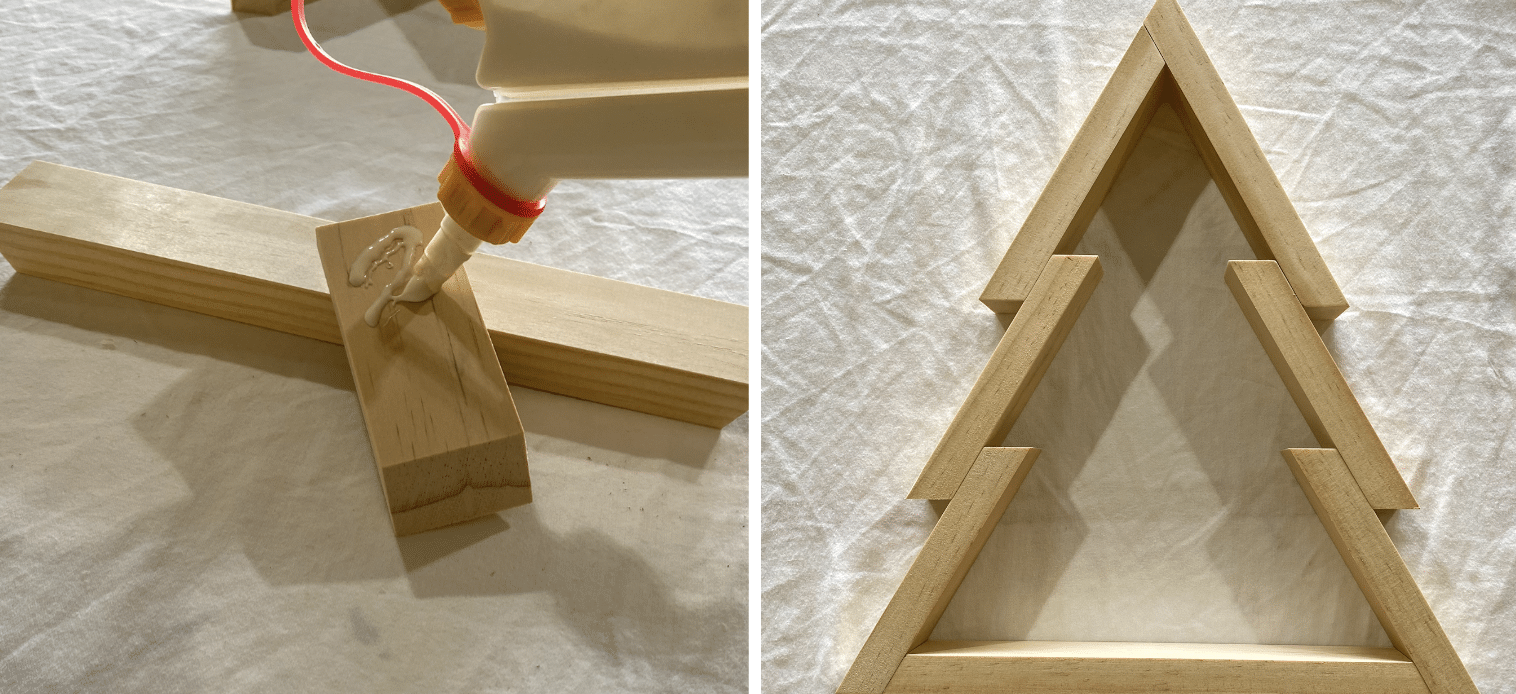
Now comes the fun part of building your DIY Christmas tree:
- Line up the pieces in your tree-shape.
- Apply wood glue at each joint.
- Overlap sideboards by one inch.
- Use a pin nailer to hold pieces in place.
- Let the glue set fully (24 hours recommended).
Step 4: Seal and Fill Gaps
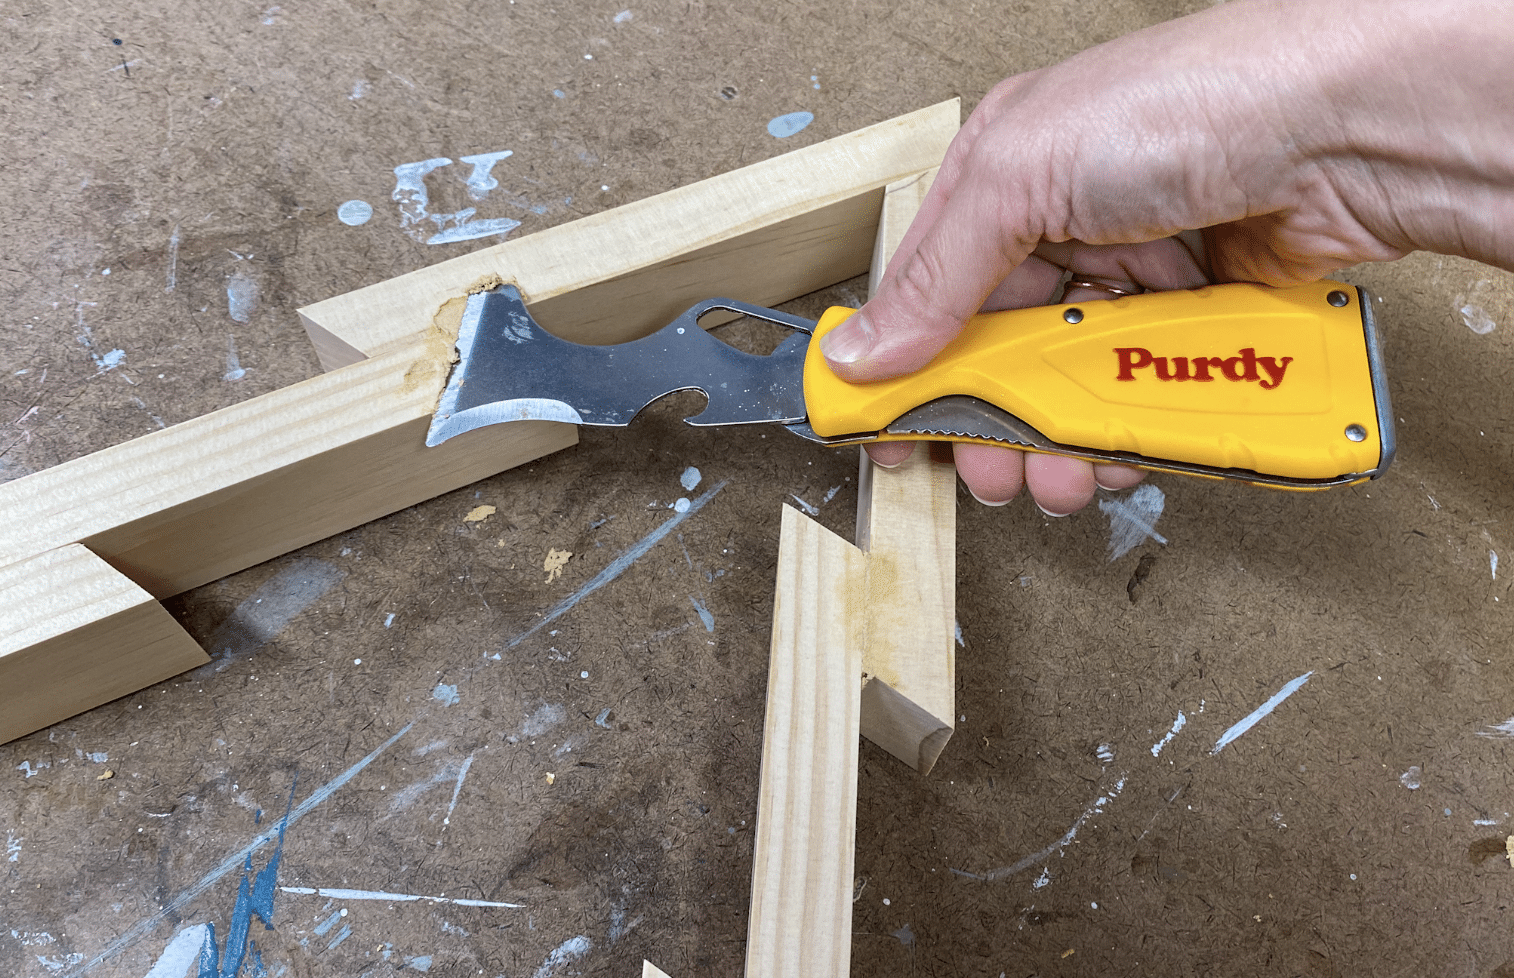
Perfect your DIY Christmas tree with careful attention to detail:
- Fill any small holes with wood filler.
- Press the filler firmly into the gaps.
- Smooth the surface completely.
- Wait for the filler to dry.
- Sand-filled areas until even.
Step 5: Apply Base Paint
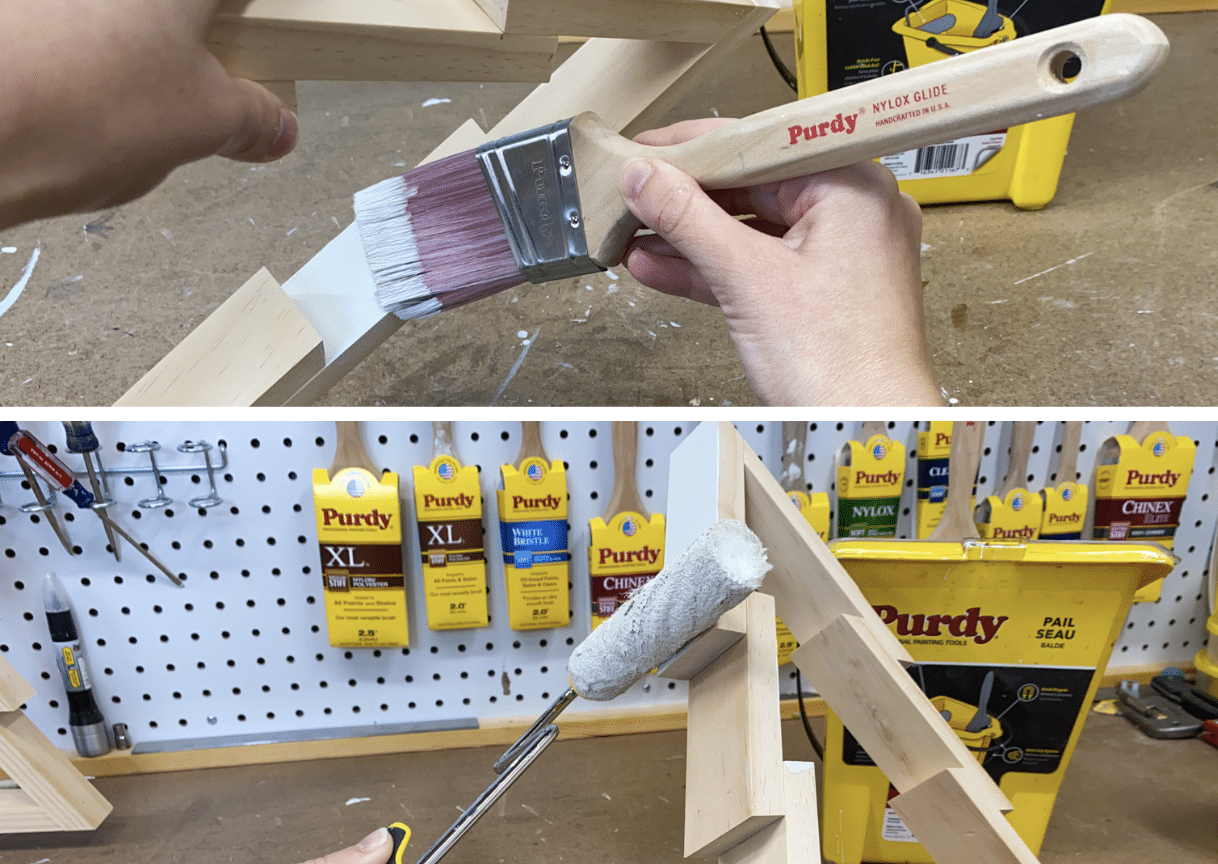
Make your DIY Christmas tree shine with paint:
- Choose colors that match your home.
- Use an angled brush for neat edges.
- Apply paint with a mini roller for flat areas.
- Add two coats for the best coverage.
- Let each coat dry fully.
Completion
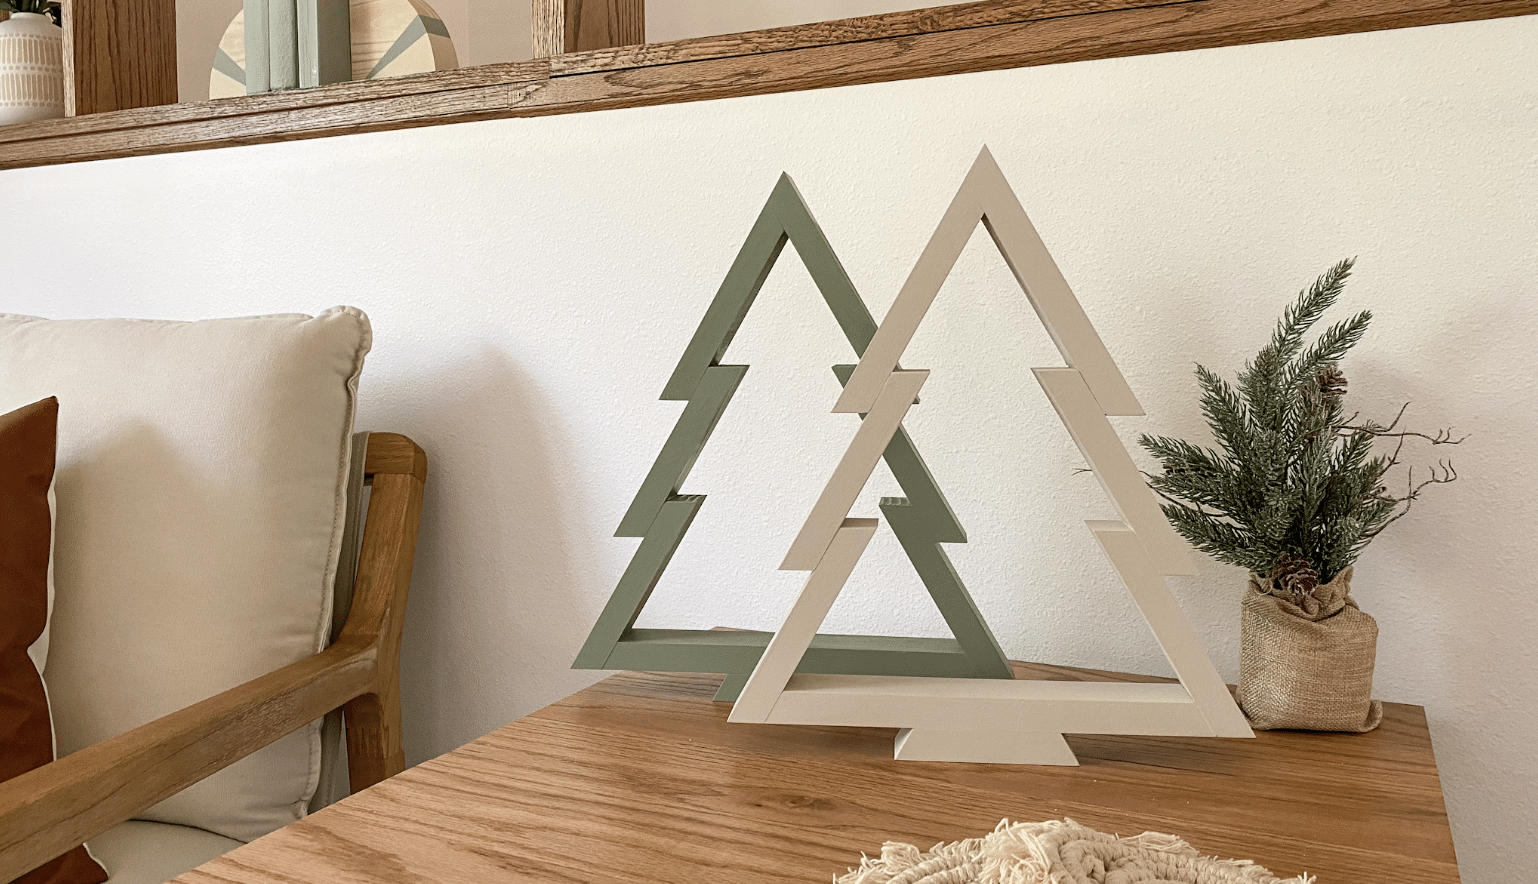
Your DIY Christmas tree is ready to display! Place it on a mantel, shelf, or table. These wooden trees last for years and become cherished holiday decorations. Make several in different sizes to create a festive display.
Alternative Festive Trees: Creative Ideas Beyond Wood
1. DIY Triangle Wreath Christmas Tree
Make a simple DIY Christmas tree using three sticks, artificial flowers, and basic craft supplies. Form a triangle with the sticks, secure the corners with twine, and add flowers with hot glue. Balance your flower placement for even hanging. This 30-minute project creates a perfect wall decoration for small spaces.
Watch the complete tutorial below to create your triangle wreath tree.
2. Decorated Branch Christmas Tree
With this quick project, you can turn natural branches into a DIY Christmas tree. Collect sturdy branches, arrange them in a tall vase with pebbles, and decorate them with lights and ornaments. This nature-inspired creation takes about an hour to complete and fits perfectly in any corner.
Watch the detailed tutorial below to make your branch tree come alive.
3. DIY Hanging Christmas Tree
Create a space-saving DIY Christmas tree using birch logs and luxe yarn. Cut nine tiers of logs, wrap them with yarn for a mossy effect, and connect them with twine. To finish, add twinkle lights and ornaments. This project takes about two hours and works perfectly in small spaces.
Watch the step-by-step guide below to build your hanging tree.
4. DIY Origami Christmas Tree Garland
Craft a charming DIY Christmas tree garland for your porch or indoor spaces. This quick project uses simple materials and basic folding techniques. Perfect for last-minute holiday decorating, this garland adds a personal touch to any space. Complete the project in under an hour.
Follow the detailed video tutorial below to create your garland.
5. DIY Cone Christmas Trees
Transform simple cardboard cones into beautiful DIY Christmas trees using three easy methods. Create paper-wrapped trees with decorative napkins and Mod Podge, twine-wrapped trees using jute cord and hot glue, or natural-looking trees covered in pine cone pieces. Each style takes about an hour to complete.
See the full techniques in our video tutorial below.
6. DIY Paper Christmas Tree
Create charming paper Christmas trees in different sizes using simple materials. This DIY Christmas tree project uses paper in your chosen colors (120-150 gsm), a wooden skewer, and basic craft tools. Make them 8 or 12 inches tall, perfect for tabletop displays or window decorations.
Ready to craft your paper tree? Follow the detailed video guide below.
7. DIY Yarn Christmas Tree
Turn foam cones into cozy DIY Christmas trees using yarn, Mod Podge, and simple supplies. This budget-friendly project costs under $10. Wrap yarn around a plastic-covered cone, seal with a water-diluted Mod Podge mixture, and add lights or glitter for sparkle. Each tree takes about 24 hours, including drying time.
Watch the complete tutorial below to avoid common mistakes.
Dressing Up Your Tree: Essential Ornaments and Decor
The magic of a DIY Christmas tree comes alive with the right decorations. Let’s look at ways to make your tree stand out with personal touches and smart design choices.
Incorporating Lighting
Make your DIY Christmas tree glow with the right lights. Battery-operated LED strings work best for most handmade trees. Wrap lights from bottom to top, spacing them evenly. Keep extra batteries ready. For paper trees, place lights behind them to create soft shadows.
Adding Garlands and Ribbons
Wrap garlands in a spiral pattern around your DIY Christmas tree. Start at the top and work down. Use wired ribbon to create perfect bows that hold their shape. Mix thin and thick garlands for depth. Leave space between loops for ornaments to shine.
Topper Ideas
Finish your DIY Christmas tree with a special topper. Create a bow from the wide ribbon. Build a paper star. Use pinecones painted in gold. Ensure the topper size matches your tree – about one-fifth of the tree’s total height works best.
Crafting Tips and Solutions: Making Your Project Easier
Let’s make your DIY Christmas tree creation smooth and enjoyable with these tested tips and fixes for common issues.
Efficient Crafting Tips
- Set up your workspace before starting
- Gather all materials first
- Work in segments of 30 minutes
- Clean as you go
- Let parts dry completely between steps
- Keep a basic tool kit nearby
- Use a timer for glue-drying
Troubleshooting Common DIY Issues
- Wobbly tree? Add a wider base
- Uneven paint? Apply thin layers
- Loose decorations? Switch to hot glue
- Bent branches? Reshape with wire
- The tree won’t stand? Check the bottom is flat
- Materials not sticking? Clean surfaces first
- Gaps in coverage? Fill with small ornaments
After the Holidays: Maintenance and Storage Tips
Make your DIY Christmas tree last for many seasons with proper care and storage.
Keeping Your Tree Beautiful Year After Year
- Dust with a soft brush
- Touch up paint chips promptly
- Keep away from direct sunlight
- Fix loose parts right away
- Clean with a dry cloth only
- Check for loose connections monthly
- Repair any damage before storing
Smart Storage Solutions
- Use sturdy boxes that fit your tree
- Wrap in bubble wrap or soft cloth
- Store in a dry, cool place
- Label boxes clearly
- Keep small parts in zip bags
- Stack larger pieces carefully
- Add silica gel packets to prevent moisture
Conclusion
Creating your DIY Christmas tree brings more than holiday cheer – it adds a personal story to your celebrations. Each method offers a chance to express your style, from wooden designs to paper crafts, while saving money.
We’ve explored various ways to craft these special trees, from simple tabletop versions to full-sized creations. The best part? These projects don’t need expert skills or expensive materials. You can make a tree that fits your space perfectly with basic supplies and patience.
Remember, your DIY Christmas tree doesn’t need to be perfect. Each small quirk adds character and makes it uniquely yours. As you gather your materials and start crafting, focus on enjoying the creative process. After all, the best holiday decorations are filled with personal meaning.


