Can You Put Tile Over Tile in a Shower Hassle-Free
Looking to update your shower tiles but worried about the mess of removing the old ones? I get it – tearing out existing tiles can be a huge job.
Many homeowners face the same problem when they want to give their shower a fresh look.
Good news! You can actually install new tiles right over your existing shower tiles. I’ll share the exact steps that have worked for me and many others. Plus, I’ll help you figure out if this method will work in your shower.
In this post, I’ll walk you through how to check if your shower is suitable for tile-over-tile installation, what materials you’ll need, and the steps to do it right.
An Overview of Tiling Over Existing Shower Tiles
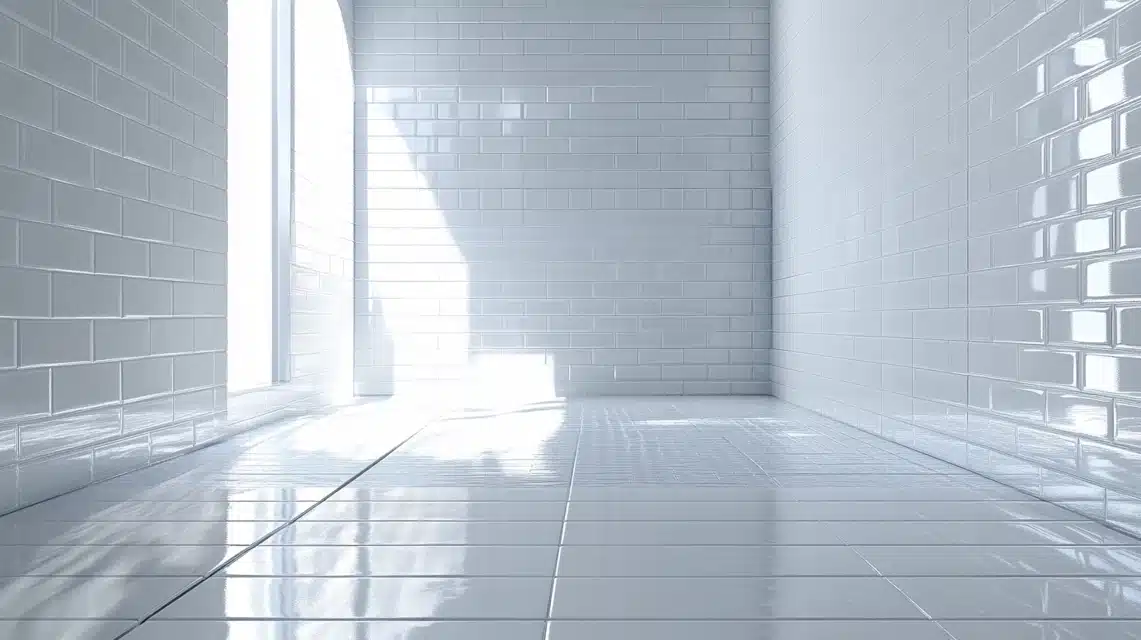
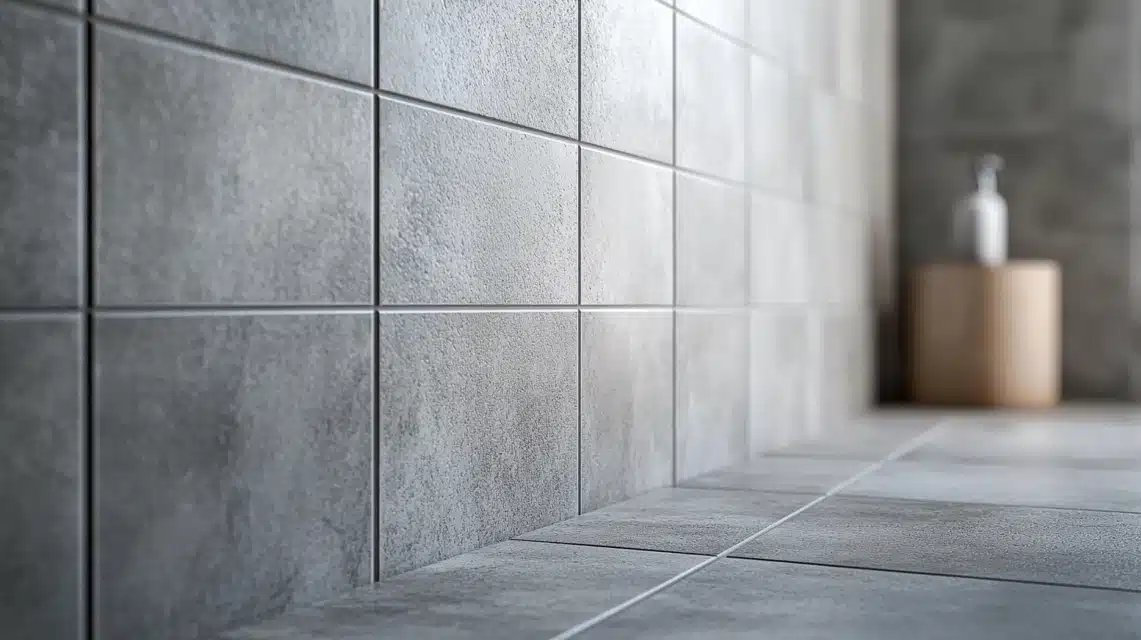
Think of tiling over existing tiles like putting on a new coat over an old one. It’s a method I’ve seen work really well when done properly. When you put new tiles on top of old ones, you’re basically creating an extra layer in your shower.
I want you to know that this isn’t just a quick fix – it’s a real solution that can save you time and money. Instead of spending days breaking out old tiles and risking damage to your shower walls, you can build right on top of what’s already there.
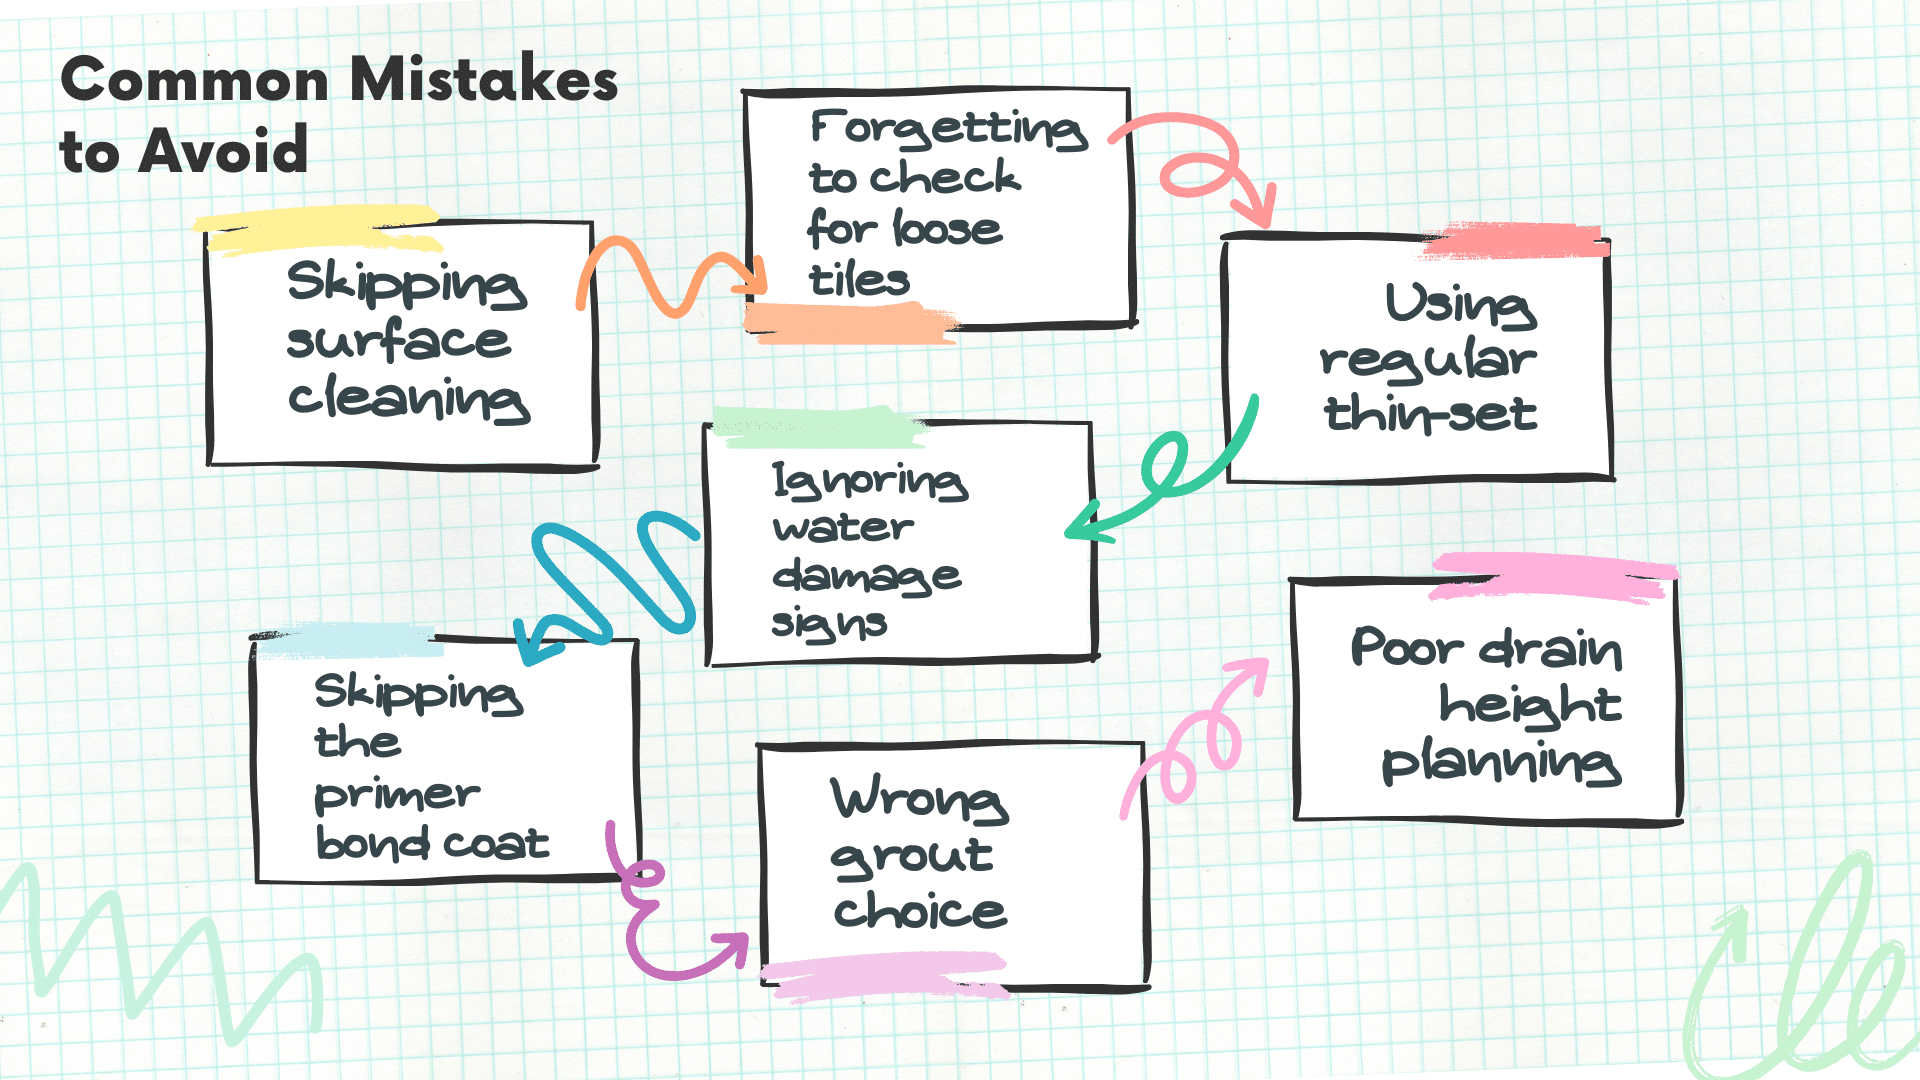
What makes this method work? It’s all about proper preparation. The existing tiles need to be firmly attached to the wall – no wiggling or loose pieces allowed! Those old tiles will become the foundation for your new ones, so they need to be solid.
Let me share something important from my experience: not every shower is right for this approach. Your wall needs to be strong enough to handle the weight of two layers of tiles.
Plus, those old tiles must be in decent shape – no mold, no major cracks, and definitely no water damage behind them.
Before you start picking out your new tiles, we’ll need to check a few things:
- How strong your walls are
- The condition of your current tiles
- Any height or space restrictions in your shower area
- Whether your old tiles have a surface that new ones can stick to
What I like best about this method is that it lets you update your bathroom without turning it into a construction zone.
But remember, checking these details first will ensure your new shower tiles look great and last for years.
Step-by-Step Guide to Tiling Over Shower Tiles
Tools & Materials Required
- Utility knife
- Corner silicone removal tool
- Shop vacuum
- Denatured alcohol
- Bonding primer (from a home improvement store)
- Modified thin-set (white or gray depending on tile color)
- 1/4-inch notch trowel
- Grout float
- Marine-grade epoxy (for drain work)
- Stainless steel screws
- Sponges
- Clean buckets
- Shop towels
- Tile and grout sealer
- 100% silicone
- Spray bottle for soapy water
Stepwise Process for Installing Tile Over Tile
1. Prepare the Surface
- Cut and remove old silicone from corners and edges
- Vacuum the entire shower floor
- Clean the surface twice with denatured alcohol
- Remove the drain cover and protect the drain opening
2. Apply Bonding Primer
- Mix primer thoroughly for 3-4 minutes
- Apply two coats
- Wait one hour between coats
- Let final coat dry overnight
3. Prepare the Drain
- Cut spacer to match new tile thickness
- Sand contact surfaces
- Clean with alcohol
- Apply marine epoxy to join the pieces
- Let dry for 5 hours
- Install a new drain cover
4. Install New Tiles
- Layout tiles beforehand to plan placement
- Mix modified thin-set to peanut butter consistency
- Dampen the floor slightly before applying thinset
- Apply thin-set with 1/4-inch notch trowel
- Place tiles and adjust the position
- Press down with the grout float
5. Finishing Touches
- Clean excess thin-set the next day
- Mix and apply sanded grout with additive
- Clean tiles with a damp sponge after 40 minutes
- Let dry completely
- Apply sealer (two coats, 2 hours apart)
- Add silicone in corners
- Spray with soapy water and smooth silicone joints
DOWNLOAD THE ENTIRE DIY TILE-OVER-TILE INSTALLATION FROM THIS PDF
Can You Put Tile Over Tile in a Shower
Yes, You Can!
But Check These Things First: The success of tiling over existing tiles depends on a few key factors:
- Your old tiles must be firmly attached
- The wall structure needs to support extra weight
- No water damage should be present
- The surface must be clean and stable
How It Works
1. Surface Check
- Old tiles need good bonding
- No cracks or loose pieces
- Walls must be dry and solid
2. Bond Creation
- Special primers help new tiles stick
- Modified thin-set adds extra grip
- Both layers work together
3. Weight Management
- Walls carry about 7-8 pounds more per square foot
- Most bathroom walls can handle this
- Framing must be in good shape
Why It Can Work
- Old tiles provide a solid base
- Modern bonding materials are strong
- Installation is often faster than removal
- Less mess and work than demolition
When It Won’t Work
- If old tiles move or sound hollow
- When there’s water damage
- If drain height can’t be adjusted
- When the wall structure is weak
An Approximate Budget Analysis
I’ll break this down into essential items and their typical price ranges based on a standard shower size (about 32″ x 32″):
| Category | Item | Cost Range |
|---|---|---|
| Basic Materials | Bonding Primer | $30 – $45 per gallon |
| New Shower Tiles | $3 – $15 per sq. ft. | |
| Modified Thinset Mortar | $25 – $35 per 50lb bag | |
| Grout with Additive | $30 – $45 | |
| Silicone Caulk | $8 – $12 | |
| Drain Cover and Parts | $15 – $30 | |
| Tools | Utility Knife | $5 – $10 |
| Notched Trowel | $10 – $15 | |
| Grout Float | $8 – $12 | |
| Sponges and Cleaning Supplies | $15 – $25 | |
| Shop Vacuum (if needed) | $40 – $70 | |
| Total Cost Range | Low End (basic tiles, tools) | $275 – $350 |
| Mid-range (better quality tiles) | $400 – $600 | |
| High-End (premium tiles) | $700 – $900 |
Money-Saving Tips
- Use tools you already own
- Look for tile sales at local stores
- Buy a bit extra tile (10% more) to avoid running short
- Consider buying materials in bulk if doing multiple projects
Remember: These prices can change based on where you live and current market conditions. It’s smart to check local stores for the most current prices.
How to Ensure Proper Waterproofing
1. Water Protection Starts from Below
First, you need to check your existing tiles. I always tell my clients to look for these signs:
- No loose or hollow-sounding tiles when tapped
- No water stains on the floor below the shower
- No mold or mildew between tiles
- Solid, intact grout lines
2. Checking the Current Setup
Your old tile setup needs to have proper waterproofing already in place. Here’s what to look for:
- A working shower pan liner under the base tiles
- Waterproof backing behind wall tiles
- Good drainage with no standing water
- Working drain seals
3. Making It Extra Safe
Even with good existing waterproofing, I take these steps:
- Seal all seams where walls meet
- Put extra attention around the drain area
- Make sure the drain is at the right height with new tiles
- Use waterproof grout
- Add 100% silicone in all corners and edges
4. Important Daily Checks
Keep an eye out for:
- Water pooling anywhere
- Gaps in seals or caulking
- Cracks in grout lines
- Slow drainage
If you see water damage below your shower or feel spongy floors, stop and call a pro. That means a leak already needs fixing before adding new tiles.
Best Techniques to Deal with Increased Thickness
| Category | Action | Details |
|---|---|---|
| Dealing with the Drain | Measure Tile Thickness | Ensure accurate measurement of new tile thickness. |
| Use Drain Extension Ring | Raise the drain height for proper alignment. | |
| Check Drain Height | Ensure the drain sits slightly lower than the tile surface. | |
| Test Water Flow | Ensure proper drainage post-installation. | |
| Door Clearance Fixes | Check Door Functionality | Ensure the door opens and closes properly. |
| Add Longer Hinges | If needed, to ensure smooth door movement. | |
| Trim the Bottom of the Door | If necessary, for clearance with new tile height. | |
| Consider Sliding Door | If door clearance issues persist, consider a sliding door. | |
| Transitions Matter | Create Smooth Slopes at Edges | Ensure seamless transitions between surfaces. |
| Use Transition Strips | For different heights between surfaces. | |
| Avoid Trip Hazards | Ensure transitions are safe and smooth. | |
| Seal Edges Well | Prevent water leakage at the edges. | |
| Smart Planning Tips | Choose Thinner Tiles | To minimize height change when possible. |
| Use Tile-Over-Tile Thin-Set | Special thin-set for tile over existing tiles. | |
| Align Grout Lines with Old Tiles | Maintain consistent grout lines for aesthetic unity. | |
| Leave Gaps for Expansion | Small gaps at edges to allow for material expansion. | |
| Height Issues to Watch | Total Height Under Shower Head | Ensure the height is comfortable for use. |
| Shower Control Accessibility | Ensure easy access to shower controls. | |
| Soap Dish & Shelf Heights | Install at a comfortable, accessible height. | |
| Corner Edges at Wall Junctions | Watch for any potential height inconsistencies. |
Some Top Alternatives to Tiling Over Tile
1. Remove and Replace
- Pull out old tiles completely
- Start fresh with new waterproofing
- Install new tiles from scratch
- Takes more time but gives total control
- Good choice if you suspect water damage
2. Shower Panels
- Large waterproof panels that cover existing tiles
- Made from PVC or acrylic materials
- Quick to install, often in one day
- There are no grout lines to clean
- It comes in many styles and patterns
- It is much lighter than adding new tiles
3. Refinishing Existing Tiles
- Clean and prep tile surface
- Apply special bonding agents
- Paint with tile-specific coating
- Looks fresh without adding weight
- Less costly than new tiles
- It takes just a few days to finish
4. Prefab Shower Insert
- Complete shower unit
- Removes old tiles first
- Single-piece or multi-piece options
- Fast installation
- Built-in shelves and features
- No grout lines to maintain
5. Concrete Microtopping
- A thin layer of concrete overlay
- Creates the smooth, modern look
- Can be colored or stained
- Works on walls and floor
- Needs proper sealing
- It gives a unique, industrial style
Each option has its good points. Think about:
- Your budget
- How long you can wait
- The look you want
- Your cleaning preferences
- Your DIY skill level
DIY vs. Hiring a Professional – Which is the Best Option
| Option | Positive Points | Things to Think About |
|---|---|---|
| DIY Project | – Save money on labor costs ($500-$1000) | – Takes more time (2-4 days) |
| – Work at your own pace | – Need to buy or rent tools | |
| – Learn new skills | – Mistakes can be costly to fix | |
| – Control every step of the process | – Physical work can be tough | |
| – Pick exact materials and methods | – Need to research proper methods | |
| Hiring a Professional | – Gets done faster (1-2 days) | – Higher cost ($1000-$2500) |
| – Expert knowledge of methods | – Need to check references | |
| – Better access to materials | – Must coordinate schedules | |
| – Guaranteed work in most cases | – Less control over details | |
| – Less stress for you | – Might need to wait for availability | |
| My Suggestion | Do It Yourself If You: | Hire a Pro If You: |
| – Have basic DIY skills | – Need it done quickly | |
| – Can lift heavy items | – Want guaranteed results | |
| – Have time to spare | – Have a complex shower setup | |
| – Like learning new skills | – Lack of confidence in DIY work | |
| – Want to save money | – Have room in your budget |
Conclusion
Updating your shower tiles doesn’t have to mean ripping everything out. Now you know that tiling over existing tiles is a real option – as long as your current tiles are stable and your shower’s waterproofing is solid.
Whether you choose to DIY or hire a pro, remember to focus on proper surface prep, use the right materials, and pay special attention to waterproofing and drain height.
Want more bathroom tips?
Check out my other guides on “How to Install a Shower Pan,” “Tips for Choosing the Right Shower Tiles,” and “Complete Guide to Bathroom Waterproofing.”
Ready to start? Take a good look at your current shower condition and get those supplies ready.
Your refreshed shower awaits!

