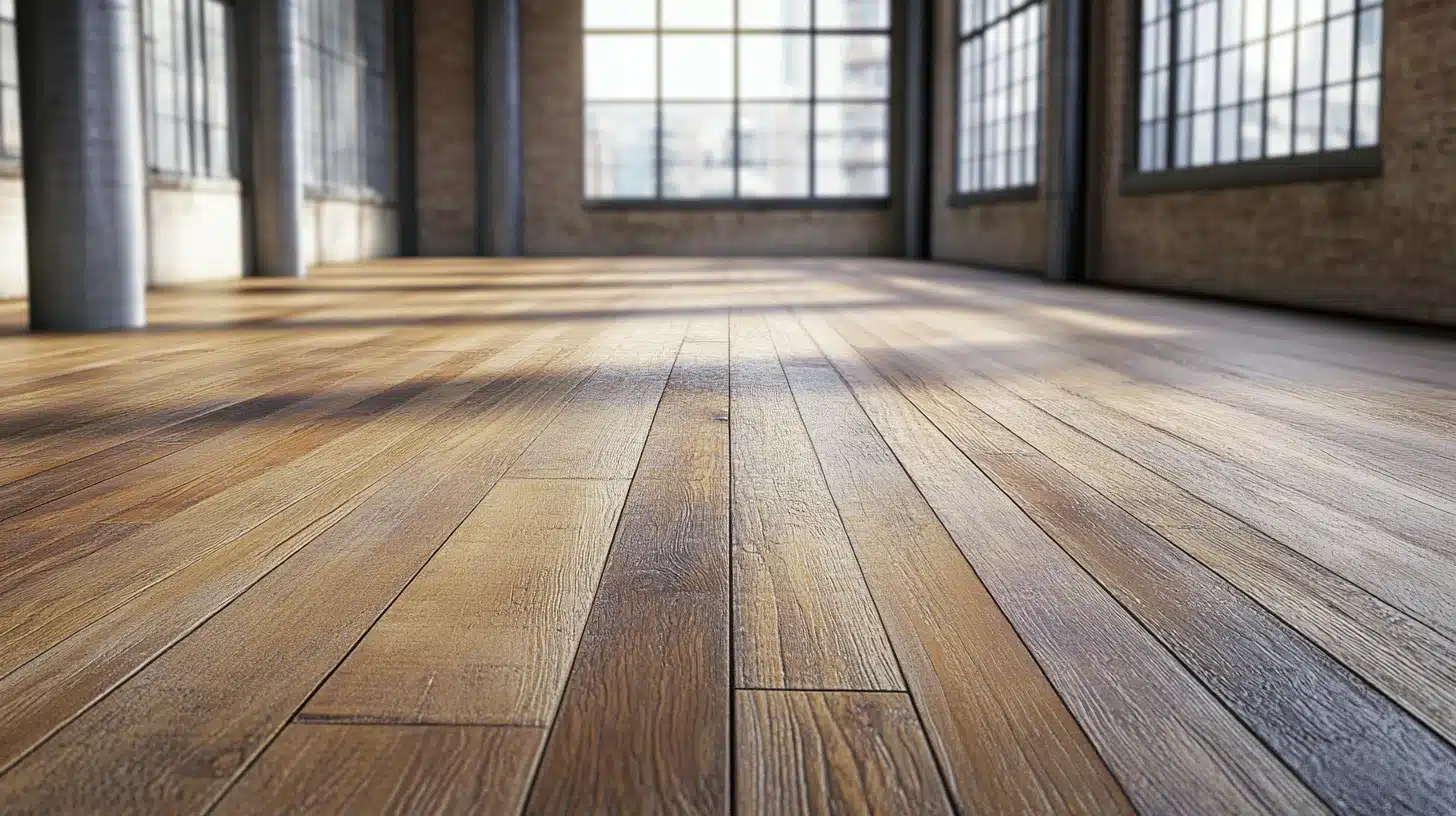
Waterproofing Plywood: Methods and How To Guide
I used to think plywood could handle anything, but without waterproofing plywood, it doesn’t last, especially outdoors.
If you’re building a patio table or fixing up an old desk, sealing it the right way makes a big difference.
In this guide, I’ll show you why waterproofing matters, what methods actually work, and how to apply them step-by-step.
You don’t need fancy tools or expert skills, just a clear plan and the right materials. If you want your project to hold up against moisture, this is where to start.
Let’s walk through it together and make sure your plywood stays strong, no matter the weather.
Why Should You Waterproof Your Plywood?
Plywood is strong, but it cannot fight moisture on its own. Without waterproofing, it becomes unusable.
- Rot: Plywood becomes damp, breaks down, and crumbles over time.
- Mold: Damp wood breeds mold, which can cause breathing issues indoors.
- De-lamination: Moisture weakens the glue between layers, leading to bending and warping.
Waterproofing stops these problems before they start. It helps your plywood last longer, look better, and stay safe to use indoors or out.
Best Methods for Waterproofing Plywood
When it comes to waterproofing plywood, there are various options available. Here are a couple of them:
1. Epoxy Resin ($60 – $100+)
Epoxy is one of the most durable ways to waterproof plywood. It forms a strong, clear layer that resists scratches, blocks water, and seals out moisture vapours.
It also fills small cracks and gaps in the wood, which helps prevent long-term damage. This makes epoxy great for outdoor plywood projects like benches, tables, planters, and even raised garden beds.
Epoxy takes longer to dry than other sealers. You’ll need to let each coat cure fully before applying the next. But once it’s done, it holds up for over five years without needing a re-coat.
While epoxy costs more upfront, it saves time and effort in the long run. Just make sure to follow the mixing directions carefully and always work in a well-ventilated area.
2. Polyurethane Sealers ($25 – $60)
Polyurethane offers a hard and waterproof layer that helps the wood last longer.
There are two types, oil-based and water-based. Depending on your requirement, you can opt for either.
Oil-based ($30 – $60 per gallon)
Oil-based polyurethane is durable and suitable for outdoor use. It only needs to be reapplied every 2-4 years. However, it takes time to dry and yellows over time.
Water-based ($25 – $45 per gallon)
Water-based polyurethane dries faster, does not yellow much over time, and is suitable for indoor use. However, it is not as durable, needs multiple coats and reapplication every 1-2 years.
Both are effective methods to waterproof either outdoor or indoor projects, and depending on the budget, reapplication, and durability, you can choose either.
3. Waterproof Glue Sealants ($5 – $10 per tube)
Glue sealants are perfect for sealing tight spots that other waterproofing methods might miss. They work by blocking water from getting into the joints, edges, and screw holes, places where resin or paint can’t always reach.
They’re especially useful between plywood layers or around fasteners where moisture can sneak in and cause swelling or warping over time.
Use only exterior-rated products like polyurethane glue or construction adhesive. These are made to handle outdoor weather, rain, and humidity without breaking down.
For full protection, pair glue sealants with another waterproofing method like paint, polyurethane, or epoxy. This combo helps protect both the surface and the vulnerable edges, giving you stronger and longer-lasting results.
4. Varnish ($40 – $70 per gallon)
Varnish is a clear coating that creates a hard, protective surface over plywood. It helps prevent moisture damage, reduces the risk of warping, and blocks harmful sunlight. This makes it a reliable choice for both indoor and outdoor projects.
When should you use marine varnish?
- Boats, docks, and balconies
- Areas with heavy sun or salt exposure
- Long-term outdoor protection (5+ years)
Its flexibility helps the plywood resist cracking or bending over time, which is especially important in places with changing temperatures or humidity.
For long-term outdoor use, marine varnish provides protection that can last more than five years. It only needs to be reapplied every 2 to 4 years, making it a low-maintenance option for keeping plywood strong and weather-resistant.
5. Latex and Acrylic Paint ($20 – $40 per gallon)
Latex and acrylic are well-suited for low-moisture and dry indoor projects like shelves or cabinets. They are easy to apply but need to be reapplied every 1-2 years.
It is not sufficient for outdoor projects, bathrooms, and high-use areas. Use a base layer of a glue sealant/primer and a top coat of paint for such areas.
Latex and acrylic paint only help in providing light protection, hence make sure to apply at least 2-3 coats.
6. Waterproof Membranes & Liquid Rubber ($80 – $150 per kit)
These give plywood a thick and flexible coating that is completely waterproof, suitable for projects where moisture is high and constant.
Why use these materials?
- Complete coverage: Creates a watertight barrier.
- Flexible: Moves and bends according to the wood
- Long-lasting: Suitable for rain and snow all year round and only needs reapplication after 5+ years.
These materials do not require primer or paint to be effective and are used to waterproof ship decks, bathroom subfloor, and roofs. They take a long time to apply and cure, but offer the best protection for large areas.
7. Fiberglass Resin ($100+ per kit)
Fibreglass resin forms a rock-hard and extremely waterproof layer. It is used in boat building and in constant moisture areas.
It blocks out both water and air while adding structural strength. It boosts the plywood’s durability against impacts and corrosion. Once applied, it lasts for over five years, making it a low-maintenance option.
It requires careful mixing in specific ratios and safety gear while handling it. Also, once cured, it’s very hard to sand or smooth out.
Fiberglass Resin is a highly effective method for waterproofing, and it is suitable for large projects that face constant humidity, moisture, and sunlight.
How to Prepare Plywood for Waterproofing
You need to prep the plywood first. That way, your waterproofing coat will stick better and last longer.
Step 1: Sand and Clean

Make sure the surface is smooth and clean. This helps the sealant stay in place.
- Brush off all dust with a stiff-bristle brush
- Wipe the surface using a damp cloth
- Sand along the grain using 120–150 grit sandpaper
- Use a sanding block for large, flat areas
- Dust or wipe off again after sanding
Clean wood gives you better coverage and stronger protection.
Step 2: Prime the Surface

Priming helps the waterproof layer stick and cuts down on how much you need to apply.
Best primers to use:
- Oil-based – Good for outdoor use, sealing grain, and blocking stains.
- Water-based – Low smell and great for indoor use.
- Shellac-based – Dries fast and works well on tricky spots.
Let the primer dry all the way before adding any waterproofing product.
Step 3: Seal Edges and Joints

Edges and seams let water in fast. Seal them now to avoid damage later.
Caulking tips:
- Use waterproof, exterior-grade caulk
- Seal around corners, joints, and all cut edges
- Smooth with a caulk tool or your finger
- Let it dry before you apply anything else
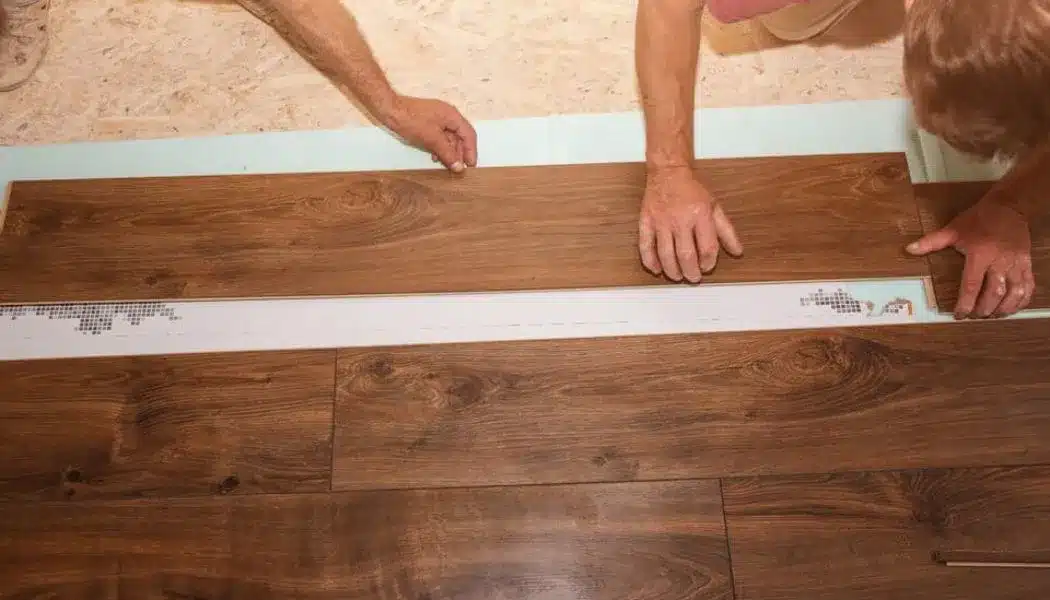
Step 4: Applying the Sealant

Once the plywood has been prepped and primed, you can begin the application process.
- For epoxy resin, mix small batches as directed and apply with a foam roller or brush, sealing edges afterward.
- For polyurethane, stir (don’t shake), brush on 2–3 coats, and sand lightly between each. For glue sealants, apply with a caulking gun, spread with a stick, and let it cure.
- Varnish should be brushed on in 3–4 coats with drying and sanding between layers.
- Latex or acrylic paint requires a primer base, 2–3 coats of paint, edge caulking, and a clear top sealer.
- For waterproof membranes or liquid rubber, clean the surface, fill small gaps, then roll on 2–3 even layers.
- Fiberglass resin requires a 2:1 mix with hardener, applied with a brush, layered with fiberglass cloth, and sanded between coats for thickness.
Polyurethane or silicone sealants can block tiny gaps that you might’ve missed and could otherwise weaken the plywood.
Choosing the Right Waterproofing Method for You
Choosing the right method can be tricky. We’ve compiled a list below that will help you decide which method to use for your project:
Outdoor Furniture: Use oil-based polyurethane, marine varnish, or epoxy resin for extra durability. These finishes help outdoor furniture handle sunlight, rain, and temperature swings.
Boats and Marine Use: Use epoxy resin, fiberglass resin with cloth, and marine varnish as a top layer. These materials offer heavy-duty waterproofing and resist saltwater and constant moisture.
Sheds and Exterior Walls: Use liquid rubber, waterproof membranes, or oil-based polyurethane. These options create a flexible but strong barrier for long-term weather protection.
Plywood Decks and Subfloors: Use liquid rubber, epoxy resin, and waterproof glue for edges. This combo handles foot traffic, trapped moisture, and heavy wear.
Indoor High-Moisture Areas: Use water-based polyurethane, low-VOC sealers, and waterproof caulk for edges. These choices protect without strong fumes—great for splash zones and humid rooms like kitchens and bathrooms.
Common Mistakes to Avoid
Waterproofing plywood isn’t hard, but skipping steps causes problems later on. Here are some common mistakes and how you can avoid them:
- Skipping prep: Sand and clean before applying any waterproofer. Let the first coat dry completely before applying the next.
- Not sealing edges: The edges of the plywood absorb water quickly. Seal them using a caulk gun and apply multiple coats to avoid bending.
- Too few coats: Apply 2-3 coats of the sealant evenly to seal gaps and stop moisture. Let it dry fully.
- Wrong product: Select the product suitable for you based on the project, climate, water exposure and wear.
Avoiding these simple mistakes while waterproofing your plywood the first time will protect it for many years to come, so do it right!
Conclusion
I’ve learned that waterproofing plywood really helps protect what you build from moisture and damage. Now that you’ve got the steps and methods down, you can make your plywood last, outside, on floors, or for furniture.
I always think about where I’ll use the plywood before choosing a method. You should do the same; pick what works best for your space and budget. Just make sure you prep it right, seal the edges, and let it dry completely.
If you want more hands-on help, check out the rest of my how-to guides on the website. Keep building, and I’ll keep sharing what works!
Frequently Asked Questions
Can I waterproof plywood without sanding?
You can, but it’s not a good idea. Sanding allows the sealant to bond strongly. For the best results, lightly sand your plywood, wipe off the dust, and seal it.
What’s the safest option around pets or kids?
If you’re waterproofing plywood indoors or in areas with kids and pets, then go for low-VOC, water-based polyurethane or wood-based oils.
Can you waterproof painted plywood?
Yes, but there’s a catch. Waterproofers do not soak well on pre-painted plywood. Use a clear waterproof topcoat like water-based polyurethane or acrylic sealer.