Can You Paint Over Chalk Paint?
I painted my first piece with chalk paint last month, a vintage dresser I found at a yard sale. Let me tell you what I learned: chalk paint is a water-based paint that gives furniture a soft, matte finish.
It sticks to most surfaces without the need for sanding or priming, which made my work much simpler.
After using chalk paint on several pieces in my home, I understand why so many people choose it. The paint goes on thick, covers well, and dries quickly.
Plus, it creates that beautiful, old-world look that can make even new furniture look like a cherished antique.
I wanted to change the color of my chalk-painted dresser, and I had many questions.
Can I paint over chalk paint? Do I need to prep the surface? What type of paint works best? I tested different methods and found clear answers to these questions.
I’ll share my hands-on experience and step-by-step process, so you can successfully paint over your chalk-painted pieces.
The Basics of Painting Over Chalk Paint
Can You Paint Over Chalk Paint?
When I first thought about repainting my chalk-painted dresser, I wasn’t sure if it would work.
After doing my research and testing it myself, I can say with certainty – yes, you can paint over chalk paint.
I found out that chalk paint actually makes an excellent base for new paint. The matte, slightly textured surface helped my new paint stick really well.
I tried different types of paint on small areas first. Regular latex paint, milk paint, and even more chalk paint all worked nicely.
The key thing I learned was that the existing chalk paint needs to be in good condition – no peeling or bubbling.
On my first attempt with a small side table, I skipped checking the surface carefully and had some issues with the new paint not sticking in spots where the chalk paint was wearing thin.
How to Ensure Success When Painting Over Chalk Paint?
Through trial and error on several pieces, I’ve found some essential steps for success. Surface preparation matters more than anything else.
Before I started on my dresser, I cleaned it thoroughly with a damp cloth and mild soap. I waited until it was completely dry – this took about an hour in my case.
I lightly sanded the entire surface with fine-grit sandpaper (220 grit worked perfectly). This step might seem unnecessary since chalk paint is already matte, but it helped the new paint bond better.
I made sure to remove all the dust with a tack cloth afterward.
One thing that surprised me was that I didn’t need a primer in most cases.
However, when I painted my dark blue chalk-painted bookshelf with a lighter color, using a primer saved me from applying multiple coats of the new paint.
The main rule I follow now is, if I’m making a big color change, especially going lighter, I use a primer.
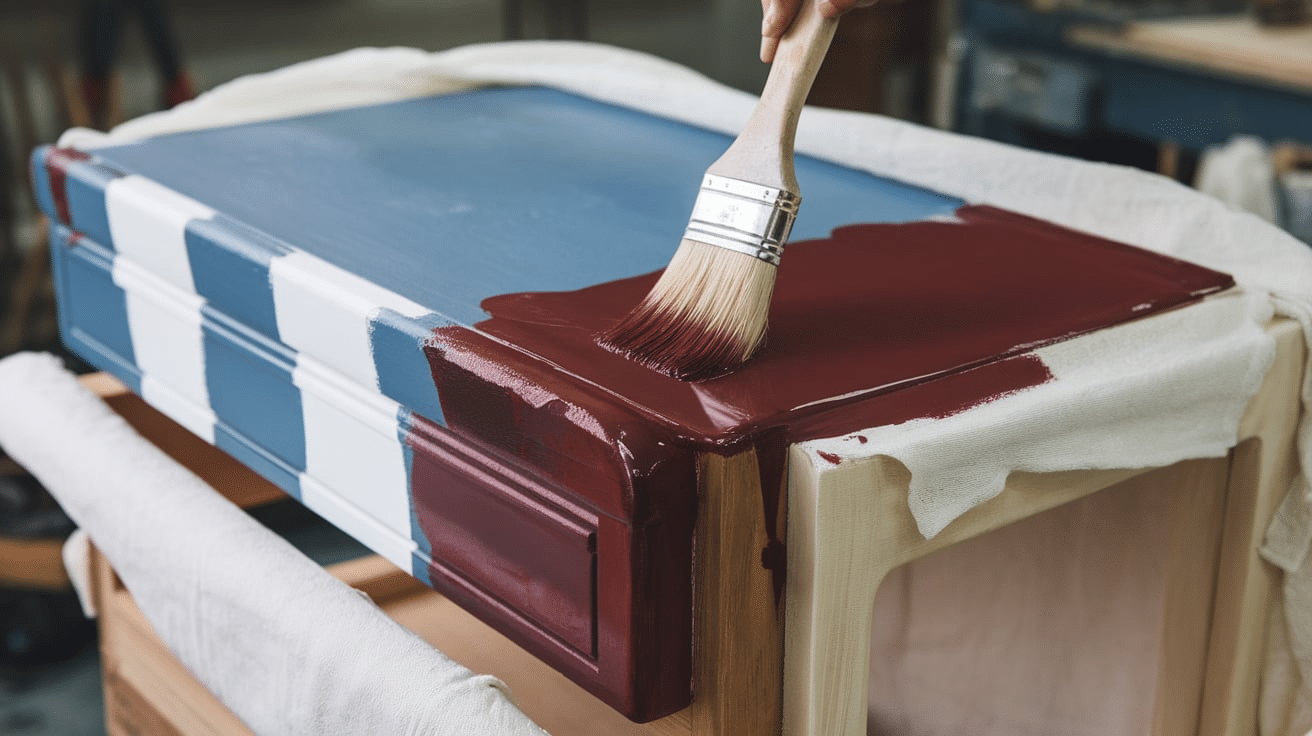
I noticed that thin, even coats work much better than thick ones. When I tried to rush and put on thick coats, I ended up with drips and an uneven finish.
Taking my time with light coats gave me much better results, even though it meant waiting about two hours between coats.
Preparing Chalk Paint for a New Coat
Is Sanding Required Before Painting Over Chalk Paint?
I spent quite a bit of time figuring this out on my own furniture projects. While chalk paint is known for its no-sand-needed application, I learned that light sanding before repainting makes a big difference.
When I skipped sanding on my first piece – a small end table – the new paint didn’t stick as well as I wanted.
For my next project, a large cabinet, I tried light sanding with 220-grit sandpaper. The difference was clear: the new paint went on smoother and stuck better.
I didn’t need to sand heavily – just enough to create a slightly rough surface. This took me about 15 minutes for a large piece, and it was worth every minute.
Cleaning the Surface
After my first attempt at repainting went wrong, I realized that cleaning isn’t just a suggestion – it’s essential.
I found that chalk paint can collect a lot of dust and dirt over time. Before painting my dining room chairs, I wiped them down with a damp cloth and mild soap, then let them dry completely.
What I learned works best? First, I dust with a dry cloth to remove loose particles. Then, I use a slightly damp cloth with a tiny bit of dish soap.
Finally, I wipe again with a clean, damp cloth to remove any soap residue. This three-step process took me about 10 minutes per piece but made a huge difference in how well the new paint adhered.
Applying a Primer
Through my experiences, I’ve found that primer isn’t always necessary, but it can be very helpful in certain situations.
When I painted over my dark green chalk-painted dresser with a light gray color, using primer saved me from applying countless coats of paint.
My simple rule: If I’m making a big color change (especially going lighter) or if the existing chalk paint surface feels chalky even after cleaning, I use a primer.
I tested this on my bookshelf makeover – half with primer and half without. The side with primer needed two fewer coats of paint to get full coverage.
Now I use for most color changes, I apply one thin coat of water-based primer. I let it dry completely – usually about an hour in my climate.
For dark-to-light color changes, I might need two coats of primer, but it still saves time compared to applying multiple coats of paint.
Types of Paint You Can Use Over Chalk Paint
Oil-Based Paints Over Chalk Paint
I tried oil-based paint on my kitchen hutch, and I want to share my experience. While it worked well, I noticed some key things.
The oil-based paint stuck firmly to the chalk paint surface, giving me a very durable finish. This proved perfect for my hutch, which gets daily use.
The downside I found was the long drying time. It took nearly 24 hours between coats, and the strong smell meant I had to keep my windows open.
Important note: I learned that once you use oil-based paint, you can’t go back to water-based options without major preparation.
The finish is beautiful and tough though – my hutch still looks perfect after months of use.
Latex Paints Over Chalk Paint
Latex paint became my go-to choice after trying it on several pieces. I used it on my bedroom dresser, and the results were great.
What I love most about it dries quickly (I waited only 2-3 hours between coats), has little odor, and cleans up easily with water.
During my projects, I found that good-quality latex paint in a satin finish works best. When I tried a cheaper brand on one shelf, it needed more coats and didn’t level as nicely.
Tip: I thin the first coat slightly with water (about 10%) to help it grip better. This worked well for me, especially on larger flat surfaces.
Acrylic Paints and Their Compatibility
After experimenting with acrylic paint on smaller pieces like my side tables, I found it works surprisingly well over chalk paint.
The paint dried very quickly – I could add another coat in about an hour. The finish came out smooth and even, though I noticed it wasn’t as durable as latex or oil-based paints.
What did I learn? Acrylic paint works best on decorative pieces that don’t get heavy use. When I used it on my coffee table, which gets a lot of wear, I had to add a clear topcoat for protection.
What worked for me? I applied thin coats using a good-quality synthetic brush, and this gave me the best results with minimal brush marks.
For my high-traffic pieces, I now pick latex or oil-based paints instead of acrylic. But for decorative items like picture frames or wall shelves, acrylic paint gives me beautiful results with less hassle.
I particularly like how it lets me blend colors for special effects – something I tried successfully on a small display cabinet.
How to Properly Paint Over Chalk Paint?
Step 1: Prep the Surface Properly
After learning from my mistakes, I’ve developed a solid preparation routine. First, I check the entire surface for any damage.
On my dining room table, I found a few small chips that needed filling with wood putty. This extra attention to detail made a big difference in the final result.
My preparation steps now include:
- Wiping down with a dry cloth
- Cleaning with mild soap and water
- Light sanding with 220-grit sandpaper
- Removing dust with a tack cloth
Tip: I found that using a sanding sponge instead of regular sandpaper made it easier to reach all the curves and corners of my furniture pieces.
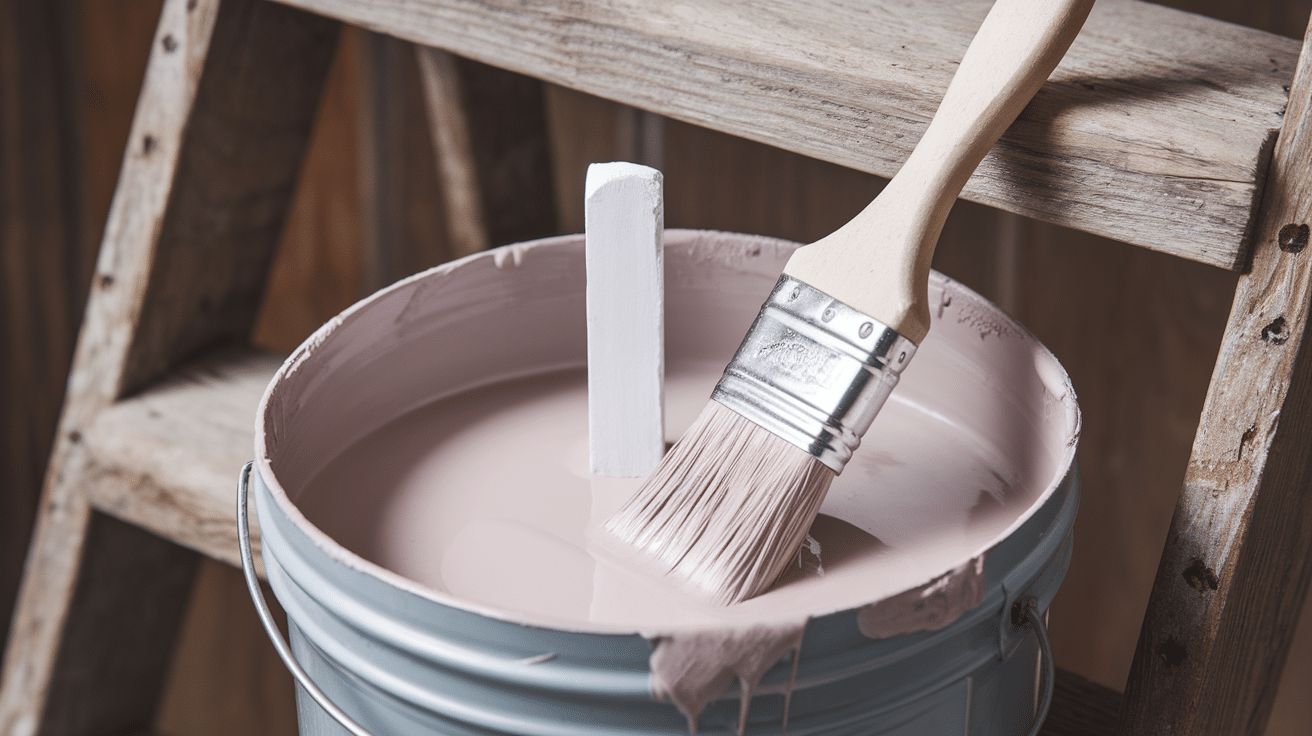
Step 2: Choose the Right Paint
Through trial and error, I’ve learned that paint choice makes a huge difference. For my kitchen chairs, I picked a high-quality latex paint in a satin finish. This has held up well against daily use.
For my paint selection, I consider:
- The item’s location (indoor/outdoor)
- Amount of use it gets
- Desired finish (matte, satin, gloss)
- Current color versus the desired color
Step 3: Apply the First Coat
My first coat technique has improved with practice. Using a good-quality brush, I apply thin, even strokes in one direction.
When I painted my bookshelf, I found that working in small sections helped me maintain a wet edge and avoid lap marks.
What worked best for me? I pour a small amount of paint into a separate container rather than painting directly from the can. This keeps the main paint clean and prevents it from drying out.
Step 4: Let it Dry and Apply Additional Coats
Patience matters here – I learned this the hard way. When I rushed the second coat on my first project, the paint got gummy. Now I wait:
- 2-3 hours between coats of latex paint
- 24 hours for oil-based paint
- 1-2 hours for acrylic paint
I typically need 2-3 coats for good coverage. On my dresser makeover, I lightly sanded between coats with very fine sandpaper (320-grit). This extra step gave me an incredibly smooth finish.
Step 5: Finish with a Protective Topcoat
Adding a protective topcoat was a game-changer for my heavily used pieces. On my coffee table, I applied two thin coats of water-based polyurethane.
This made the surface much more resistant to scratches and water rings.
For the topcoat application:
- I wait 24-48 hours after the final paint coat
- Use a foam brush for a bubble-free finish
- Apply thin coats
- Allow proper drying time between coats
The difference in durability between pieces with and without a topcoat is significant.
My protected kitchen table still looks fresh after months of daily use, while an unprotected side table shows wear much sooner.
The Best Uses for Painting Over Chalk Paint
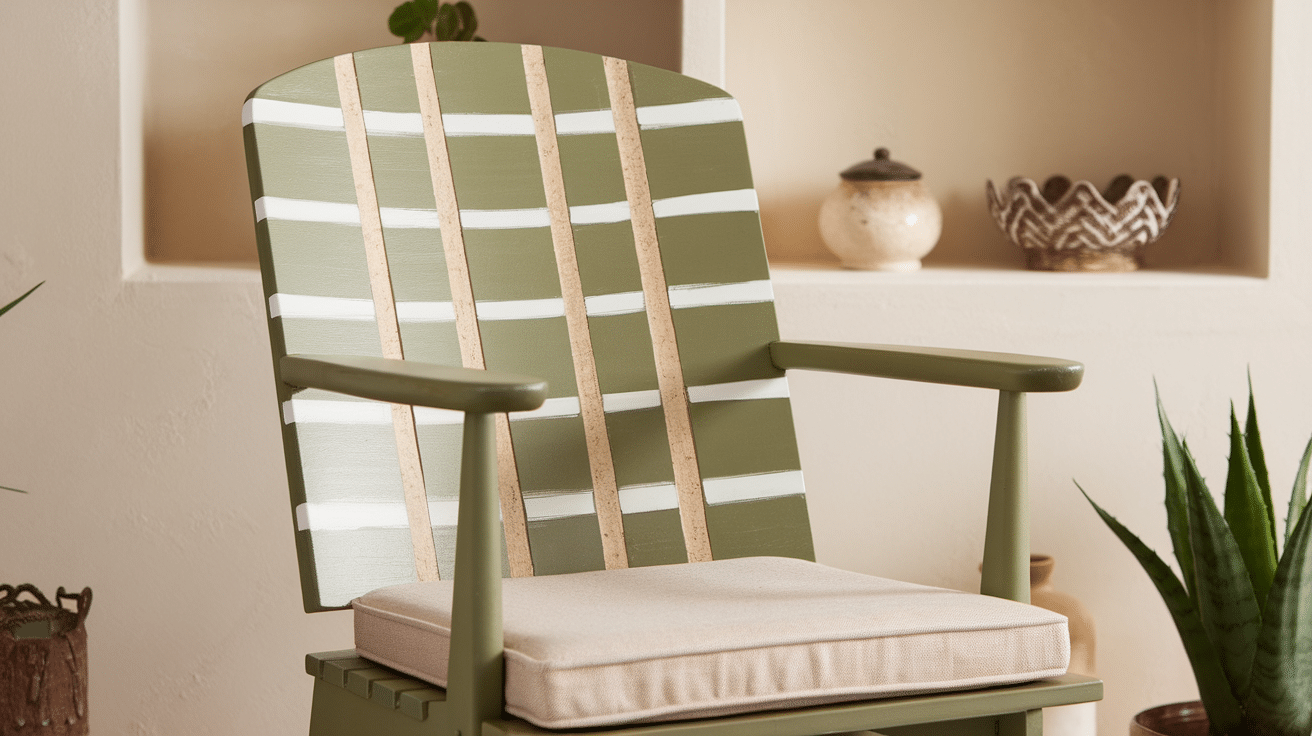
Giving New Life to Old Furniture
After trying this on multiple pieces, I can say painting over chalk paint works wonderfully for furniture updates.
When I first painted my grandmother’s old dresser with chalk paint, I chose navy blue.
A year later, I wanted a lighter look for my bedroom and painted it with a soft gray. The transformation was better than I expected.
I found that pieces with good bones but outdated finishes work perfectly for this technique. My dining room chairs started with black chalk paint, but when I changed my color scheme, I painted them cream.
The finish held up beautifully, and the subtle texture from the original chalk paint added character to the final look.
Customizing Chalk Painted Walls or Fixtures
When I moved into my home, one wall in my office had dark gray chalk paint. Rather than strip it, I painted over it with a warmer tone.
The wall texture remained interesting but subtle. The same technique worked well on my built-in bookshelves – I changed them from white chalk paint to a pale blue that brightened the whole room.
The paint went on smoothly, and because chalk paint creates such a good base, I needed fewer coats than expected.
My bathroom light fixtures, originally chalk-painted in bronze, got an update to matte black. The finish has held up well even in the humid bathroom environment.
Updating the Look of Your Décor
Small decor pieces are perfect for experimenting with painting over chalk paint. I started with some picture frames I had chalk-painted white.
When I wanted to match my new color scheme, I painted them sage green. The detail work on the frames actually looked better after the second paint job, the layers added depth to the carved areas.
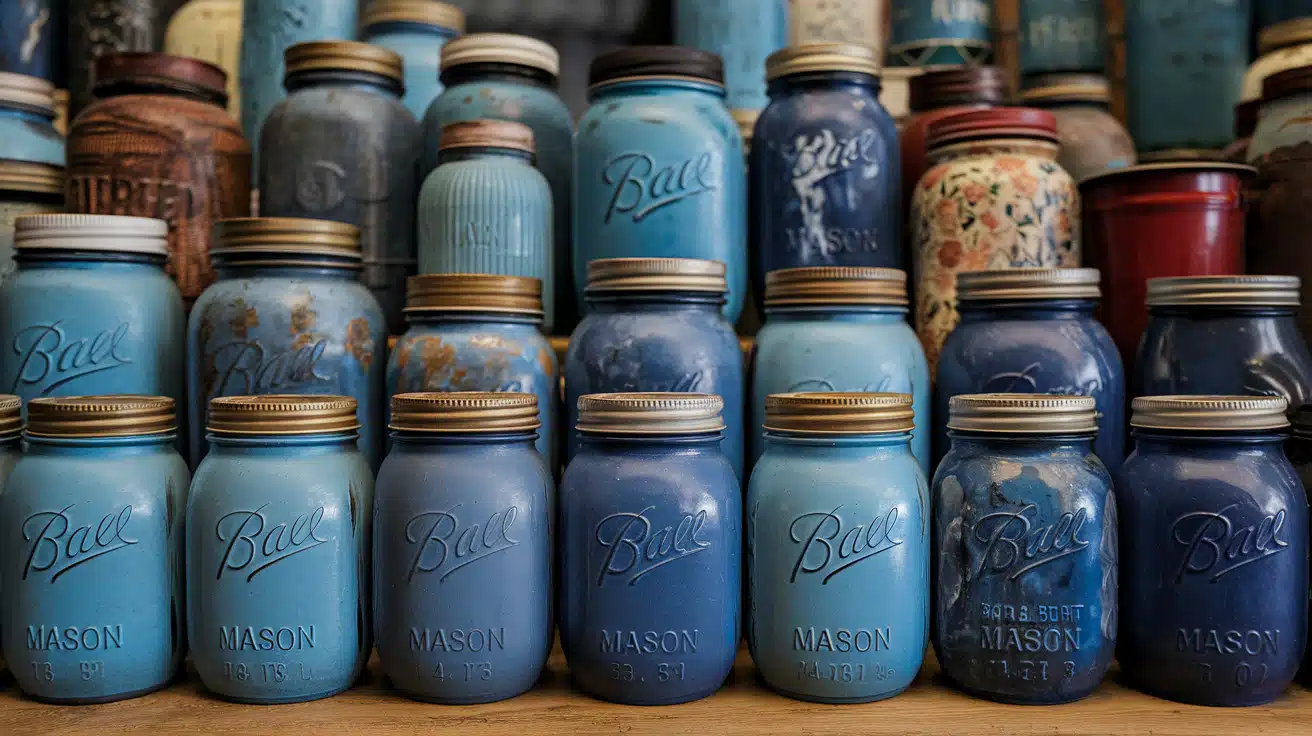
My favorite project was redoing my kitchen canisters. They started with turquoise chalk paint, but I painted them with a warm cream color to match my new kitchen design.
The texture from the original chalk paint gave them a handmade quality that plain paint alone wouldn’t have achieved.
For all these smaller items, I found that the update process was quick and the results lasted well with proper preparation.
Conclusion
From my hands-on experience repainting dozens of chalk-painted pieces, I can say it’s definitely worth the effort when you want to update your furniture.
The process is simpler than stripping or starting fresh, and the results can be stunning when done right.
The key to success lies in proper preparation and patience. Through my projects, I’ve found that taking time to clean and sand makes all the difference.
Good-quality paint and the right tools matter just as much as technique. If you’re unsure about a large piece, start with something small like a picture frame to build confidence.
Ready to start your painting project? Remember my three golden rules: prepare well, use quality materials, and don’t rush between coats.
If you’d like more painting tips or have questions about your specific project, leave a comment below. I’d love to help you create a finish you’ll be proud of.
Frequently Asked Questions
Can You Paint Any Color Over Chalk Paint?
Yes, I’ve successfully painted light over dark and dark over light colors. The key is using primer for big color changes.
When I painted my black chalk-painted table white, two coats of primer gave me the perfect base. Any color works, but the number of coats needed may vary.
How Long Should Chalk Paint Cure Before Painting Over It?
From my experience, waiting at least 24 hours is essential. When I rushed and painted over a fresh chalk paint surface, I got poor adhesion.
For best results, I now wait 48 hours, especially in humid conditions. This extra time ensures the chalk paint is fully cured.
What Happens If You Don’t Sand Before Painting?
I learned this the hard way. When I skipped sanding my first piece, the new paint peeled in spots. Without that light scuff, the paint struggles to grip.
Even minimal sanding with fine-grit paper makes a big difference in how well the new paint sticks.
Do You Need Special Brushes for Painting Over Chalk Paint?
Through trial and error, I found that good-quality synthetic brushes work best. When I used cheap brushes, they left bristles and streaks in the finish.
For large, flat surfaces, a foam roller gives me the smoothest results.
Will the New Paint Last as Long as the Original Chalk Paint?
Based on my projects, properly applied paint over chalk paint is very durable. My kitchen table, painted over two years ago, still looks fresh.
The secret is proper preparation and using the right type of paint and sealer for the piece’s intended use.