Best Gold Paints for Wood Projects
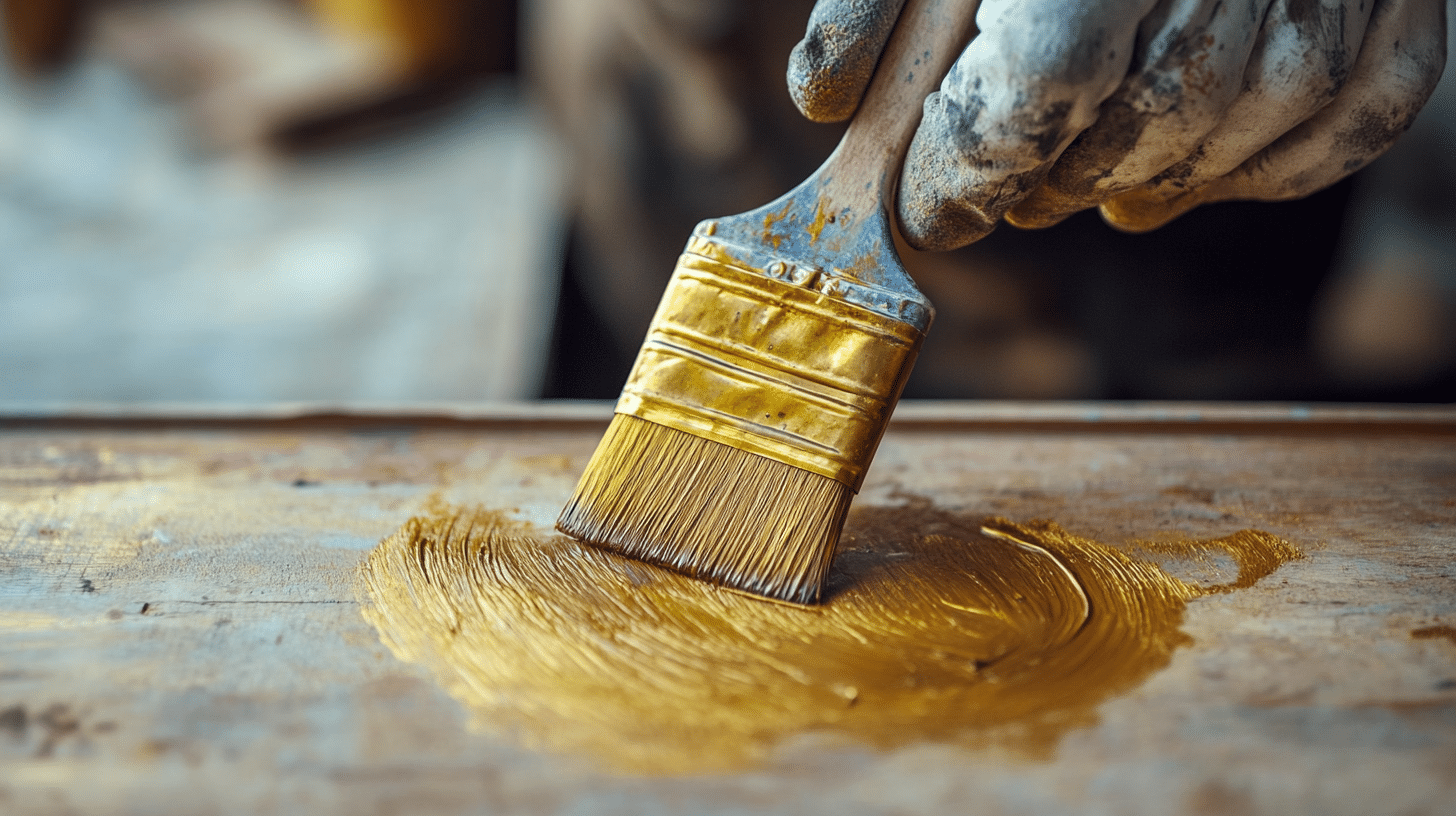
Like you, I understand how frustrating it can be to pick the right gold paint for wood. I’ve spent hours trying different brands, dealing with paints that chip, fade, or don’t shine right on wooden surfaces.
I’m a DIY enthusiast who has tested various gold paints on various wood types. Through my hands-on testing, I’ve found the ones that truly work well.
In this guide, I’ll share my top picks for gold paints that stick well to wood, look great, and last long.
I’ll tell you what makes each painting special and help you choose the perfect one for your project.
Understanding Gold Paint & Its Types
From my years of painting wooden furniture, I’ve learned that gold paint comes in several forms. Let me break them down in simple terms:
1. Metallic Acrylic Paint: I find this type perfect for most wood projects. The paint has tiny metal bits mixed in, giving a bright shine. It dries fast and sticks well to wood. Plus, it’s water-based, making cleanup much easier with just soap and water.
2. Oil-Based Gold Paint: These paints take longer to dry, but they’re worth the wait. I use them when I need a finish that can handle rough use. They sink into the wood better than other types. The shine lasts longer too, though you’ll need paint thinner for cleanup.
3. Spray Gold Paint: When I work on tricky spots or want even coverage, spray paint is my go-to choice. It reaches hard places and leaves no brush marks. Just remember to spray in thin layers and keep the can moving.
4. Gold Leaf Paint: This isn’t regular paint – it’s super fine metal pieces in liquid form. I save this for special projects where I want the richest gold look. It costs more but gives a finish that looks like real gold.
5. Water-Based Gold Paint: These are my picks for quick projects. They dry in about an hour and don’t smell strong. The shine isn’t as bright as other types, but they’re great for subtle gold touches.
Quick Tips I’ve Learned:
- Test your paint on a hidden spot first
- Most gold paints need 2-3 coats for the best look
- Let each coat dry fully before adding the next
- Use a primer on raw wood for better results
- Keep your brush strokes going in one direction
Top Gold Paint for Word
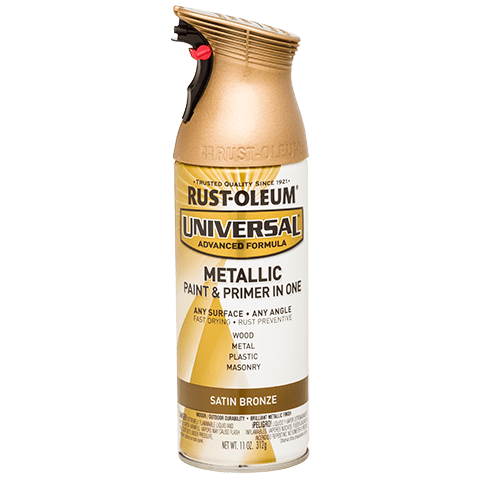
1. Rust-Oleum Metallic Spray Paint
Key Features
- Dries in 10-15 minutes
- One can cover about 12 square feet
- It has a built-in primer
- Works indoors and outdoors
- Stands up well to weather
- Strong bond to wood surfaces
Ideal Uses
- Large wooden furniture pieces
- Outdoor wood decor
- Fast home makeover projects
- Picture frames
- Woodcraft items
- Garden furniture
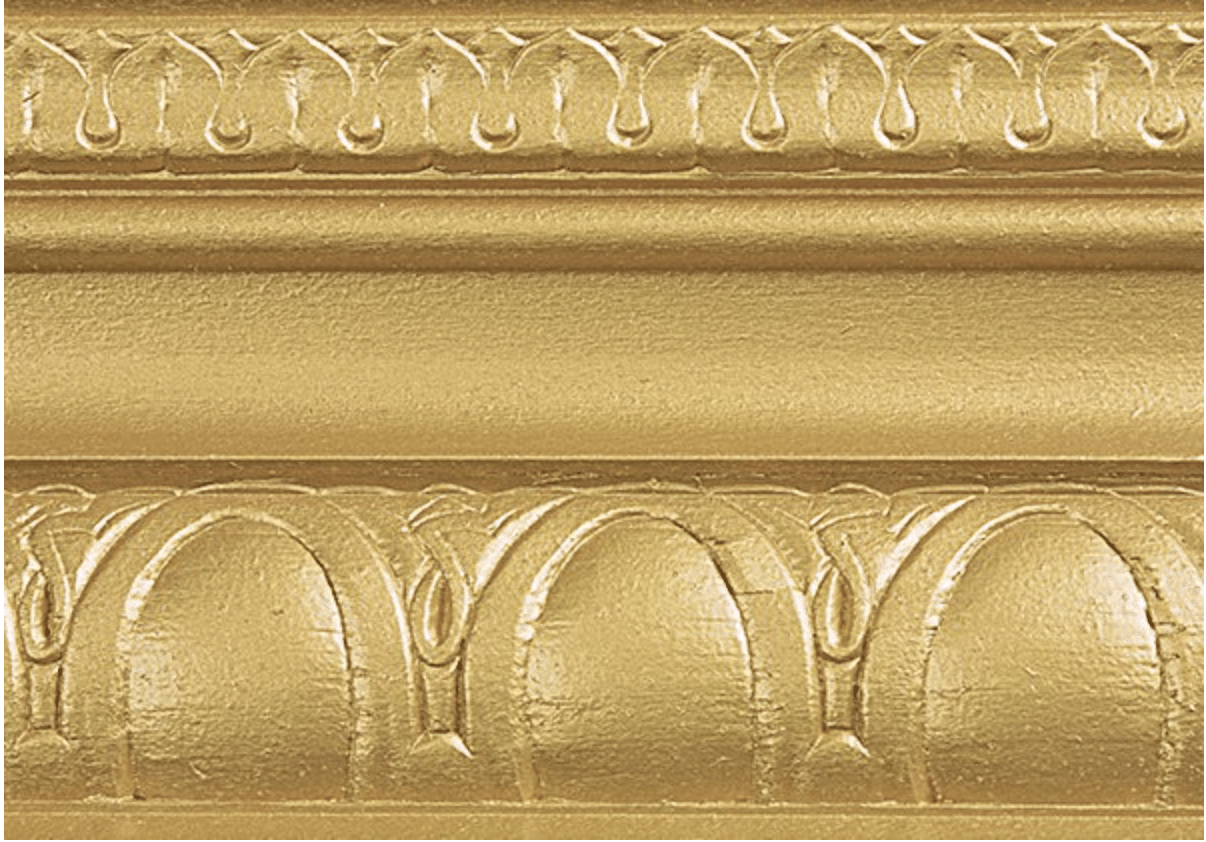
2. Modern Masters Metallic Paint (Olympic Gold)
Key Features
- Brush-on formula
- Low odor
- Water Cleanup
- It takes 2 hours to dry fully
- It won’t fade in sunlight
- Self-leveling formula
Ideal Uses
- Fine wooden crafts
- Indoor furniture
- Trim work
- Small detail areas
- Wood accent pieces
- Cabinet touch-ups
3. FolkArt Treasure Gold Majestic Gold
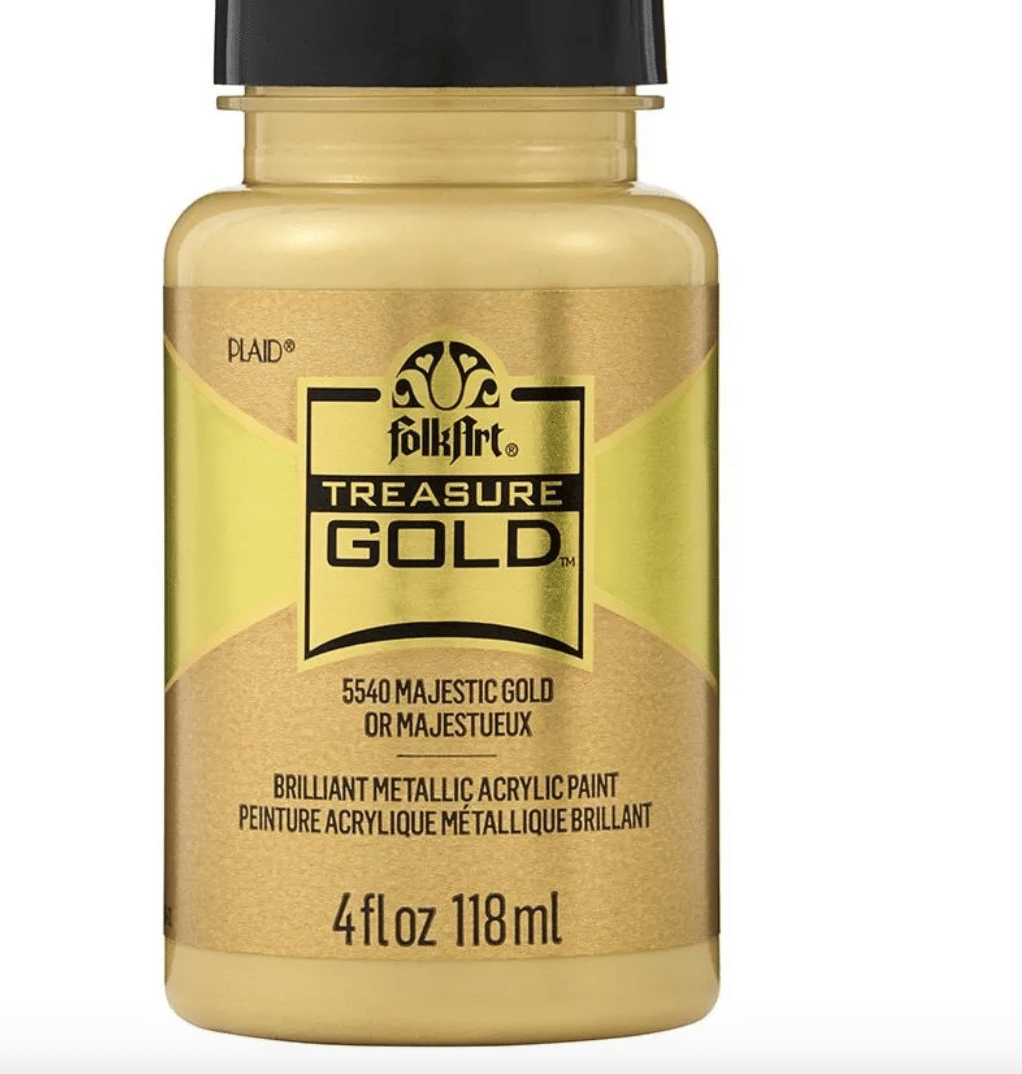
Key Features
- Creamy texture
- Quick 1-hour dry time
- Non-toxic formula
- Good for tight spots
- Easy brush control
- It needs no special tools
Ideal Uses
- Small wood projects
- Detailed paintwork
- Kids’ craft items
- Wood jewelry boxes
- Picture frames
- Decorative touches
4. Amaco Rub n Buff Antique Gold

Key Features
- Wax-based formula
- Tiny 0.5 oz tube
- Quick 30-minute dry time
- Goes on with fingers or cloth
- Strong coverage
- Little goes far
Ideal Uses
- Wood edges
- Small touch-ups
- Adding aged looks
- Highlighting details
- Quick fixes
- Wood carvings
5. Lowe’s Krylon Fusion All-In-One Gloss

Key Features
- Any-angle spray system
- Dries in 20 minutes
- Primer included
- Big coverage area
- Strong grip
- Good for many surfaces
Ideal Uses
- Big wood projects
- Quick makeovers
- Outdoor items
- Wood furniture
- Large frames
- Craft projects
How to Choose the Right Gold Paint for Your Project
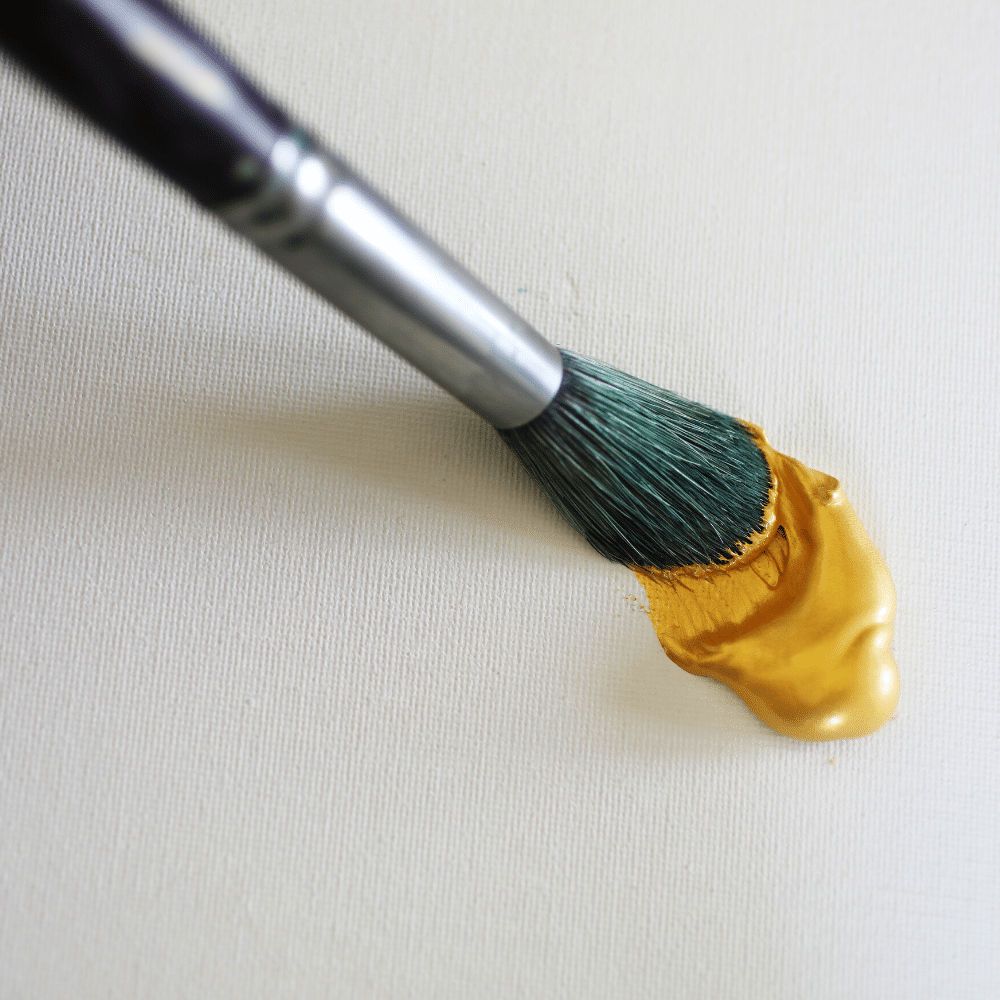
1. Surface Size Matters
I’ve found that the size of your wood project should guide your paint choice:
- For small items (under 2 square feet): Brush-on paints work best
- For medium items: Either brush-on or spray paints do well
- For large surfaces: Spray paints save time and give even coverage
2. Indoor vs Outdoor
Use Based on where your project will live:
- Indoor items: Any gold paint type works well
- Outdoor items: Pick paints with UV protection and weather resistance
- Semi-outdoor (like porches): Use oil-based or specific outdoor paints
3. Time and Budget
Let me share what I’ve learned about time and cost:
- Quick projects: Pick fast-drying sprays
- Budget projects: Water-based paints cost less
- Long-term items: Oil-based paints last longer
- Small touch-ups: Rub-on waxes are cost-effective
4. Finish Type
Think about the look you want:
- Bright shine: Pick metallic sprays
- Soft glow: Choose water-based paints
- Old-world look: Use rub-on waxes
- Rich depth: Go for oil-based paints
5. Skill Level
Be honest about your painting skills:
- First-time painters: Start with water-based paints
- Some experience: Try spray paints
- Good control: Use brush-on metallics
- Detail work: Pick specialized gold paints
6. Application Method
Consider how you’ll put on the paint:
- Brush: Good for small areas and detail
- Spray: Best for large, flat surfaces
- Rub-on: Perfect for edges and highlights
- Roll-on: Works well for big, flat areas
7. Clean-Up Needs
Think about after-project cleanup:
- Easy cleanup: Choose water-based paints
- Less worry: Use spray paints
- Detailed work: Pick brush-on types
- Quick fixes: Try rub-on waxes
8. Safety Needs
Keep these points in mind:
- Indoor use: Pick low-odor options
- Kids’ items: Use non-toxic paints
- Workspace: Think about ventilation
- Time limits: Consider dry times
A Comparision Between Gold Paint & Gold Leaf
| Aspect | Gold Paint | Gold Leaf |
|---|---|---|
| Price Point | • Costs $10-30 per container | • Costs $25-50 per small pack |
| • Covers more area for less money | • Takes more materials to finish | |
| • Needs fewer tools to apply | • Needs special glue and tools | |
| Skill Level Required | • Simple to use with basic tools | • Needs careful handling |
| • Works like regular paint | • Requires special methods | |
| • Fixes mistakes easily | • Hard to fix mistakes | |
| • Takes less practice to master | • Takes time to learn well | |
| Durability | • Stands up to daily use | • Can scratch easily |
| • Resists scratches well | • Shows wear marks fast | |
| • Touch-ups are simple | • Fixes take more work | |
| • Good for busy areas | • Best for show pieces | |
| Look and Shine | • Gives a good metal look | • Looks most like real gold |
| • Shine stays the same | • Changes with light | |
| • Less depth of color | • Rich color depth | |
| • More modern finish | • Classic, high-end finish | |
| Time Investment | • Takes 1-3 coats | • Needs base coating |
| • Dries in hours | • Takes days to finish | |
| • Quick to apply | • Slow to apply right | |
| • Simple process | • Complex process | |
| Care Needs | • Clean with normal stuff | • Needs gentle cleaning |
| • Holds up to washing | • May tarnish over time | |
| • Easy maintenance | • Takes careful handling | |
| • Less special care | • More upkeep needed | |
| Best Project Types | • Daily use items | • Special pieces |
| • Kids’ furniture | • Wall art | |
| • Outdoor things | • Fine Furniture | |
| • Quick makeovers | • Show items |
How to Prepare Wood Surfaces for Gold Paint
Clean the Surface
I start every project with cleaning because it really matters:
- Wipe off all dust with a dry cloth
- Remove dirt with mild soap and water
- Let the wood dry fully (24 hours works best)
- Use white spirit for sticky spots
- Check for old paint bits
Fix Surface Problems
Before painting, I always:
- Fill holes with wood filler
- Let the filler dry completely
- Fix loose parts
- Tighten any screws
- Remove old paint flakes
Sand the Wood
Here’s my sanding method:
- Start with 80-grit paper for rough spots
- Move to 120-grit all over
- Finish with 220-grit for smoothness
- Wipe off dust between steps
- Feel for smooth spots
Apply Wood Primer
I’ve learned these primer tips:
- Use wood-specific primer
- Apply thin, even coats
- Let each coat dry well
- Sand lightly after the primer dries
- Check coverage fully
Room Setup
I make sure to:
- Pick a dust-free space
- Keep room temp at 65-75°F
- Set up good lighting
- Cover nearby items
- Create good airflow
Tool Prep
I gather these tools:
- Clean brushes or sprayers
- Fresh sandpaper
- Clean rags
- Drop cloths
- Face mask
Final Checks
Before painting, I always:
- Test in a hidden spot
- Check the weather (if outside)
- Read paint instructions
- Mix paint well
- Put on safety gear
Best Application Techniques for Gold Paint on Wood
| Category | Details |
|---|---|
| Brush Application Method | First Coat: |
| • Use a flat brush (2-3 inches wide) | |
| • Paint with the wood grain | |
| • Keep strokes long and steady | |
| • Apply thin, even layers | |
| • Work in small sections | |
| • Let dry 2-3 hours | |
| Second Coat: | |
| • Sand lightly between coats | |
| • Clean off dust with cloth | |
| • Apply paint a bit thicker | |
| • Follow same wood grain path | |
| • Check coverage as you go | |
| • Wait 24 hours to dry | |
| Spray Paint Method | Setup: |
| • Keep can 10-12 inches away | |
| • Shake can for 2 minutes | |
| • Test spray on paper first | |
| • Move arm, not just wrist | |
| • Work in good light | |
| Technique: | |
| • Spray side to side | |
| • Use steady movement | |
| • Keep speed even | |
| • Overlap each pass | |
| • Apply 2-3 thin coats | |
| • Wait 15 minutes between coats | |
| Foam Roller Method | Best For: |
| • Large flat areas | |
| • Table tops | |
| • Cabinet doors | |
| • Smooth surfaces | |
| • Even coverage | |
| Steps: | |
| • Use small foam roller | |
| • Load paint lightly | |
| • Roll in one direction | |
| • Keep pressure light | |
| • Check for drips | |
| • Do edges last | |
| Detail Work | Small Areas: |
| • Pick small artist brushes | |
| • Work from inside out | |
| • Clean brushes often | |
| • Take breaks to check work | |
| • Fix runs right away | |
| Tips I’ve Learned | • Never rush the job |
| • Keep room dust-free | |
| • Check lighting often | |
| • Clean tools between coats | |
| • Let each layer dry fully | |
| Temperature Matters | • Work in 65-75°F rooms |
| • Avoid high moisture | |
| • Keep air moving | |
| • Skip humid days | |
| • Allow extra dry time if cold |
How to Achieve Different Gold Finishes
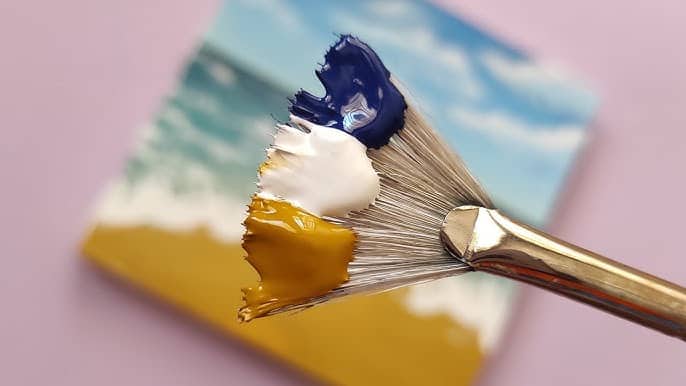
Bright Gold Finish
Base Steps:
- Start with white primer
- Sand until very smooth
- Clean surface well
- Apply thin paint coats
- Use metallic spray paint
Method:
- Put on 2-3 light coats
- Wait 30 minutes between each
- Keep coats even
- Buff with a soft cloth
- Add a clear top coat
Antique Gold Look
Base Steps:
- Use cream primer
- Leave slight texture
- Don’t over-sand
- Mix paint well
- Apply unevenly
Method:
- Put on a base gold coat
- Let dry 6 hours
- Dab dark wax in spots
- Wipe off excess
- Build up layers slowly
Matte Gold Effect
Base Steps:
- Use gray primer
- Sand very lightly
- Clean with a tack cloth
- Pick flat gold paint
- Keep room cool
Method:
- Apply thin coats
- Use a natural bristle brush
- Don’t over-brush
- Let dry between coats
- Skip top coat
Textured Gold
Base Steps:
- Apply thick primer
- Create texture with a brush
- Let dry fully
- Sand high spots
- Clean well
Method:
- Use thick gold paint
- Dab with sponge
- Build up layers
- Hit high spots only
- Seal when dry
Brushed Gold Look
Base Steps:
- Use light primer
- Sand with fine paper
- Clean surface well
- Pick the right brush size
- Work in good light
Method:
- Paint in one direction
- Use the dry brush method
- Keep strokes straight
- Don’t add too much paint
- Build color slowly
Two-Tone Gold
Base Steps:
- Apply dark gold base
- Let dry for 24 hours
- Mask off pattern
- Clean edges well
- Test in a hidden spot
Method:
- Add a light gold topcoat
- Remove tape quickly
- Fix any bleeds
- Let dry fully
- Seal the whole piece
How Seal & Protect Gold Painted Wood
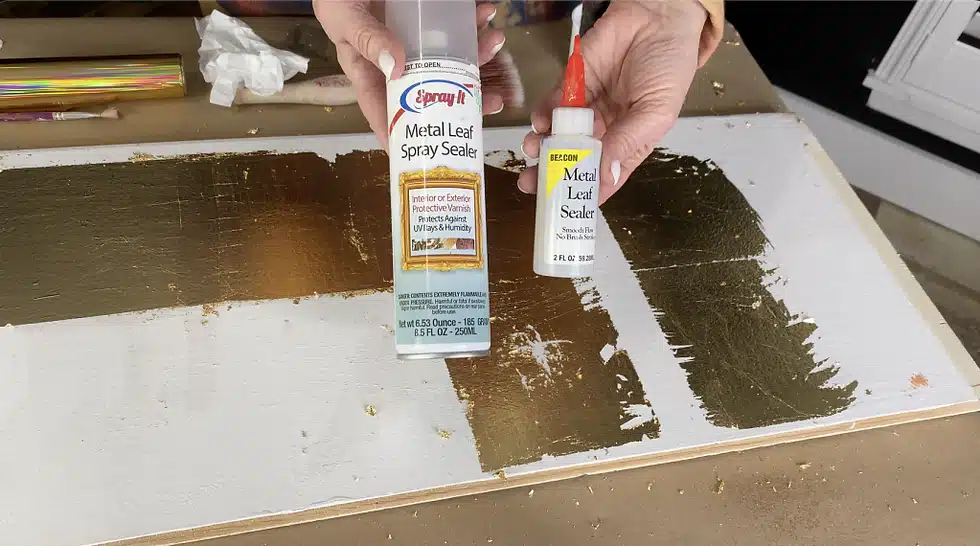
The right sealer makes all the difference in how long your gold paint job lasts. I’ve tried many types over the years, and each has its place.
- Clear polyurethane works great for most projects – it dries crystal clear and stays hard for years. For quick jobs, I use water-based sealers. They dry in about two hours and don’t smell strong. When I work on small items, I often pick wax sealer. It feels nice to touch and gives a soft shine.
- Before sealing, I always let the paint dry for two full days. This wait feels long, but it’s worth it. I clean the surface well and get rid of all dust. The room needs to stay warm – this helps the sealer dry right. I test in a hidden spot first to make sure the sealer works with my paint.
- For the first coat, I use a foam brush and put on a very thin layer. I work in one direction and watch for drips. After four hours, it’s ready for step two. I sand very lightly with 320-grit paper, clean off all dust, and put on a medium coat. Six hours later, I do one more light sand and add the final thin coat. Then comes the hard part – waiting 24 hours before using the item.
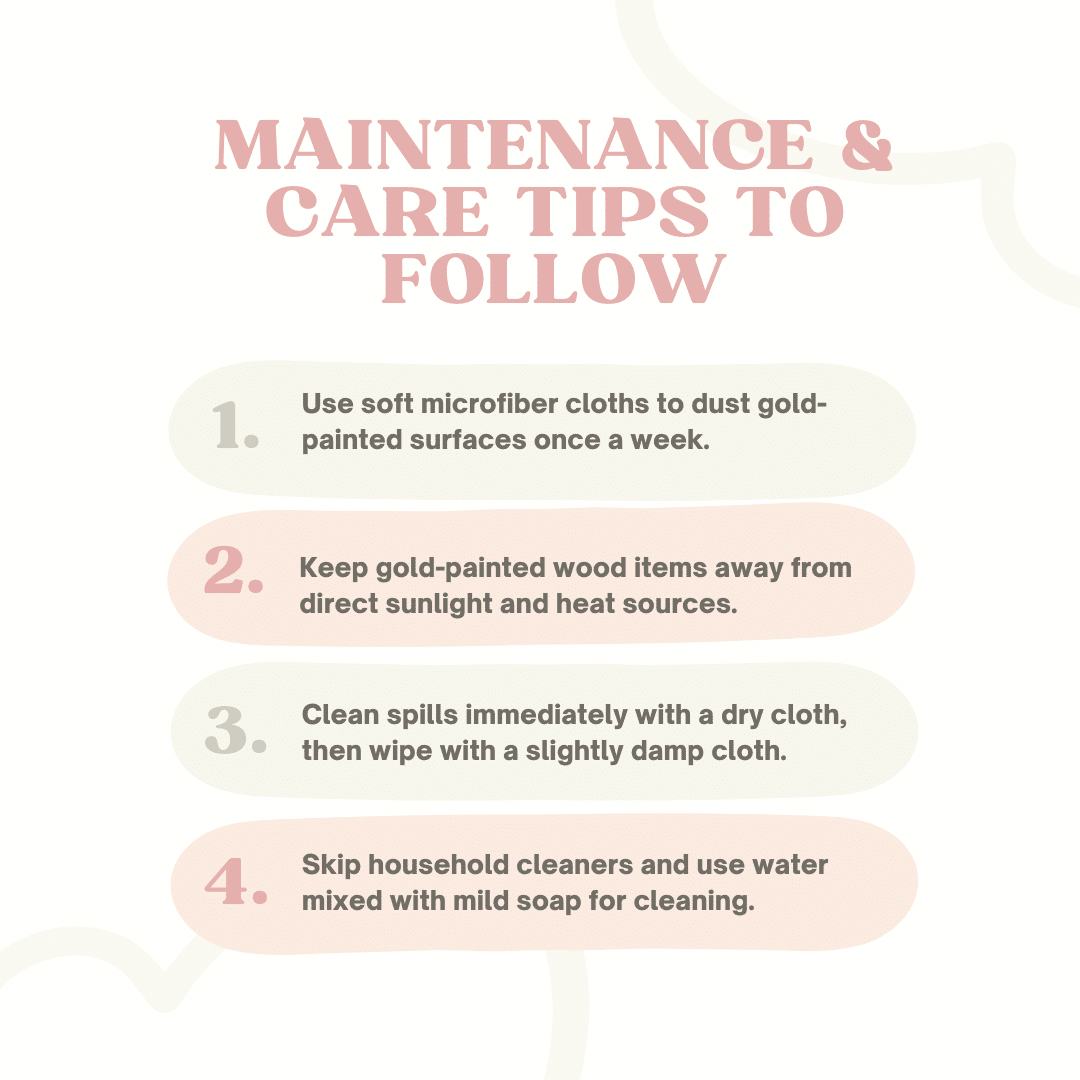
Taking care of sealed gold paint isn’t hard, but it needs attention. I dust with a soft cloth and clean up spills right away. Water sitting on the surface can hurt the finish, so I use coasters.
Mild cleaners work best for cleaning. Every year, I check the sealer for wear and fix any chips fast. I keep items out of direct sun when I can.
I learned these mistakes the hard way: rushing dry time leads to problems, thick coats look bad, harsh cleaners dull the finish, too much sanding takes off the gold, and high heat can make the sealer soft.
Take your time and treat the finish gently – your gold paint will stay looking good much longer.
Conclusion
I hope this guide helps you pick and use gold paint on your wood projects. From my years of working with different paints, I can tell you that success lies in good prep work and the right painting method.
Start with a small project to test your chosen paint. Prep the wood well and follow the steps I shared. Your care in these early stages will show in the final look.
Need more tips? Leave a comment below about your project. I’d love to hear what you’re working on and help you get your desired gold finish.
Want to learn more about wood painting? Check out my guide on prepping wood surfaces – it’s packed with helpful tips for your next project.

