
Beginner’s Guide to Installing Wallpaper, The Easy Way
Have you stared at your plain walls, wondering how to make them special?
I know that feeling. Last month, I stood in my living room, looking at boring white walls that made my home feel empty and boring.
Like many first-timers, I worried about messing up the wallpaper installation—the paste, the bubbles, the patterns not matching, or simply looking unfinished.
But here’s the good news: I have found the easiest way to install wallpaper that perfectly complements any house interior, even with basic DIY skills.
In this guide, I’ll share the step-by-step method that helped me transform my walls from basic to beautiful, using clear instructions that make sense for all.
Understanding Types of Wallpaper
Let me share what I learned about wallpaper varieties when I started my home improvement project.
The main types of wallpaper you’ll find in stores might seem similar, but they work differently.
1. Traditional wallpaper needs to be soaked in water or pasted before being put on the wall. I found this type tricky to work with because you have to be extra careful not to tear the wet paper. Plus, timing matters—too wet and it stretches, too dry, and it won’t stick properly.
2. Pre-pasted wallpaper has dry adhesive on the back. You just wet it with a sponge or spray bottle. While this sounds simple, I noticed it can be hard to get even moisture, which sometimes leads to patchy sticking.
3. Peel-and-stick wallpaper works like a giant sticker. You pull off the backing and press it onto the wall. While it’s simple to install, it might not last as long as other types, especially in rooms with high humidity.
4. I ended up choosing paste-the-wall wallpaper. With this type, you put paste directly on the wall instead of the paper. This simplifies the whole process.
Why is Paste-The-Wall Type of Wallpaper the Best?
Let me tell you why paste-the-wall wallpaper makes everything simpler. Working right on the wall means no extra tables are needed – the wall does all the work.
The paper stays firm and dry until needed. No rips, no stretching, no clean-up hassles. Taking time to line up each piece works better since there’s no rushing with wet paper.
Here’s what makes it the most suitable choice for beginners:
- You can adjust the paper more easily
- There’s no waiting time for the paste to soak in
- The paper doesn’t expand or contract
- You can stop and start without the paste drying out
- Clean-up is simpler because you’re not dealing with wet paper
My friend tried traditional wallpaper in her kitchen and had to redo several strips because they stretched. With paste-the-wall, I finished my living room without wasting a single strip.
Tools & Materials Required
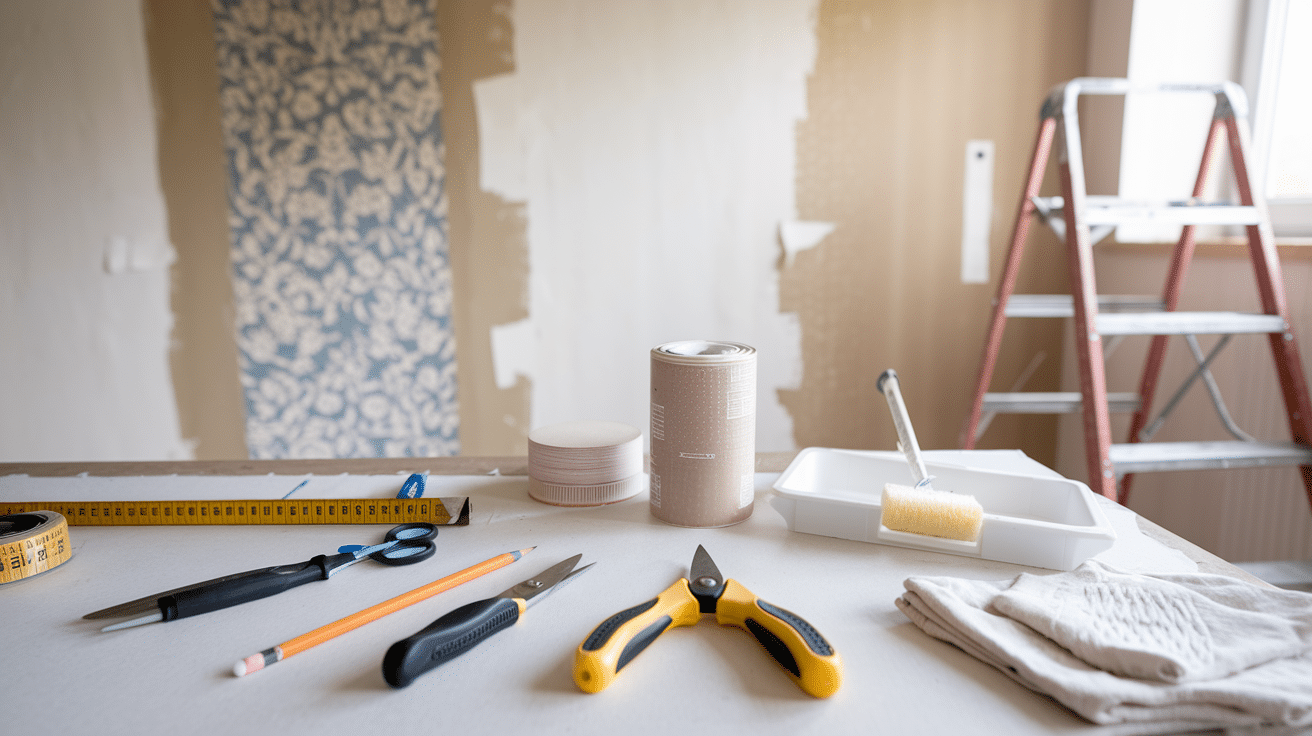
Let me list everything I used for my project so you don’t have to make extra trips to the store. Cross-check with this list and get everything at once:
Essential Tools
- Measuring tape
- Pencil
- Sharp scissors
- Utility knife with fresh blades
- Smooth brush or plastic smoother
- Level or plumb line
- Paint roller and tray
- Sponge and clean clothes
- Step ladder
For basic tools, here’s what you’ll need along with the appropriate budget:
- Adhesive: $25-35 per gallon (enough for a medium room)
- Paint roller and tray: $15-20
- Smoothing tool: $3-5
- Utility knife with extra blades: $8-10
- Basic toolkit (level, pencil, measuring tape): $20 if you don’t have these already
Extra Materials You’ll Need
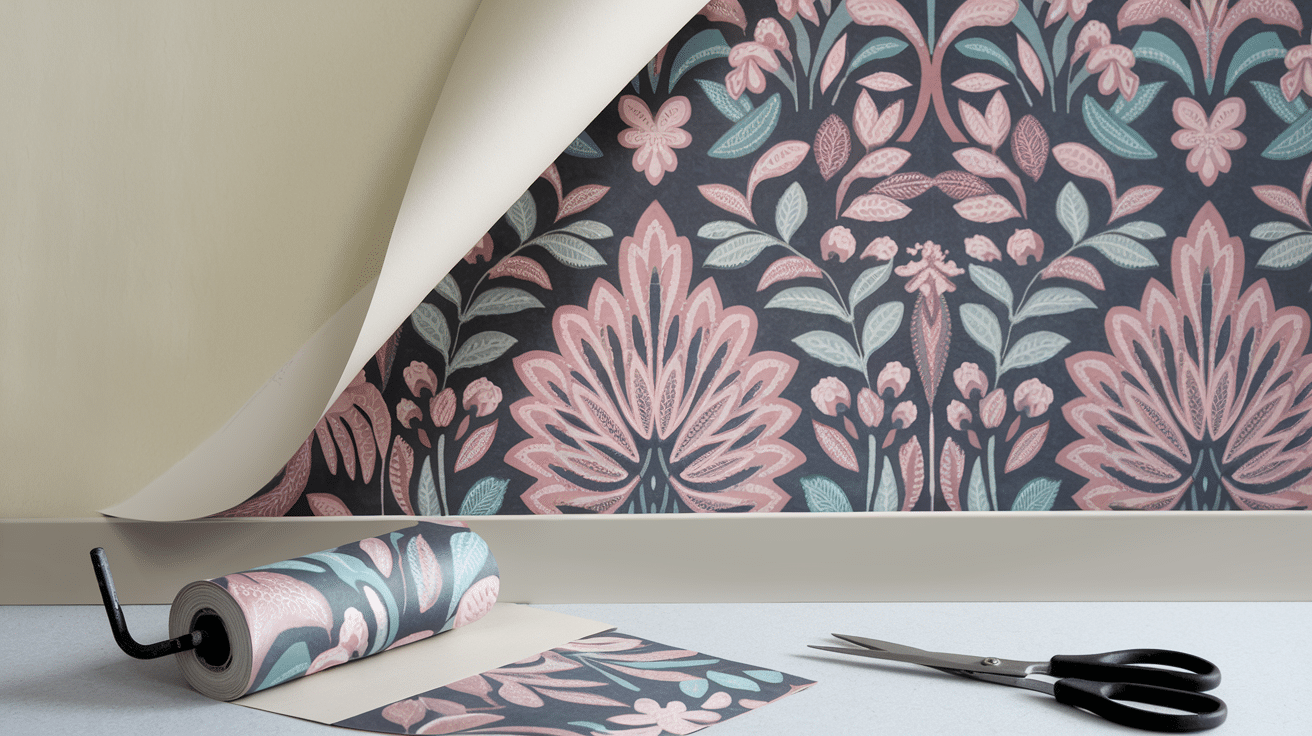
- Your chosen wallpaper (add 10% extra for mistakes)
- Wall adhesive made for your paper type
- Wall primer (if recommended for your wall type)
- Drop cloths to protect your floor
- Seam roller for perfect edges
- Corner tool for clean corners
- Putty knife for smoothing
I’ve found that having the right tools makes a big difference. For example, trying to cut wallpaper with dull scissors gave me jagged edges, but sharp ones made clean cuts every time.
Before you start, check your wallpaper’s instructions. Some papers need specific adhesives, and using the wrong type can cause problems later.
Keep your tools clean as you work—dried paste can make them less effective. I regularly wiped my smoother and scissors with a damp cloth to prevent paste build-up.
Preparation Guide for Rooms
Getting your room ready makes all the difference in how the wallpaper turns out. Start by taking everything off the walls – nails, screws, and those little hooks that seem to multiply over time. Fill any holes with spackle and sand them smooth once dry.
Before starting, the walls need to be clean and dry. Soap and water work great for removing dust and grime. If old wallpaper is still up, it needs to come down completely, along with any leftover adhesive.
A tip for you: Run a dehumidifier for 24 hours before starting. Drywalls help the adhesive bond better, making the paper stick properly from day one.
Next comes the most important part – wall assessment:
- Sand any rough spots until smooth
- Apply primer on fresh drywall or patched areas
- Check that corners are straight
- Fix any cracks or damaged sections
- Remove switch plates and outlet covers
Disclaimer: Turn off the electricity for any outlets or switches in the room. This extra safety step prevents any accidents while working around electrical fixtures.
Installation Process of Wallpaper
Let’s break down the wallpaper installation process into simple steps that will work in real life and that you will easily understand.
Step 1- Alignment
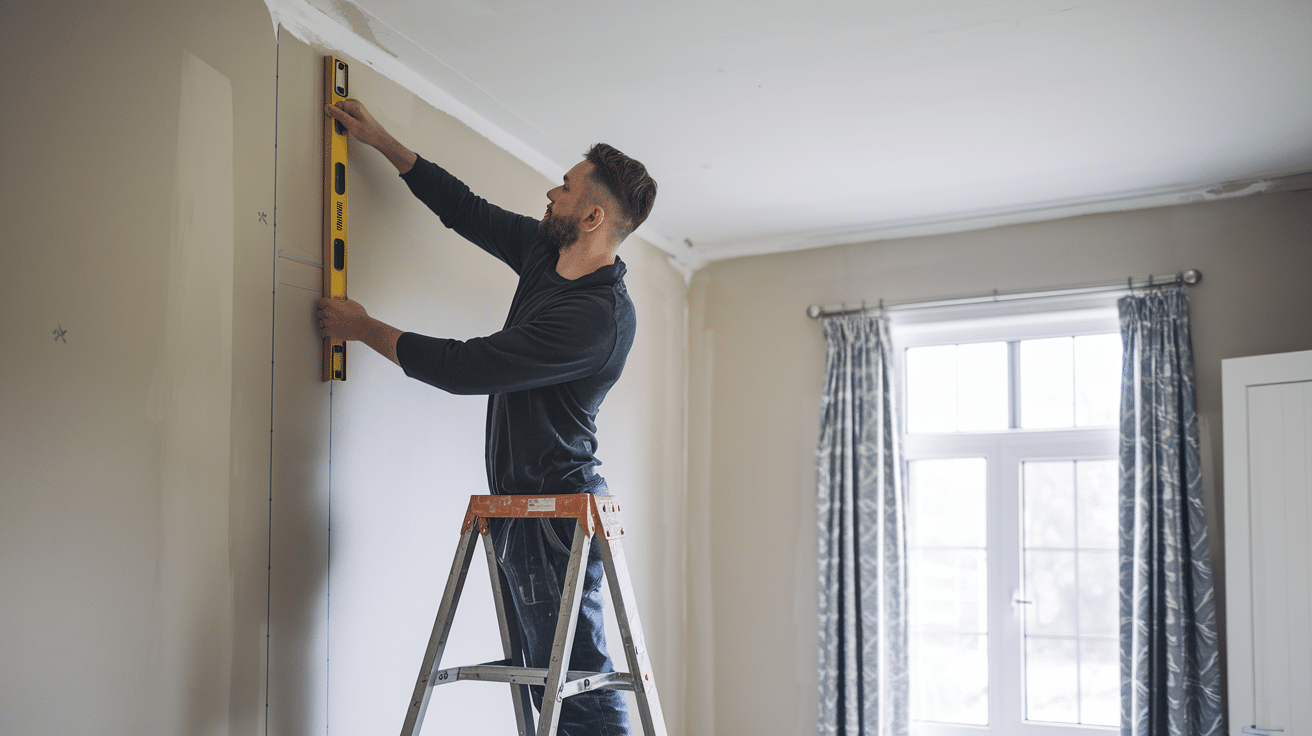
- Start at the least noticeable corner of the room.
- Using a level, draw a straight vertical line—this will become the guide for the first strip of wallpaper.
- Many people skip this step, but it’s crucial for keeping everything straight.
Step 2 – Apply the Adhesive to The Wall in Sections
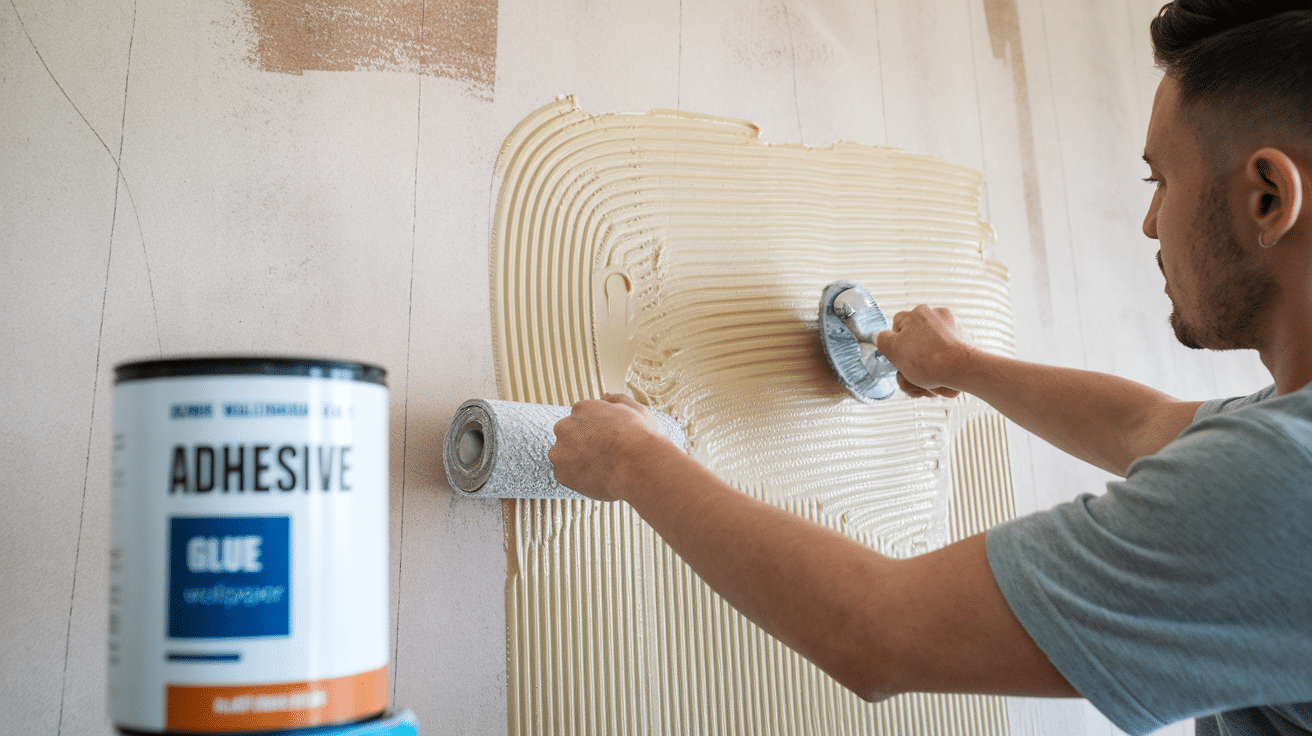
- Cover an area slightly wider than the wallpaper strip.
- Keep the coating even using a roller.
- Work in 3-4 foot sections for better control.
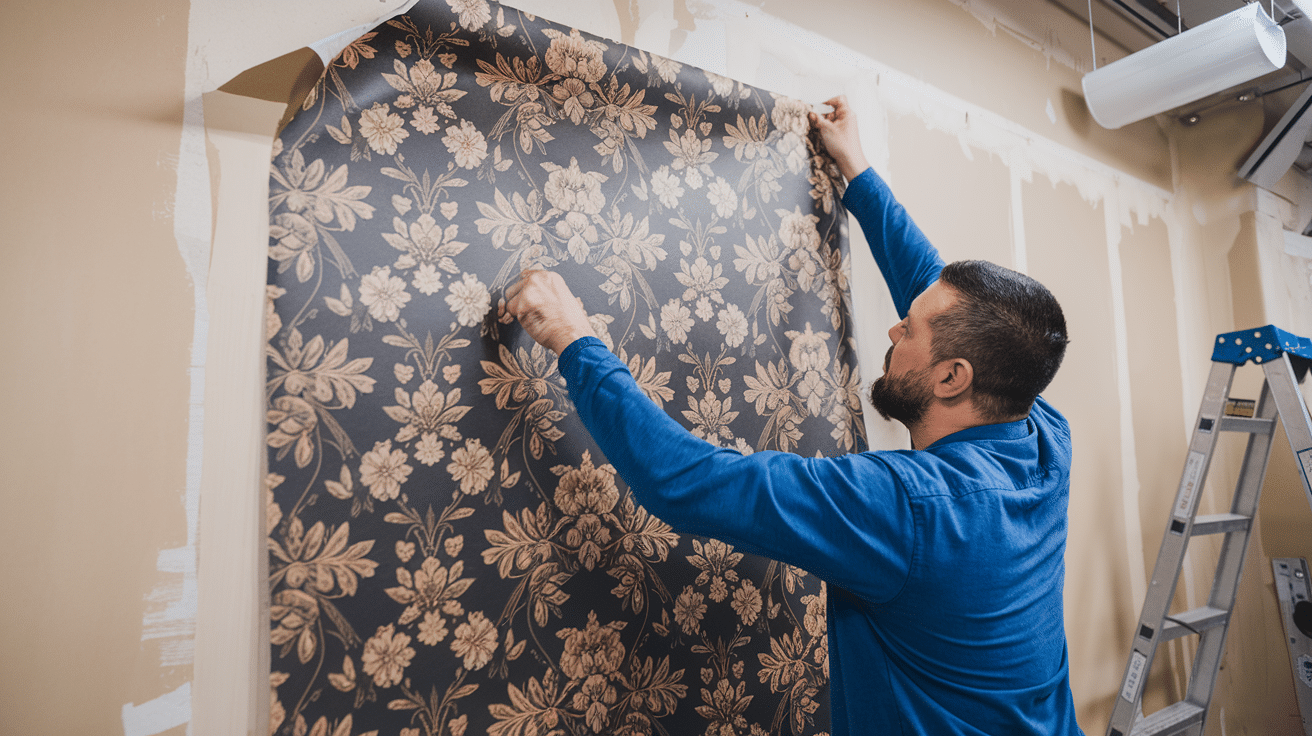
Step 3 – Hanging Wallpaper
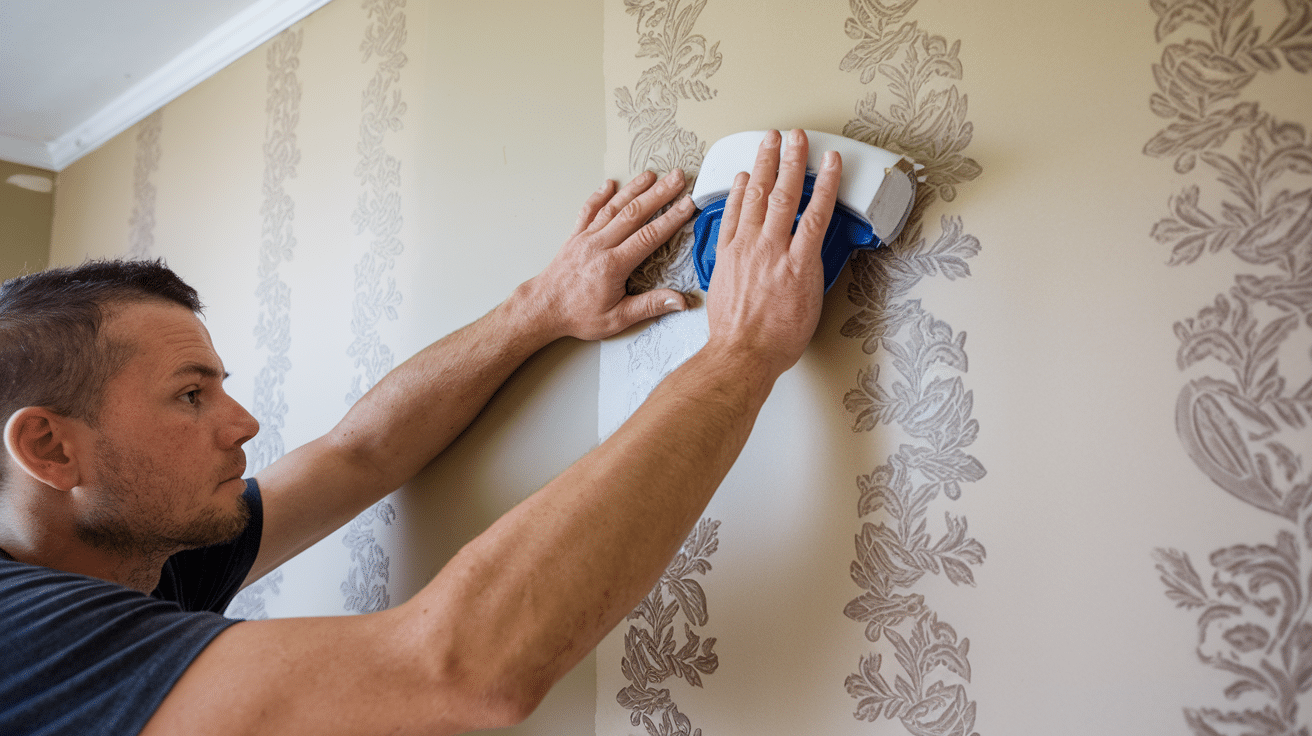
- Now comes the fun part – hanging the paper.
- Position the first strip along the vertical line, leaving a small overlap at the ceiling and baseboard.
- Use a plastic smoother to press out air bubbles, working from the center to the edges.
Step 4 – For the Next Strips
- Match patterns at eye level first
- Smooth each section before moving to the next
- Trim excess paper at the top and bottom
Quick Tip: Cut the paper a few inches larger than needed when working around windows and doors. This extra length helps make precise cuts for a perfect fit.
Aftercare of the Wallpaper
The first week after installation is crucial for long-lasting results. To ensure this, keep the room temperature steady and avoid sudden changes affecting the adhesive’s drying time.
Here’s what helps maintain the wallpaper to get fresh-looking walls:
Daily Care
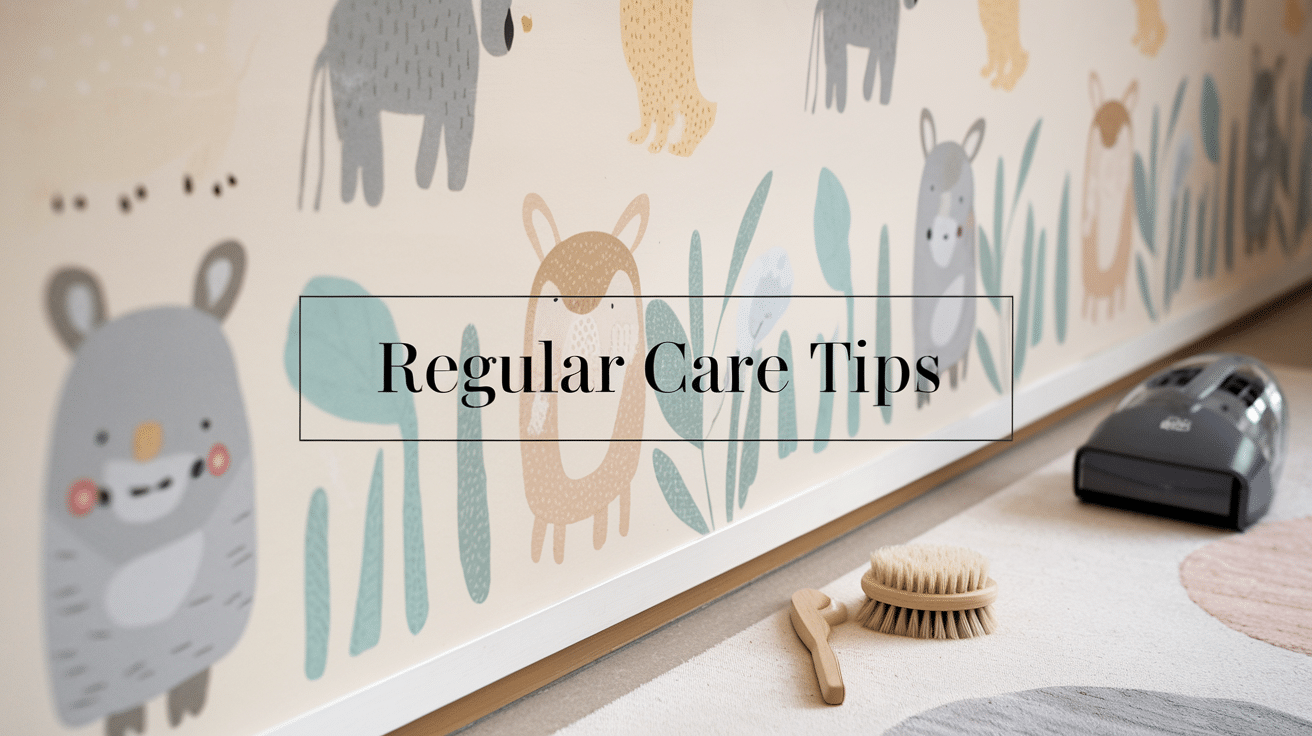
- Use a soft brush attachment while vacuuming nearby
- Keep water splashes away from seams
- Watch for any lifting corners and address them early
Maintenance Tips
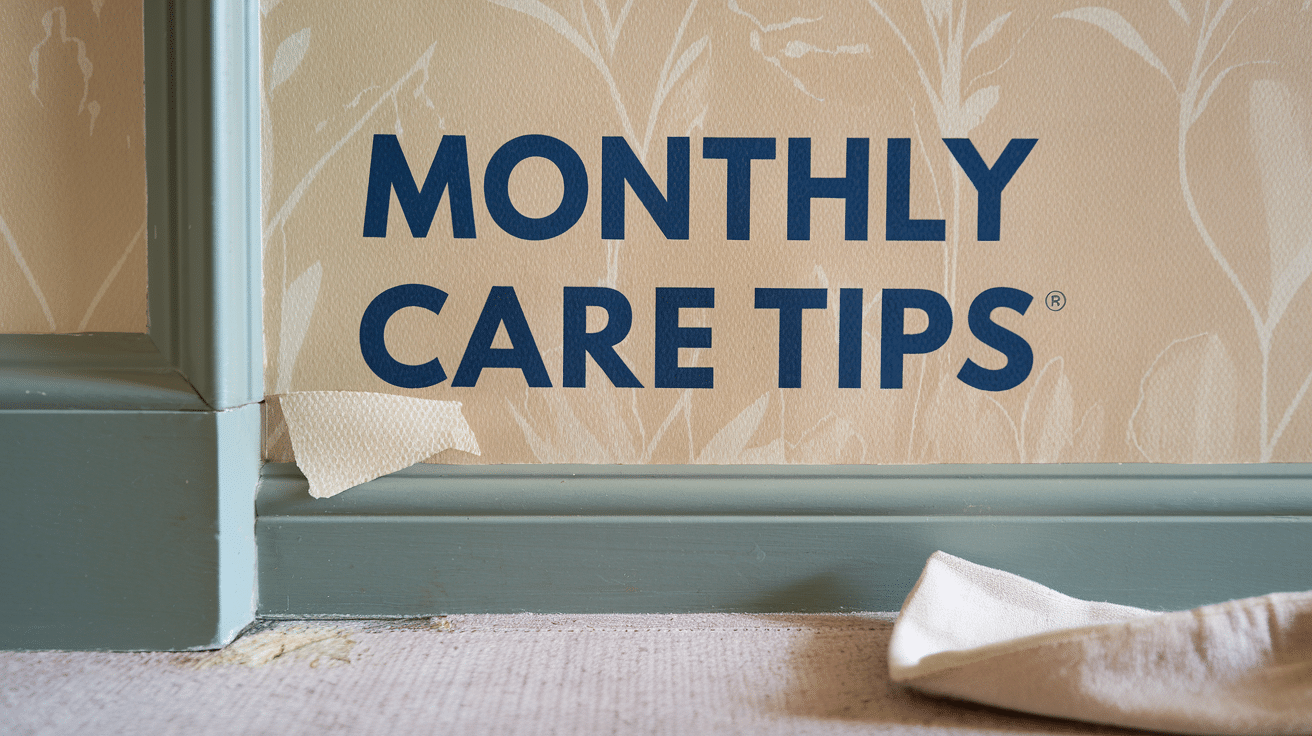
- Dust the walls with a soft, dry cloth
- Check for any loose edges
- Look for any marks or spots that need cleaning
For cleaning spots
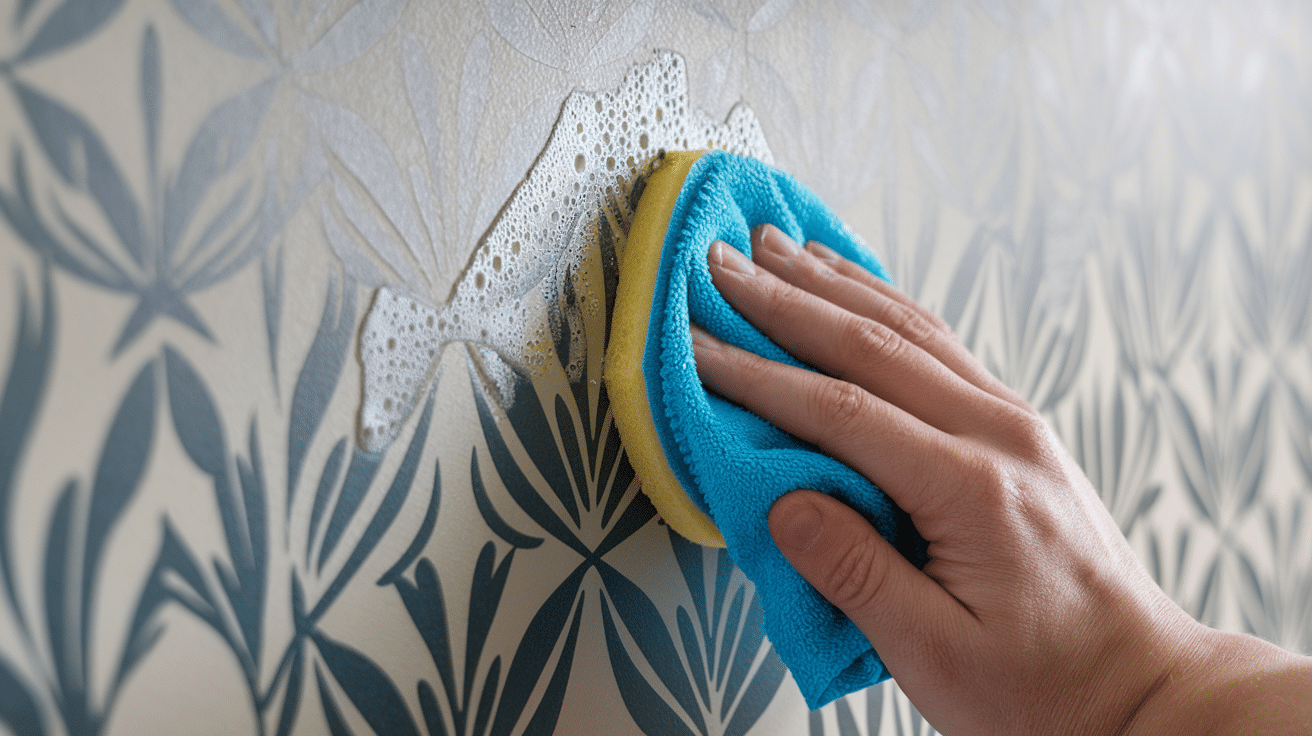
- Test any cleaning solution on a small area first
- Use a gentle touch with a barely damp cloth
- Pat dry immediately – no rubbing
- Start from the bottom and work up
Just remember: if you have small children or pets, place your furniture strategically to protect lower sections of the wall. This simple step prevents many common wear patterns.
Different types of wallpaper require different cleaning methods.
Keep the wallpaper information handy for future reference—it’s like having a care manual for your walls.
Cost Considerations
Let me break down the costs of putting up a wallpaper yourself. These are just what I observed and what it cost me, and hopefully, they will help you plan your budget wisely.
First, the wallpaper itself will be the main cost. Prices range from $30 to $100 per roll, with most quality options costing between $50 and $200.
| Wallpaper Type | Price Range |
|---|---|
| Paste-the-wall wallpaper | $30-160 per roll |
| Traditional unpasted wallpaper | $20-400 per roll |
| Nonwoven wallpaper | $60-200 per roll |
| Peel-and-stick options | $6-50 per roll |
| Faux grasscloth | $10-60 per roll |
| Pre-pasted wallpaper | $20-450 per roll |
I suggest buying one extra roll beyond what you calculated—it’s better than having less or running out of wallpaper rolls!
Key Point: While it might be tempting to cut corners on tools, I always say invest in a good quality smoothing tool and sharp blades – they make such a difference in the final look.
You’ll save around $200-500 per room compared to a professional installation. Professional installers typically charge $3-10 per square foot, not including materials.
When you do it yourself, you’re mainly paying for materials.
When doing any DIY project, the most common question is, how can I save a few bucks here? So, here are some money-saving tips for you to keep in mind:
- Start with a small accent wall to test your skills
- Buy during seasonal sales (many wallpaper companies have regular discounts)
- Borrow basic tools from friends if possible
- Choose simpler patterns for your first project – they require less paper for pattern-matching
How to Easily Remove Wallpaper?
The quickest way to remove wallpaper is using a steamer and scraper. A wallpaper steamer softens the adhesive, making removal much simpler and faster than other methods.
Start by testing a small, hidden section. Different wallpapers need different removal methods, so checking first saves time. Some papers peel off in full sheets, while others come off in small pieces.
Here’s What You’ll Need
- Wallpaper steamer (available for rent at hardware stores)
- Wide scraper tool
- Clean water
- Spray bottle
- Drop cloths
- Protective goggles
Steps to Remove Wallpaper
- Clear the room and protect your floors with drop cloths
- Fill the steamer with clean water and let it heat up
- Hold the steamer plate against the wall for about 30 seconds
- Use your scraper to peel away the loosened paper
- Work in small sections, moving from top to bottom
- Keep a spray bottle handy to rewet stubborn spots
For Walls without a Steamer, Try This Method
Always clean the walls after removal. Wash off any remaining paste with warm water and let the walls dry completely before painting or applying new wallpaper.
- Mix hot water with fabric softener in a spray bottle
- Spray the solution on the wallpaper
- Let it soak for 15 minutes
- Scrape off the paper using a wide putty knife
A clean wall can greatly enhance the success of your next project, so take the time to remove all the old adhesives.
Conclusion
Putting up wallpaper might seem tricky at first, but with these simple steps, you can create beautiful walls in your home and liven up any space.
My first attempt at wallpapering taught me that proper preparation and the right tools make all the difference. The key is taking it one step at a time.
By following this guide, you will save money on professional installation and gain valuable home improvement skills.
Plus, its fun, and the satisfaction of transforming a room with your own hands is amazing.
Please share photos of your wallpaper project photos in the comments section below. I’d love to see how your walls turn out!
Frequently Asked Questions (FAQs)
Which Wallpaper is the Easiest to Apply?
Paste-the-wall paper offers a simple application. Put adhesive on the wall, position the paper, and adjust as needed. Faux grasscloth options make installation even simpler.
Is Wallpaper Easy to Install?
Peel-and-stick options require minimal experience for placement. Traditional paste varieties, however, work better than peel-and-stick models when you follow basic steps.
What Type of Wallpaper Comes Off Walls Most Easily?
Modern papers feature easy-to-strip technology that requires no water or cleaning products. Some varieties peel right off with a simple pull from the corner.


