Bead Board Wall Panels: DIY, Ideas and More
Are your walls looking plain and lifeless? I used to stare at my white walls, wishing to add more style without spending too much money.
That’s when I found the perfect solution: paintable fluted wall panels and bead board wall panels.
I want to show you how simple installing these panels in any room is. With basic tools and a free weekend, you can create beautiful walls that add charm and value to your home.
Let me guide you through my step-by-step method for installing beadboard panels. I will also suggest trending beadboard wall ideas, which I love!
Let’s start right away!
What Is a Bead Board Wall?
A bead board wall is paneling comprising narrow wooden boards with small grooves (beads) between each board. These boards run vertically along your wall, creating a charming pattern of lines and textures.
Originally used in the 1800s as a practical way to protect walls, bead board has become a favorite choice for adding style to homes. Think of it as putting on a nice shirt – it makes any room look better!
You’ll find bead board panels today in three main types:
- Traditional wood panels
- Medium-density fiberboard (MDF)
- PVC/vinyl options
Each panel typically comes in sheets of 4 feet by 8 feet. The vertical lines can make your ceilings look taller.
Plus, these panels work great in:
- Bathrooms
- Kitchens
- Mudrooms
- Laundry rooms
The bead board adds a cozy feel while hiding small wall flaws. It’s like giving your room a fresh start without tearing down walls.
Benefits of Installing Bead Board in Your Home
Wall Protection
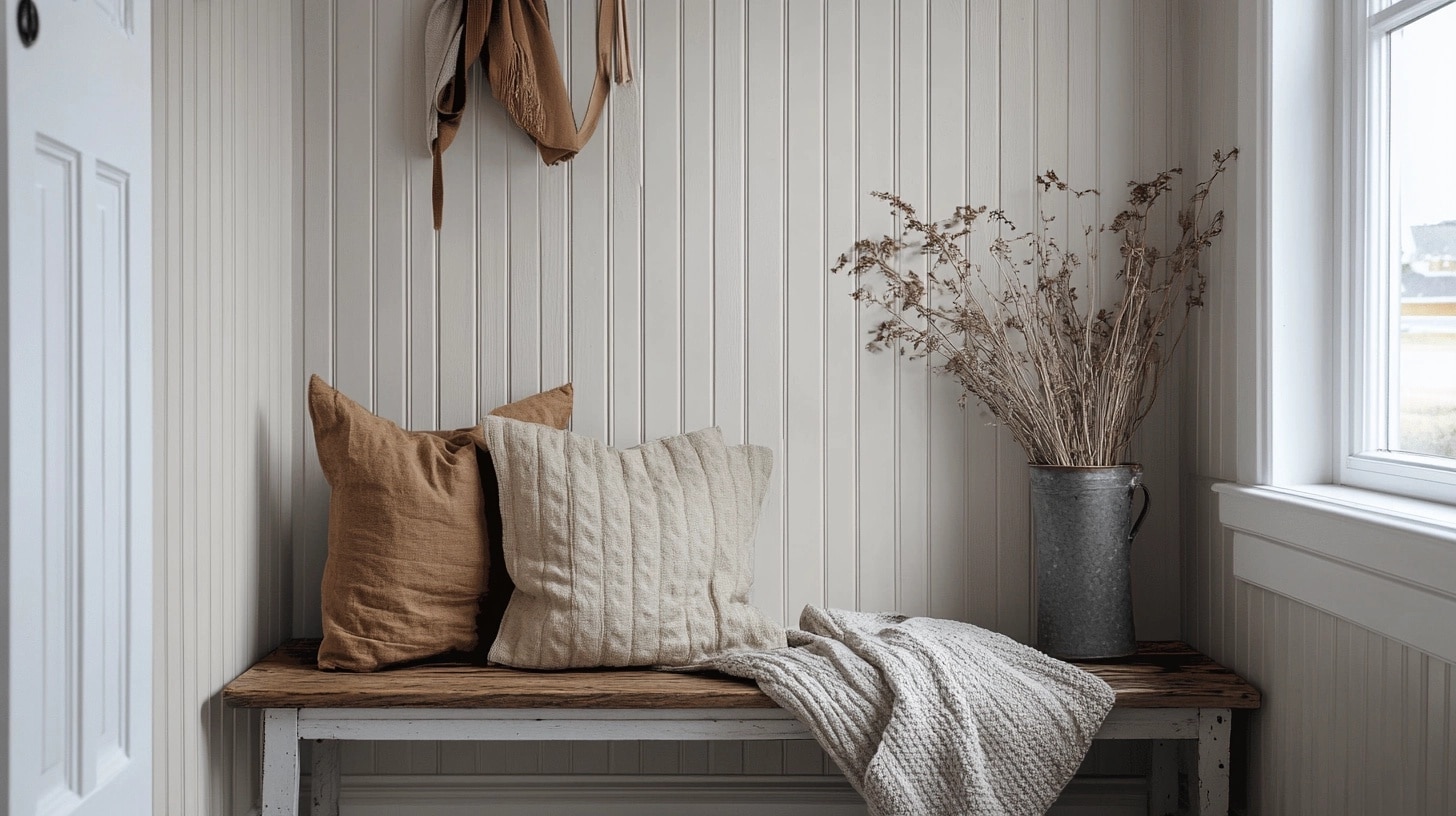
Beadboard creates a tough shield for your walls. When kids bump into walls or furniture scrapes against them, the panels take the hit instead of your drywall. This means less repair work and fewer touch-ups over time.
Easy Cleaning
You’ll love how simple it is to clean beadboard walls. A quick wipe with a damp cloth removes most dirt and marks. Unlike flat walls, which often need repainting, these panels stay fresh-looking with basic care.
Quick Room Updates
Want to change how your room looks? Beadboard offers a fast fix. In just one weekend, you can turn plain walls into something special. It’s much quicker than wallpaper and less messy than texture treatments.
Increased Home Value
Adding a beadboard can boost your home’s selling price. Buyers often pay more for homes with extra details like wall panels. It’s a small investment that makes your home stand out.
Versatile Design Options
Paint your bead board any color you want. Choose white for bathrooms, dark shades for dining rooms or soft tones for bedrooms. The panels work with any style, from country homes to city apartments.
Step-by-Step Guide to Installing Bead Board Walls
1. Prepare the Wall and Materials
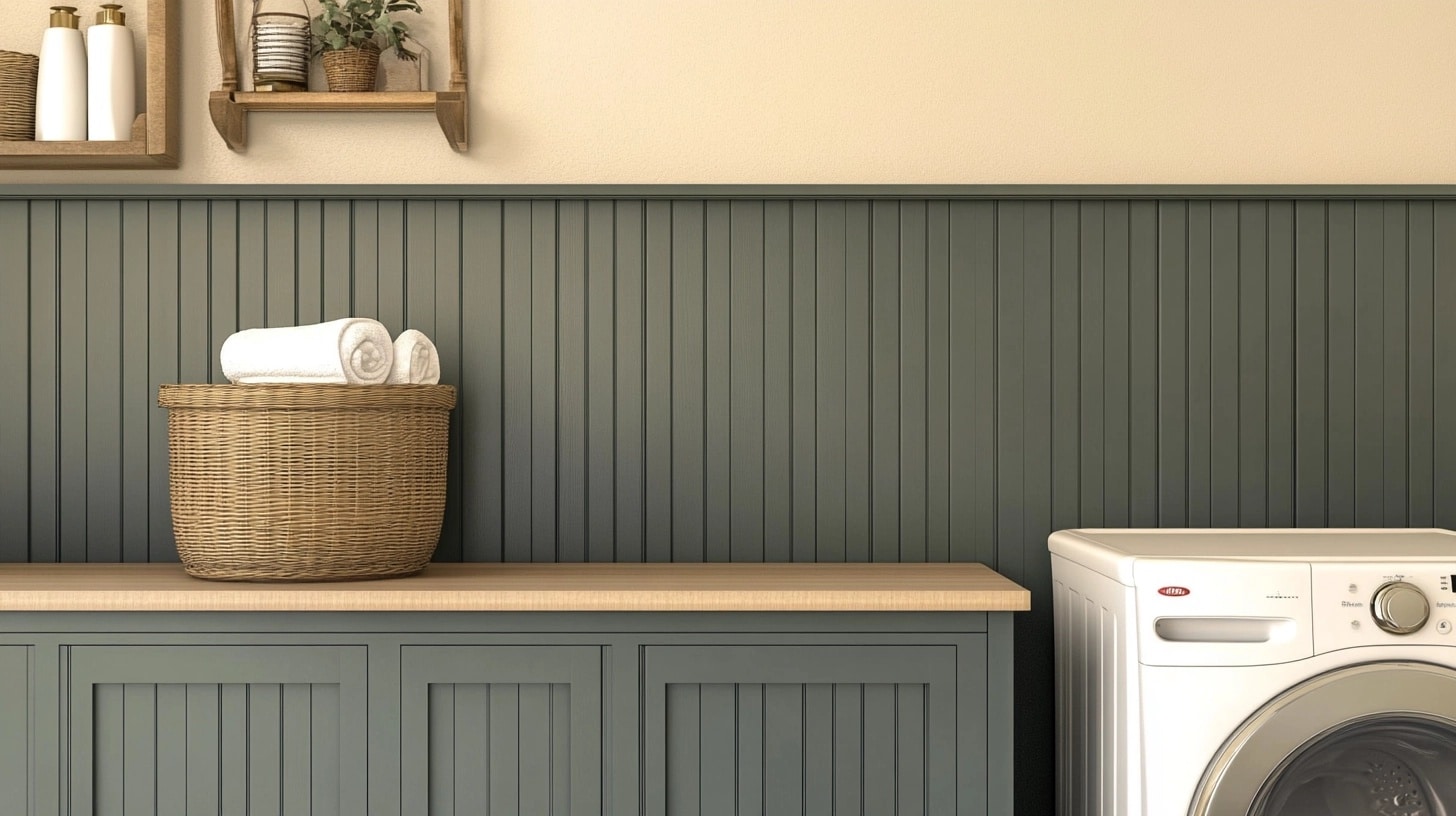
- Measure the wall height and determine the desired height of the beadboard (e.g., 5 feet).
- Use a stud finder to locate wall studs and mark their positions for accurate nailing.
- Gather all tools and materials for easy access during the project.
Tools Needed for Bead Board Installation:
| Tools | Materials |
|---|---|
| Circular Saw | Beadboard Panels |
| Jigsaw (for outlet cutouts) | 1×2 Trim Pieces |
| Nail Gun | Outside Corner Trim |
| Caulk Gun | Caulk |
| Sandpaper | Nail Hole Filler |
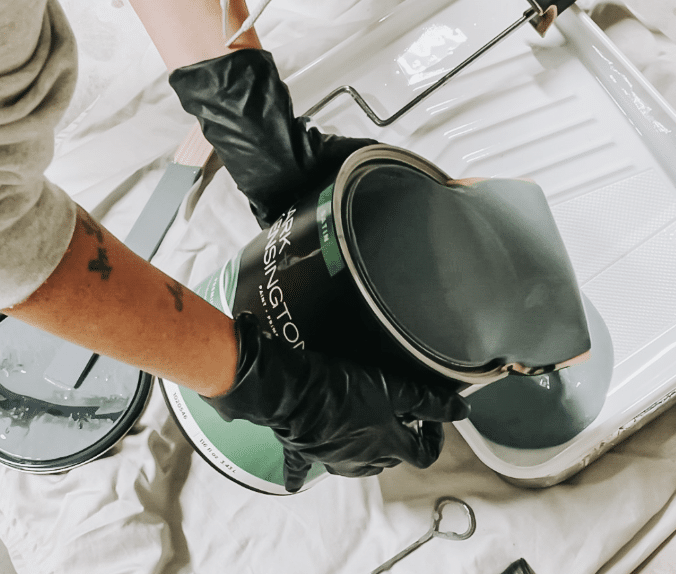
| Paint Sprayer or Paint Brush | Paint (e.g., Clark+Kensington Gothic Iron) |
| Painter’s Tape | Plastic Sheeting (for overspray protection) |
2. Cut the Beadboard Panels
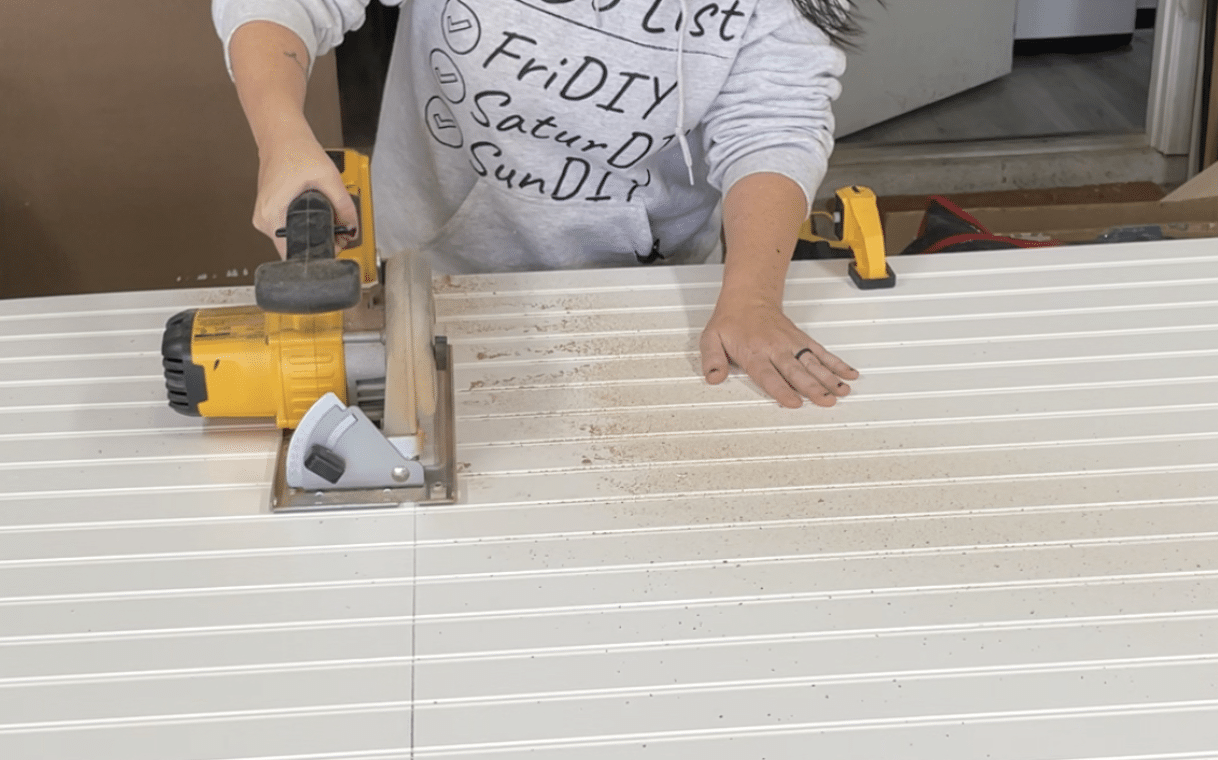
- Use a circular saw to cut beadboard panels to the measured height.
- For outlet or switch cutouts, use a jigsaw to ensure precise openings.
3. Install the Beadboard
- Align the beadboard panels with the marked studs on the wall.
- Secure the panels by nailing them into the studs using a nail gun, ensuring each panel is level.
4. Add Trim for a Polished Look
- Attach a 1×2 trim piece to the top of the beadboard panels for a finished edge.
- Use outside corner trim for corners to cover gaps and add visual interest.
5. Fill and Smooth Seams
- Apply caulk along all seams where the beadboard and trim meet the wall or baseboard.
- Use nail hole filler to cover nail holes, then sand the filler smooth after it dries.
6. Prepare and Paint
- Tape off areas around the beadboard to protect adjacent surfaces.
- Apply paint using a sprayer for even coverage or a brush for smaller areas. If using a sprayer, thin the paint as per the manufacturer’s instructions.
- Use a satin finish paint, which is ideal for easy cleaning in high-moisture areas like laundry rooms.
7. Reinstall Fixtures and Accessories
- Once the paint is dry, reinstall the utility sink or other accessories.
- Clean the area and enjoy the revamped look of your laundry room.
Tips for Maintaining Your Beadboard Wall
- Clean your bead board walls monthly with mild soap and warm water.
- Use a soft cloth instead of abrasive brushes when wiping the panels.
- Check for gaps between panels every six months and fill them with caulk.
- Keep your bead board dry to prevent warping, especially in bathrooms.
- Fix any nail pops right away to stop panels from coming loose.
- Paint touch-ups are easier if you save leftover paint from installation.
- Watch for signs of mold in humid rooms and clean spots quickly.
- Dust your panels weekly with a microfiber cloth to prevent dirt buildup.
- Test cleaning products on a small hidden area first to avoid damage.
- Don’t use steam cleaners, as they might loosen the panels.
- Apply a fresh coat of paint every 3-5 years to keep panels looking new.
- Check the bottom edges near floors for water damage, mainly in bathrooms and kitchens.
Top Beadboard Wall Design Ideas I Love
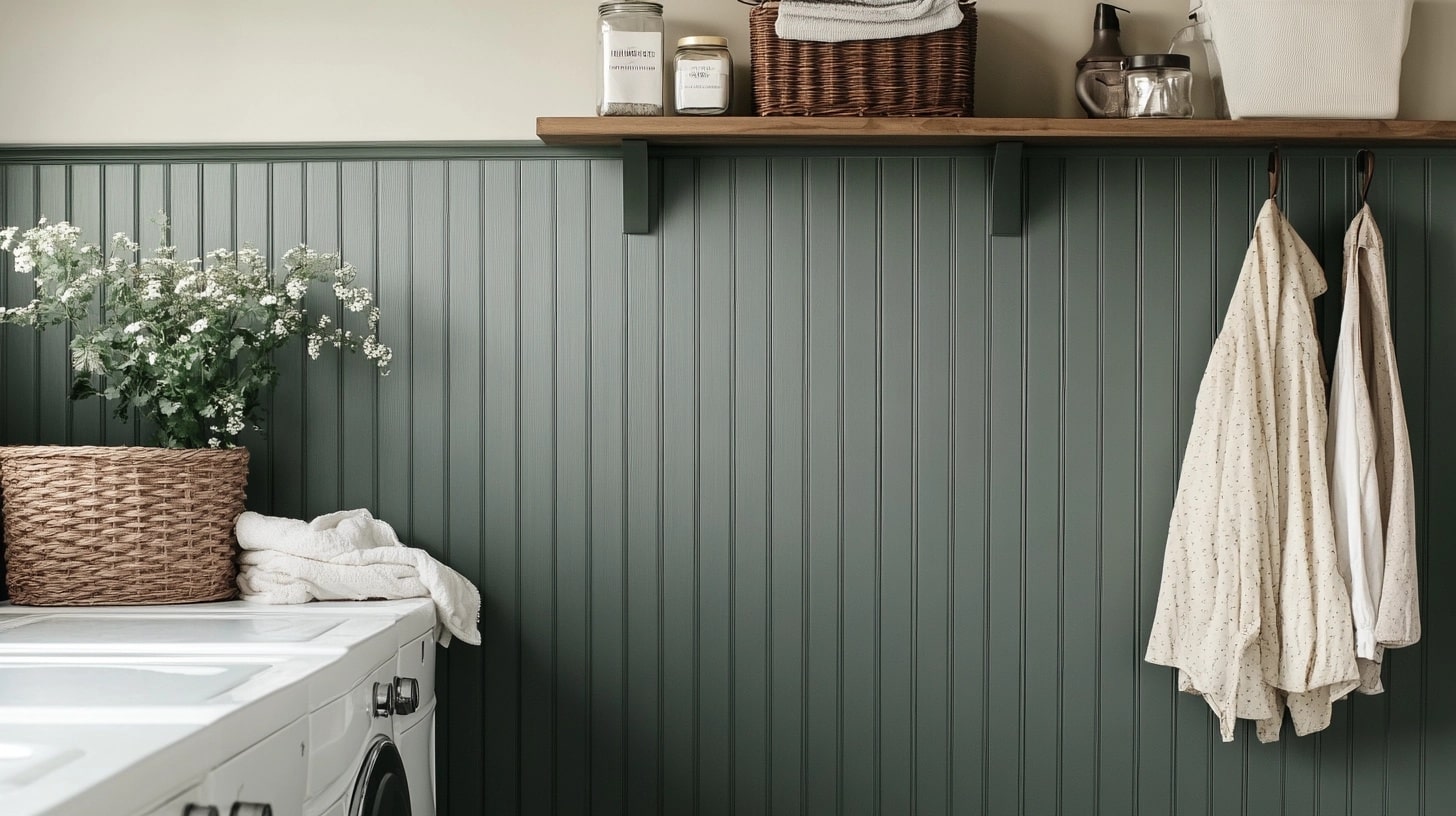
1. Beadboard Behind Open Shelving
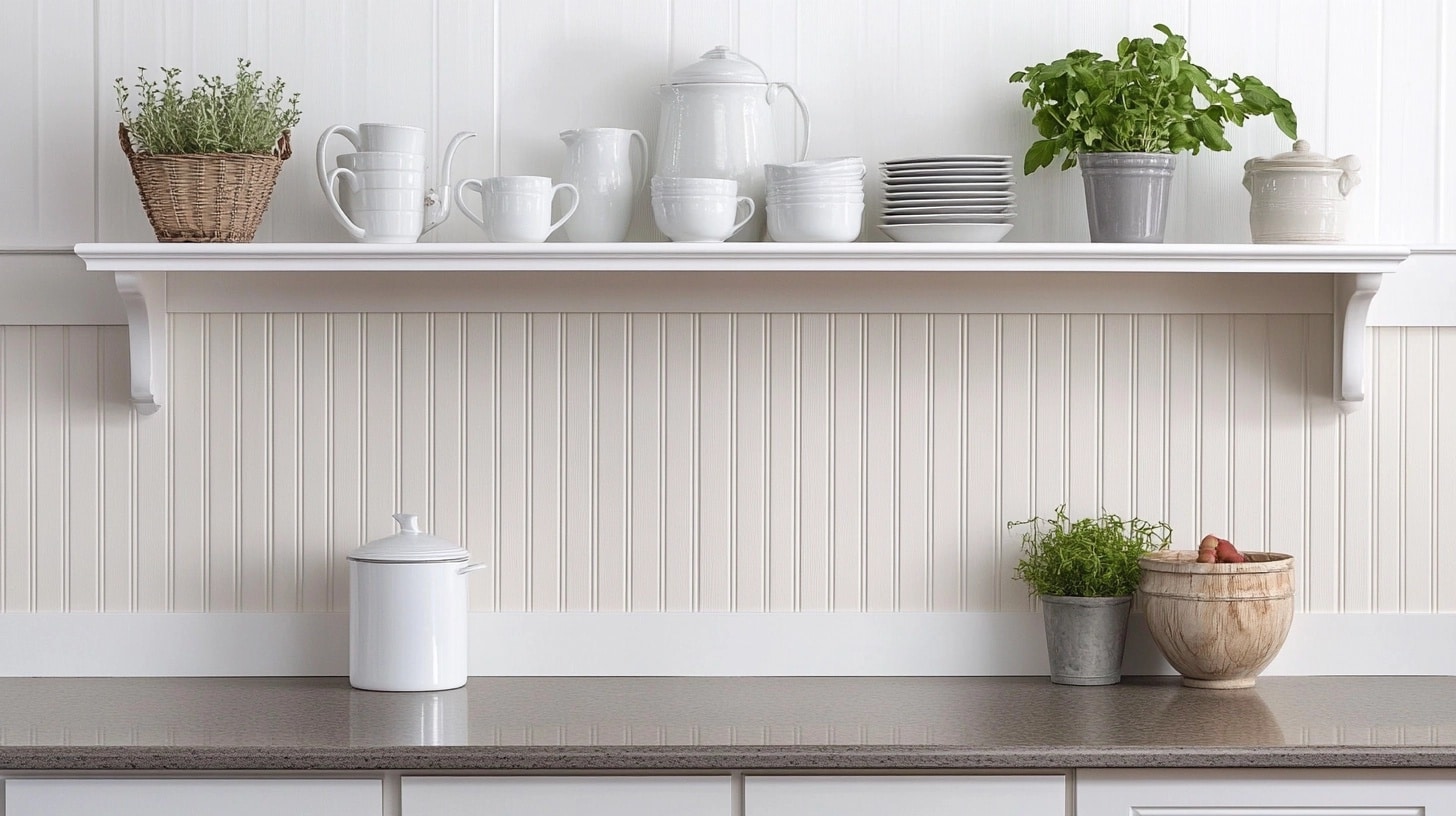
Install beadboard behind open shelves in kitchens or living rooms to create a textured and visually appealing backdrop.
- Why It Works: Adds depth and texture to plain walls; enhances the look of shelves.
- Best Rooms/Where to Use This Idea: Kitchens, laundry rooms, mudrooms.
- DIY Difficulty Level: Easy; requires basic tools and minimal cutting.
2. Two-tone Beadboard and Wallpaper Combination
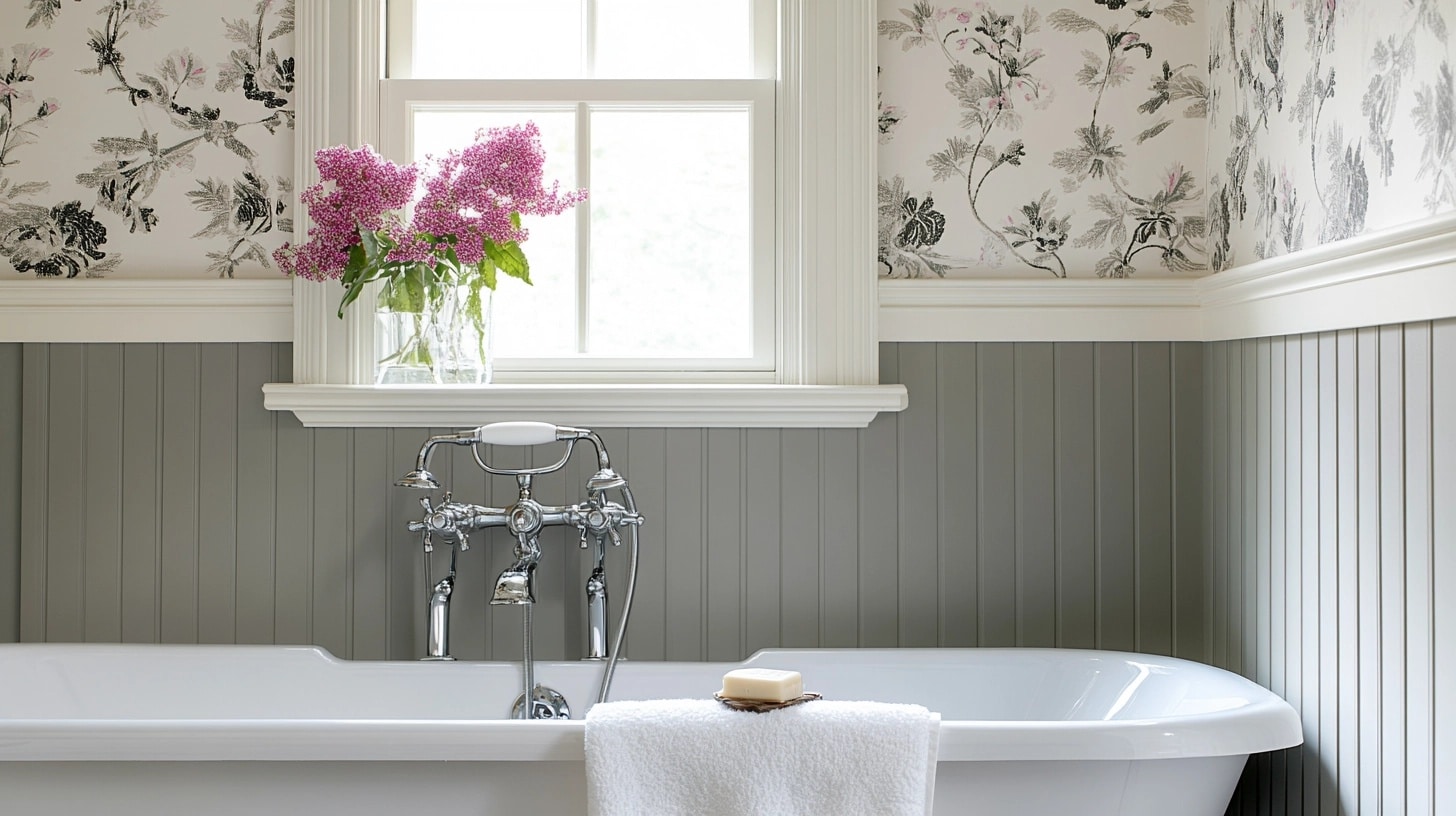
Use beadboard on the lower half of the wall and add patterned wallpaper above for a playful and stylish design.
- Why It Works: Combines texture and color for a fun and trendy style.
- Best Rooms/Where to Use This Idea: Bathrooms, kitchens, laundry rooms.
- DIY Difficulty Level: Moderate; needs precise alignment of wallpaper and beadboard.
3. Rustic Wood-Stained Beadboard
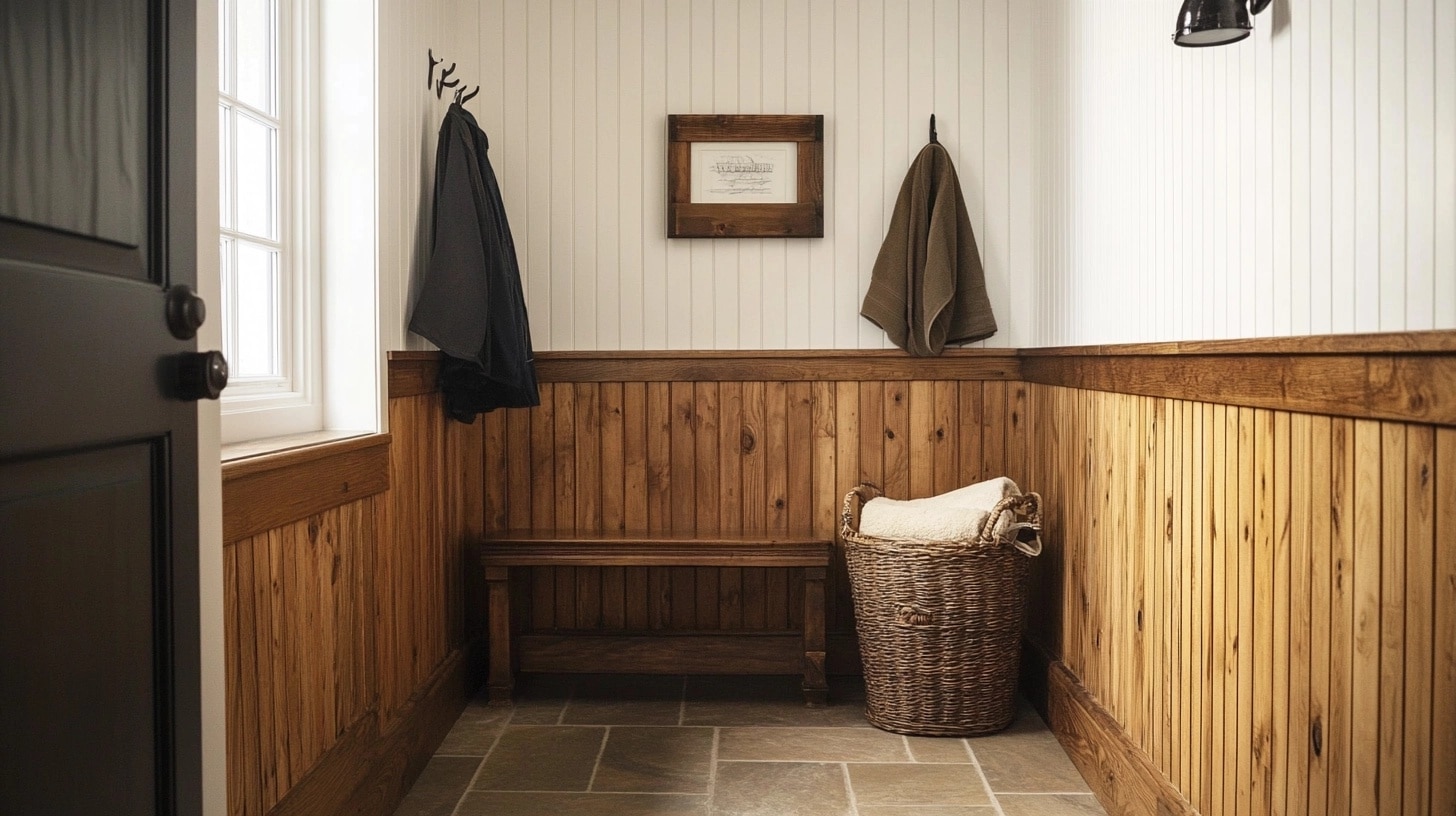
Opt for stained beadboard instead of paint for a warm, natural wood finish that enhances rustic or cabin-style interiors.
- Why It Works: Adds a cozy, natural vibe with minimal maintenance.
- Best Rooms/Where to Use This Idea: Mudrooms, laundry rooms, bathrooms.
- DIY Difficulty Level: Moderate; requires staining and sealing for durability.
4. Beadboard Accent Wall
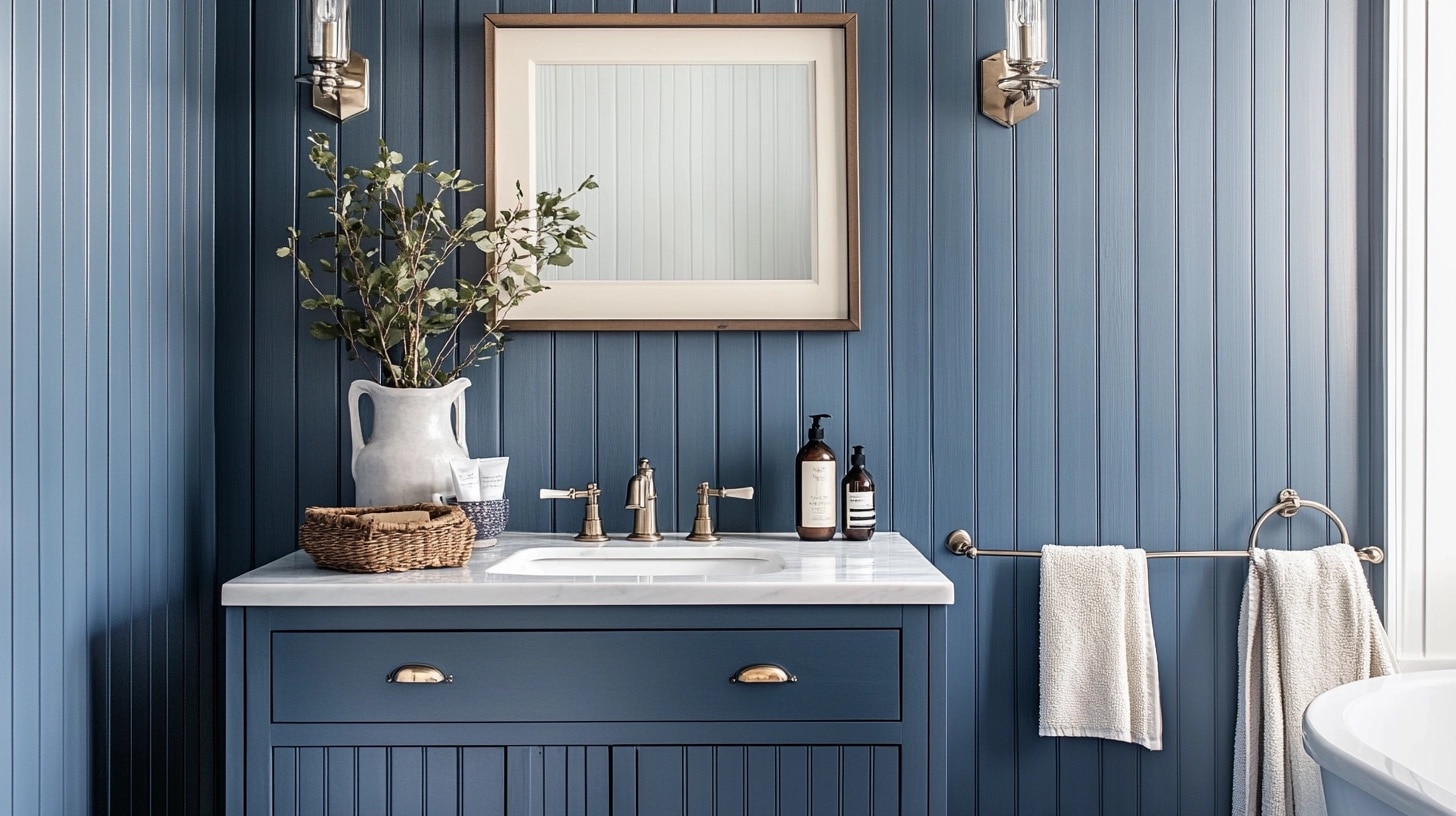
Use beadboard on one wall as a feature piece in the room, painted in a bold or moody color like navy or emerald green.
- Why It Works: Creates a dramatic focal point and adds texture to the room.
- Best Rooms/Where to Use This Idea: Bathrooms, kitchens, laundry rooms.
- DIY Difficulty Level: Easy; involves basic installation and painting.
5. Beadboard Ceiling Extension
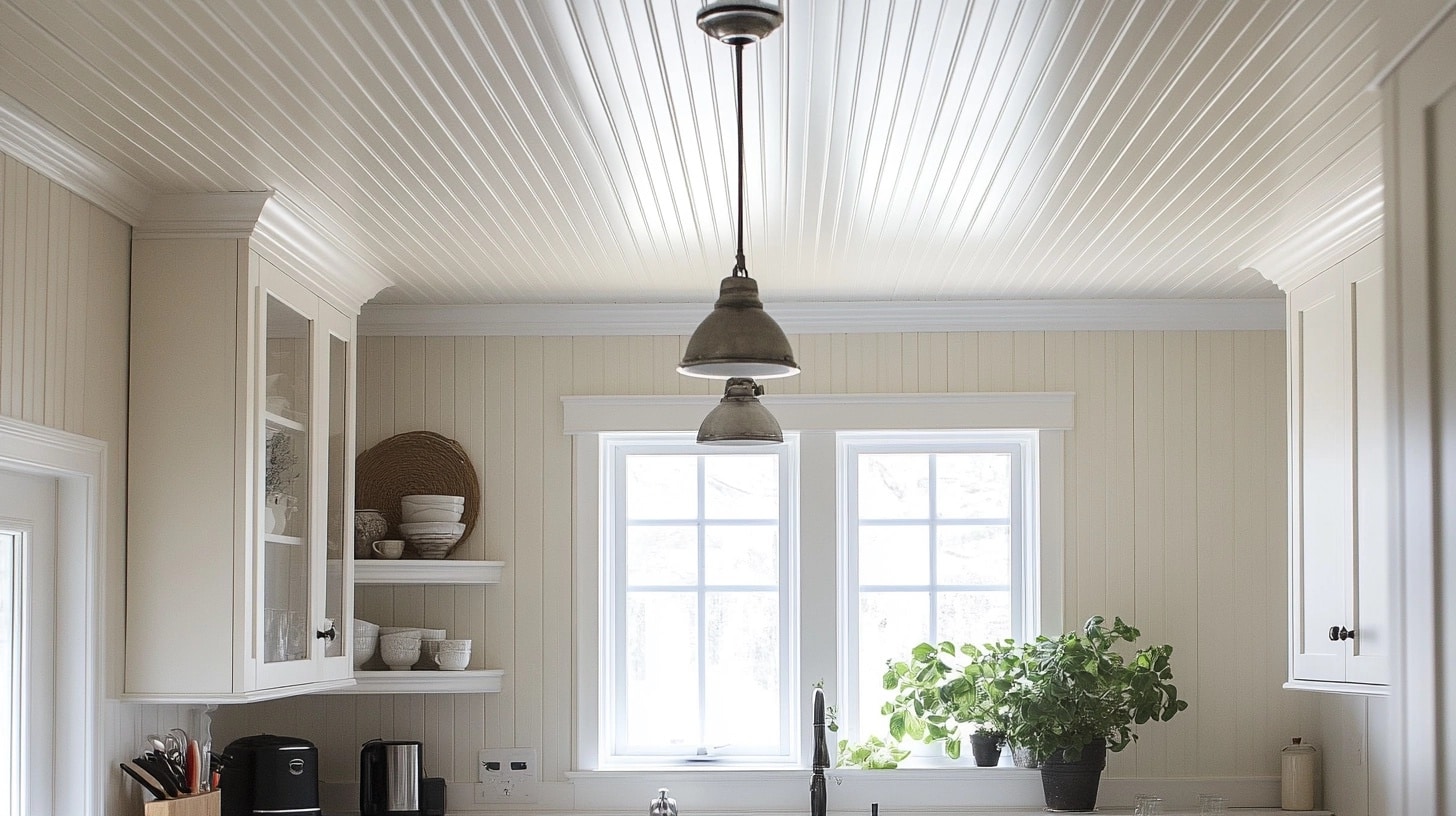
Extend beadboard from the wall onto the ceiling to create a cozy, unified look, especially in a rustic or farmhouse-style room.
- Why It Works: Makes the room feel cohesive and adds charm to the ceiling.
- Best Rooms/Where to Use This Idea: Mudrooms, bathrooms, kitchens.
- DIY Difficulty Level: Moderate; requires overhead work and precise measurements.
6. Beadboard Wainscoting with Chair Rail
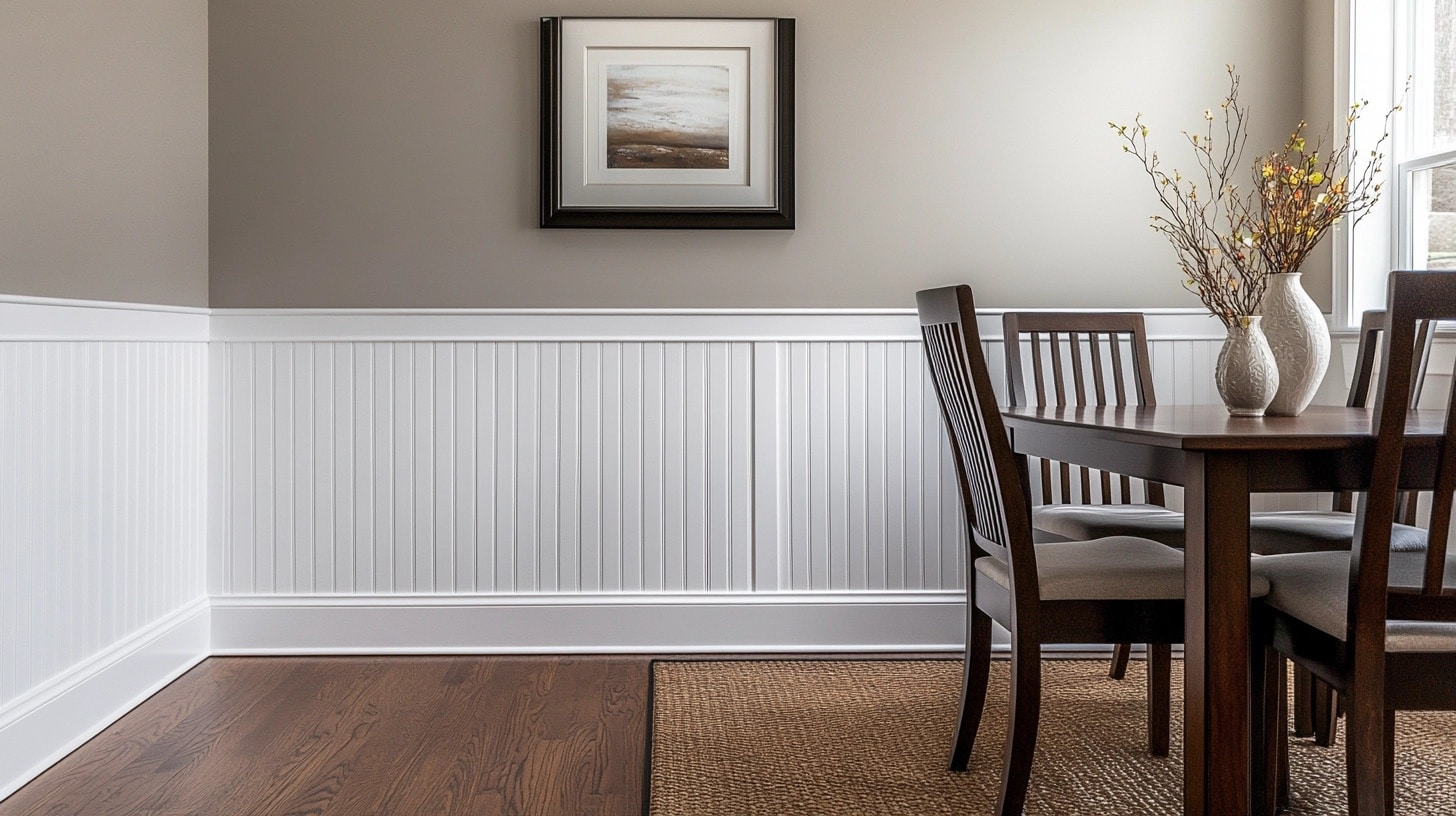
Pair beadboard with a chair rail to define the height and add elegance to dining rooms or hallways.
- Why It Works: Enhances the room’s style and provides a polished finish.
- Best Rooms/Where to Use This Idea: Bathrooms, kitchens, mudrooms.
- DIY Difficulty Level: Moderate; requires alignment of the chair rail and beadboard.
7. Dark and Defined Beadboard
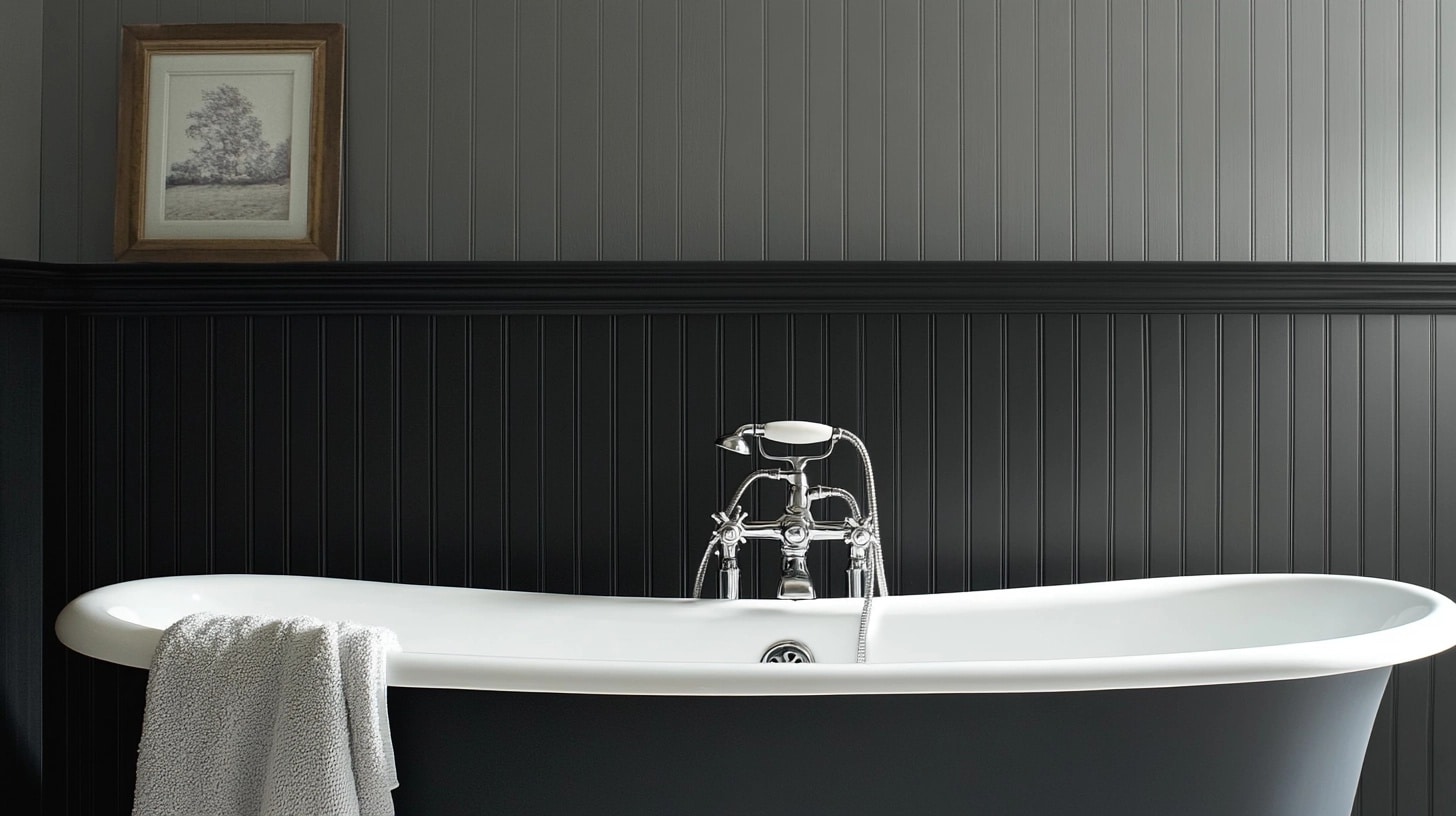
Paint beadboard in deep, bold colors like charcoal or black for a striking and modern appearance.
- Why It Works: Adds sophistication and creates a dramatic look.
- Best Rooms/Where to Use This Idea: Bathrooms, mudrooms, laundry rooms.
- DIY Difficulty Level: Easy; requires proper sanding and painting.
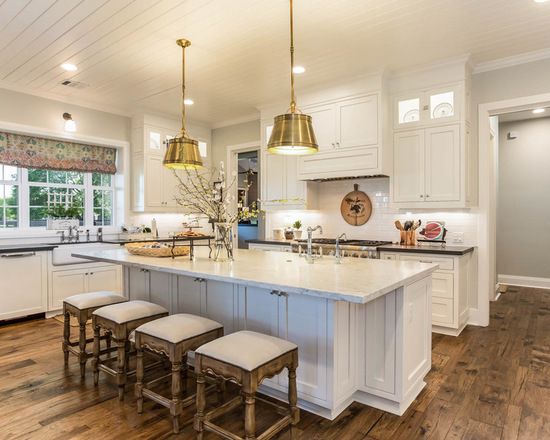
8. Painted Beadboard Island
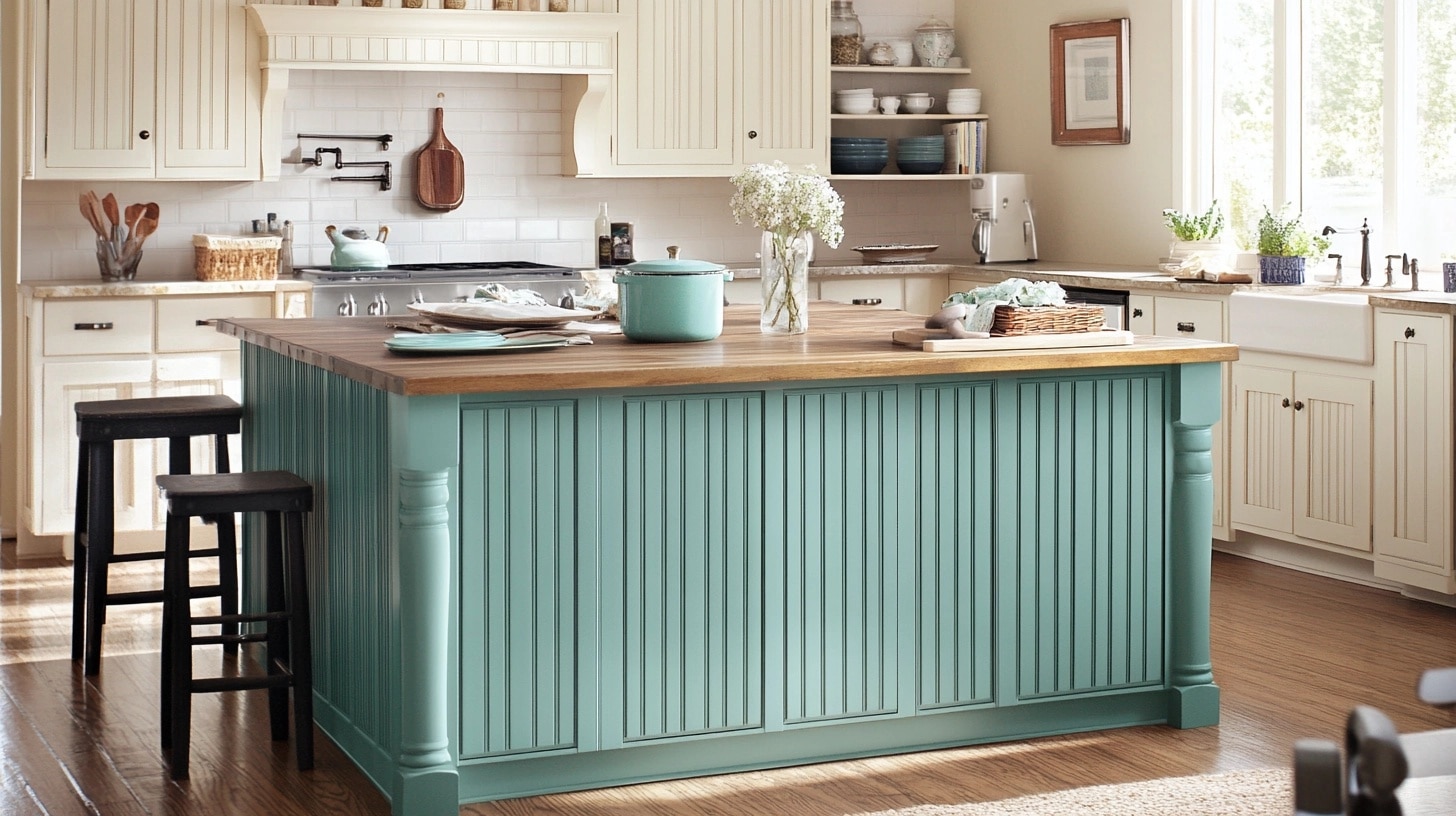
Cover the sides of a kitchen island with beadboard and paint it to match or contrast the room’s color scheme.
- Why It Works: Adds texture and visual interest to a central kitchen feature.
- Best Rooms/Where to Use This Idea: Kitchens.
- DIY Difficulty Level: Moderate; cutting and precisely fitting around the island.
9. Built-Ins with Beadboard
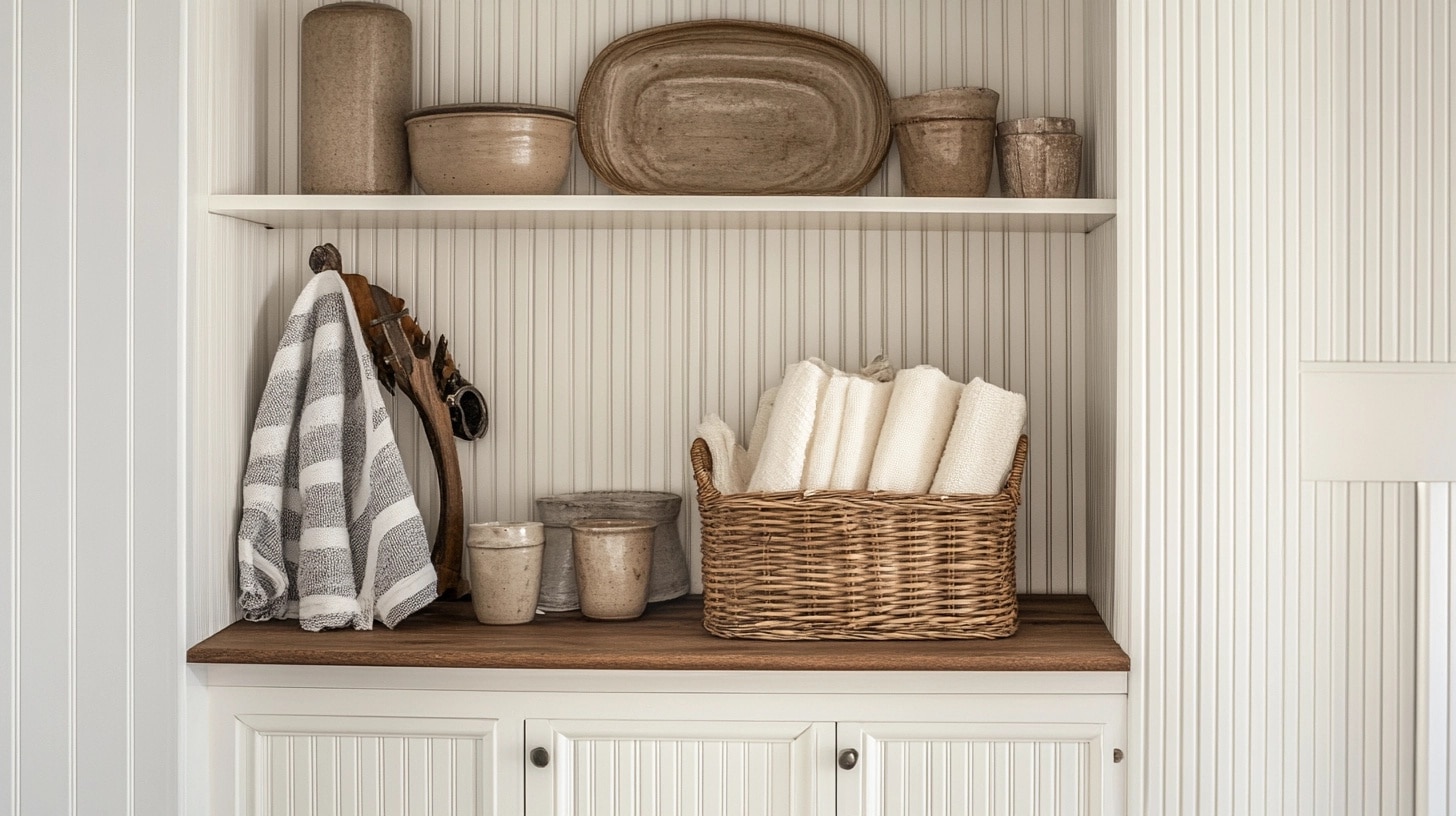
Incorporate beadboard into the backs of built-in shelves or cabinets for a stylish, finished look.
- Why It Works: Enhances built-ins by providing a detailed and polished backdrop.
- Best Rooms/Where to Use This Idea: Mudrooms, kitchens, laundry rooms.
- DIY Difficulty Level: Easy; requires basic tools and adhesive application.
10. Closet Interior
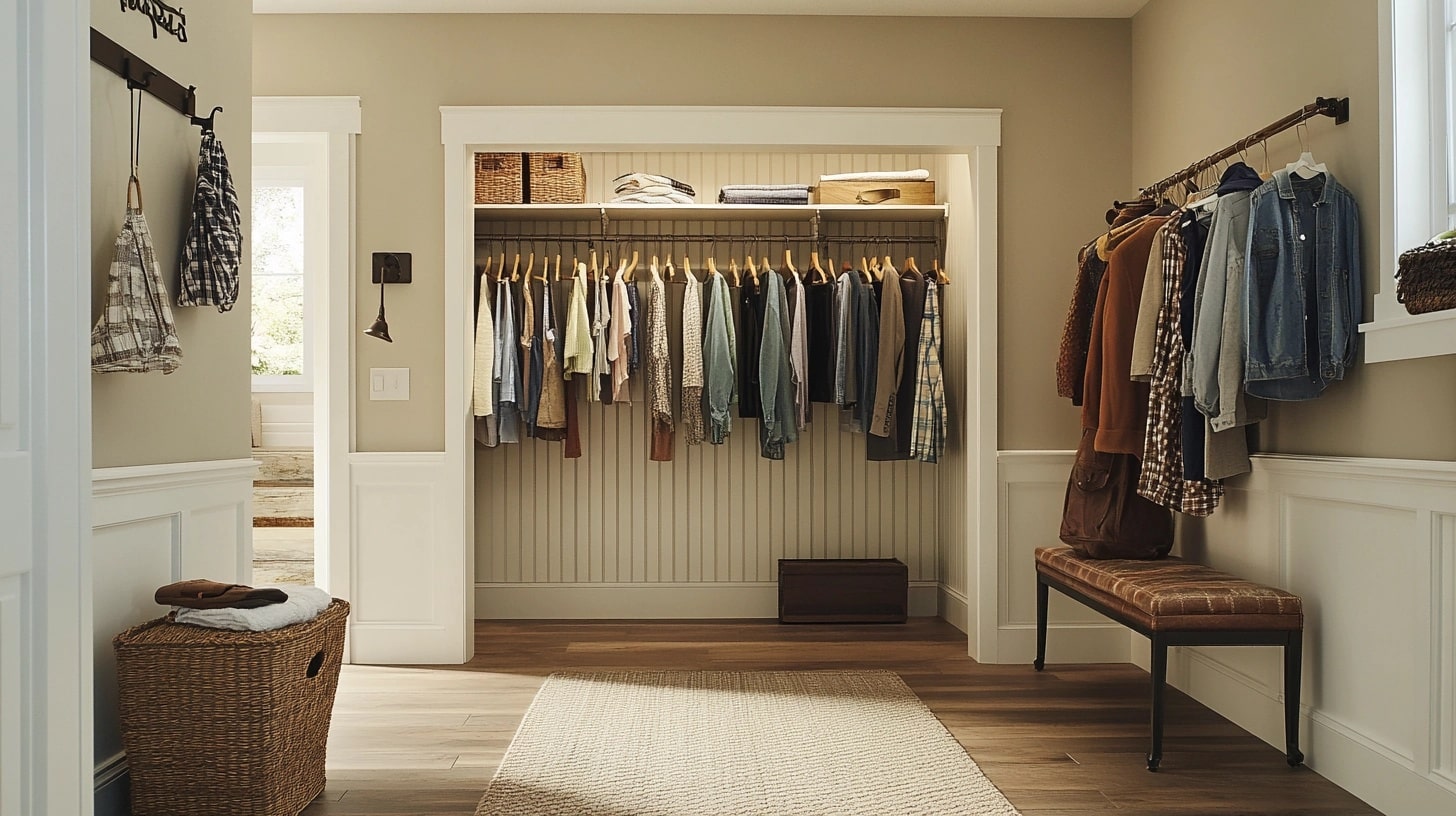
Line closet walls with beadboard. It looks better than plain walls when doors are open.
- Why It Works: Elevates the interior design of a space often overlooked.
- Best Rooms/Where to Use This Idea: Bathrooms, mudrooms, laundry rooms.
- DIY Difficulty Level: Easy; straightforward installation with minimal trimming.
11. Home Office Focus Wall
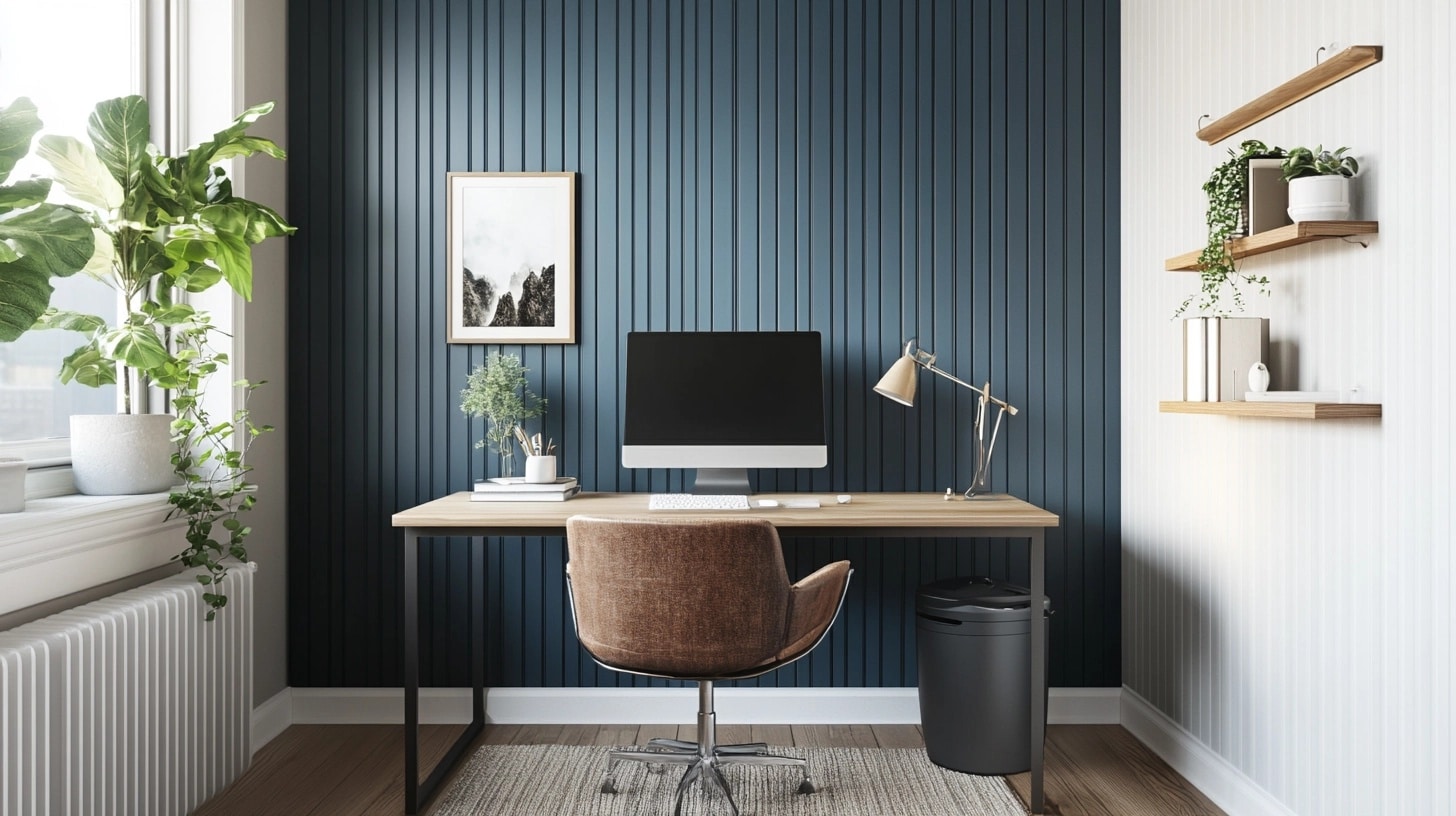
Put beadboard behind your desk area. It makes a perfect background for video calls.
- Why It Works: Adds a professional, clean, and visually appealing background for workspaces.
- Best Rooms/Where to Use This Idea: Home offices, laundry rooms.
- DIY Difficulty Level: Easy; simple installation and painting.
Conclusion
Installing bead board walls does more than just update a room – it adds lasting value to your home.
I’ve shared the steps I’ve learned through my home projects, from picking the right panels to putting on the final coat of paint.
Remember these key takeaways:
- Choose panels that fit your room’s needs
- Take time to plan and measure carefully
- Keep up with simple cleaning for long-lasting results
Want to start small? Try a bead board project in your powder room or laundry area first. These smaller spaces let you practice before taking on bigger rooms.
Ready to give your walls a fresh look? Grab your measuring tape and head to your local hardware store. Your next weekend project awaits!

